
Learning how to crochet a cami top is a rewarding way to move from small projects into handmade clothing. A camisole can be fitted, relaxed, cropped, or full length, depending on its construction and yarn choice. Before starting, measure your bust, waist, preferred neckline depth, shoulder-to-hem length, and strap length. Crochet a gauge swatch in the chosen stitch, wash it, let it dry, and measure it again. This step helps prevent unexpected sizing changes. Cotton, bamboo, and lightweight cotton-blend yarns are practical options because they create breathable fabric with clear stitch definition. From beginner rectangles to shaped cups and decorative motifs, the following methods explain how to crochet a cami top.
1. Beginner Rectangle Crochet Cami Top
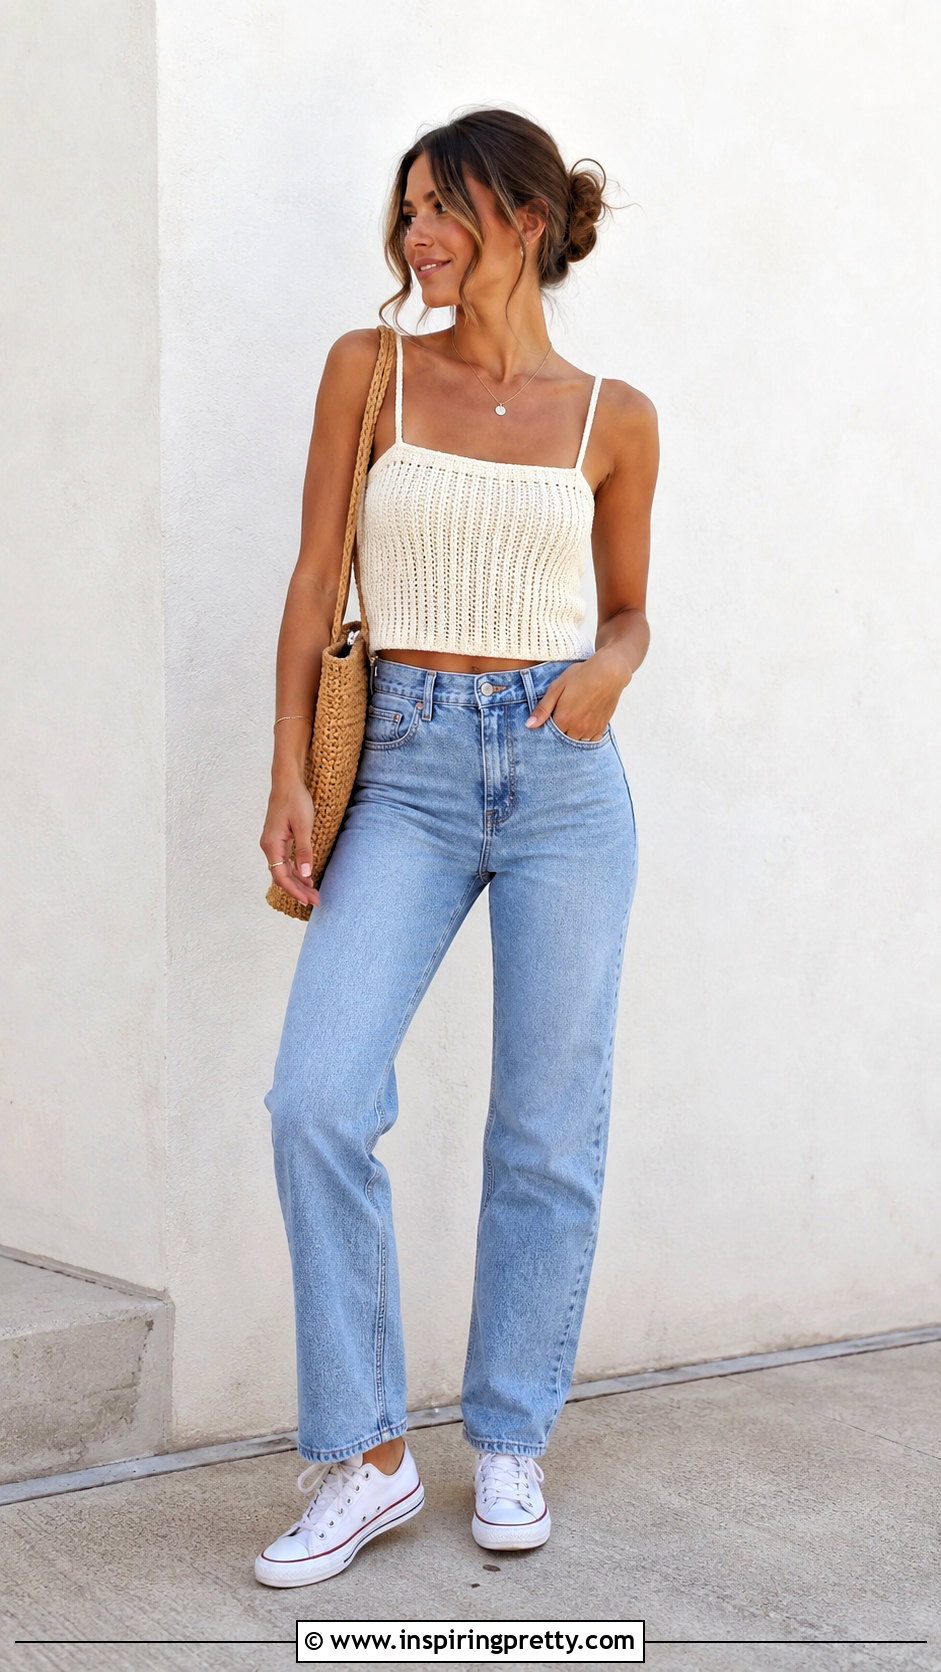
A rectangle cami is one of the easiest options for a first handmade garment. Begin by choosing a breathable DK or lightweight worsted yarn and making a gauge swatch. Crochet one long rectangle using half double crochet until it wraps comfortably around your bust. For stretch and a closer fit, work each row through the back loops. Join the short ends with slip stitches or mattress stitch to create a tube. Try it on before fastening off so you can remove or add rows. Mark four balanced strap positions with stitch markers. Crochet simple chain straps, braided cords, or narrow single crochet bands and attach them securely. Finish the neckline and hem with one even round of single crochet.
2. Two Panel Crochet Cami Top
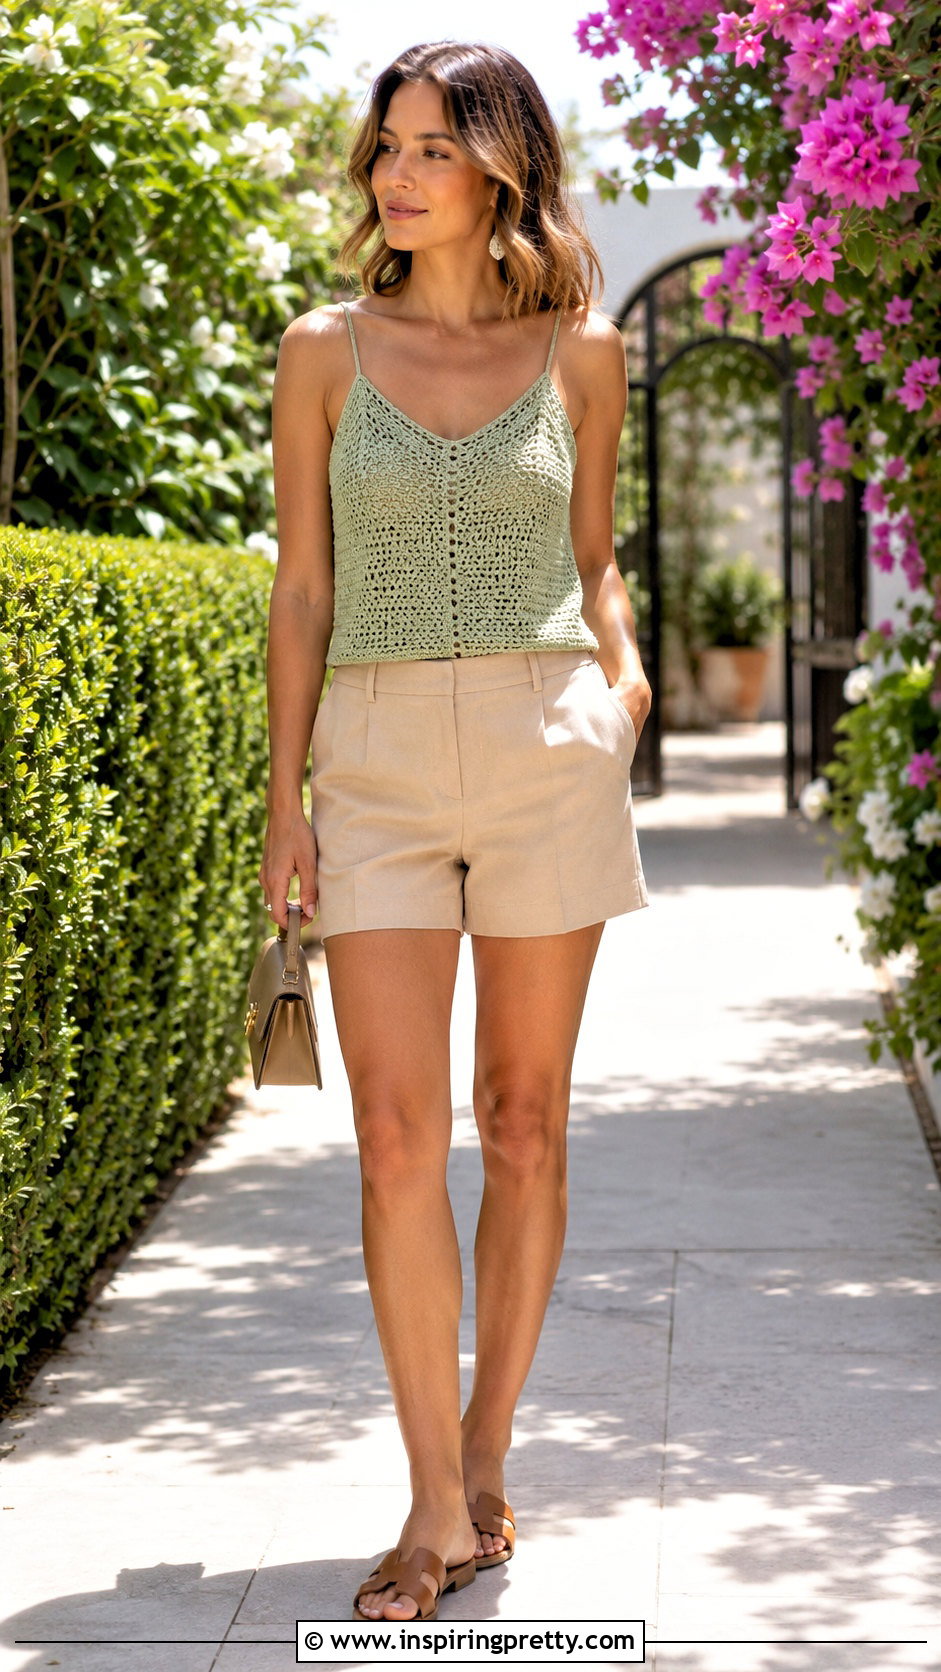
Two separate panels give you more control over the front and back fit. Measure across the widest part of your bust, divide that measurement in half, and account for your desired ease. Crochet a foundation chain matching the required panel width. Work the front panel upward in single crochet, half double crochet, or another solid stitch. Repeat the process for the back, checking that both pieces have matching row counts and dimensions. Block the panels before assembly if the chosen yarn responds well to blocking. Seam the sides while leaving comfortable openings for your arms. Add two straps between the front and back edges. A final single crochet border around the neckline, armholes, and hem will strengthen the structure and create a cleaner finish.
3. Made To Measure Crochet Cami Top
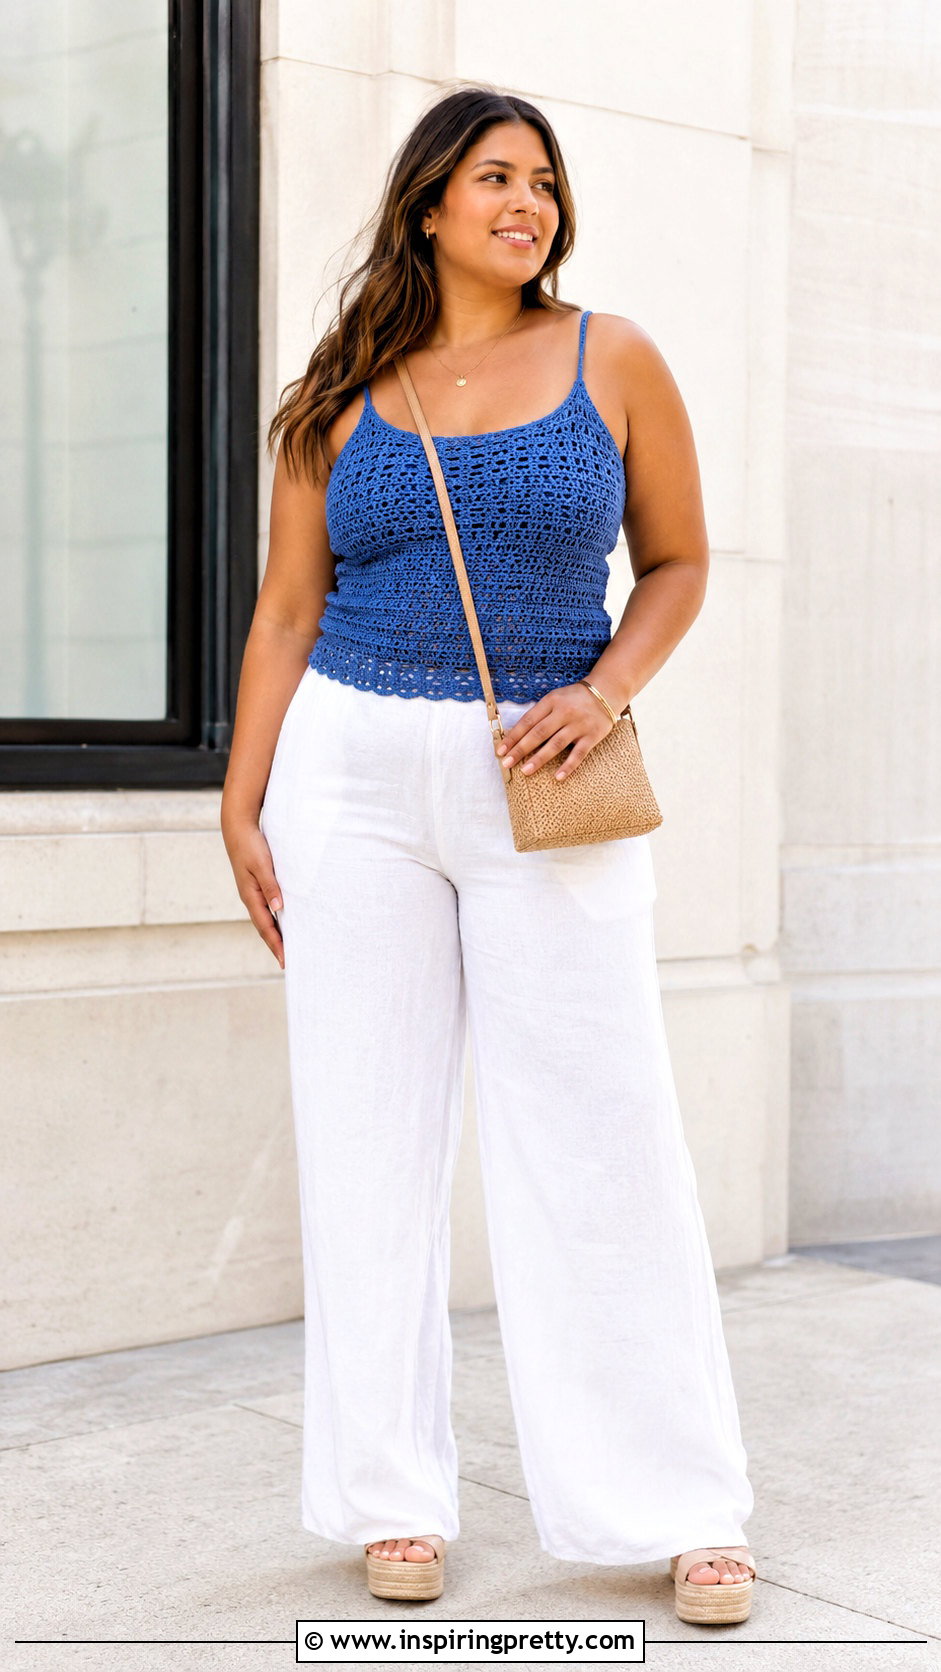
Want a cami that follows your measurements instead of standard sizing? Start with a washed gauge swatch, then calculate how many stitches equal your preferred bust circumference. Decide whether you want a fitted result with slight negative ease or a relaxed top with positive ease. Crochet the body as one tube or two panels, stopping occasionally to check the width against your body. Mark the waist and bust lines so you know where increases or decreases may be needed. Shape the neckline only after confirming the body width. Pin temporary straps in place and try on the cami before attaching them permanently. Record your stitch count, row count, hook size, and measurements as you work so you can reproduce or adjust the design later.
4. Ribbed Crochet Cami Top
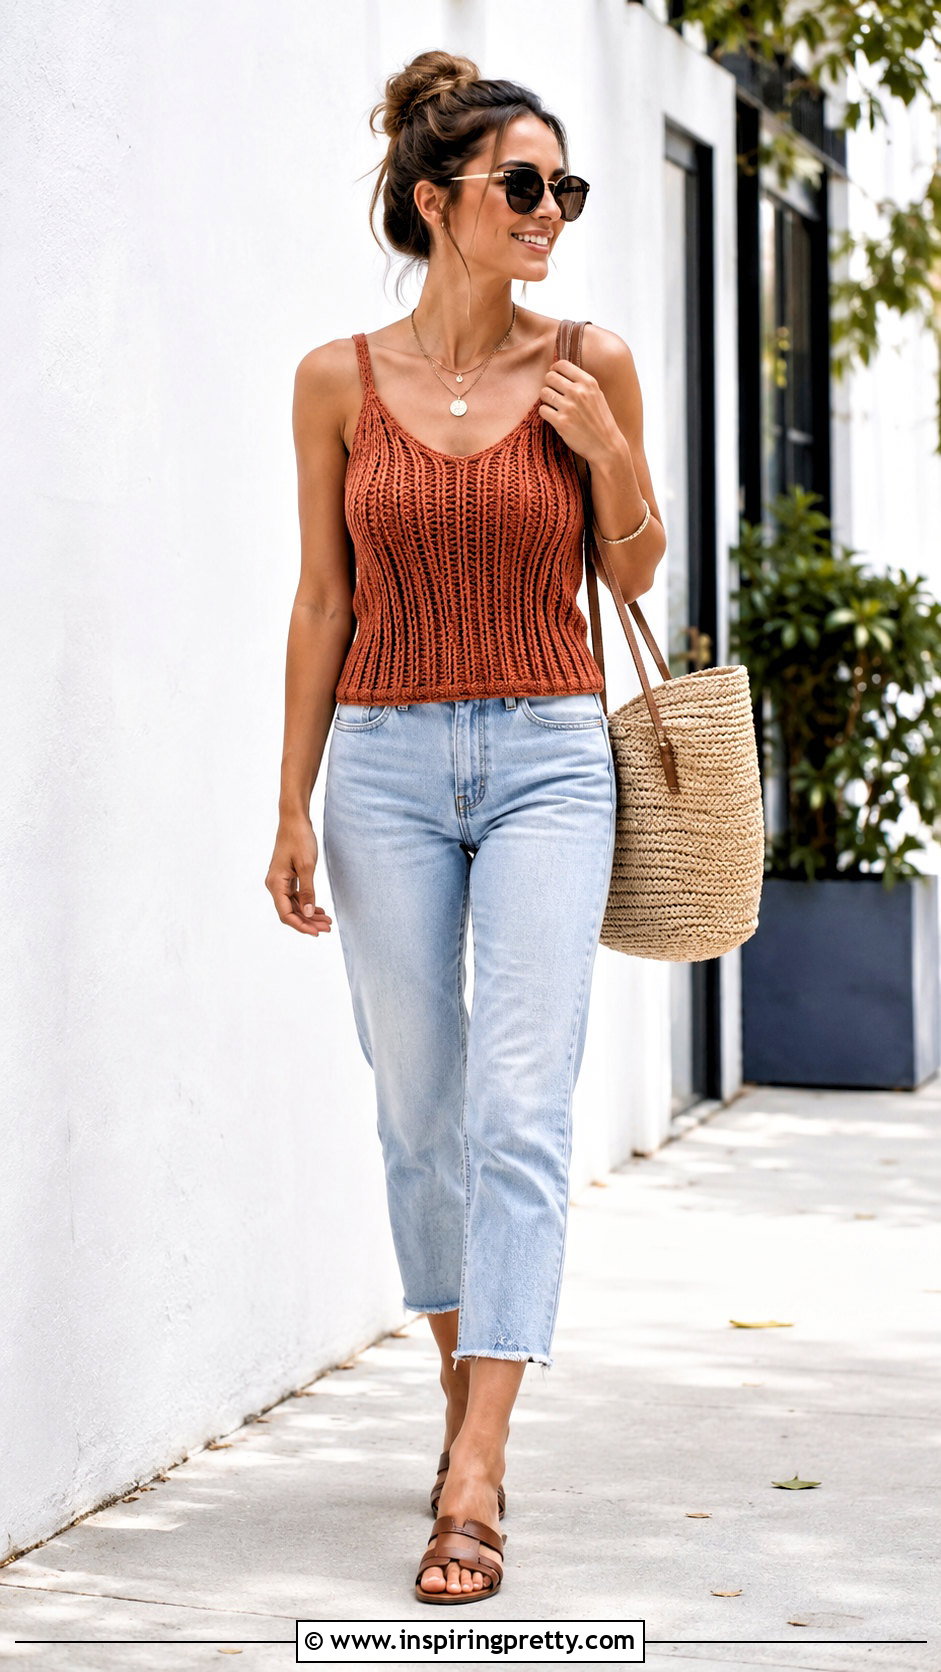
Soft vertical ribbing gives a crochet cami stretch and a polished, knit-like appearance. Instead of working from the hem upward, crochet the body sideways. Make a foundation chain equal to the desired top length, then work half double crochet or slip stitch through the back loops. Continue adding rows until the rectangle wraps around your torso without feeling restrictive. Remember that ribbed fabric can stretch considerably, so test the fit before seaming. Join the first and last rows to form the body. Position the seam at the center back or along one side. Add sturdy straps using tightly worked single crochet. Finish the upper edge with slip stitches to reduce stretching, and lightly block the finished top without flattening the raised ribs.
5. Bottom Up Crochet Cami Top
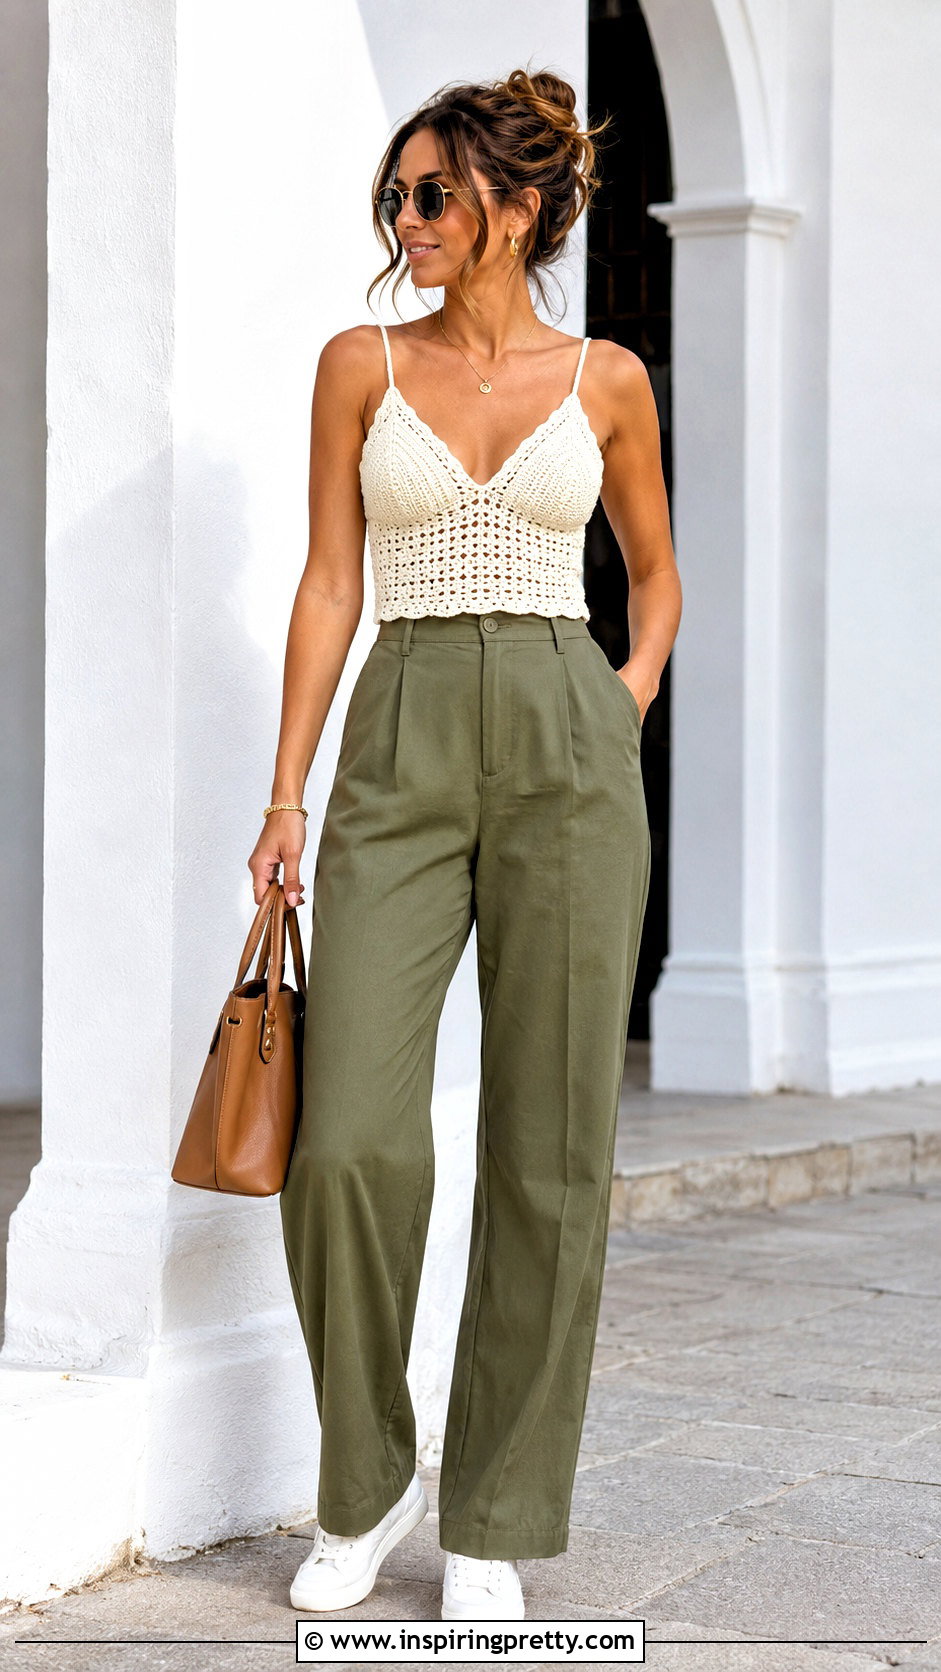
A bottom-up cami begins at the hem and grows toward the neckline. Chain enough stitches to fit around your lower torso, join carefully without twisting, and place a marker at the start of the round. Crochet upward using a solid stitch that provides suitable coverage. Add evenly spaced increases if your bust is wider than your waist. When the body reaches the underarm, divide the stitches into front and back sections. Work the front flat while decreasing near both edges to shape the armholes and neckline. Make the back separately, keeping it straight or adding similar shaping. Crochet straps from the upper corners and join them to the back. Try on the unfinished top before fastening the straps, since their length controls the final neckline position.
6. Top Down Crochet Cami Top
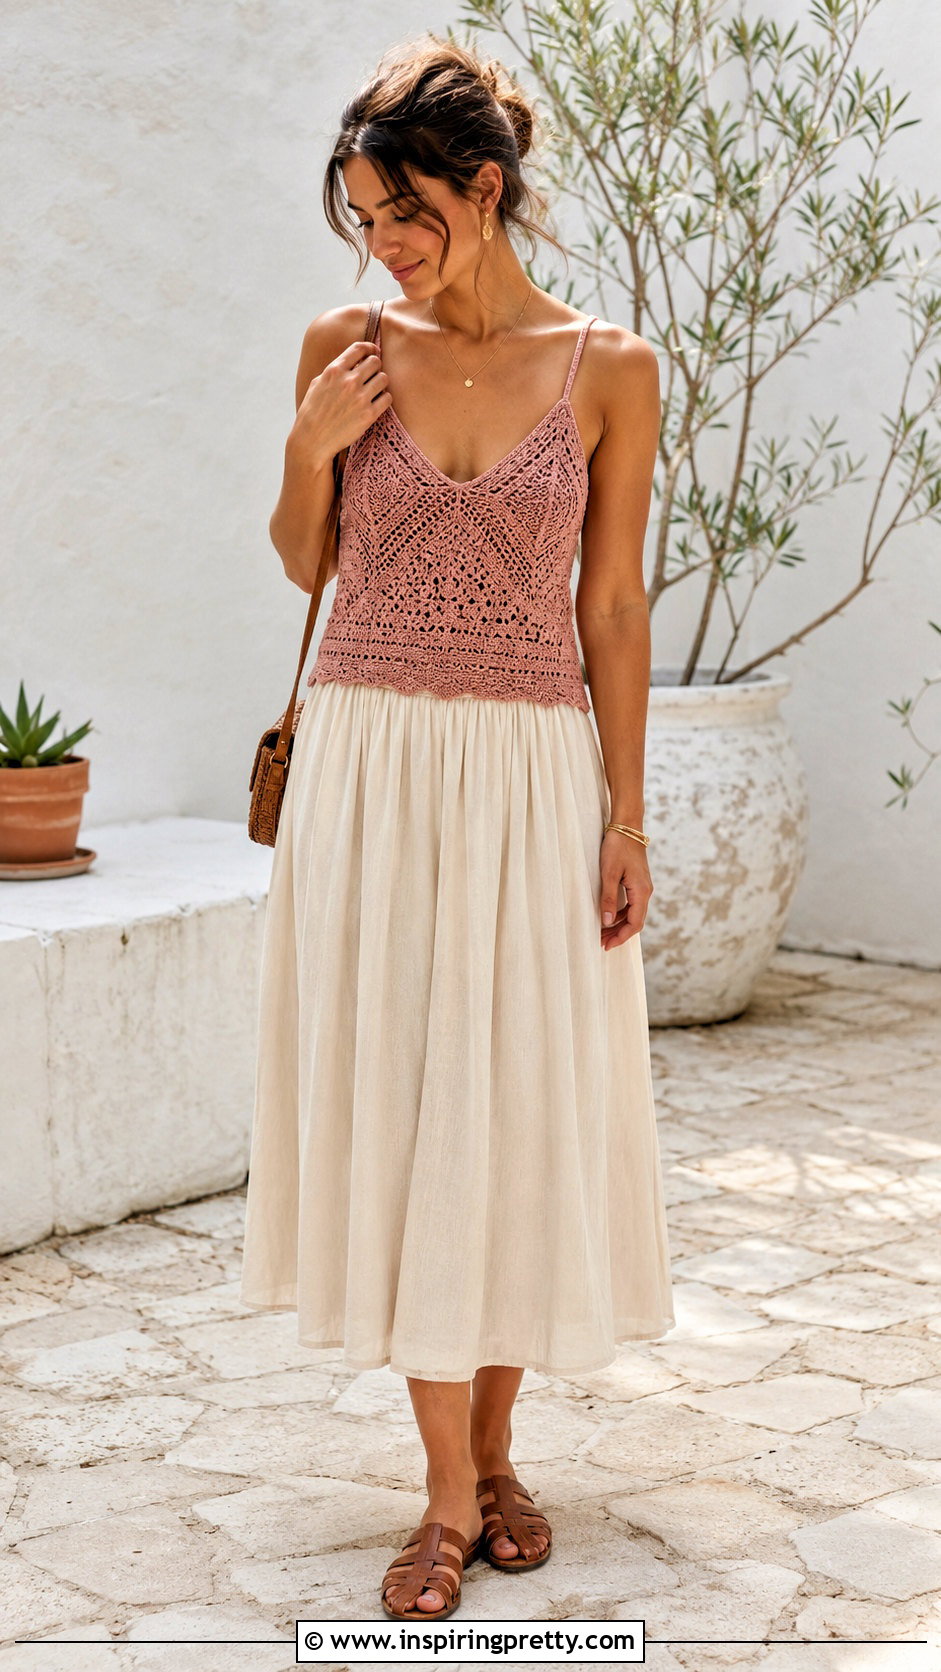
Starting at the neckline makes it easy to adjust the depth and upper-body fit as you crochet. Begin with two narrow front sections positioned where you want the straps and neckline to sit. Work downward while increasing along the outer edges and, if creating a V-neck, along the inner edges. Join the front sections when the neckline reaches your preferred depth. Create the back section separately or connect it across the upper back. Once the front and back fit around your bust, join them and continue working the body in rounds. Add gradual decreases near the waist for shaping or continue evenly for a relaxed silhouette. Finish the straps last, using slip stitch cords or firm single crochet rows that will support the top without stretching excessively.
7. Triangle Cup Crochet Cami Top
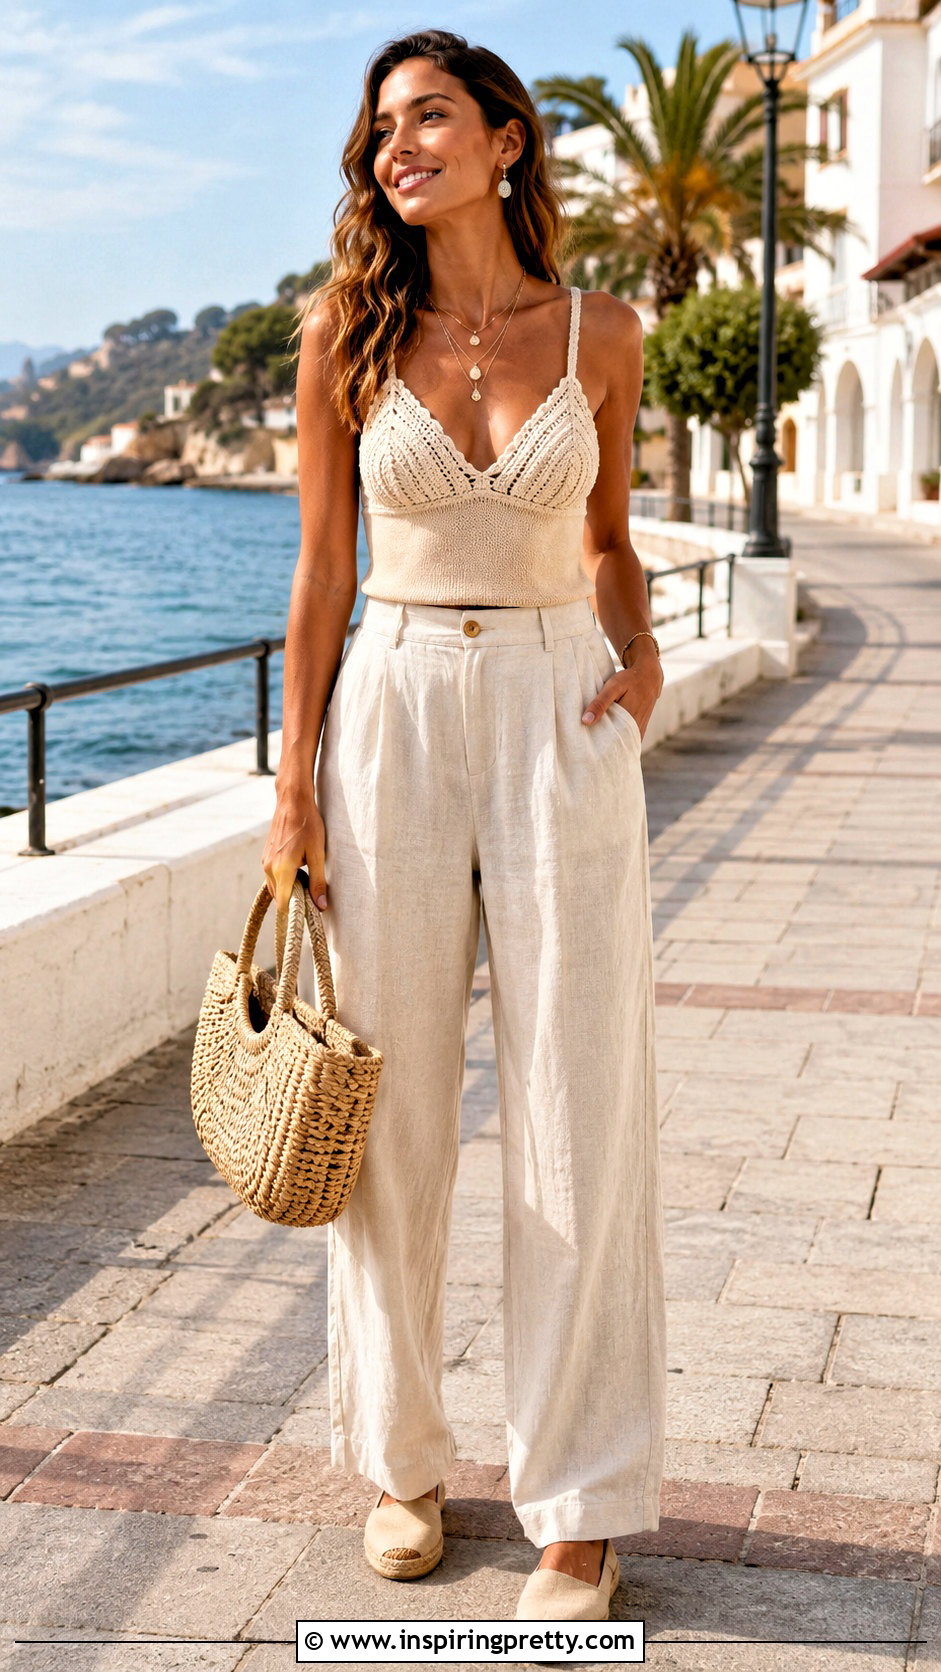
A triangle cup construction creates a shaped upper section with an adjustable fit. Begin each cup with a foundation chain that reaches from the lower bust to the desired cup height. Work around both sides of the chain, placing several stitches at the top to form a curved corner. Continue in rows, adding stitches around that center point until the cup provides comfortable coverage. Make a second matching cup and join them along their lower edges. Crochet a wide band beneath the cups, then extend the fabric downward to create a complete cami rather than a short top. Add shoulder straps and either a closed back or adjustable ties. Reinforce every attachment point with additional stitches because the straps and underbust band carry most of the garment’s weight.
8. Square Neck Crochet Cami Top
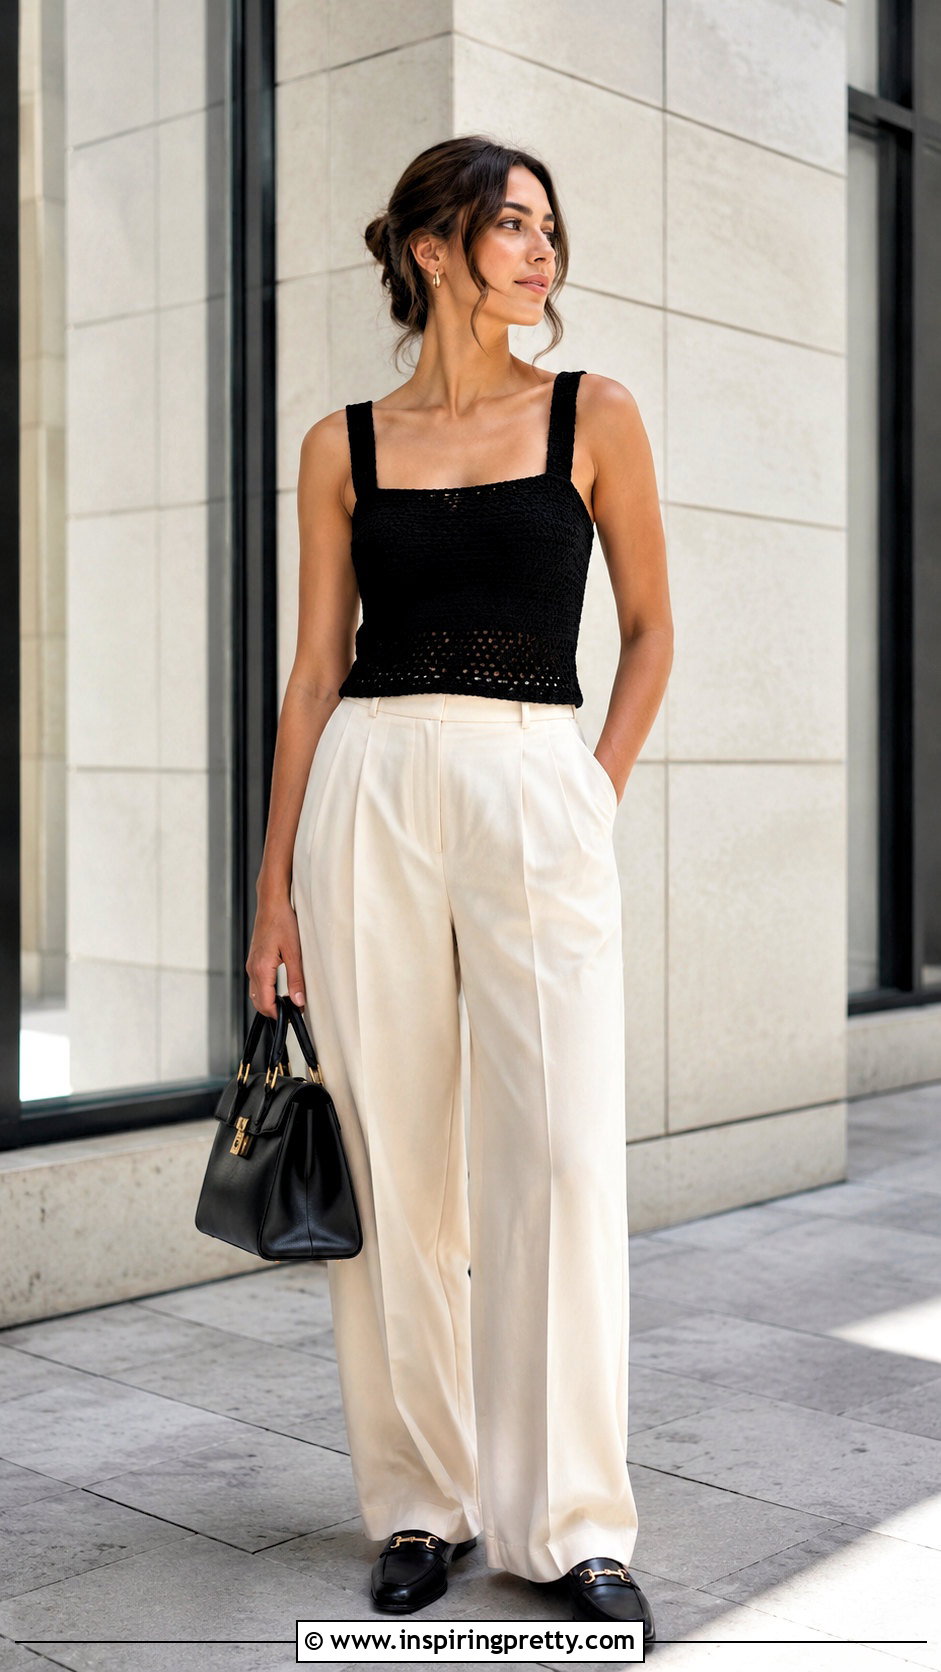
A square neckline looks clean and is easier to shape than many curved necklines. Crochet the front as a rectangle until it reaches the lower armhole. Divide the top edge into three areas: a left shoulder section, the neckline opening, and a right shoulder section. Work the two shoulder sections separately without decreasing their inner edges. This produces the straight sides and flat lower edge associated with a square neck. Make the back panel with a higher neckline for extra support. Seam the sides, attach the shoulders, and check that the opening lies flat. Work one round of single crochet around the neckline, placing fewer stitches near the corners if they begin to flare. Wide straps can help maintain the neckline’s crisp geometric shape.
9. V Neck Crochet Cami Top
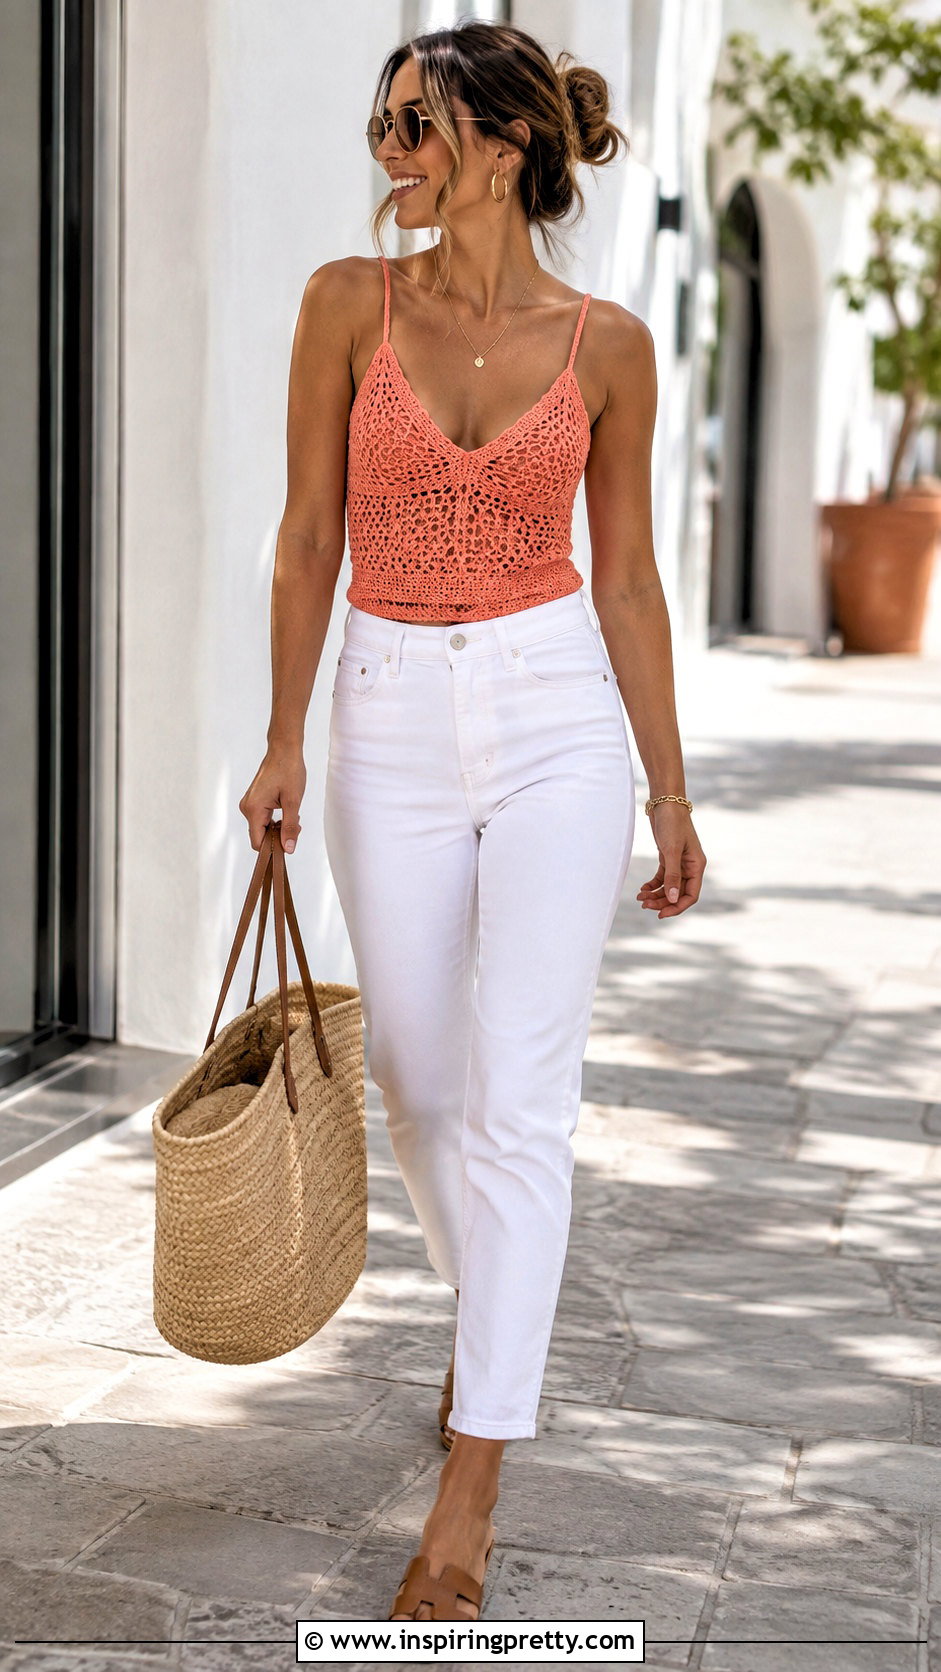
A V-neck cami requires balanced decreases on both sides of the front. Crochet the lower body first, either in rounds or as separate panels. When you reach the desired starting point of the neckline, divide the front stitches evenly. Work one side at a time, decreasing one stitch near the inner edge every row or every other row. The frequency of these decreases determines whether the V looks deep and narrow or soft and wide. Repeat the same shaping in reverse on the second side. Create the back with a straight upper edge, then connect the shoulders using crocheted straps. Add a narrow border around the V-neck to stabilize the fabric. Place stitches carefully at the center point so the edging remains smooth instead of bunching.
10. Granny Square Crochet Cami Top

Colorful motifs turn a basic cami into a portable, customizable crochet project. Make several identical granny squares, blocking each one to the same finished dimensions. Lay the squares flat and arrange them into front and back panels that match your bust measurement. Join the motifs with slip stitches, single crochet, or a sewn seam. If whole squares do not provide the exact width you need, add narrow side panels or border rounds. Create a smooth upper edge by filling uneven spaces with smaller stitches. Attach straps at balanced points above the front and back. A fitted ribbed band can be added along the hem for extra structure. Weave in every yarn tail securely, especially when the squares contain multiple colors and frequent yarn changes.
11. Moss Stitch Crochet Cami Top
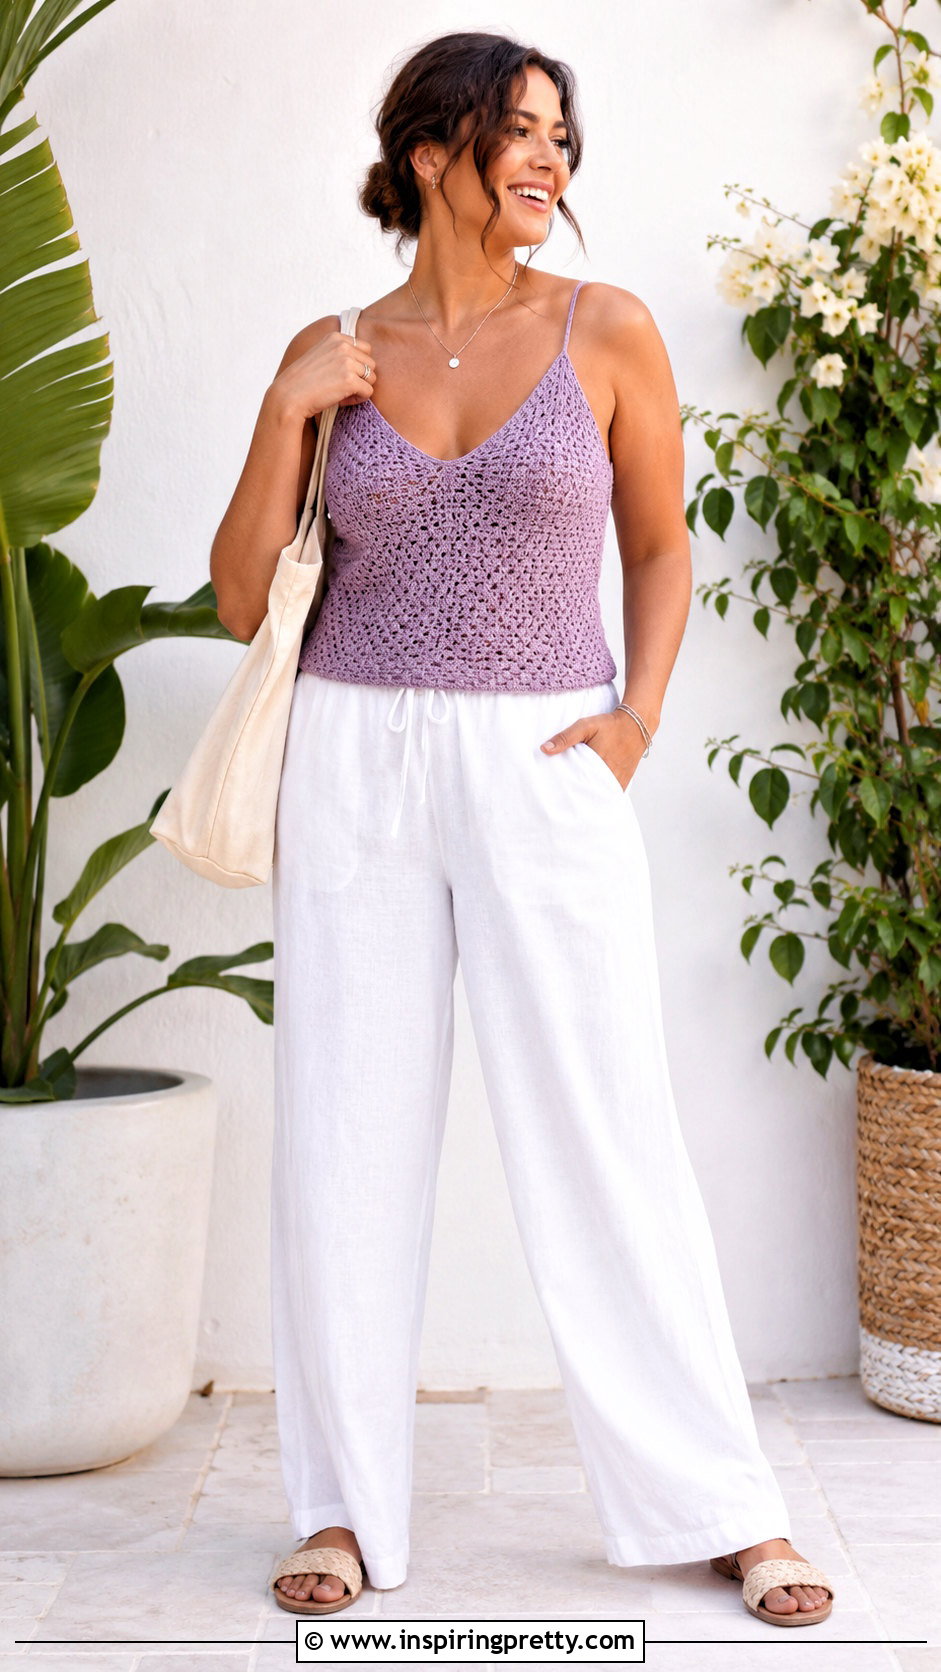
Moss stitch produces a flexible fabric with a subtle woven texture. It alternates single crochet stitches and chain spaces, making it approachable for beginners who want more visual interest than plain rows. Crochet two rectangular panels or work one long piece that can be wrapped around the body. Keep your chain spaces loose and check the stitch count at the end of every row. Moss stitch can contract slightly, so measure the fabric without pulling it. Shape the neckline with gradual decreases or keep the upper edge straight for a simple camisole. Seam the sides and add narrow straps made with dense single crochet. Finish the hem with a compact border. Solid or gently variegated yarn will highlight the stitch texture without making the finished cami look overly busy.
12. Mesh Crochet Cami Top
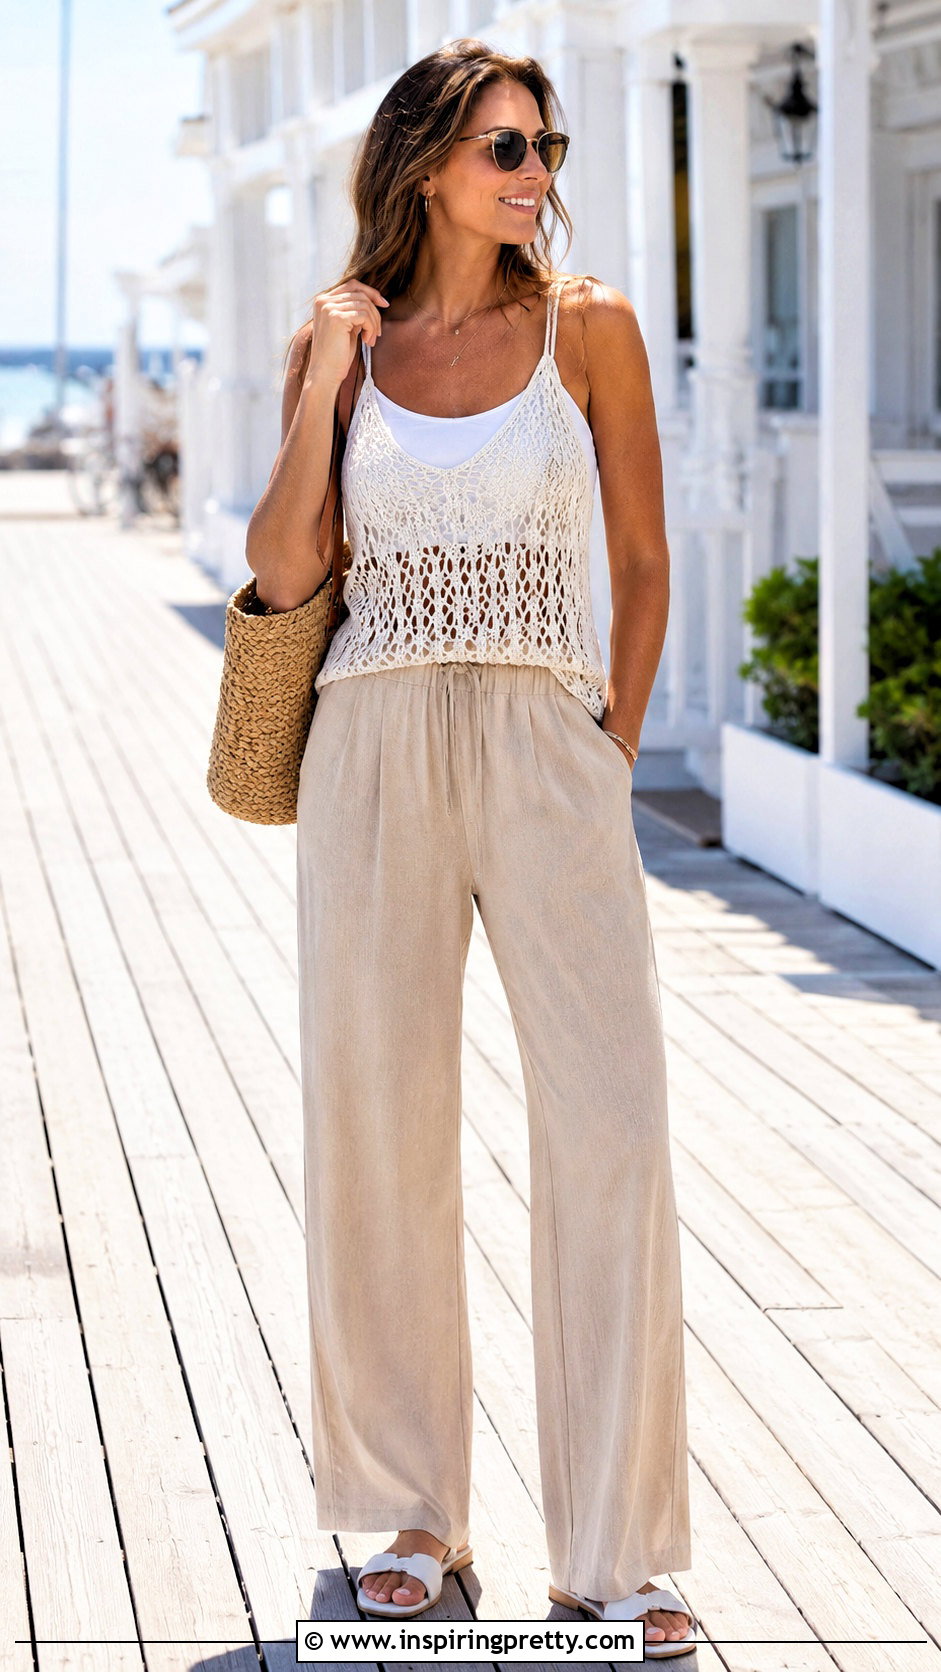
An open mesh cami makes a lightweight layering piece for warm weather. Choose a smooth cotton or bamboo-blend yarn so the chain spaces remain clearly defined. Crochet the body using repeating double crochet stitches and chain spaces, checking that the mesh pattern stays aligned. Because open fabric offers less coverage and support, consider making the cami slightly relaxed rather than tightly fitted. Create two panels, seam the sides, and add solid borders around the neckline and armholes. These borders strengthen the edges and provide secure places for attaching straps. Wear the finished cami over a fitted tank when more coverage is preferred. When blocking, shape the mesh gently to the correct measurements, but avoid stretching the chain spaces so far that the top becomes longer than planned.
13. Shell Stitch Crochet Cami Top
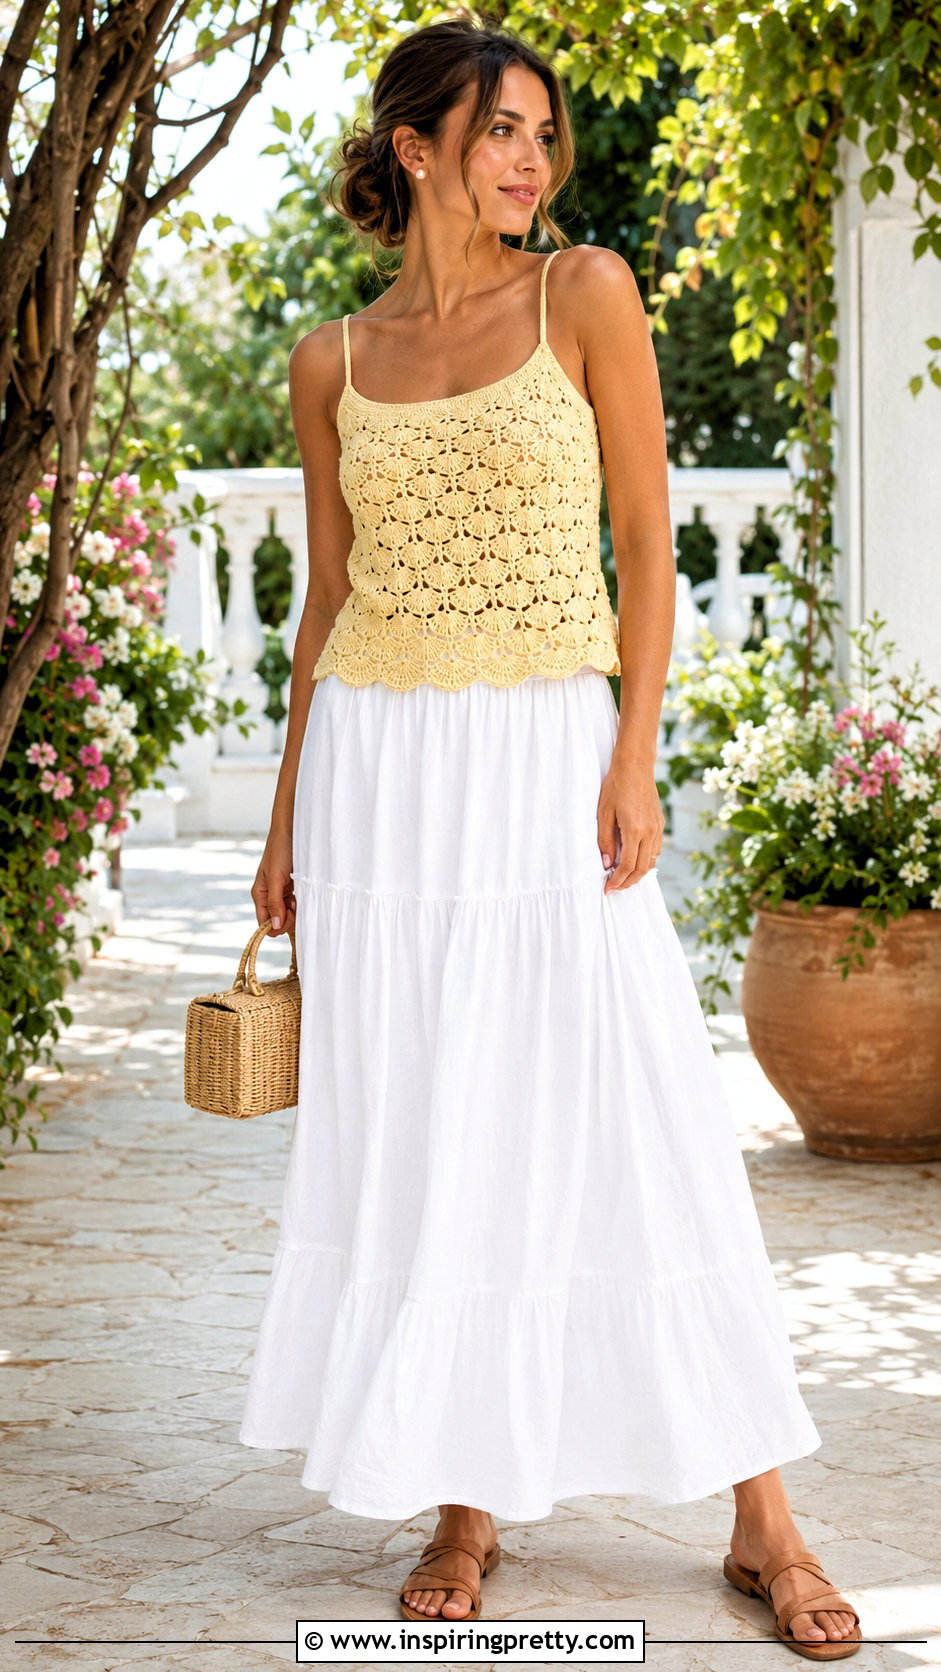
Rows of crochet shells create texture and a softly decorative finish. Select a lightweight yarn that allows the stitch pattern to drape instead of becoming stiff. Make a foundation row that accommodates the shell repeat, including any extra edge stitches required by your chosen pattern. Crochet the front and back panels separately, counting every shell to keep both pieces identical. Use partial shells, smaller stitches, or gradual decreases to shape the armholes. A solid row of single crochet along the upper edge makes strap placement easier and prevents the neckline from looking uneven. Join the panels with a flat seam that does not interrupt the decorative pattern. Keep the straps simple so they complement the detailed body. Finish with a restrained shell border along the hem if desired.
14. Lace Back Crochet Cami Top
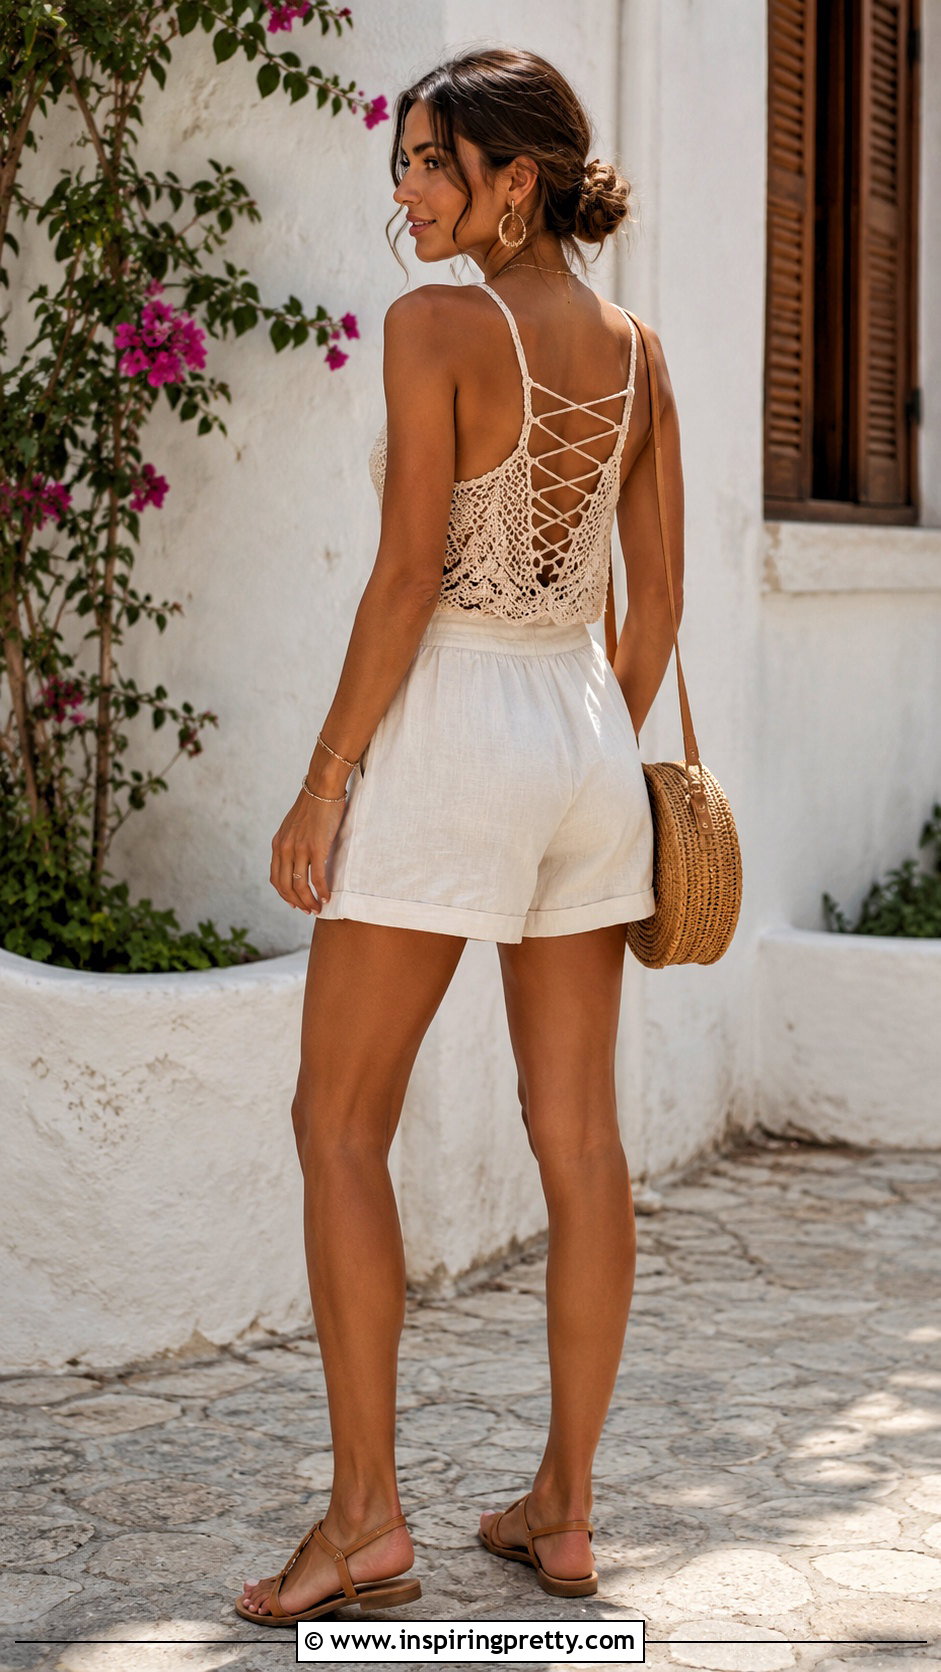
A lace-up back allows the cami’s fit to be tightened or loosened without complicated shaping. Crochet the front as a solid panel, then make two narrower back panels that leave an open vertical space between them. Add a firm single crochet border along the inner edges. Create evenly spaced loops by alternating short chains with single crochet stitches. Make a long cord using chains, foundation single crochet, or a twisted yarn technique. Thread it through the loops in a crisscross pattern. The lacing should adjust the fit without carrying the full weight of the garment, so include secure shoulder straps and stable side seams. Leave enough cord for comfortable tying, but avoid overly long ends. Reinforce the bottom loops because they receive extra tension whenever the back is adjusted.
15. Button Back Crochet Cami Top
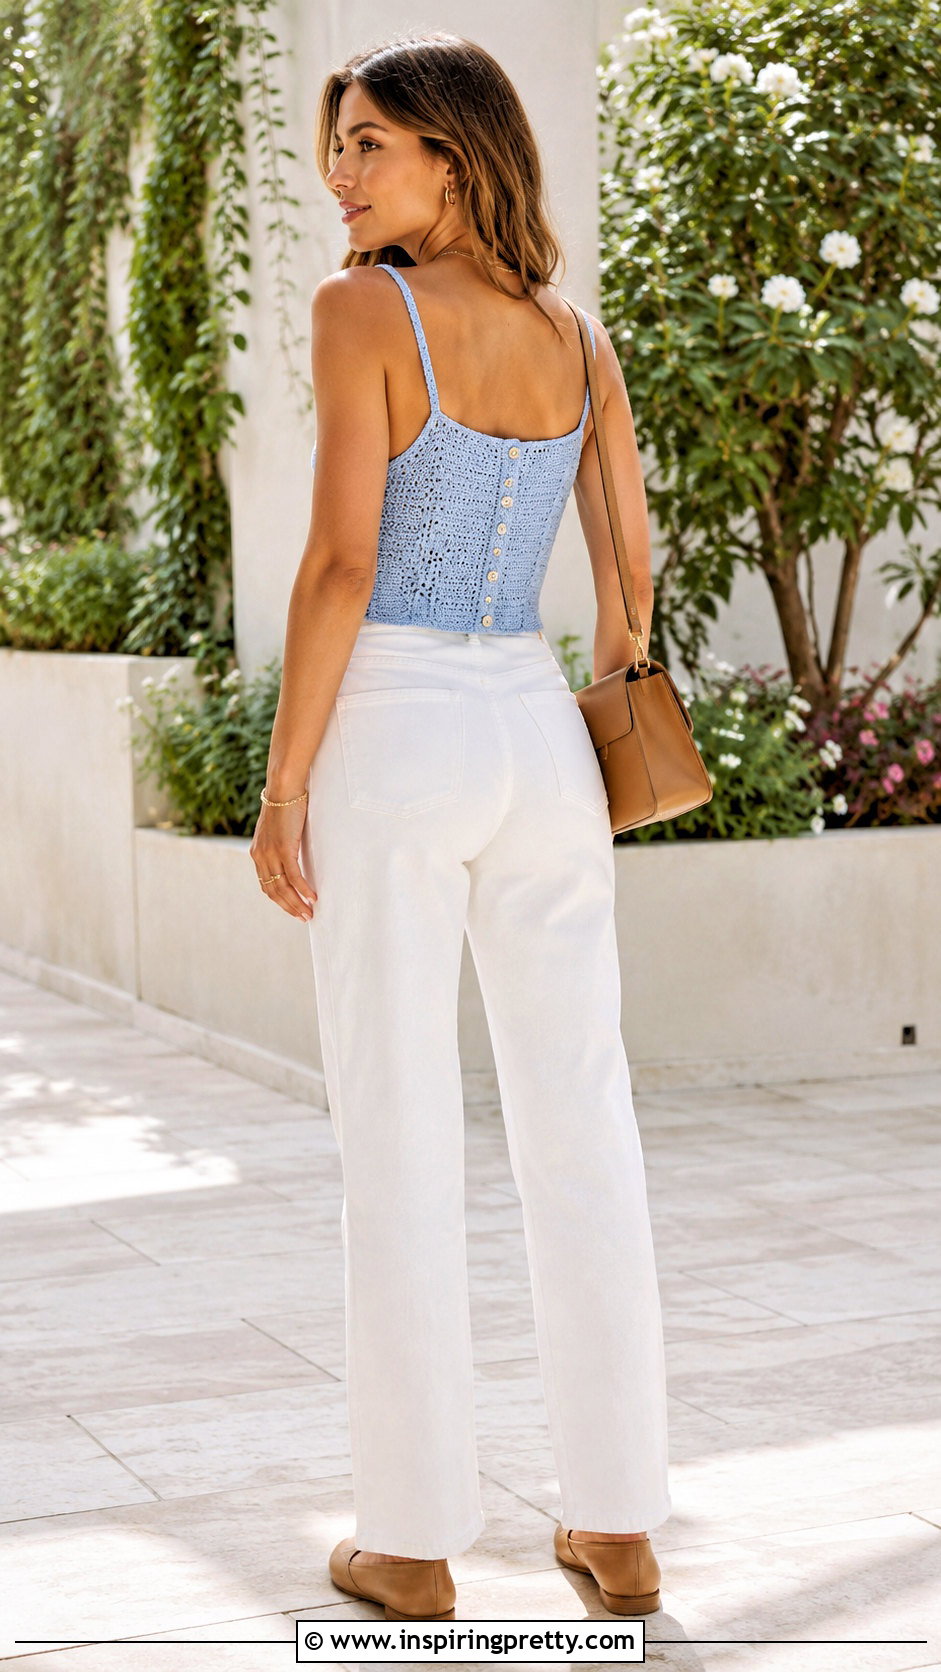
A button-back construction combines a fitted appearance with a practical opening. Crochet the front as one panel and divide the back into two overlapping sections. Add a button band to one back edge using several rows of single crochet. On the opposite edge, create buttonholes with short chain spaces that match the diameter of your selected buttons. Space the buttonholes evenly and place the first and last openings away from the very ends for greater stability. Block both bands before sewing on the buttons. This helps you align each closure correctly. Attach the straps and seam the sides, then test every button while wearing the cami over a lightweight layer. Sew the buttons through reinforced stitches and use matching thread or strong yarn so they remain secure during repeated wear.
16. Tie Strap Crochet Cami Top
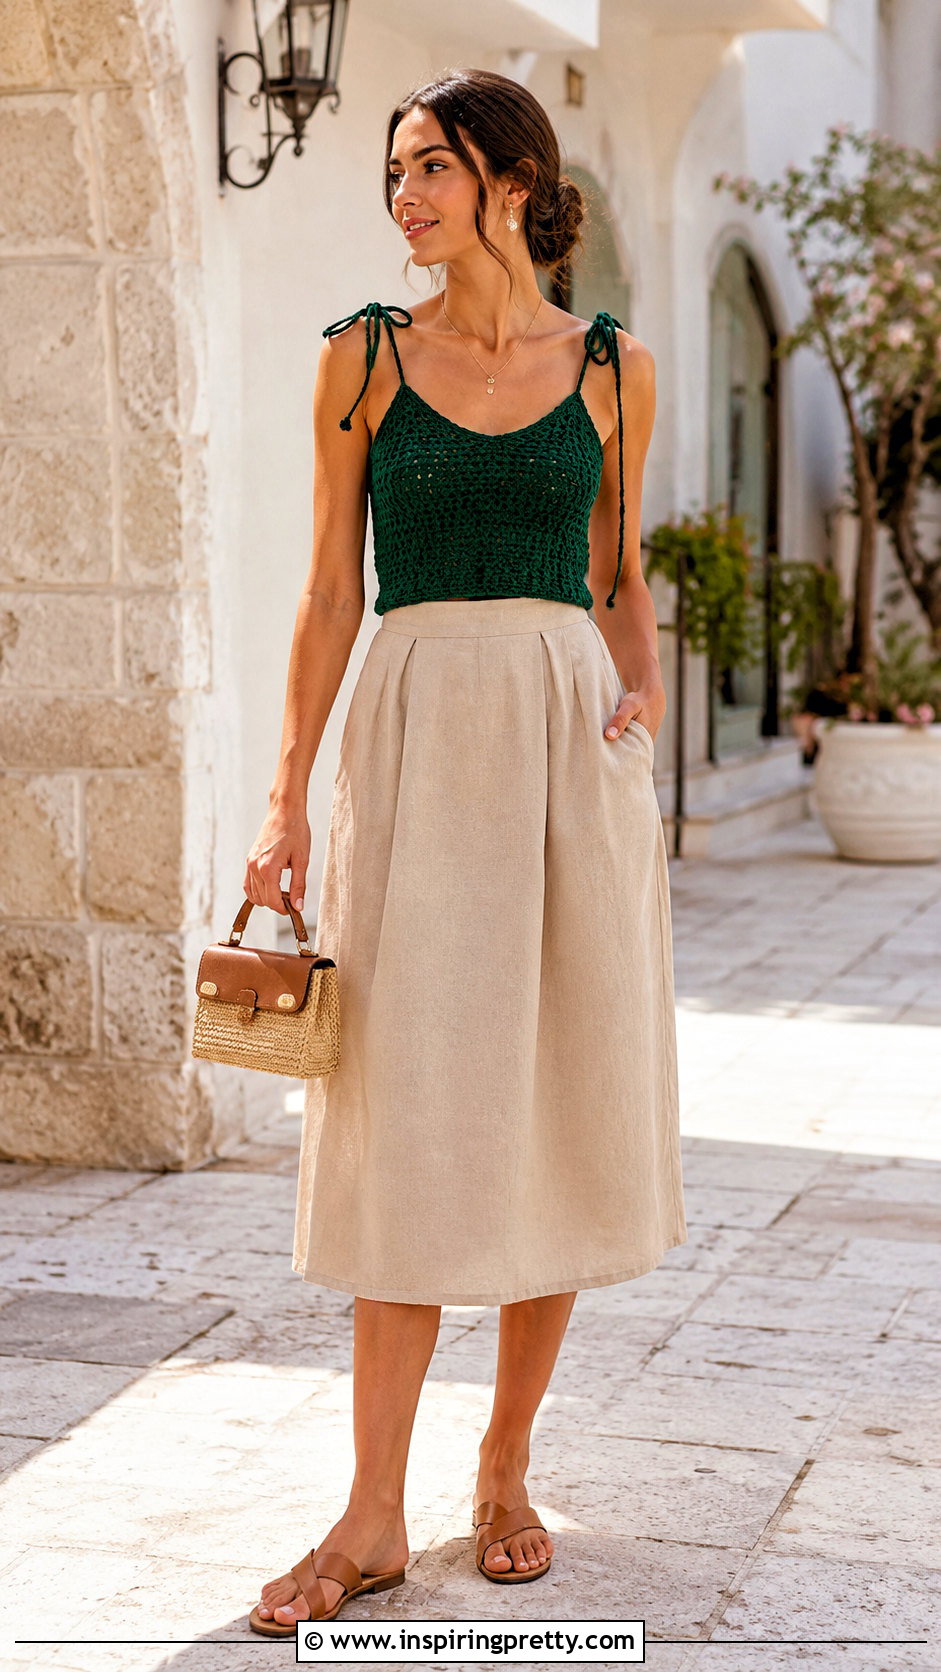
Adjustable tie straps are useful when you want flexible neckline height and an easy fitting process. Complete the cami body first, then mark four strap positions while wearing it. Crochet each tie as a long chain and slip stitch back across it, or create a sturdier cord with foundation single crochet. Make four separate ties so they can be knotted above the shoulders. For bows, allow enough extra length without making the ties cumbersome. Reinforce the corners where the straps connect to the body by stitching through several neighboring loops. Tie the straps, check the neckline, and trim only after confirming the final length. Small knots can be added to the cord ends, while short yarn tails should be woven back through the straps to prevent unraveling.
17. Wide Strap Crochet Cami Top
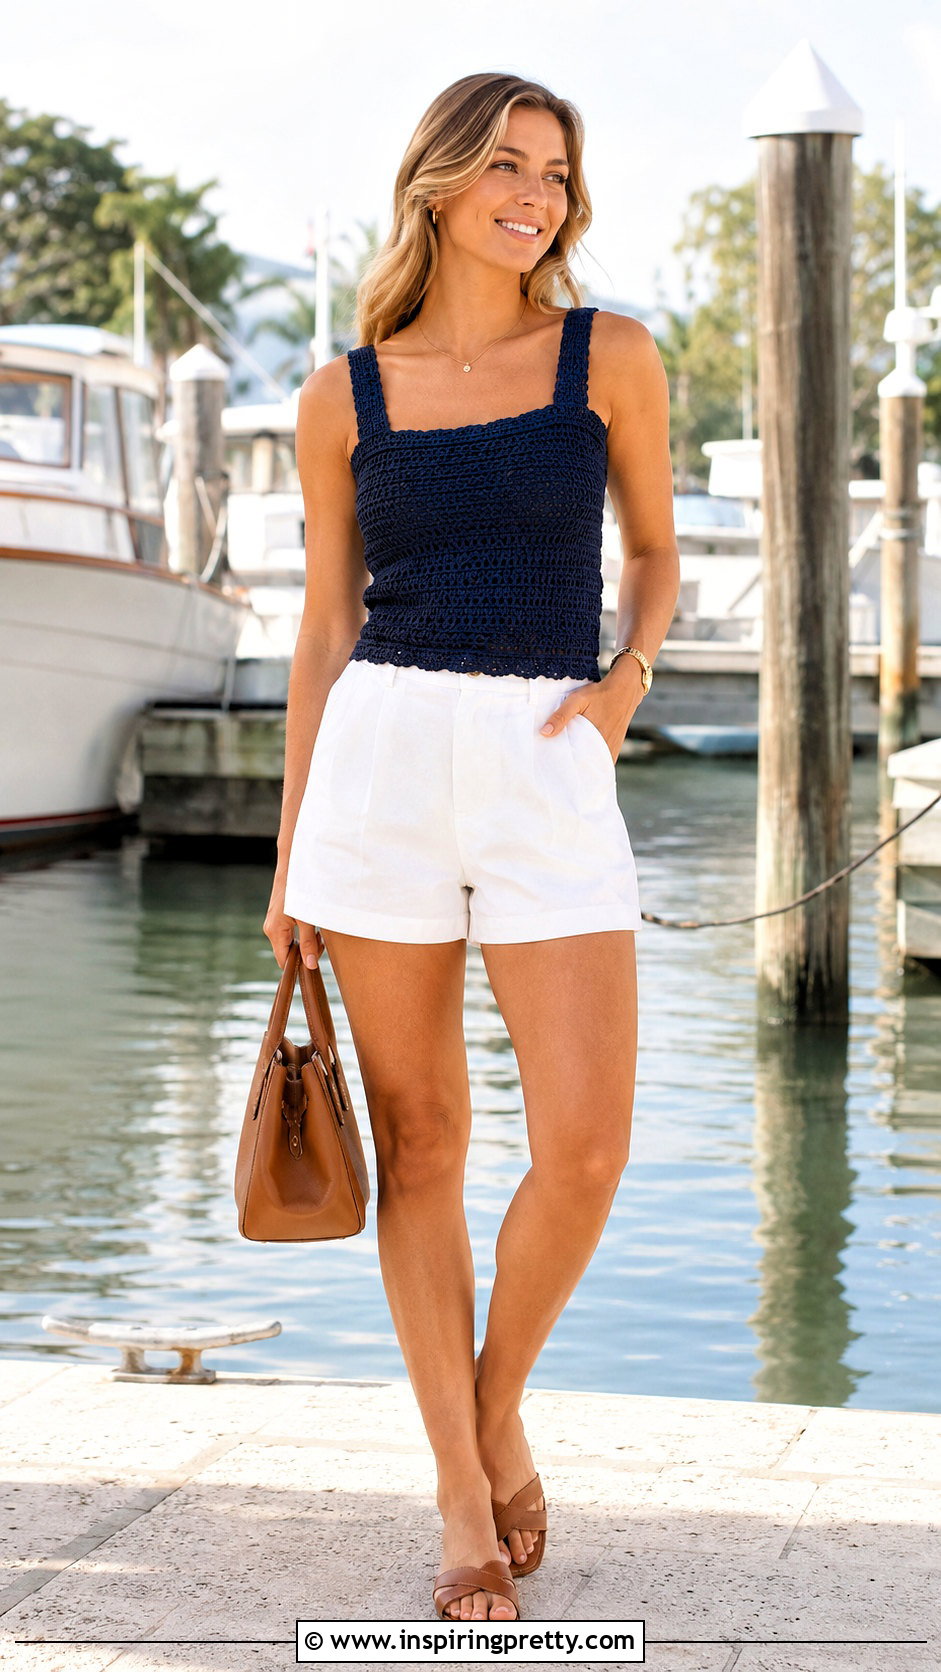
Wide straps provide more support and can comfortably cover standard undergarment straps. Begin by crocheting the front and back body panels to the underarm. Mark strap positions that sit naturally over the shoulders without pulling toward the neck. Join yarn at the first marked area and crochet a band of single crochet or half double crochet. Continue until it reaches the corresponding point on the back. Repeat for the second strap, counting carefully so both have equal width and length. Try on the cami before permanently seaming the straps because crochet fabric may relax with wear. Add a border around the armholes and neckline after assembly. This continuous edging smooths the corners and helps the wide straps look integrated with the body instead of appearing attached as separate pieces.
18. Peplum Crochet Cami Top
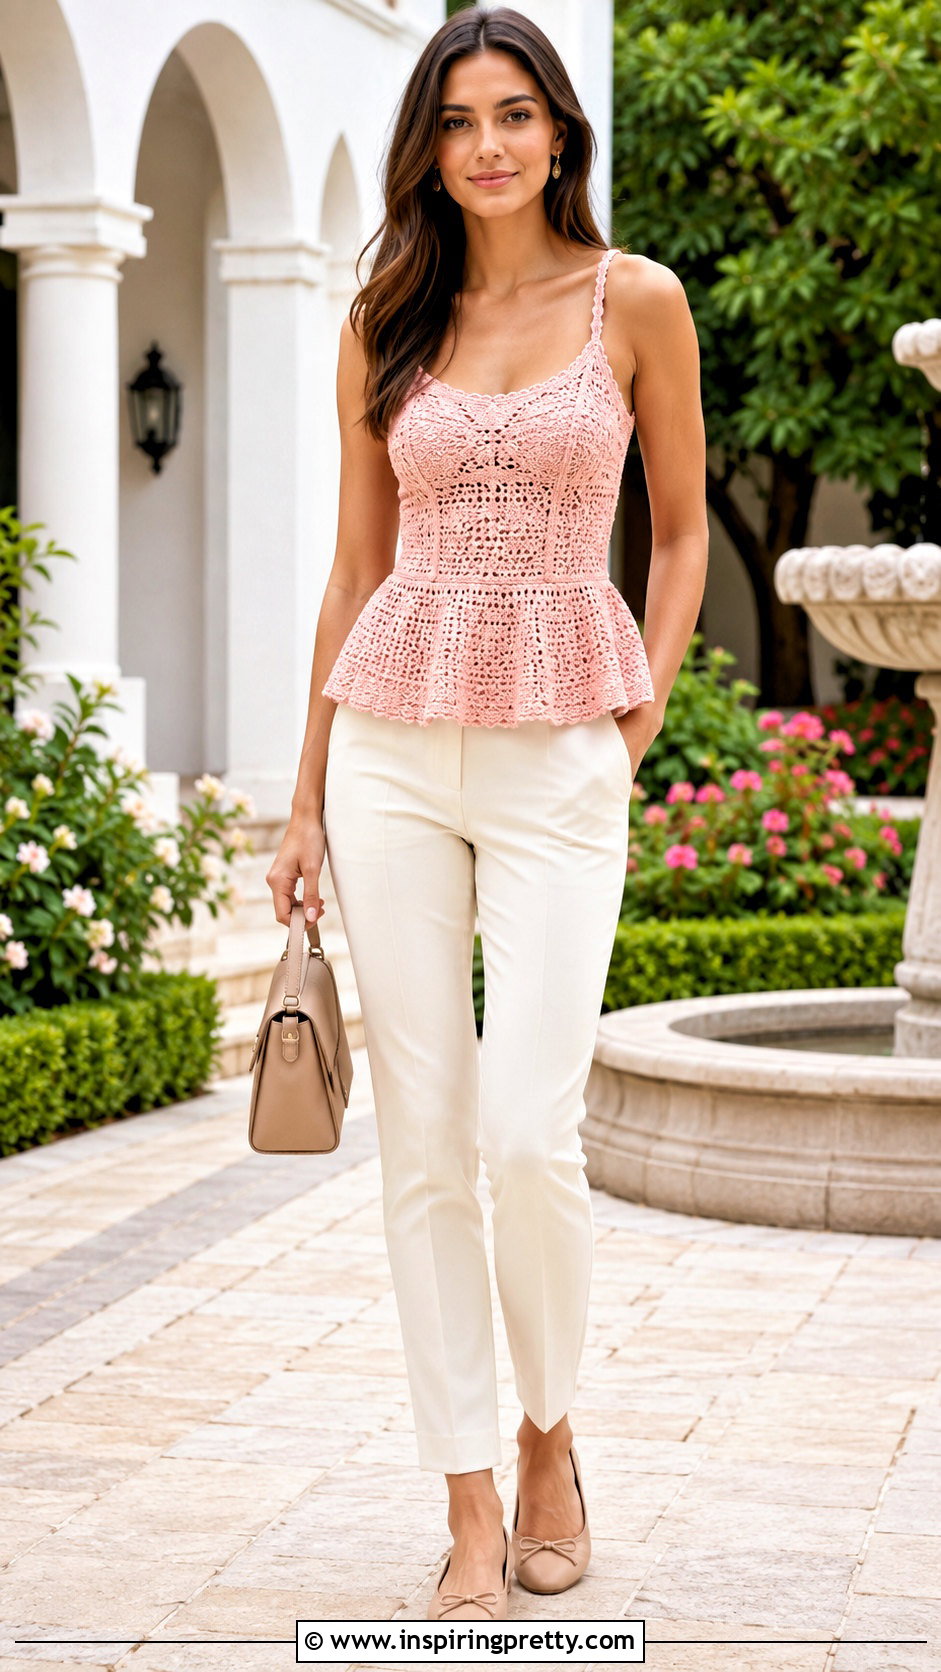
A peplum cami pairs a fitted upper section with a softly flared lower edge. Crochet the bodice first using two panels or a seamless tube. Stop near the natural waist and confirm that the upper section fits comfortably. Begin the peplum by increasing evenly across the next row or round. A gentle flare may require only occasional increases, while a fuller ruffle needs more frequent additions. Continue in a simple stitch or use a light shell pattern for extra movement. Keep checking the length so the peplum ends at a flattering point. Add straps and finish the neckline after completing the lower section. Blocking is especially helpful because it encourages the flared fabric to fall evenly. Lay the top flat and arrange the peplum without stretching the fitted bodice.
19. Striped Crochet Cami Top
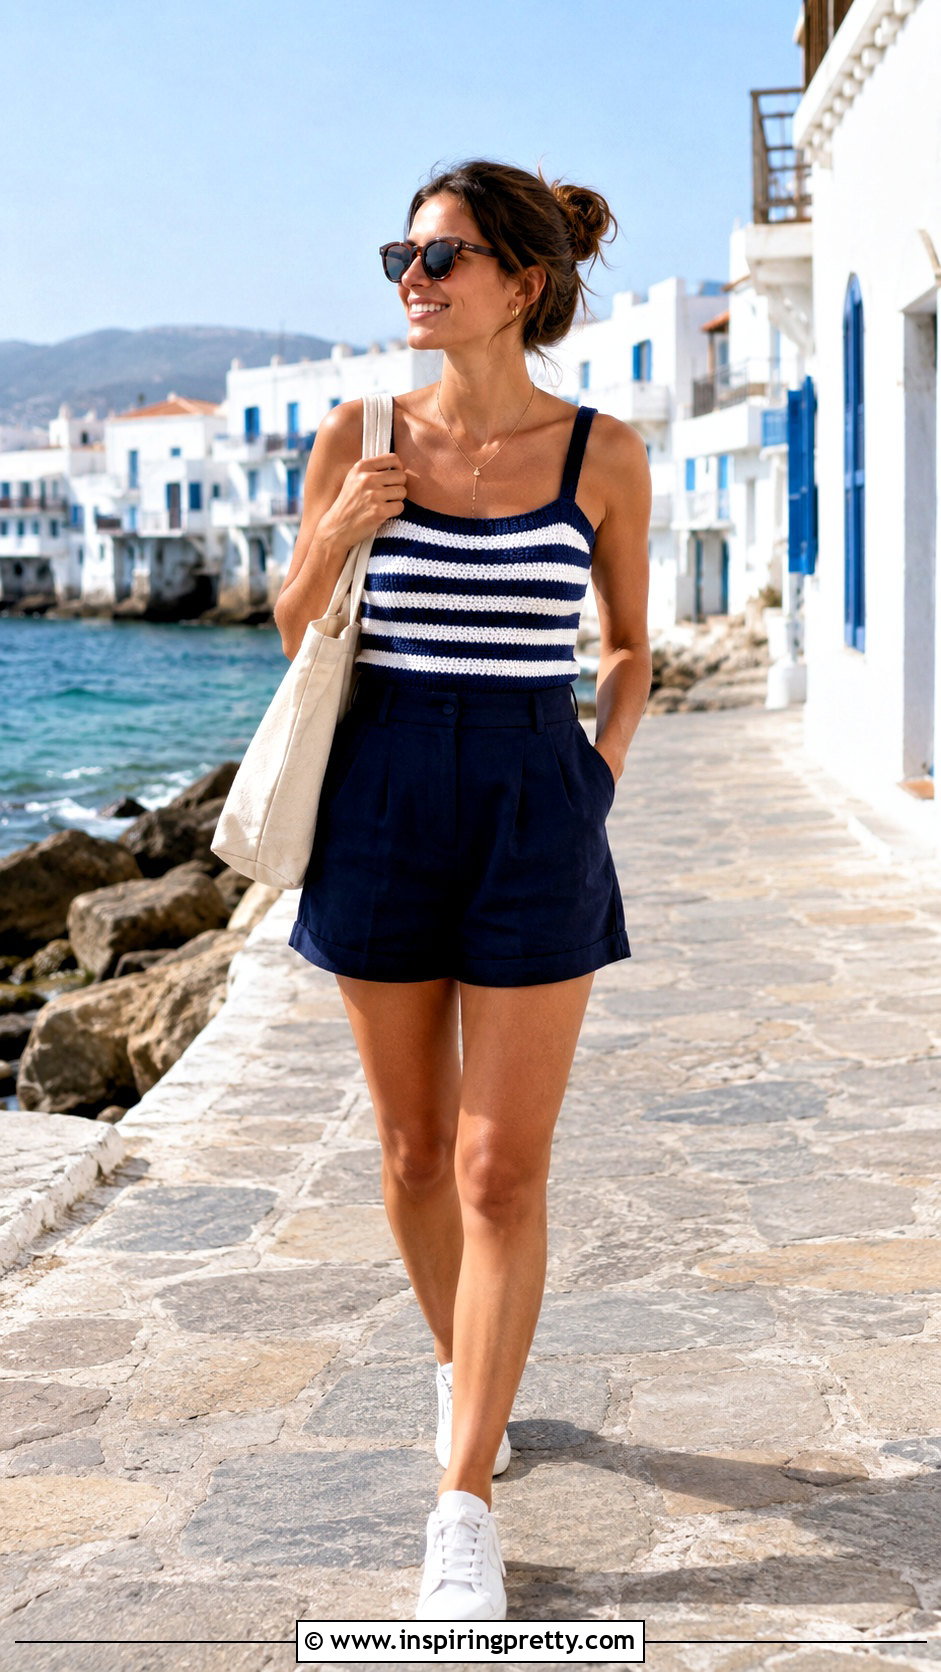
Stripes provide an easy way to personalize a simple cami pattern. Choose two or more yarns with matching fiber content, weight, and care instructions. Plan the stripe sequence before crocheting so the color changes occur at consistent intervals. For a seamless body, change colors at the start of the round and keep the join near a side or center-back marker. Carry yarn along the edge only when the floats remain short and hidden. Otherwise, cut the yarn and weave in the ends securely. Narrow stripes create lively detail, while wider blocks produce a cleaner graphic effect. Keep the neckline and straps in one solid color to frame the design. Check your gauge after changing yarns because small differences in thickness can affect the width and drape of the cami.
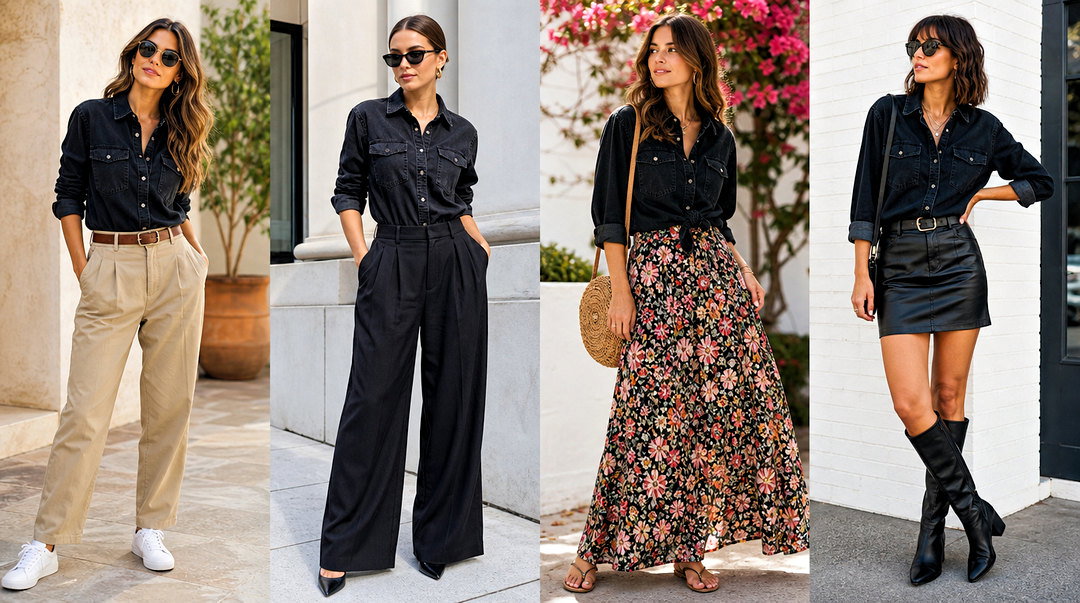
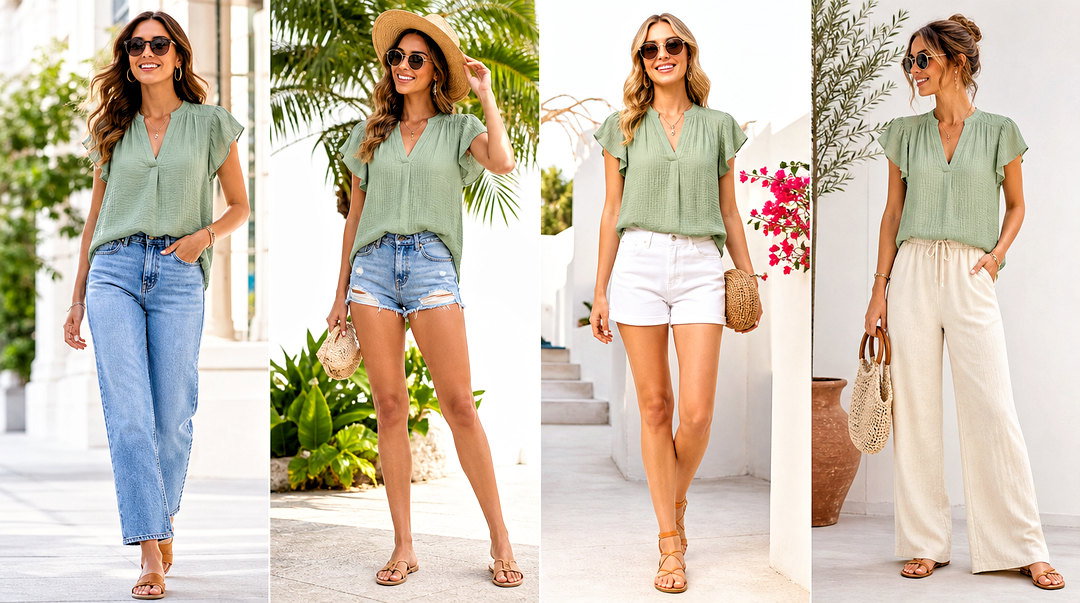
20. Full Length Crochet Cami Top
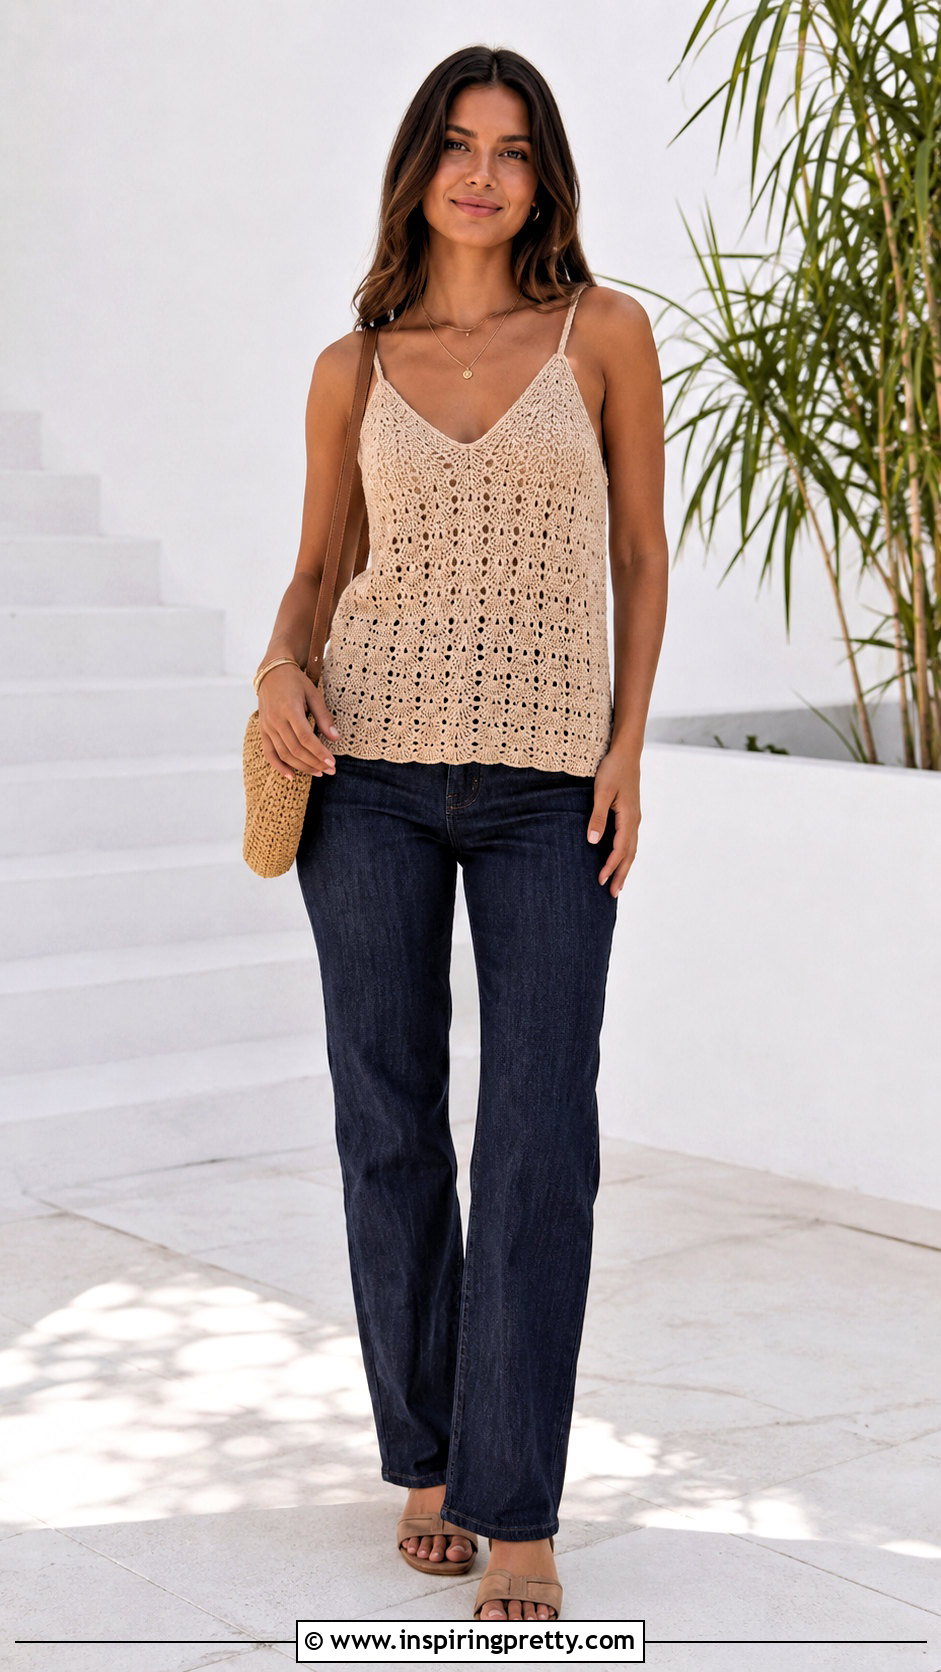
A full-length cami follows the same basic construction as a cropped version but requires more attention to waist and hip shaping. Start with a measured bust section, then continue crocheting below the natural waist. If the top needs to widen over the hips, add evenly spaced increases along the sides. Try it on regularly or compare it with a well-fitting camisole. Stop at the desired point, remembering that some yarns may lengthen after washing. A dense hem border can reduce stretching and give the lower edge more weight. Add straps only after the body length is complete, since the garment’s weight may affect their fit. Wash and block the finished cami according to the yarn label, then make any final strap adjustments before weaving in the remaining ends.
Conclusion:
Understanding how to crochet a cami top begins with choosing a construction method that matches your skill level and preferred fit. Beginners can start with a rectangle, two-panel, or moss stitch design. More experienced crocheters may enjoy shaped cups, lace-up backs, shell stitches, or fitted waist shaping. Whichever method you choose, accurate measurements and a washed gauge swatch will make the greatest difference. Try the garment on throughout the project rather than waiting until every seam is finished. Reinforce straps, borders, closures, and other high-tension areas carefully. Most importantly, treat each method as a flexible starting point. You can change the yarn, length, neckline, straps, and colors to create a comfortable cami that reflects your personal taste.
Related posts:


Leave a Reply