
Learning How To Tie Triangle Top Bikinis (50 Ways) can turn one adjustable swimsuit into a surprisingly versatile collection. A classic string top can create halter, cross-neck, bandeau, scoop, wrap, one-shoulder, and bralette-inspired shapes when the cups slide freely and the ties are long enough. () Before experimenting, loosen every string, untangle the straps, and position the cups while looking in a mirror. Use secure double knots or firm bows, but never tighten them enough to cause pressure or neck pain. Check coverage by raising your arms, bending, and moving from side to side. Save lower-support arrangements for sunbathing or relaxed poolside wear. Below, you will find clear instructions for How To Tie Triangle Top Bikinis (50 Ways).

1. Classic Halter Triangle Bikini Tie
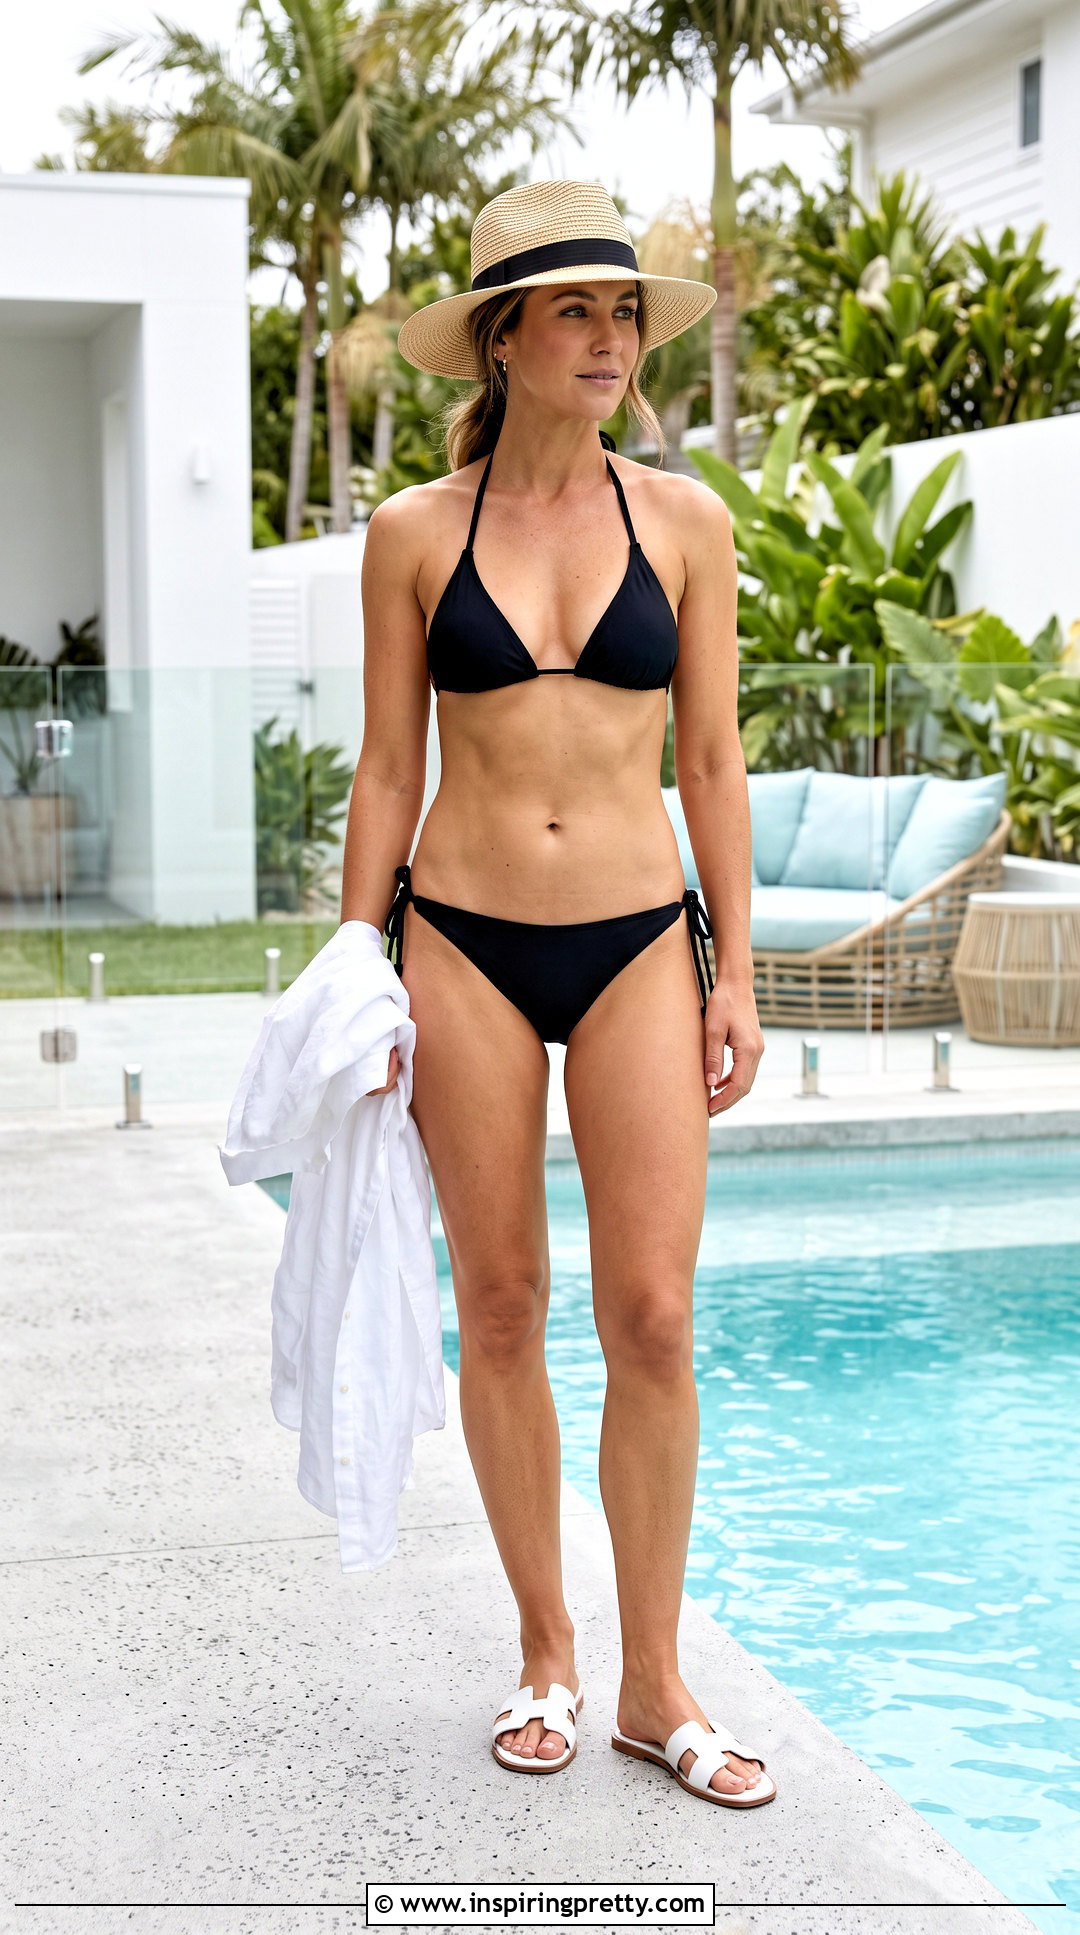
The classic halter is the best place to start because it shows how your bikini naturally fits. Slide the cups along the underbust string until they provide balanced coverage. Center the connecting string beneath your bust, then bring its ends around your torso and secure them behind your back. Lift the upper straps, run them behind your neck, and finish with a comfortable bow. Adjust the cups again after tying because the fabric may shift as tension changes. The underbust string should feel supportive without digging into your skin. Keep the neck bow slightly loose enough to prevent pulling. This dependable arrangement works well for casual swimming, beach walks, and layering beneath a loose button-down shirt or lightweight cover-up.
2. Criss-Cross Neck Triangle Bikini Tie
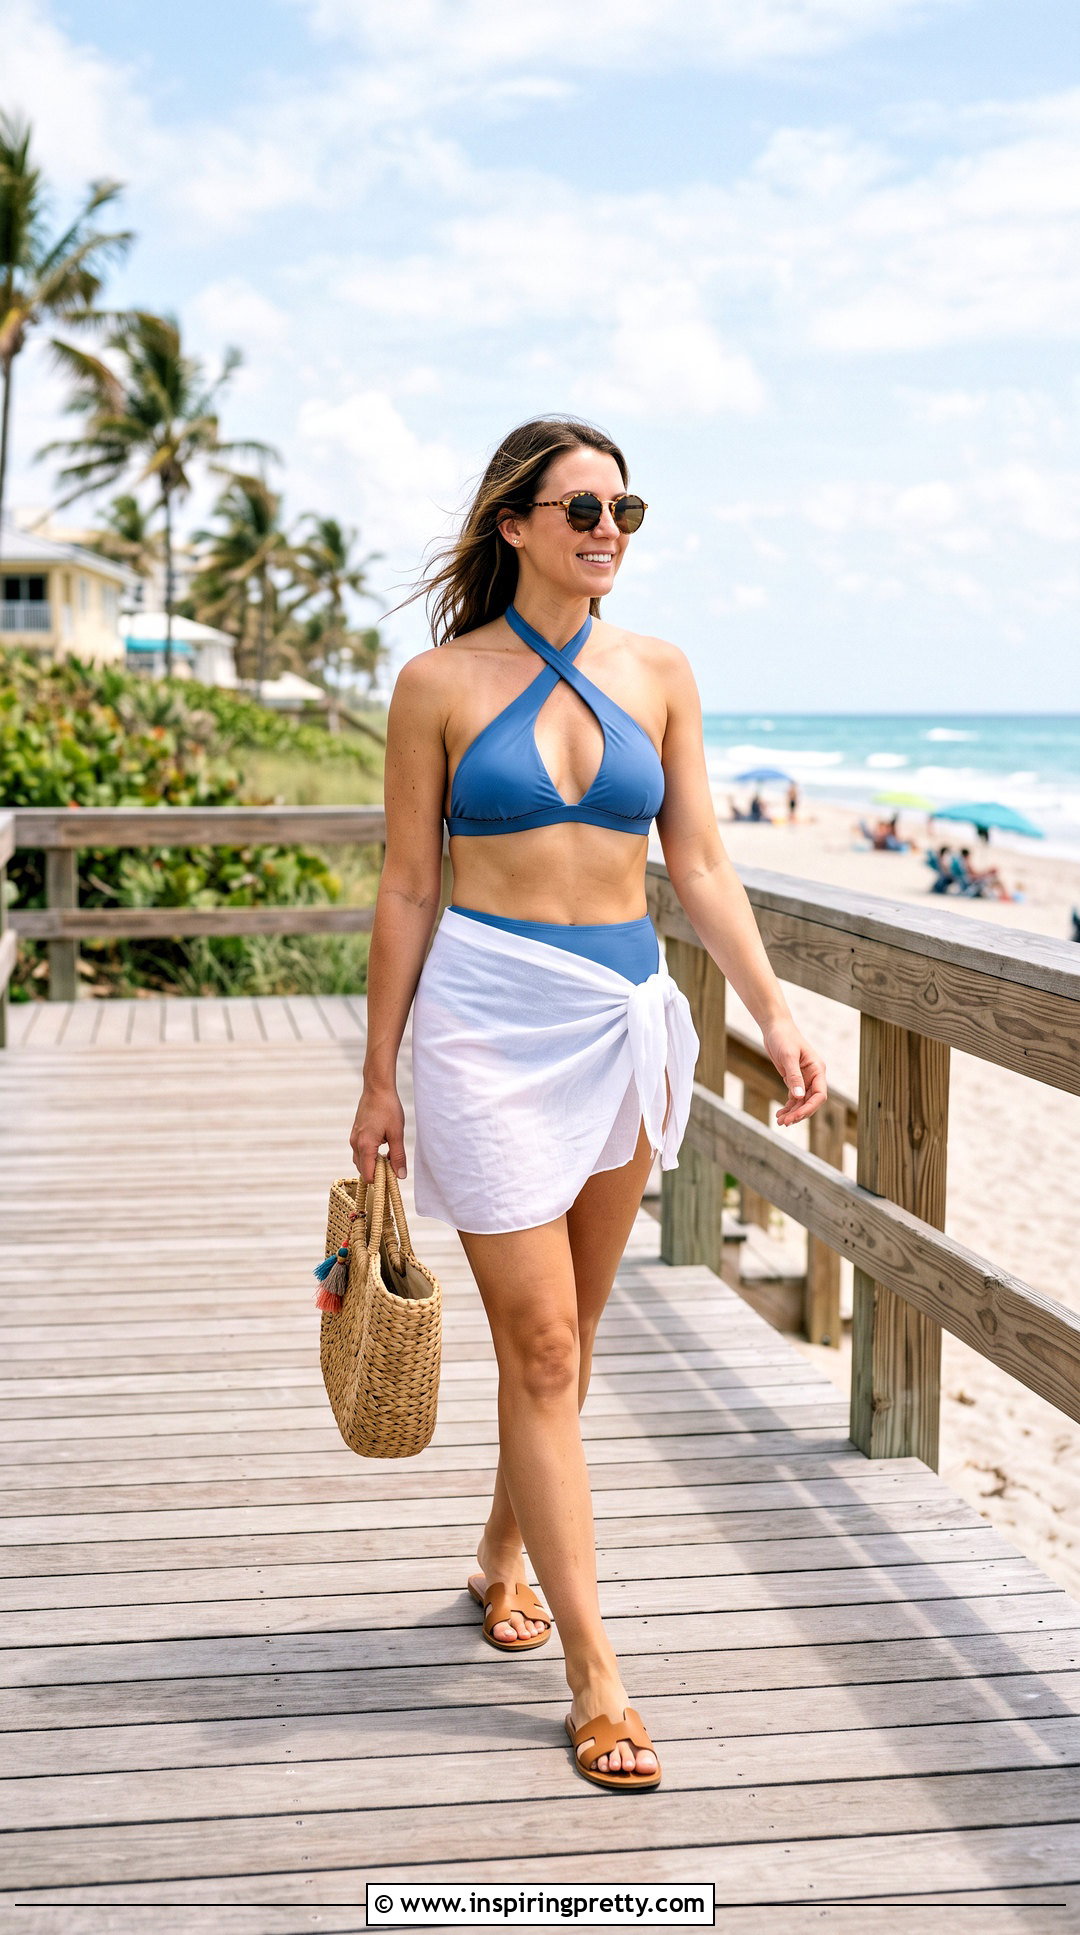
A simple cross at the neckline adds visual interest while keeping the familiar triangle shape. Begin with the cups upright and tie the lower string securely behind your back. Bring both upper straps toward the front of your neck instead of taking them directly backward. Cross the right strap over the left once, creating a clean X above the cups. Guide the ends around your neck and tie them at the back. Keep the crossover centered so the neckline looks balanced and the straps do not rub against the sides of your neck. This method can gently draw the cups inward, so recheck your coverage afterward. Pair the finished top with matching bottoms, a breezy sarong, flat sandals, and sunglasses for an easy beach outfit.
3. Front Cross Halter Bikini Tie
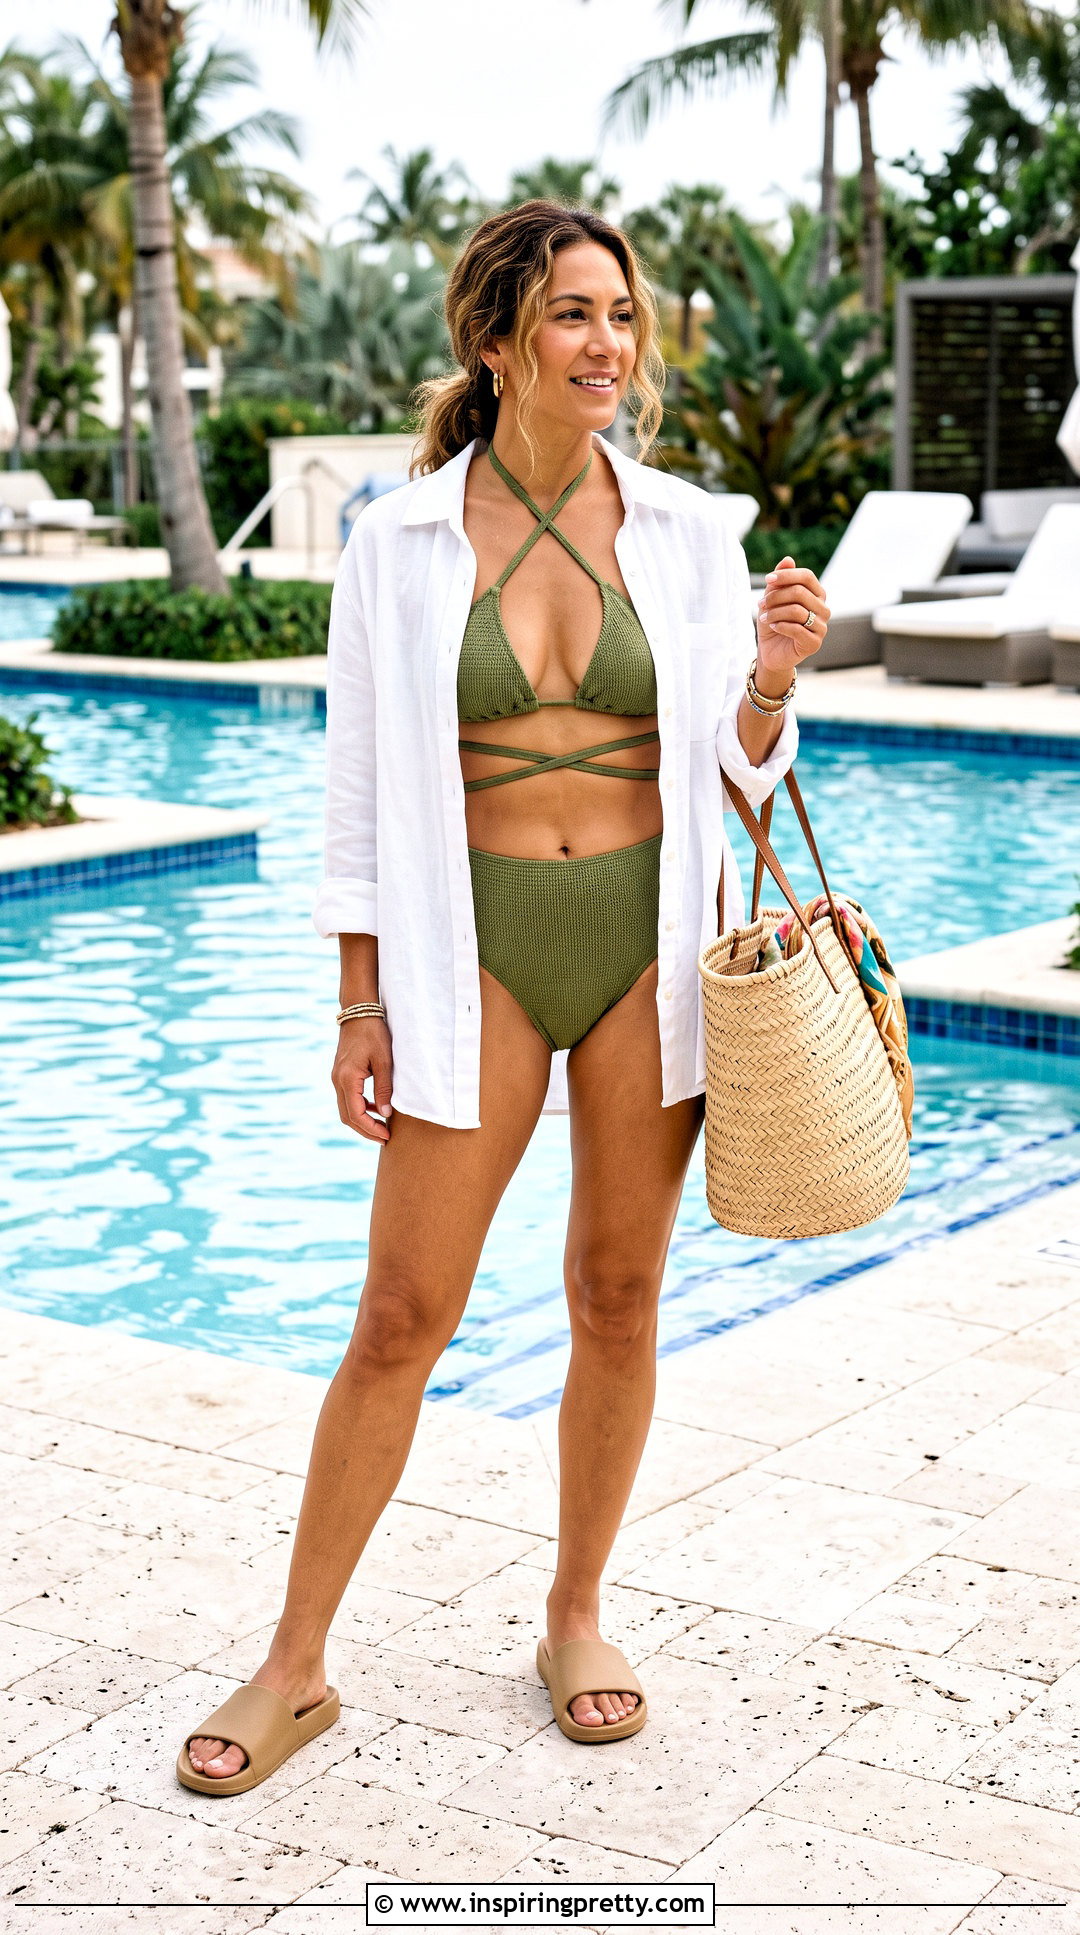
For a more noticeable crossed effect, place the intersection lower on your chest. Secure the underbust strings behind your back as you would for the traditional halter. Pull the upper straps downward and cross them between the cups. Take each strap under the opposite side of the bust, then guide both ends upward around your neck. Tie a double knot or compact bow behind the neck. The resulting lines should frame the cups without pressing into the bust. If the straps slip, tighten the center cross slightly rather than pulling hard at the neck. This arrangement usually works best with long, soft strings and sliding cups. Complete the look with high-rise bikini bottoms, a lightweight linen shirt, and water-friendly slides.
4. Double Cross Halter Bikini Tie
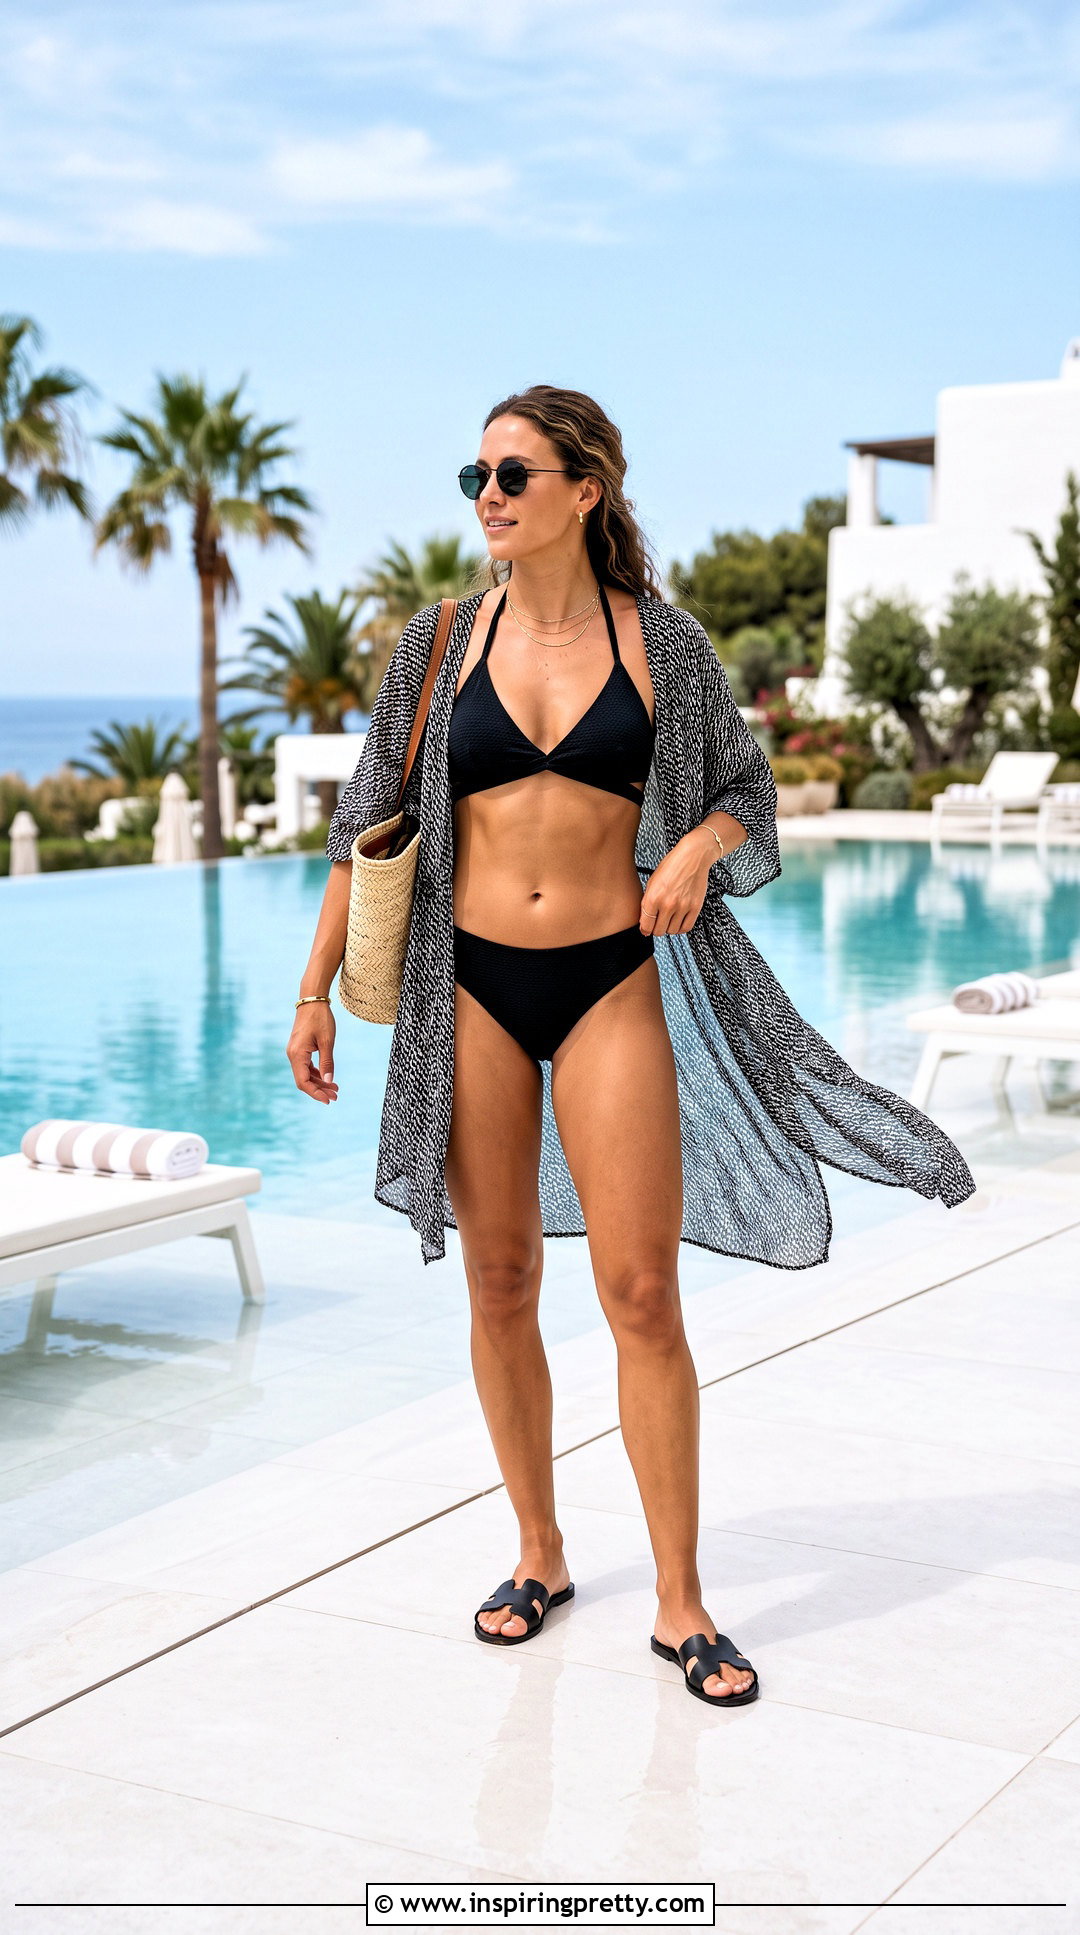
The double cross halter creates a decorative center while using the bikini’s original upright position. First, distribute the cup fabric evenly and fasten the bottom string behind your torso. Bring the neck straps down between the cups and cross them once. Wrap them around each other a second time to form a short twisted section. Pull the ends upward, place them comfortably around your neck, and tie them behind it. Avoid making the twist too long because excessive tension can pull the cups toward the center. Smooth each strap so it lies flat against your skin. This tie is better for lounging and gentle walking than energetic water activities. Style it with simple bottoms, an oversized sun hat, and a relaxed beach cover-up.
5. Choker Halter Triangle Bikini Tie
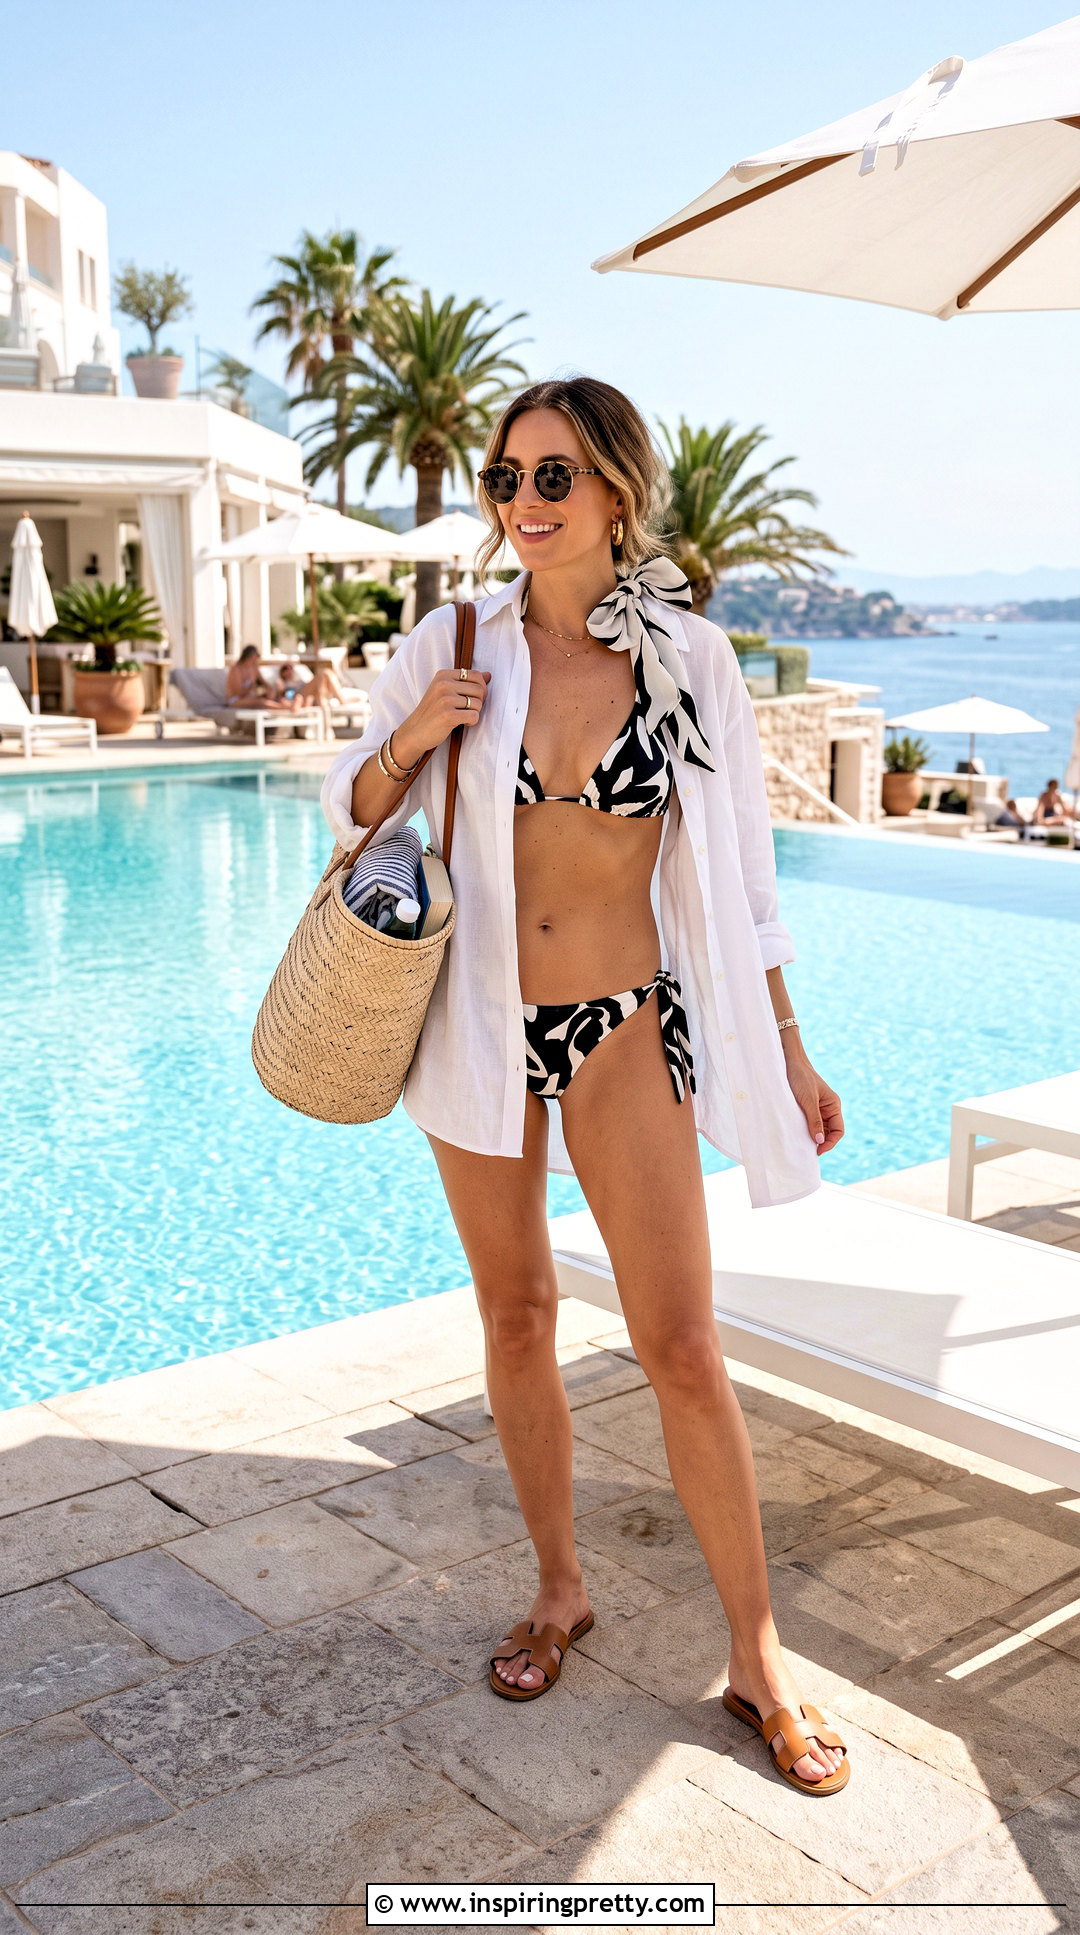
The choker halter gives a standard triangle top a higher, fashion-focused neckline. Put the bikini on normally and secure the underbust strings behind your back. Take the upper straps around your neck, cross them at the back, and bring the remaining length forward. Wrap each end loosely around the base of your neck once, keeping the strings flat and comfortable. Tie a small bow at the side or center front. The choker portion must remain loose enough for easy breathing and unrestricted movement. Skip this method if the strings are short, stiff, or uncomfortable. It is primarily a relaxed poolside option rather than a performance tie. Add coordinated bottoms, a sheer overshirt, flat sandals, and a woven tote for a polished resort look.
6. Upside-Down Scoop Neck Bikini Tie

Turning the top upside down changes the pointed triangle neckline into a rounded scoop. Rotate the bikini so the wide gathered edges face upward and the original triangle tips point toward the floor. Place the former underbust string around your neck, then position the cups over your bust. Take the original neck straps around your torso and tie them securely behind your back. Slide and gather the fabric until both sides appear even. This arrangement can create different coverage from the classic shape, so check the inner and outer cup edges carefully. A supportive fit matters more than achieving a dramatic scoop. Wear this variation with high-waisted bottoms, a cotton cover-up skirt, simple hoop earrings, and clean white slides for a contemporary poolside outfit.
7. Scoop Cross Neck Bikini Tie
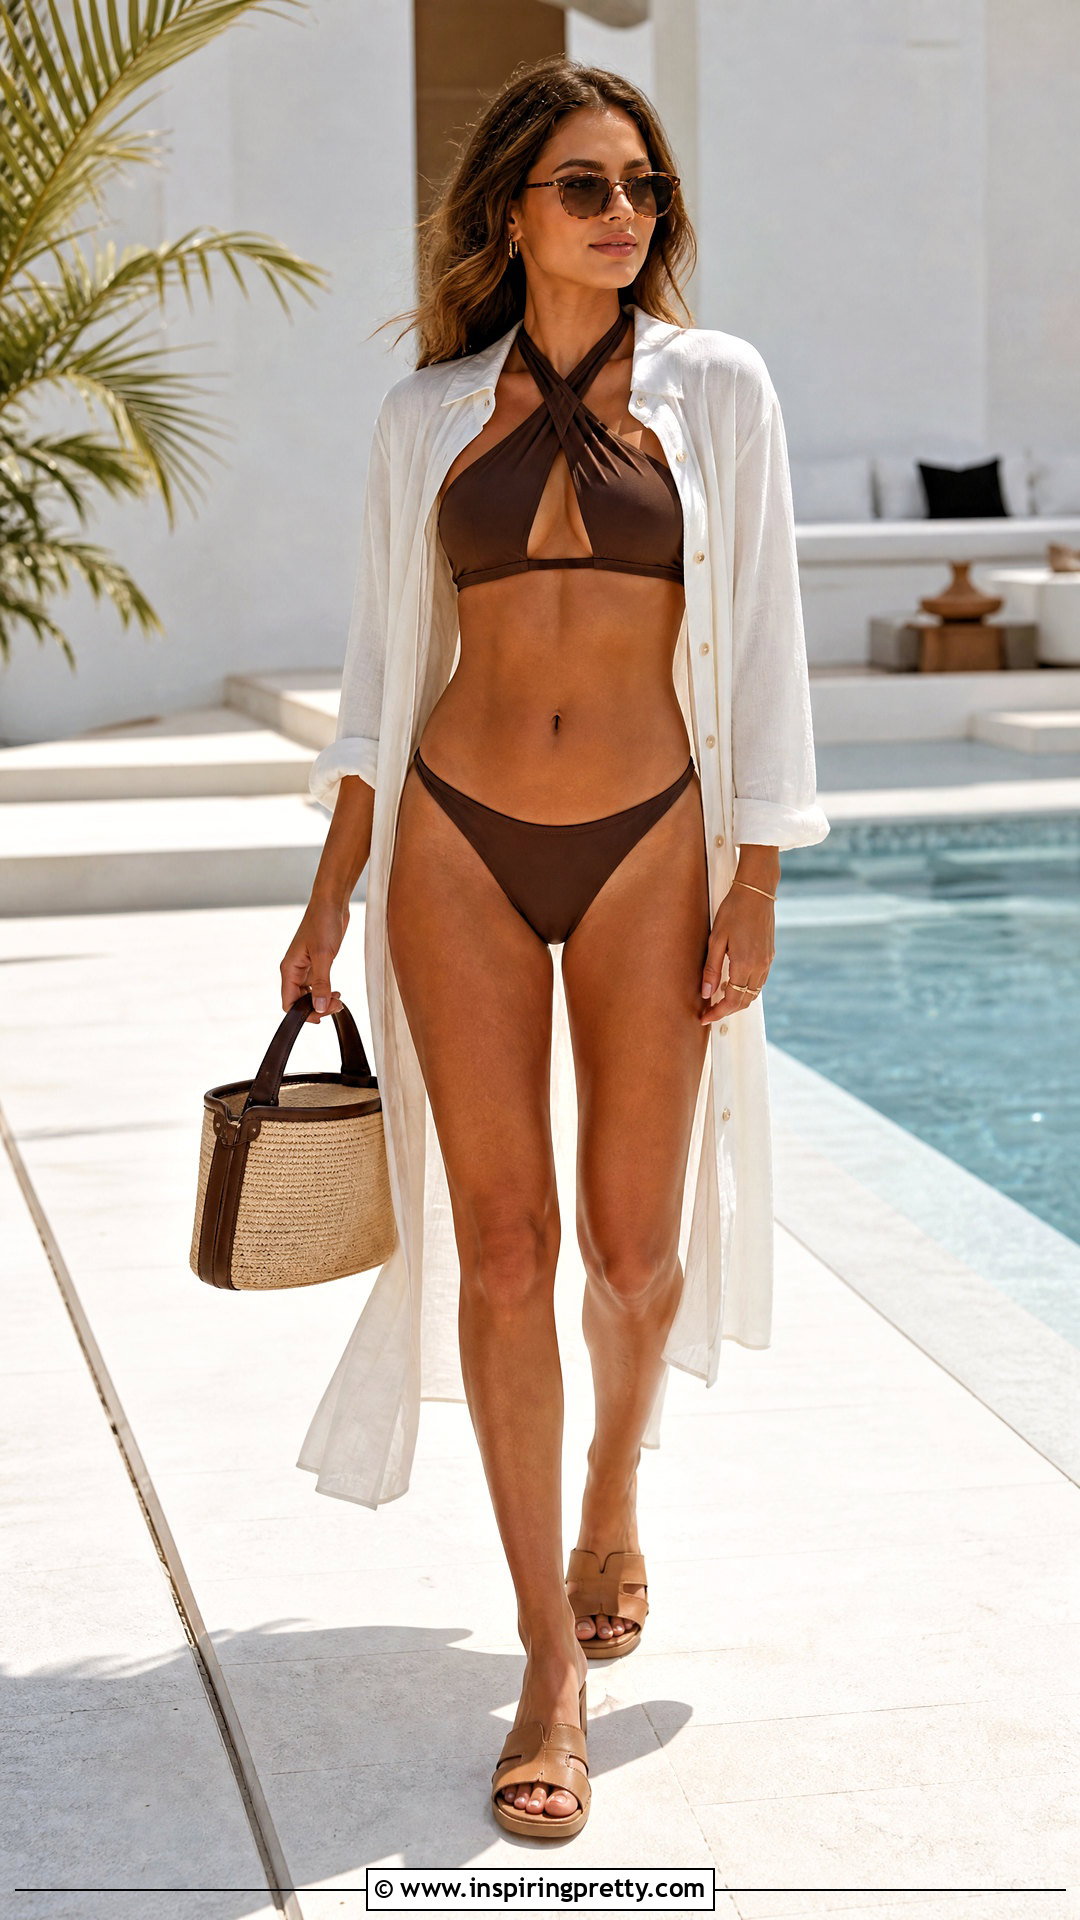
A scoop cross neck combines the curved inverted shape with a defined X above the bust. Flip the top upside down and place the original underbust cord along the upper edges of the cups. Bring both ends toward your neckline and cross them once before wrapping them behind your neck. Secure the original neck strings around your back to create the new lower band. Adjust the cups slowly because tightening the upper cross can change their position. The X should sit flat and centered rather than twisting against your skin. Use a firm bow behind the neck and test the fit by lifting both arms. This stylish arrangement suits relaxed beach days. Finish it with matching bottoms, a long open shirt, minimalist sandals, and a structured straw bag.
8. Inverted Halter Triangle Bikini Tie
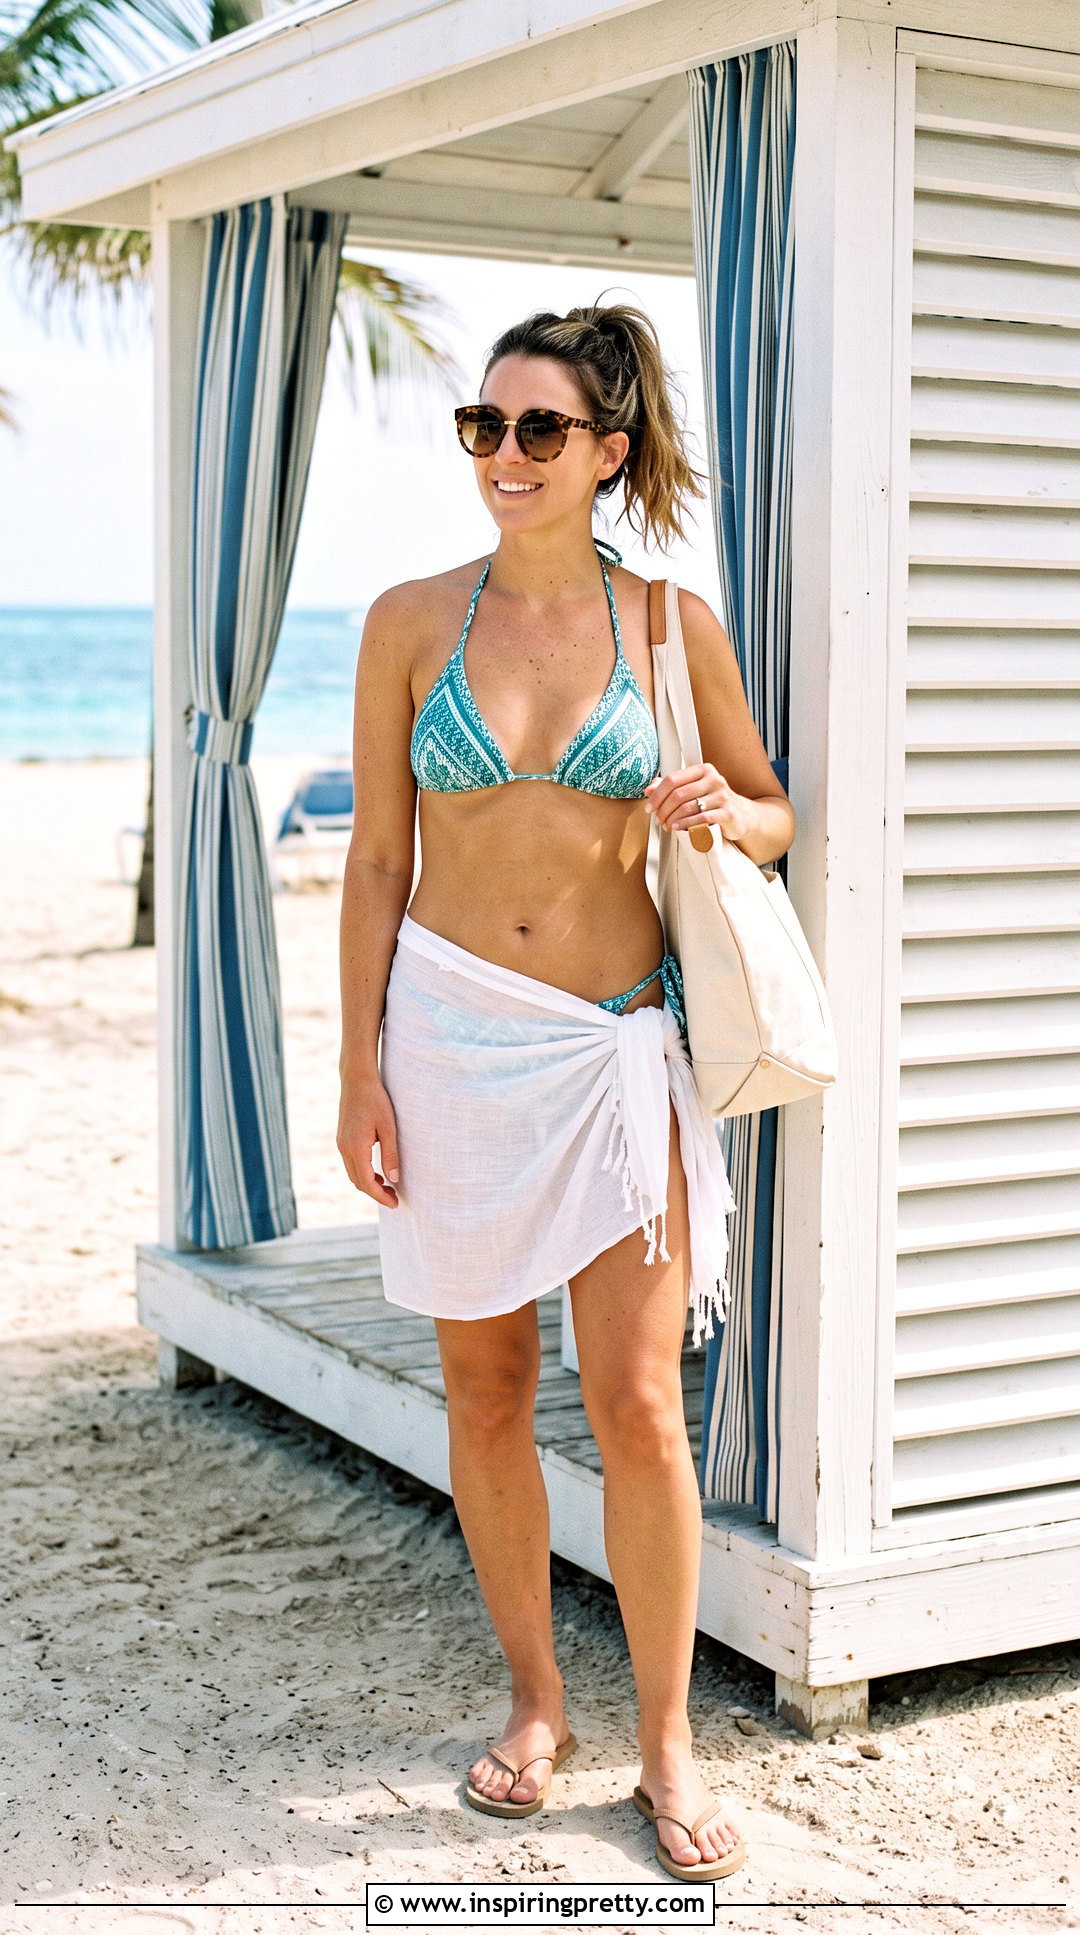
The inverted halter emphasizes the wider edge of each cup along the neckline. Turn the top upside down, but leave a small amount of space between the cups instead of gathering them tightly. Bring the original bottom string behind your neck and secure it with a flat double knot or bow. Pull the original neck straps beneath the bust and tie them around your back. Keep both downward-facing triangle points centered so the result looks intentional. Because this position redistributes coverage, carefully inspect the sides and center before moving around. The tie should support the fabric without cutting into your neck. Combine this bikini arrangement with low-rise bottoms, a lightweight wrap skirt, neutral flip-flops, and a canvas beach bag for an uncomplicated warm-weather look.
9. Inverted Front Bow Bikini Tie
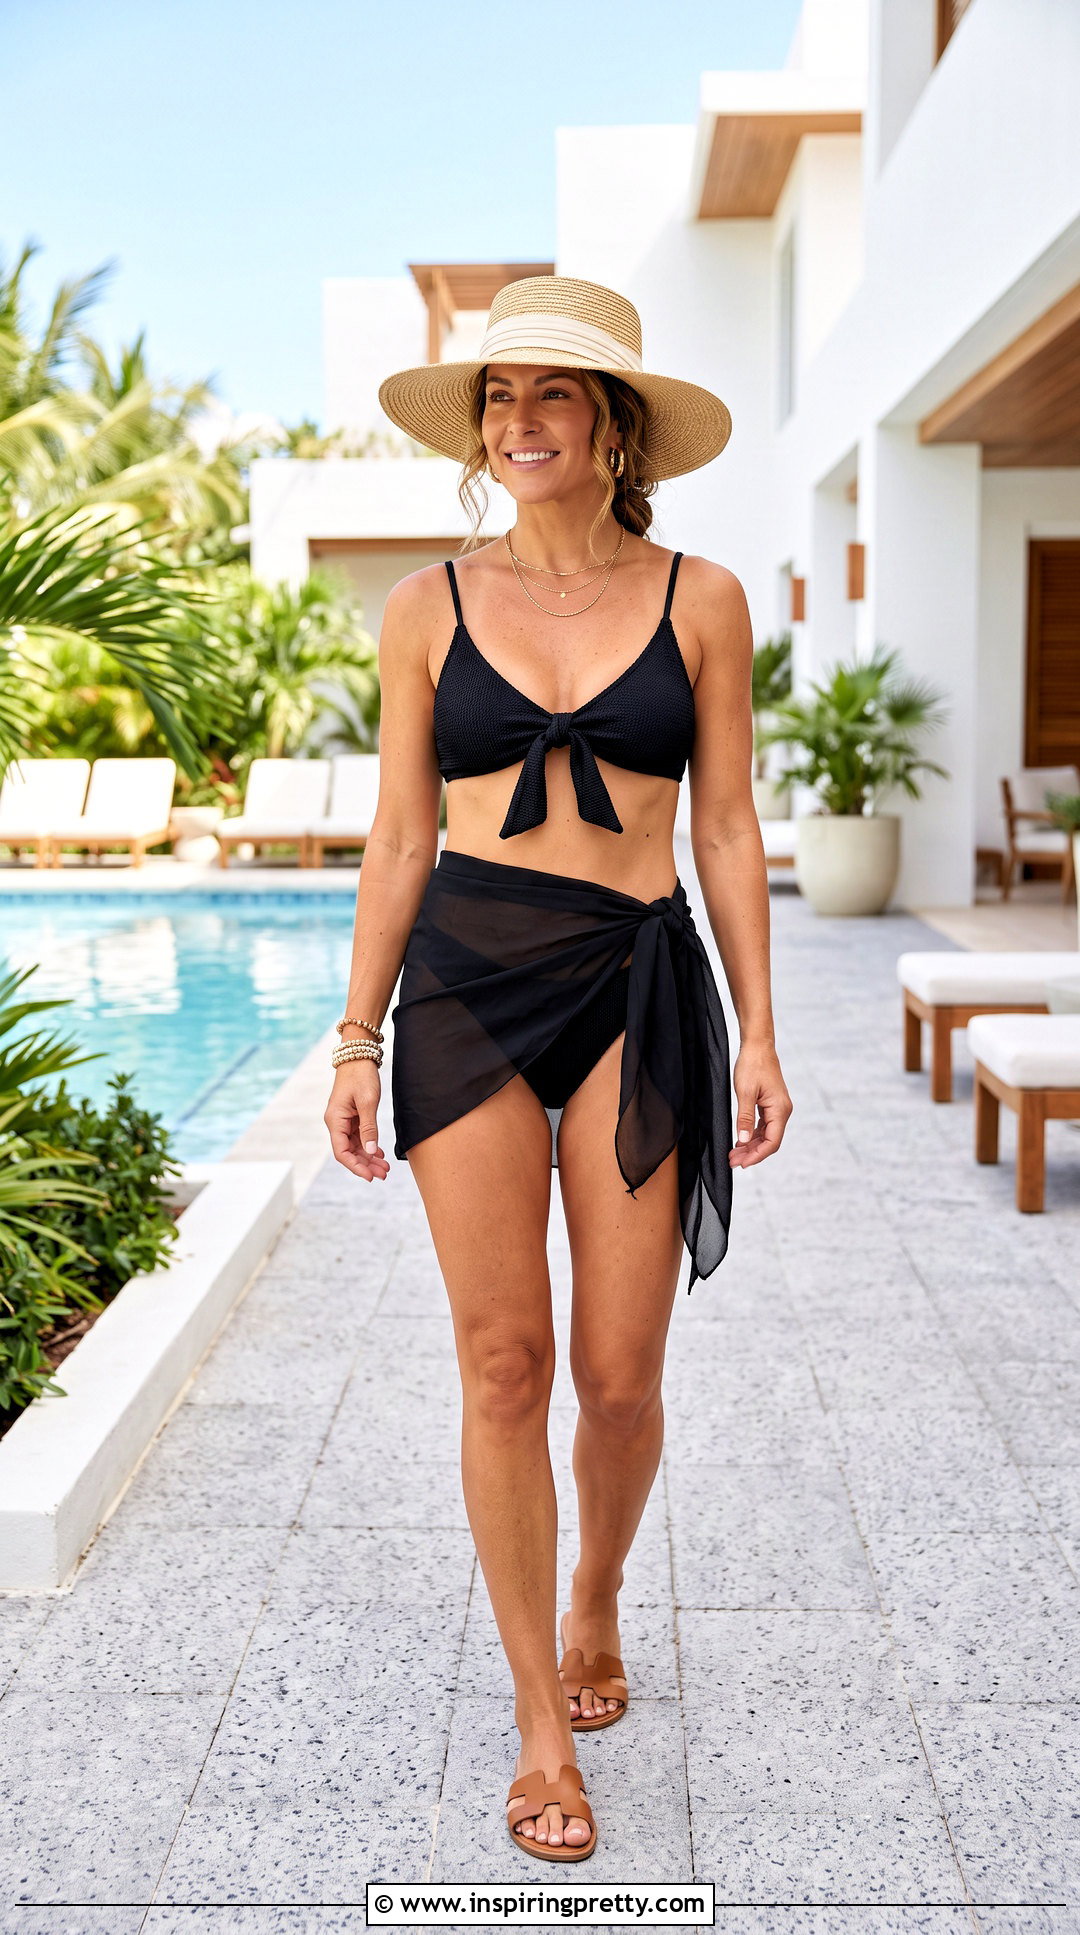
An inverted front bow places a playful focal point beneath the center of the bust. Rotate the triangle top upside down and take the original underbust string around your neck. Position the cups with their pointed ends facing downward. Instead of carrying the original neck straps directly behind your torso, bring them beneath the bust and tie them into a neat bow at the center front. Use a double knot before forming the bow if the fabric is slippery. Keep the loops compact so they do not interfere with movement. This method provides less anchoring at the back than some traditional arrangements, making it better for lounging. Pair it with high-leg bottoms, a sheer sarong, simple sandals, and a wide-brim hat for a coordinated poolside outfit.
10. Front Bow Bandeau Bikini Tie

The front bow bandeau removes the traditional neck straps while retaining a defined center. Turn the top upside down and slide the cups close together along the original underbust string. Wrap that string around your torso and tie it securely behind your back. Bring the remaining straps toward the center of your chest and tie them into a firm bow between the cups. Adjust the fabric so the triangle points face outward and the wider edges create the upper and lower lines of the bandeau. Check that the cups cannot slide apart before wearing it. Since this arrangement offers limited vertical support, reserve it for sunbathing or quiet poolside time. Complete the look with full-coverage bottoms, an airy kimono, a sun hat, and flat slides.
11. Back-Tie Bandeau Triangle Bikini
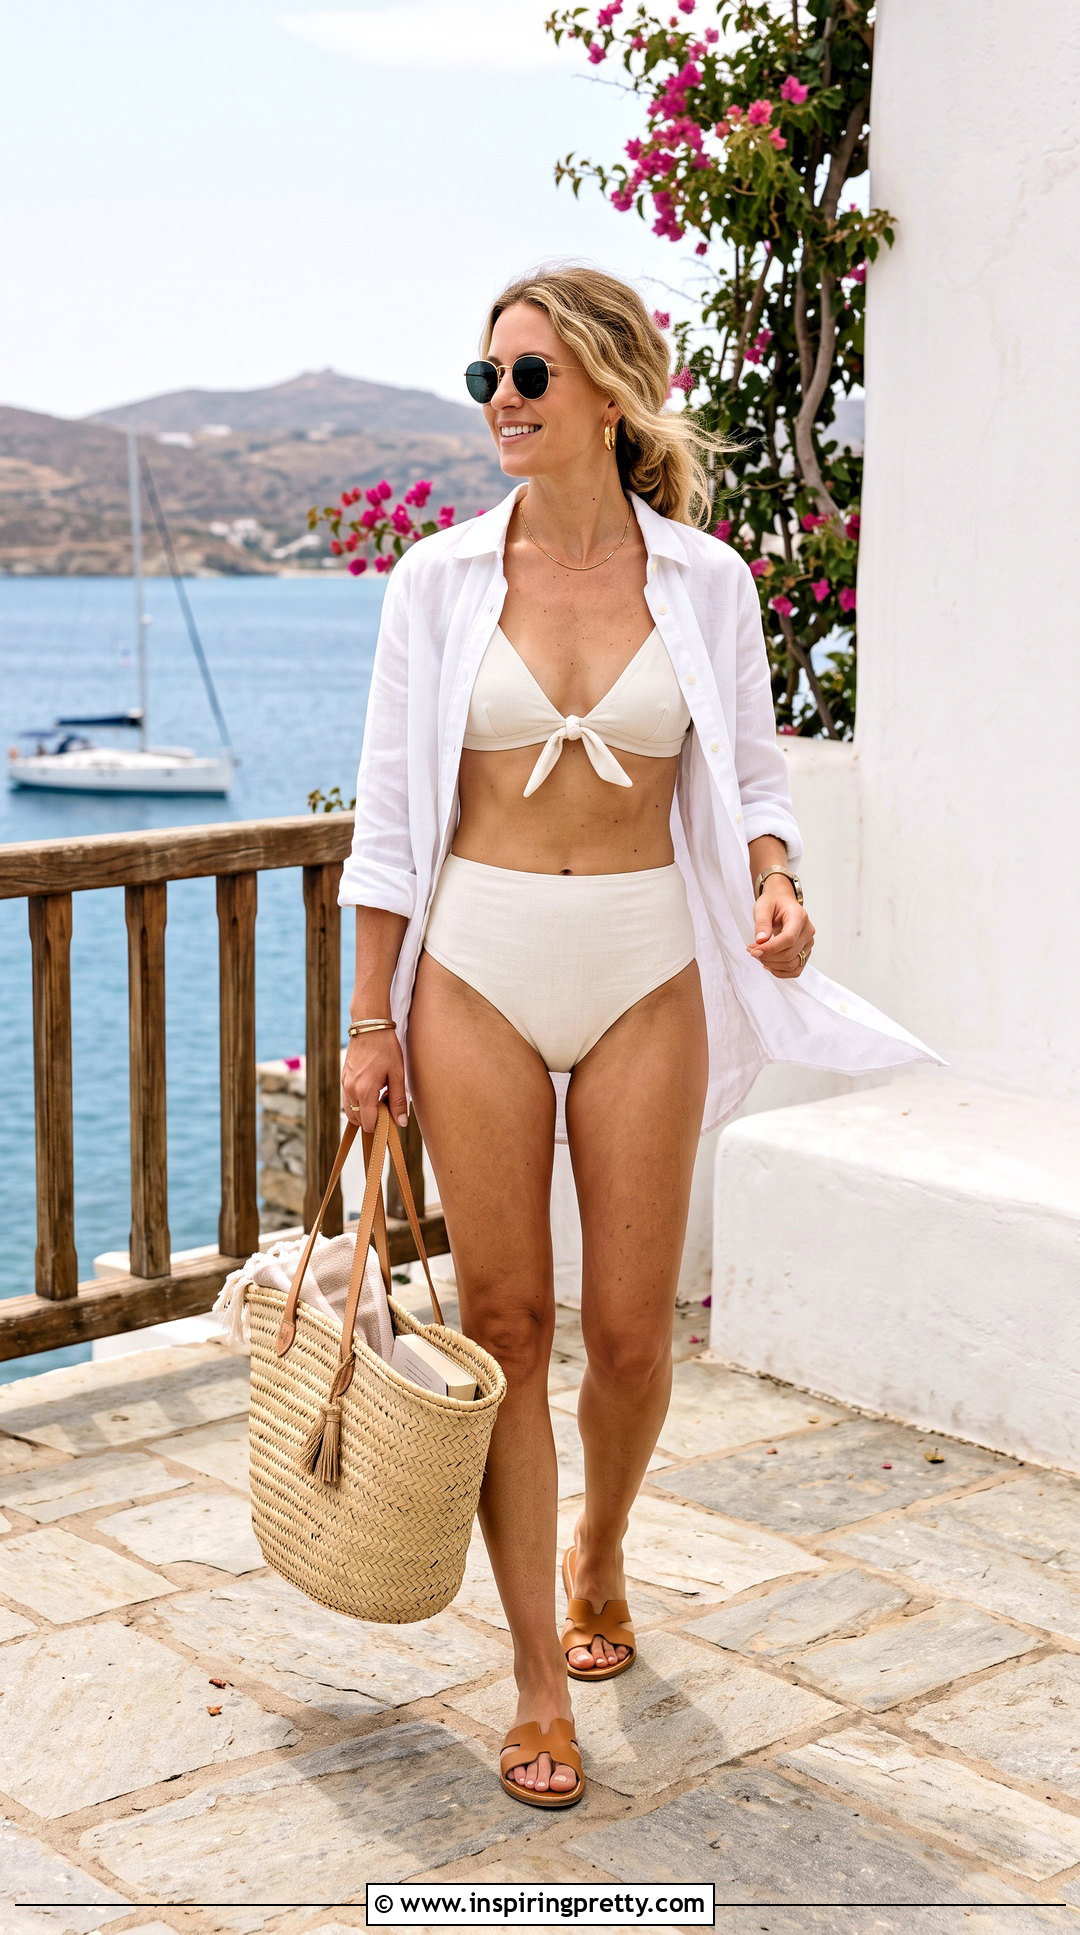
A back-tie bandeau creates a clean front without a visible center bow. Rotate the bikini top so the cups sit sideways, with their wide gathered edges meeting near the center. Join the two shorter ends between the cups using a secure square knot. Take the longer strings around your rib cage and fasten them behind your back. Spread the cup fabric outward until you achieve comfortable coverage across the bust. Keep the center knot small and smooth so it does not press into your skin. This arrangement requires sufficiently long strings and works best when the material has dependable stretch. It is a low-support option for lounging rather than active swimming. Wear it with high-waisted bottoms, an open linen shirt, sandals, and a roomy tote.
12. Keyhole Bandeau Bikini Tie
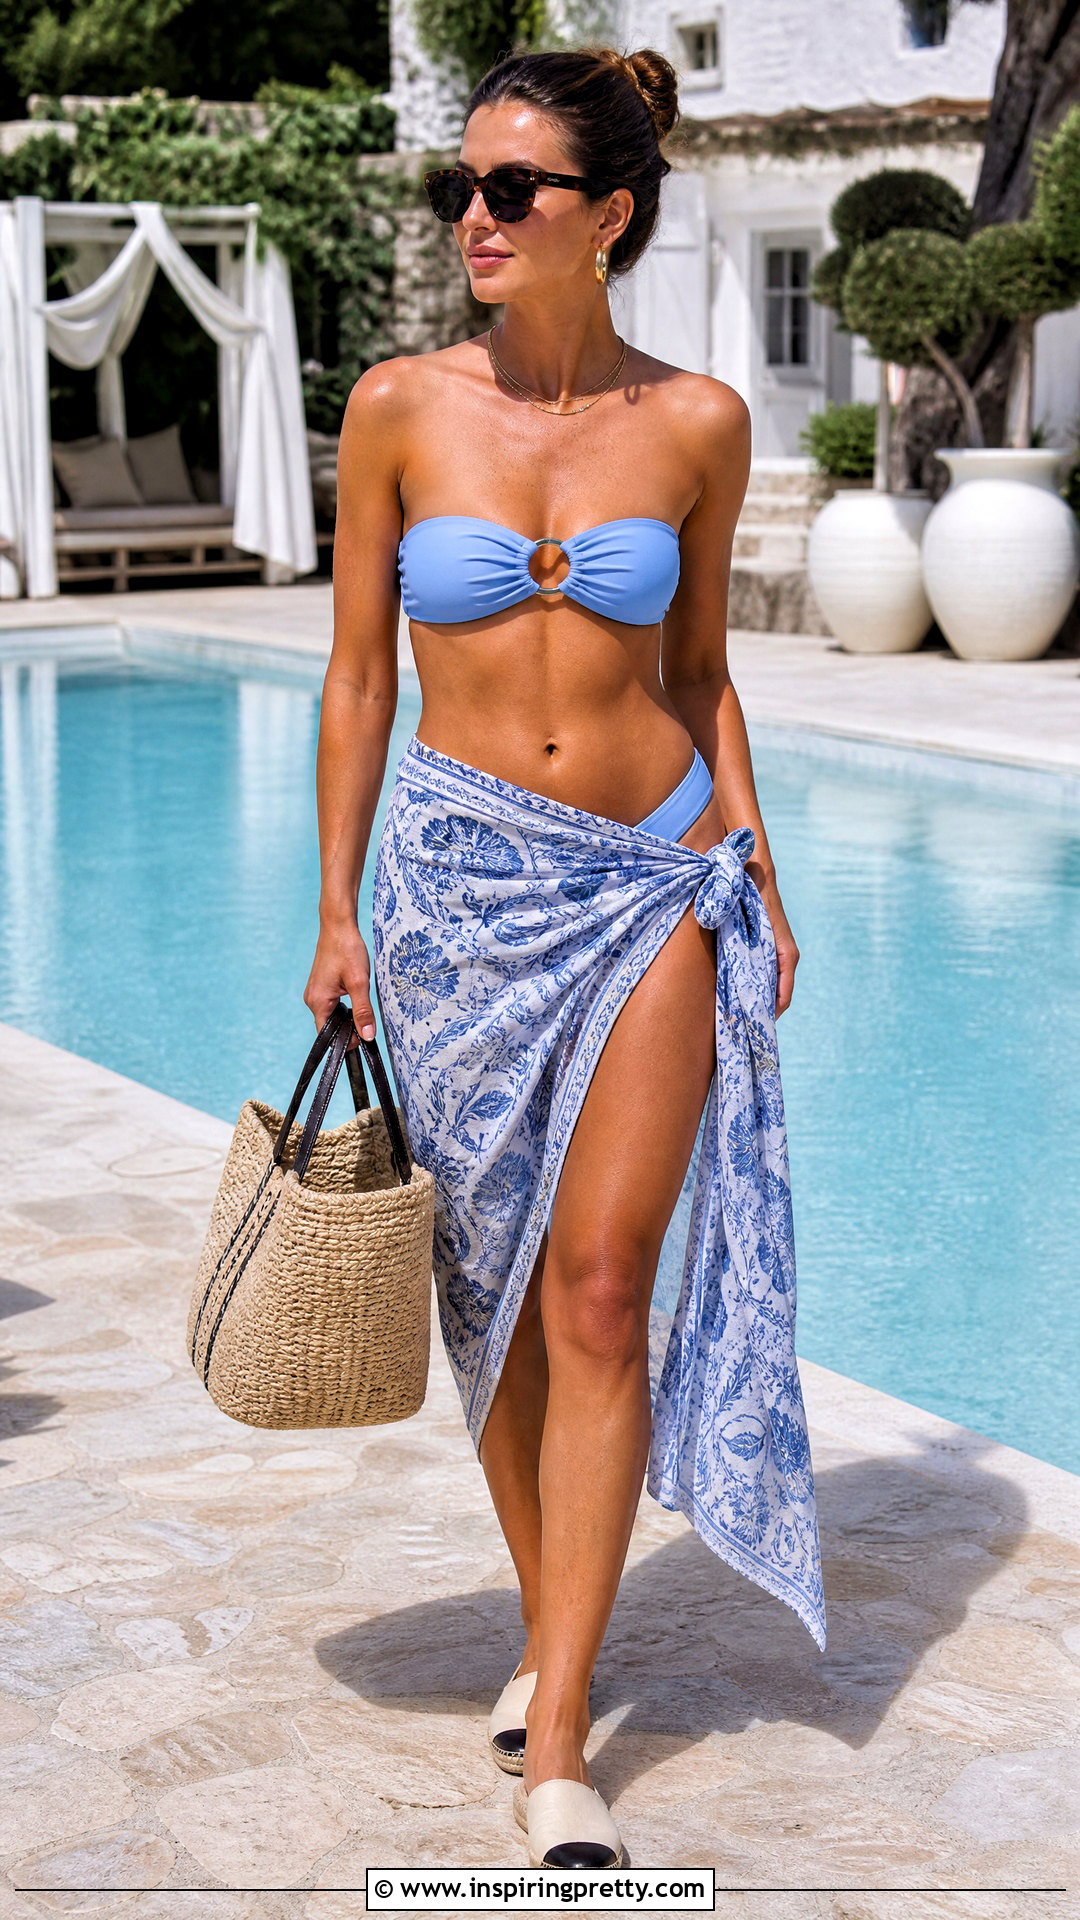
A small center opening gives the bandeau arrangement a distinctive keyhole effect. Flip the top upside down and place the cups sideways across your bust. Slide them together but leave a narrow gap in the center. Bring the shorter front straps around each other and tie a compact knot above or below that opening. Wrap the longer string around your torso and secure it firmly at the back. Adjust the gathers evenly so the keyhole remains centered and the outer cup edges provide enough coverage. The opening should be decorative without exposing more than you intended. Test the top while standing, sitting, and raising your arms. Pair this relaxed tie with matching bottoms, a lightweight sarong, flat espadrilles, and oversized sunglasses.
13. Bandeau Halter Triangle Bikini Tie
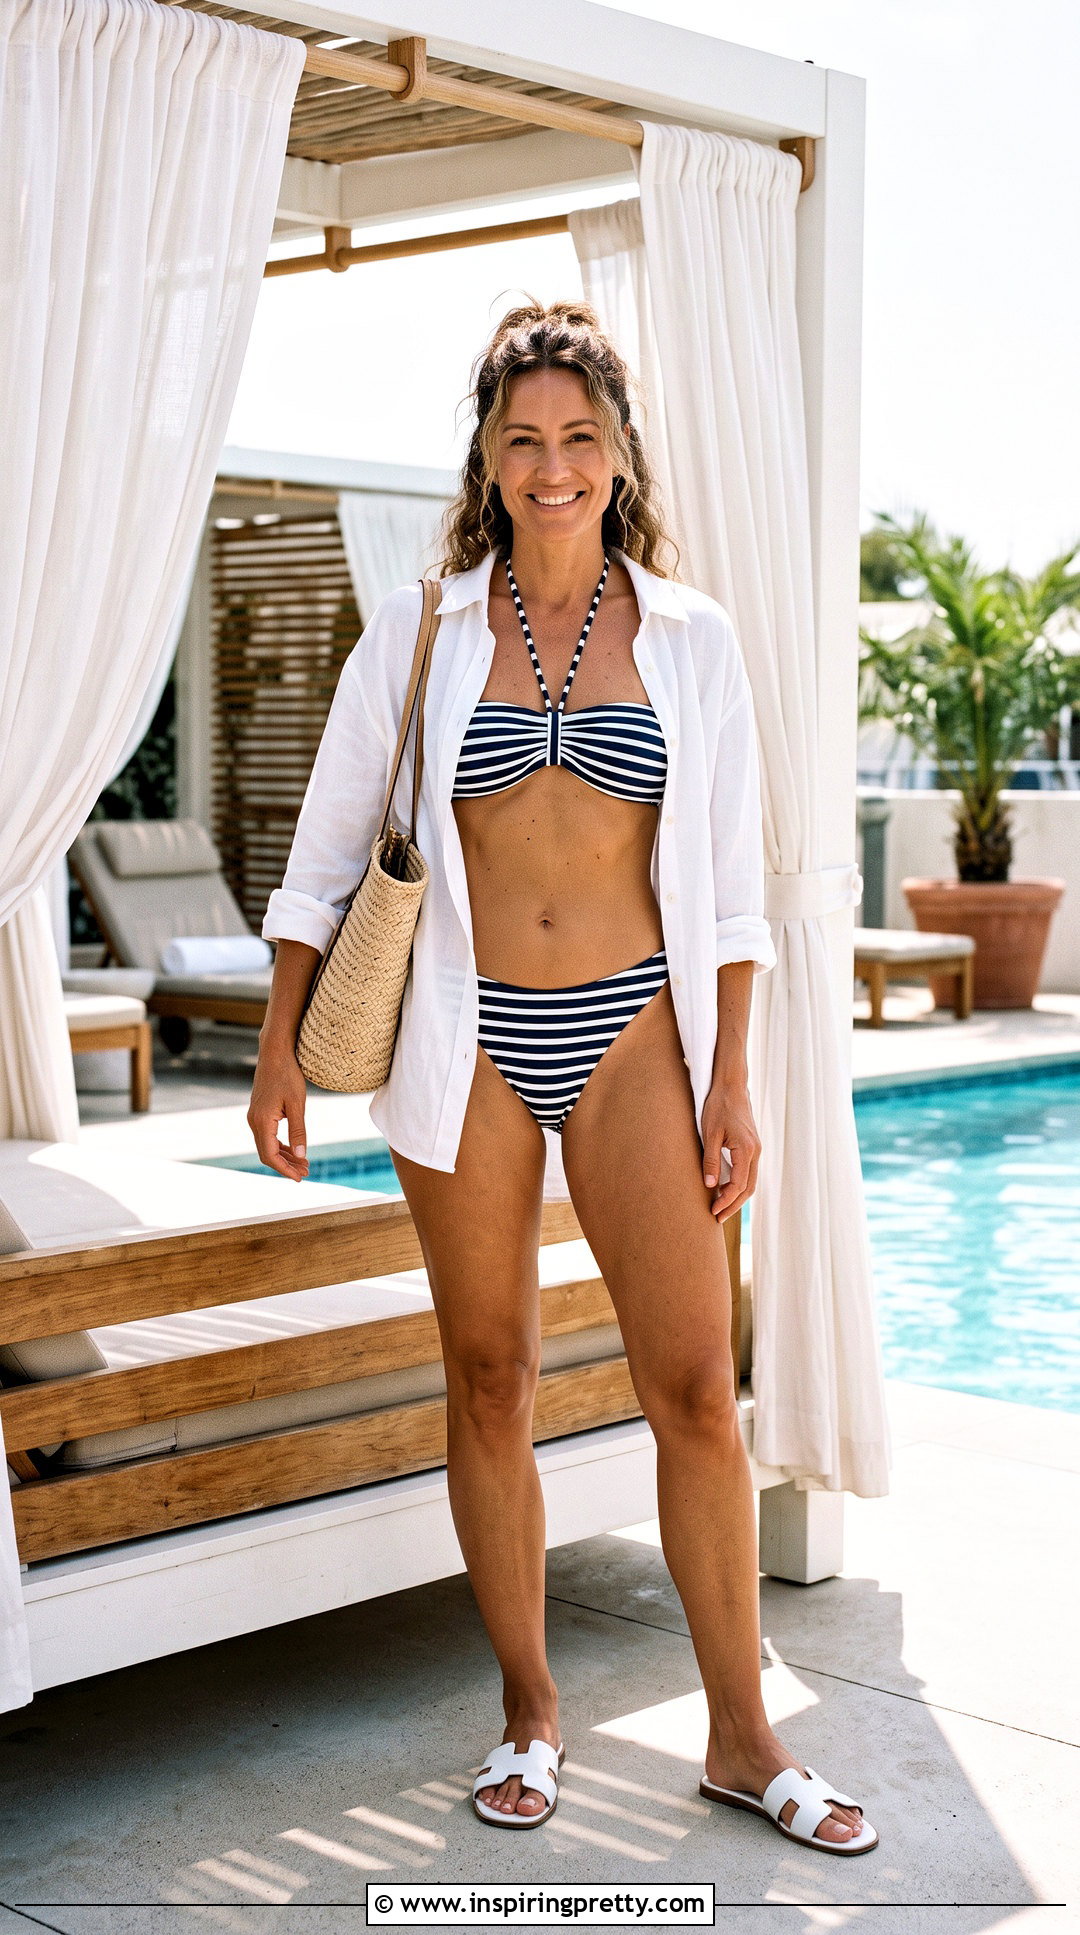
The bandeau halter combines a horizontal cup arrangement with an additional neck anchor. Turn the top upside down and position the cups sideways, bringing their wide gathered sections toward the center. Wrap the original neck strings around your back to establish the lower band. Take the remaining longer strings upward from the center, separate them, and tie them behind your neck. The cups should resemble two softly gathered panels rather than upright triangles. Keep the halter straps wide enough apart to frame the neckline comfortably. Adjust the back band before tightening the neck because most support should come from the torso. This variation can work for relaxed walking and poolside wear. Add high-cut bottoms, an oversized white shirt, simple slides, and a woven shoulder bag.
14. Twisted Bandeau Triangle Bikini Tie
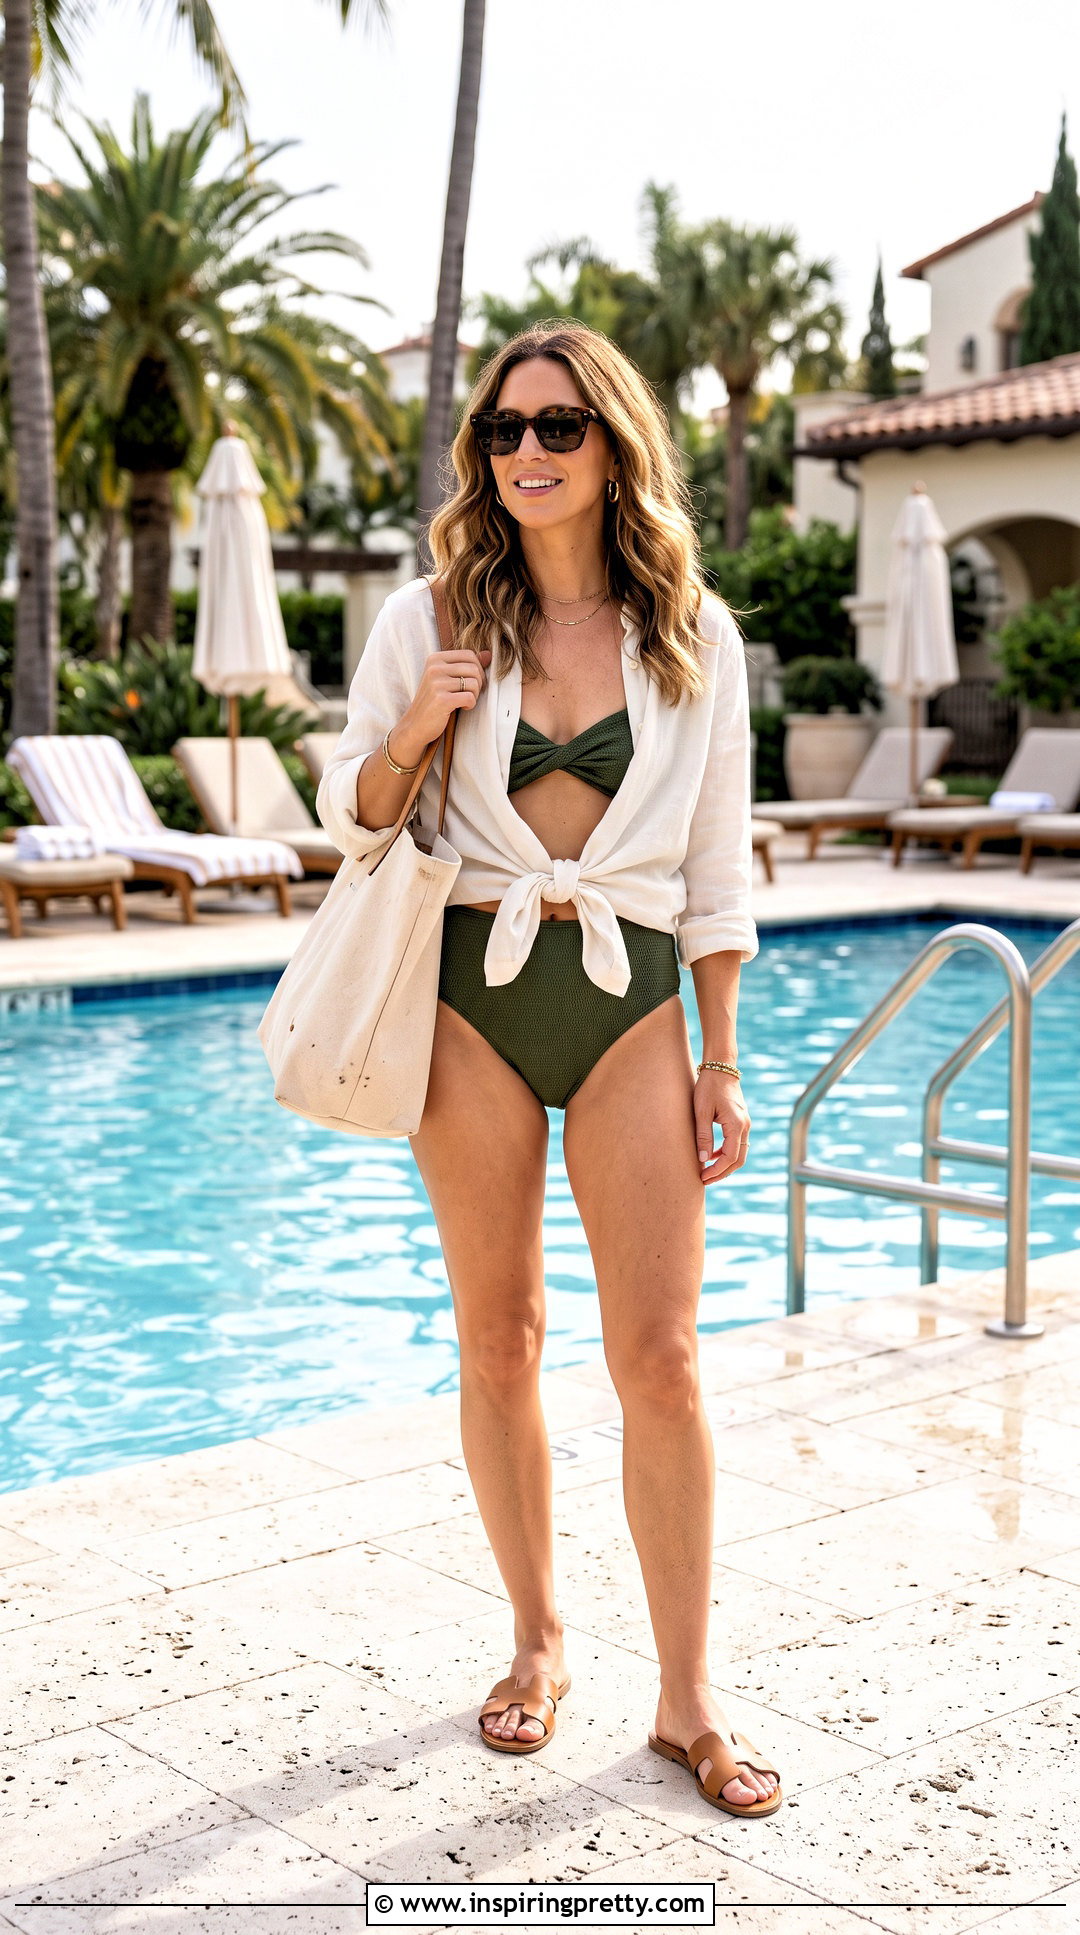
A center twist transforms the cups into a softly shaped strapless top. Lay the bikini flat and slide both cups toward the middle of the connecting string. Turn one cup over once so the center forms a controlled twist. Place the twisted section between your breasts and spread the cups outward across the bust. Wrap both sets of usable strings around your torso, tying them securely behind your back. Tuck or neatly knot any short ends that remain near the center. Make sure the twist does not expose the lining or create uneven pressure. This arrangement is generally suitable for sunbathing and calm lounging, not vigorous swimming. Style it with simple bikini bottoms, a tied linen shirt, flat sandals, sunglasses, and a clean canvas tote.

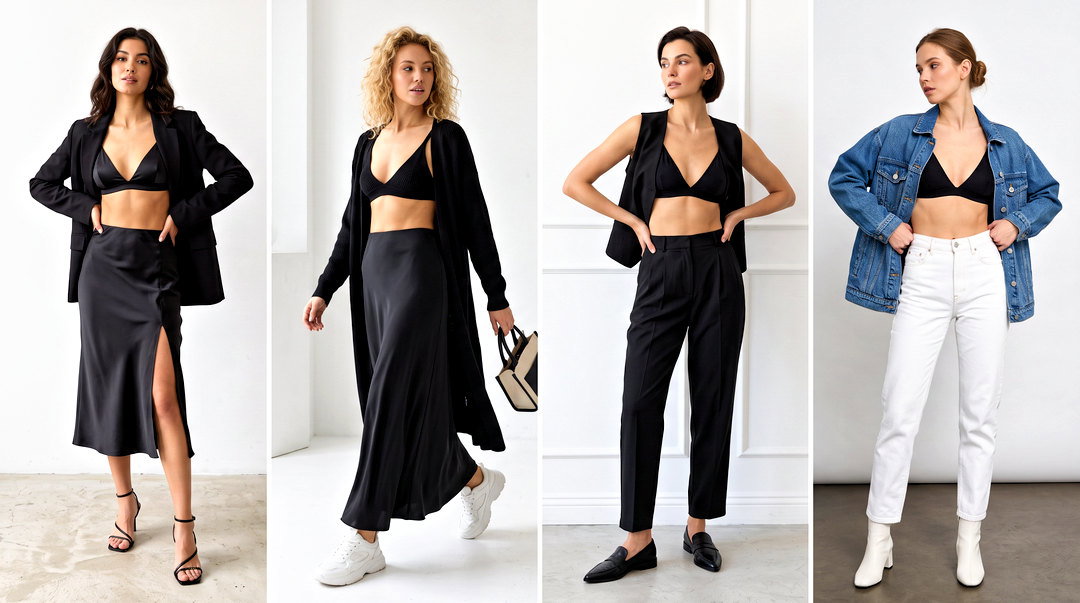
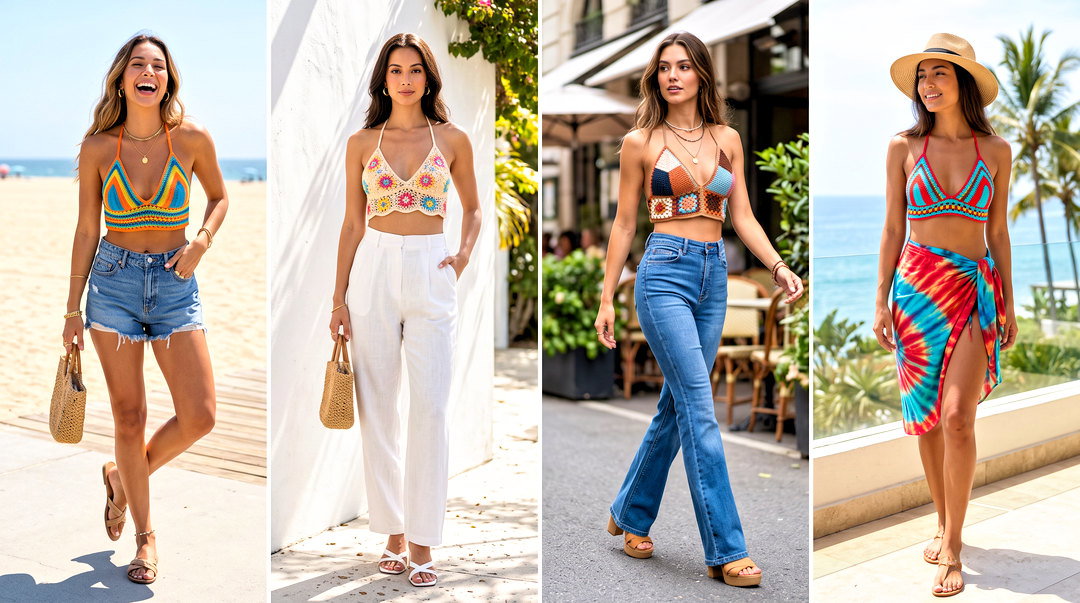
15. Classic Front-Tie Triangle Bikini
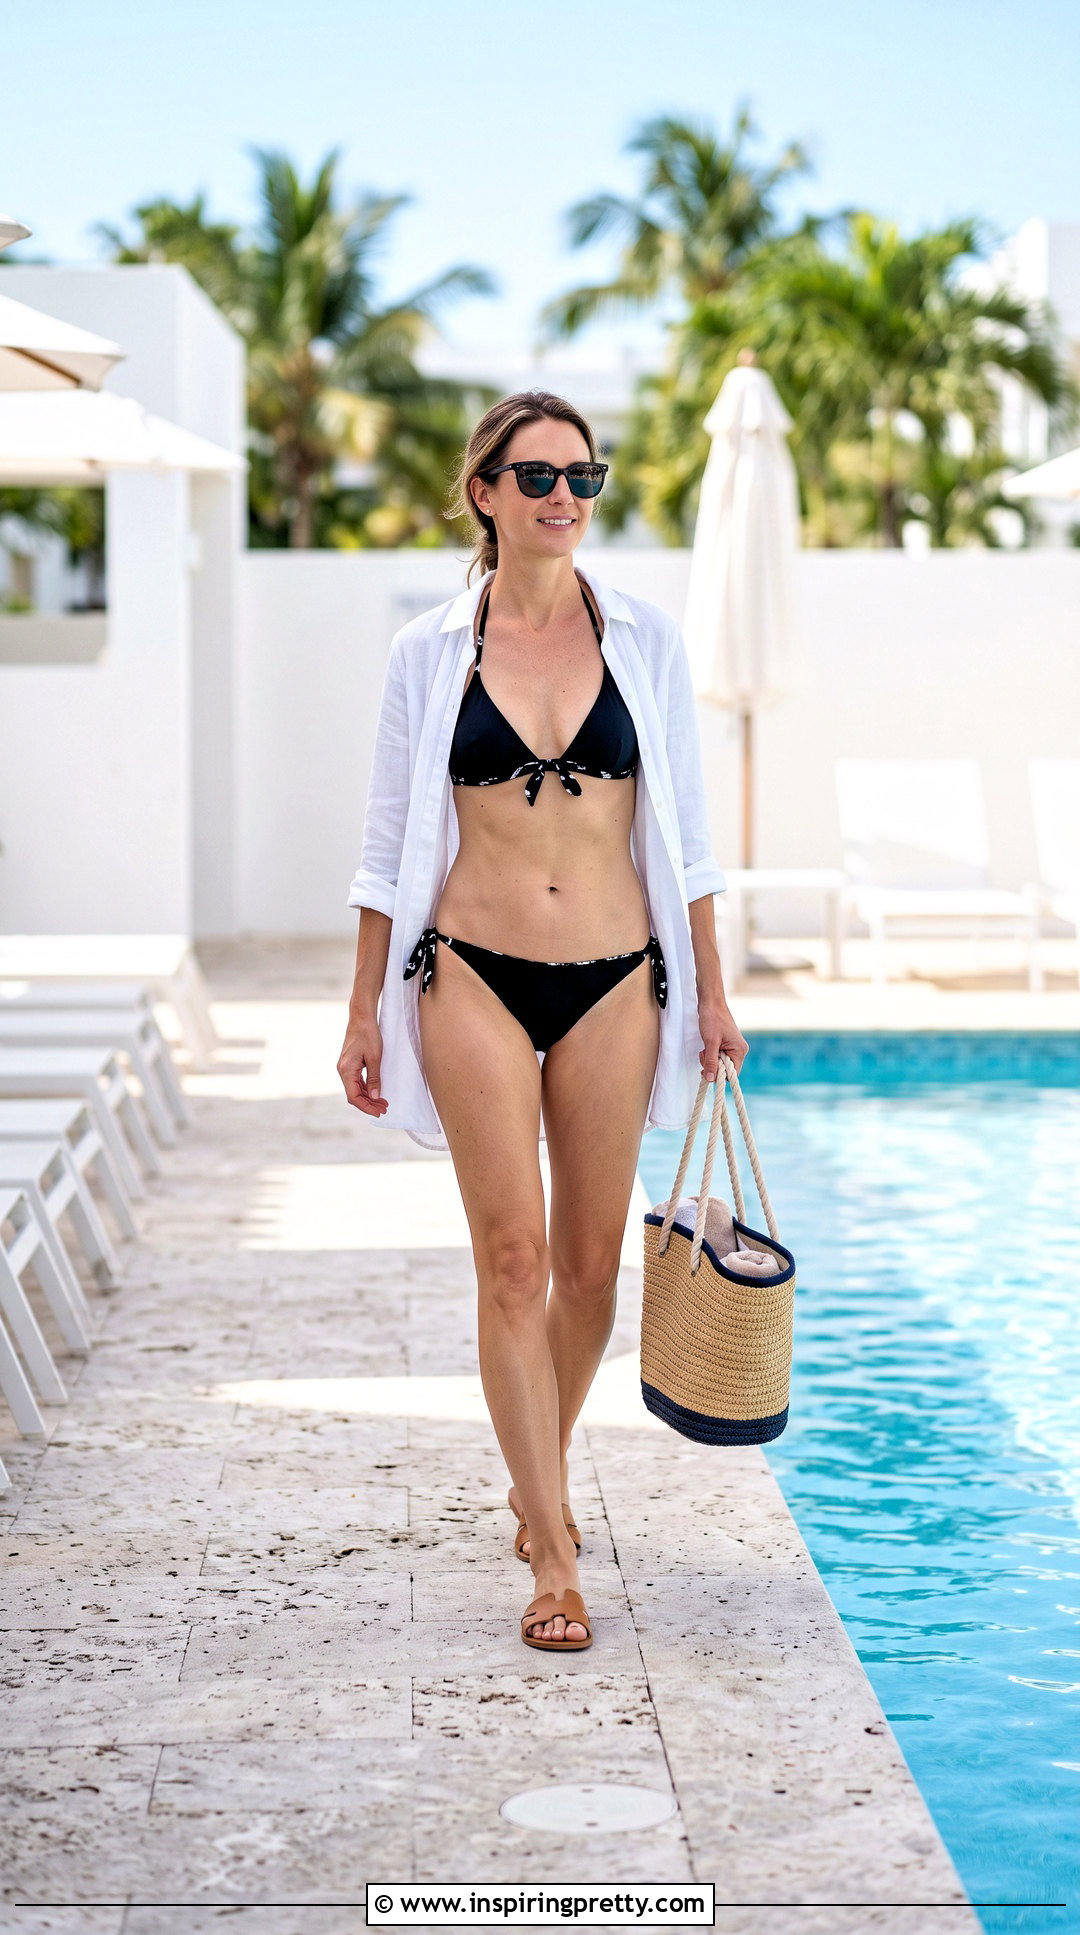
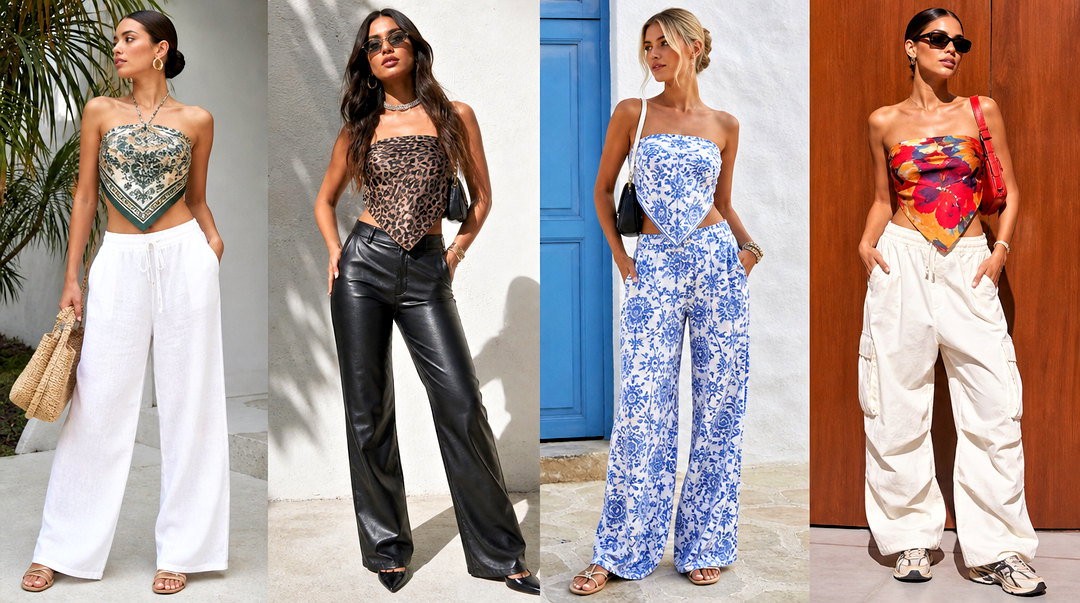
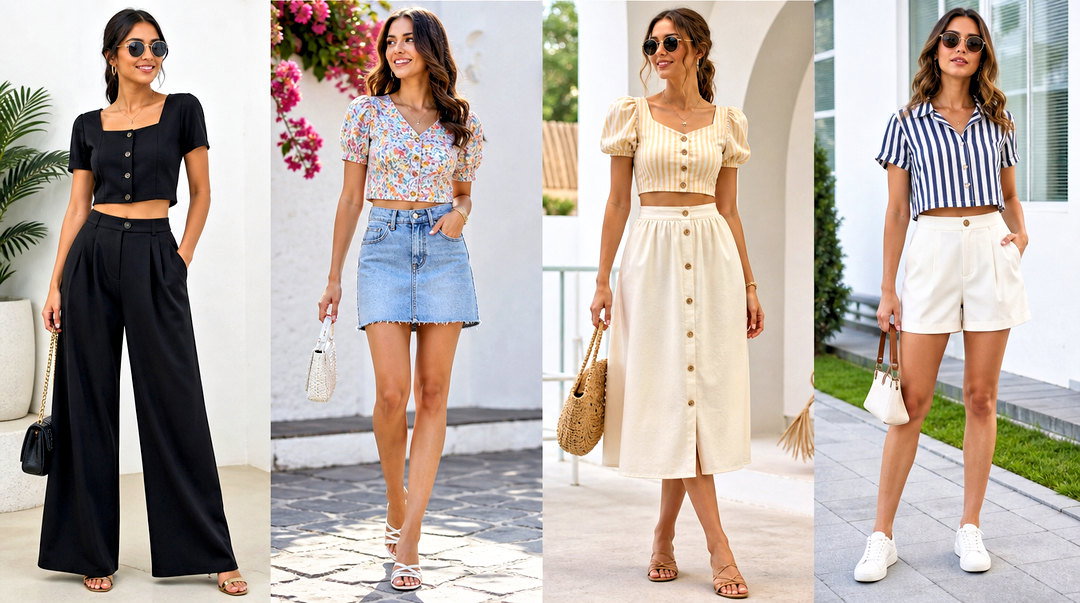
Moving the underbust bow to the front gives the traditional halter an easy update. Slide the cups apart until the loose ends of the bottom string are positioned near the center rather than behind your body. Place the cups normally, then take the continuous portion of the cord around your back. Bring both free ends forward beneath the bust and tie them into a compact double-knotted bow. Finish by fastening the upper straps behind your neck. The front bow should sit securely between or just beneath the cups without pushing them upward. Trim the loops visually by making them equal in size. This tie remains close to the classic fit and can feel relatively secure. Wear it with matching bottoms, a button-down cover-up, slides, and a practical beach tote.
16. Center Knot Triangle Bikini Tie
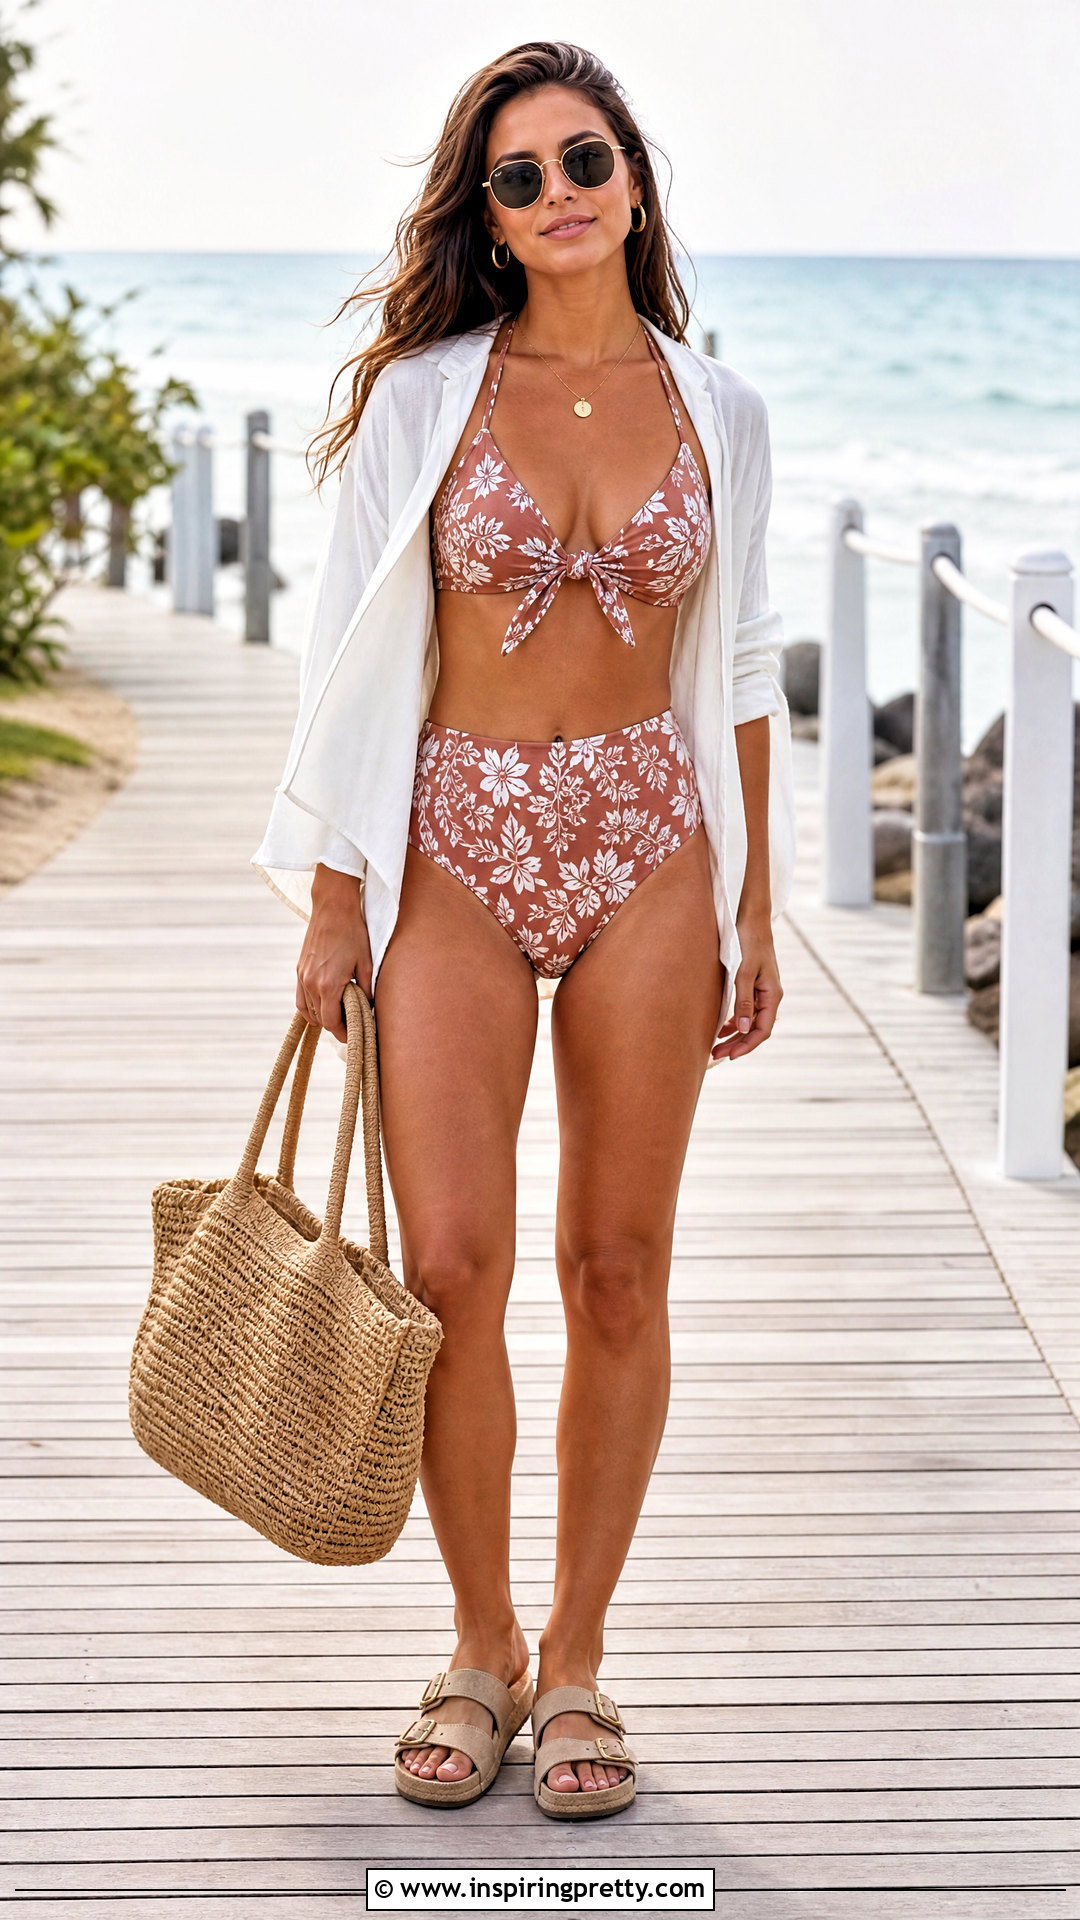
A small center knot creates definition without the volume of a full bow. Begin with the bikini in its standard upright position. Slide the cups far enough apart for the lower string to wrap around your back while leaving both ends accessible at the center front. Tie those ends together using a firm square knot beneath the bust. If the strings are especially long, wrap them once around the torso before returning them to the center. Secure the neck ties normally and balance the cup gathers. The knot should lie flat and should not press into sensitive skin. This simple variation works well beneath an open cover-up because it creates a clean central detail. Add high-rise bottoms, a gauzy shirt, water-resistant sandals, and understated sunglasses.
17. Center Bow Triangle Bikini Tie

Soft bow loops beneath the cups make a basic triangle top feel more decorative. Position the cups upright and move them along the lower cord until the free ends can meet at the center. Take the longer portion of the string around your torso, then bring the ends forward beneath the bust. Make a secure initial knot before shaping a balanced bow. Tie the upper straps behind your neck in the traditional way. Keep the front bow small enough that it does not catch on a cover-up or become heavy when wet. Check that the lower band remains level across your back. This arrangement provides familiar triangle coverage with a softer finish. Pair it with side-tie bottoms, a lightweight maxi cover-up, clean slides, and a woven sun hat.
18. Front Rope Triangle Bikini Tie
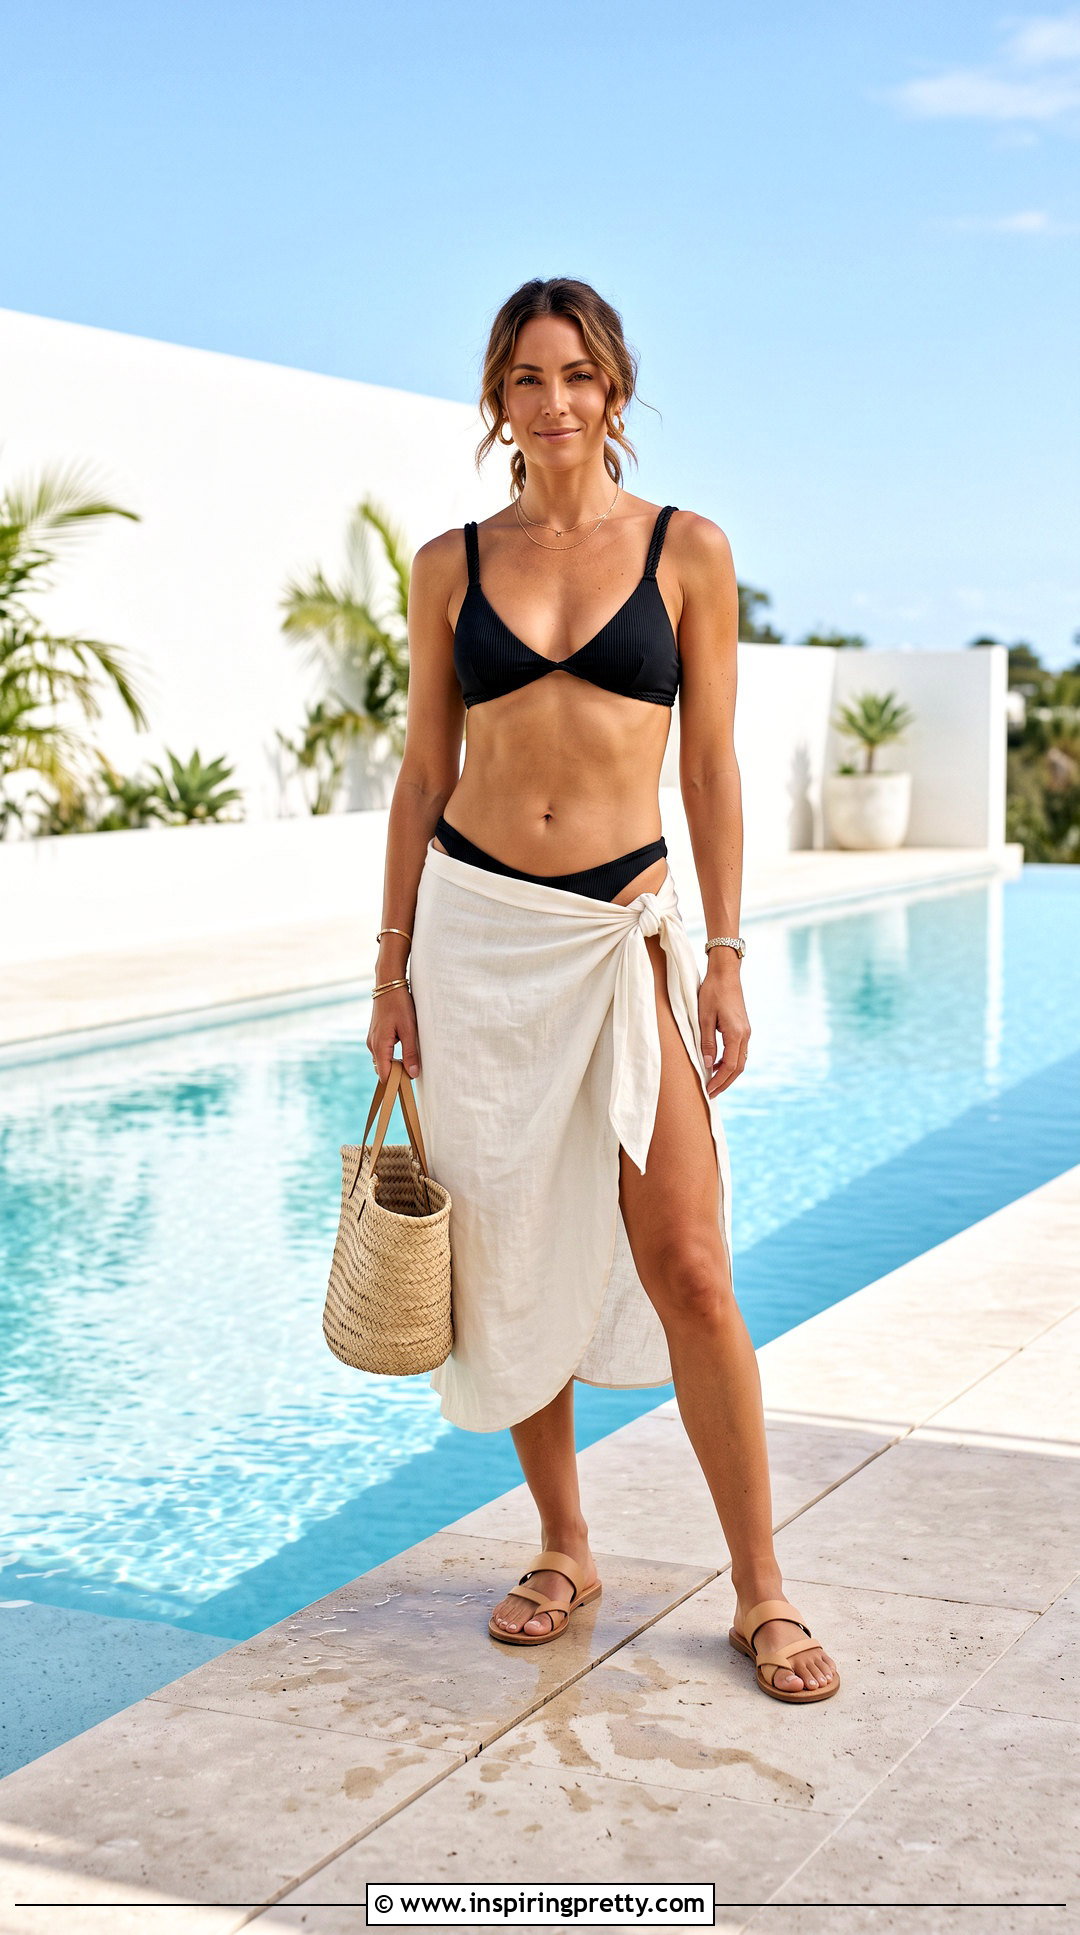
The front rope method adds a narrow twisted line down the center of the chest. Tie the lower string behind your back and position the cups as usual. Bring both neck straps forward, cross them at the base of your neck, and twist them around each other several times. Guide the resulting rope downward between the cups. Loop its ends around the center underbust string and secure them with a small knot. The rope should lie gently against your skin without pulling the neckline downward. Keep the twist short if your strings have limited length. This decorative tie is best for lounging because the central line may shift during active movement. Complete the outfit with sleek bottoms, a loose wrap skirt, flat sandals, and a minimal beach bag.
19. Vertical Center Strap Bikini Tie
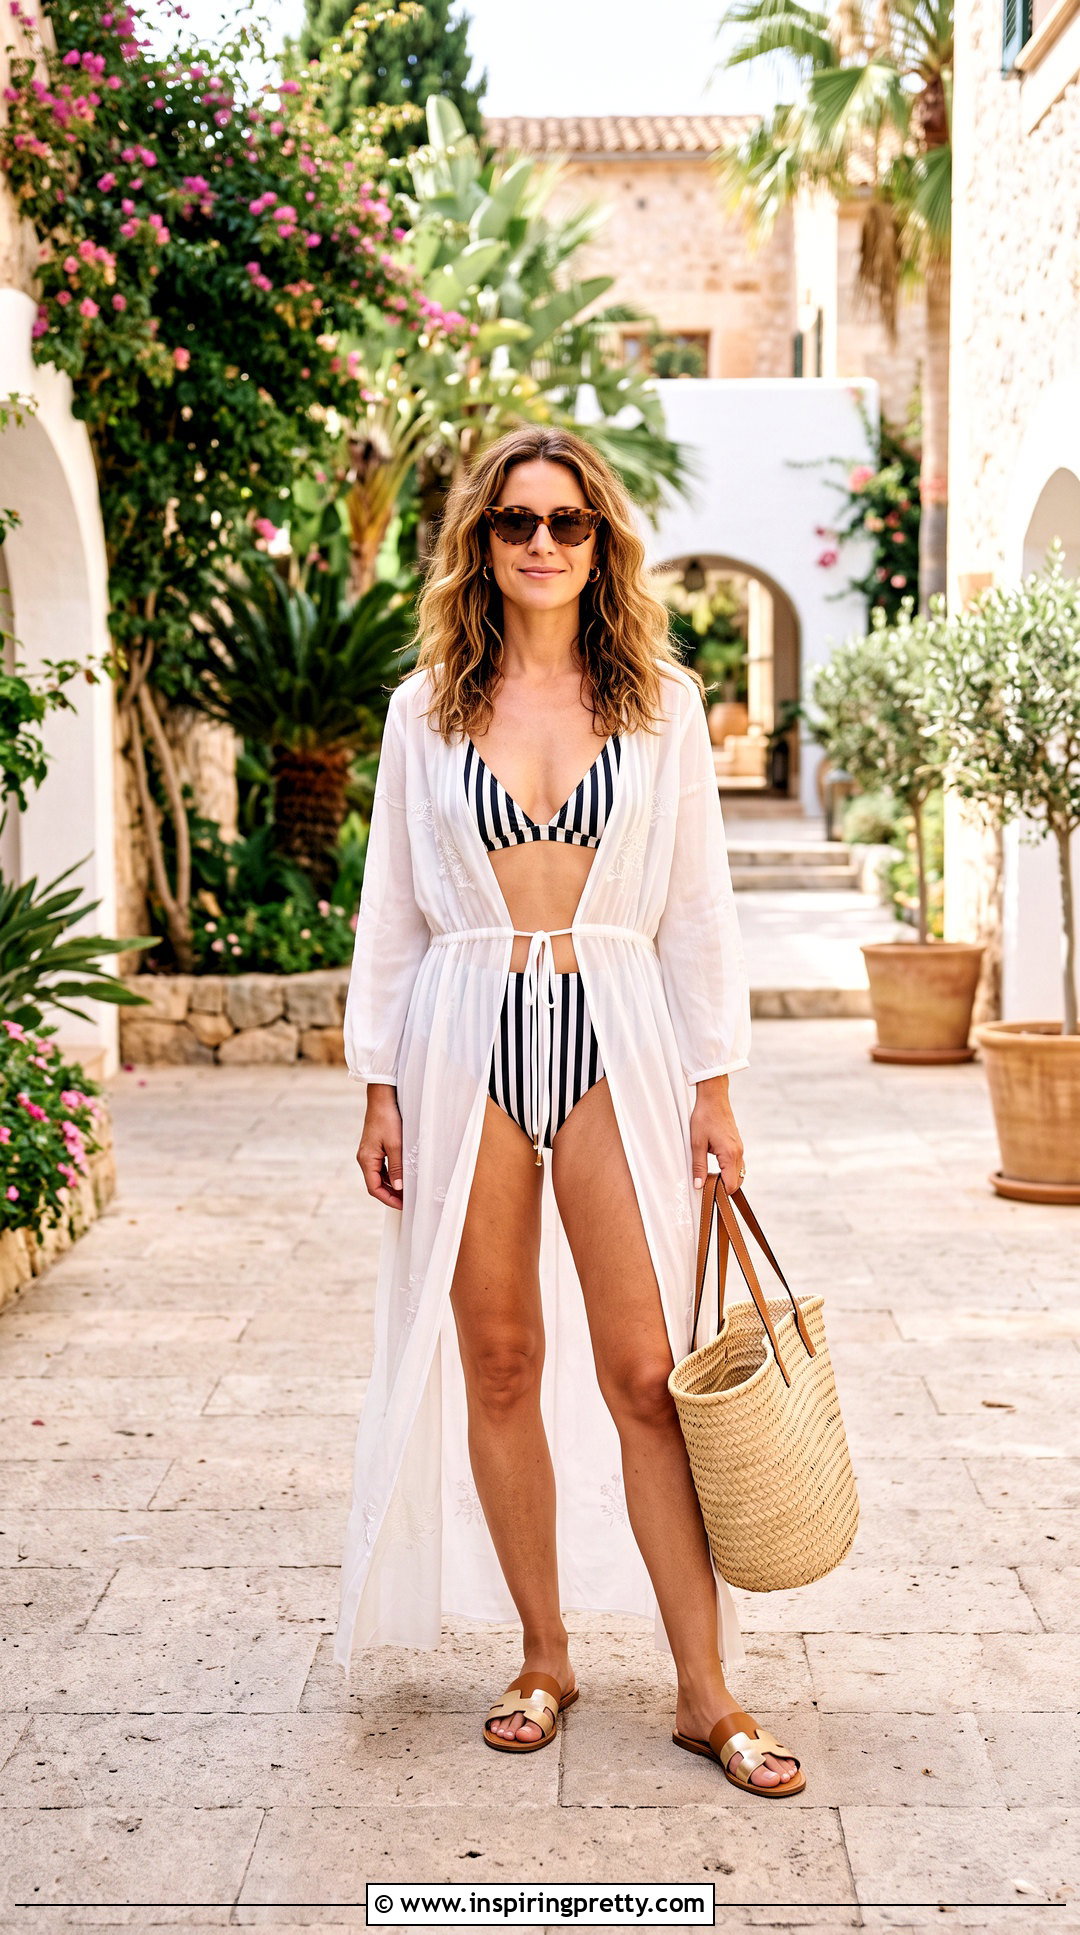
A single-looking center line produces a streamlined version of the front rope arrangement. Fasten the lower cord behind your torso and set the triangle cups in place. Bring the upper strings together above the bust and tie one small knot. Twist the two ends tightly enough that they visually read as one strap, then run them downward between the cups. Separate the ends at the underbust band, wrap each around the cord, and finish with a secure double knot. Leave enough room along the center strap for comfortable breathing and natural movement. Reposition the cups if they are pulled too close together. This low-impact arrangement looks polished with high-waisted bottoms, a sheer long cover-up, simple metallic sandals, and structured sunglasses.
20. Single Chest Wrap Bikini Tie
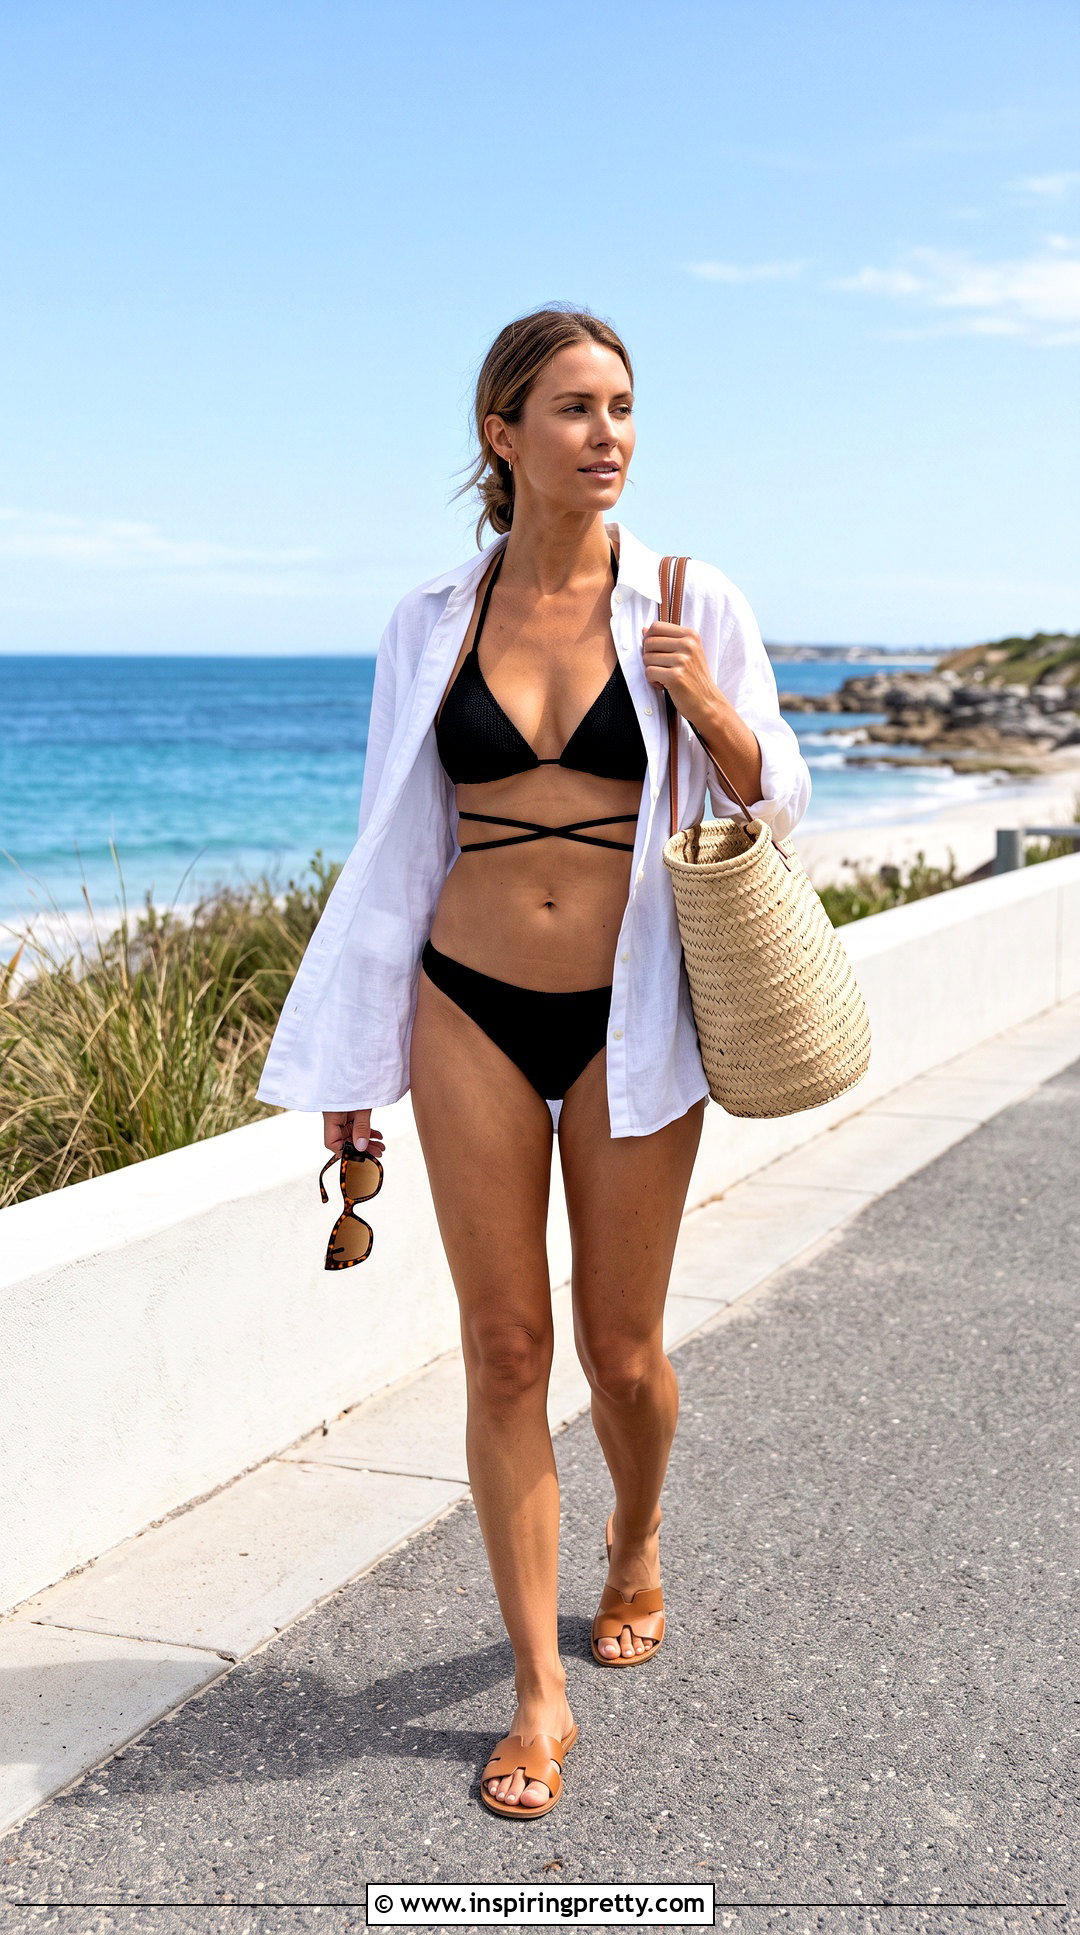
Long strings can create a wraparound band beneath the cups. Put the triangle top on in its standard orientation and tie the upper straps behind your neck. Instead of fastening the bottom strings immediately, cross them once at your back and bring them forward. Pass the ends beneath the bust, keeping both strands smooth and parallel. Tie them at the center front or carry them back again if enough length remains. Avoid wrapping too tightly, since wet fabric may feel more restrictive. The finished band should sit flat without rolling. This method can add visual definition through the torso while retaining traditional cup placement. Pair the top with simple bikini bottoms, a lightweight open shirt, slip-on sandals, and a roomy straw tote.
21. Double Chest Wrap Bikini Tie
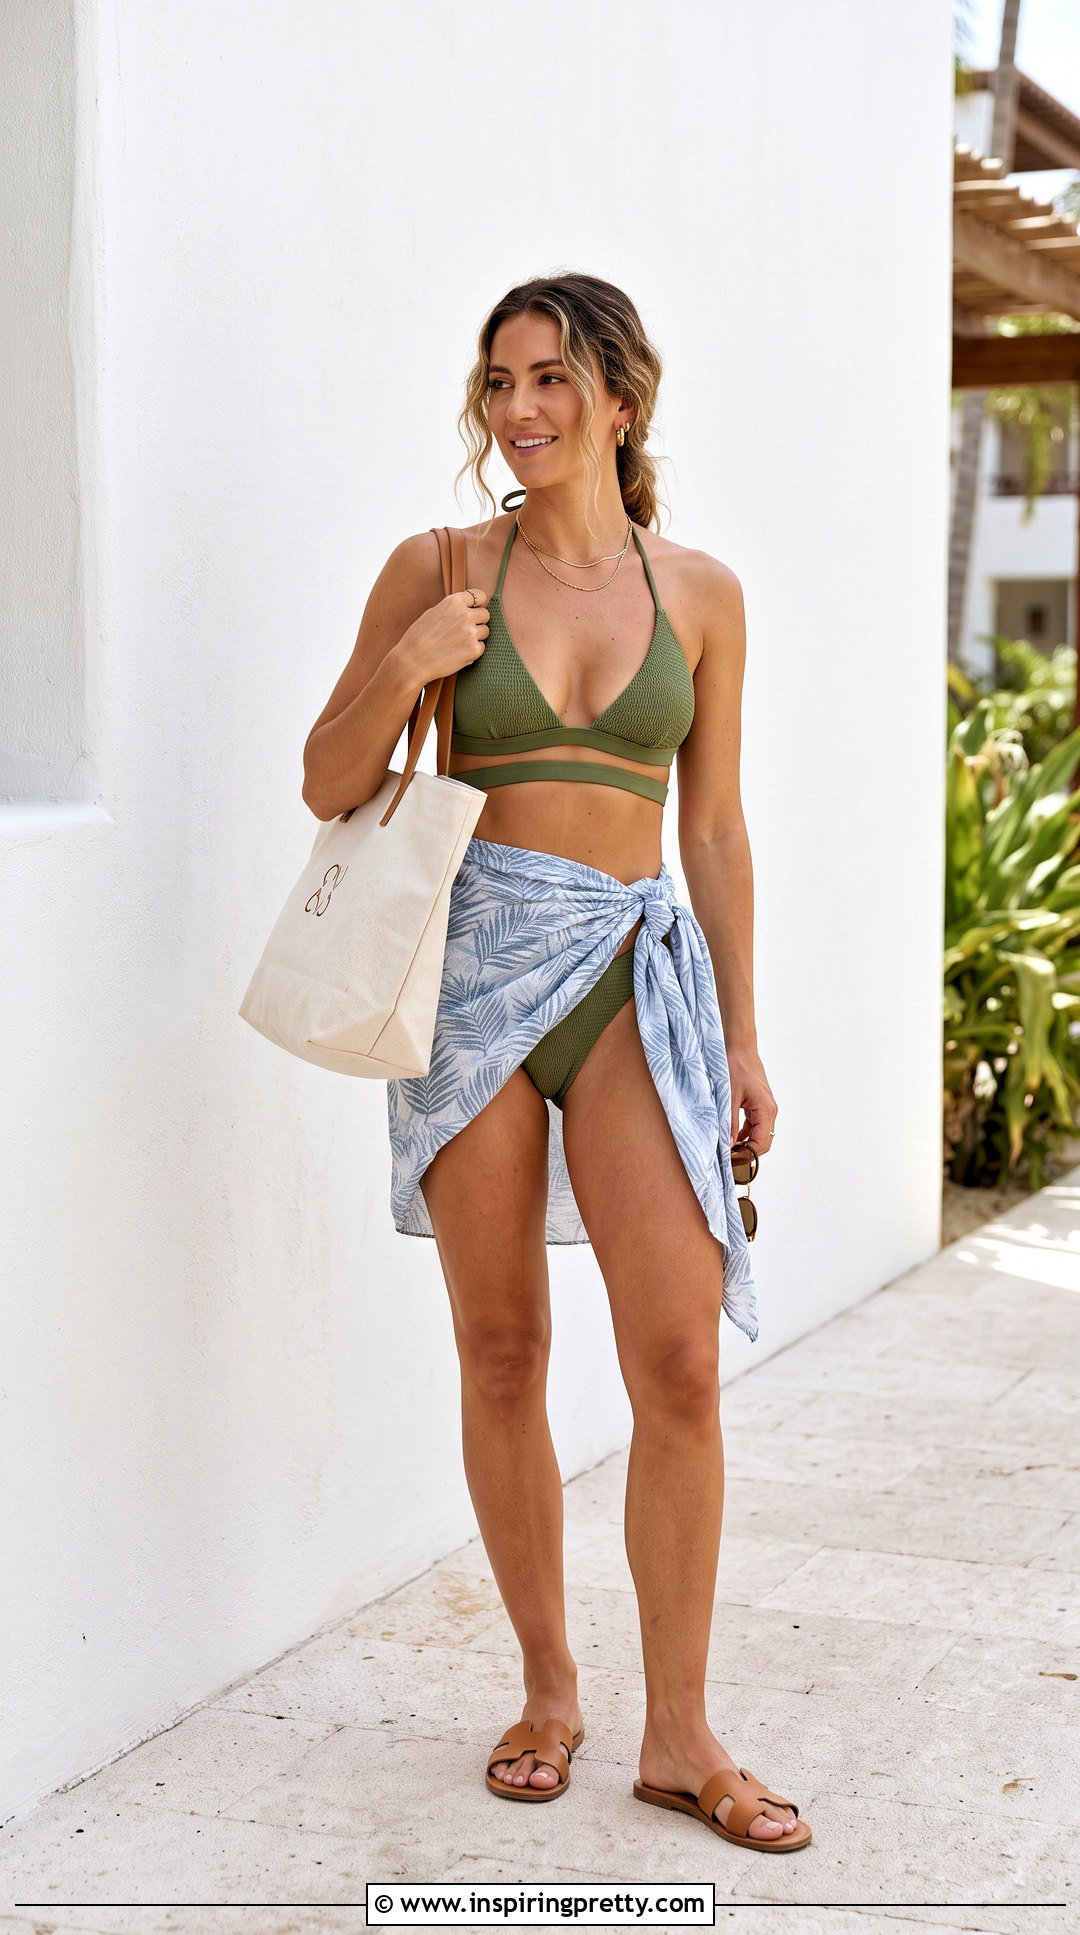
The double chest wrap uses extra-long lower strings to form two horizontal bands. Start by tying the neck straps and arranging the cups for complete, balanced coverage. Take the underbust strings behind your back, cross them, and return them to the front. Cross the ends below the cups, then wrap them around your torso one more time. Finish with a flat double knot at the back or a small bow at one side. Keep the two bands evenly spaced rather than allowing them to overlap. You should be able to breathe deeply and bend comfortably. Because several string layers can tighten when wet, check the fit before entering the water. Style this wrap with high-leg bottoms, a loose sarong, flat slides, and a canvas beach bag.
22. Waist-Wrap Triangle Bikini Tie
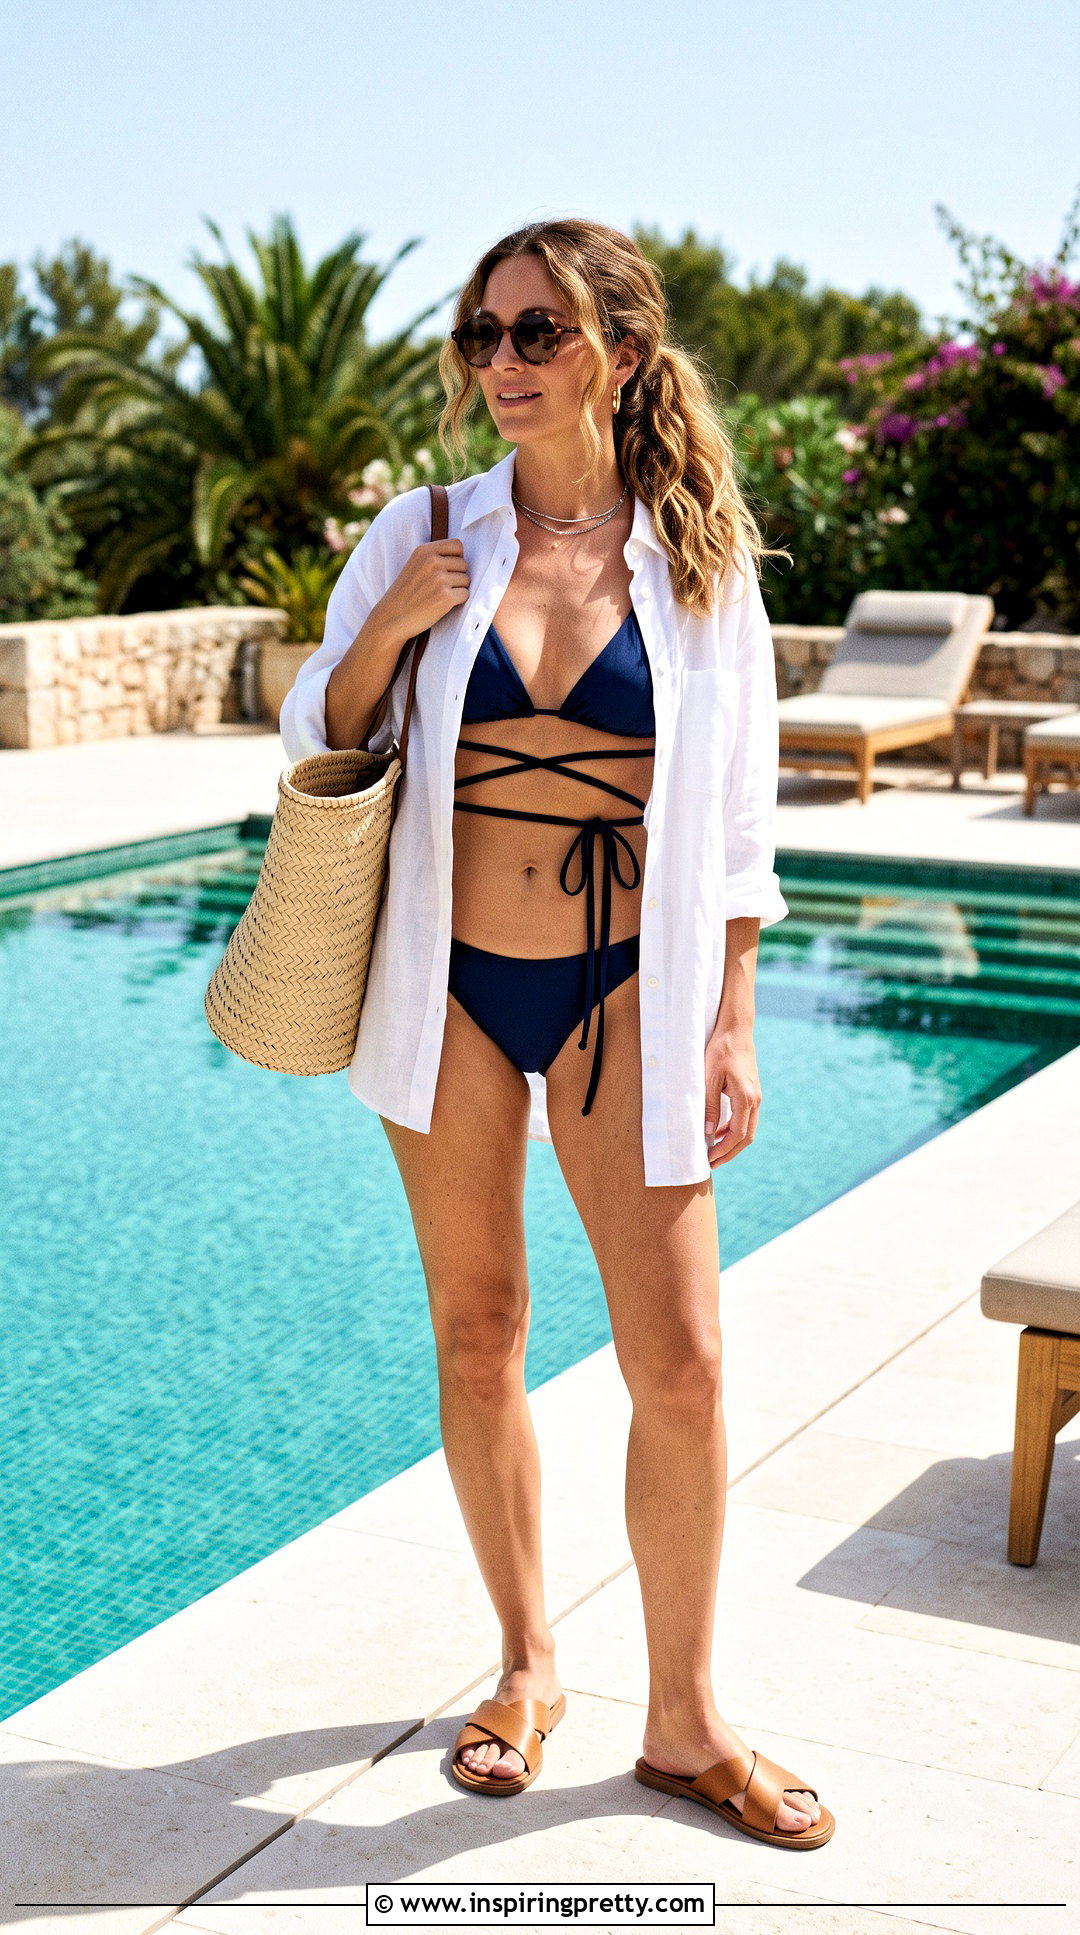
A waist wrap extends the strings lower across the midsection for a longline effect. Secure the triangle cups by tying the neck straps normally. Take the lower strings behind your rib cage, cross them, and bring them diagonally toward the front of your waist. Cross them again above your navel, then carry the ends around to your back. Finish with a firm bow that remains easy to release. Keep the diagonal lines smooth and avoid wrapping the soft area of the waist too tightly. This method requires very long strings and is better for relaxed wear than sports or extended swimming. Coordinate it with low-rise bikini bottoms so the wrap remains visible. Add a sheer shirt, comfortable sandals, sunglasses, and a lightweight tote.
23. Side-Waist Bow Bikini Tie

A side bow makes a long wrap feel less symmetrical and more relaxed. Tie the upper straps behind your neck and arrange the cups in the classic triangle position. Bring the underbust strings around your back, cross them, and return them to the front. Guide both ends diagonally toward one side of your waist, then form a secure knot and tidy bow above the hip. The strings should lie flat across the torso without cutting into the skin. Choose the side that feels most comfortable and does not interfere with your bag or cover-up. This arrangement is mainly decorative and works best for lounging. Pair it with matching bottoms, a lightweight wrap skirt, simple slide sandals, and a woven tote carried on the opposite shoulder.
24. One-Shoulder Triangle Bikini Tie

The one-shoulder method creates an asymmetrical neckline while keeping both cups upright. Secure the lower string around your back first. Take the upper strap from one cup across your chest and over the opposite shoulder. Bring the other upper strap beneath the arm on that same side, then join both ends behind the shoulder or upper back. Use a firm double knot and tuck long ends neatly. Adjust the cups so the diagonal strap does not pull one side higher than the other. This tie can shift more readily than a standard halter, so test it thoroughly and reserve it for calm poolside activities. Finish the outfit with high-waisted bottoms, an airy side-slit cover-up skirt, flat sandals, and a simple shoulder bag.

25. One-Shoulder Bow Bikini Tie
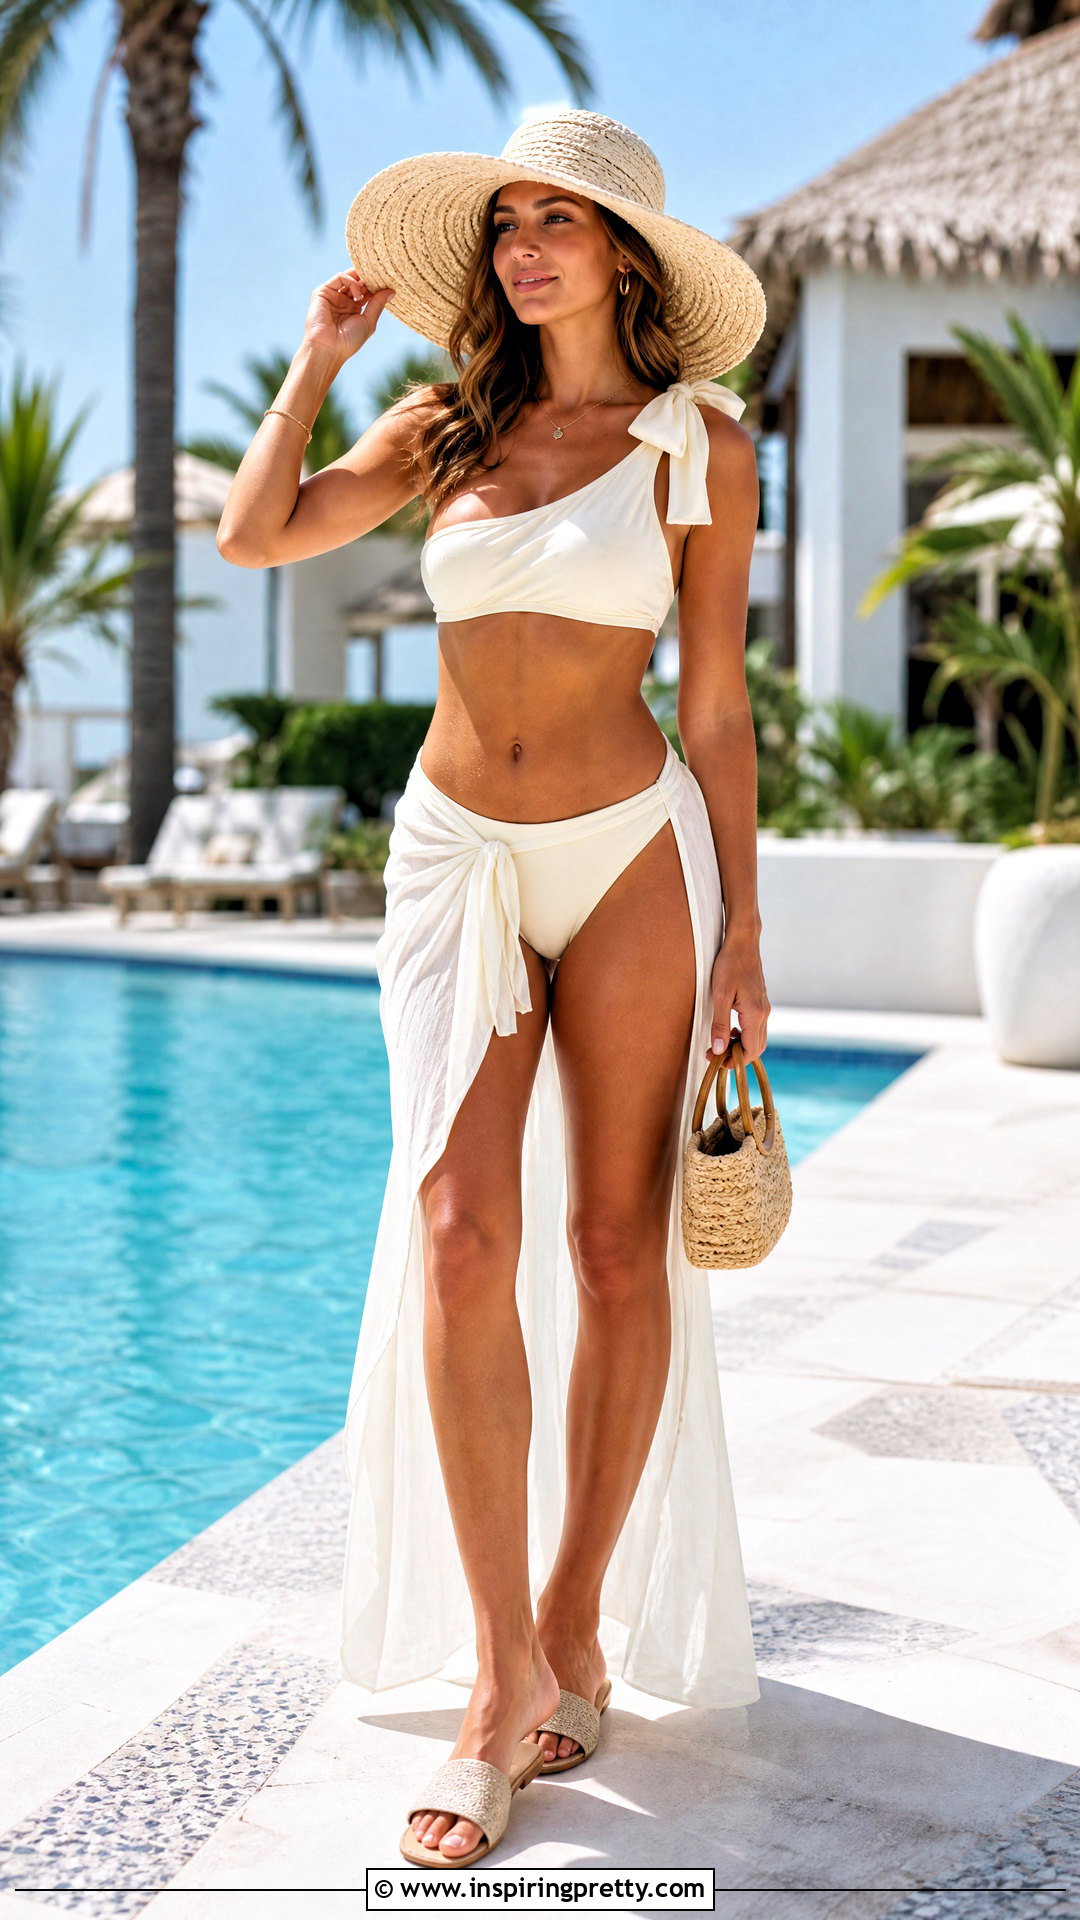
A visible shoulder bow adds a softer finish to the asymmetrical bikini shape. Fasten the lower cord behind your back and spread the cup fabric evenly. Draw one neck strap diagonally across the upper chest toward the opposite shoulder. Bring the second strap upward beneath that arm and meet the first strap on top of the shoulder. Tie an initial secure knot, followed by a balanced bow with short loops. Flatten the straps so they do not twist or rub. The bow should sit above the shoulder rather than directly against the neck. Recheck coverage after moving both arms. This low-impact tie looks coordinated with full-coverage bottoms, a lightweight sarong, flat slides, a sun hat, and a small woven beach bag.
26. Straight-Shoulder Triangle Bikini Tie
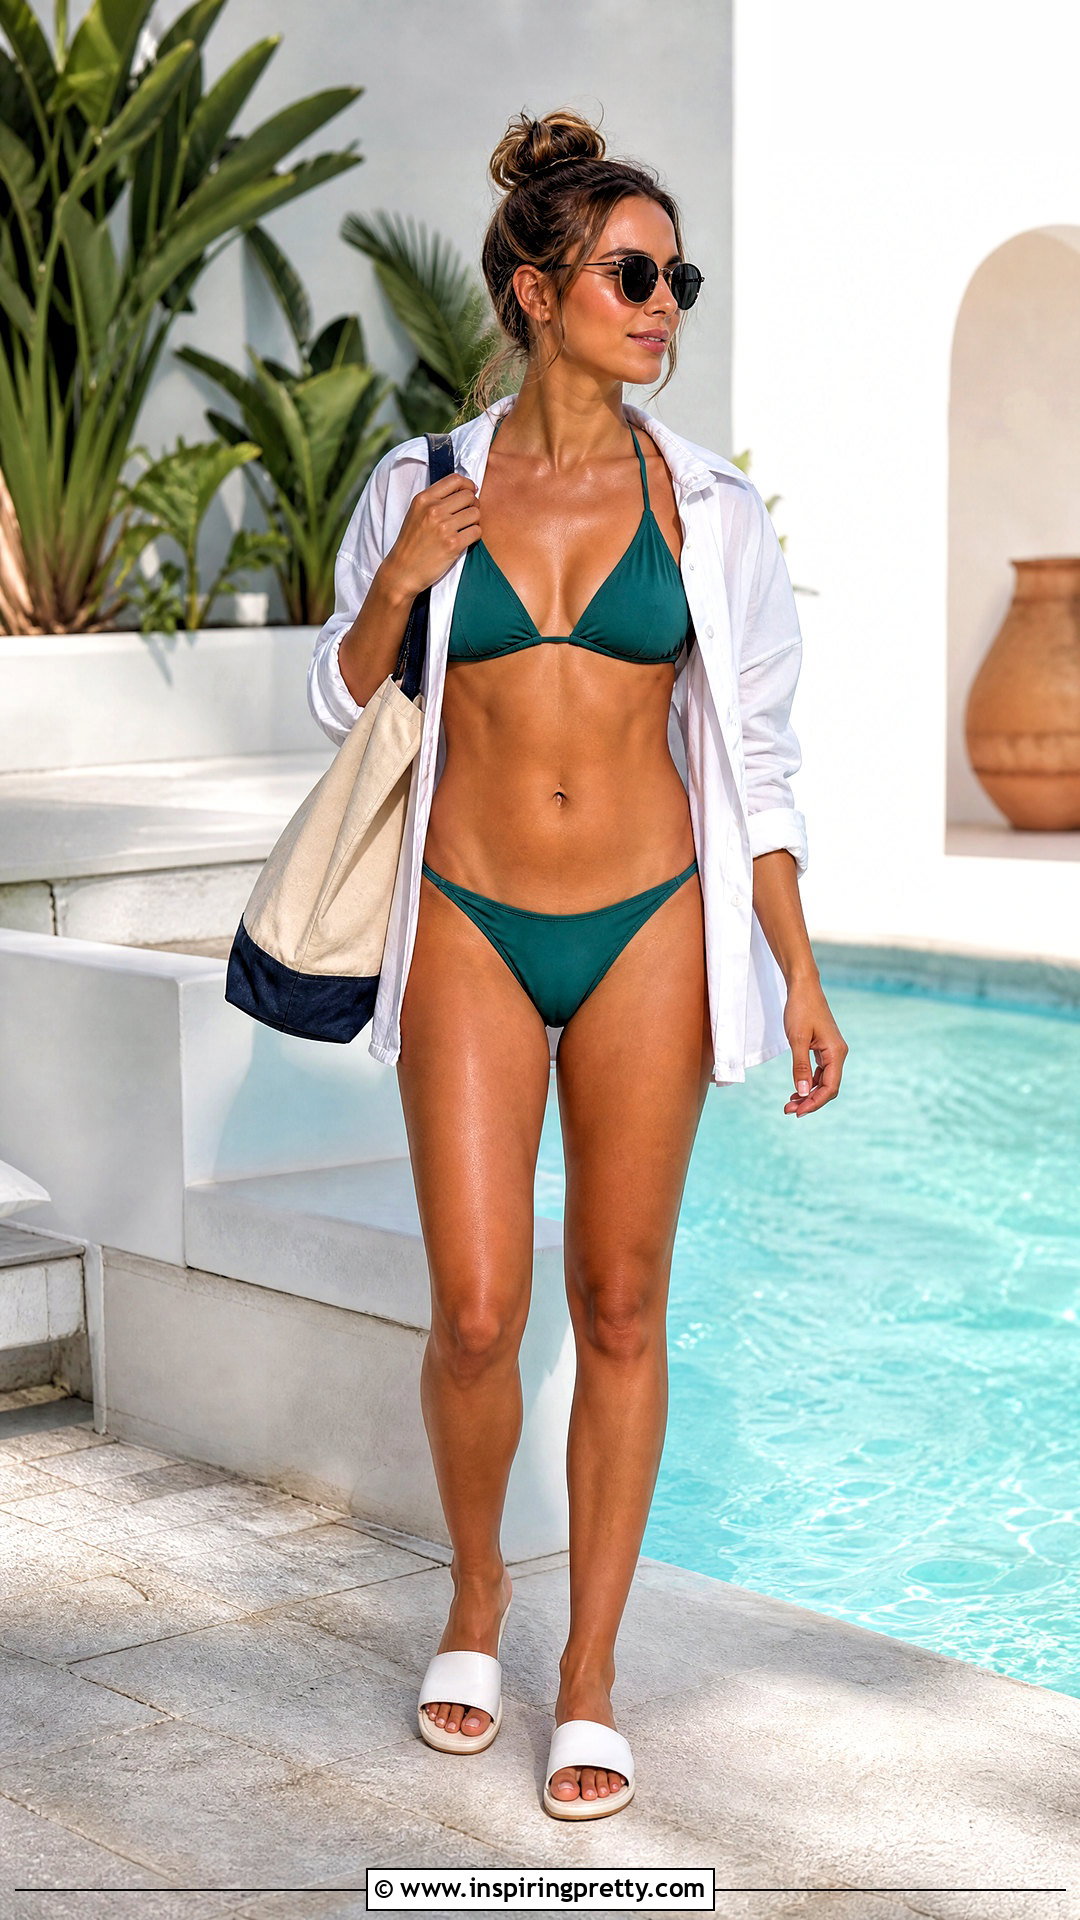
Straight shoulder straps can make a triangle top resemble a simple bralette from the front. Position the cups upright and tie the underbust string firmly behind your torso. Take each upper strap directly over its corresponding shoulder rather than toward the neck. Bring the ends downward and attach them to the lower back string using secure knots. Keep the attachment points equal in distance from the center of your back. This prevents one cup from sitting higher than the other. The method requires upper strings long enough to reach the band without excessive tension. It can reduce pressure at the neck, although support depends on the top and knot placement. Wear it with matching bottoms, an open cotton shirt, clean slides, and practical sunglasses.
27. Bralette Triangle Bikini Tie
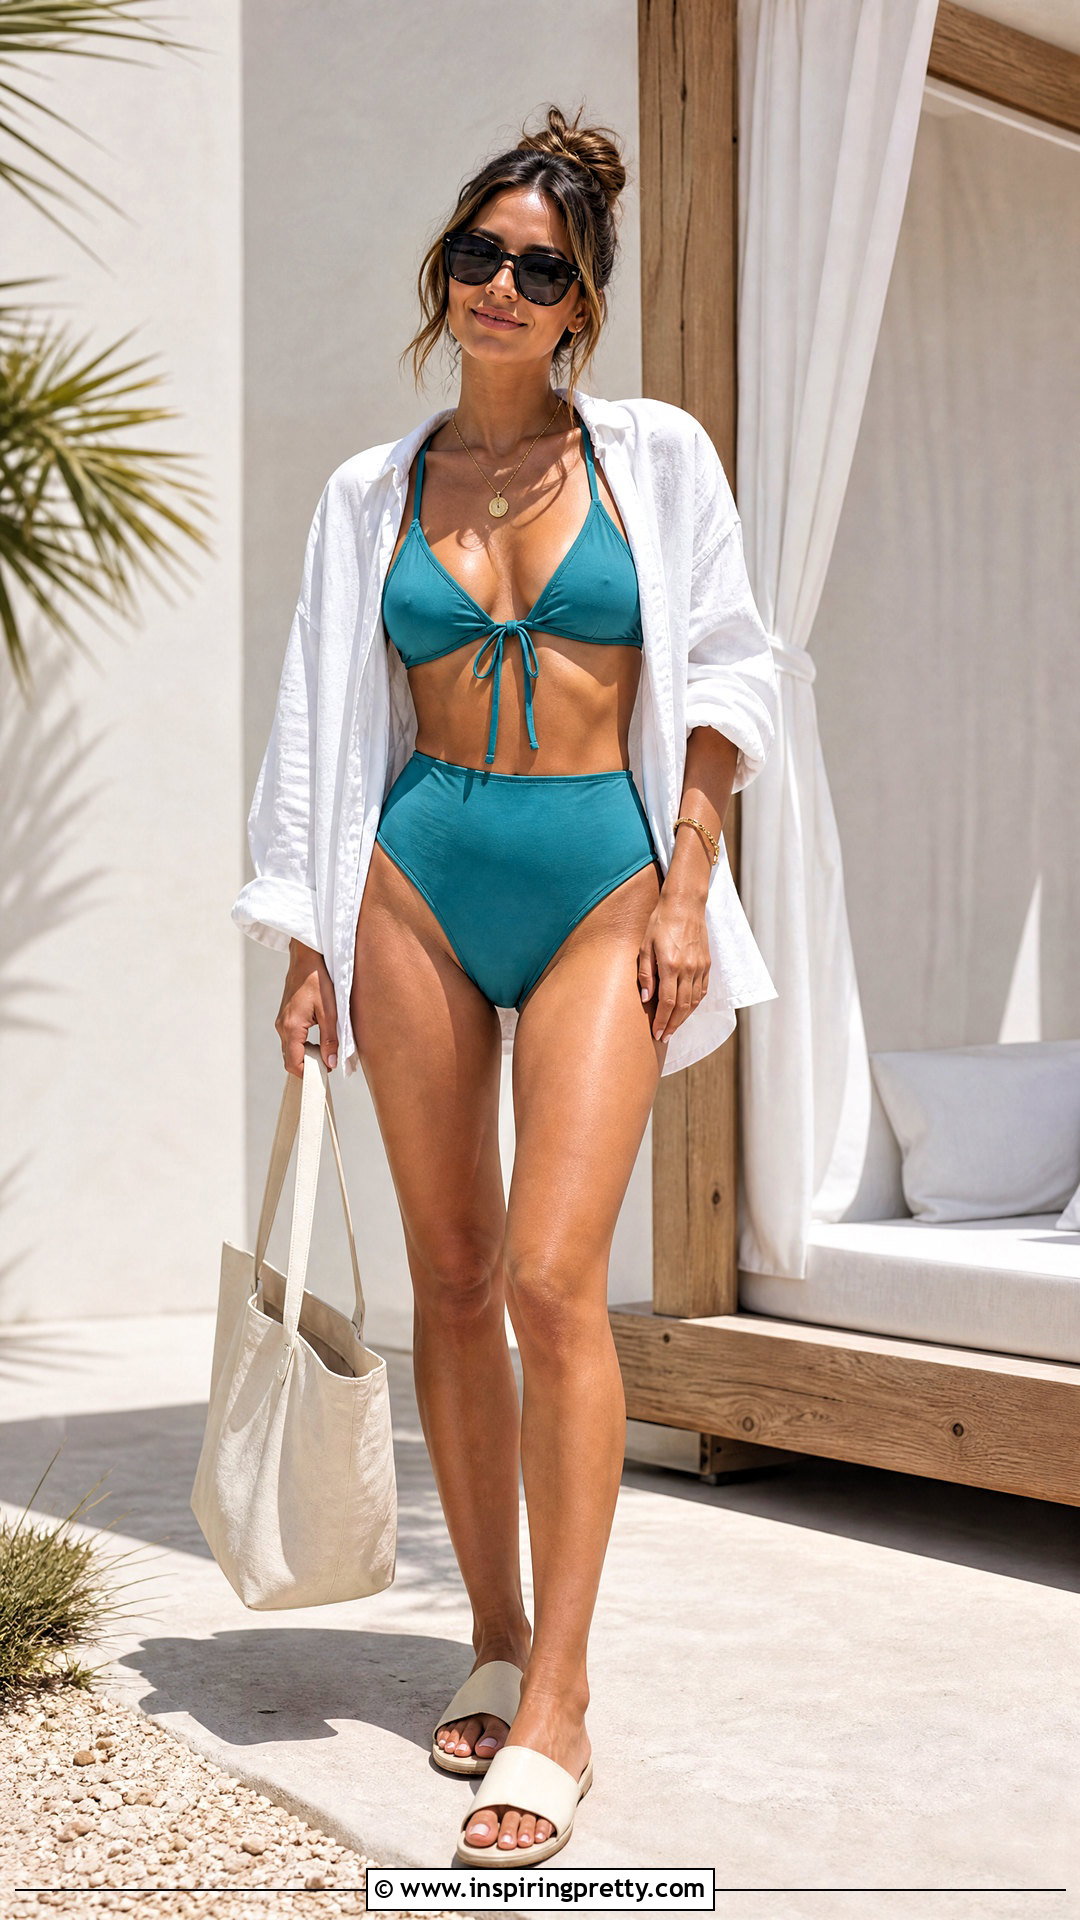
The bralette tie uses the strings to produce a familiar two-strap silhouette. Begin by wrapping the lower cord around your torso and tying it at the center back. Place the upper straps over your shoulders. Cross neither strap; instead, bring each one straight down toward the band. Loop the right strap around the right side of the lower cord and the left strap around the left side. Secure each end independently with a tight double knot. Adjust the spacing until the straps sit comfortably and the cups remain level. This configuration may feel more balanced than a neck tie for some wearers. Test the knots carefully before swimming. Complete the look with high-rise bottoms, an oversized linen shirt, supportive slides, and a clean canvas tote.
28. Racerback Triangle Bikini Tie

A racerback arrangement shifts the upper straps away from the neck and toward the center back. Tie the lower string around your torso, leaving its knot centered. Bring both upper straps over your shoulders and down your back. Cross them between the shoulder blades, then loop each end around the opposite side of the lower band. Tie secure double knots and tuck any excess string. Keep the crossing point high enough that the straps cannot slip off your shoulders but low enough to avoid neck pressure. Ask someone you trust to check the back if necessary. This configuration can feel secure when tied correctly, although suitability varies by top. Style it with sporty bottoms, a lightweight zip cover-up, supportive sandals, and a simple beach backpack.
29. V-Back Triangle Bikini Tie
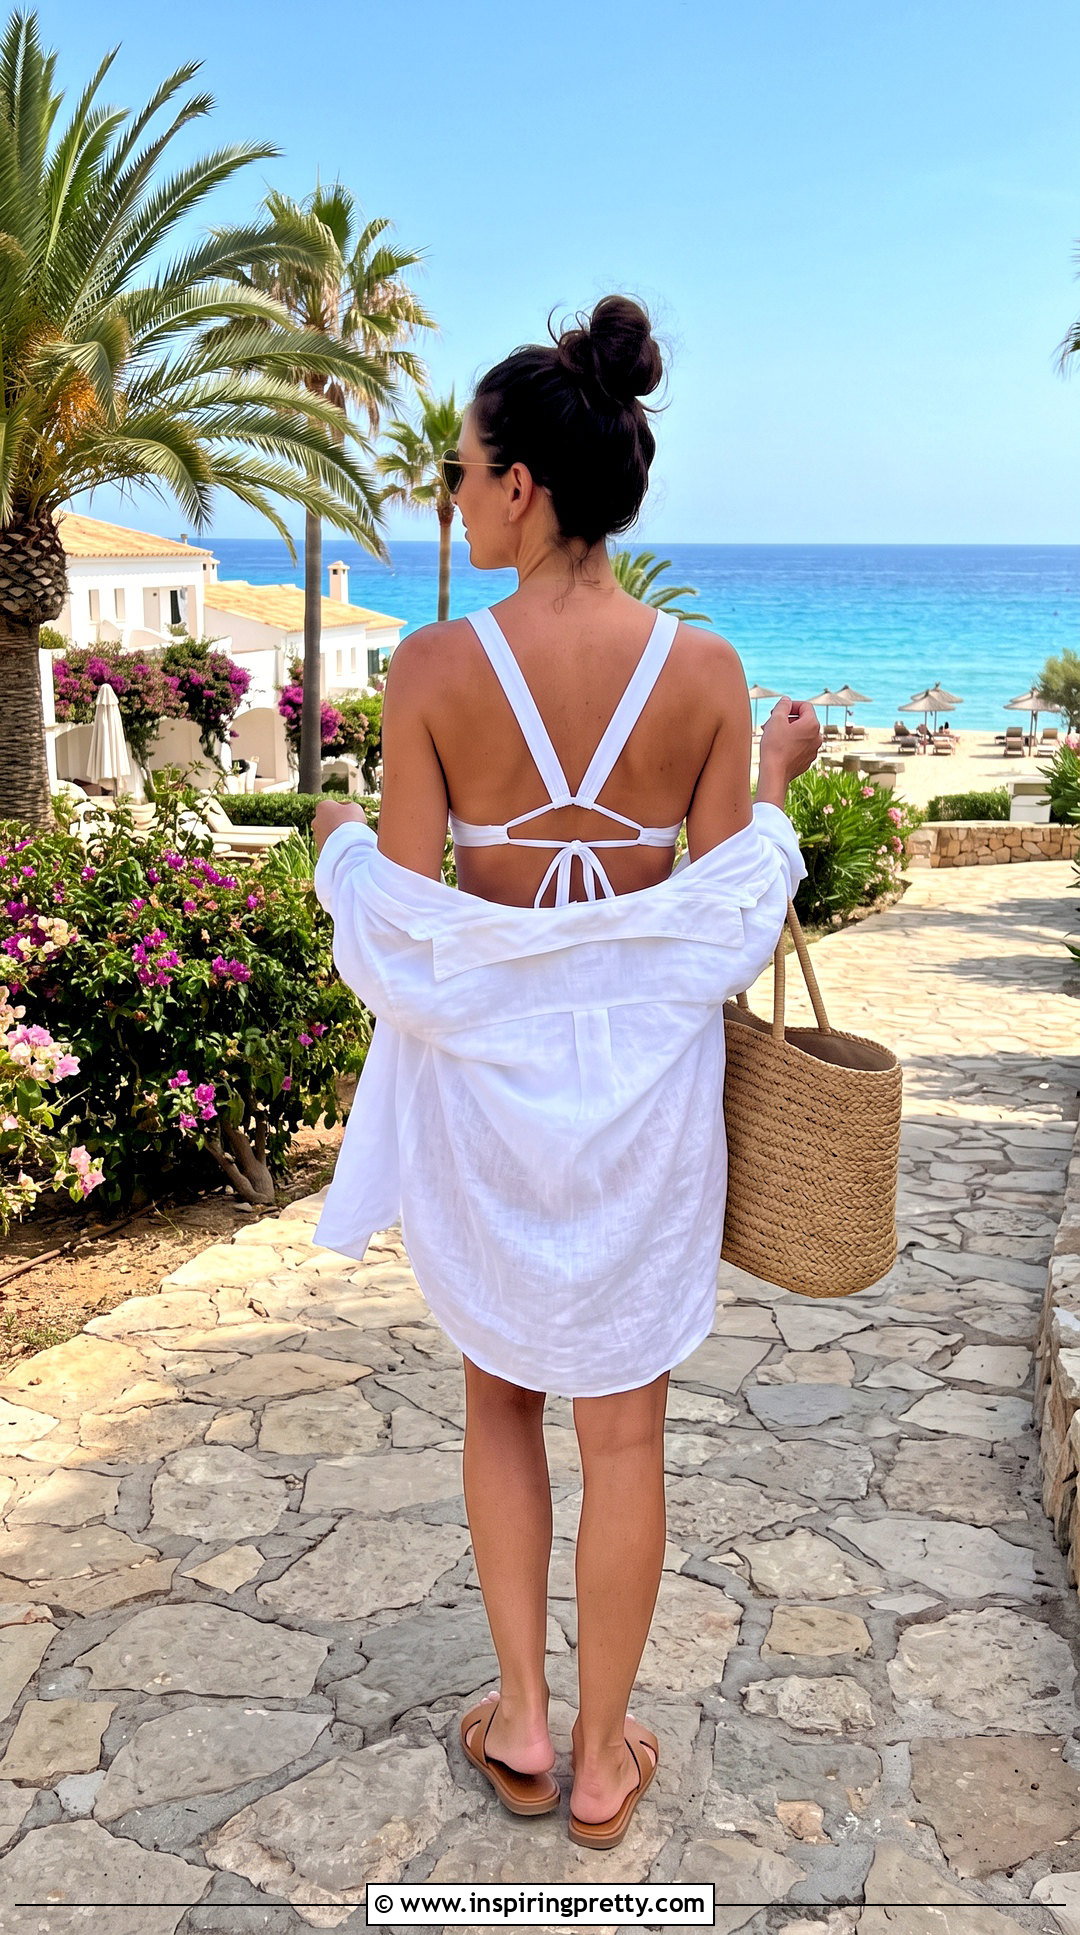
The V-back creates two clean diagonal lines without crossing the shoulder straps. First, fasten the lower string behind your torso and center its knot. Guide both upper straps over your shoulders. Angle the right strap toward the middle of the lower band and do the same with the left strap, allowing the ends to meet in a V. Tie them together around the band using a compact knot or bow. Adjust the front cups before fully tightening the back. The straps should remain on the shoulders when you raise your arms. This method may distribute tension differently from a halter and can create a polished back view. Pair it with matching bottoms, a long white cover-up shirt, simple slides, and a structured woven tote.

30. X-Back Triangle Bikini Tie
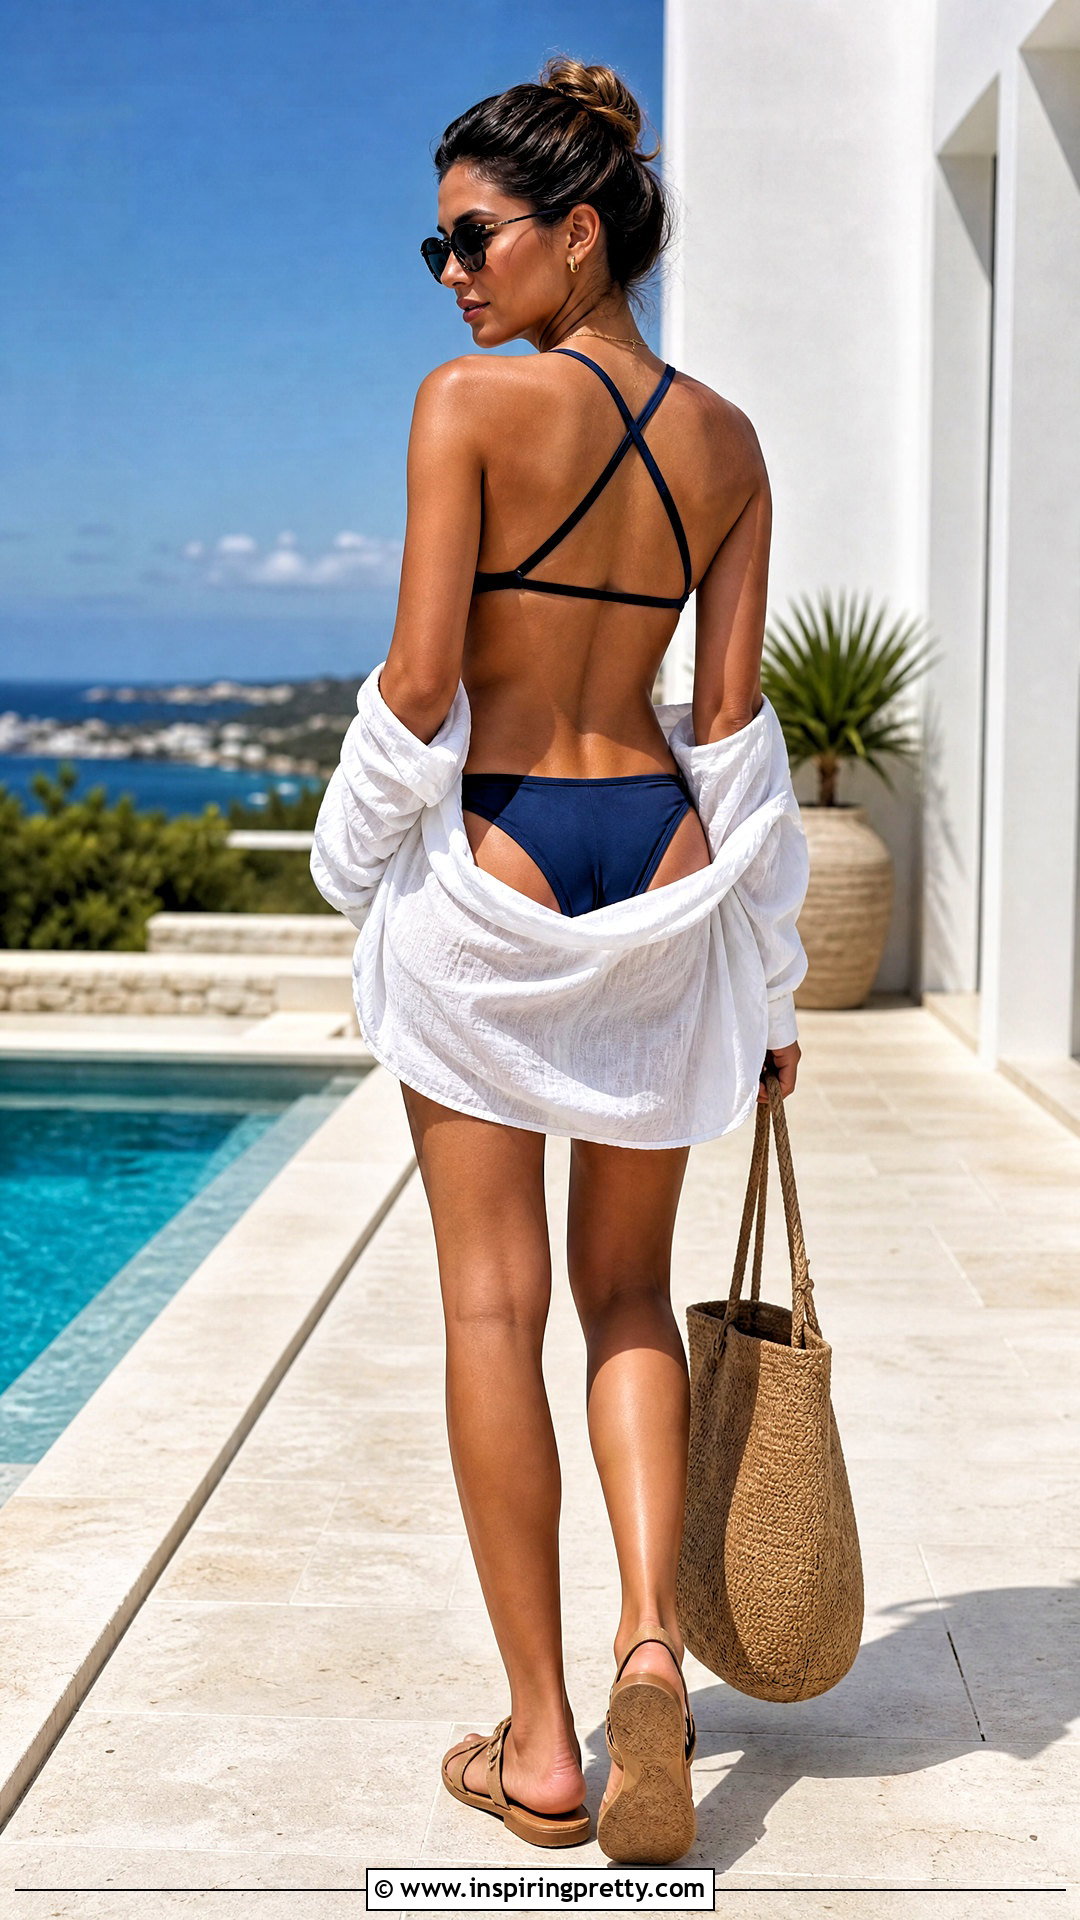
An X-back provides a balanced crossed design while leaving the front neckline simple. Secure the lower band around your torso and arrange the upright cups evenly. Take the right neck strap over your right shoulder and attach it to the left side of the back band. Bring the left strap over the left shoulder and secure it to the right side. The two straps should cross between your shoulder blades. Use tight double knots and ensure both sides carry equal tension. If one cup lifts or twists, loosen the opposite strap and rebalance the top. This arrangement often requires help to tie neatly. Complete the streamlined beach outfit with classic bikini bottoms, a lightweight button-down shirt, comfortable sandals, sunglasses, and a minimal tote.
31. Double X-Back Triangle Bikini Tie
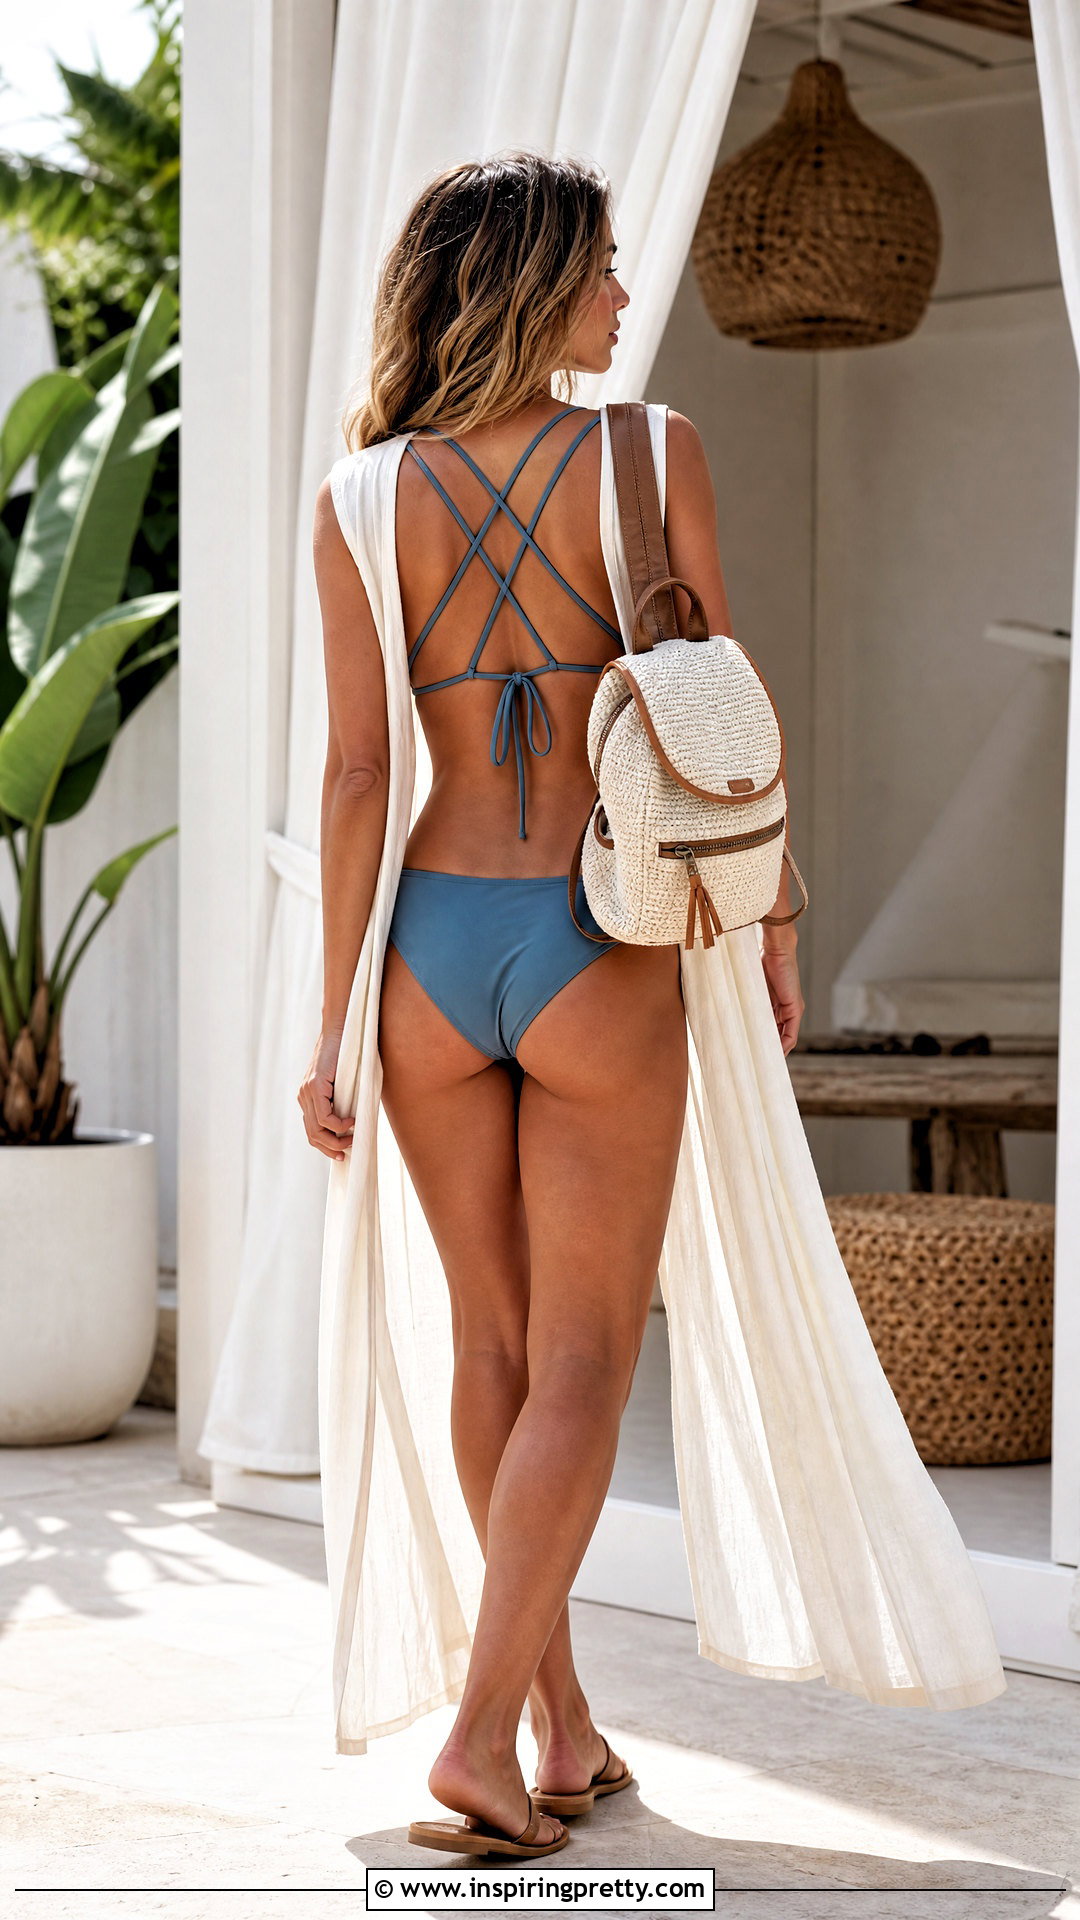
Extra-long straps allow you to form a more decorative double X across the back. Tie the lower cord around your torso, keeping the knot low and centered. Bring the upper strings over your shoulders and cross them between the shoulder blades. Loop each end around the lower band, then guide the strings back upward and cross them a second time. Finish by tying the remaining ends at the center back. Keep every line flat and evenly tensioned. The straps must not restrict shoulder movement or create pressure near the spine. Because this arrangement is complicated, practice it before your beach trip. Pair the top with solid bottoms, a sleeveless cover-up dress, flat sandals, and a compact backpack that will not disturb the straps.
32. Shoulder-Bow Triangle Bikini Tie

Separate shoulder bows turn an adjustable triangle top into a feminine bralette shape. Tie the lower string behind your back and position the cups normally. Instead of joining the upper straps behind your neck, each side needs an additional reachable anchor near the back band. Bring one strap over each shoulder and connect it to its corresponding side of the band, forming a small bow on top of the shoulder. This method works only when the strings and construction allow safe independent attachment. Keep both bows compact and equally tight. Test the straps by moving your arms in every direction. Reserve the look for relaxed wear if stability feels limited. Style it with high-waisted bottoms, a sheer cover-up, flat slides, and a woven handbag.
33. Side-Bow Triangle Bikini Tie
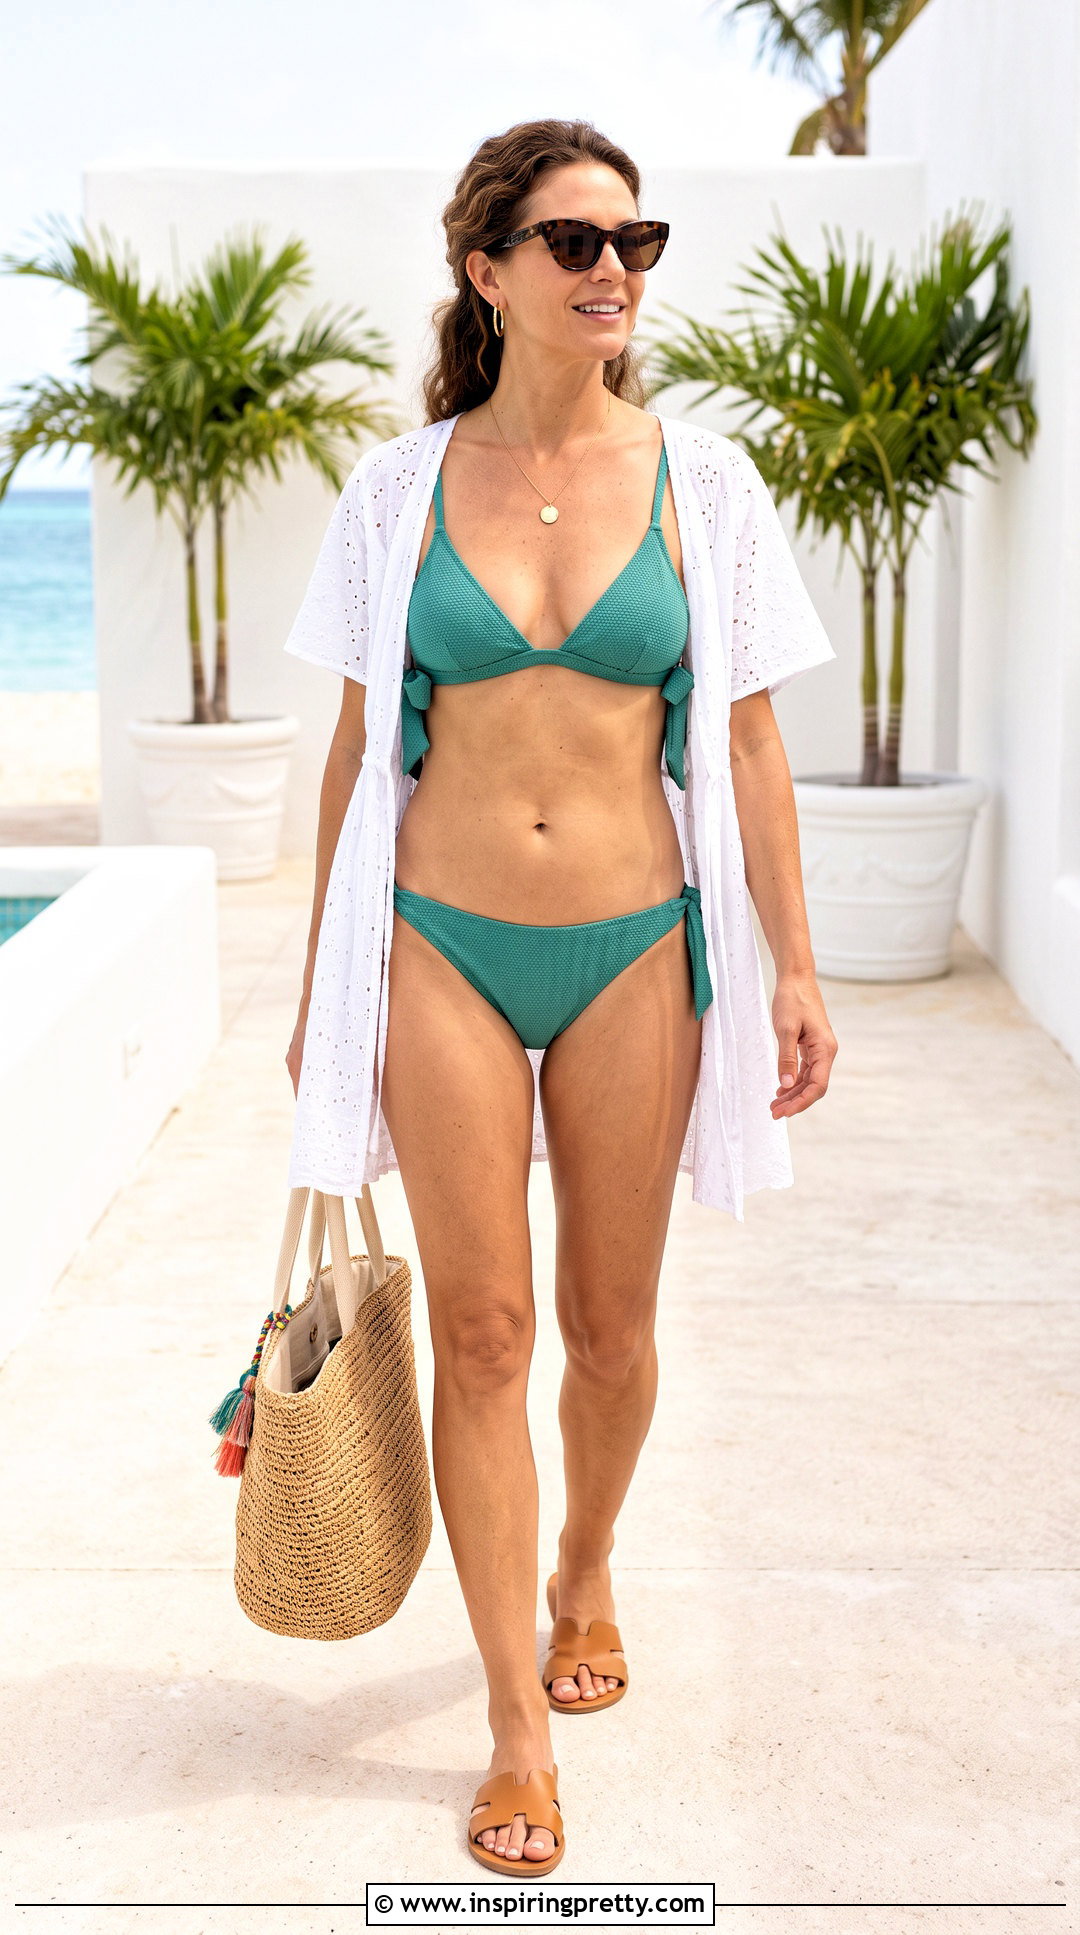
Side bows beneath the arms add detail without changing the classic front view dramatically. Center the triangle cups and bring the lower string around your torso. Rather than tying it at the middle of your back, divide the fastening so each side can be anchored near the underarm, provided the top has suitable separate ties. Form one firm bow on the right and another on the left. Secure the neck straps in the traditional halter position. Keep the side bows away from the armpits to prevent rubbing. Both sides should have equal tension so the band remains level. This variation is best suited to tops designed with multiple tie points. Add coordinated bottoms, an airy short cover-up, clean slides, and a simple beach tote.
34. Ruched Triangle Bikini Tie
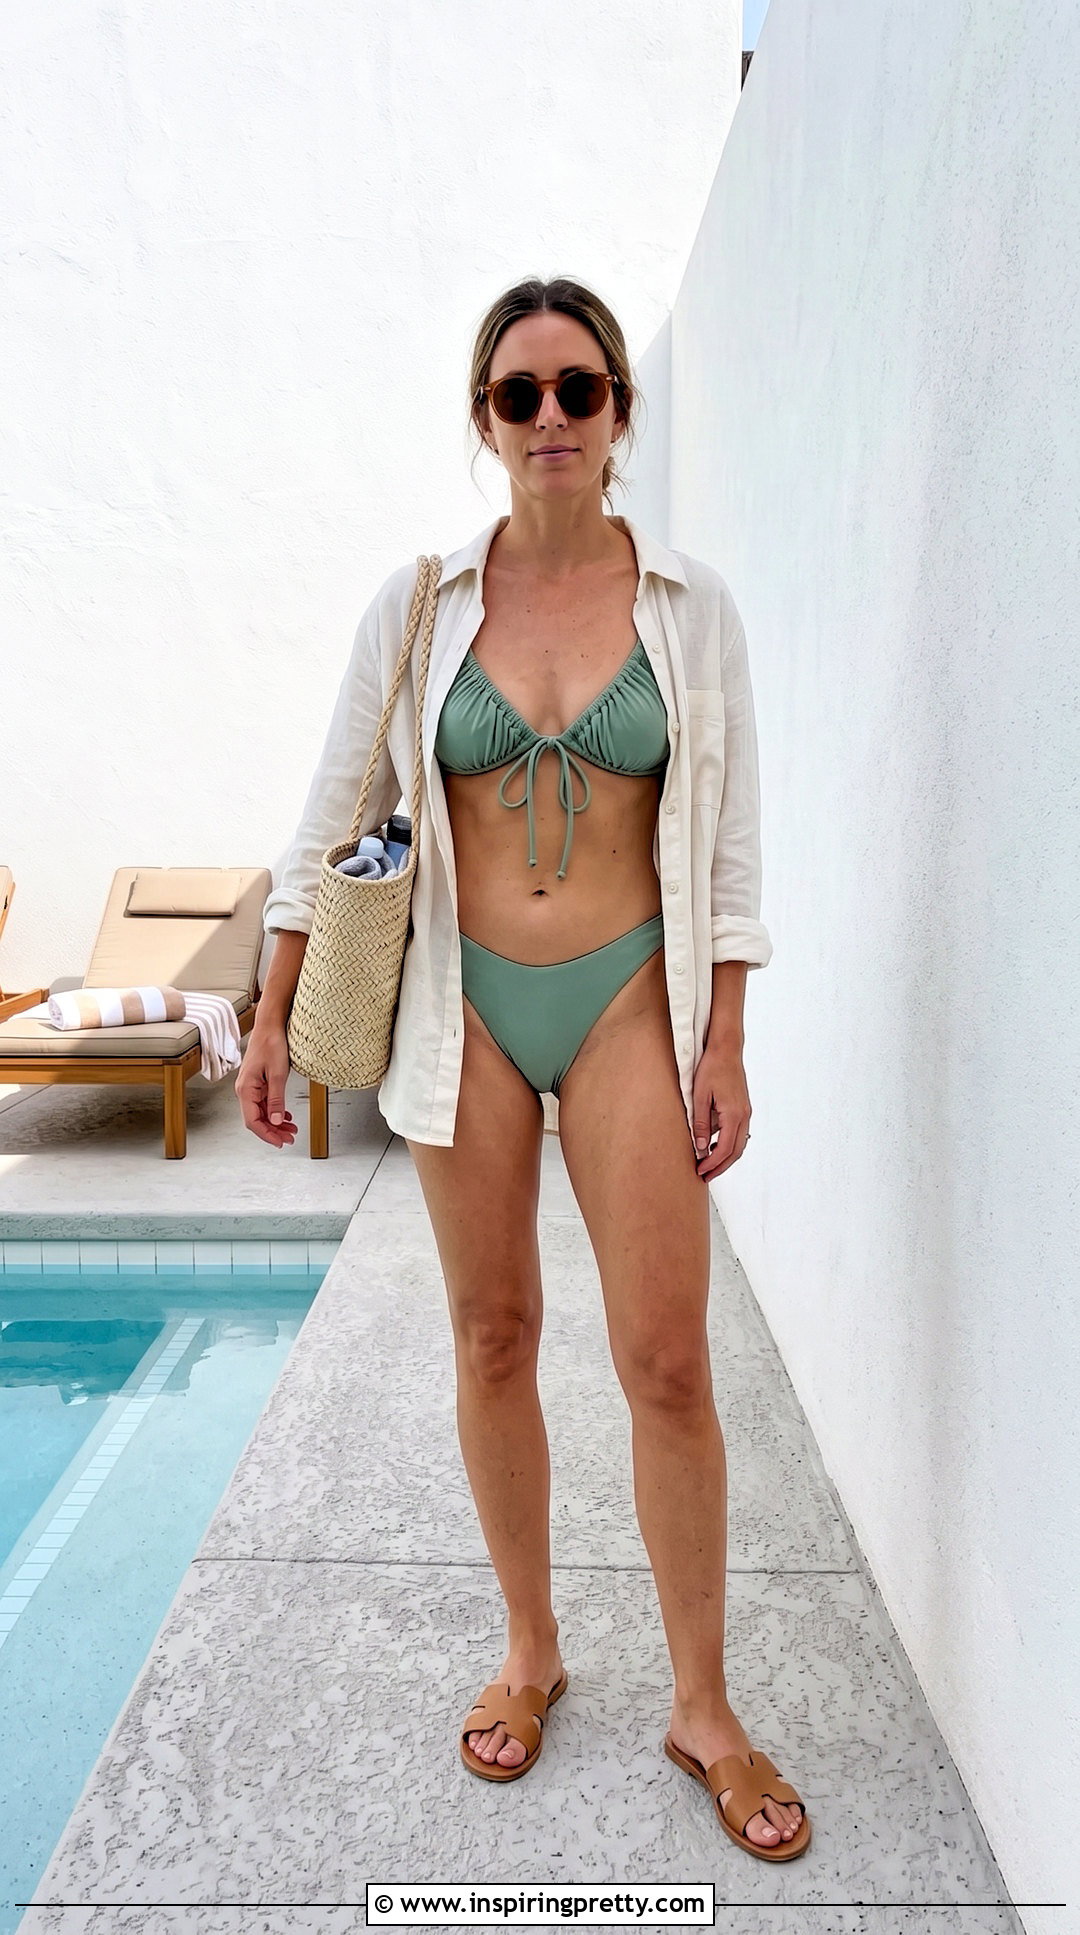
Gathering the cup fabric creates a narrower, more ruched triangle shape. Put the top on normally but leave the underbust string untied. Slide each cup inward along the cord, gently compressing the fabric into even gathers. Stop before coverage becomes insufficient. Hold the cups in position while wrapping the lower string around your back and securing it firmly. Tie the upper straps behind your neck, then distribute the ruching evenly on both sides. This adjustment changes the cup shape rather than the basic knot placement, making it one of the easiest transformations. Check coverage after sitting, bending, and lifting your arms. Wear the ruched top with high-cut bottoms, a loose button-down cover-up, minimal sandals, sunglasses, and a lightweight woven bag.
35. Wide-Coverage Triangle Bikini Tie

Spreading the cups wider creates a fuller-coverage version of the traditional halter. Before putting the top on, pull the gathered fabric outward along the lower string until each triangle appears broad and relatively smooth. Place the cups over the bust and secure the bottom band behind your torso. Tie the upper straps at the neck, then fine-tune the outer cup edges for balanced coverage. Avoid stretching the fabric so far that the center pulls or the lining becomes distorted. This practical adjustment may feel more comfortable when you want a less gathered shape. It also works well under a loose cover-up because the cups sit flatter. Complete the outfit with supportive bottoms, a breezy linen shirt, secure sandals, a sun hat, and a roomy tote.
36. Center-Gathered Triangle Bikini Tie
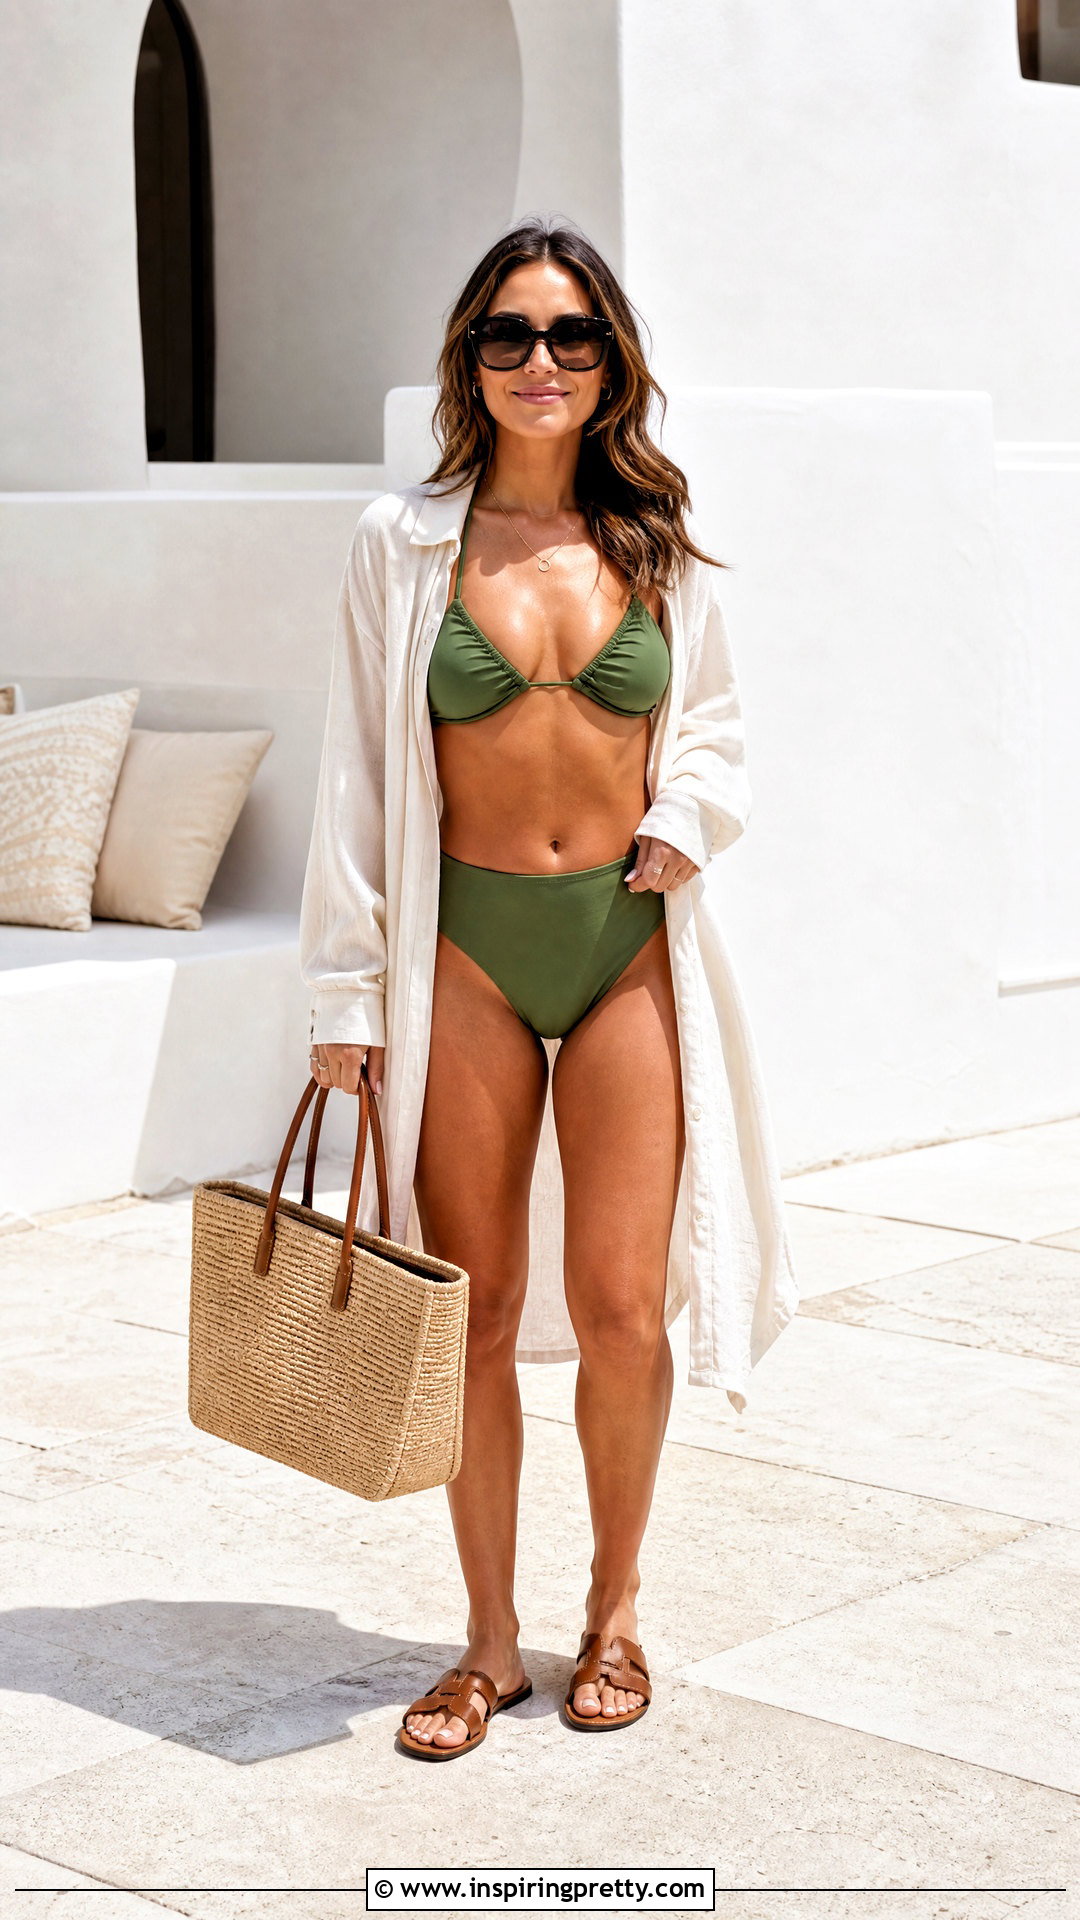
Center gathering brings the cups closer together while preserving their upright shape. Begin with the lower strings loose and slide both cups toward the middle. Leave only a small space between them, then tie a temporary knot in the center section if the construction allows it without damaging the fabric. Wrap the remaining lower strings around your torso and fasten them at the back. Tie the neck straps normally and adjust the gathers until both sides look even. Do not allow the cups to overlap or expose their lining. This arrangement can create a more defined center but may reduce coverage along the outer edges. Pair it with full-coverage bottoms, a long lightweight shirt, flat beach sandals, oversized sunglasses, and a structured straw tote.
37. Sweetheart Twist Bikini Tie
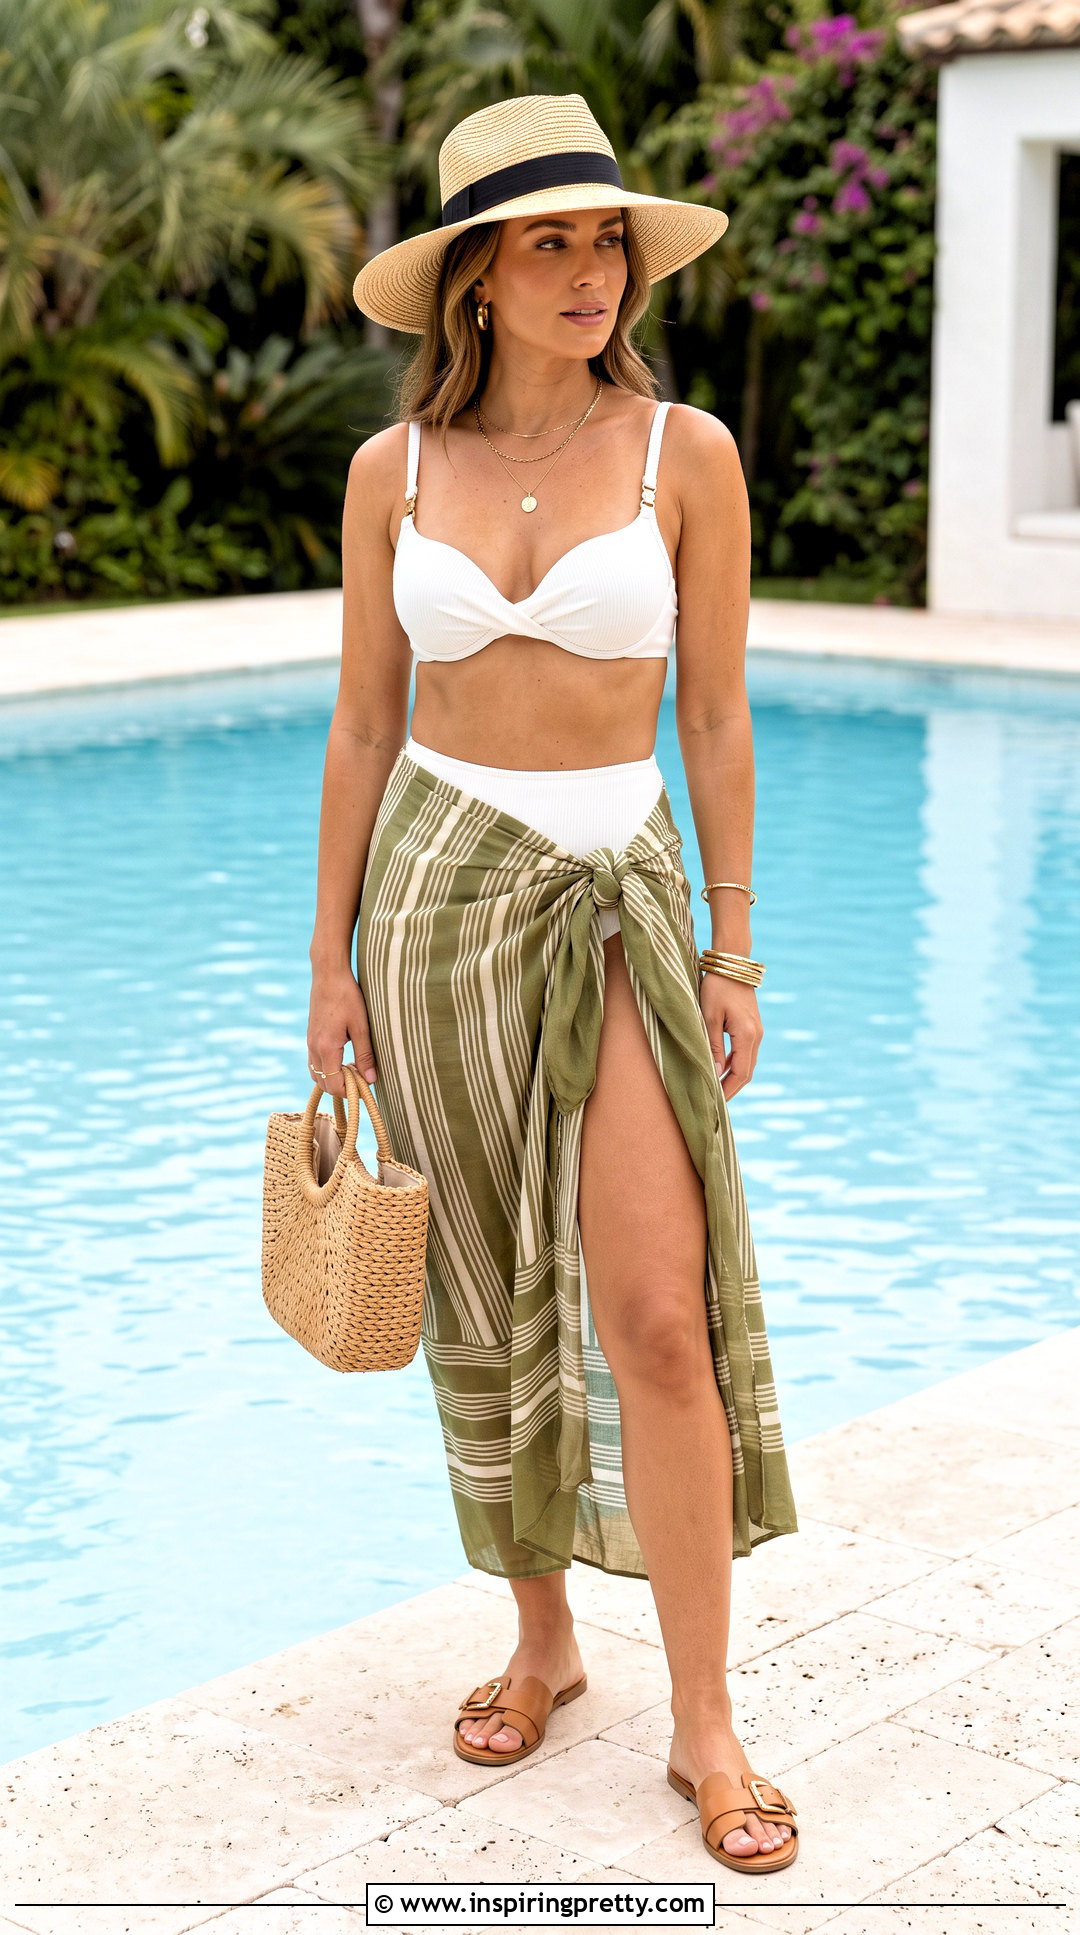
A small twist between the cups can suggest a curved sweetheart neckline. Place the top upright and slide the cups close to the center. Take the inner sections of the lower cord and rotate them once so the cups angle slightly upward. Wrap the remaining string around your back and tie it securely. Bring the upper straps behind your neck, keeping them loose until you have adjusted the center twist. Spread the upper cup edges into a gentle curve and confirm that the lining remains hidden. The twist should shape the neckline without compressing the bust. This detail is better for lounging than vigorous activity. Wear it with high-waisted bottoms, a flowing sarong, simple slides, a wide-brim hat, and a neat woven handbag.
38. Butterfly Twist Bikini Tie

The butterfly twist places a more visible crossed detail between horizontally angled cups. Rotate the top so the cups lean inward, then bring their inner corners toward the center of the bust. Cross the connecting strings once and twist them again to hold the cup edges in a wing-like position. Take the outer strings around your torso and secure them at the back. Use the remaining upper ties as a halter or connect them behind your shoulders, depending on their length. Keep the center twist compact and check that both cups stay fully lined. This arrangement is mainly a fashion-focused lounging tie. Pair it with simple bottoms, a lightweight wrap skirt, flat sandals, understated sunglasses, and a clean beach tote.
39. Diamond Keyhole Bikini Tie

Crossed upper and lower strings can frame a small diamond-shaped opening at the center. Position the cups upright with a narrow gap between them. Cross the lower free ends beneath the gap, then guide them around your torso and tie them at the back. Bring the upper straps downward toward the center, cross them above the opening, and take them up around your neck. The two crossing points should define a neat diamond without pulling the cups away from the bust. Adjust the size of the opening before tightening every knot. This decorative arrangement is most suitable for relaxed poolside wear. Style it with matching bottoms, a long sheer cover-up, simple metallic slides, sunglasses, and a small structured beach bag.
40. Front V Triangle Bikini Tie
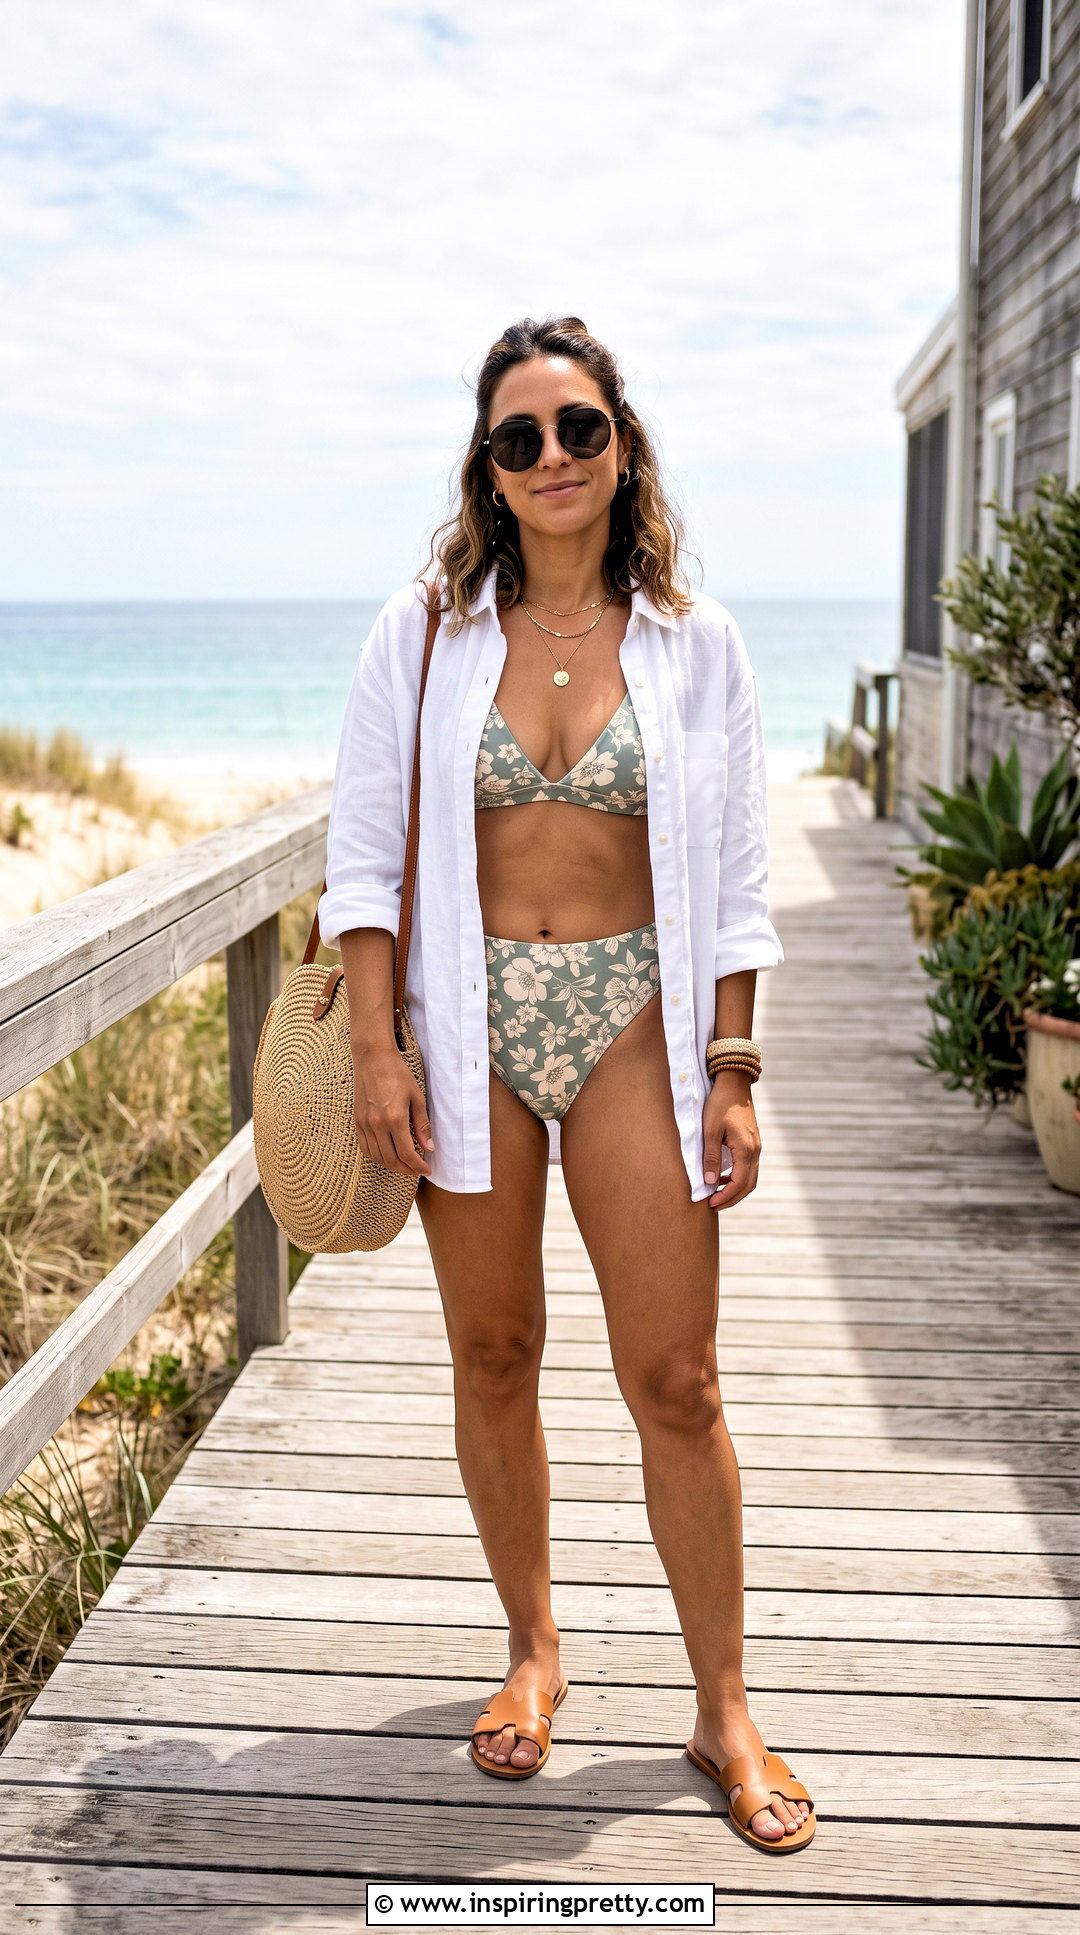
The front V uses the neck straps to draw clean diagonal lines toward the center. Tie the underbust string behind your back and place the cups in their standard position. Bring the upper straps down along the inner cup edges until they meet beneath the bust. Cross or knot them around the center of the lower band, then take the remaining ends upward and around your neck. The straps should form a clear V above the meeting point. Keep the knot soft and flat so it does not press into the skin. Readjust the cups if the V pulls them too far inward. Finish the outfit with high-leg bottoms, a breezy open shirt, flat sandals, oversized sunglasses, and a woven shoulder bag.
41. X-Neck Triangle Bikini Tie
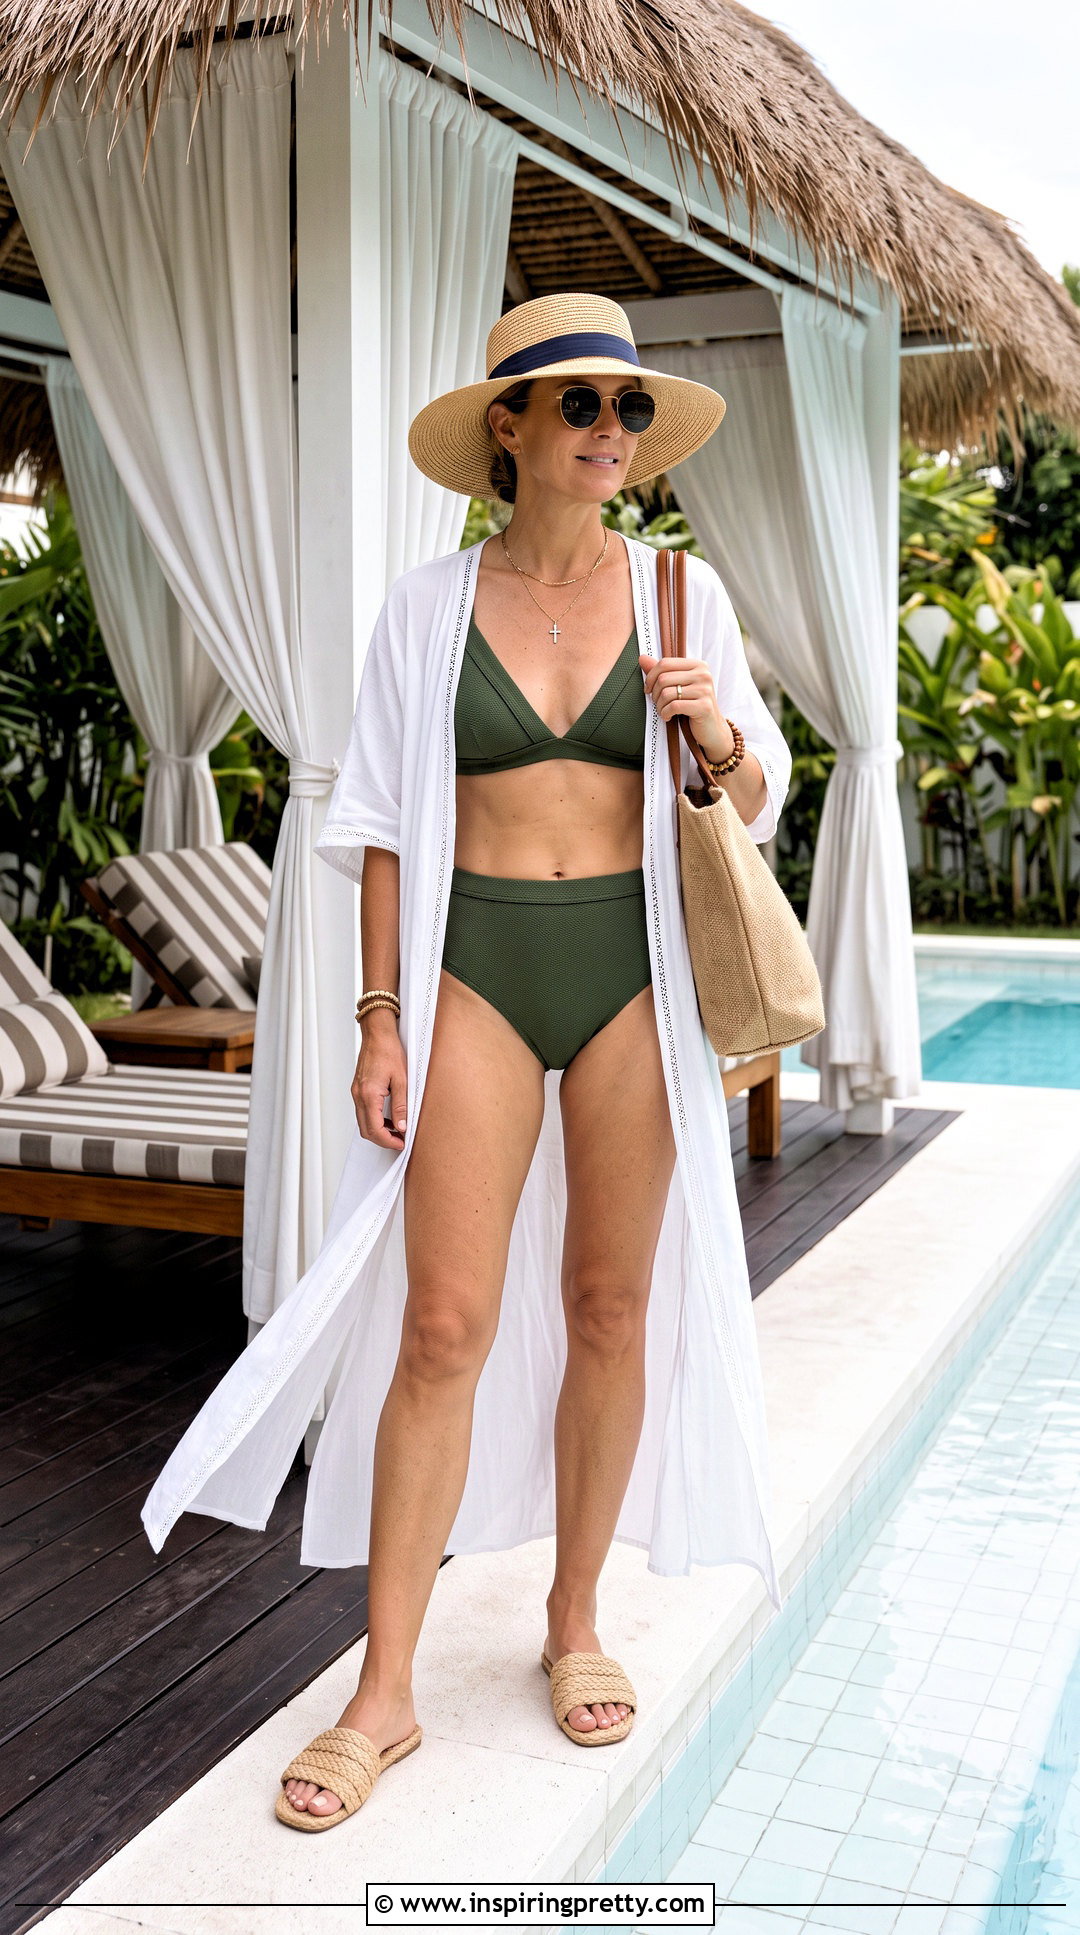
The X-neck places a higher cross near the collarbone for a defined halter shape. Start with the triangle cups upright and secure the lower string behind your torso. Bring both upper straps across the front of your neck, making a single X just below the collarbone. Continue the strings around opposite sides of your neck and fasten them behind it. Smooth the straps so the cross lies flat rather than forming a tight rope. Keep adequate space between the strings and your throat. This tie may pull the cups inward slightly, so spread their fabric after the bow is secured. Wear it for relaxed beach activities with coordinated bottoms, a lightweight maxi cover-up, comfortable slides, a sun hat, and a simple tote.
42. Reverse X-Neck Bikini Tie
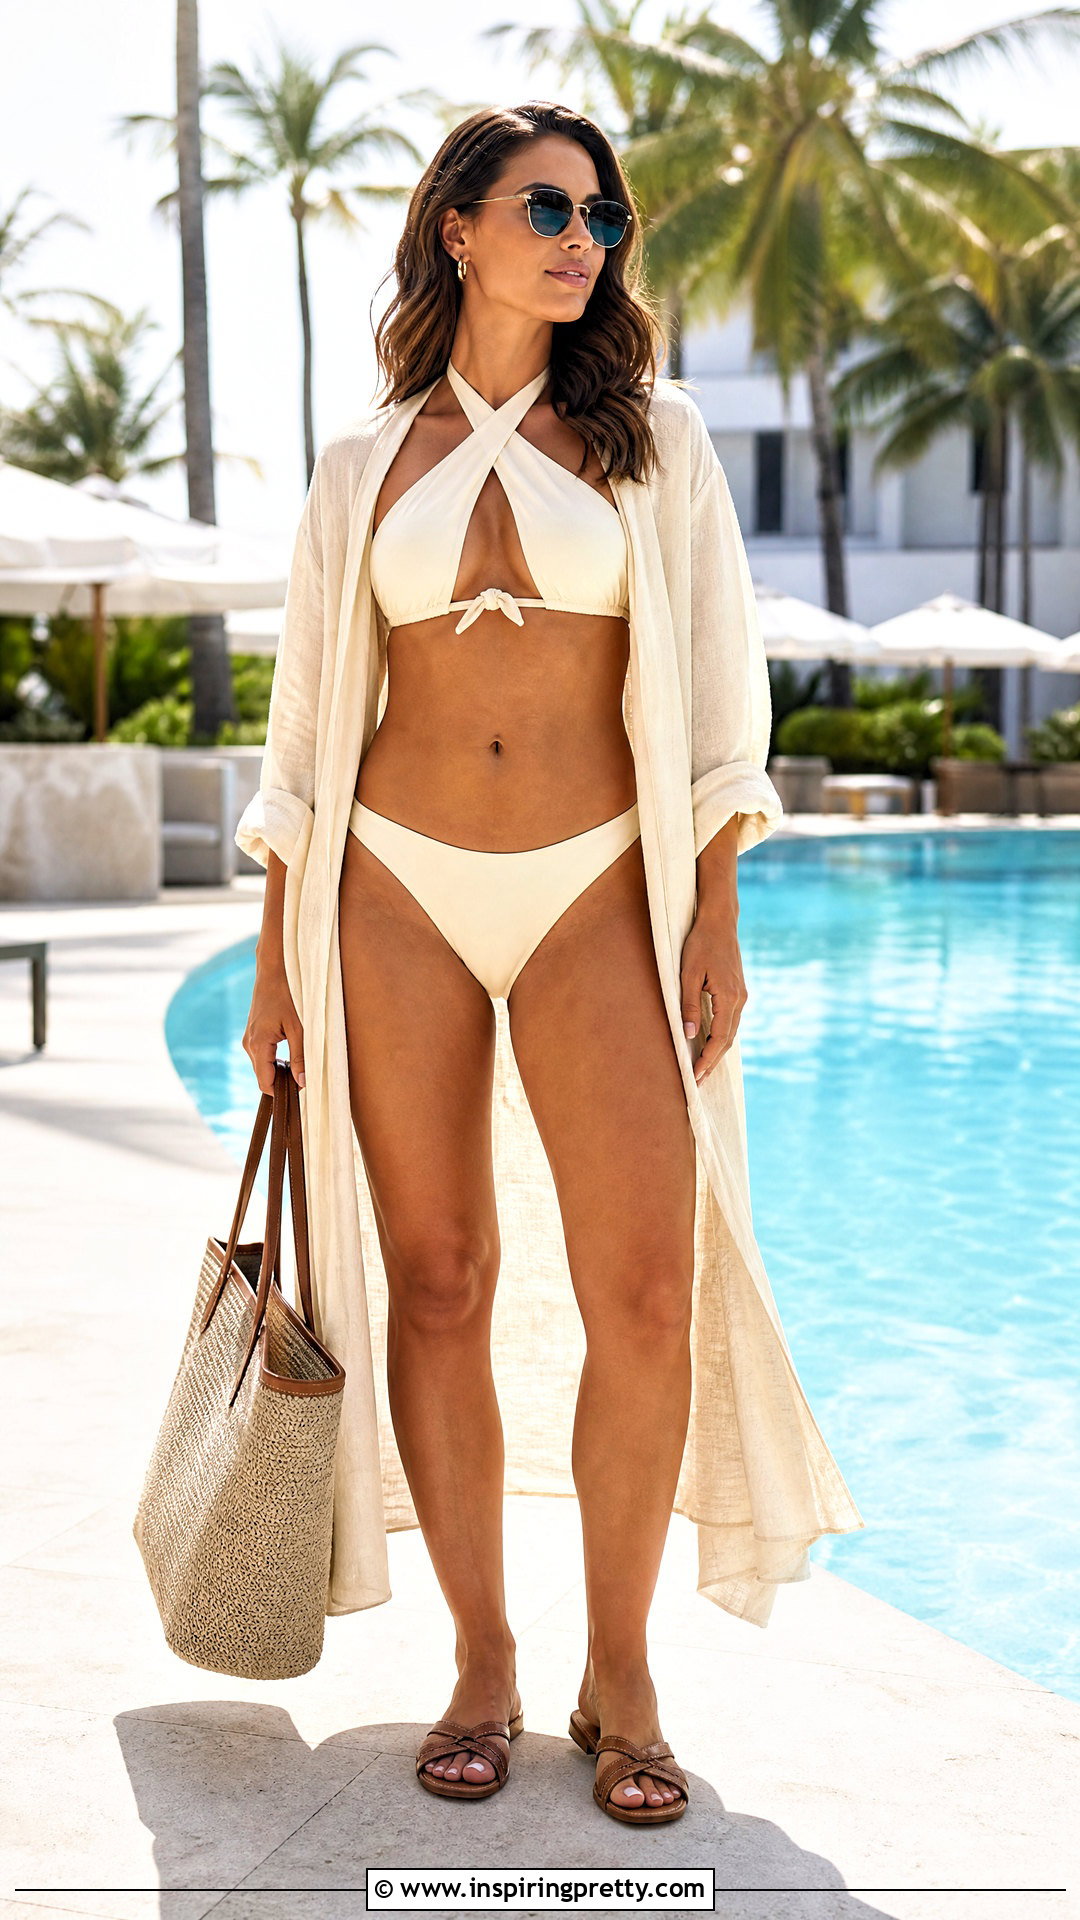
A reverse X-neck begins with the straps crossing behind the neck rather than across the chest. Tie the lower string around your torso and balance the cups. Bring both upper straps over your shoulders, cross them at the back of your neck, and return the ends toward the front. Guide them down along the outer neckline, then secure them together between the cups or around the center underbust cord. Keep the rear cross low enough to avoid pressure at the hairline. The front ends should lie smoothly without pressing into the bust. Because the tie finishes at the center front, use a dependable double knot. Pair this variation with sleek bottoms, an open linen cover-up, water-friendly sandals, sunglasses, and a structured beach tote.
43. High-Neck Lattice Bikini Tie
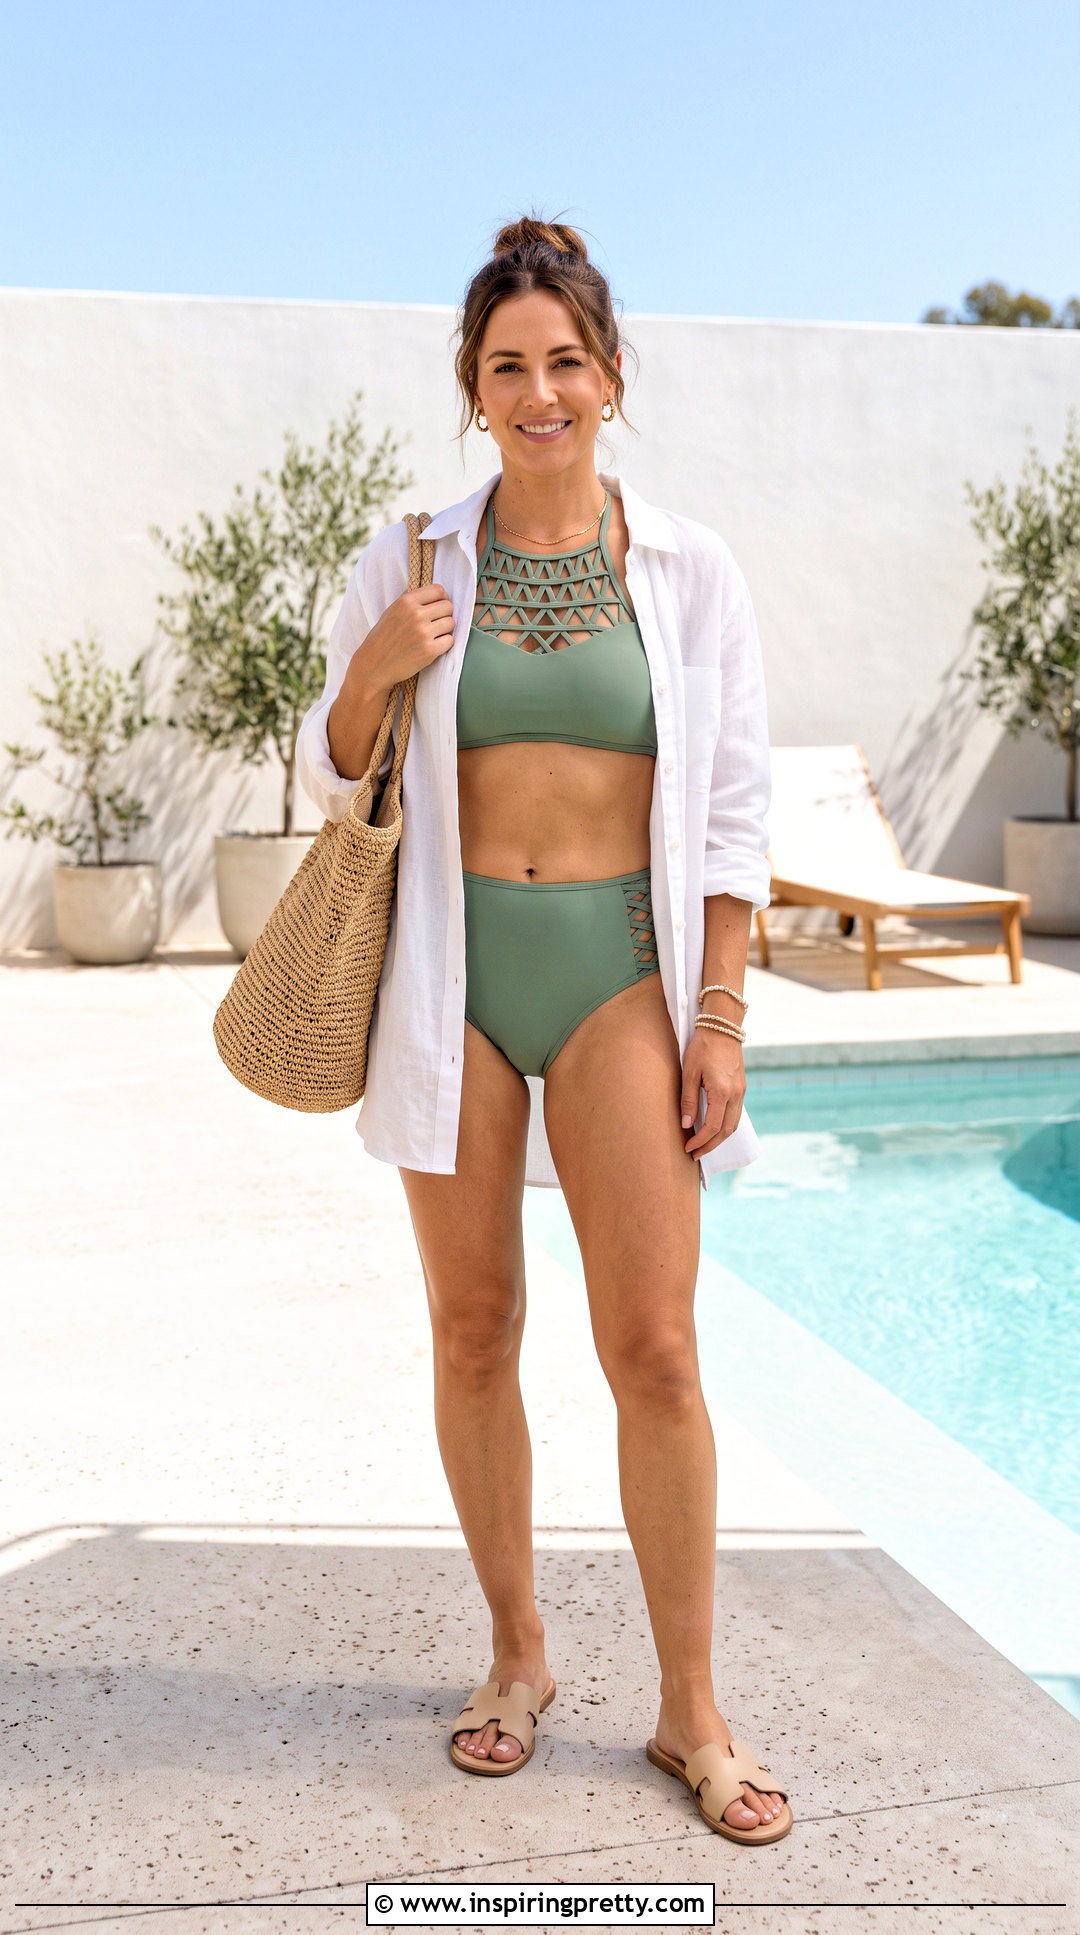
A high-neck lattice uses repeated crossings to create a decorative upper panel. Secure the underbust band and position the cups with slightly more space than usual between them. Bring the upper straps inward and cross them above the bust. Cross them again closer to the collarbone, maintaining even gaps between the lines. Take the remaining ends behind your neck and tie them securely. Do not create more crossings than the string length comfortably permits. Each line should rest flat without tightening around the throat. Since the lattice can shift when wet, this variation is better for poolside lounging and photographs. Complete the full look with high-waisted bottoms, a sheer long shirt, simple slide sandals, minimal earrings, and a woven tote.
44. Center-Loop Triangle Bikini Tie
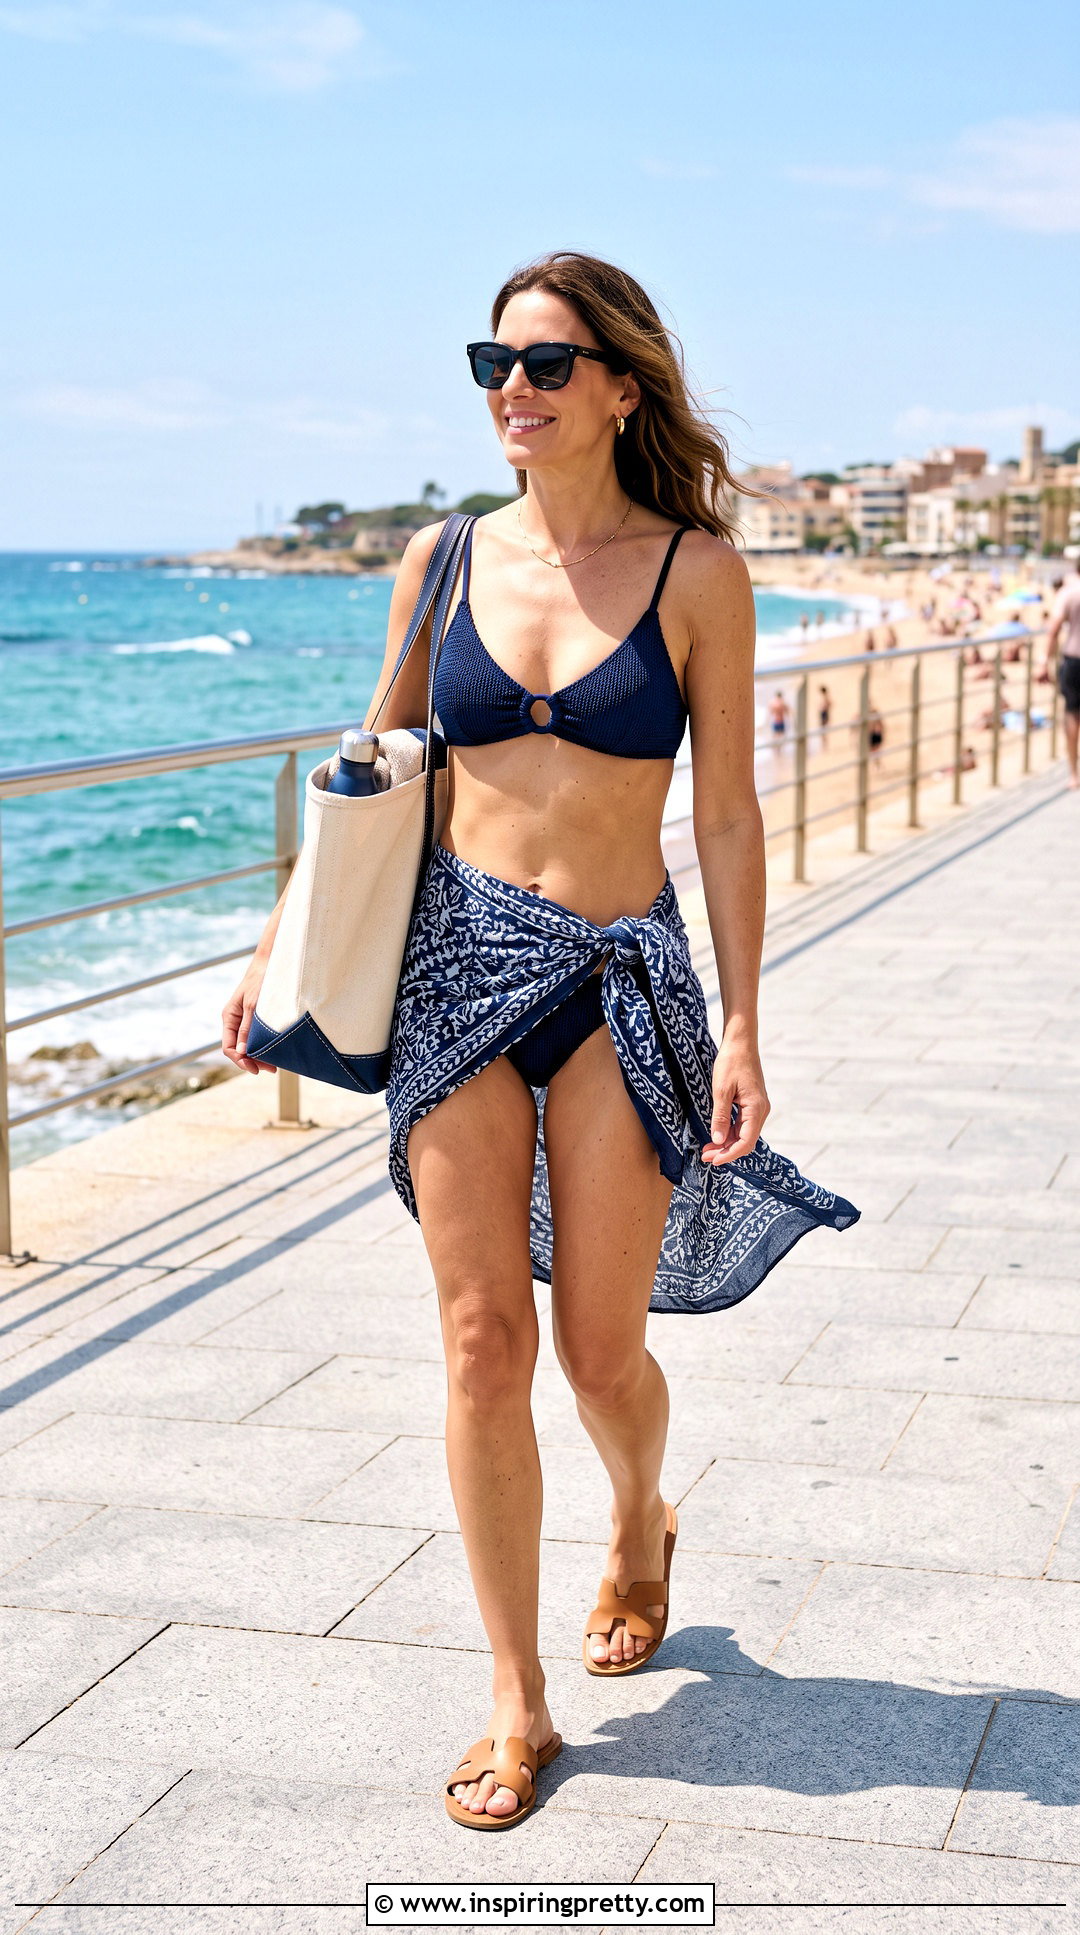
A center loop adds subtle detail without requiring an external ring or accessory. Place the top upright and secure the lower band behind your torso. Bring both neck straps down between the cups and make a loose loop by passing one strap around the other. Pull the loop into a small rounded shape, then guide the free ends upward around your neck. Tie them behind the neck and adjust the loop so it remains centered. Avoid cinching it into a hard knot that could press against your chest. The loop is decorative, so it should not carry all the tension. Pair this arrangement with simple bikini bottoms, a lightweight sarong, clean flat sandals, sunglasses, and a spacious canvas beach bag.
45. Knotted Cup-Tip Bikini Tie
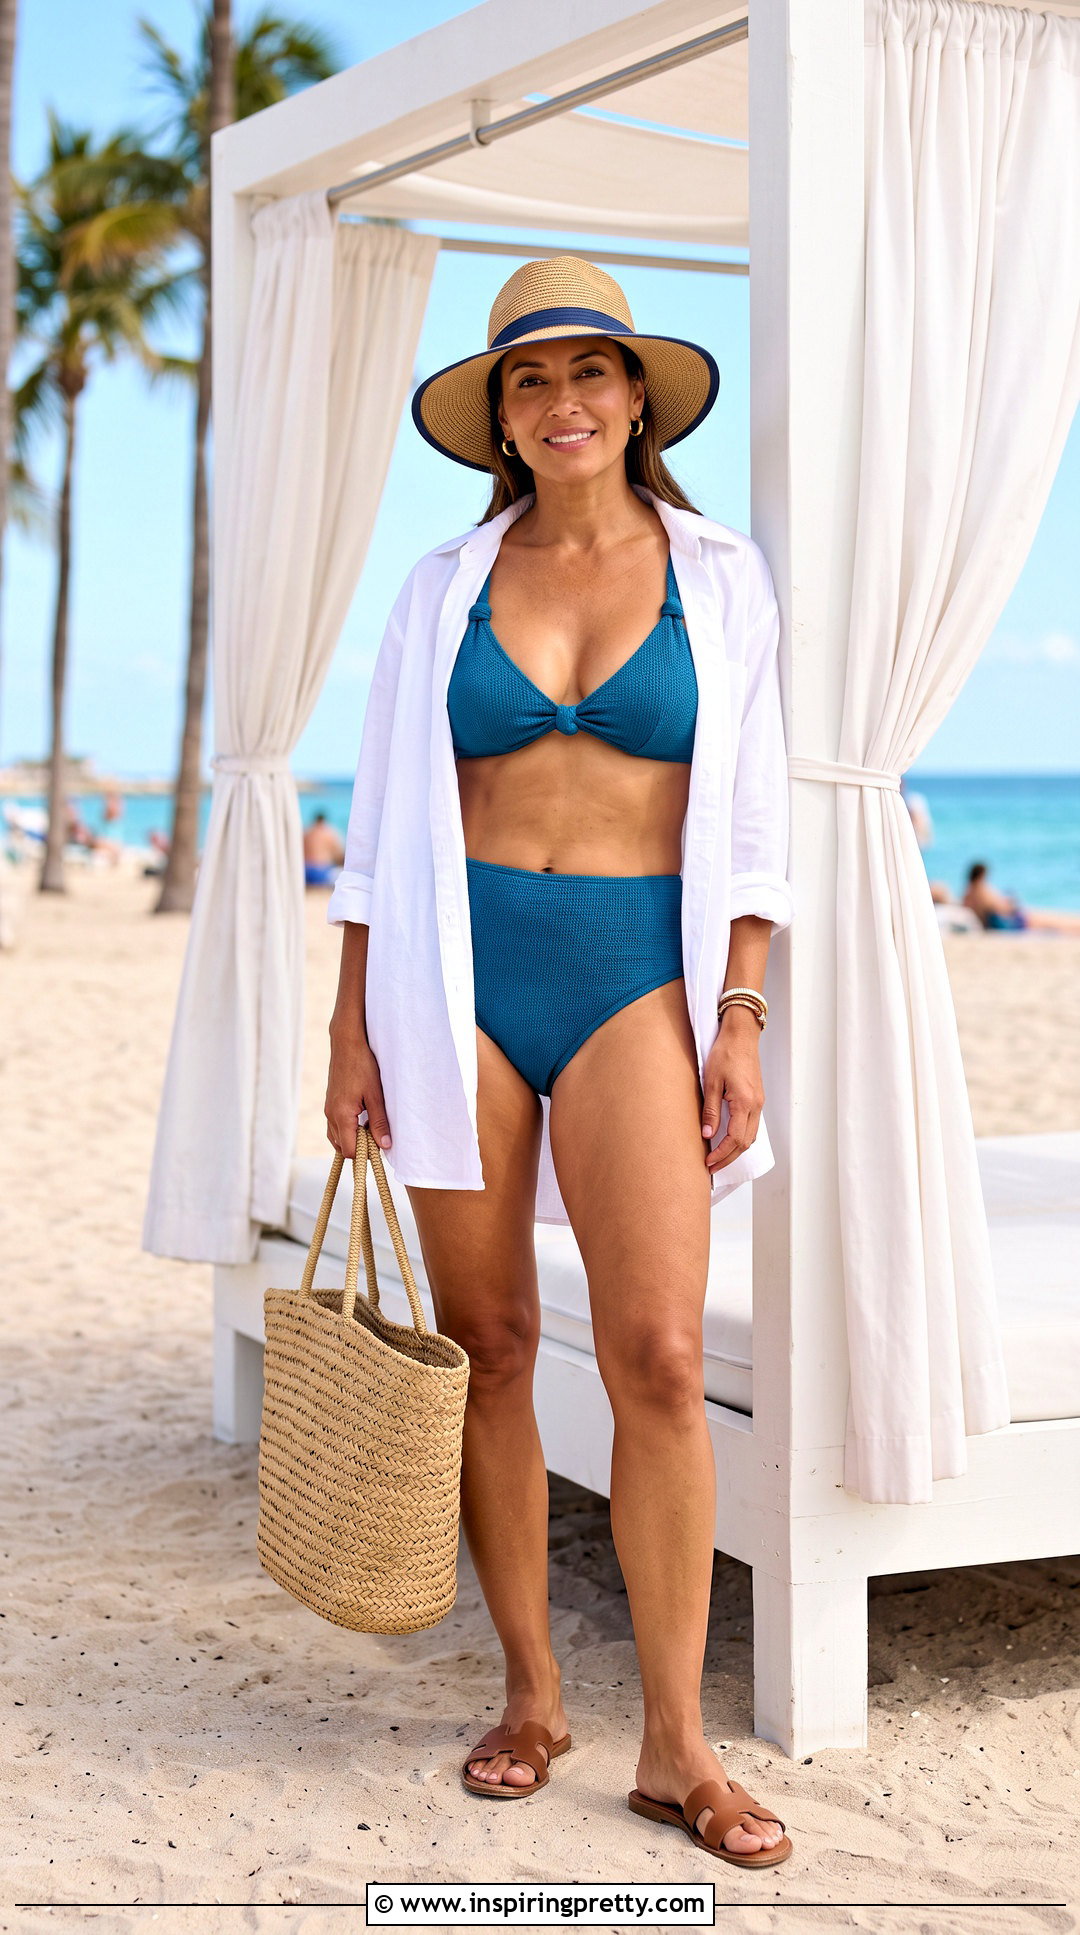
Small knots above the cup tips can help define where the neckline straps begin. Lay the bikini flat and tie a loose overhand knot in each upper strap close to its cup attachment. Make sure the knots sit at matching heights. Put the top on, secure the lower band behind your back, and tie the remaining upper strap length behind your neck. The decorative knots should rest above the cups rather than directly against sensitive skin. Do not use this technique if knotting stresses the seams or leaves insufficient neck length. It retains the traditional triangle silhouette while adding a simple detail. Finish the beach look with high-rise bottoms, an open cotton shirt, flat slides, a sun hat, and a practical woven tote.
46. Double Underbust Knot Bikini Tie
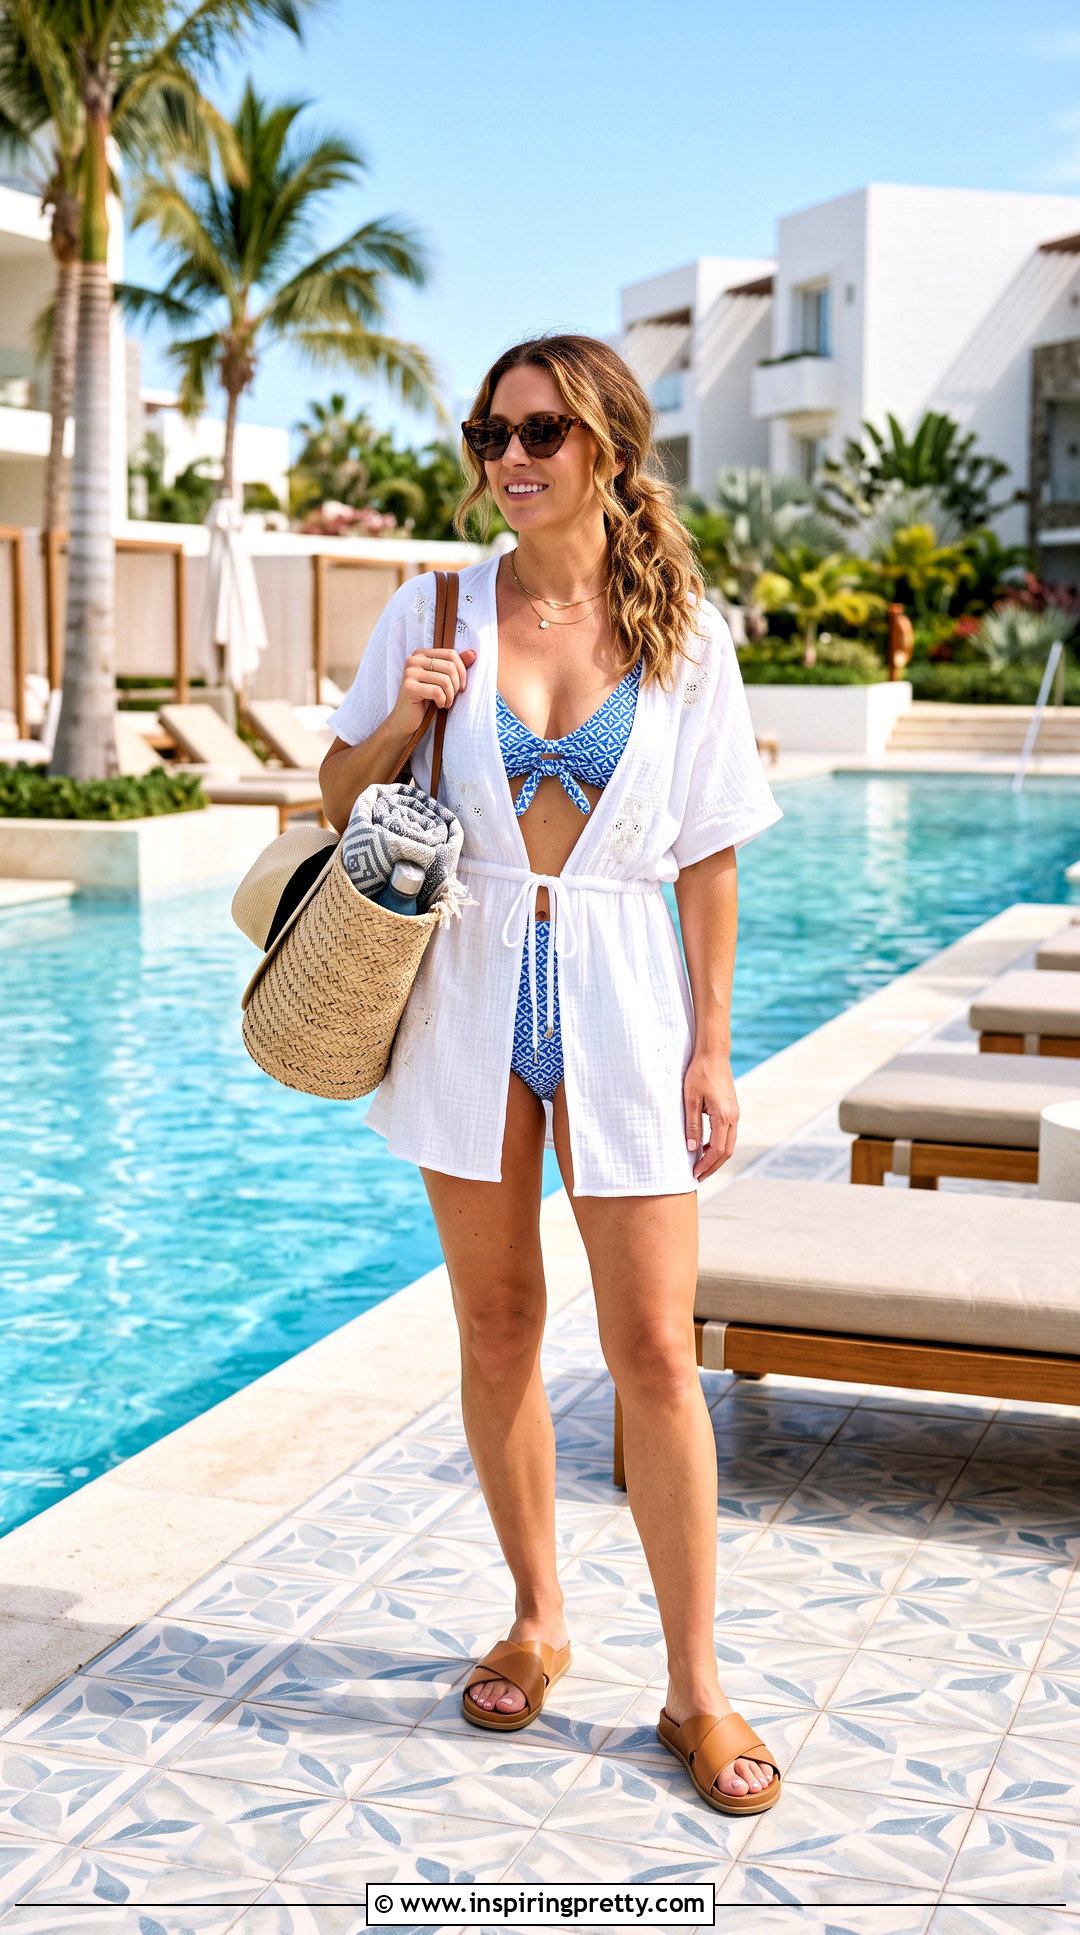
Two small knots can secure the front while creating a structured center detail. Position the cups upright and slide them apart enough to access both lower string ends at the front. Wrap the longer section of the cord around your back and return the ends beneath the bust. Tie one firm knot at the center, then add a second knot directly below it. Leave the strings hanging neatly or form a very small bow if sufficient length remains. Secure the upper straps behind your neck and check that the double knot does not press into your skin. This variation is simple but visually distinct. Wear it with matching bottoms, a short airy cover-up, comfortable sandals, sunglasses, and a roomy beach tote.
47. Longline Wrap Triangle Bikini Tie
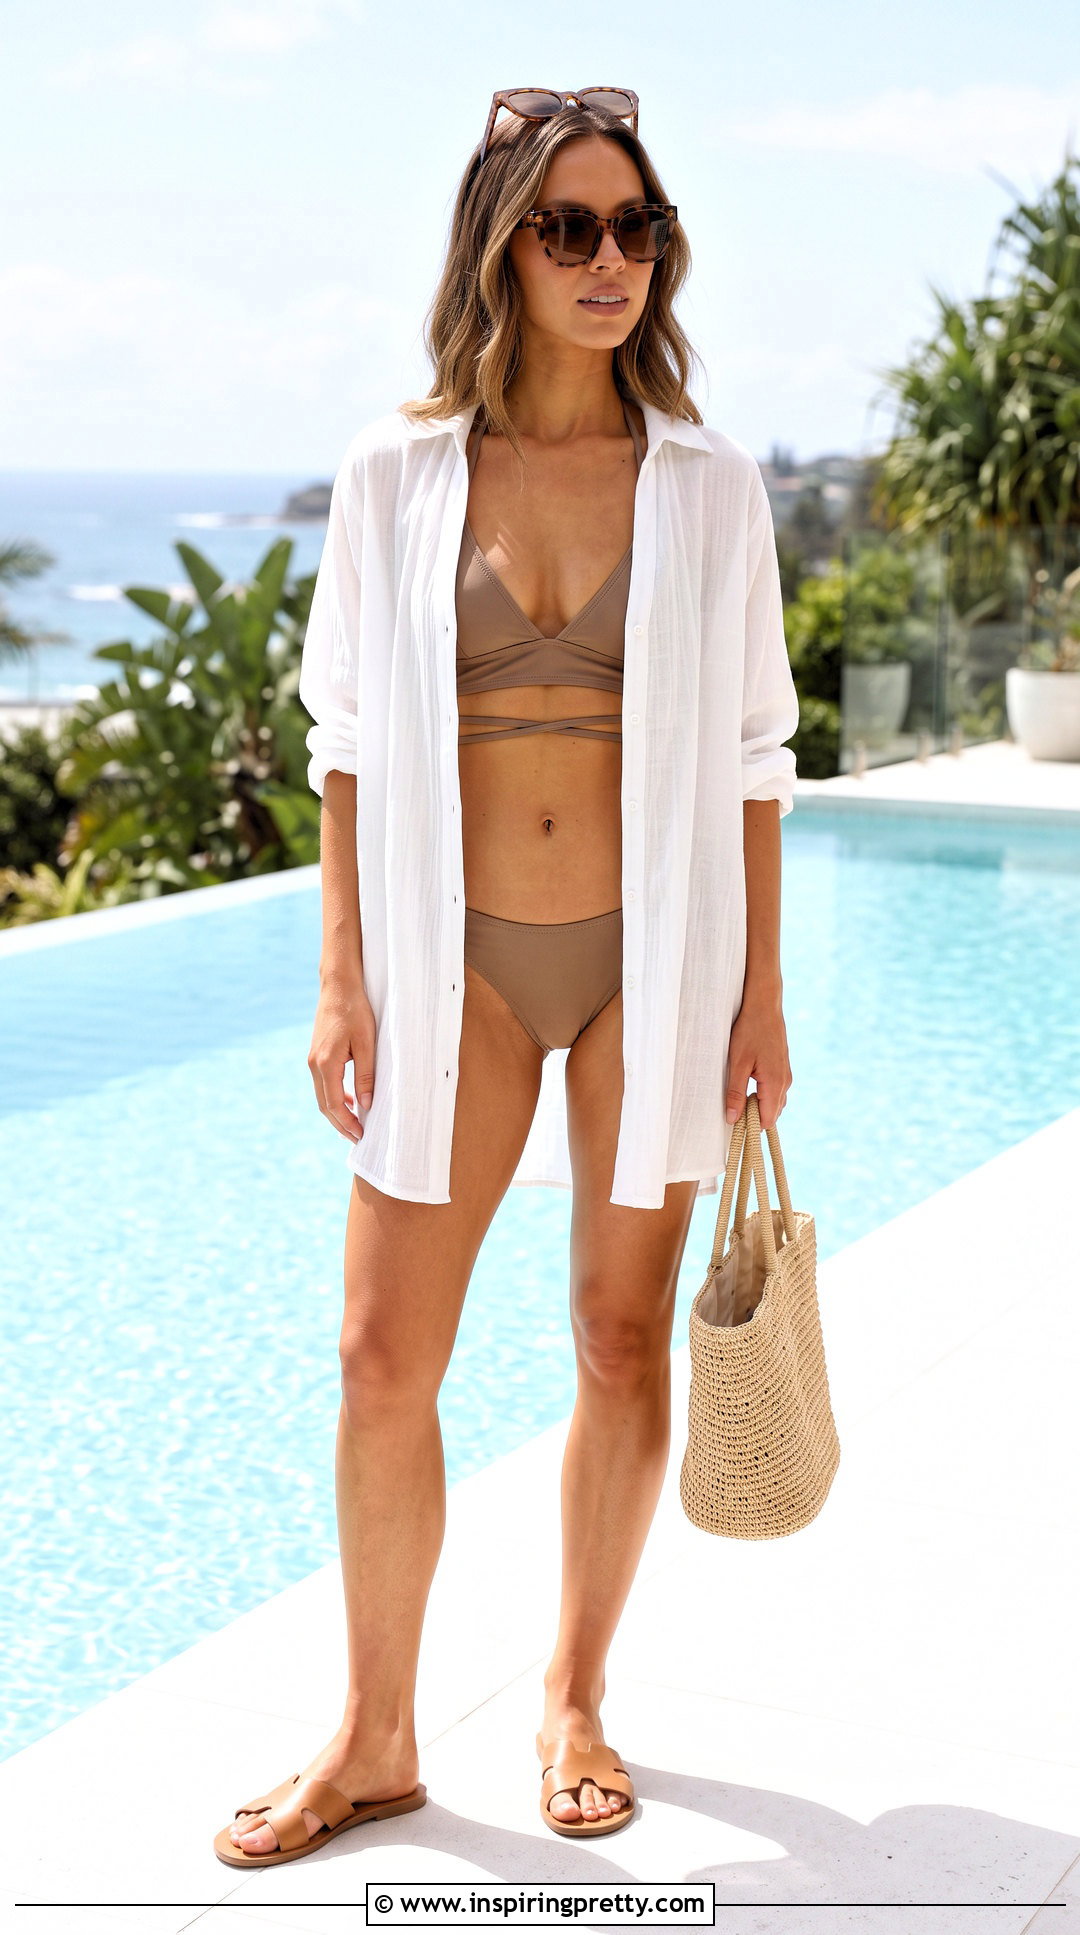
The longline wrap creates several neat bands below a traditionally positioned top. Arrange the cups and tie the upper straps behind your neck. Take the extra-long lower strings around your back and cross them once. Return them to the front beneath the cups, cross them again, and angle them downward. Wrap them around your natural waist before finishing with a bow at the back. Space the bands evenly to create a deliberate longline effect. Keep every layer comfortable enough for deep breathing and sitting. This style works best with soft strings that will not roll or dig into the body. Coordinate it with low-rise bottoms, a sheer cover-up shirt, flat sandals, oversized sunglasses, and a simple woven tote.
48. Low-Back Triangle Bikini Tie
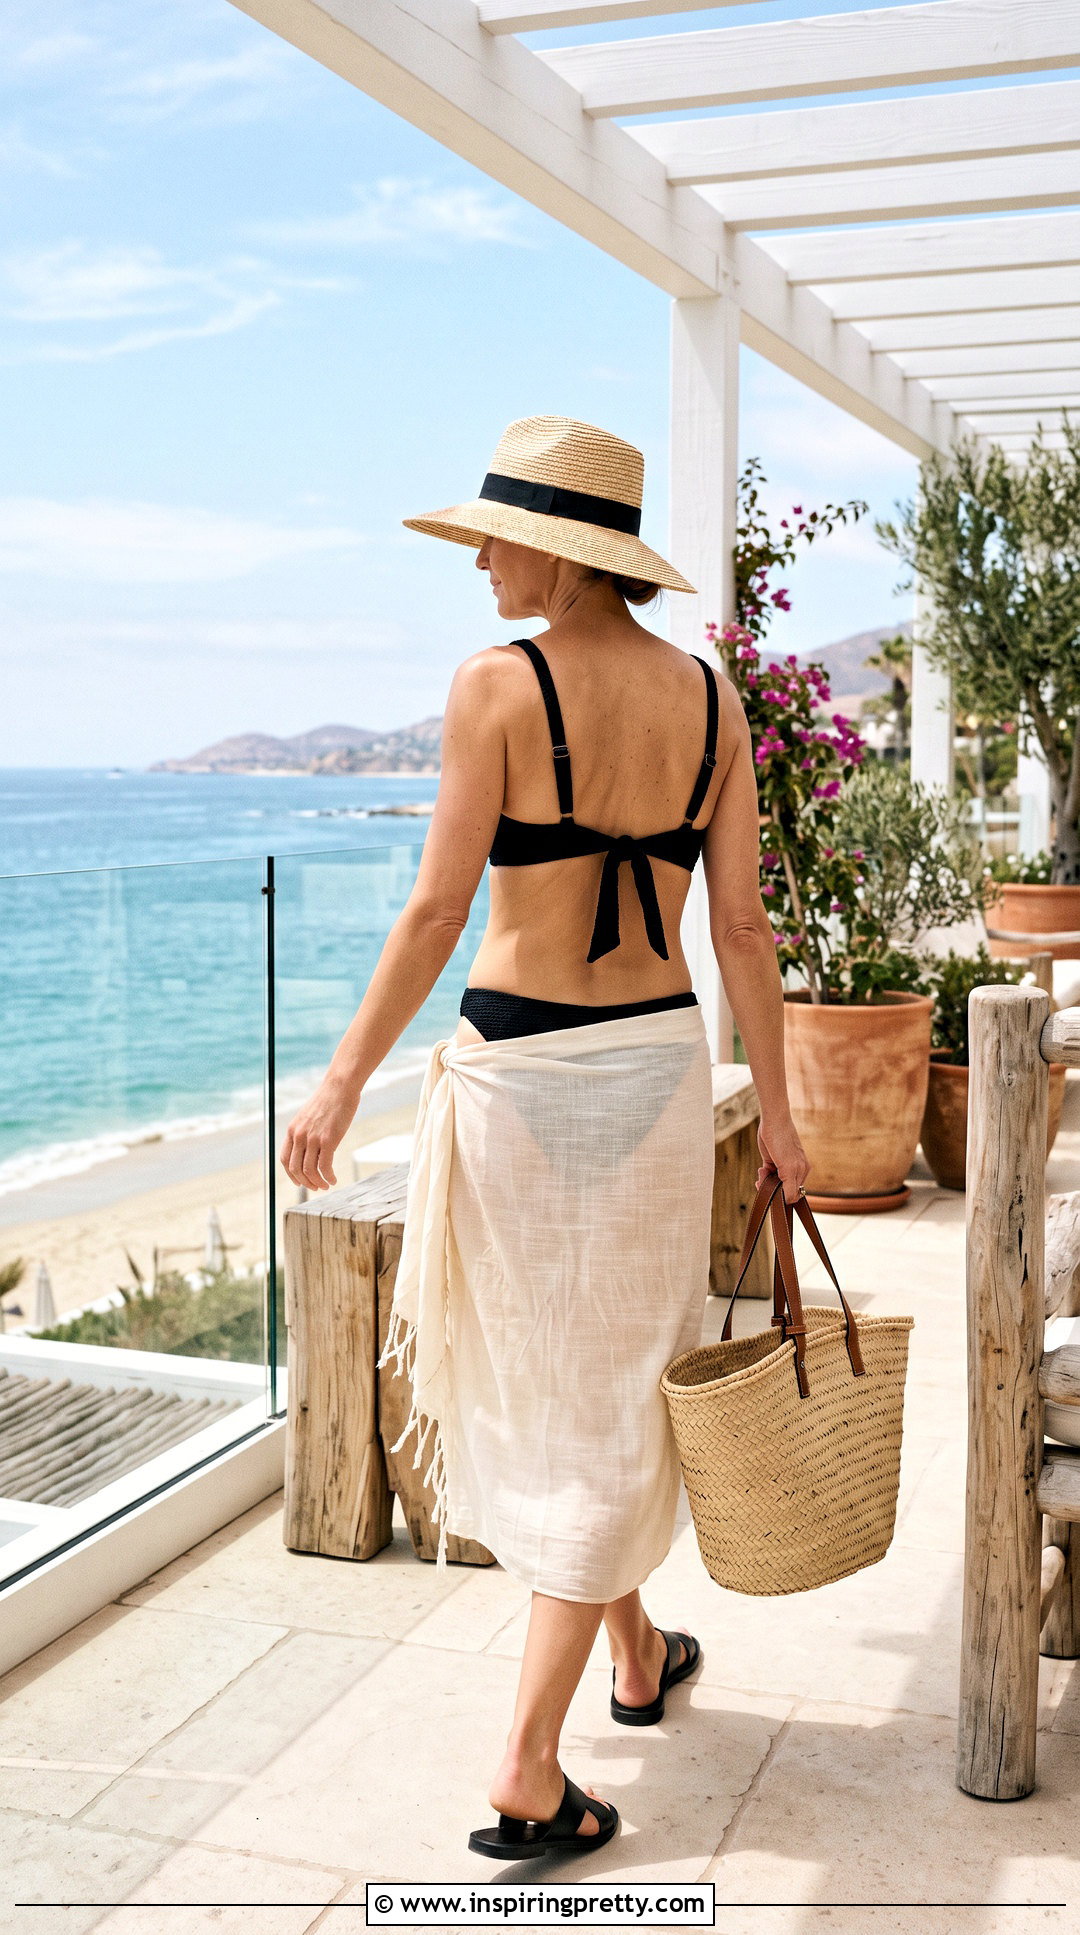
The low-back method places the final knot farther down the torso for a cleaner upper back. Tie the upper straps in a halter and arrange the cups securely. Take the lower strings around your rib cage, angle them downward, and cross them at the center of your back. If the ties are long enough, carry them around the waist and finish with a bow at the lower back. Keep the band directly beneath the cups before allowing it to angle downward. Otherwise, the top may lose its anchor. Test the fit by leaning forward and lifting your arms. This relaxed arrangement pairs well with low-rise bottoms, a lightweight wrap skirt, simple slides, a wide-brim hat, and a handheld beach tote.
49. Shoulder-And-Waist Wrap Bikini Tie
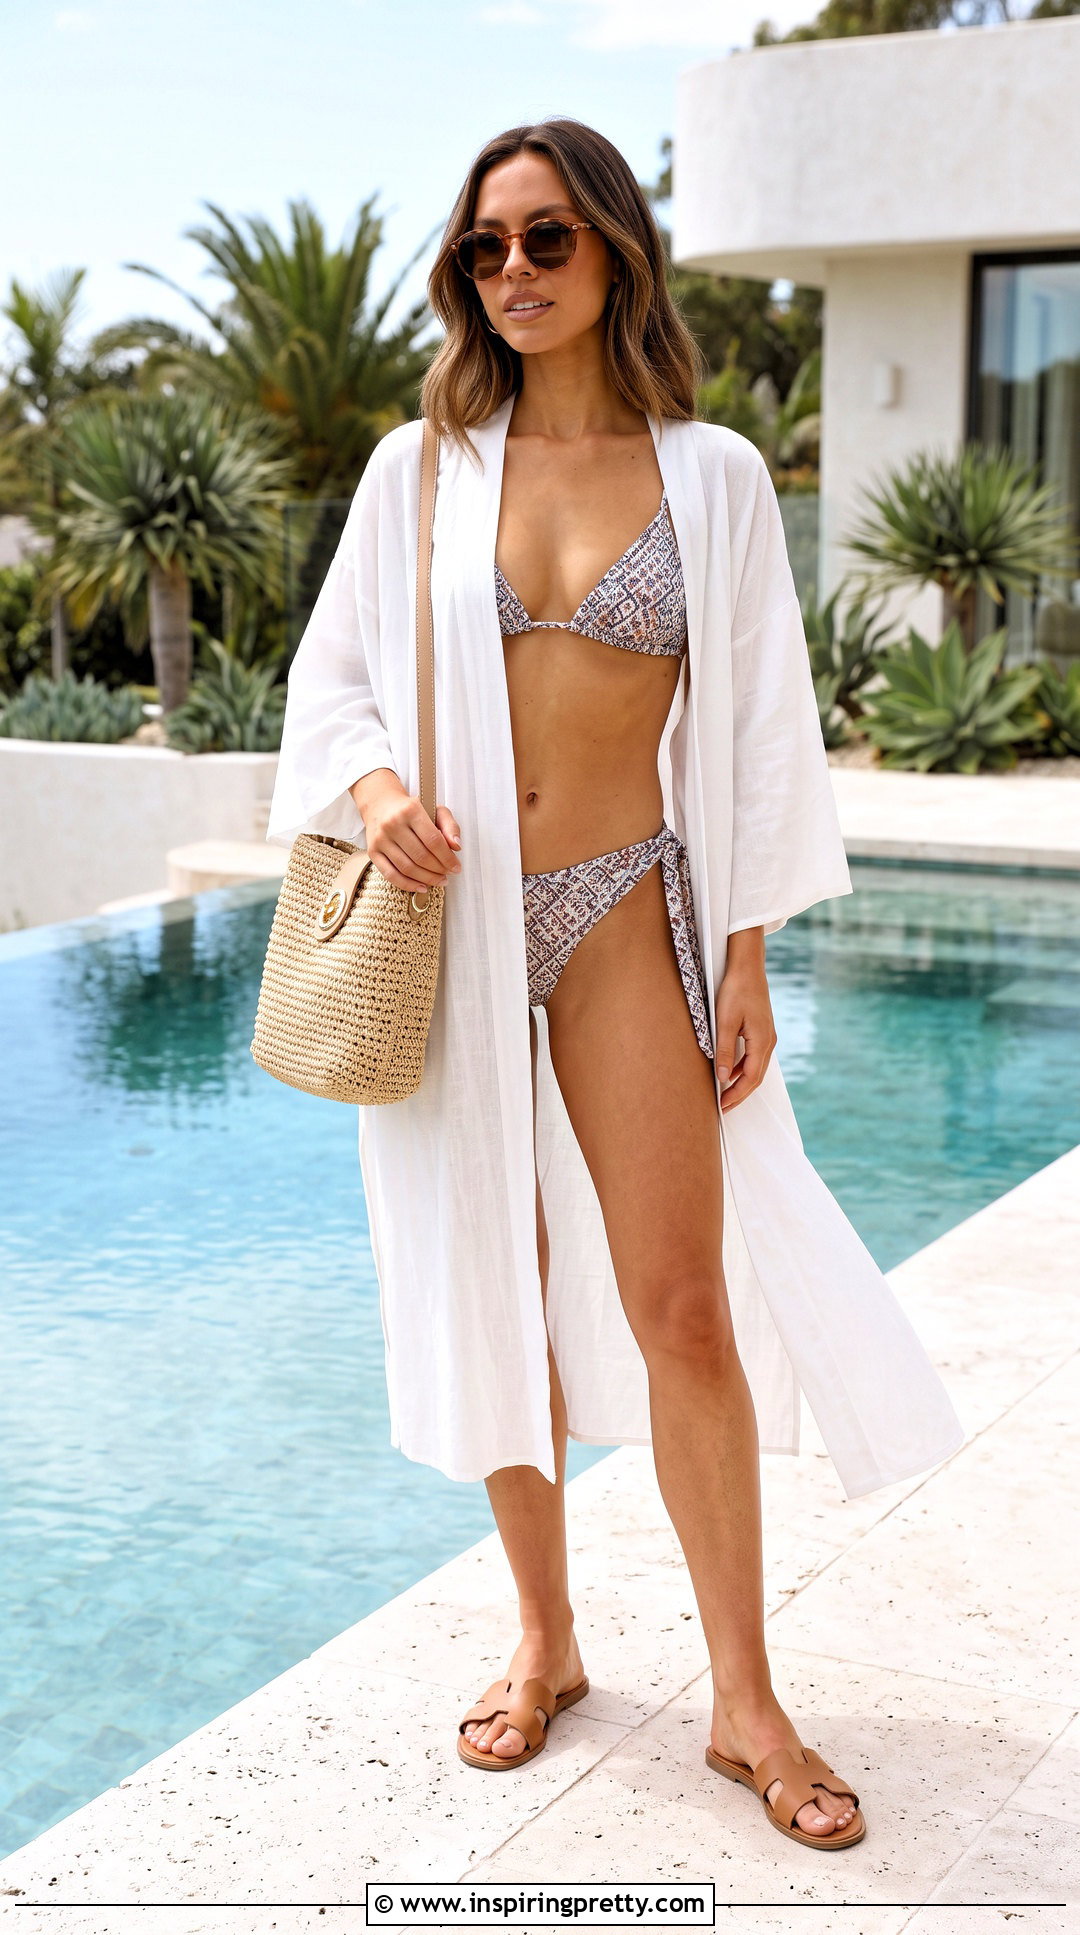
This combination uses the upper ties as shoulder straps and the lower ties as a waist wrap. Fasten the underbust string temporarily while positioning the cups. Bring each upper strap over its matching shoulder and connect it to the back band, creating a bralette-like neckline. Next, extend the remaining lower strings around your torso, cross them at the front, and finish them at one side of the waist. Keep the shoulder and waist ties independently adjustable so one area does not pull on the other. This configuration needs unusually long strings and careful knot placement. Reserve it for calm activities unless the top feels completely stable. Add matching bottoms, a sheer cover-up, flat sandals, sunglasses, and a woven shoulder bag.
50. Secure Double-Knot Triangle Bikini Tie
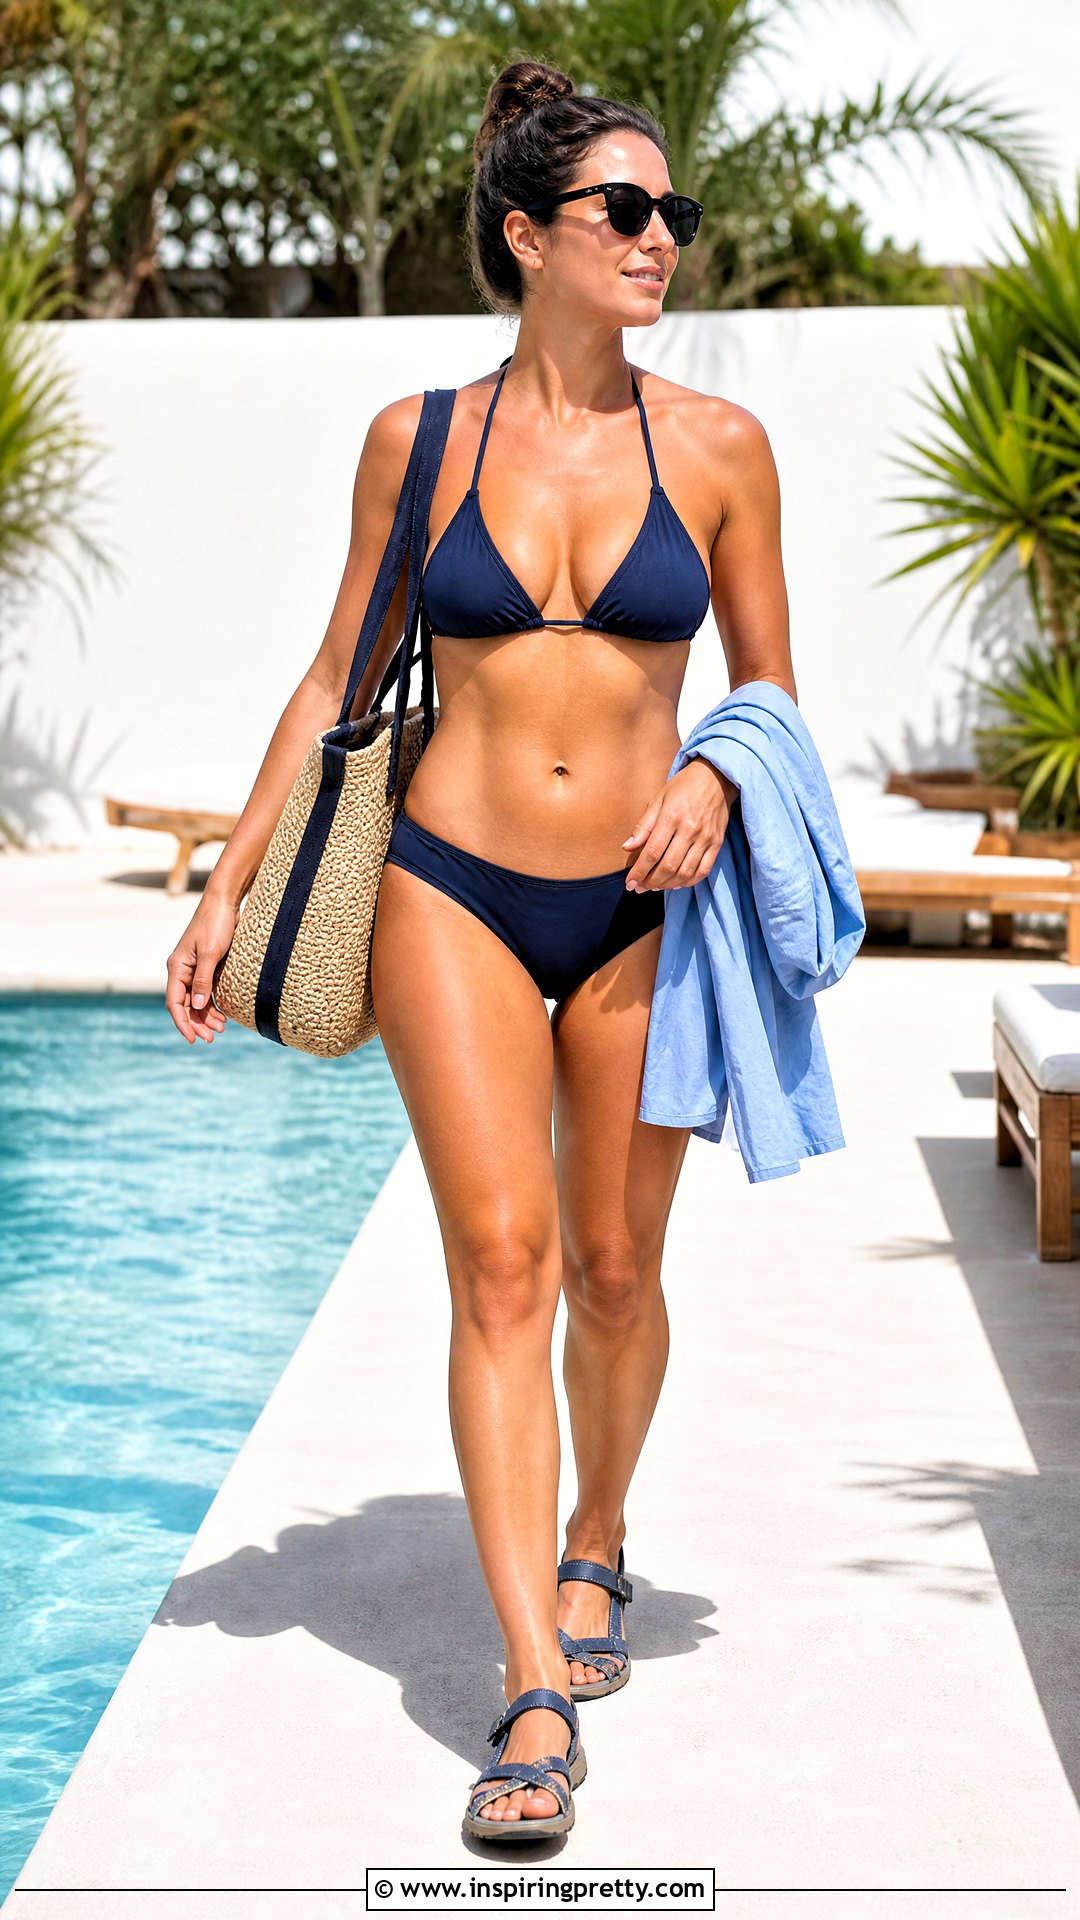
When dependable coverage matters most, use a carefully fitted classic tie with reinforced knots. Spread the cups wide enough to cover the bust without overstretching the fabric. Wrap the lower string around your torso and make a firm double knot behind your back, followed by a small bow if desired. Take the upper straps behind your neck and repeat the double-knot finish. Leave enough room to slide one finger beneath each band. Raise your arms, bend forward, twist, and take several steps to confirm that nothing shifts. For active swimming, a purpose-built supportive swim top may be safer than an experimental arrangement. Complete the outfit with secure full-coverage bottoms, a lightweight rash guard, supportive water sandals, and a practical beach bag.
Conclusion:
Exploring How To Tie Triangle Top Bikinis (50 Ways) makes an adjustable swimsuit much more versatile, but comfort and coverage should always guide every knot. Begin with a fully adjustable, unstructured top and practice each arrangement at home. Check the fit from the front, sides, and back, then move your arms and torso before heading outside. Classic halter, bralette, X-back, and double-knot arrangements may feel more dependable, while bandeau, lattice, and elaborate wrap versions are generally better for lounging. Never force short straps or tie cords tightly around your neck or waist. With careful adjustments, you can create fresh swim looks while choosing the shape, support level, and coverage that suit you best.
Related posts:




Leave a Reply