
Learning **how to crochet mesh top** designs is a practical way to build garment-making skills while creating lightweight pieces you can customize. Most mesh tops use chains, double crochet stitches, open spaces, and simple panel construction. Before starting, make a gauge swatch and record your bust, shoulder width, desired length, armhole depth, and sleeve length. Choose smooth cotton, bamboo, or a breathable blended yarn with enough drape for comfortable layering. You can make the fabric more open with longer chains and a larger hook, or create extra coverage with smaller spaces. The methods below include beginner rectangles, fitted tanks, relaxed pullovers, decorative stitch patterns, and made-to-measure constructions. Use these 20 approaches to discover **how to crochet mesh top** projects that suit your skills and wardrobe.

1. Easy Rectangle Crochet Mesh Top
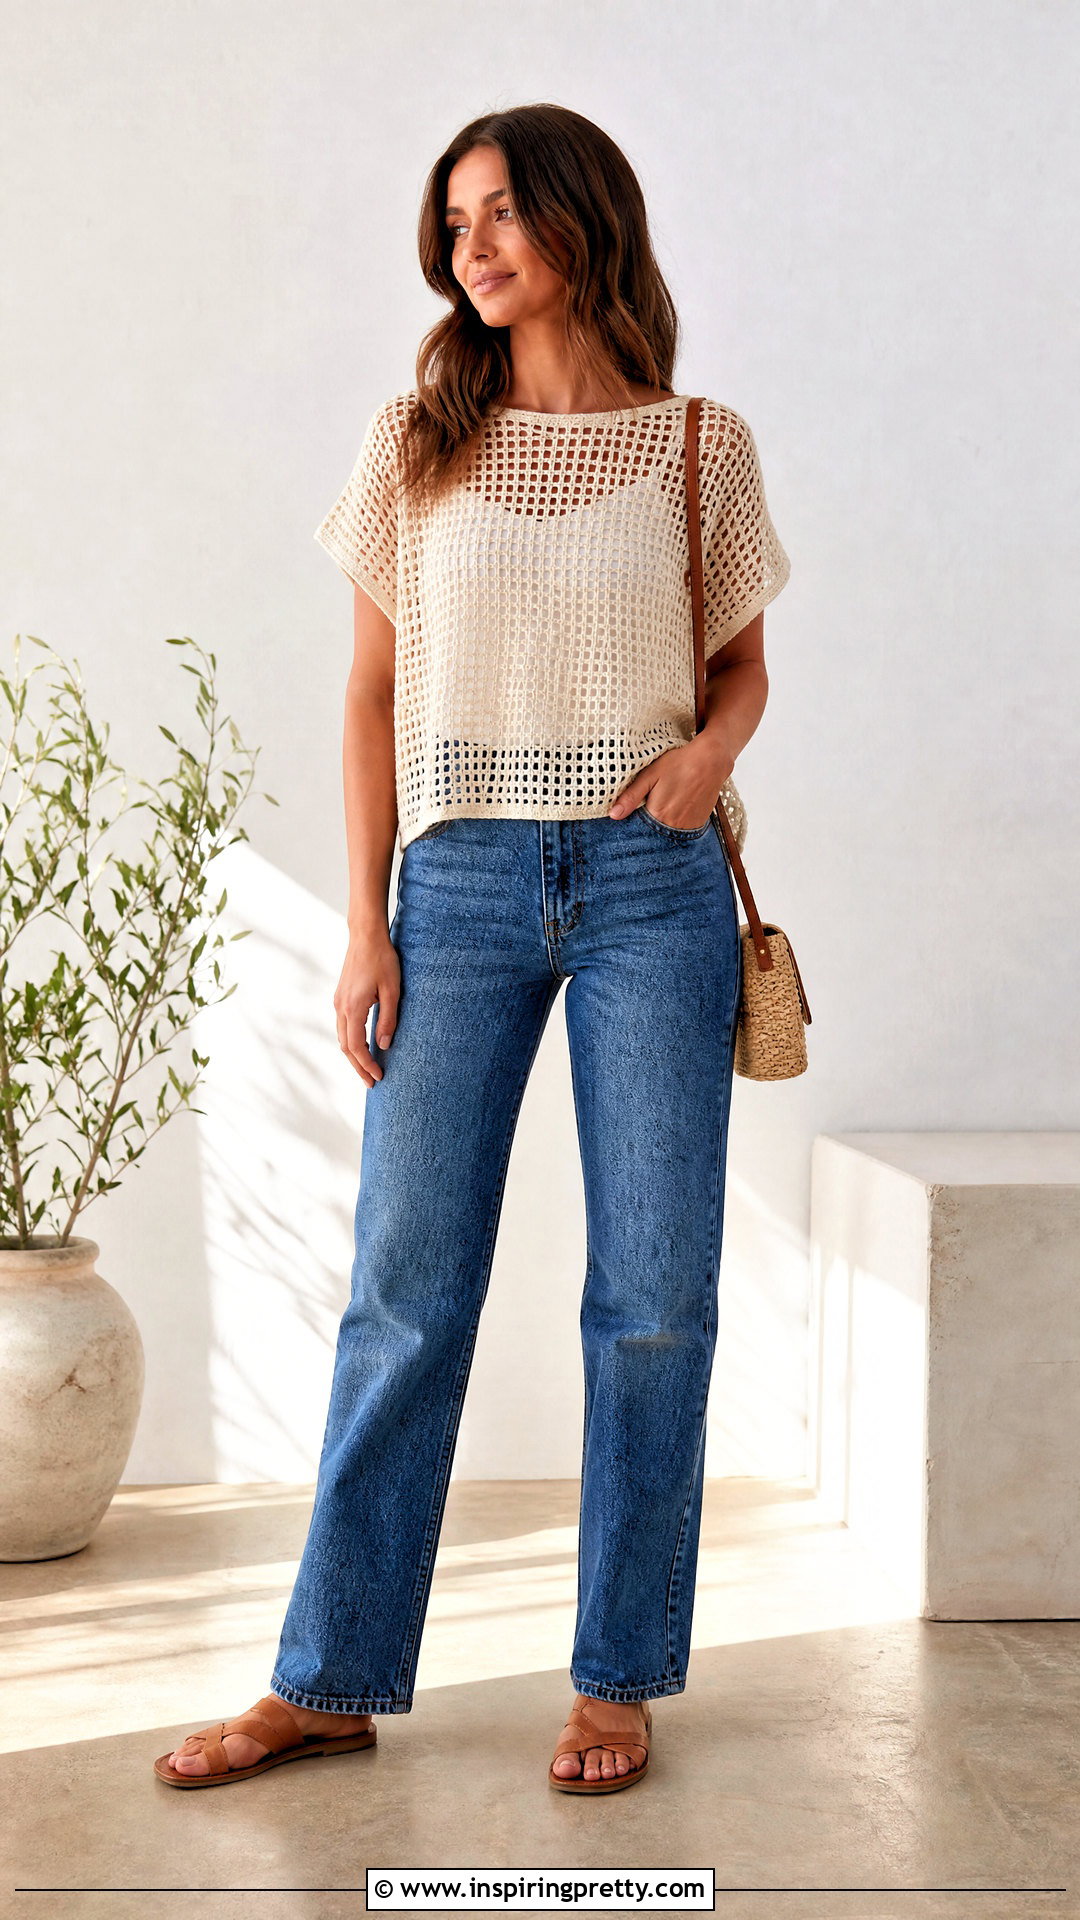
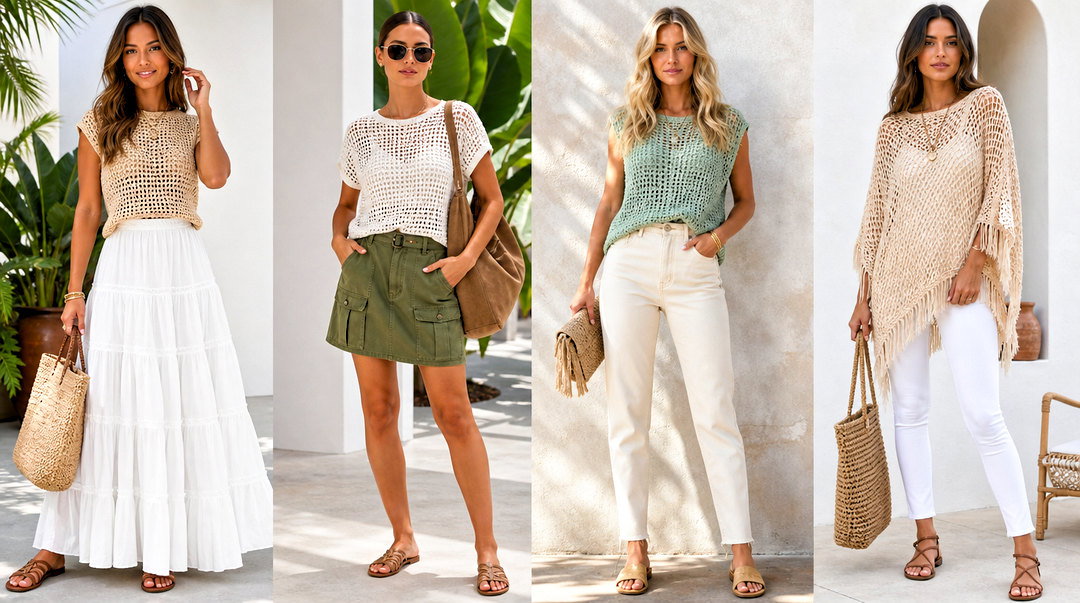
A rectangle construction is one of the simplest ways to make your first mesh garment. Crochet two matching panels using a repeating double crochet and chain-space pattern. Each rectangle should measure half your desired finished bust width, including several inches of positive ease. Continue until both panels reach your preferred top length. Place them together and seam across the shoulders, leaving enough space for the neckline. Sew the sides from the lower edge upward while leaving comfortable armholes. Add single crochet around the neck, hem, and armholes for stronger, cleaner edges. Try the top on before fastening off because open fabric can stretch. A lightweight camisole, straight-leg jeans, flat sandals, and a simple shoulder bag create an easy finished outfit. ()
2. Made-To-Measure Crochet Mesh Top
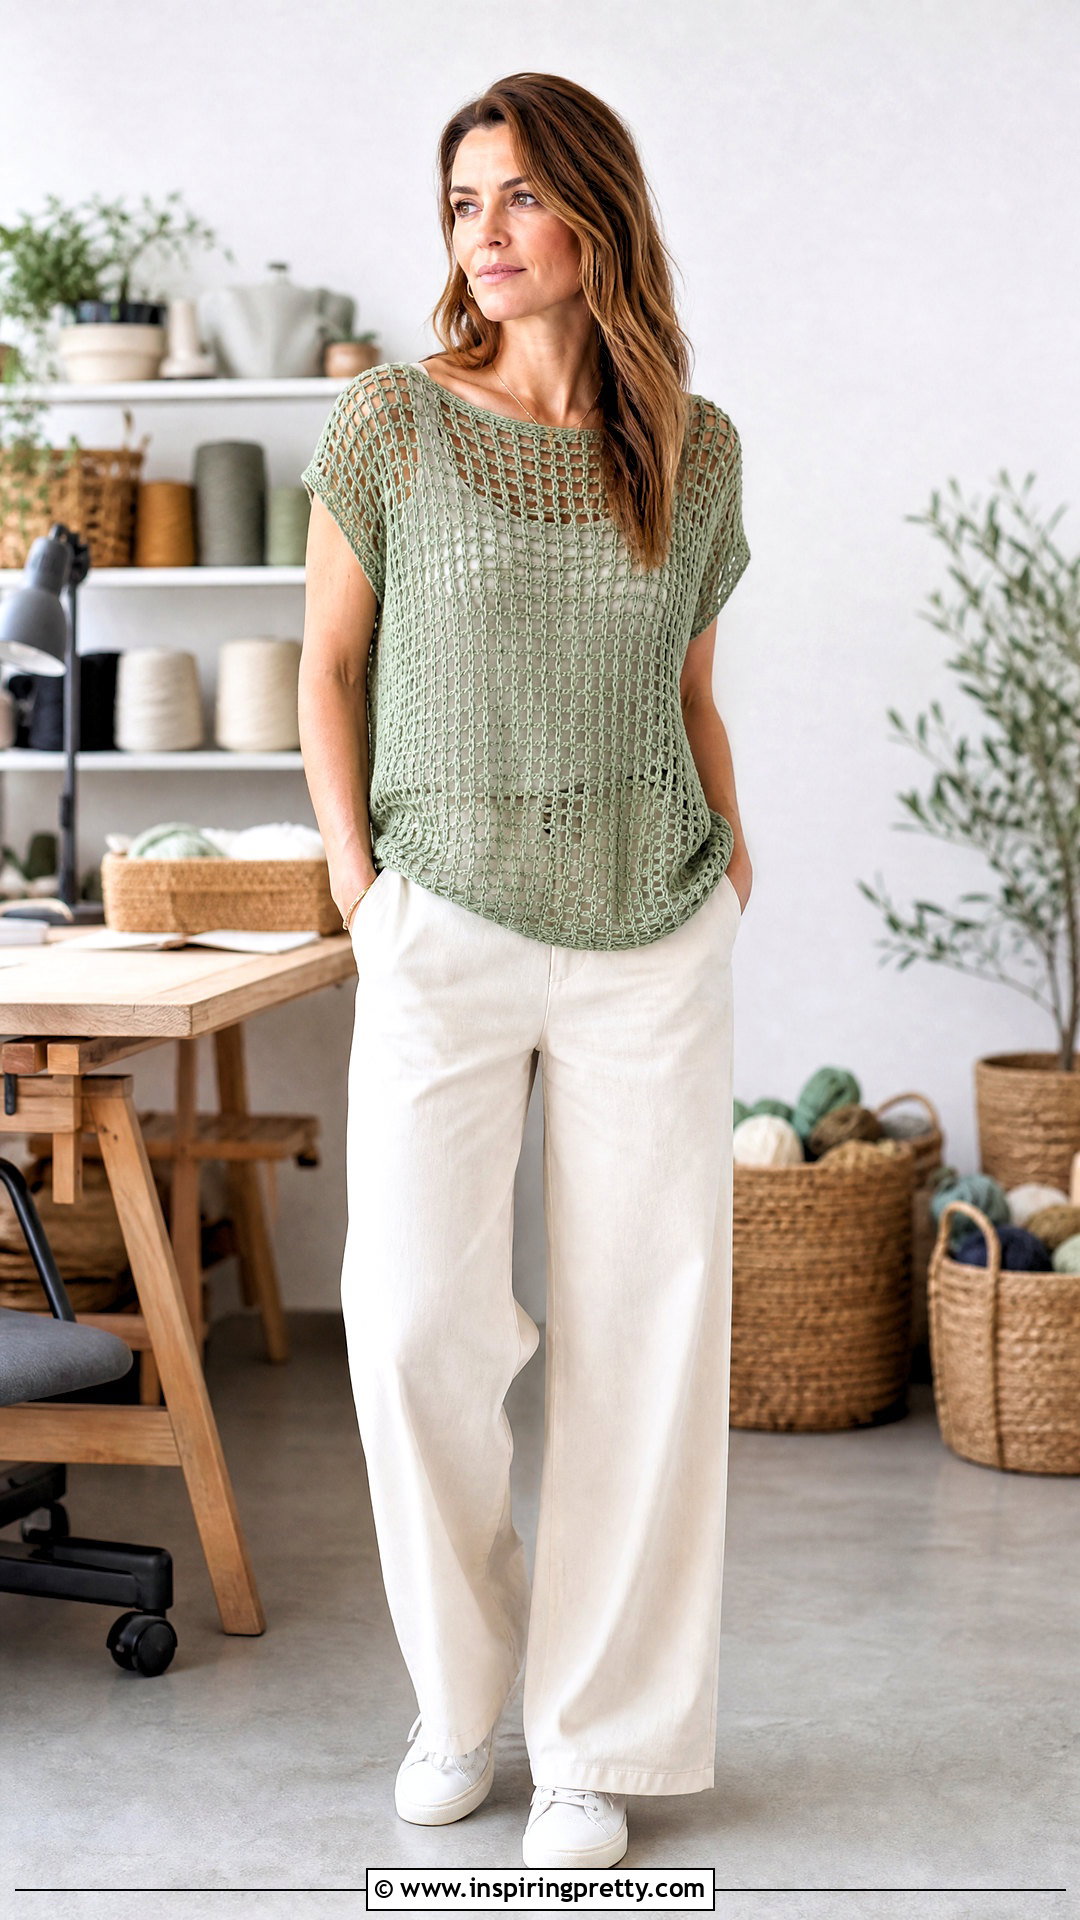
Made-to-measure construction removes the pressure of following standard garment sizes. Begin with a gauge swatch in your chosen mesh stitch, then wash and dry it as you plan to treat the finished top. Measure your bust and decide whether you want a close, standard, or oversized fit. Divide the finished circumference between the front and back panels. Crochet each piece to those measurements rather than relying only on a fixed stitch count. Check the width every few rows because mesh can expand as it grows. Mark the armholes, neckline, and shoulders directly against your body or a well-fitting shirt. Seam the pieces, add edging, and make adjustments during a final fitting. Wear the customized top with a fitted tank, wide-leg pants, sneakers, and understated jewelry.
3. Bottom-Up Crochet Mesh Tank Top
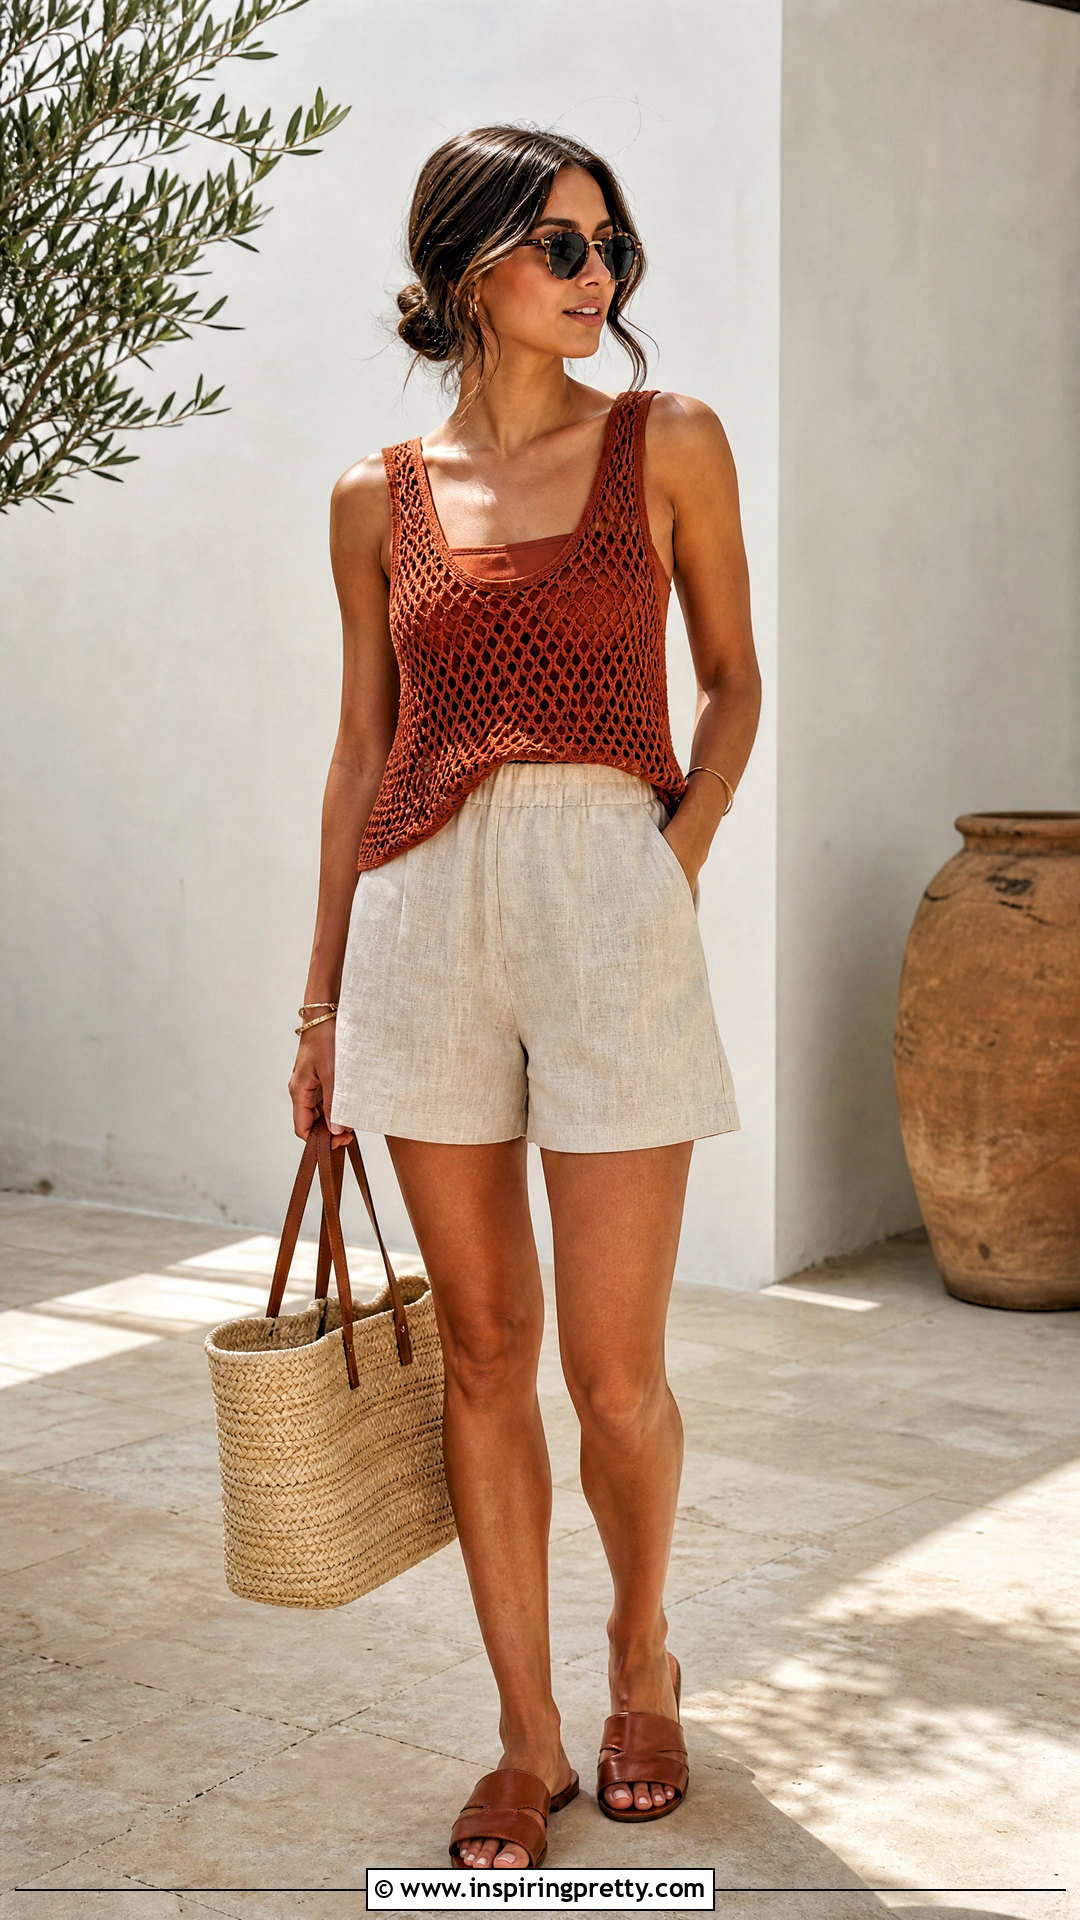
For a clean, continuous shape, work a mesh tank from the lower edge upward. Start with a foundation chain that fits around your bust or hips, depending on where the hem will sit. Join carefully without twisting and crochet the body in rounds. Use stitch markers to identify the side seams. Once the tube reaches the underarm, divide the stitches evenly into front and back sections. Work each section separately while shaping the armholes with skipped spaces or gradual decreases. Create a scoop, square, or V neckline before joining the shoulder straps. Finish the openings with firm single crochet or slip-stitch edging so they hold their shape. Style this breathable tank over a tonal camisole with linen shorts, leather slides, a woven tote, and lightweight summer accessories.
4. Top-Down Crochet Mesh Raglan Top
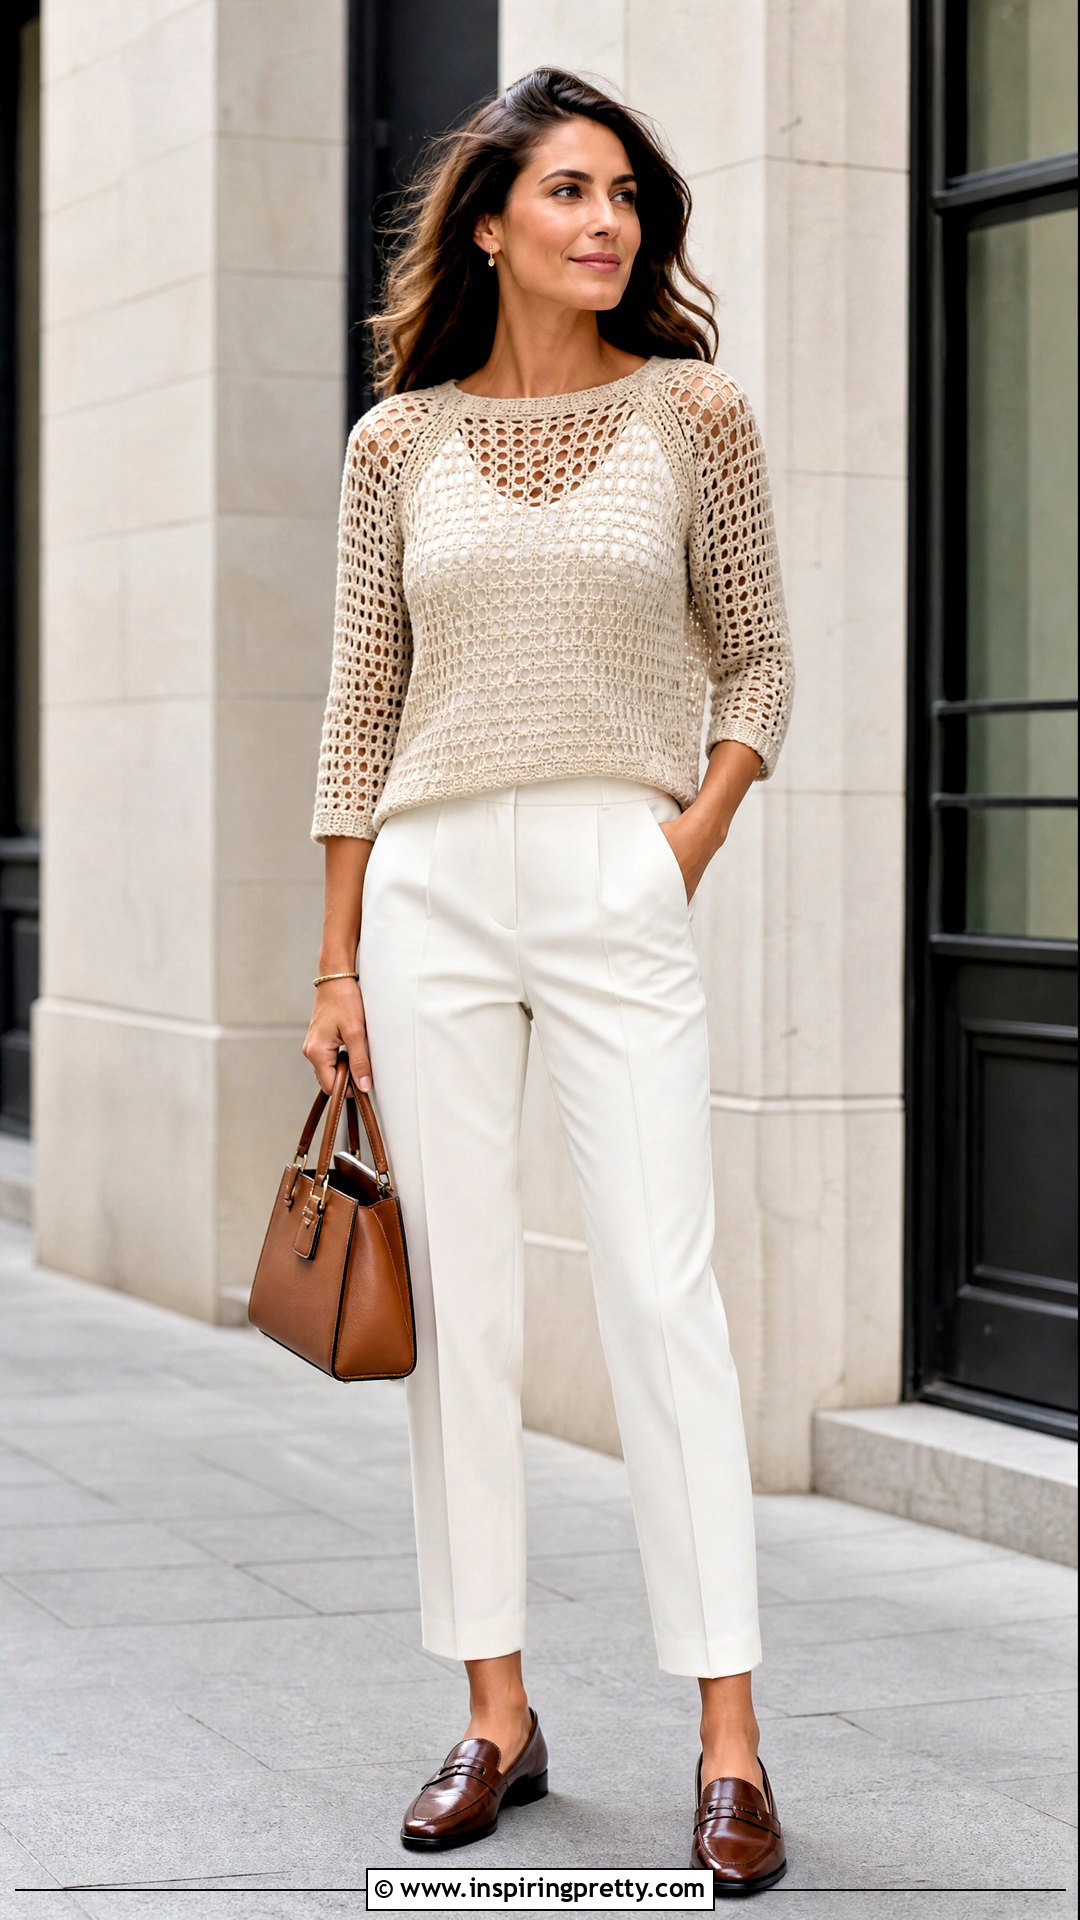
A top-down raglan lets you test the fit throughout the project. Begin with a neckline foundation that sits comfortably around your head and shoulders. Divide the stitches into front, back, and sleeve sections, placing markers at the four raglan points. Increase on both sides of every marker until the yoke reaches your underarms. Separate the sleeve stitches and continue crocheting the body in rounds. Rejoin the yarn at each armhole when you are ready to make the sleeves. This method is useful because the body and sleeves can be lengthened without changing the basic construction. Keep checking that the neckline remains stable and the underarms are not tight. Pair the finished raglan top with a fitted base layer, ankle-length trousers, loafers, and a structured everyday bag.
5. Crochet Mesh Crop Top
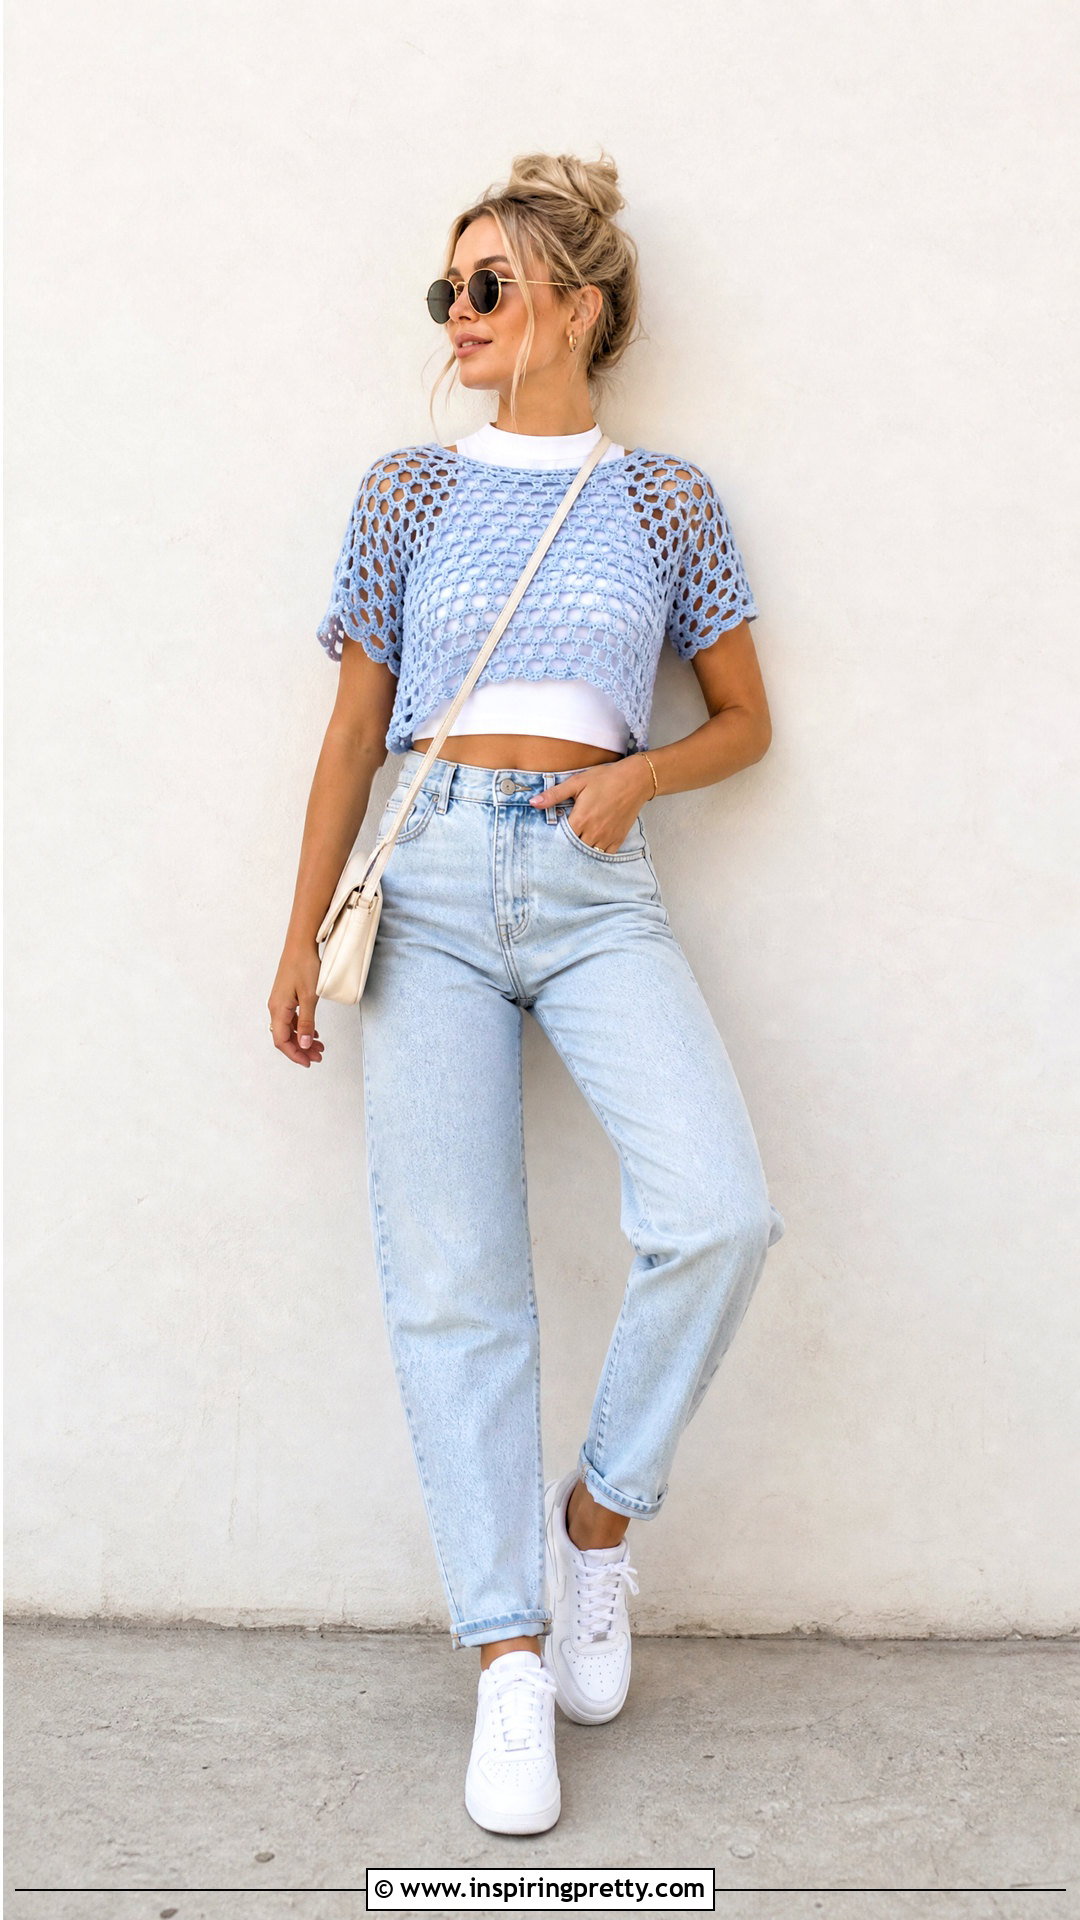
A mesh crop top works quickly and uses less yarn than a full-length garment. Start with two short rectangular panels or crochet the body in the round from the hem upward. Measure from your chosen hem position to the underarm so the finished length provides the coverage you want. A smaller mesh repeat near the bust can make the fabric feel more secure, while larger openings along the shoulders add visual contrast. Create wide straps or short sleeves for balanced proportions. Finish the lower edge with several rows of single crochet, ribbing, or a simple scalloped border. Blocking is important because it helps the cropped hem sit evenly. Complete the outfit with a high-neck tank underneath, high-waisted jeans or a maxi skirt, clean sneakers, and a compact crossbody bag.
6. Long Sleeve Crochet Mesh Top
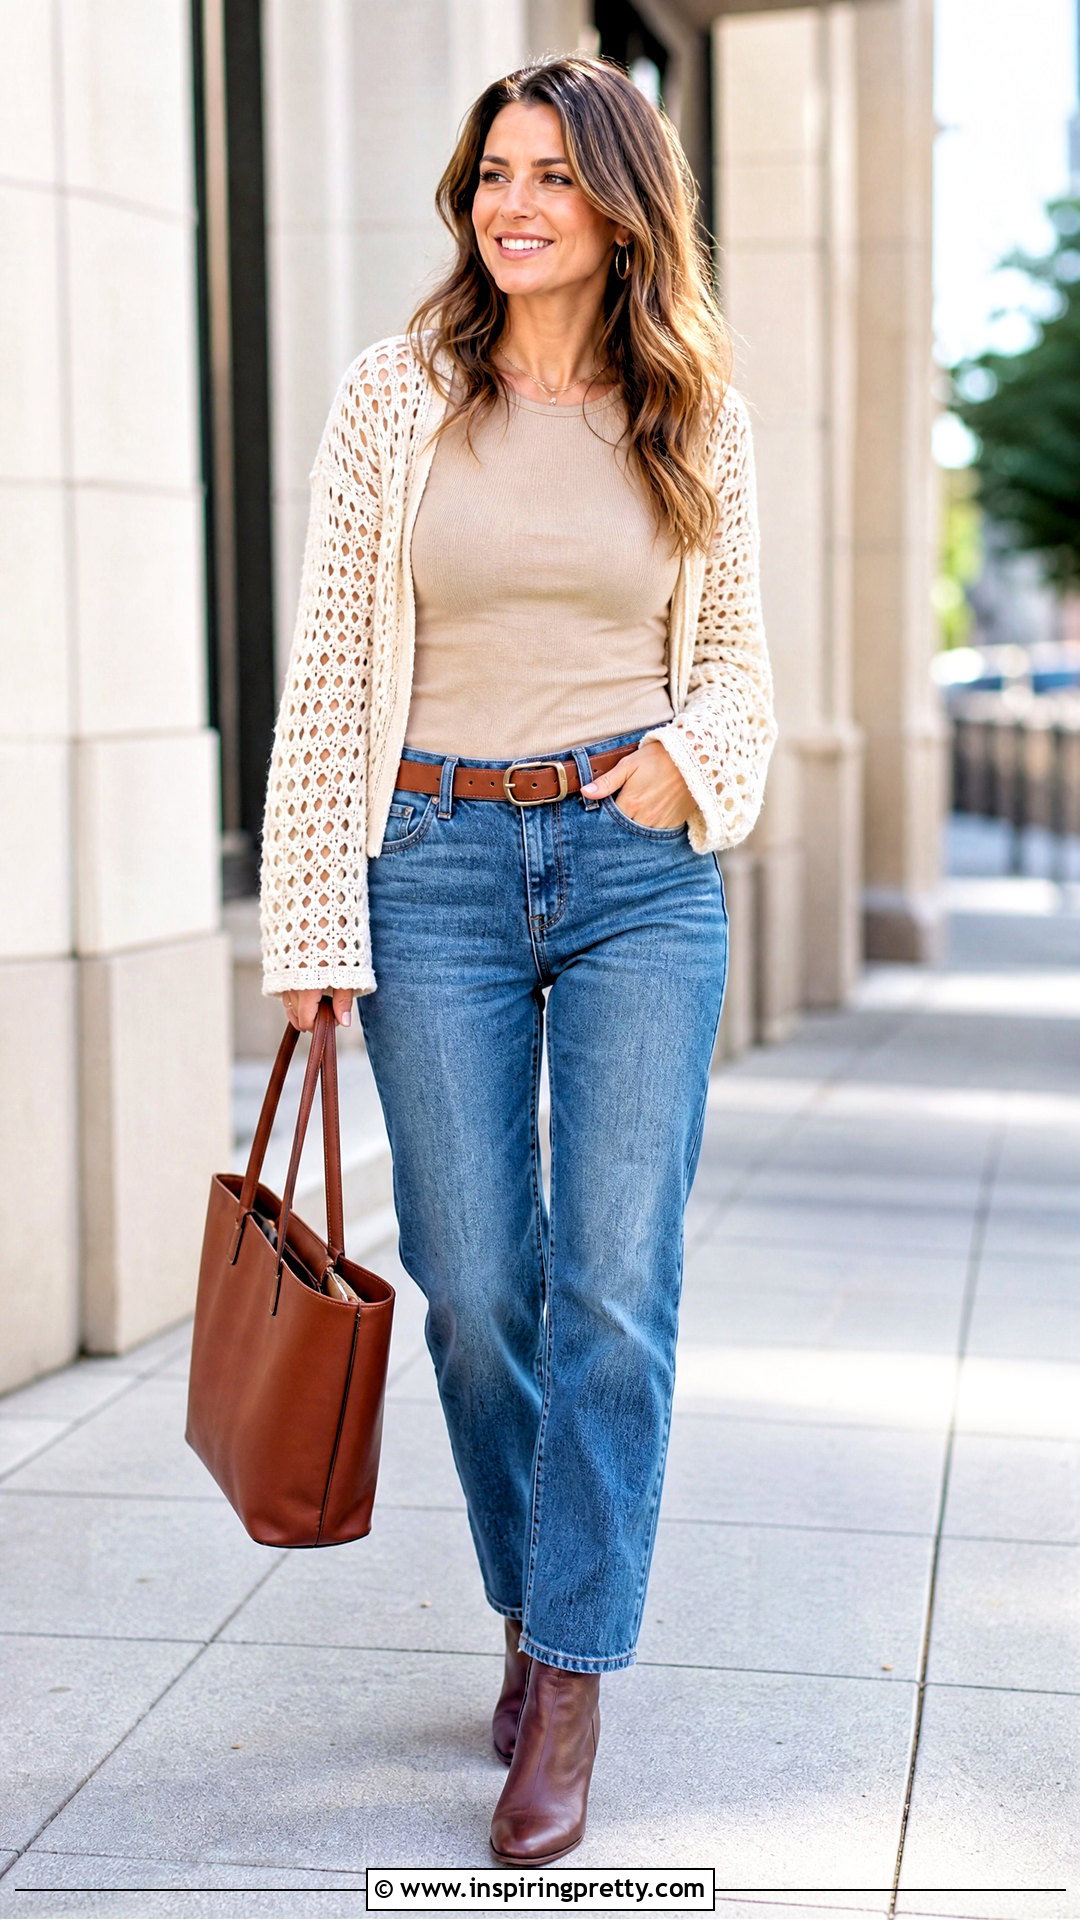
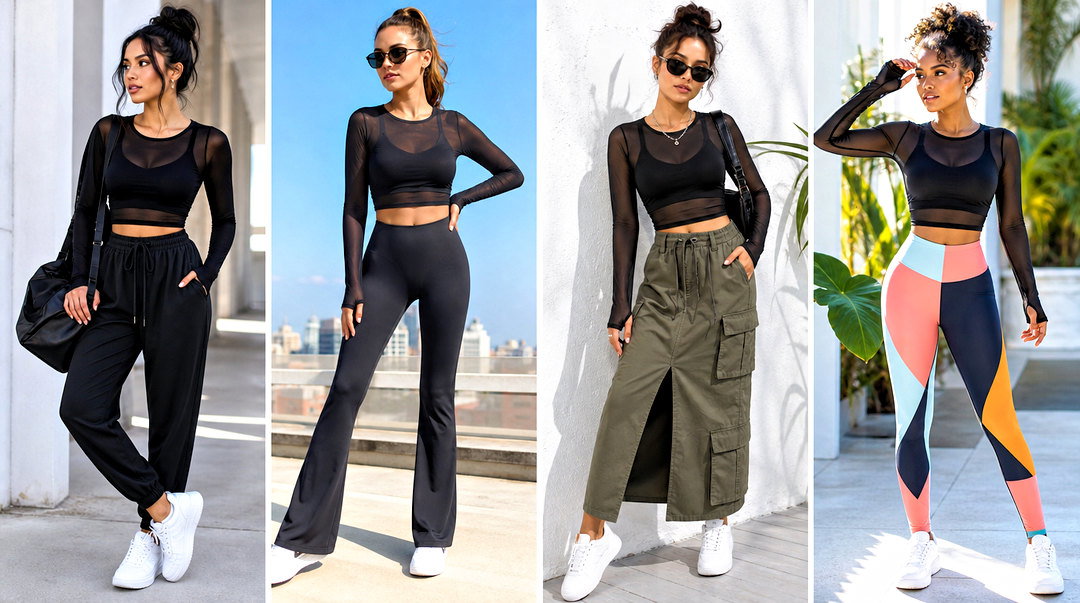
Long sleeves turn an airy mesh design into a useful layering piece for transitional weather. Crochet the body as two panels or use a seamless round construction. Measure the armhole carefully before beginning each sleeve. You can work sleeves directly around the opening, decreasing gradually toward the wrist, or make flat rectangles and seam them afterward. Maintain the same mesh repeat across the body and arms for a consistent finish. If you prefer loose sleeves, keep the stitch count even and gather the cuffs with tighter single crochet rows. Check sleeve length while wearing the unfinished top because open stitches may stretch after blocking. Layer the finished piece over a smooth crew-neck tank. Add relaxed jeans, ankle boots, a belt, and a simple tote for a balanced head-to-toe look. ()
7. Short Sleeve Crochet Mesh Tee
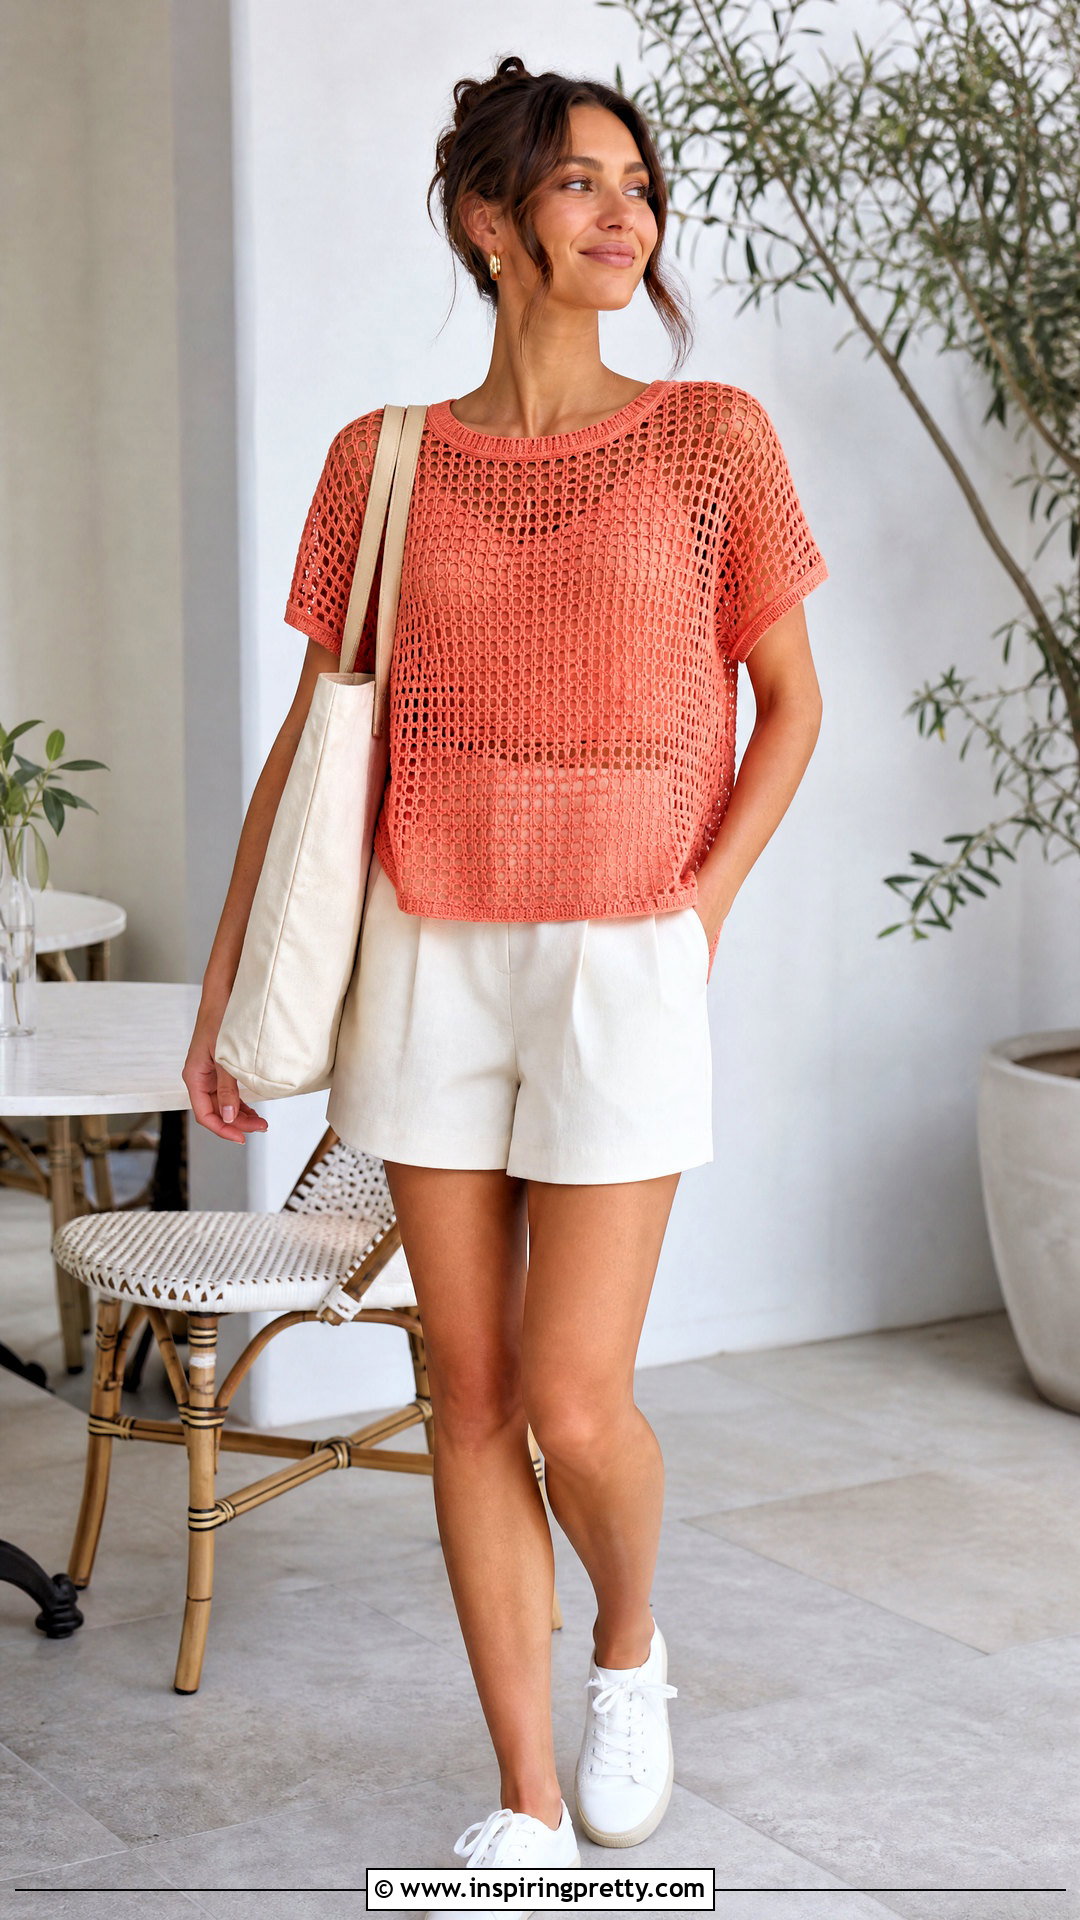
A short sleeve mesh tee offers more coverage than a tank without feeling heavy. Make two boxy body panels with enough width to drop slightly past the natural shoulder. After seaming the shoulders and sides, crochet directly around each armhole to form short sleeves. Work several rounds without shaping for a relaxed fit, or decrease gently for a narrower sleeve. Keep the underarm join aligned with the side seam for a polished result. A ribbed neckline can prevent stretching and make the tee look more structured. Consider using cotton or a cotton-linen blend that feels comfortable against the skin. Block the garment flat and shape the sleeves evenly. Style the completed tee over a fitted camisole with tailored shorts, low-profile sneakers, a canvas tote, and small hoop earrings.
8. Sleeveless Crochet Mesh Top
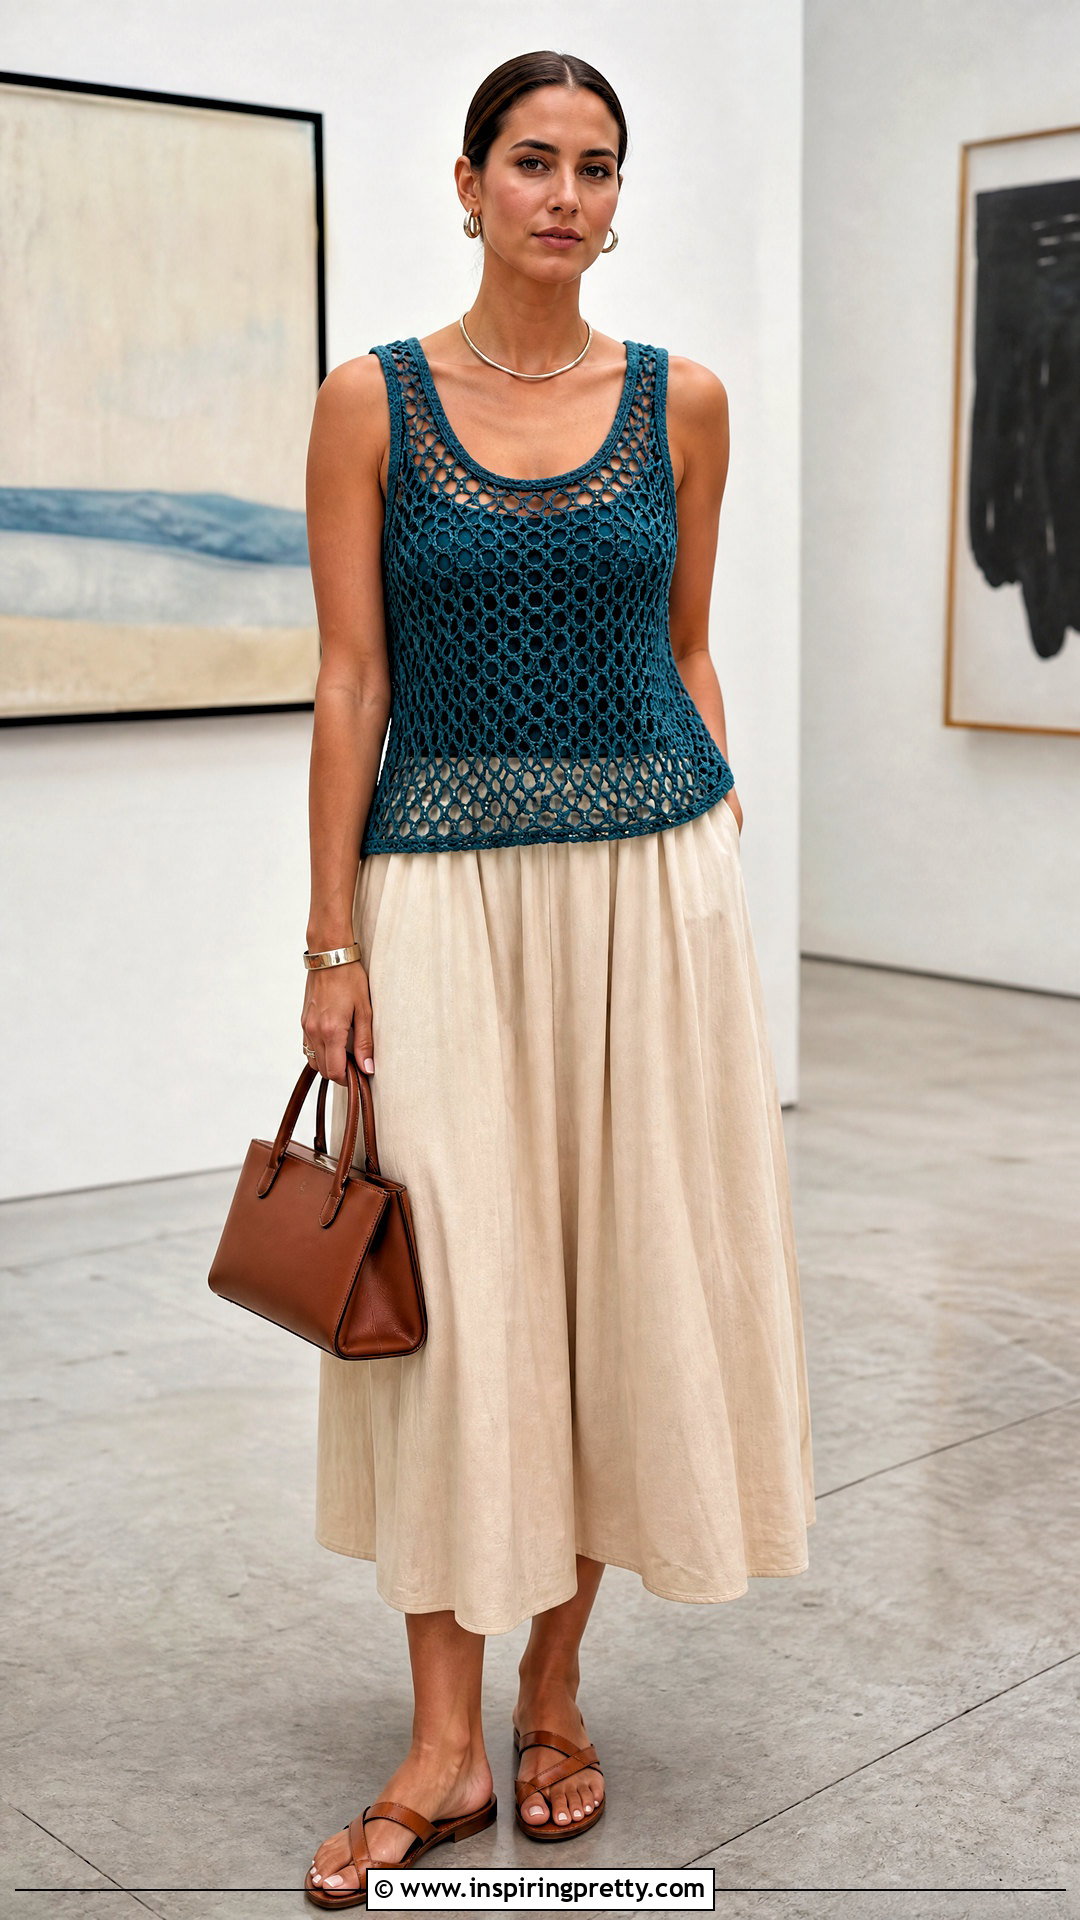
A sleeveless design is an approachable project because you do not need to construct or attach sleeves. Crochet the front and back from the hem upward, shaping the upper edges into broad shoulder sections. For comfortable armholes, measure vertically from your underarm to the top of your shoulder and allow enough room for movement. Use a smaller hook around the openings if the mesh looks loose. One or two rounds of single crochet will strengthen the armholes and reduce unwanted stretching. The neckline can be rounded, square, or straight depending on how you shape the final rows. Weave in every yarn end securely before blocking. Wear the top over a fitted neutral tank with a flowing midi skirt, flat sandals, a structured handbag, and simple metal jewelry for an airy yet complete outfit.
9. Off-Shoulder Crochet Mesh Top
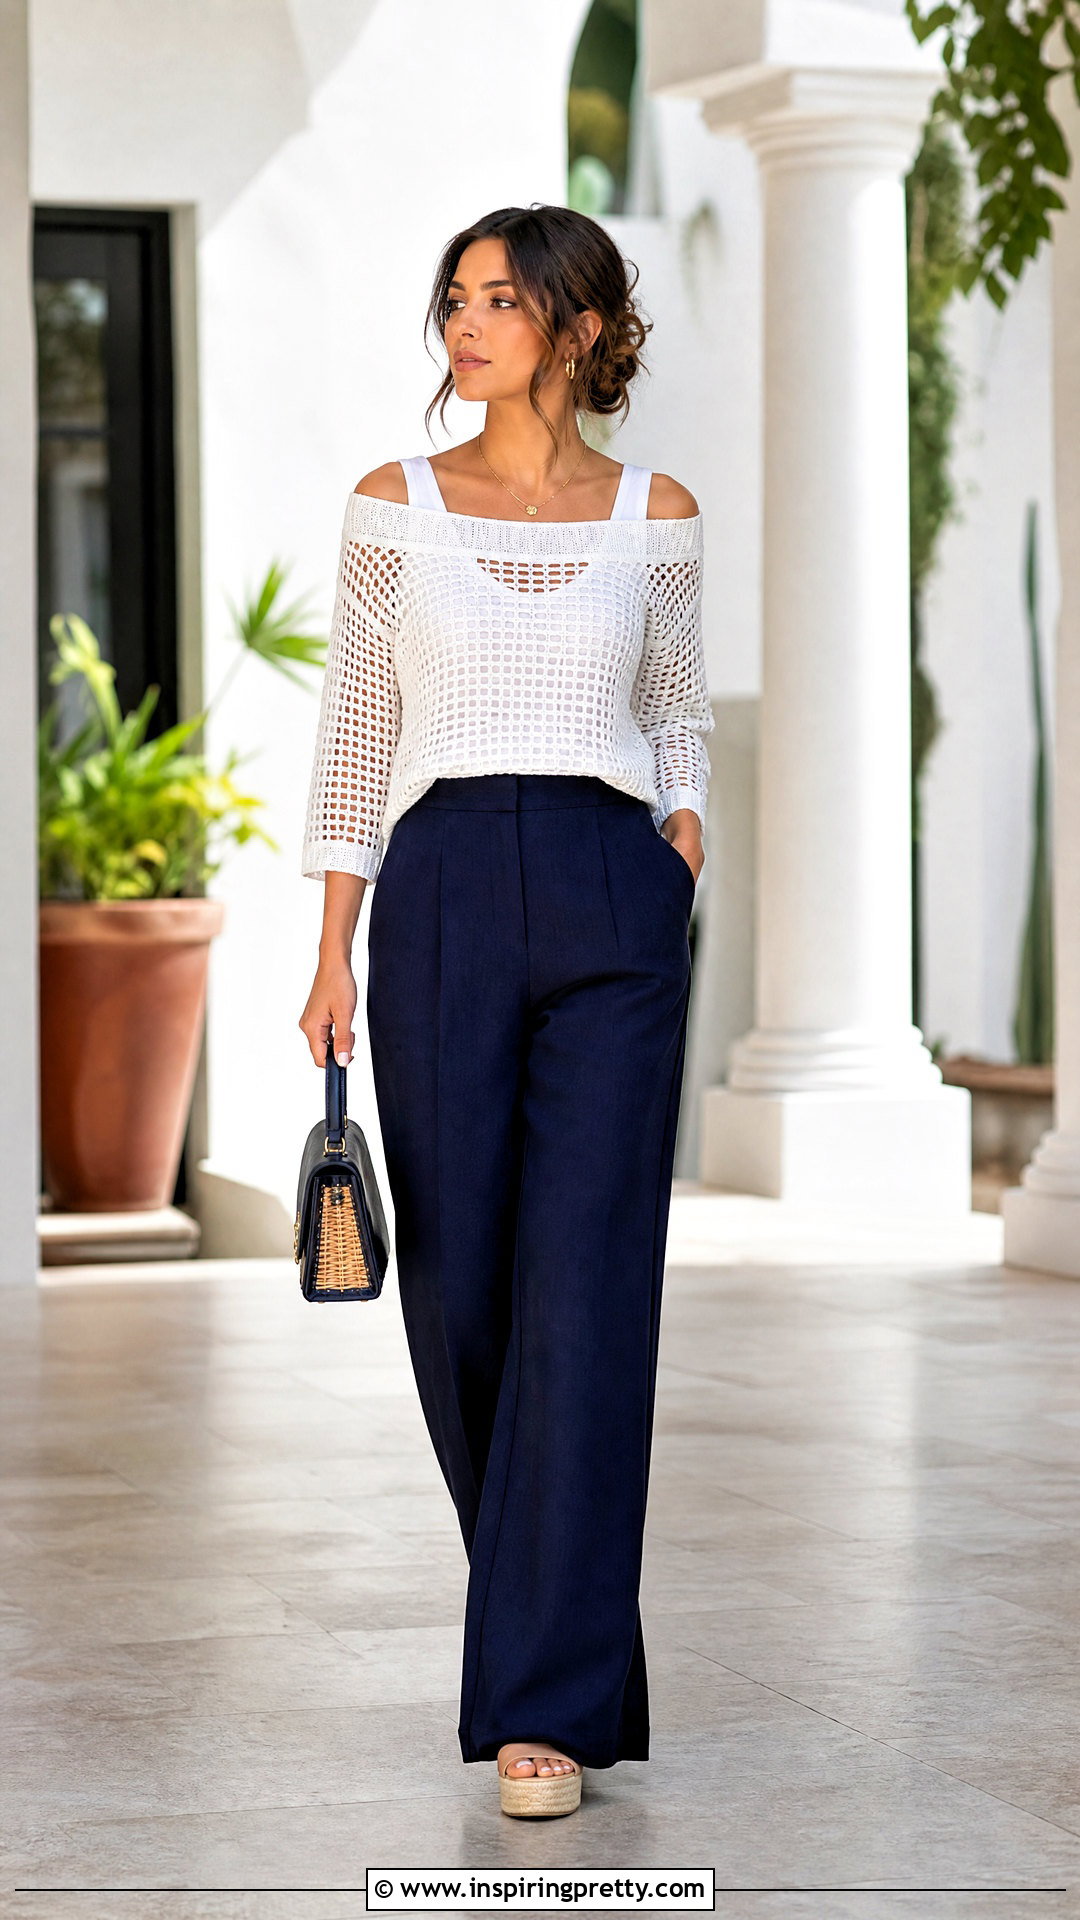
An off-shoulder mesh top needs a stable upper edge so it stays comfortably in place. Begin by crocheting a wide body tube or two panels with a neckline extending across the shoulders. Make the opening large enough to sit below the collarbones without restricting arm movement. Add a fitted ribbed band, elastic casing, or multiple rows of tight single crochet around the neckline. Then crochet short, three-quarter, or long sleeves directly around the armholes. Keep the body slightly relaxed to balance the closer upper band. Test the neckline before finishing because mesh fibers can stretch with wear. Blocking should be gentle around the shoulders to preserve the intended fit. Style the top over a strapless or wide-neck base layer with high-rise trousers, platform sandals, a small handbag, and minimal accessories.
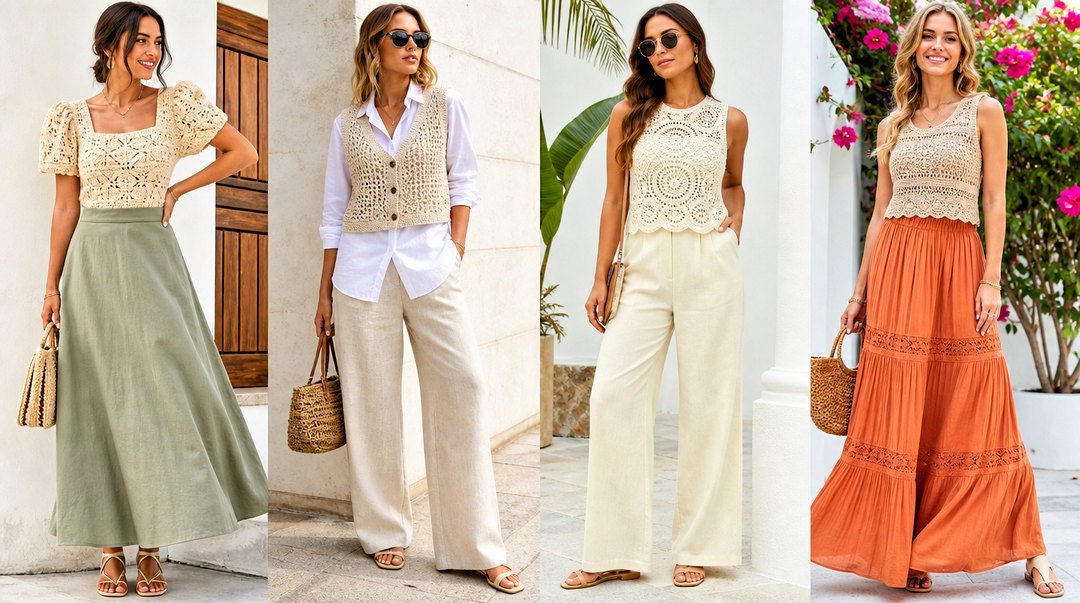
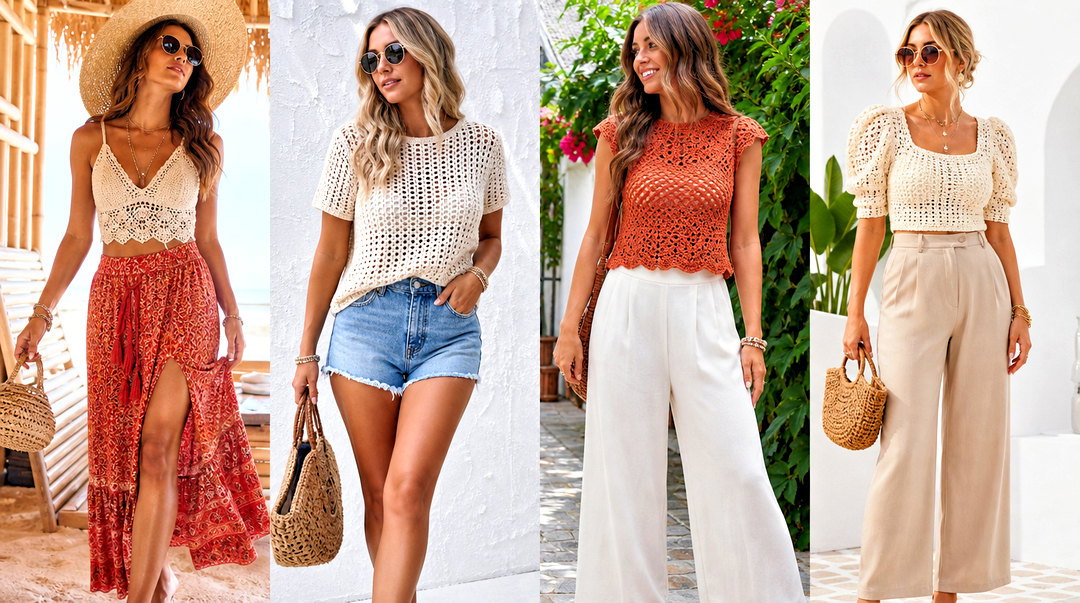
10. Boat Neck Crochet Mesh Top
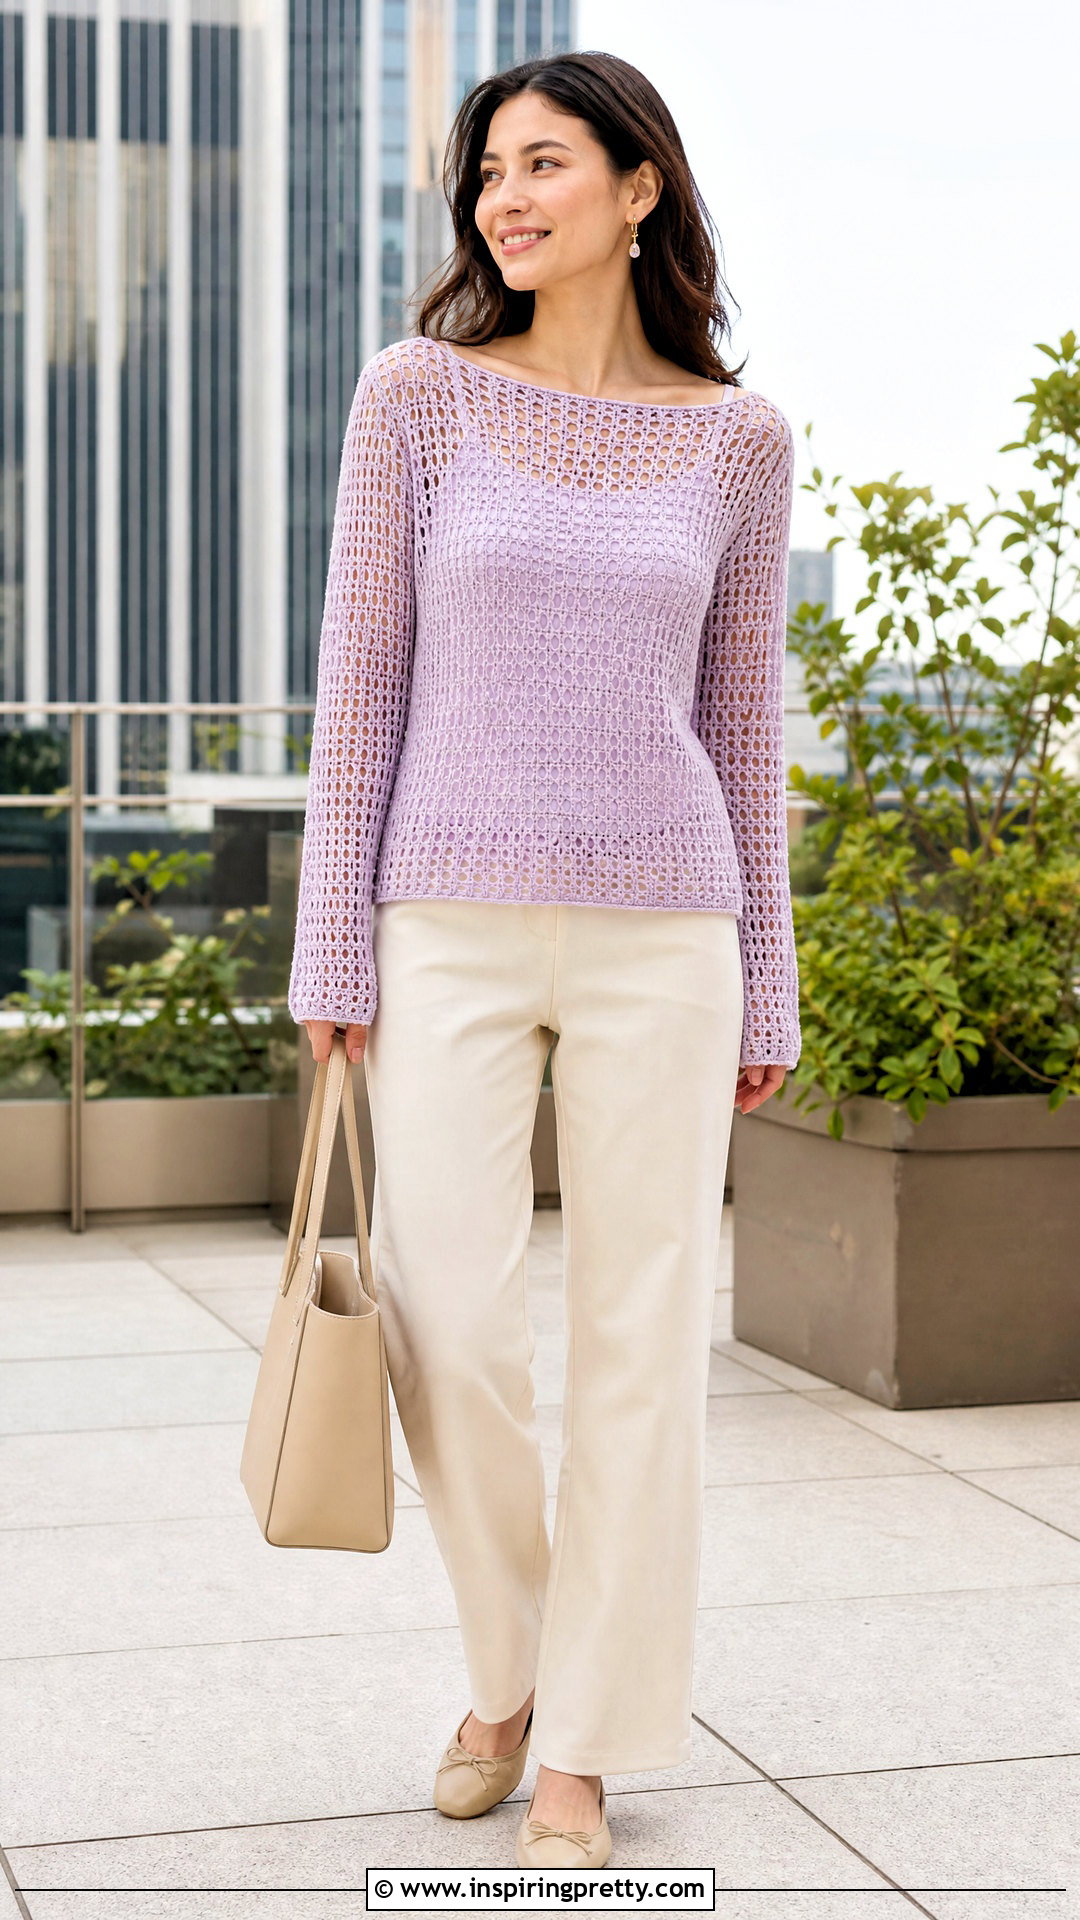
A boat neck creates a wide horizontal neckline that works especially well with simple rectangular construction. Make two matching mesh panels, then seam only a short section at each shoulder. Leave the center opening wide enough to pass over your head and rest near the collarbones. Reinforce the neckline with slip stitches or a narrow single crochet border. Avoid overly tight edging, which can cause the shoulders to bunch. After joining the side seams, add straight or slightly tapered sleeves if desired. A clean mesh repeat allows the neckline shape to remain the main feature. Try the garment on before blocking and adjust the shoulder seams if it slips too far outward. For a polished outfit, layer it over a matching tank and add straight-leg pants, ballet flats, a structured tote, and delicate earrings.
11. V-Neck Crochet Mesh Top
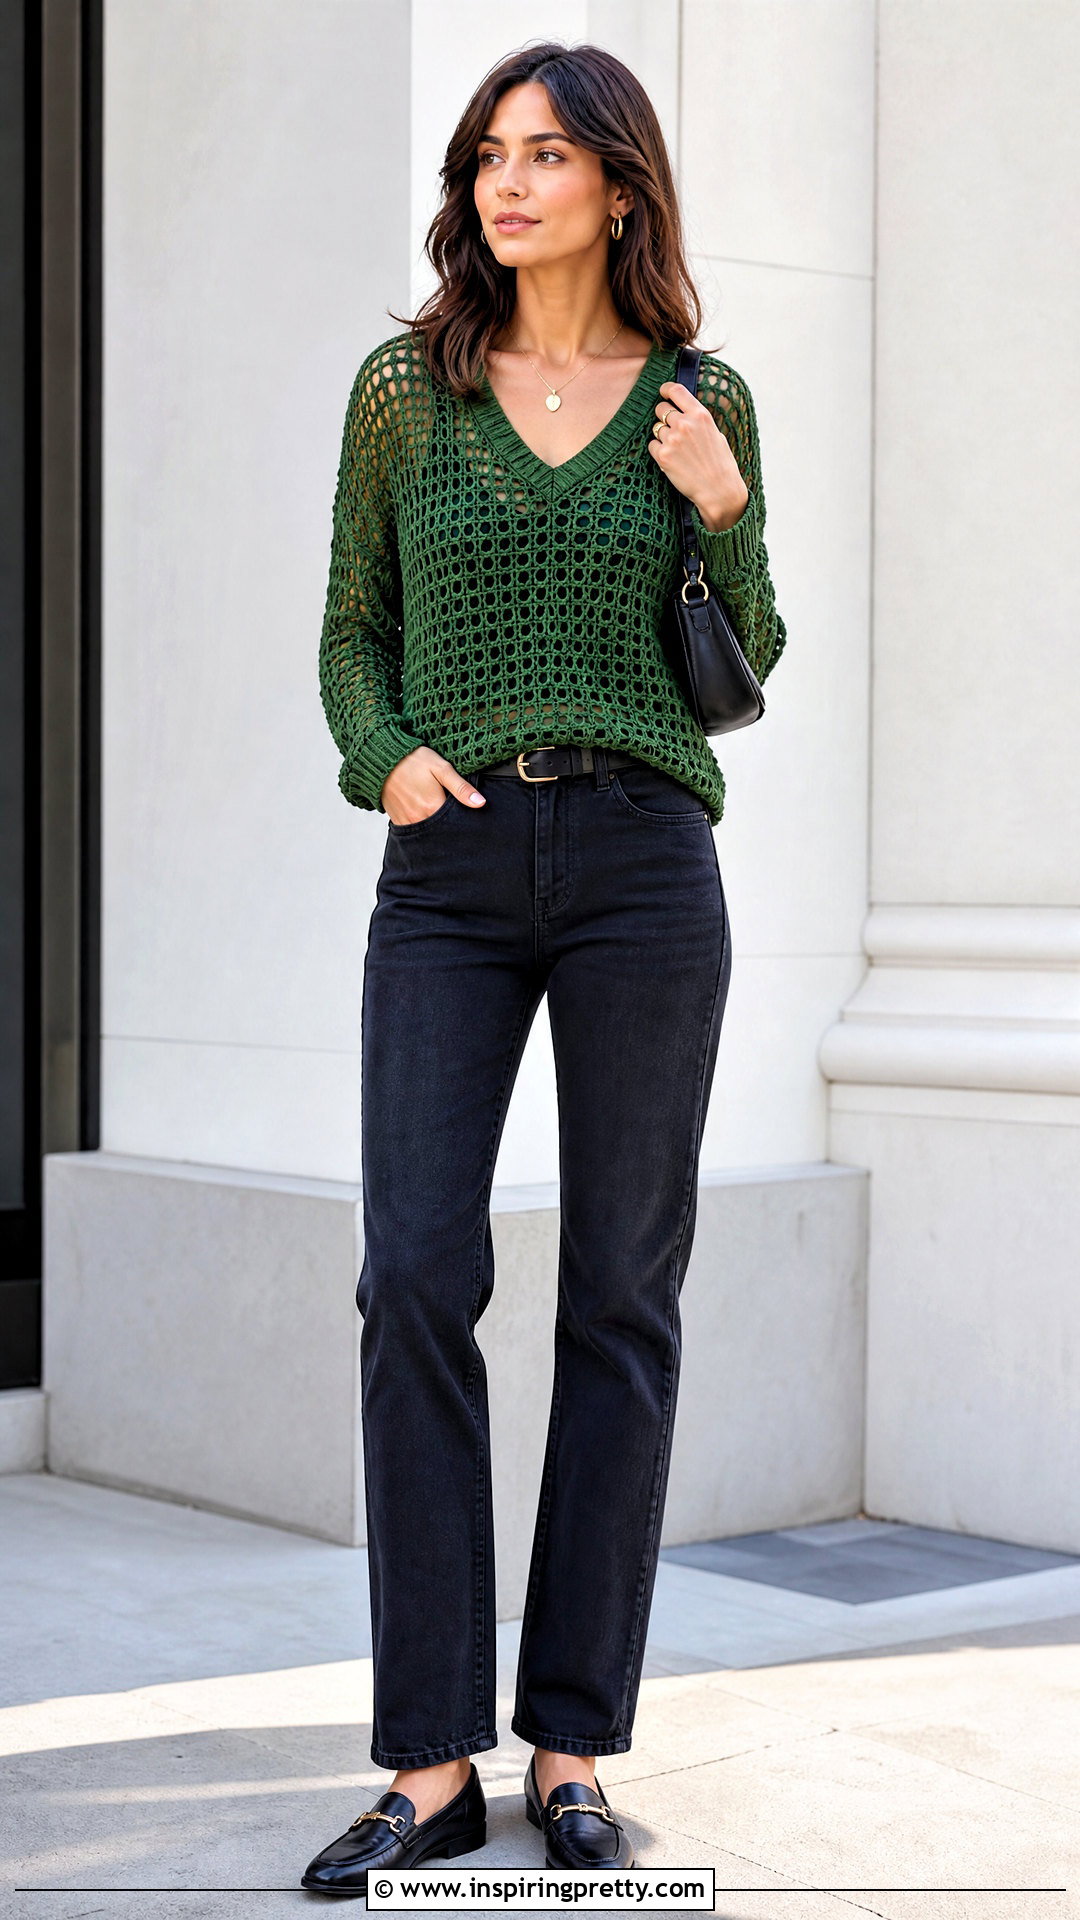
A V-neck mesh top can be shaped from the bottom up or assembled from separate front sections. For a bottom-up version, crochet the front as one piece until reaching the beginning of the neckline. Divide the stitches at the center and finish each side separately. Decrease one mesh space along the inner edge at regular intervals until both shoulder sections match the back. Another option is to crochet two mirrored front panels and join them at the lower center. Reinforce the V with a neat round of single crochet to prevent excessive stretching. Keep both sides symmetrical by counting rows and recording every decrease. Add cap, short, or long sleeves according to the season. Layer the finished top over a fitted camisole, then add dark jeans, loafers, a shoulder bag, and subtle jewelry.
12. Tie-Front Crochet Mesh Top
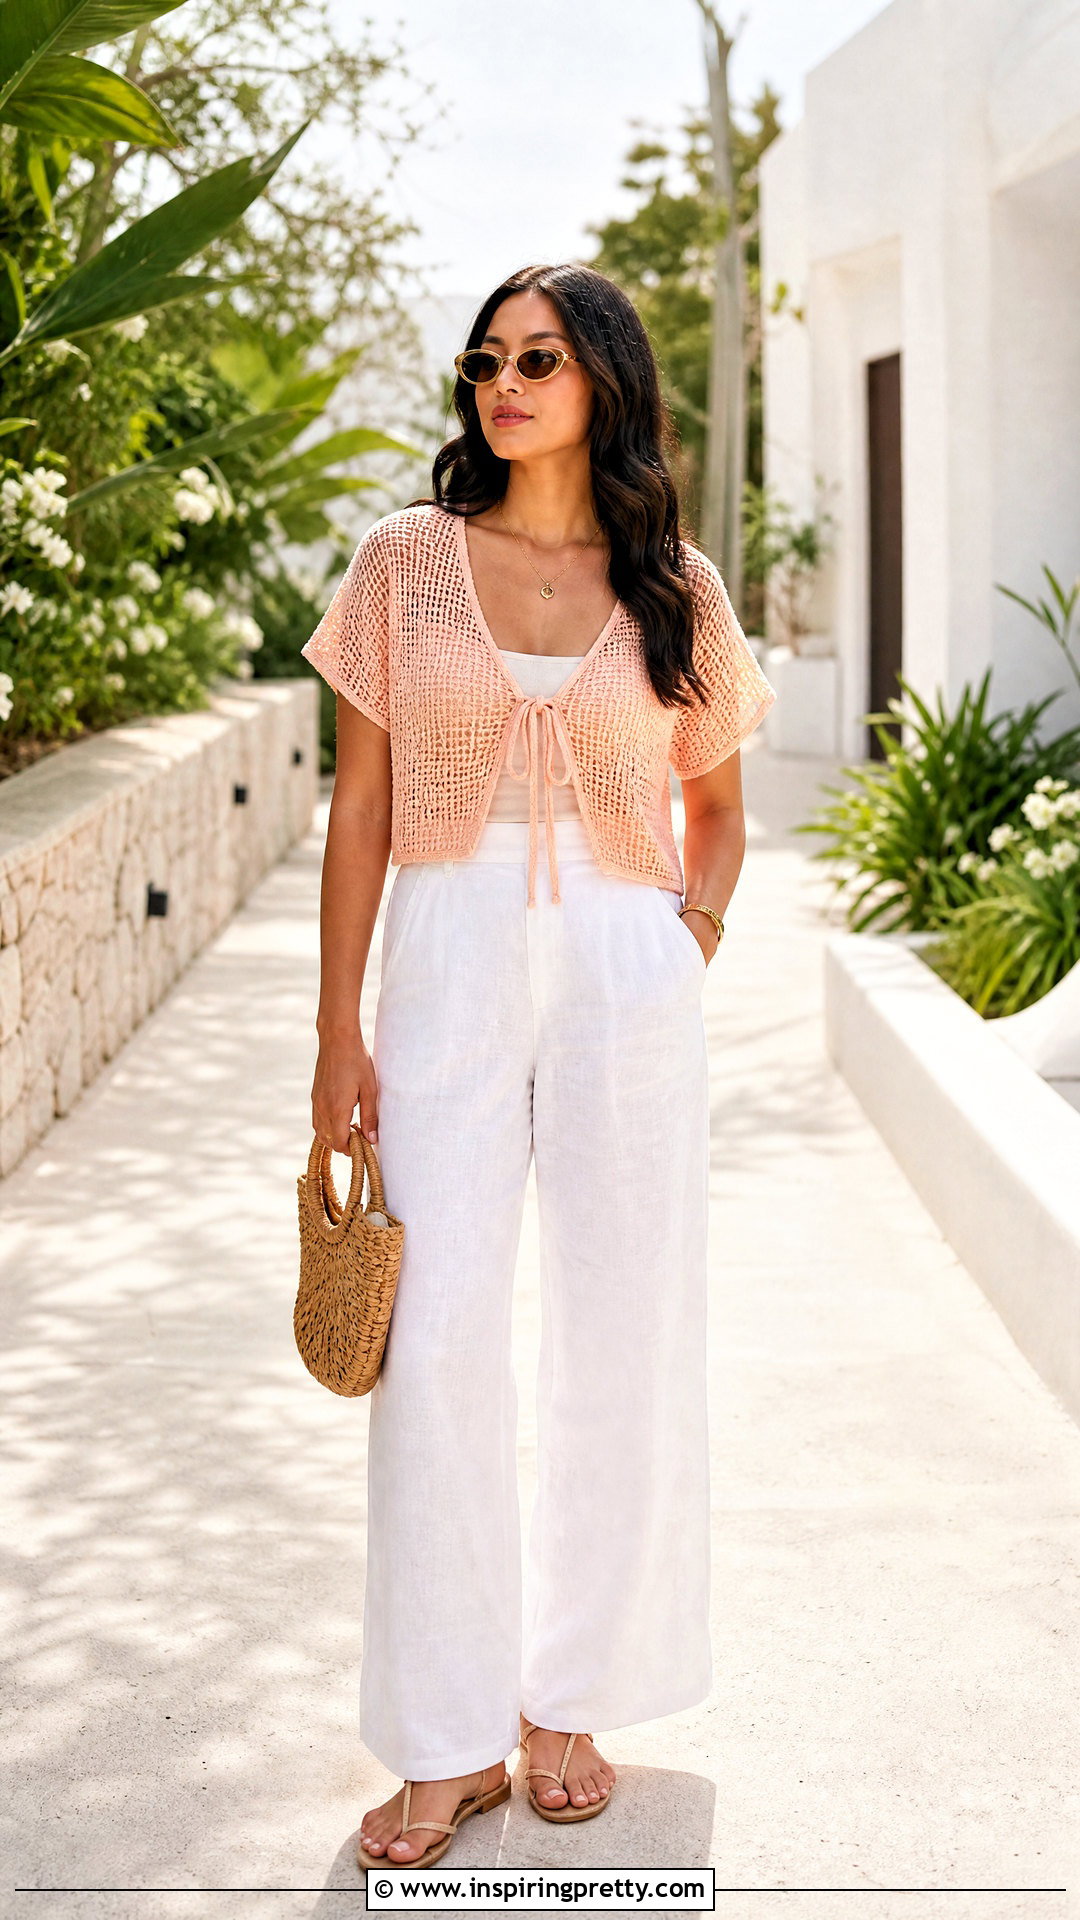
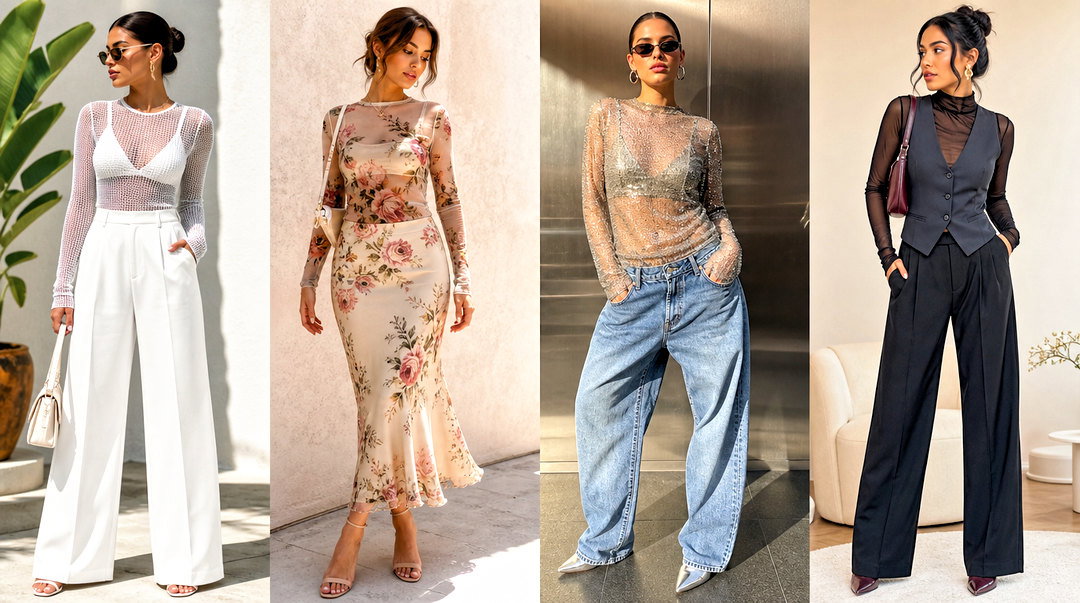
A tie-front construction creates an adjustable top with minimal complicated shaping. Crochet one long body piece that includes the back and two front sections, or make three individual panels and seam them together. Leave the front open instead of joining it. Create narrow crochet ties at the bust, waist, or both positions using chains reinforced with slip stitches. Wider ties can be worked as short rows of single crochet. Check that each tie is securely attached and long enough to form a comfortable bow without pulling the fabric. Optional sleeves can be added directly to the armholes after the shoulders are joined. Finish every open edge with an even border for structure. Wear the top over a full-coverage tank with high-waisted linen pants, flat sandals, a woven bag, and simple sunglasses. ()
13. Oversized Crochet Mesh Top
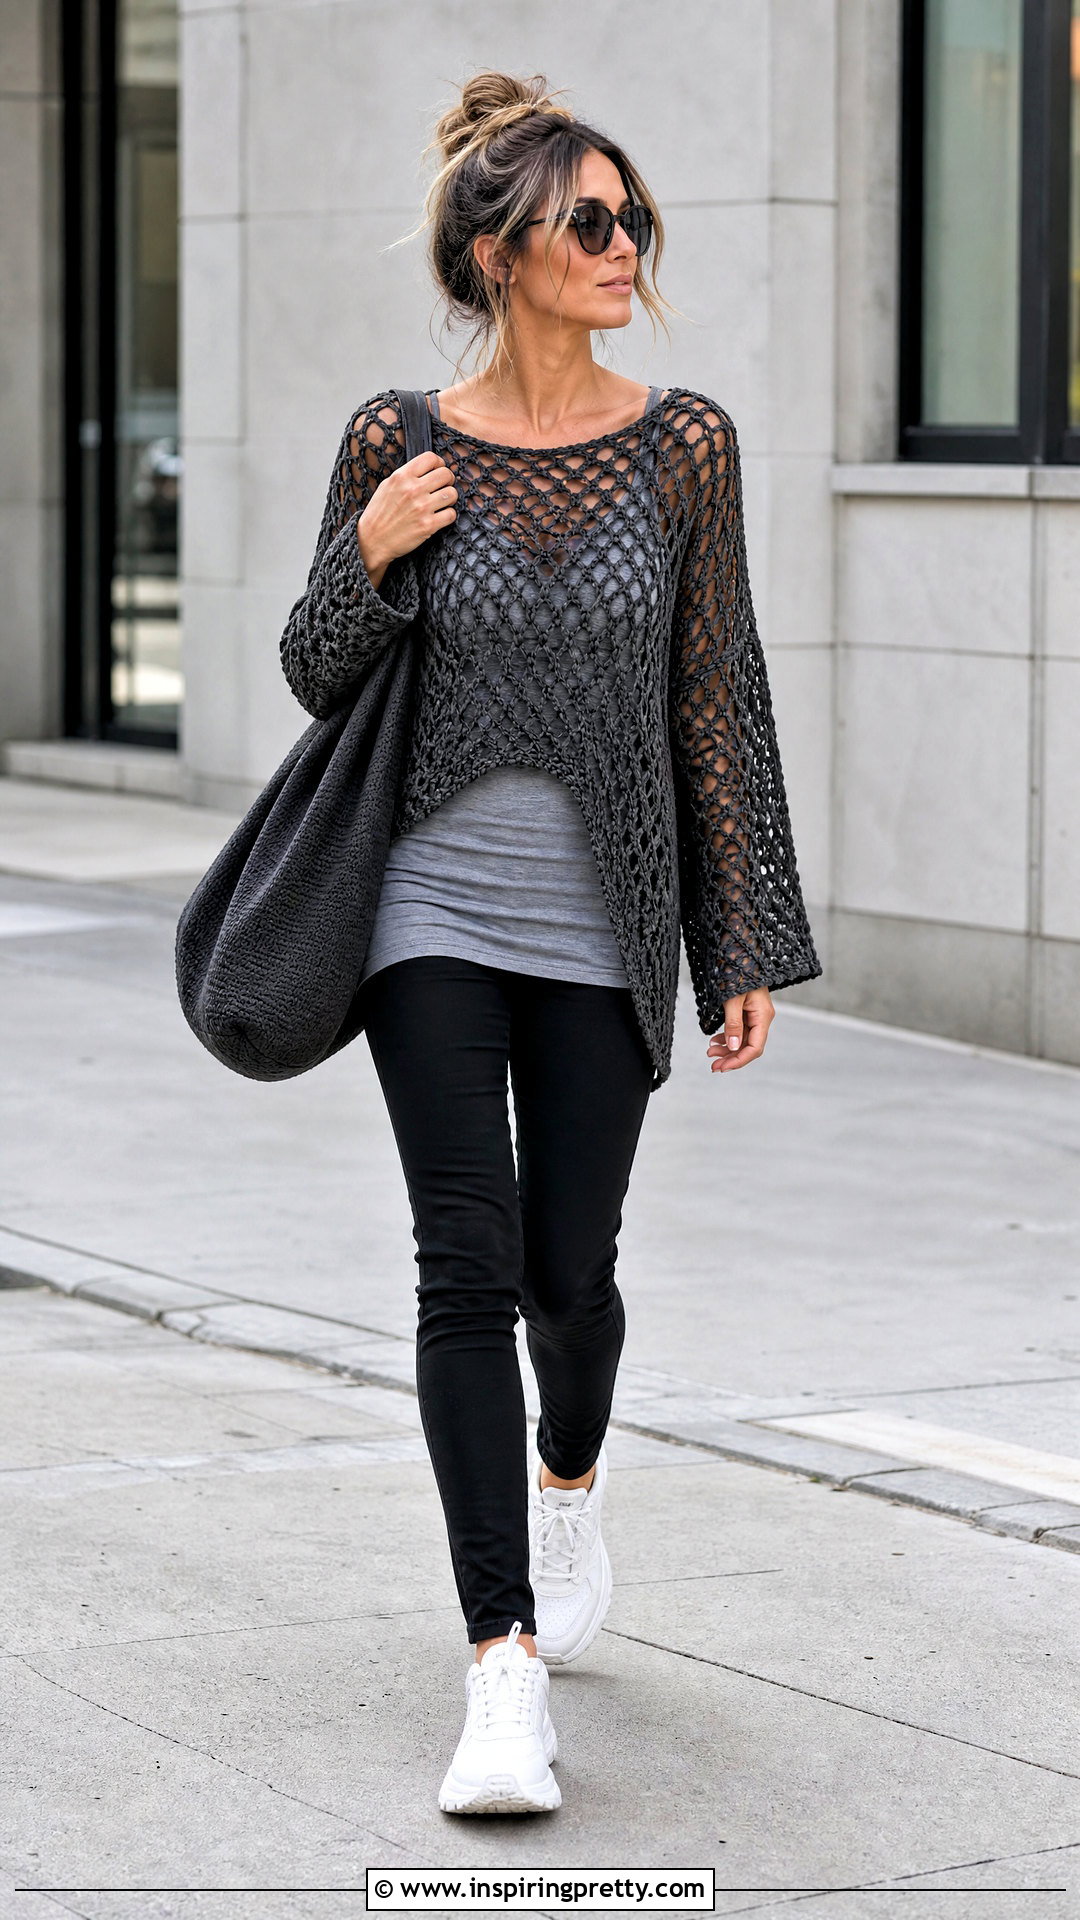
An oversized mesh top should look intentionally relaxed rather than simply too large. Begin with two wide rectangles that extend beyond the shoulders and provide generous positive ease around the bust. Keep the body straight and choose an open stitch pattern that drapes instead of standing stiffly. Drop shoulders can be formed naturally by the extra panel width, reducing the need for complicated sleeve shaping. Add sleeves at the extended armhole edges or leave the design sleeveless. A firm neckline border helps the larger garment retain its shape. Because oversized mesh can lengthen after washing, make a blocked swatch and consider finishing the body slightly shorter than your final target. Style it over a long fitted tank with slim pants, chunky sneakers, a roomy tote, and streamlined accessories.
14. Fitted Crochet Mesh Top
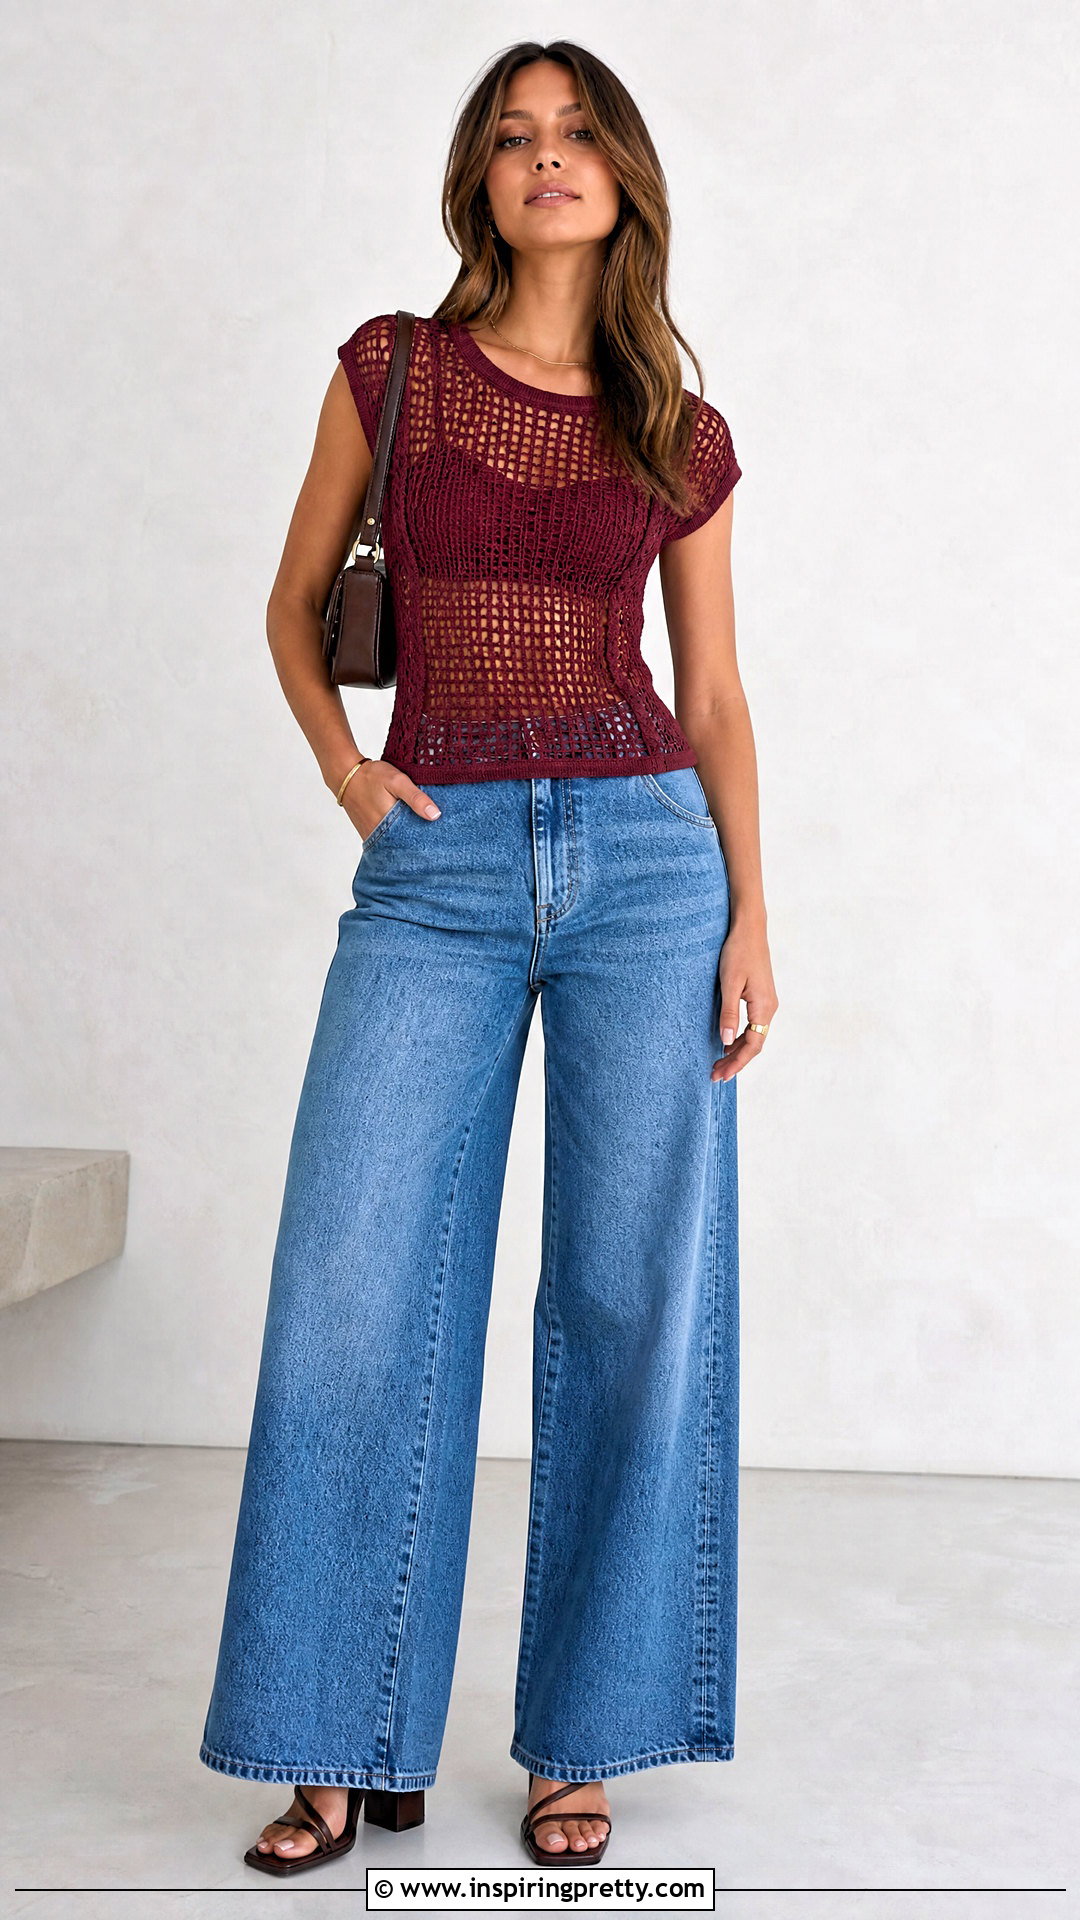
A fitted mesh top requires accurate gauge and careful shaping. Start with a swatch large enough to measure both stitch and row gauge after blocking. Use your bust, waist, and upper hip measurements to determine where increases or decreases are needed. Side shaping can be created by removing mesh spaces toward the waist and adding them back toward the bust. For additional coverage and support, alternate open mesh with denser rows across the chest. Choose a soft yarn with stretch recovery so the top does not become loose after wearing. Try on the garment frequently and leave enough ease for comfortable movement. Finish the neckline and armholes with compact stitches that stabilize the fit. Pair the completed top with high-waisted wide-leg jeans, block-heel sandals, a small shoulder bag, and refined everyday jewelry.
15. Granny Square Crochet Mesh Top
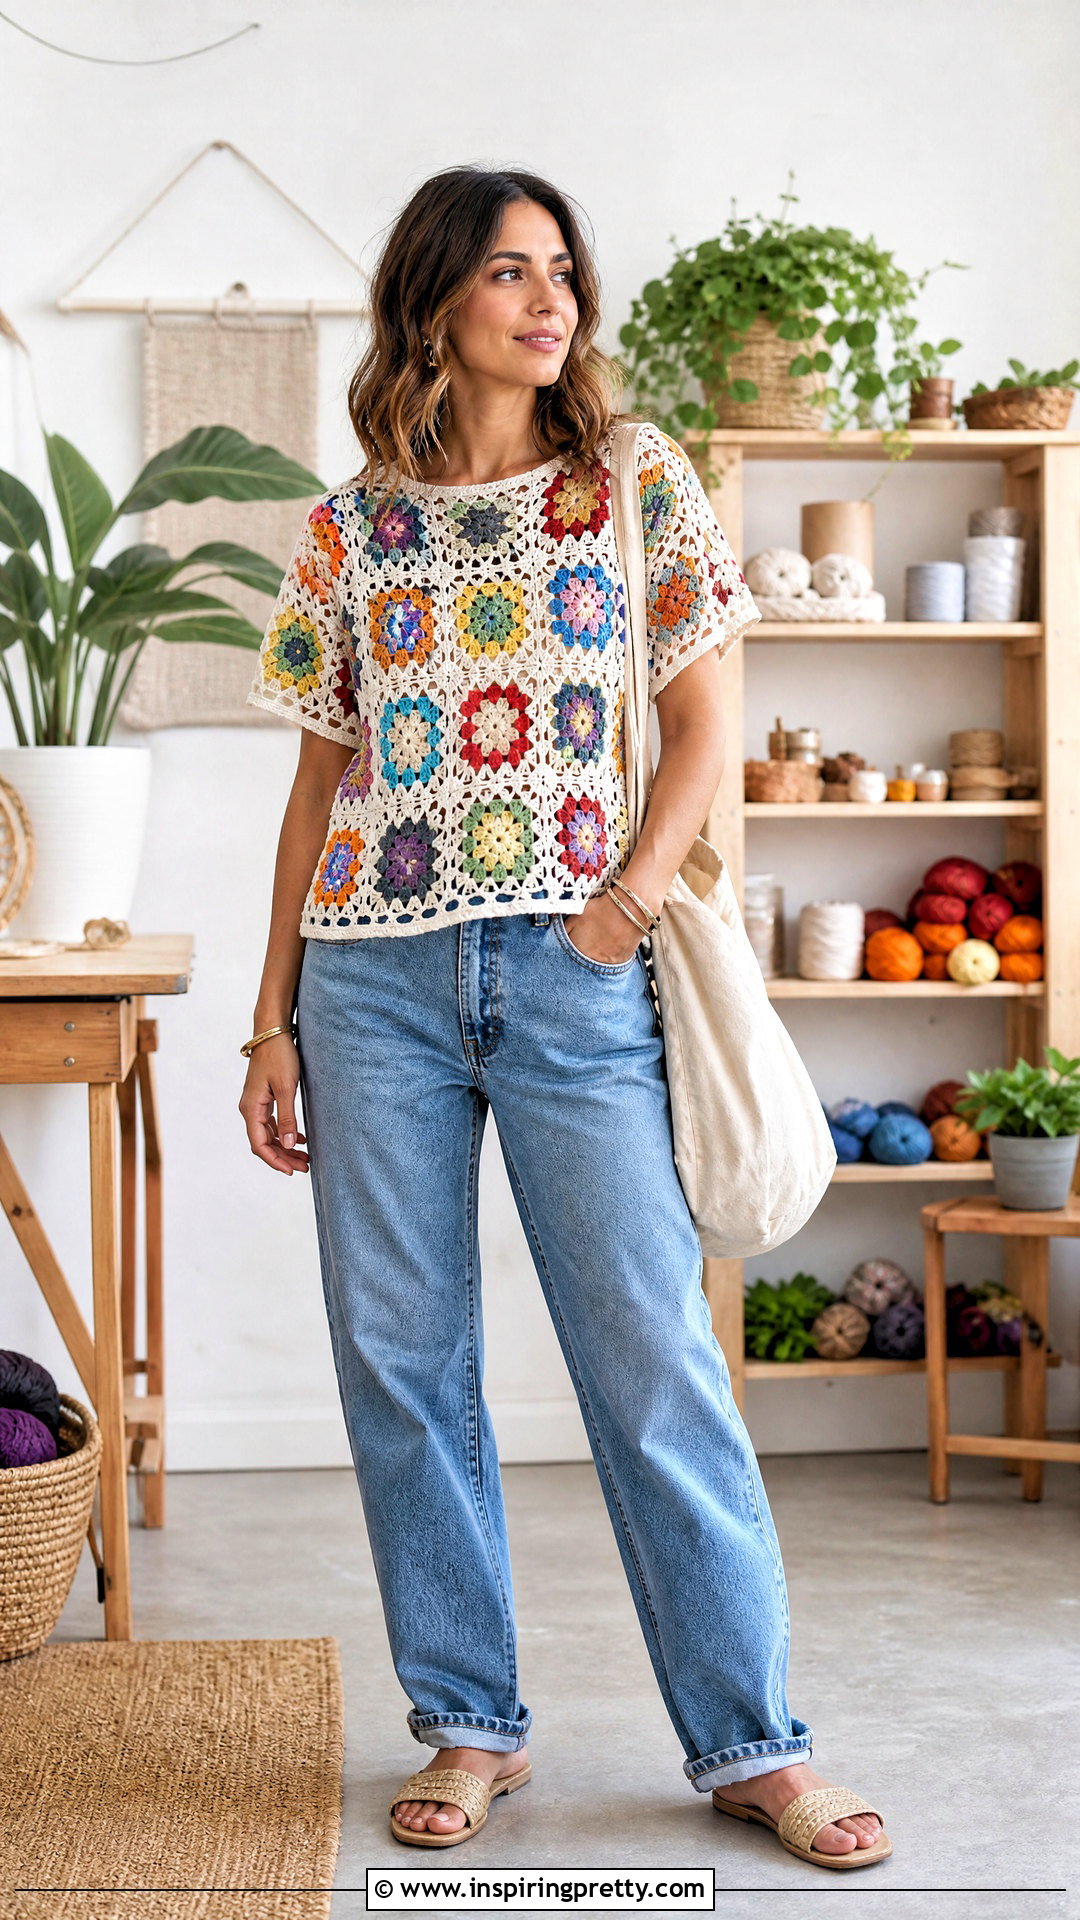
Granny squares provide a modular way to build a colorful mesh top. Select an open granny square pattern and crochet enough matching motifs to cover the front and back. Block every square to the same dimensions before assembly. Arrange the colors on a flat surface so the distribution feels balanced. Join the motifs with slip stitches, single crochet, or a flat decorative join. Leave openings for the neck and arms, then add partial motifs or mesh rows where you need more precise sizing. You can create straps, sleeves, or a lower border after the main squares are connected. Finish all openings to make the garment feel cohesive. Style the top over a solid tank with relaxed denim, neutral sandals, a canvas shoulder bag, and understated accessories that let the crochet pattern stand out.
16. Filet Crochet Mesh Top
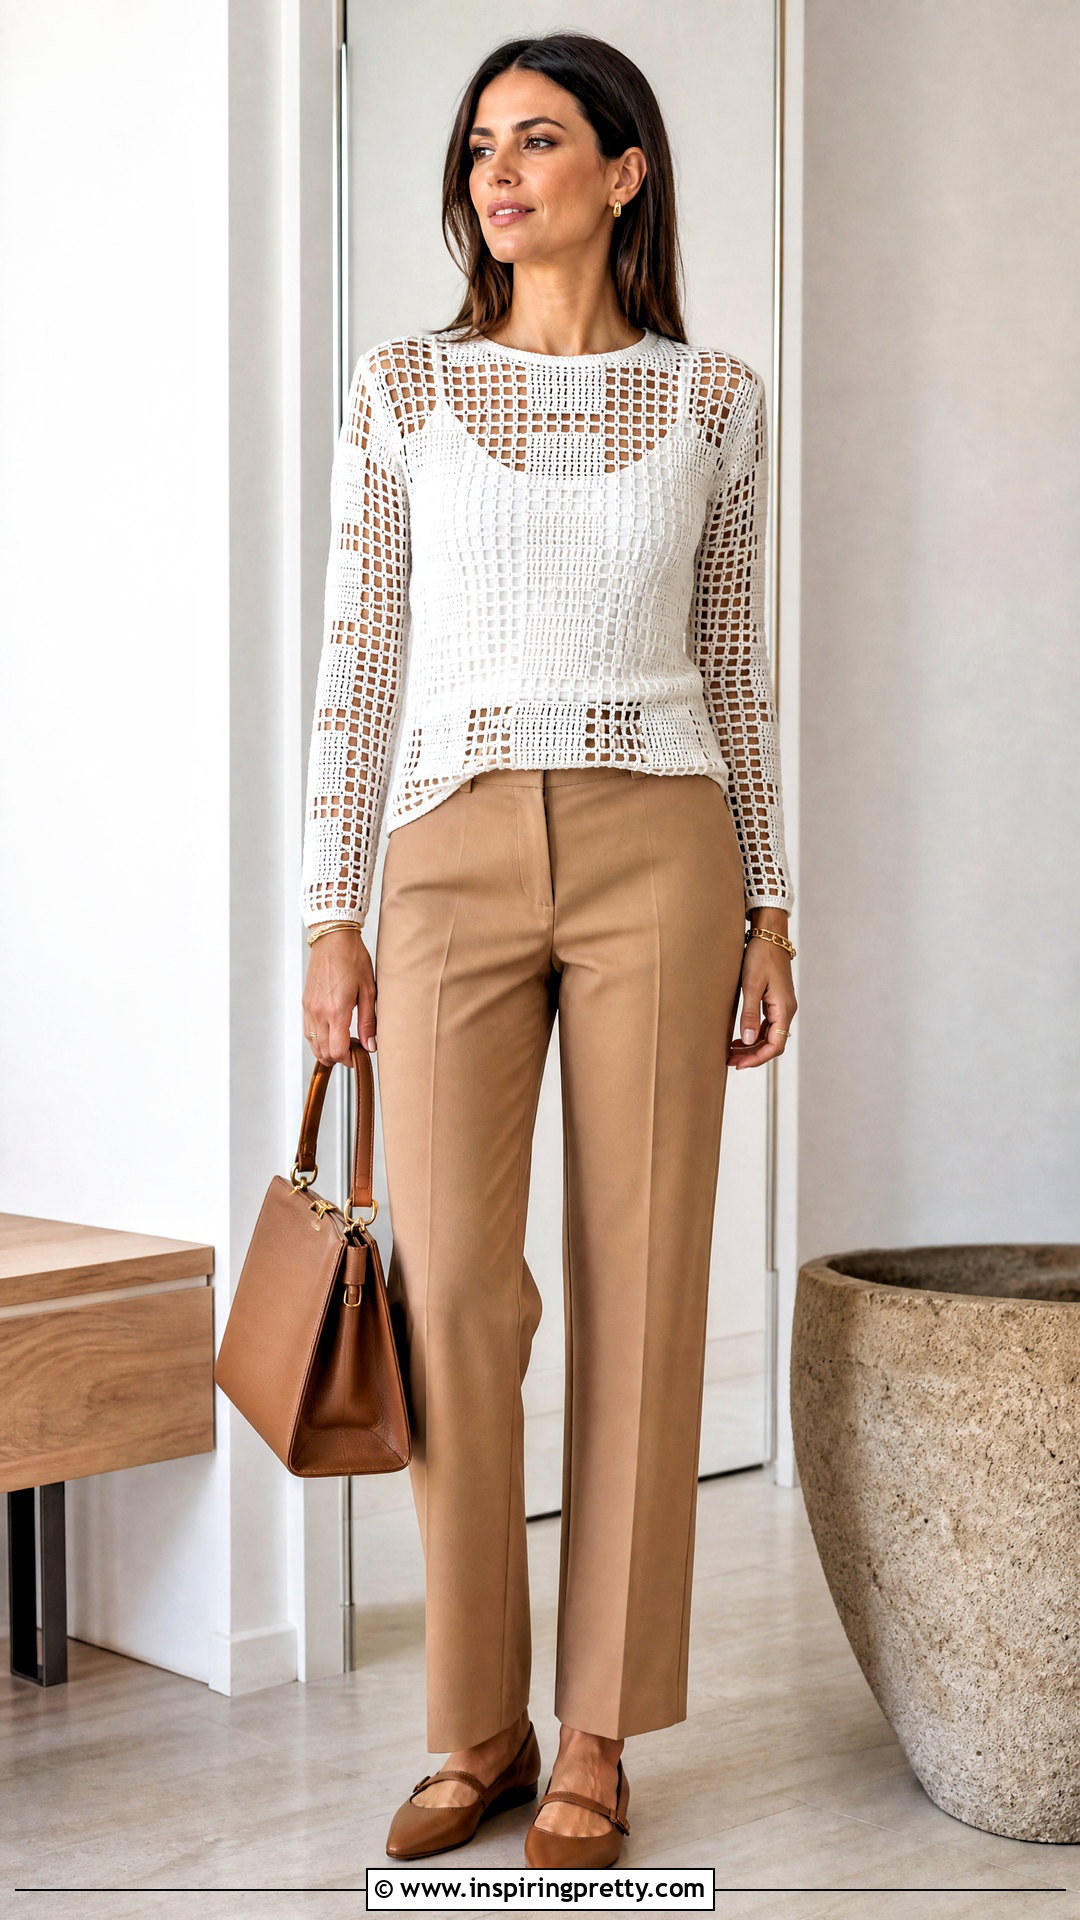
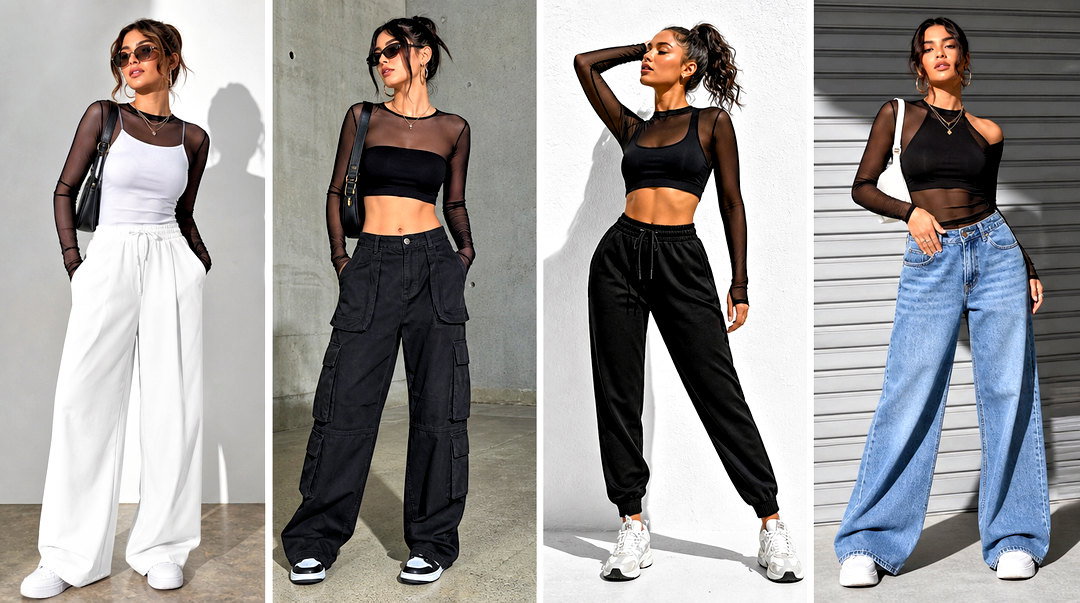
Filet crochet combines open and filled blocks to create geometric designs within a mesh fabric. Most patterns use double crochet stitches and chain spaces arranged on a chart. Choose a simple motif for your first garment, such as checks, stripes, flowers, or repeating diamonds. Make a swatch to determine how many blocks you need for the desired width. Crochet matching front and back panels while keeping the edge stitches straight. Count every block carefully because one missed chain can shift the complete design. Solid sections can be positioned across areas where you want more coverage, while open blocks keep the top breathable. Seam the panels and add strong edging around each opening. Wear the top with a tonal camisole, tailored pants, sleek flats, a structured bag, and minimal jewelry. ()
17. Diamond Mesh Crochet Top
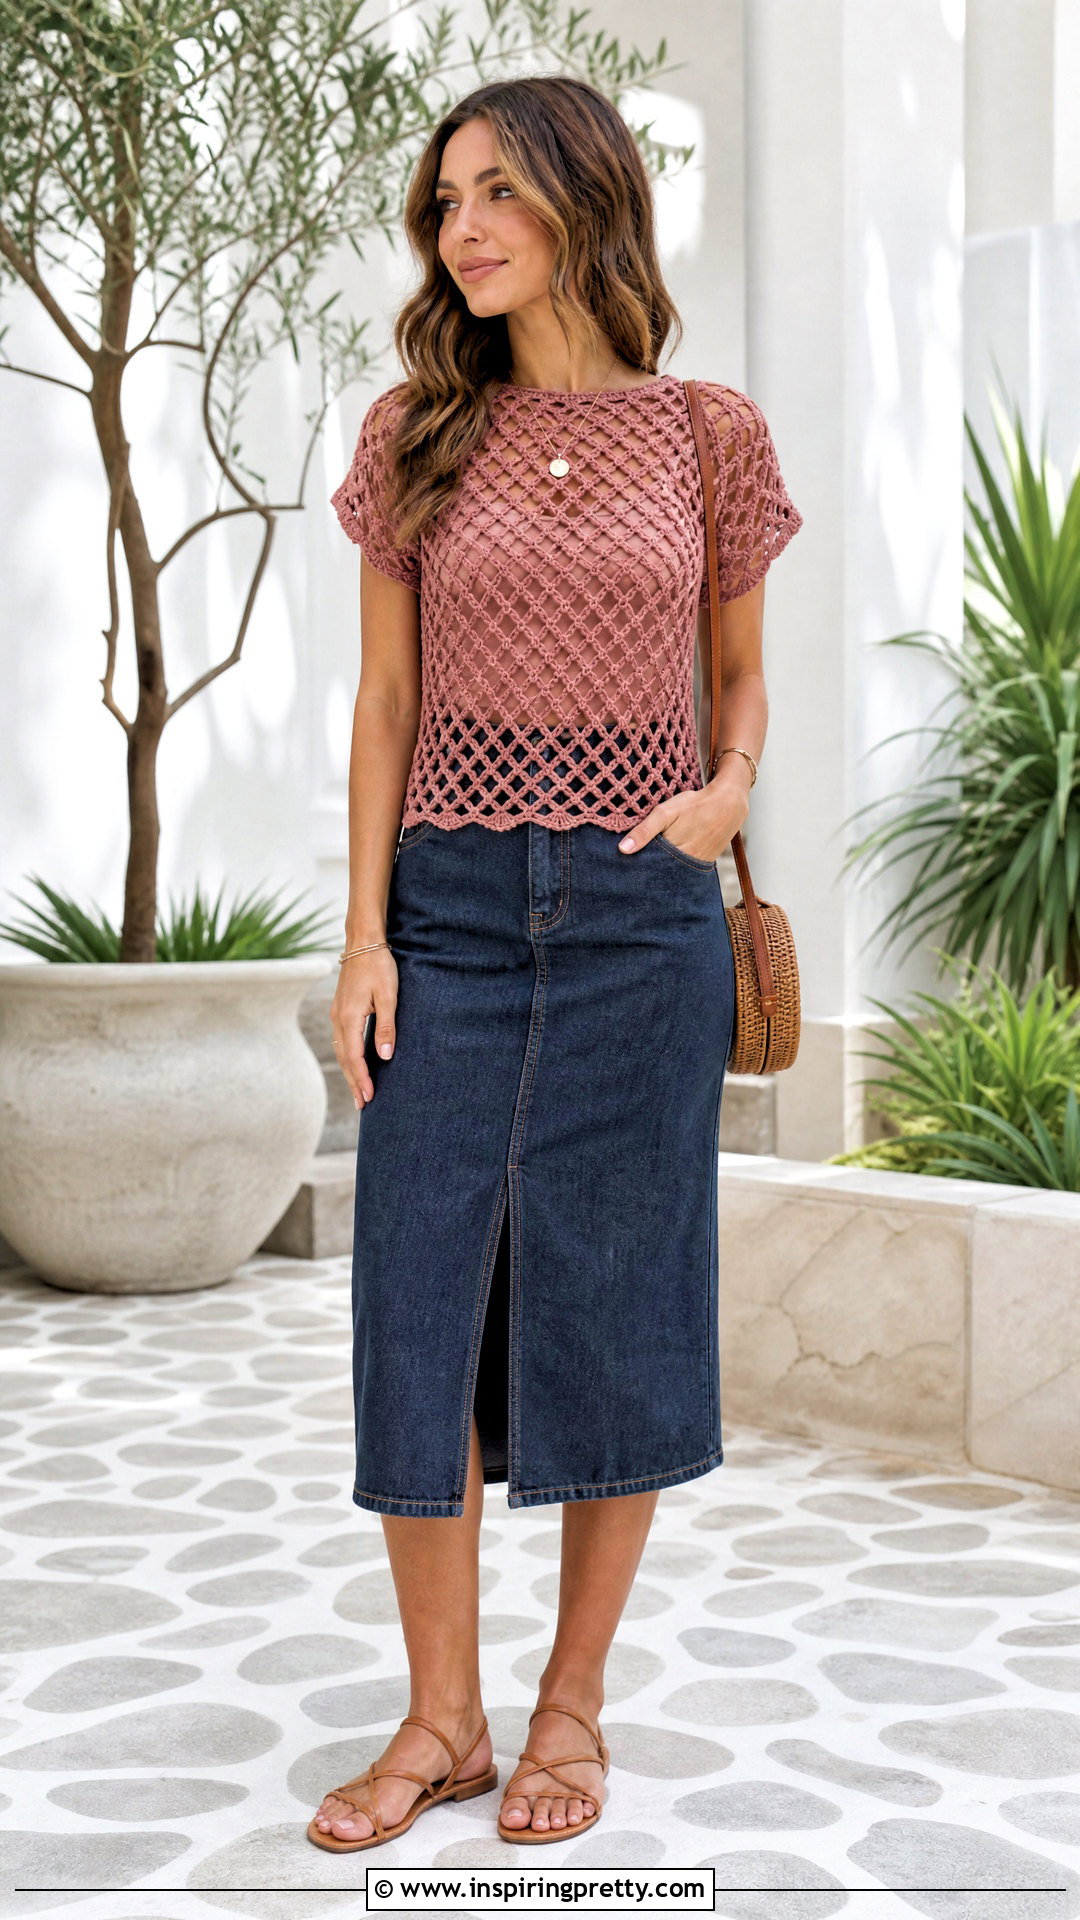
Diamond mesh gives a top a decorative open texture without requiring complex garment shaping. The stitch is usually created by arranging chain loops and anchoring them with compact stitches at alternating points. Practice the repeat on a swatch until every diamond has a consistent size. Use stitch markers along the panel edges because loose chain spaces can be difficult to count. Two straight panels will show the pattern clearly and keep construction manageable. When shaping the neckline or armholes, replace incomplete diamonds with smaller chain spaces or solid stitches. A plain single crochet border creates useful contrast and keeps the open pattern stable. Block the top carefully to open the diamonds evenly. Style it over a matching fitted tank with a denim midi skirt, simple sandals, a crossbody bag, and polished accessories.
18. Shell Mesh Crochet Top
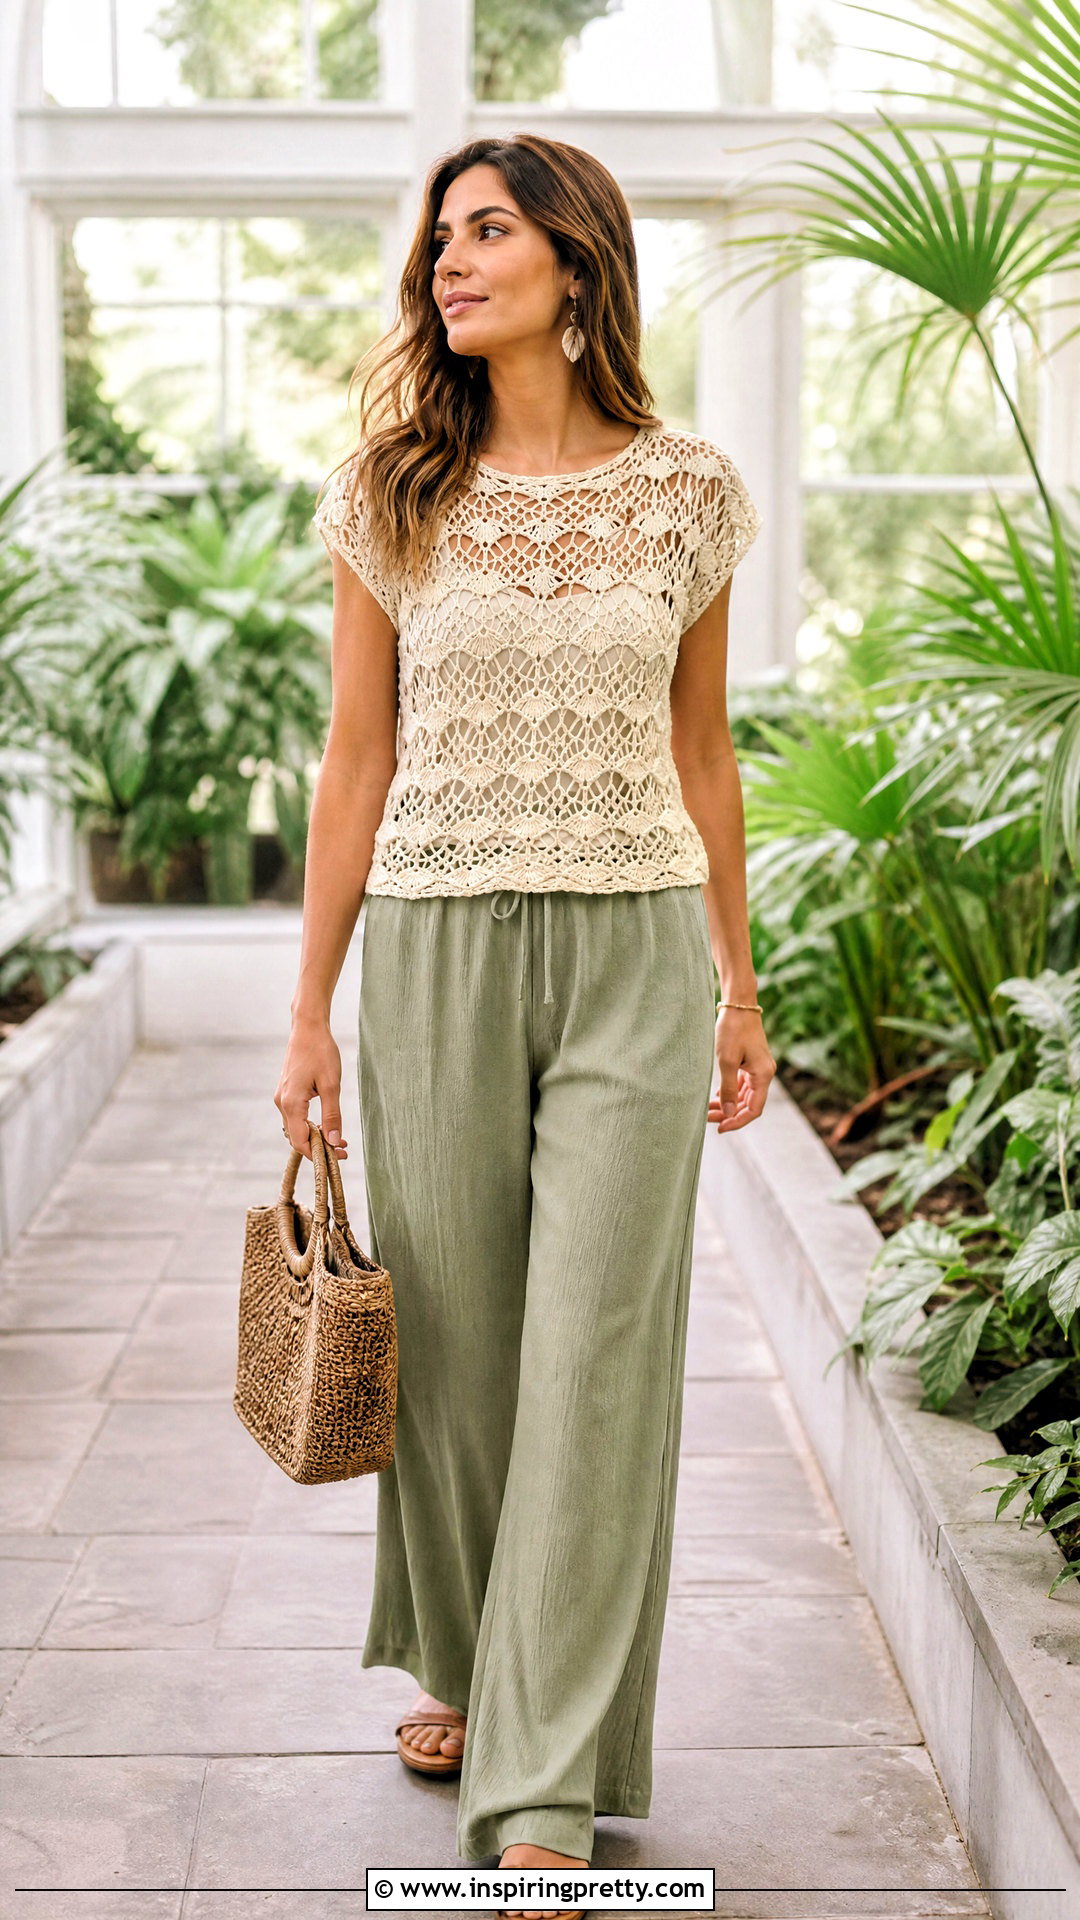
Shell mesh creates a softer, more decorative fabric by combining grouped stitches with open chain spaces. Choose a lightweight yarn so the shells drape rather than becoming bulky. Begin with a swatch because shell patterns often require a specific foundation multiple. Once you understand the repeat, crochet two body panels or work a seamless tube. Keep the upper shaping simple to avoid interrupting the pattern unnecessarily. If a full shell does not fit at an edge, replace it with half of the repeat while maintaining the correct stitch count. Add plain bands at the hem, neckline, and armholes to frame the detailed fabric. Blocking will help the shells relax and reveal their shape. Pair the finished top with a simple camisole, flowing solid-color pants, low sandals, a woven handbag, and delicate earrings.
19. Striped Crochet Mesh Top
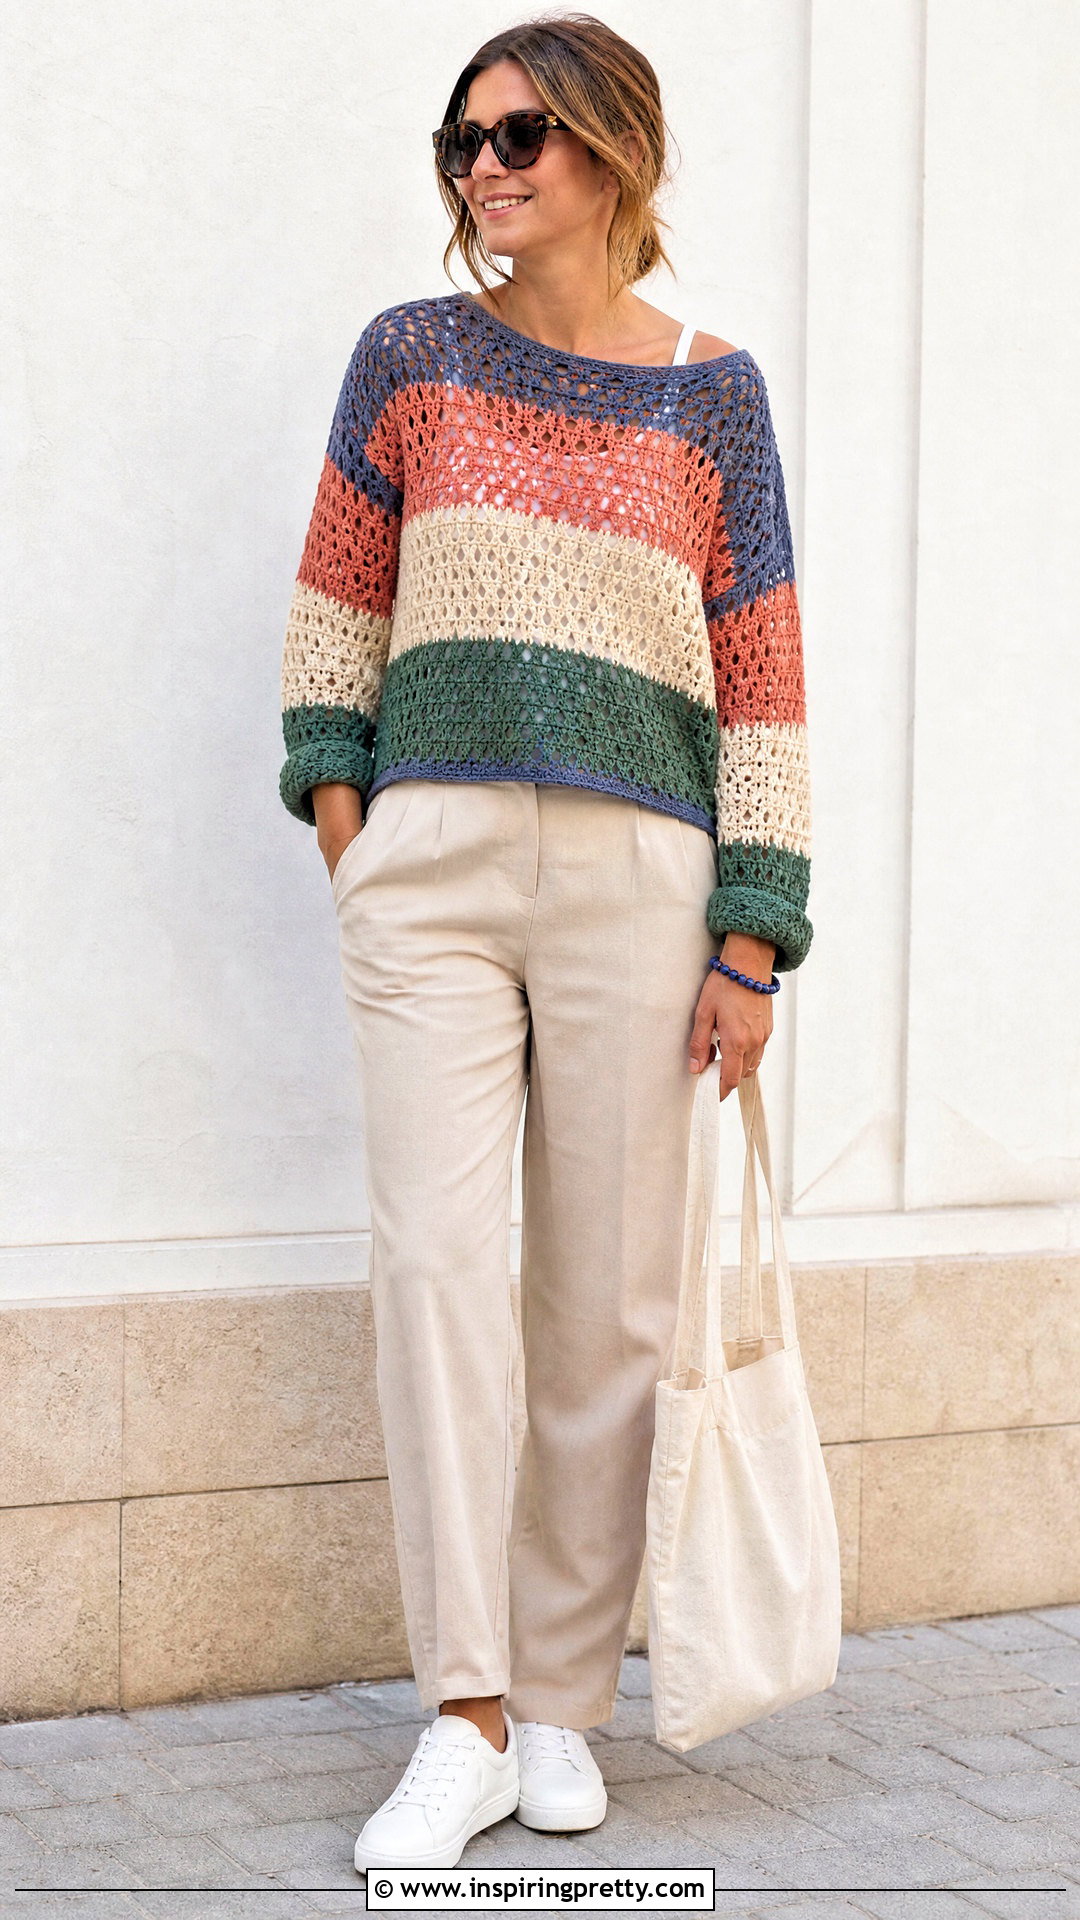
Stripes make a basic mesh repeat look more distinctive and provide a practical way to use yarn leftovers. Choose two to five colors with similar fiber content and yarn weight. Plan the stripe sequence before starting, including how many rows each color will cover. Crochet the front and back at the same time or keep detailed notes so the stripes align at the side seams. Carrying yarn along the edge works for narrow alternating stripes, while wider color bands are usually neater when each yarn is cut. Weave in the ends as you progress, but leave enough length for secure finishing. Use one repeated color around the neckline, sleeves, and hem to unify the design. Style the top with neutral trousers, white sneakers, a simple tote, and accessories that echo one stripe color.
20. Crochet Mesh Tunic Top
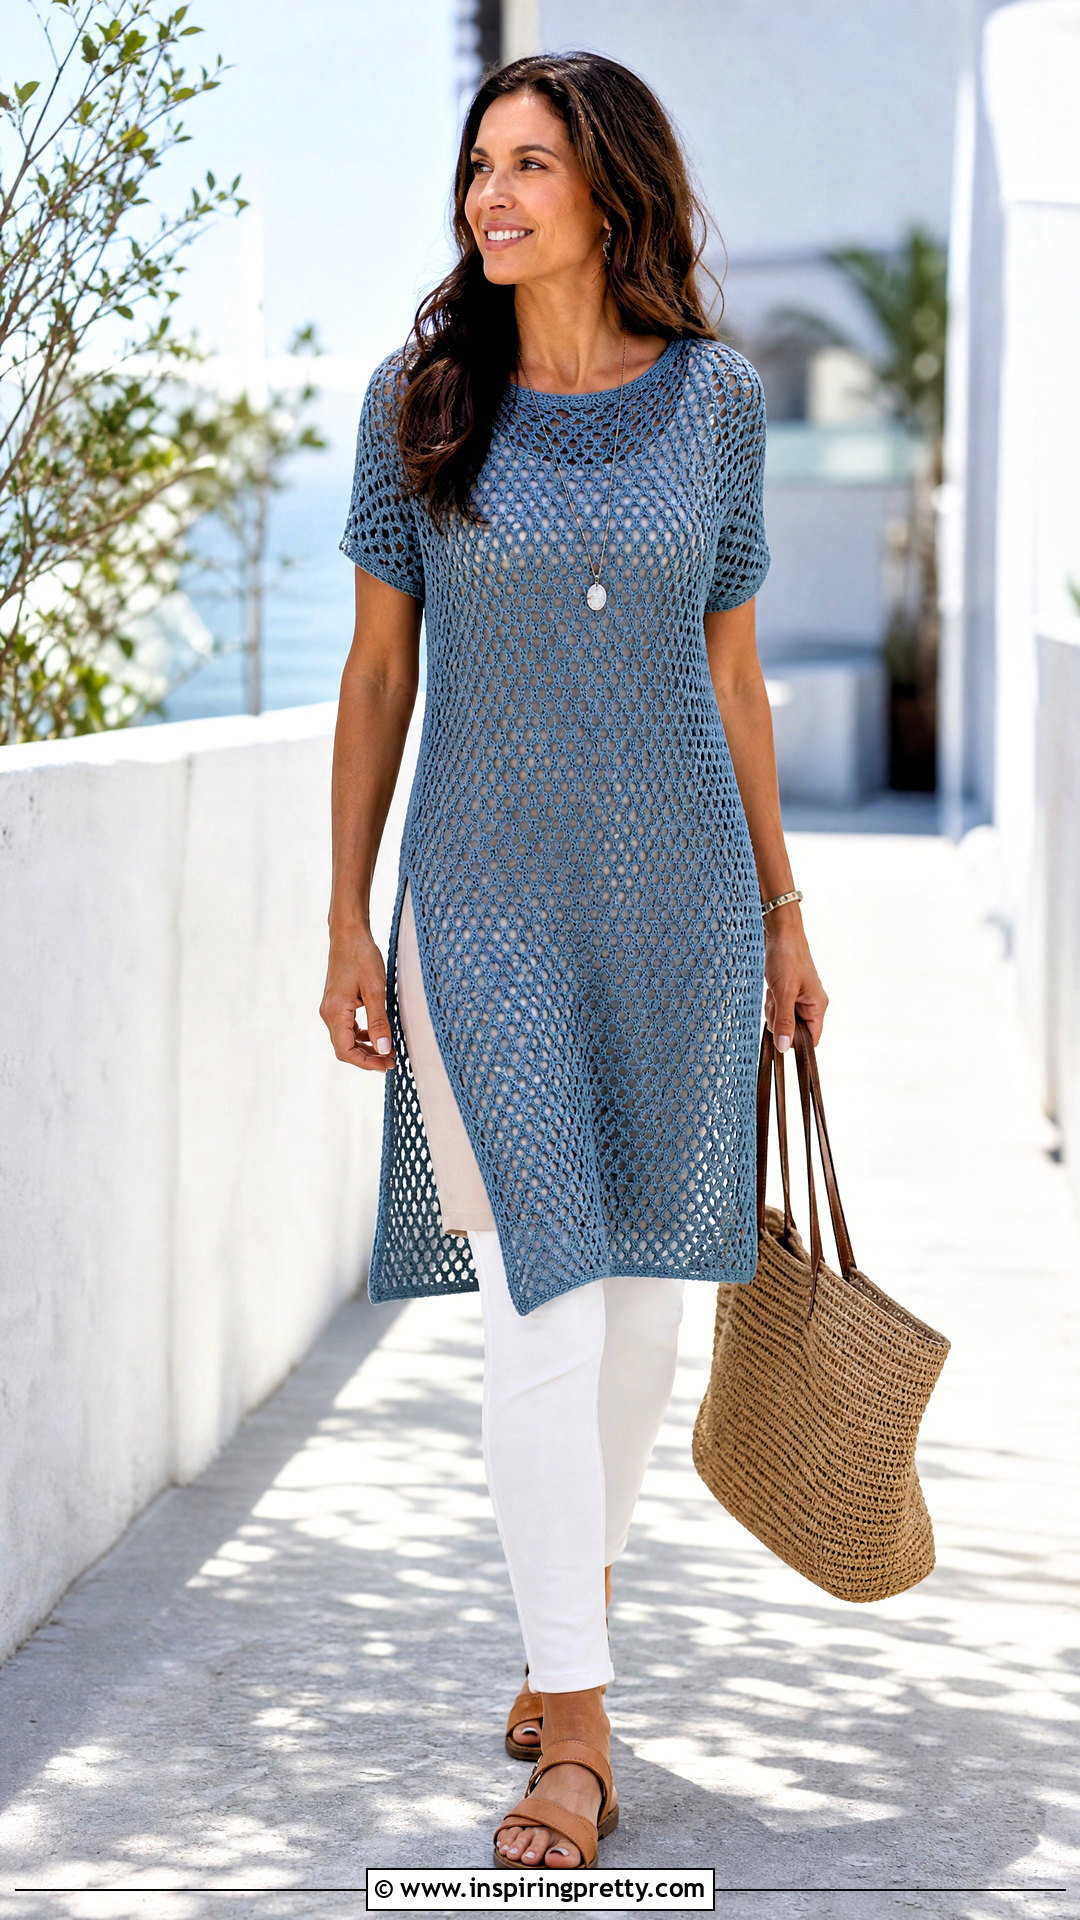
A mesh tunic extends below the hips and works well as a breathable layered garment. Start with two long rectangular panels or crochet a continuous body in the round. Measure the bust, hips, and finished length because the lower portion needs enough room for walking and sitting. Add small side slits if you prefer a straighter shape. For an A-line silhouette, increase one mesh space near each side at regular intervals. Wide shoulder seams and a modest neckline will help balance the longer length. You can add short sleeves, flared sleeves, or simple armhole borders. Choose a yarn with good drape so the tunic does not feel stiff. Complete the outfit with a long fitted base layer, cropped leggings or slim pants, flat sandals, a roomy tote, and simple jewelry.
Conclusion:
Understanding **how to crochet mesh top** designs gives you many ways to create a garment that fits your measurements, experience level, and personal wardrobe. Start with a rectangle top if you are new to crochet clothing, then explore neck shaping, sleeves, fitted construction, or decorative mesh as your confidence grows. Always swatch, measure the fabric after blocking, and try the project on before completing permanent seams. Smooth breathable yarn, consistent tension, reinforced openings, and neatly woven ends will make the finished top more comfortable and durable. Whether you choose a cropped tank, long-sleeve pullover, tie-front top, or flowing tunic, thoughtful measurements and careful finishing will produce a polished handmade piece you can layer and wear often.
Related posts:


Leave a Reply