
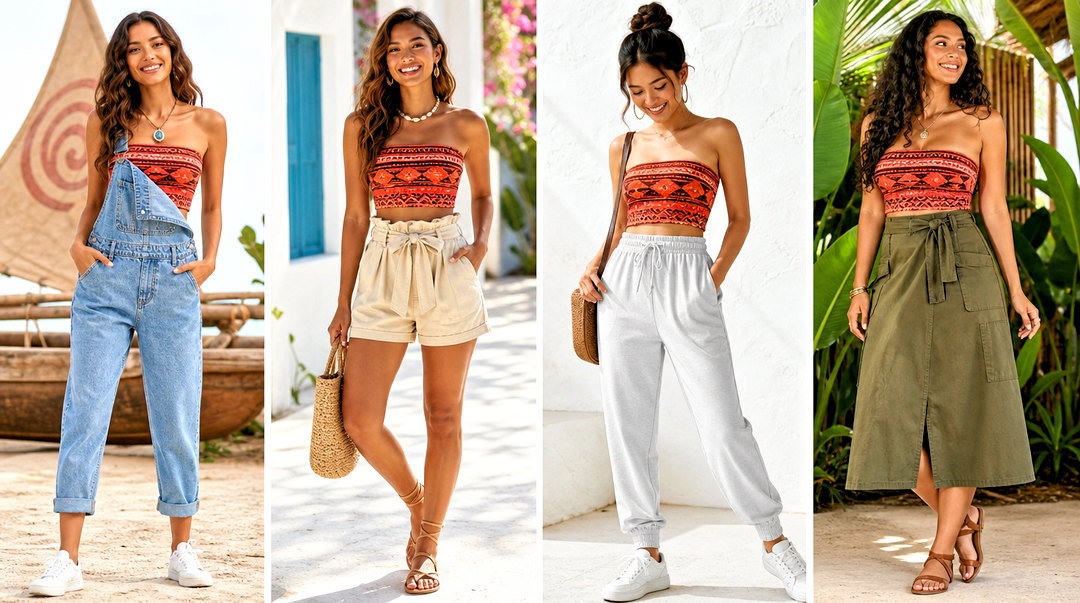
Learning how to make cute crop tops diy is an easy way to refresh old clothing, reduce fabric waste, and create tops that fit your personal taste. Most projects begin with an oversized T-shirt, button-down shirt, scarf, pillowcase, or leftover fabric. Before cutting, try the garment on, mark the desired length, and leave extra material for adjustments or a finished hem. Sharp fabric scissors, tailor’s chalk, pins, elastic, and matching thread will make the process easier. Some designs require basic sewing, while others can be finished with strategic cuts, knots, or fabric glue. The options below also include simple outfit suggestions so every finished piece feels wearable. Explore these creative methods for how to make cute crop tops diy. ()
1. No-Sew T-Shirt Crop Top
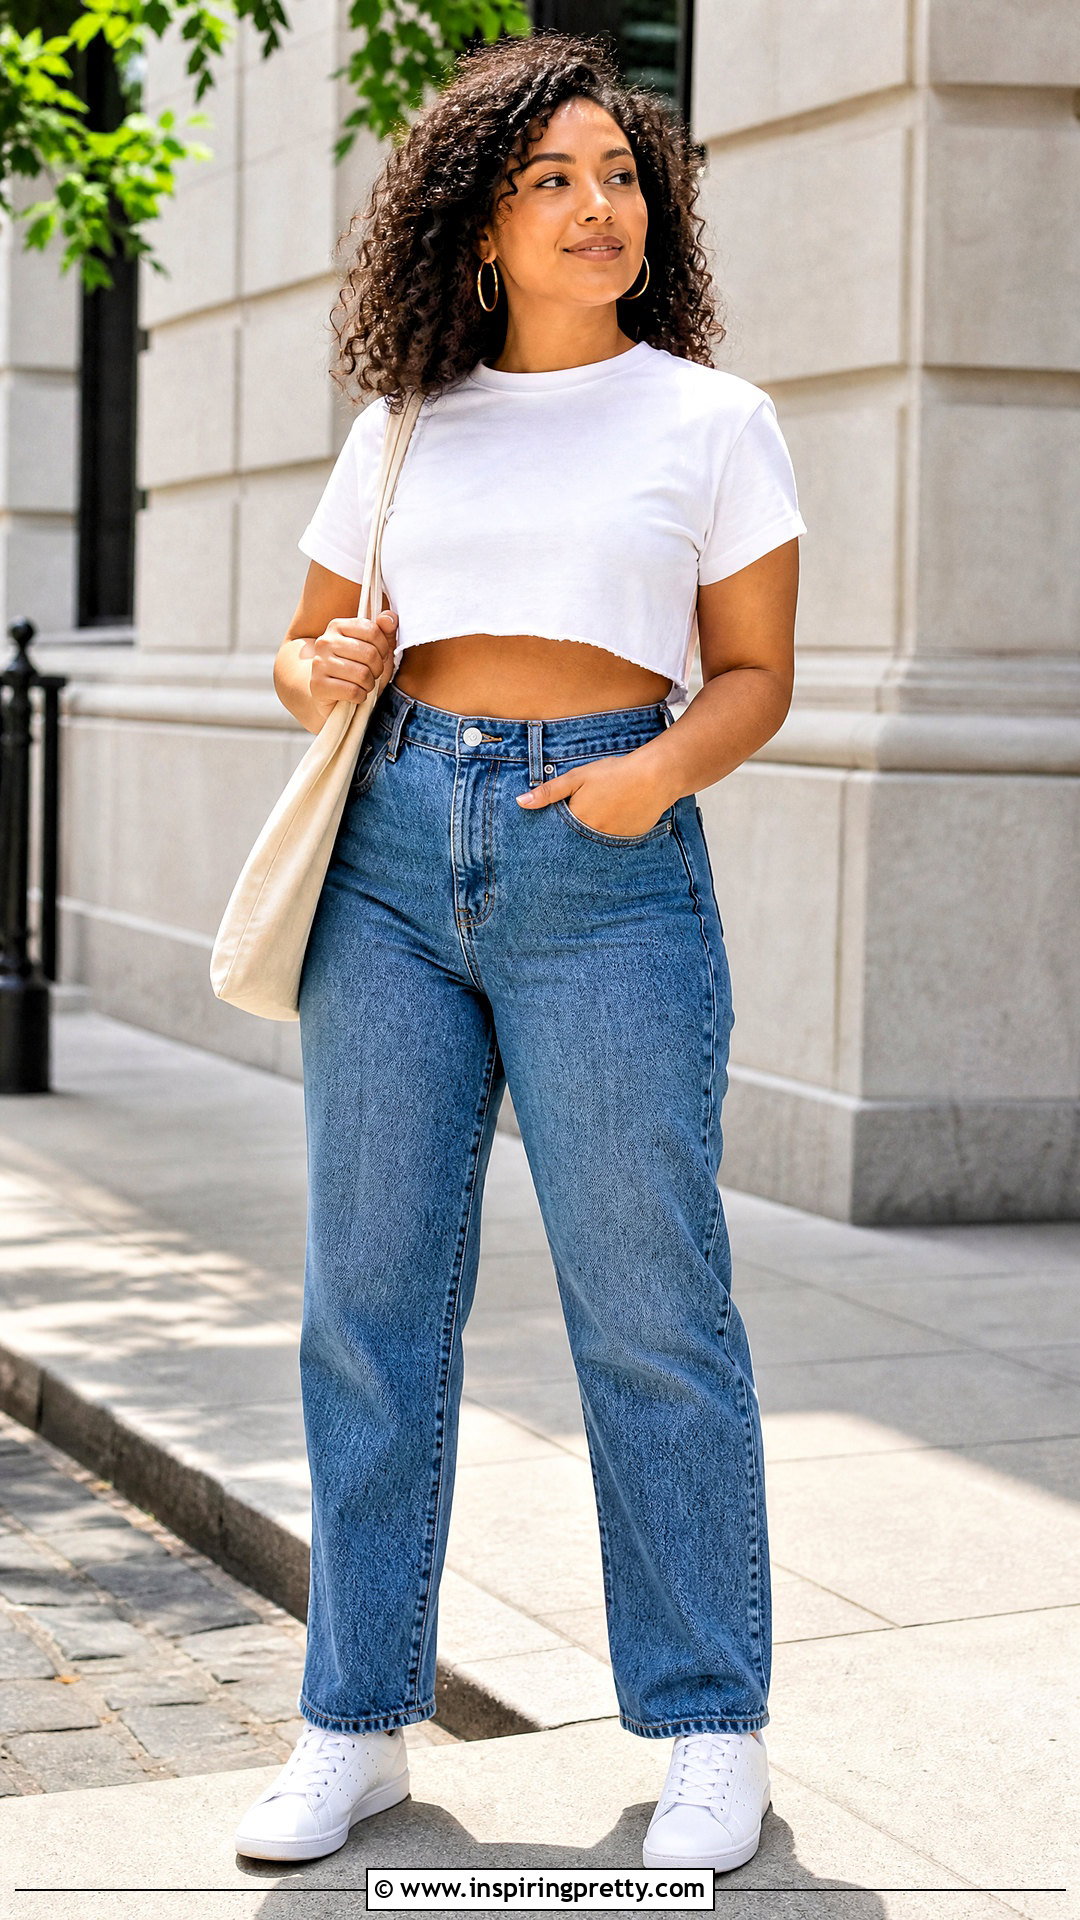
A basic T-shirt can become a casual crop top in only a few minutes. Put on the shirt and mark where you want the finished edge to sit. Remove it, lay it flat, and draw a straight line about one inch below that mark. Cut through both layers with sharp fabric scissors, using slow, even movements. Gently stretch the cut edge so cotton jersey rolls inward and looks cleaner. You can also shorten the sleeves or widen the neckline, but make small cuts first. Wear the finished top with high-waisted straight-leg jeans, clean white sneakers, and a canvas tote. This simple outfit balances the shorter length while keeping the overall look relaxed and practical. ()
2. Raw-Hem Crop Top
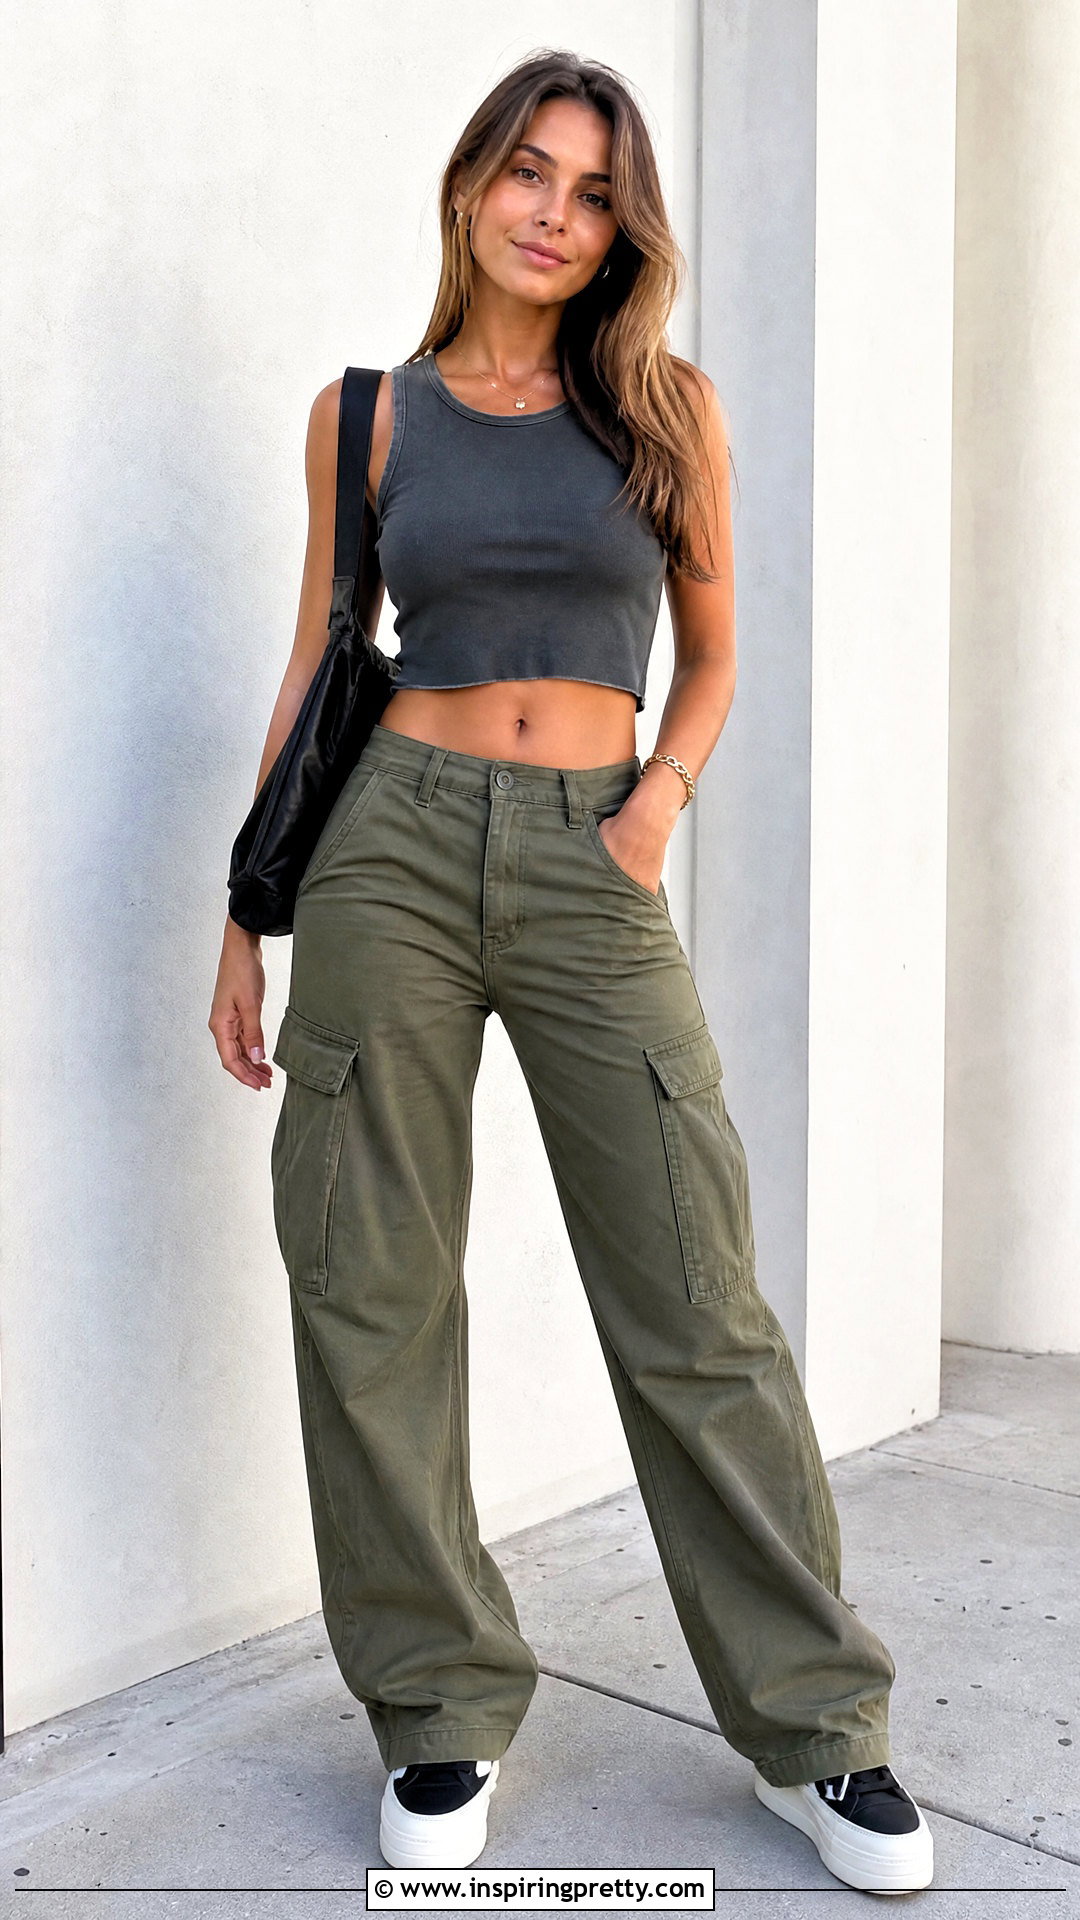
The raw-hem method works well when you want a relaxed crop top without sewing. Choose a cotton jersey shirt because the material usually will not unravel like woven fabric. Turn the shirt inside out and place a well-fitting crop top over it as a length guide. Mark the new edge, remove the guide, and cut along the line. For a slightly softer shape, curve the front upward while leaving the back a little longer. Wash the finished top before wearing it so the edge settles naturally. Pair it with high-rise cargo pants, platform sneakers, a small shoulder bag, and simple hoop earrings. The utility-inspired bottom gives the minimal raw hem more structure and creates a complete everyday outfit.
3. Rolled-Hem Crop Top
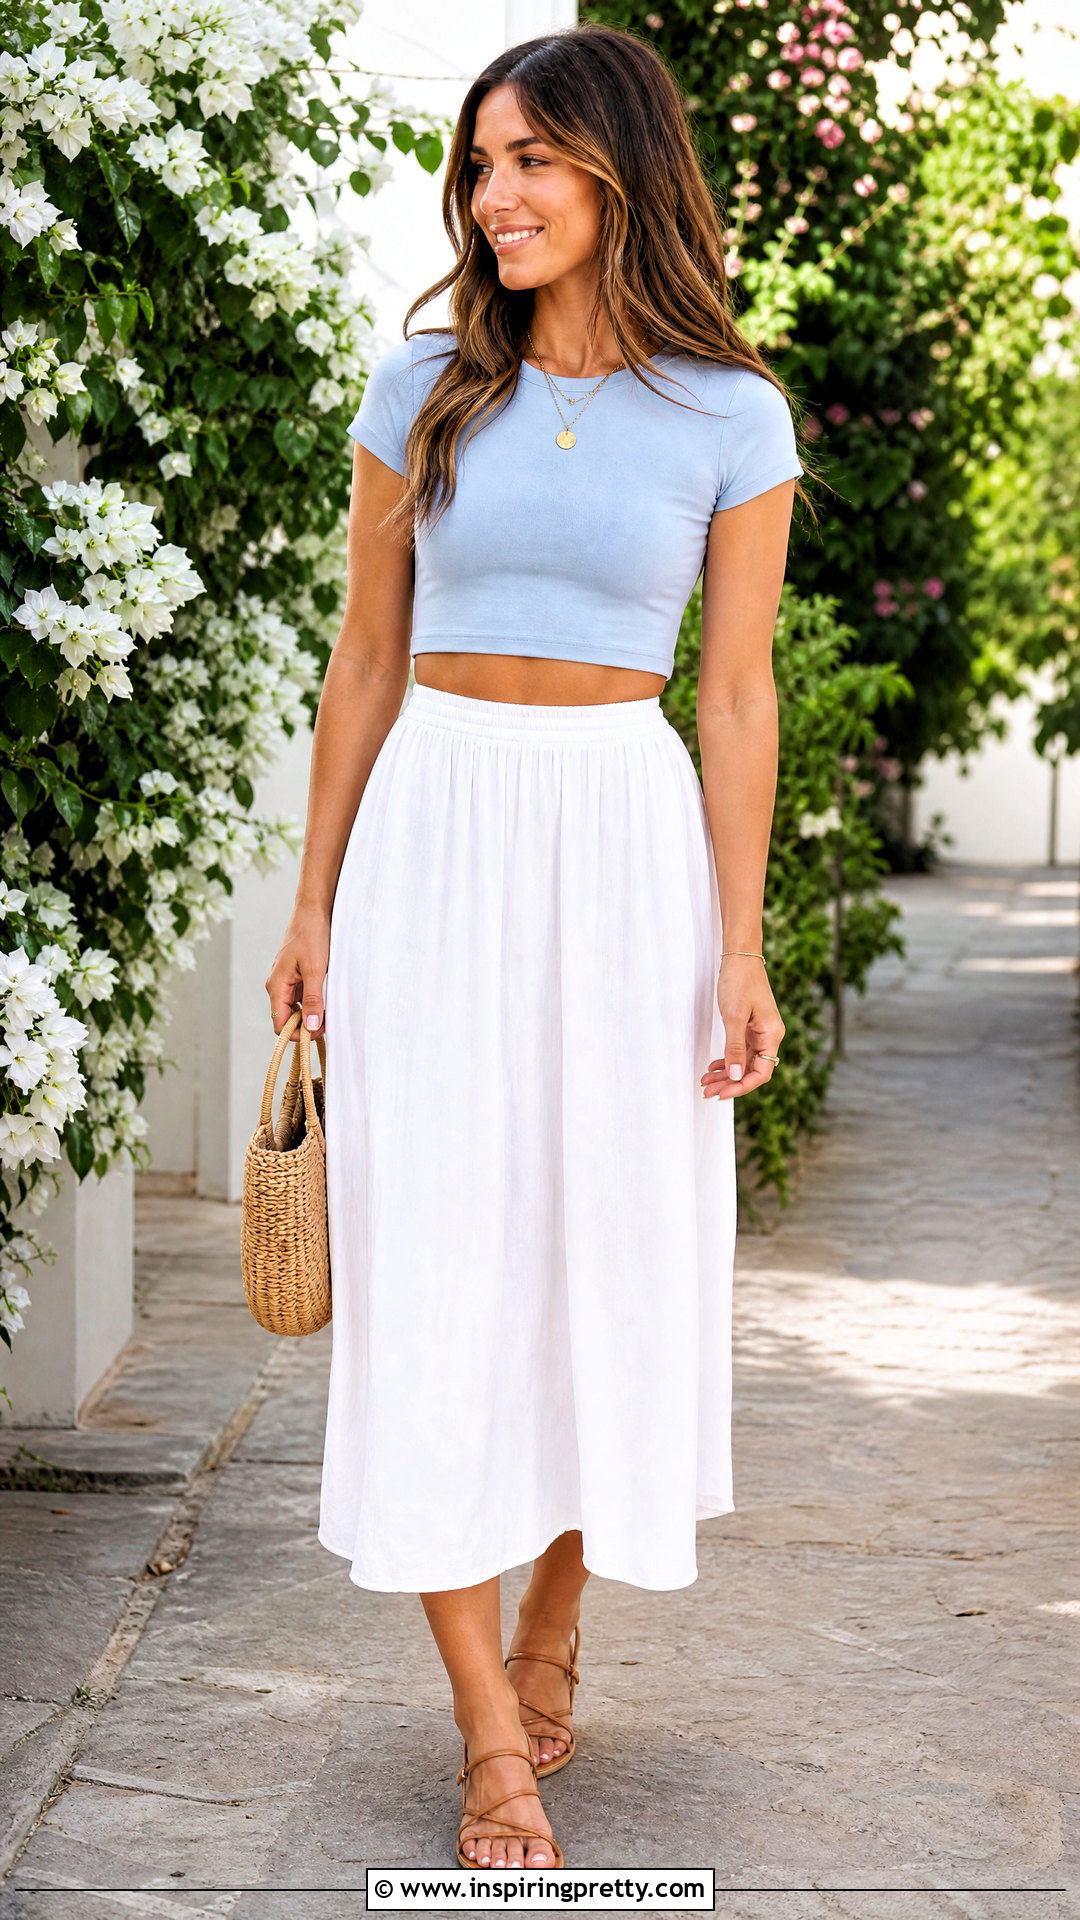
A rolled hem gives a homemade crop top a more polished finish. Begin by deciding where the top should end, then add approximately one inch for the hem allowance. Cut the shirt evenly and turn the lower edge toward the inside by about half an inch. Fold it once more to hide the raw edge. Press the fold with an iron on a suitable heat setting, pin it in place, and sew around the opening with a stretch stitch or narrow zigzag stitch. Avoid pulling the fabric while sewing because that can create a wavy hem. Style this neat crop top with a flowing midi skirt, flat sandals, a woven handbag, and understated jewelry for an easy warm-weather outfit. ()
4. Tie-Front Crop Top
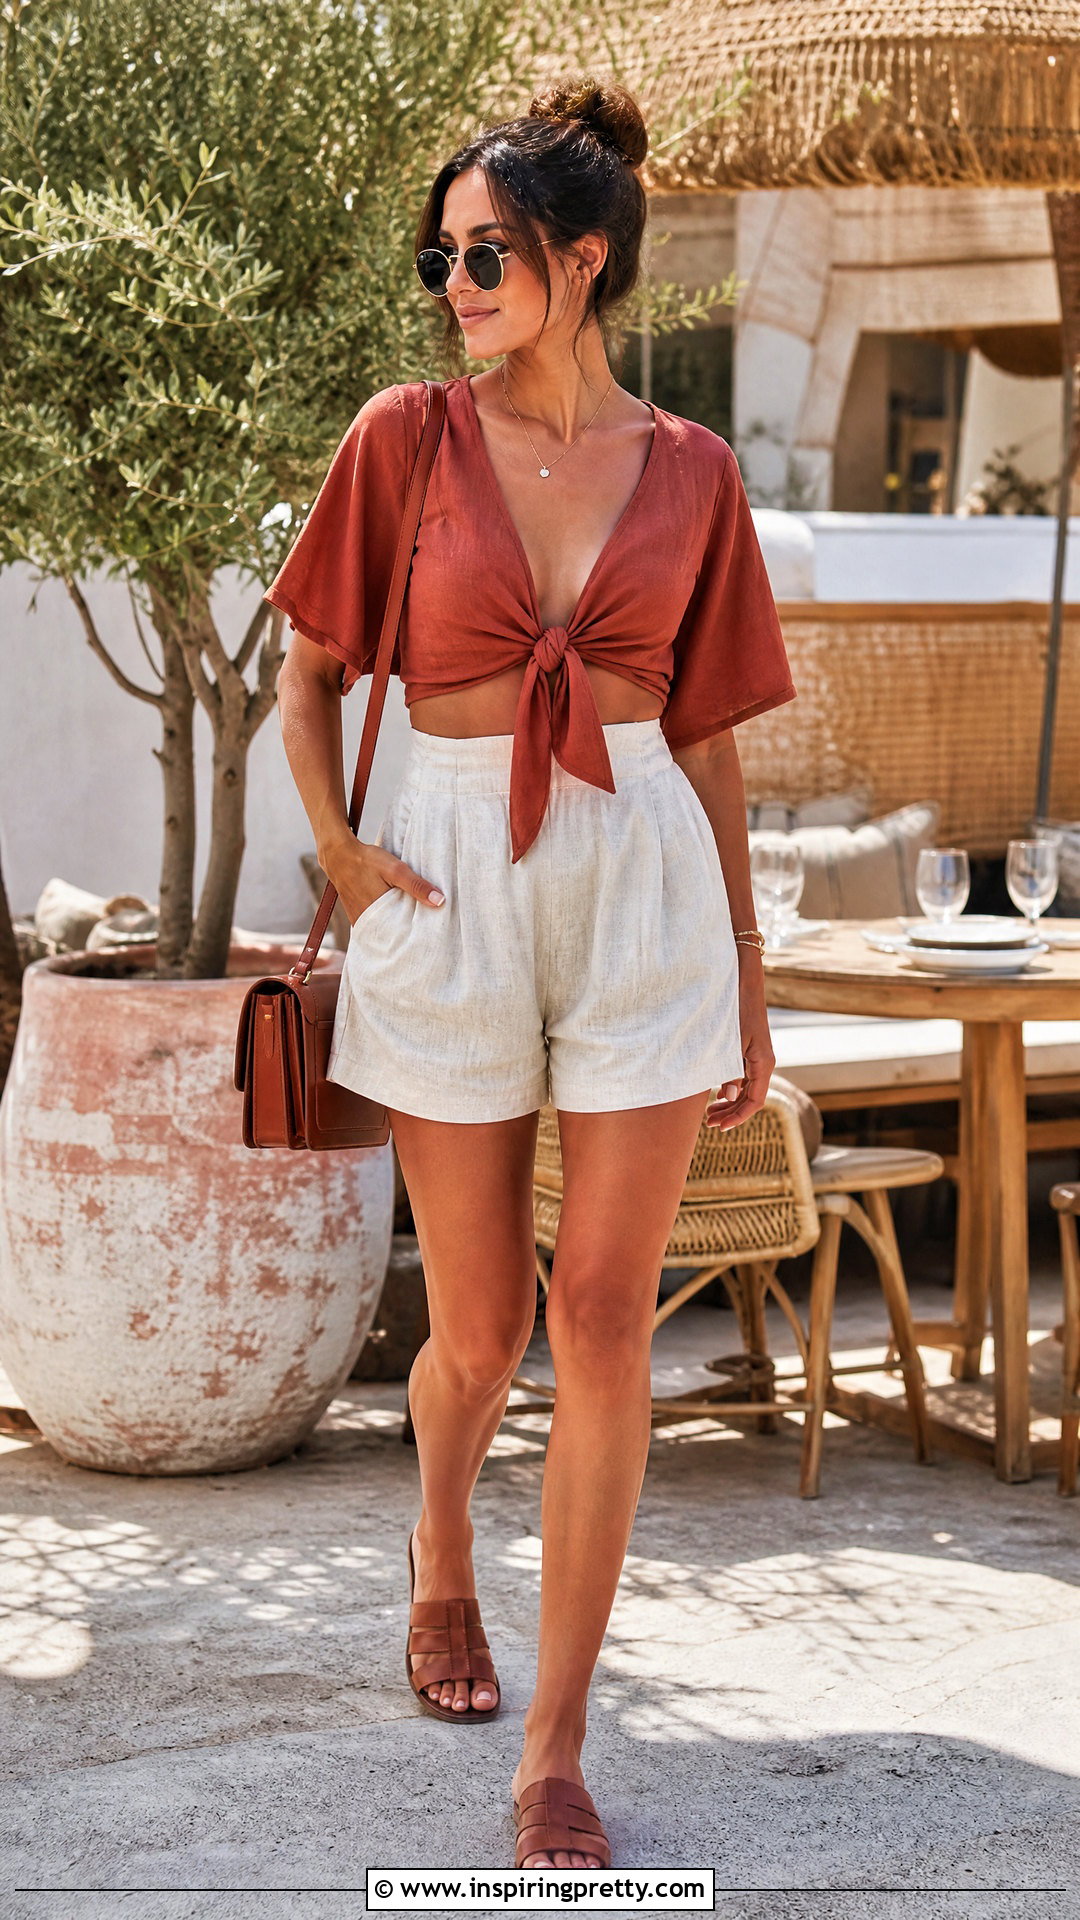
A tie-front crop top adds shape to an oversized tee while using the existing fabric. Mark the crop length across the back and sides, but leave a wide rectangular section hanging at the center front. Cut away the extra material around this section. Next, divide the center panel vertically into two equal ties. Angle or round their ends for a smoother appearance. Pull the ties gently and knot them at the waist. If you prefer more coverage, keep the back slightly longer and position the knot lower. Complete the outfit with high-waisted linen shorts, leather slides, sunglasses, and a structured crossbody bag. The front knot creates definition, while the relaxed shorts keep the finished look comfortable and balanced. ()
5. Side-Tie Crop Top
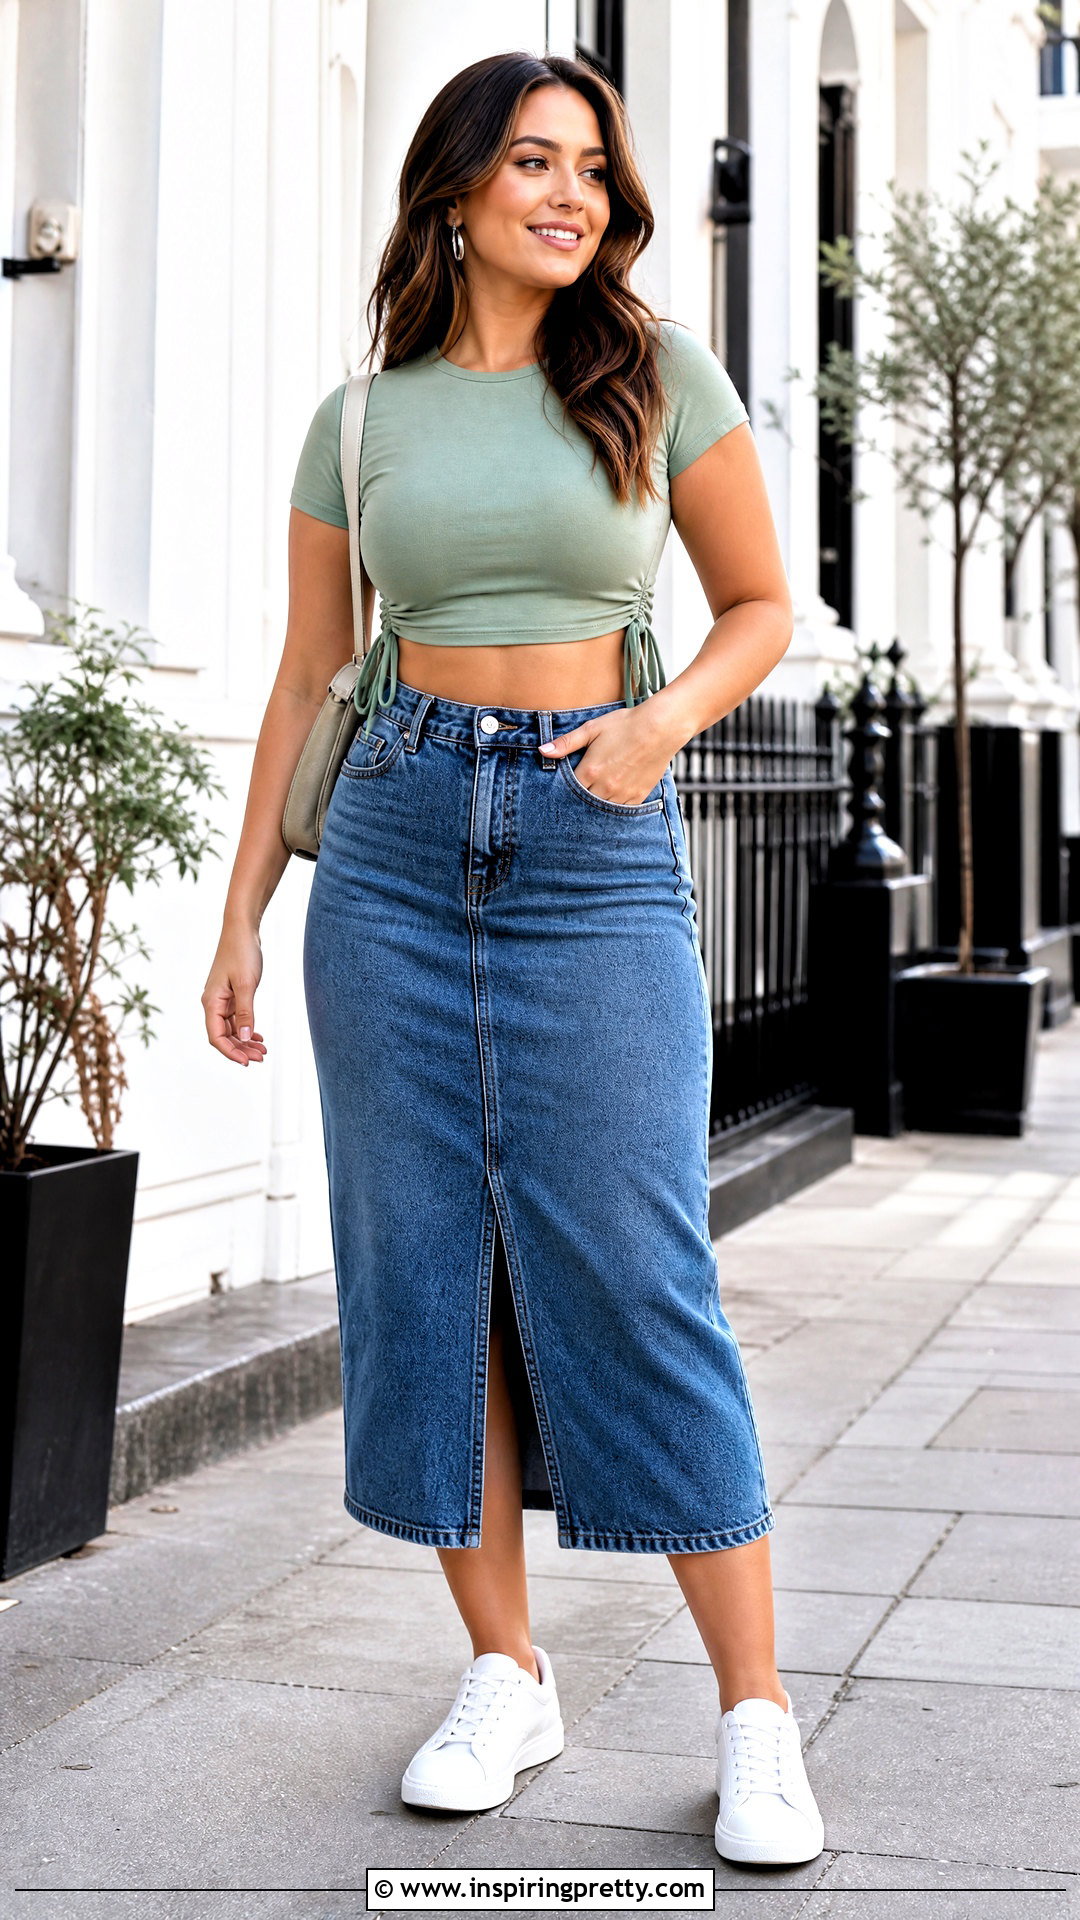
Side ties let you adjust the fit of a loose T-shirt without completely rebuilding it. First, crop the shirt to your preferred length, leaving extra fabric near both side seams. Cut a small upward slit at each side. Divide the fabric surrounding every slit into a front and back strip, then tie the matching strips together. Longer ties create visible bows, while shorter ones make compact knots. Try the top on before tightening everything so both sides sit at the same height. Wear it with a high-rise denim midi skirt, low-profile sneakers, a compact backpack, and silver earrings. This outfit highlights the side details without adding too many competing elements, making it suitable for casual daytime plans.
6. Fringe Crop Top
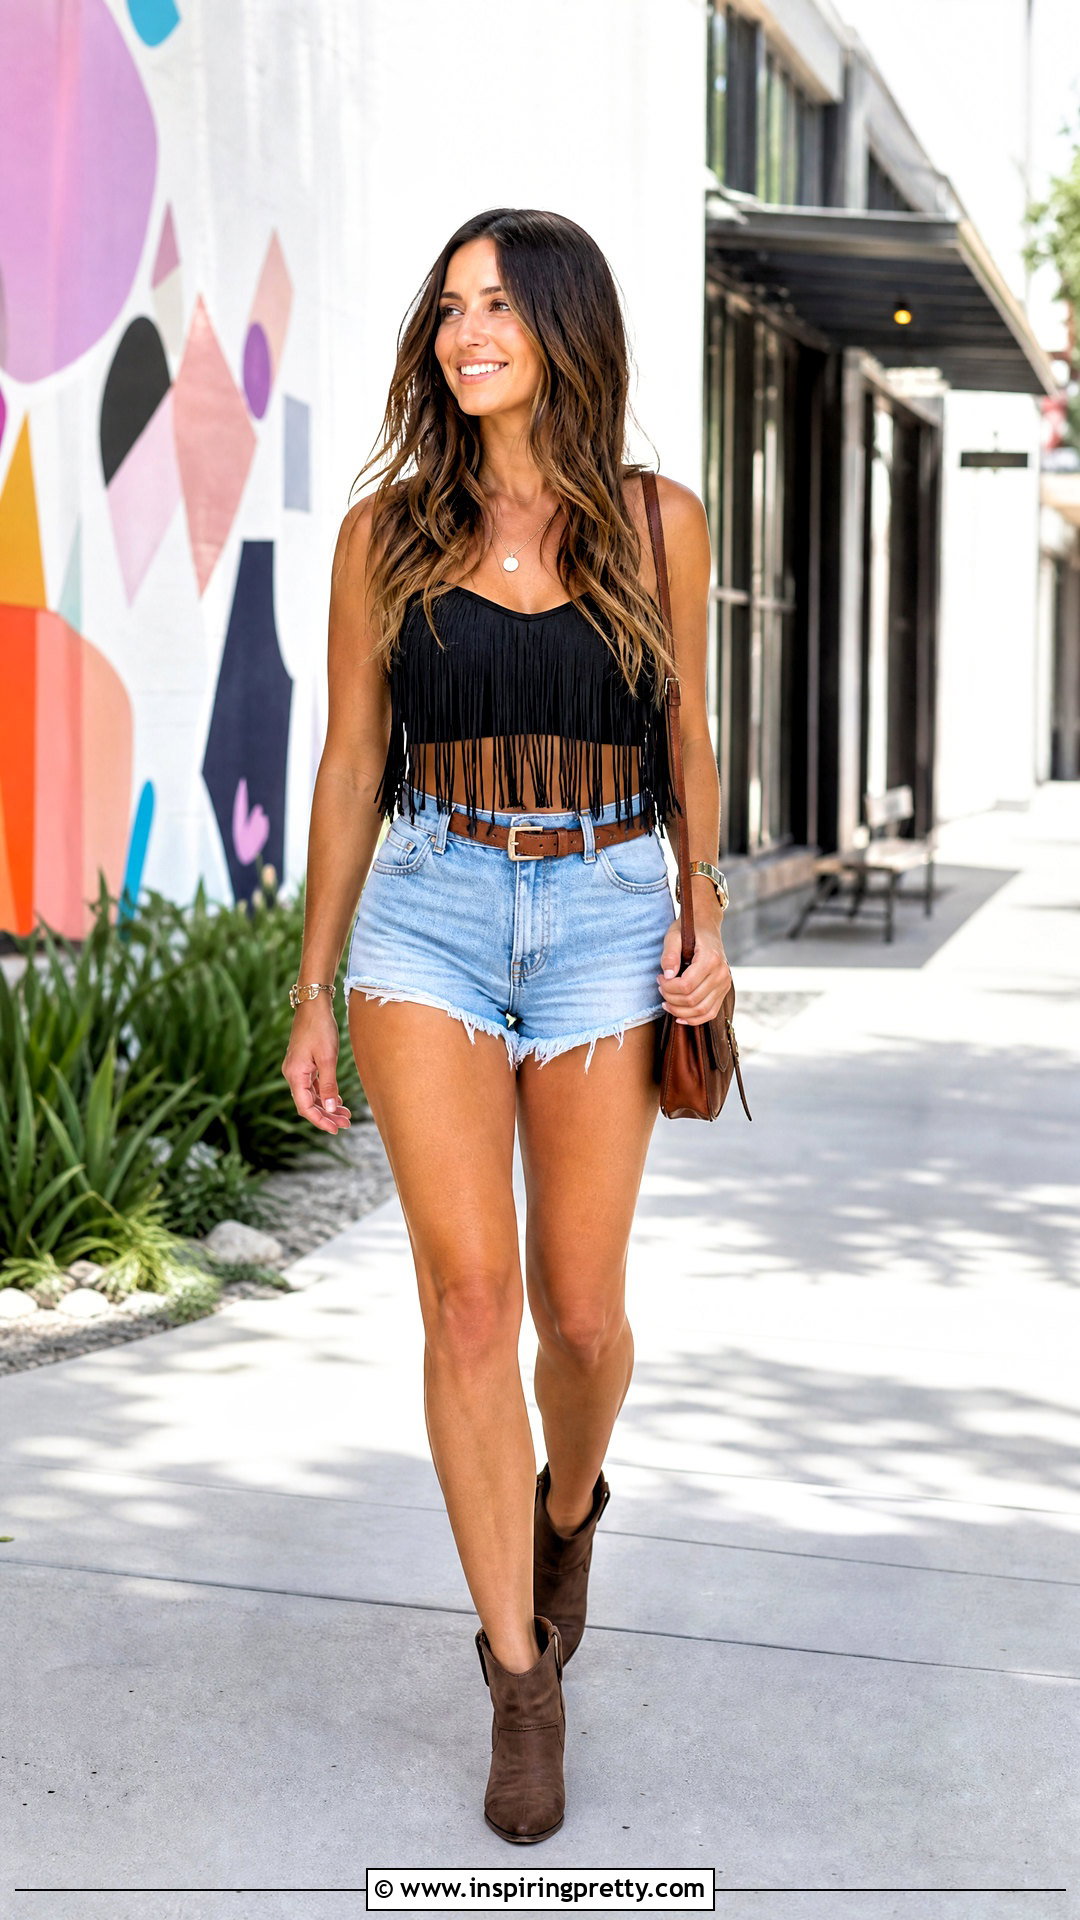
Long fringe brings movement and texture to a plain cotton shirt. Mark the point where you want the solid part of the top to end, but do not cut straight across. Instead, cut narrow vertical strips from the original hem up to the marked line. Keep each strip approximately the same width for an even result. Stretch the pieces gently so they curl into cordlike fringe. Leave them loose, knot neighboring strands together, or add a second row of knots for a decorative pattern. Pair the top with high-waisted denim shorts, ankle boots, a simple belt, and a small crossbody bag. Keeping the accessories minimal allows the moving fringe to remain the main feature of the outfit. ()
7. Ruched-Side Crop Top
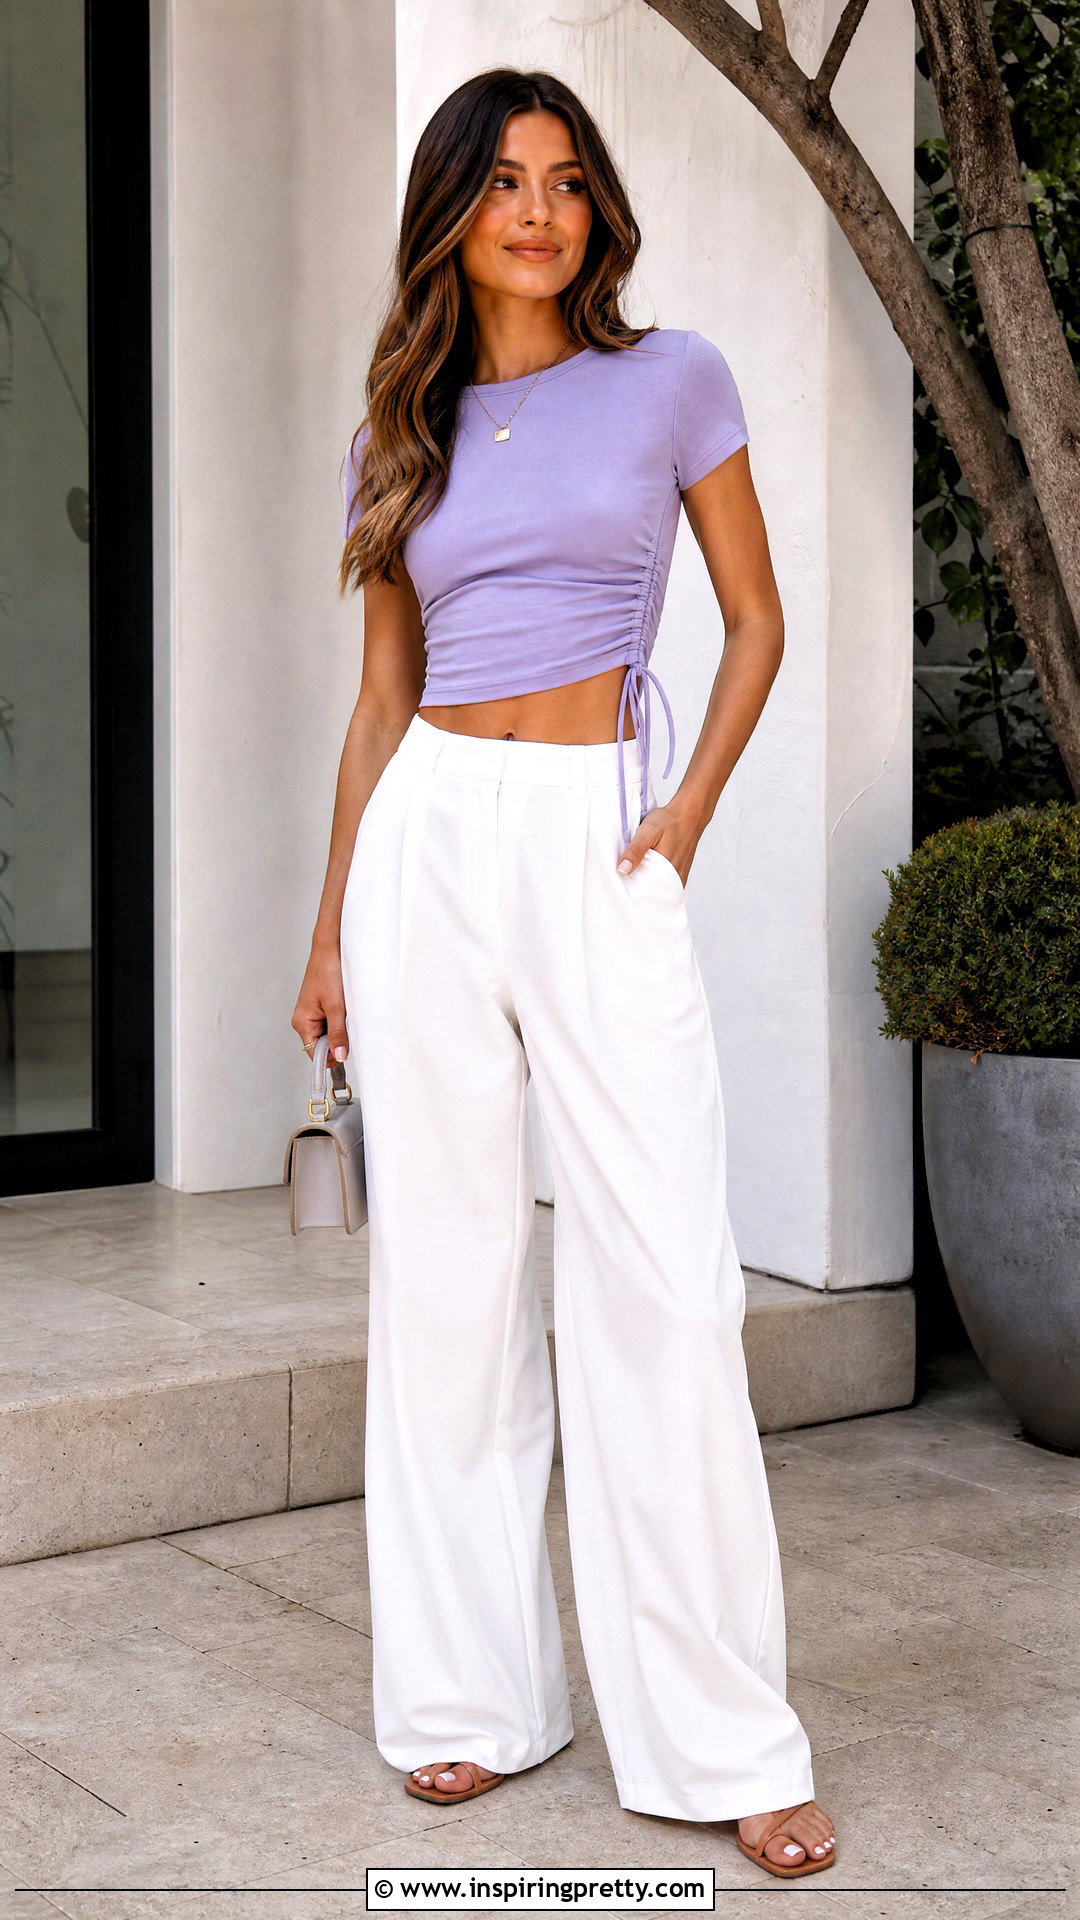
Side ruching transforms a boxy tee into a more adjustable fitted crop top. Crop the shirt while leaving enough length for gathering. Turn it inside out and sew a narrow fabric channel along each side seam. Cut two long cords from leftover T-shirt fabric, stretch them slightly, and thread one through each channel with a safety pin. Pull the cords to gather the sides until you reach the desired length. Tie the ends securely in bows so the ruching can be loosened later. Style this top with wide-leg trousers, sleek sandals, a structured mini bag, and a delicate necklace. The gathered sides define the waist, while the flowing trousers create a comfortable and visually balanced silhouette.
8. Drawstring Crop Top
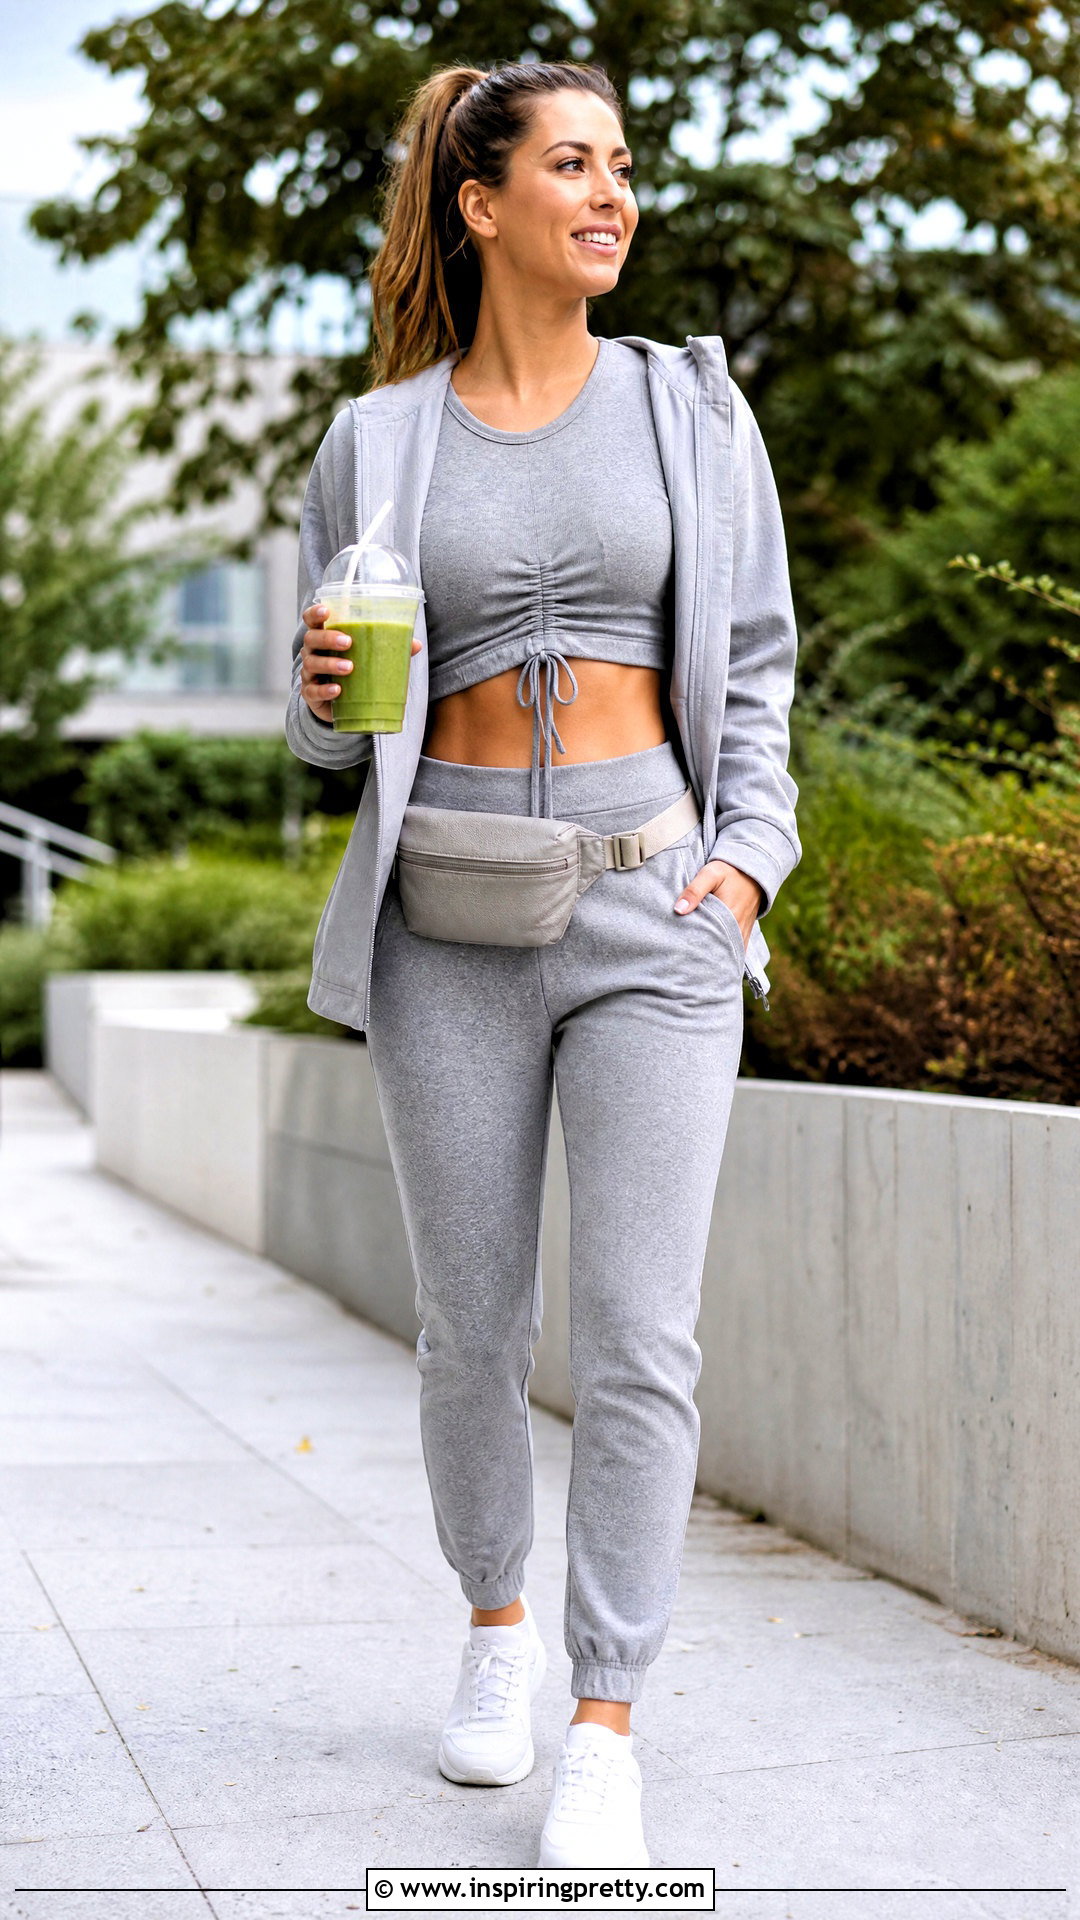
A drawstring hem gives you control over the length and amount of gathering. Cut an oversized T-shirt slightly longer than your ideal finished measurement. Fold the raw edge inward to create a channel, leaving a small opening at the center front. Stitch around the fold with a narrow zigzag or stretch stitch. Make a cord from leftover jersey, use soft cotton cord, or choose a flat ribbon. Guide it through the casing with a safety pin, then bring both ends through the opening. Pull and tie the drawstring to create the cropped shape. Wear the top with high-rise joggers, supportive sneakers, a lightweight zip jacket, and a belt bag for a coordinated outfit that feels sporty without looking unfinished.
9. One-Shoulder Crop Top
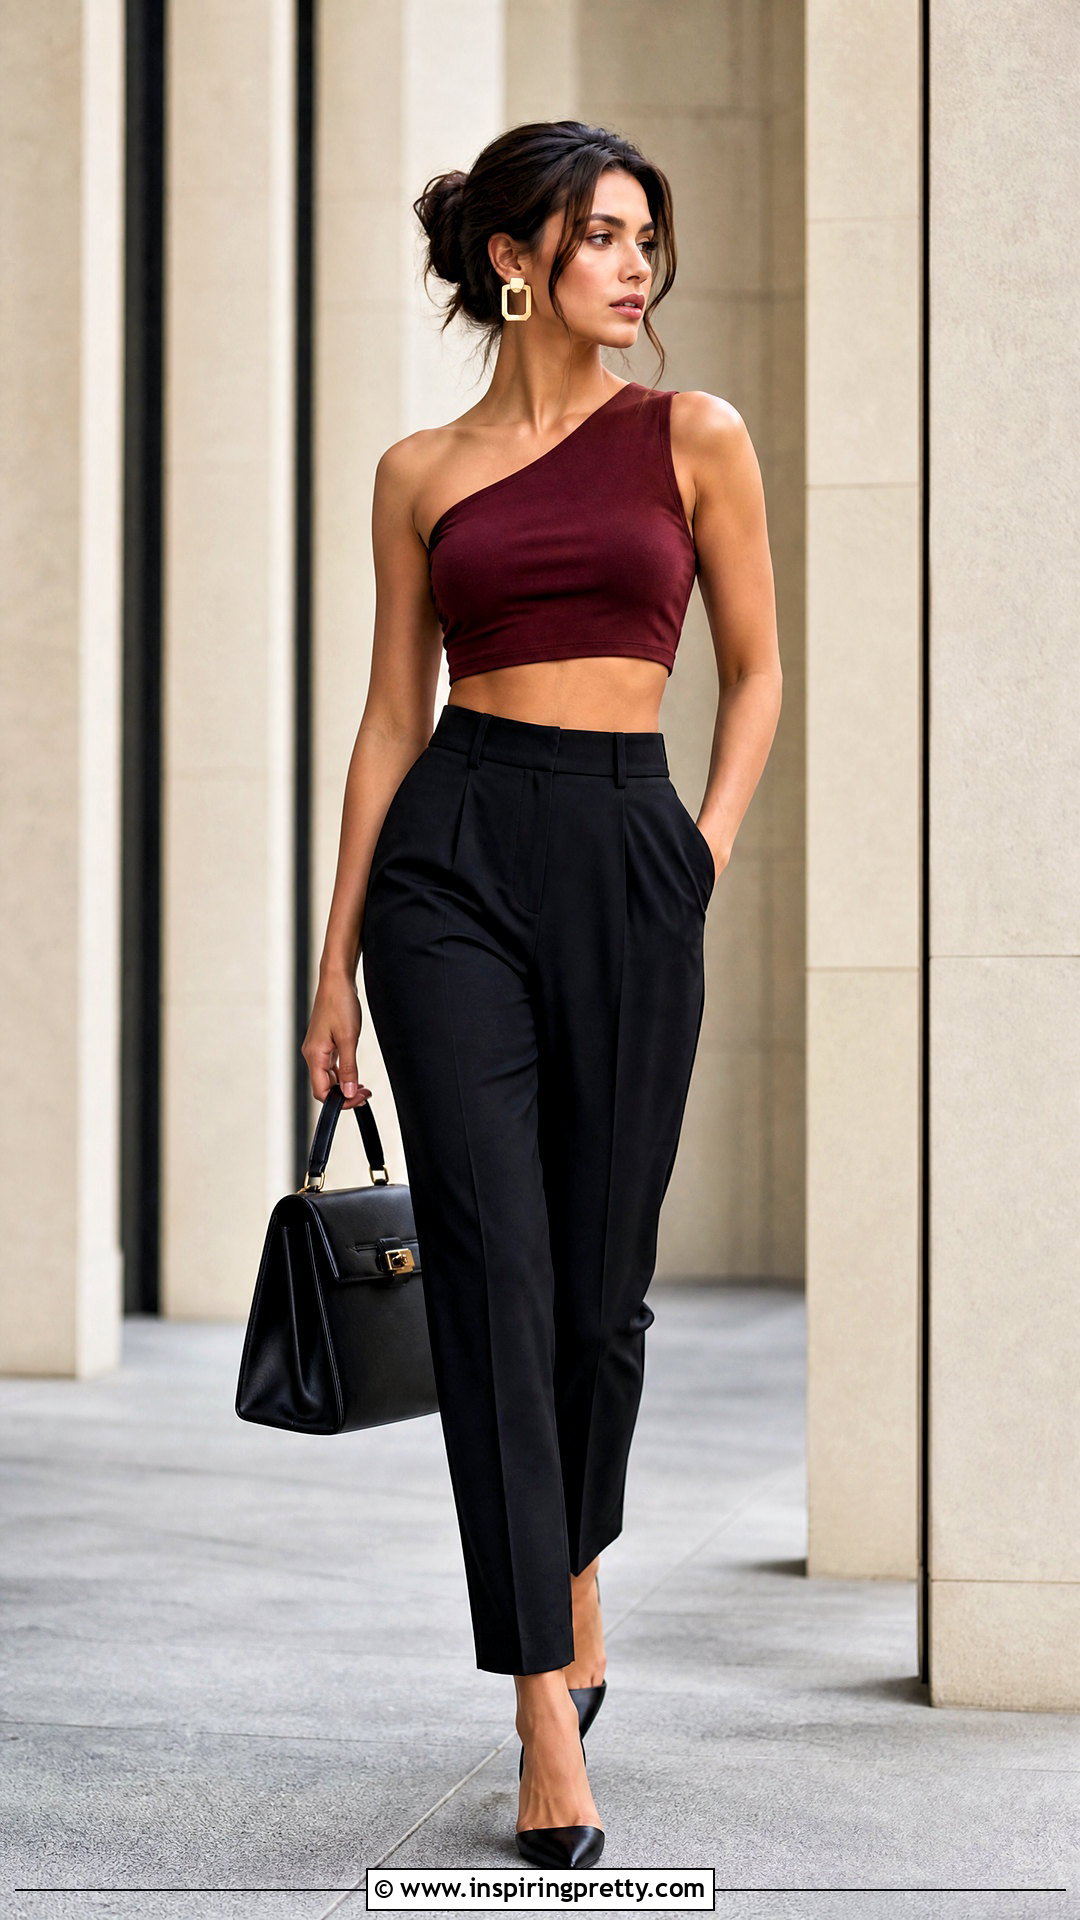
An oversized T-shirt can become a dramatic one-shoulder crop top with careful neckline adjustments. Put it on and mark the shoulder you want to expose. Lay the shirt flat and draw a diagonal neckline from one side of the collar toward the opposite underarm area. Cut conservatively because the opening may stretch. Try it on, refine the angle, and secure the neckline with a narrow hem if you want a longer-lasting finish. Shorten the bottom with a straight or gently curved crop. Pair the completed top with high-waisted tailored pants, pointed flats, a geometric handbag, and bold earrings. The clean trousers complement the asymmetrical neckline and make the handmade top appear more intentional and refined.
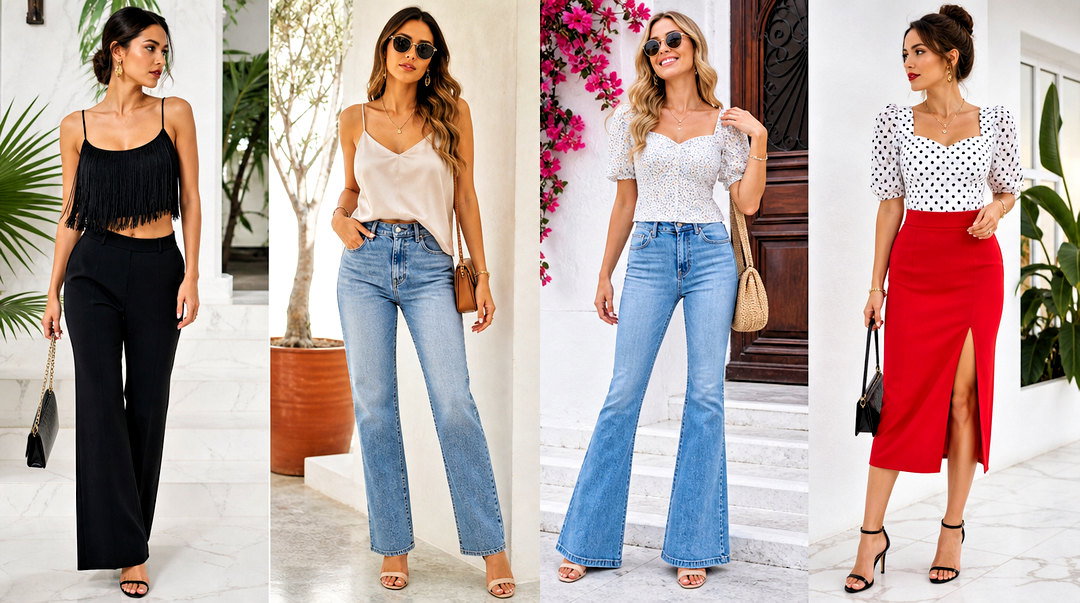
10. Off-Shoulder Crop Top
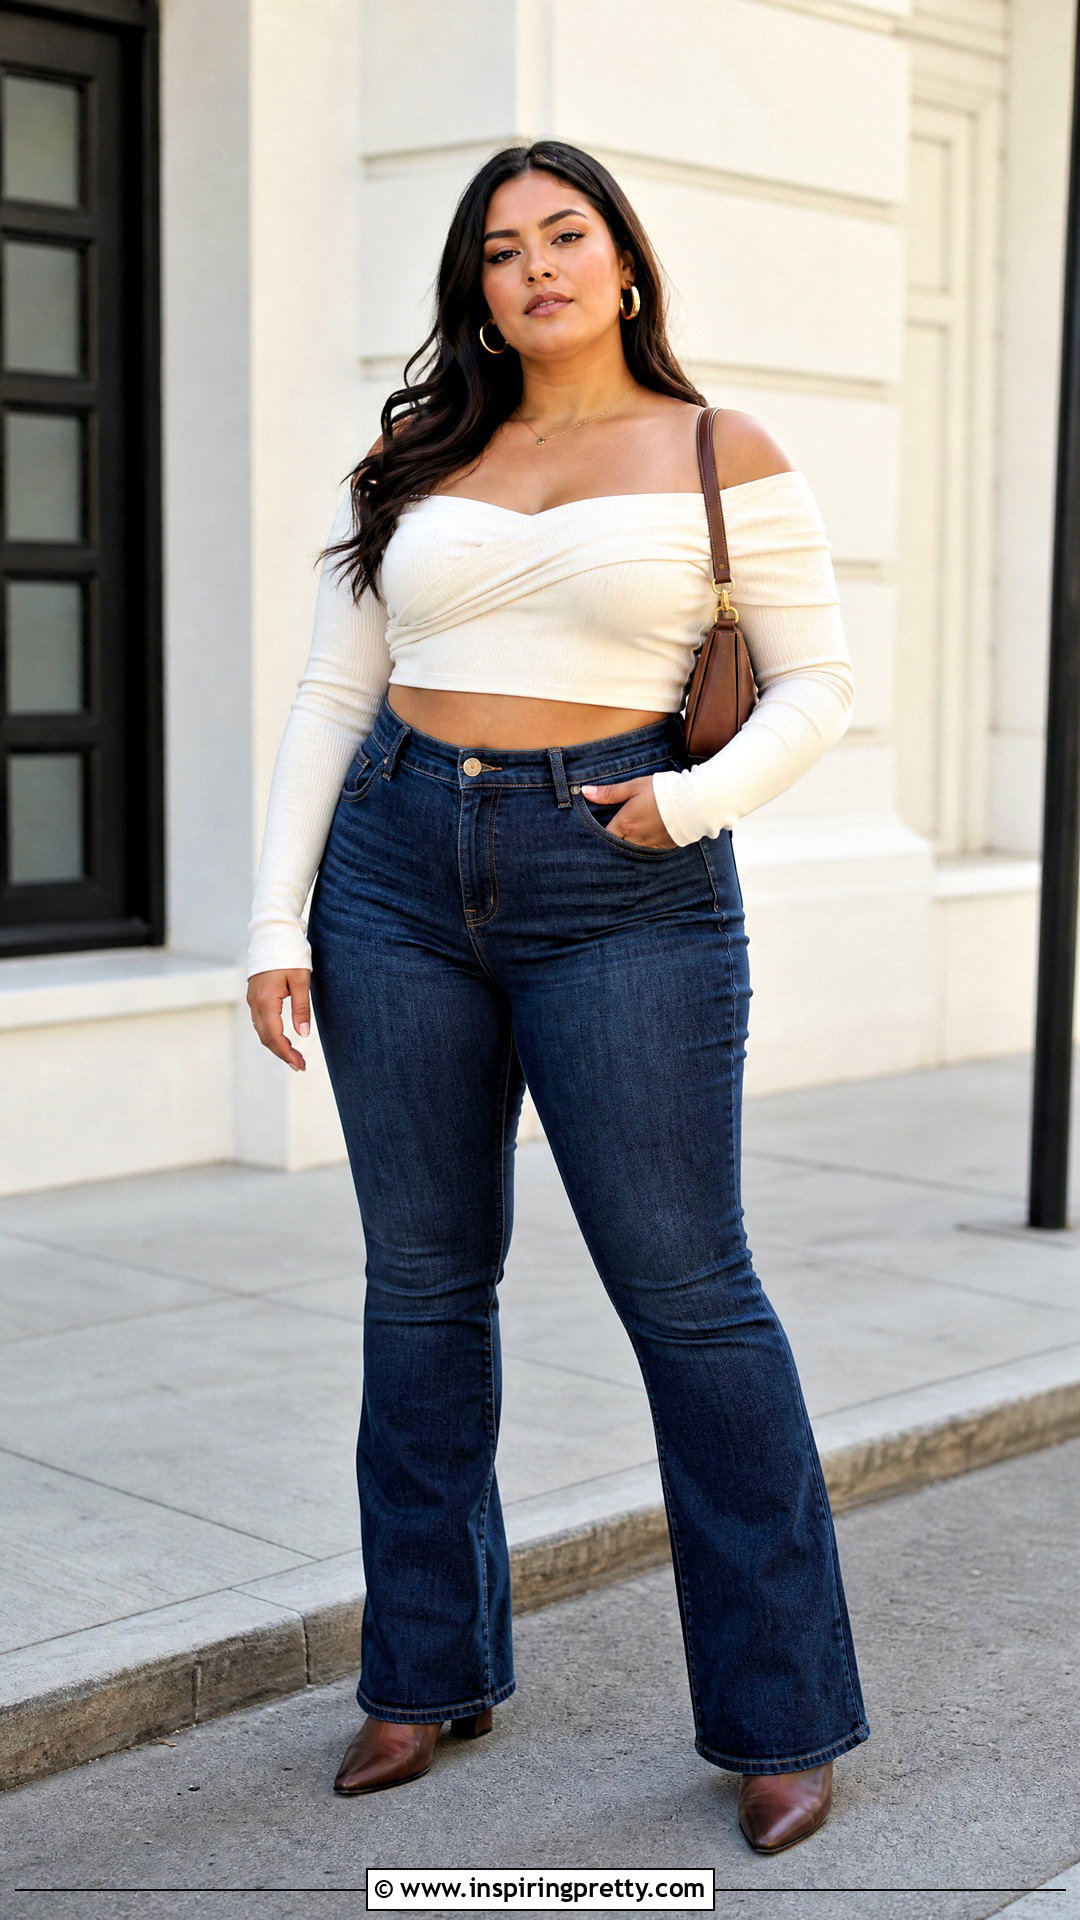
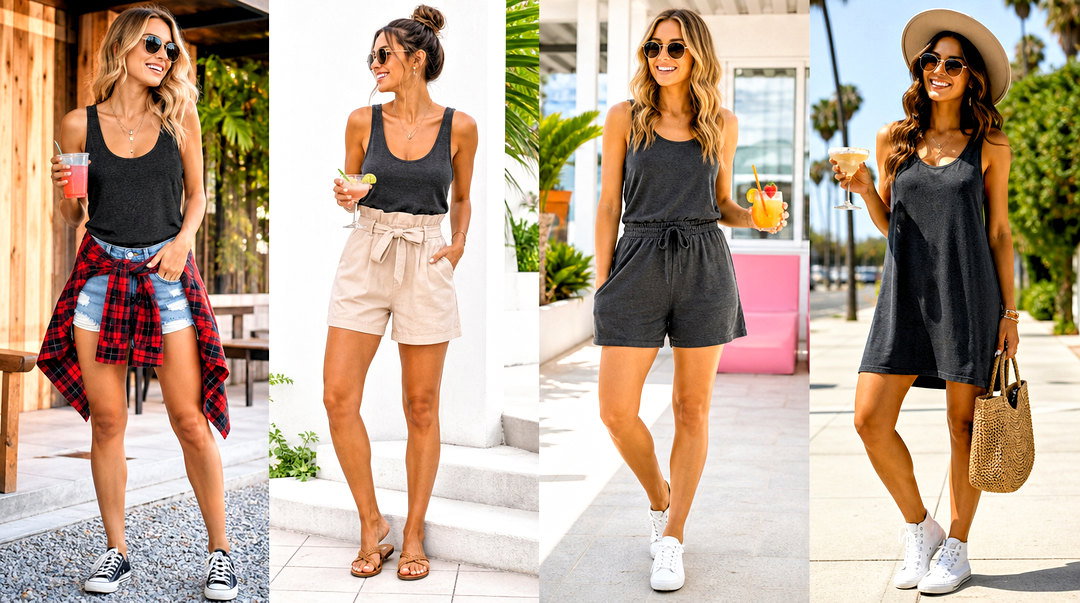
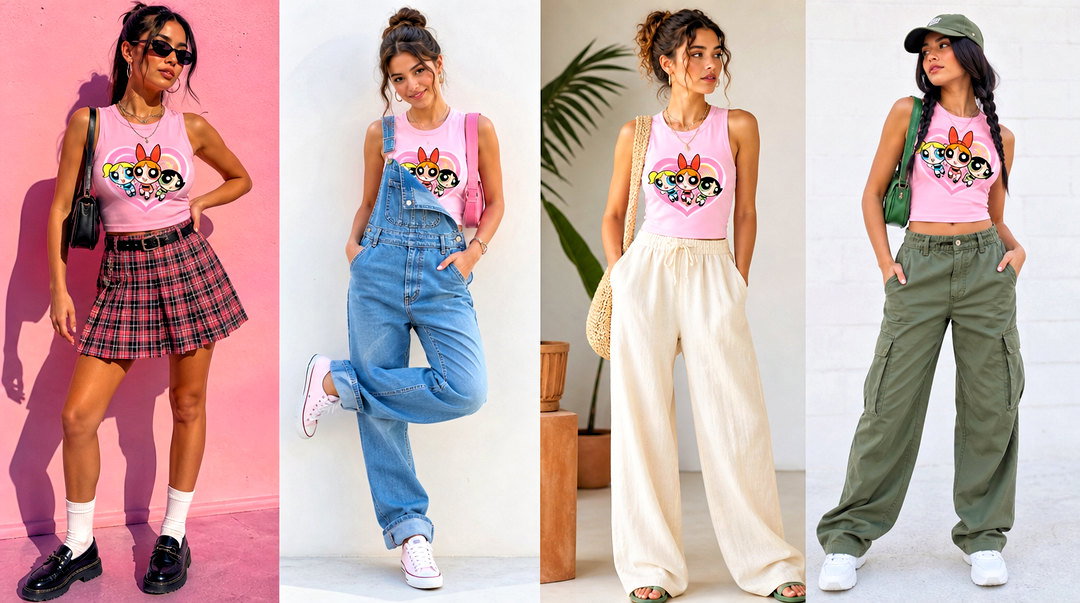
A wide neckline can turn a basic sweatshirt or T-shirt into an off-shoulder crop top. Begin by removing the collar just outside its existing seam. Enlarge the opening gradually, cutting no more than a small amount at a time. Try on the top after every adjustment so it rests comfortably across the shoulders without slipping too low. Crop the lower edge and finish it with a hem, elastic casing, or natural rolled edge. For a complete outfit, add high-waisted flare jeans, heeled ankle boots, a slim shoulder bag, and medium-sized hoop earrings. The fitted waist and flared denim help balance the wider neckline, creating a flattering look that works across many body shapes.
11. Halter Crop Top
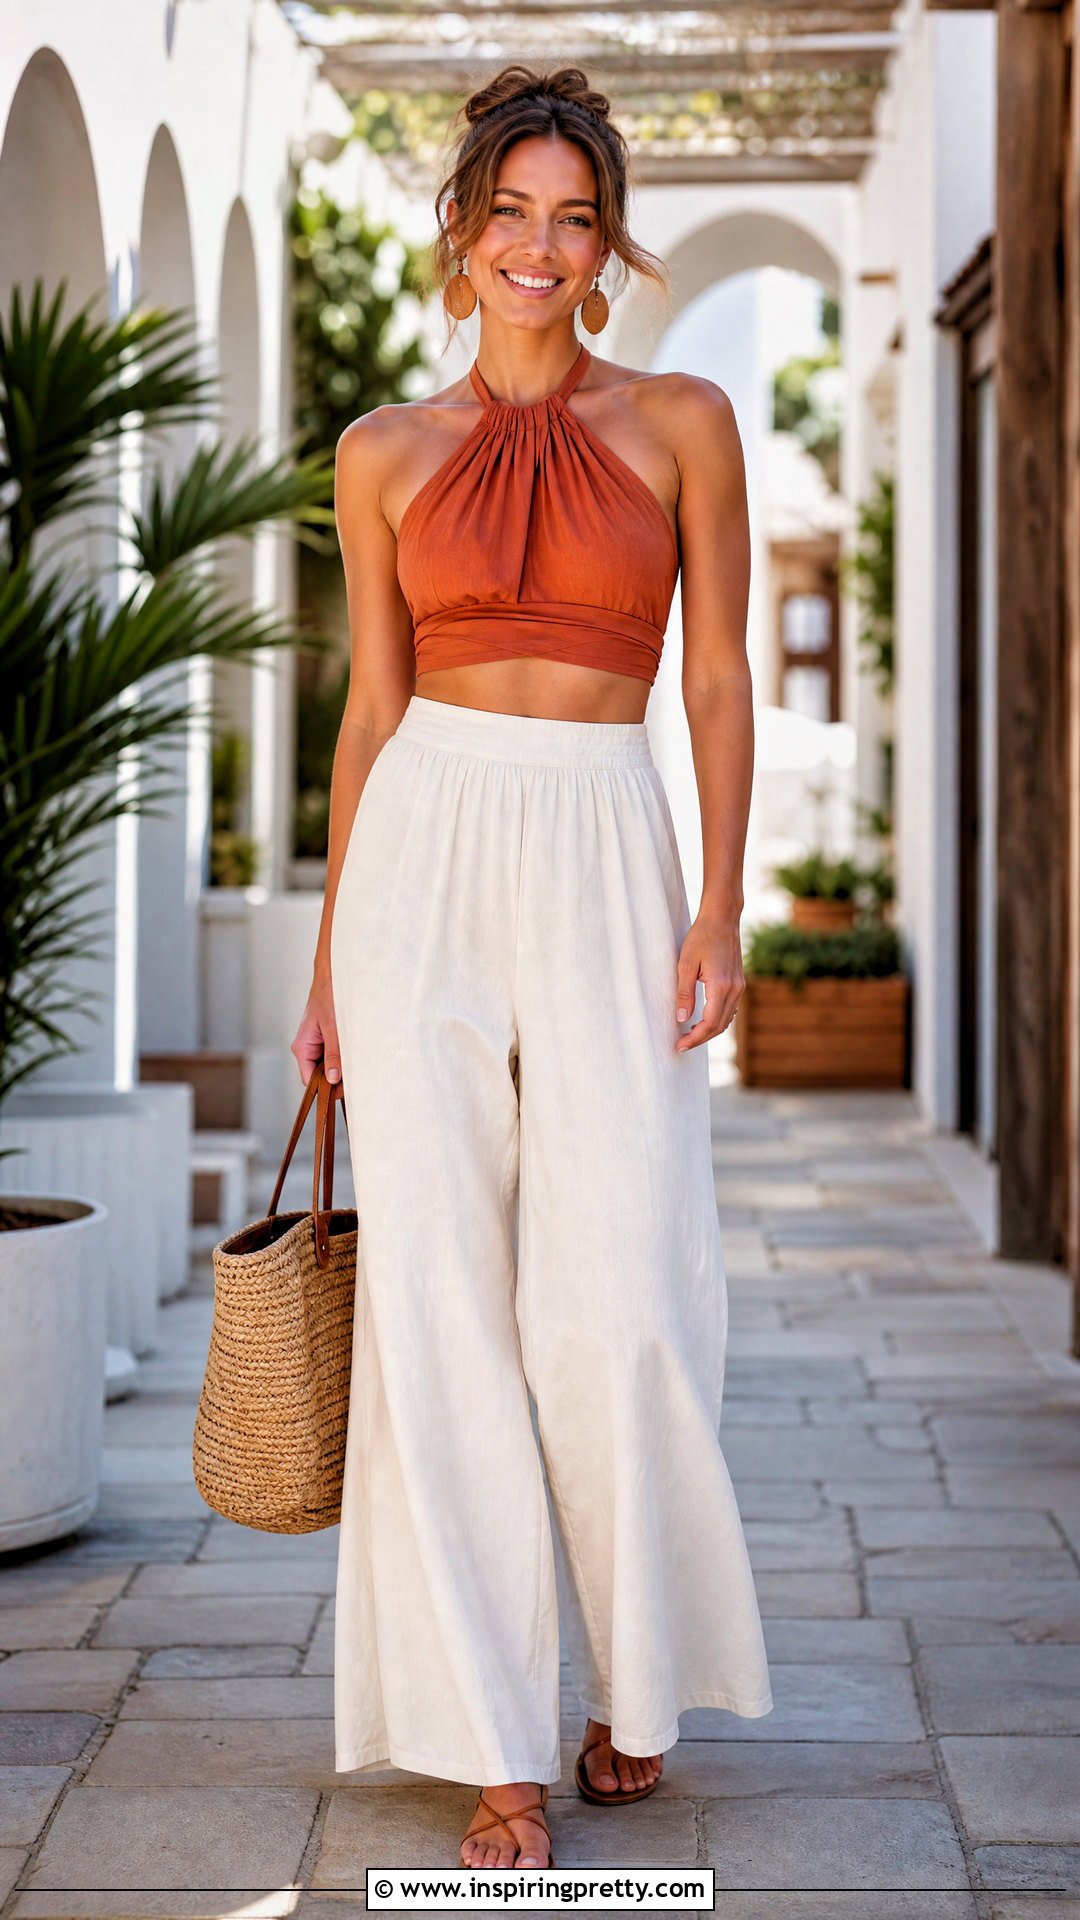
A halter crop top is easy to create from a fitted sleeveless shirt or tank. Lay the garment flat and cut away the outer shoulder areas, leaving enough fabric near the neckline to form straps. Shape the front into a soft halter curve. On the back, remove the upper fabric below the neckline and separate the remaining neck section into two long ties. Fold and stitch raw woven edges, or allow stable jersey to roll naturally. Test the straps before trimming their length. Style the top with high-rise palazzo pants, flat strappy sandals, a woven tote, and lightweight earrings. The wide pants provide comfortable coverage and create an attractive contrast with the fitted halter neckline.
12. Racerback Crop Top
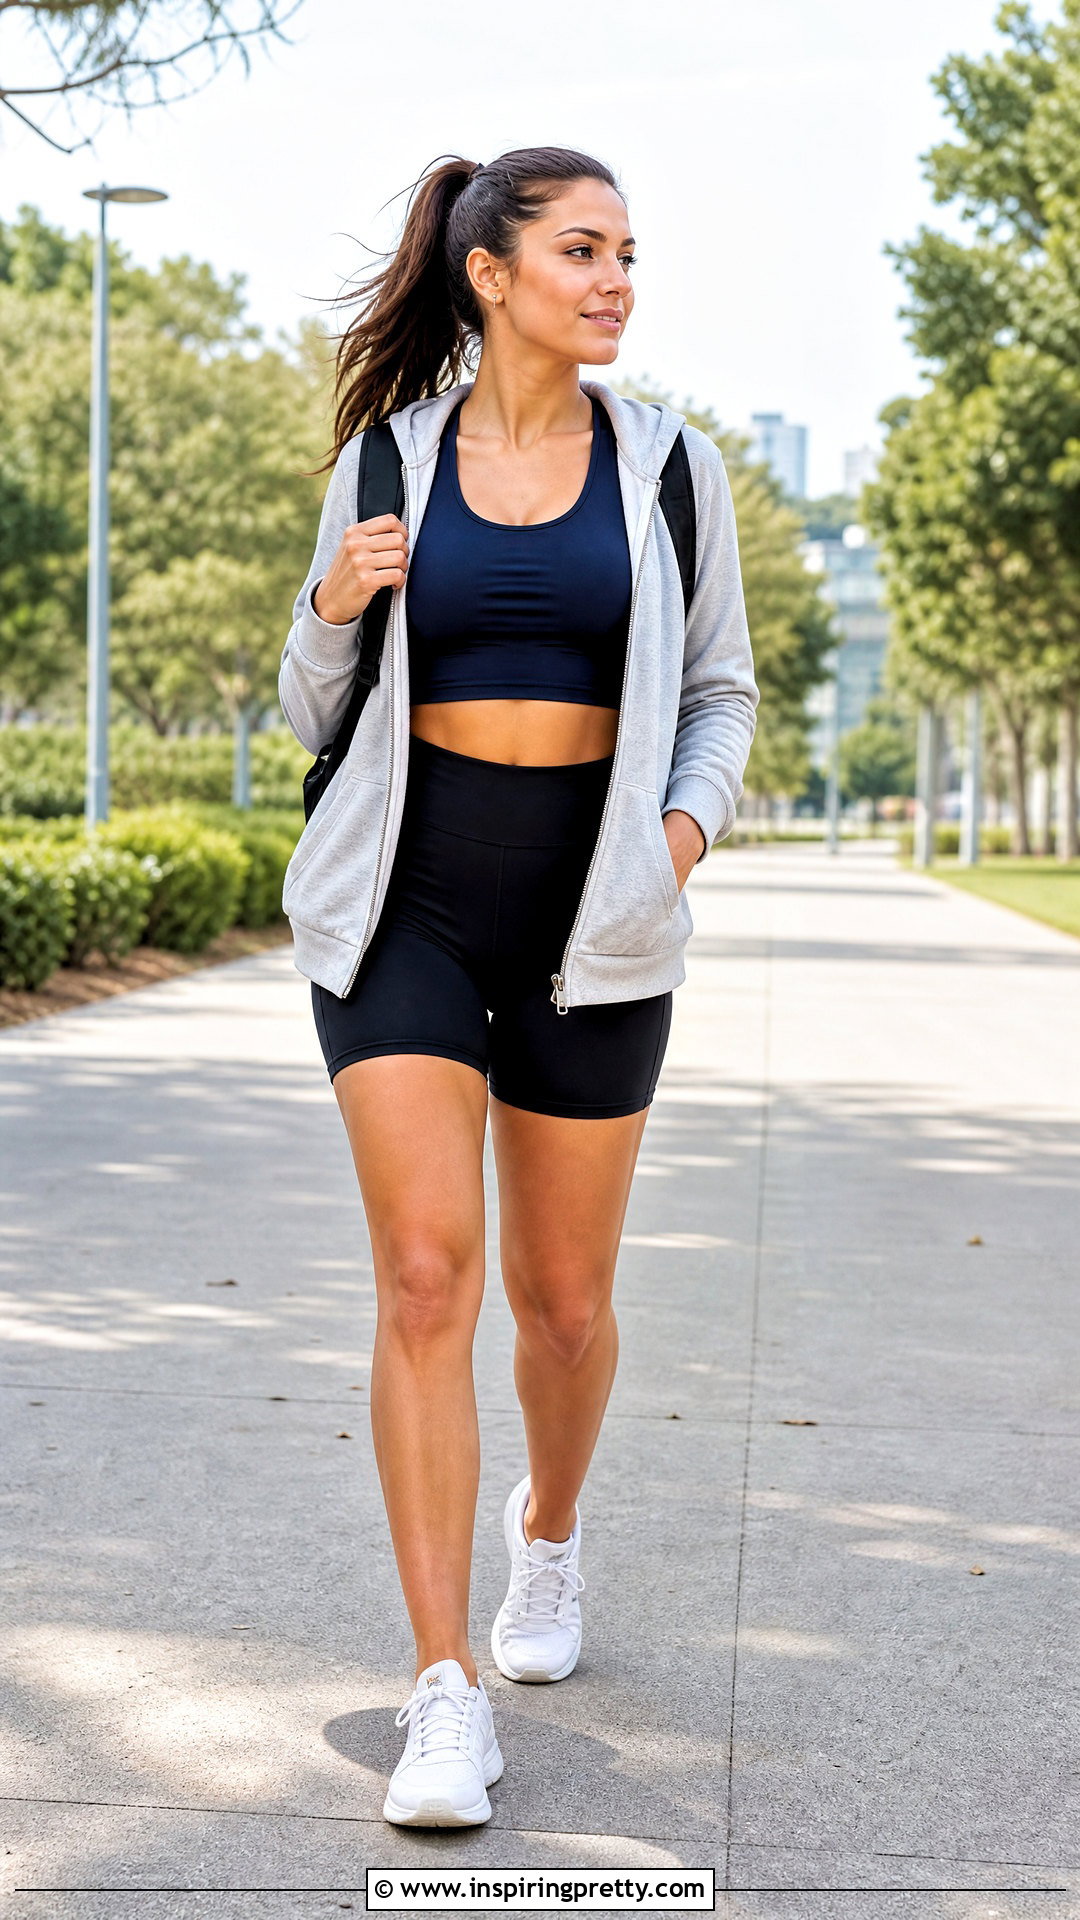
Turn an old tank top into a sporty racerback crop by reshaping the armholes and back. Place a racerback tank over your garment as a guide, or draw matching inward curves from the shoulders to the underarms. Cut one side first, fold the tank in half, and use that edge to make the opposite side symmetrical. Narrow the center back carefully without cutting too close to the neckline. Crop the bottom, then finish the edges with fold-over elastic if extra support is needed. Pair your racerback top with high-waisted bike shorts, cushioned sneakers, an open zip hoodie, and a compact backpack. This creates a practical head-to-toe outfit for errands, walking, or light activity.
13. Square-Neck Crop Top
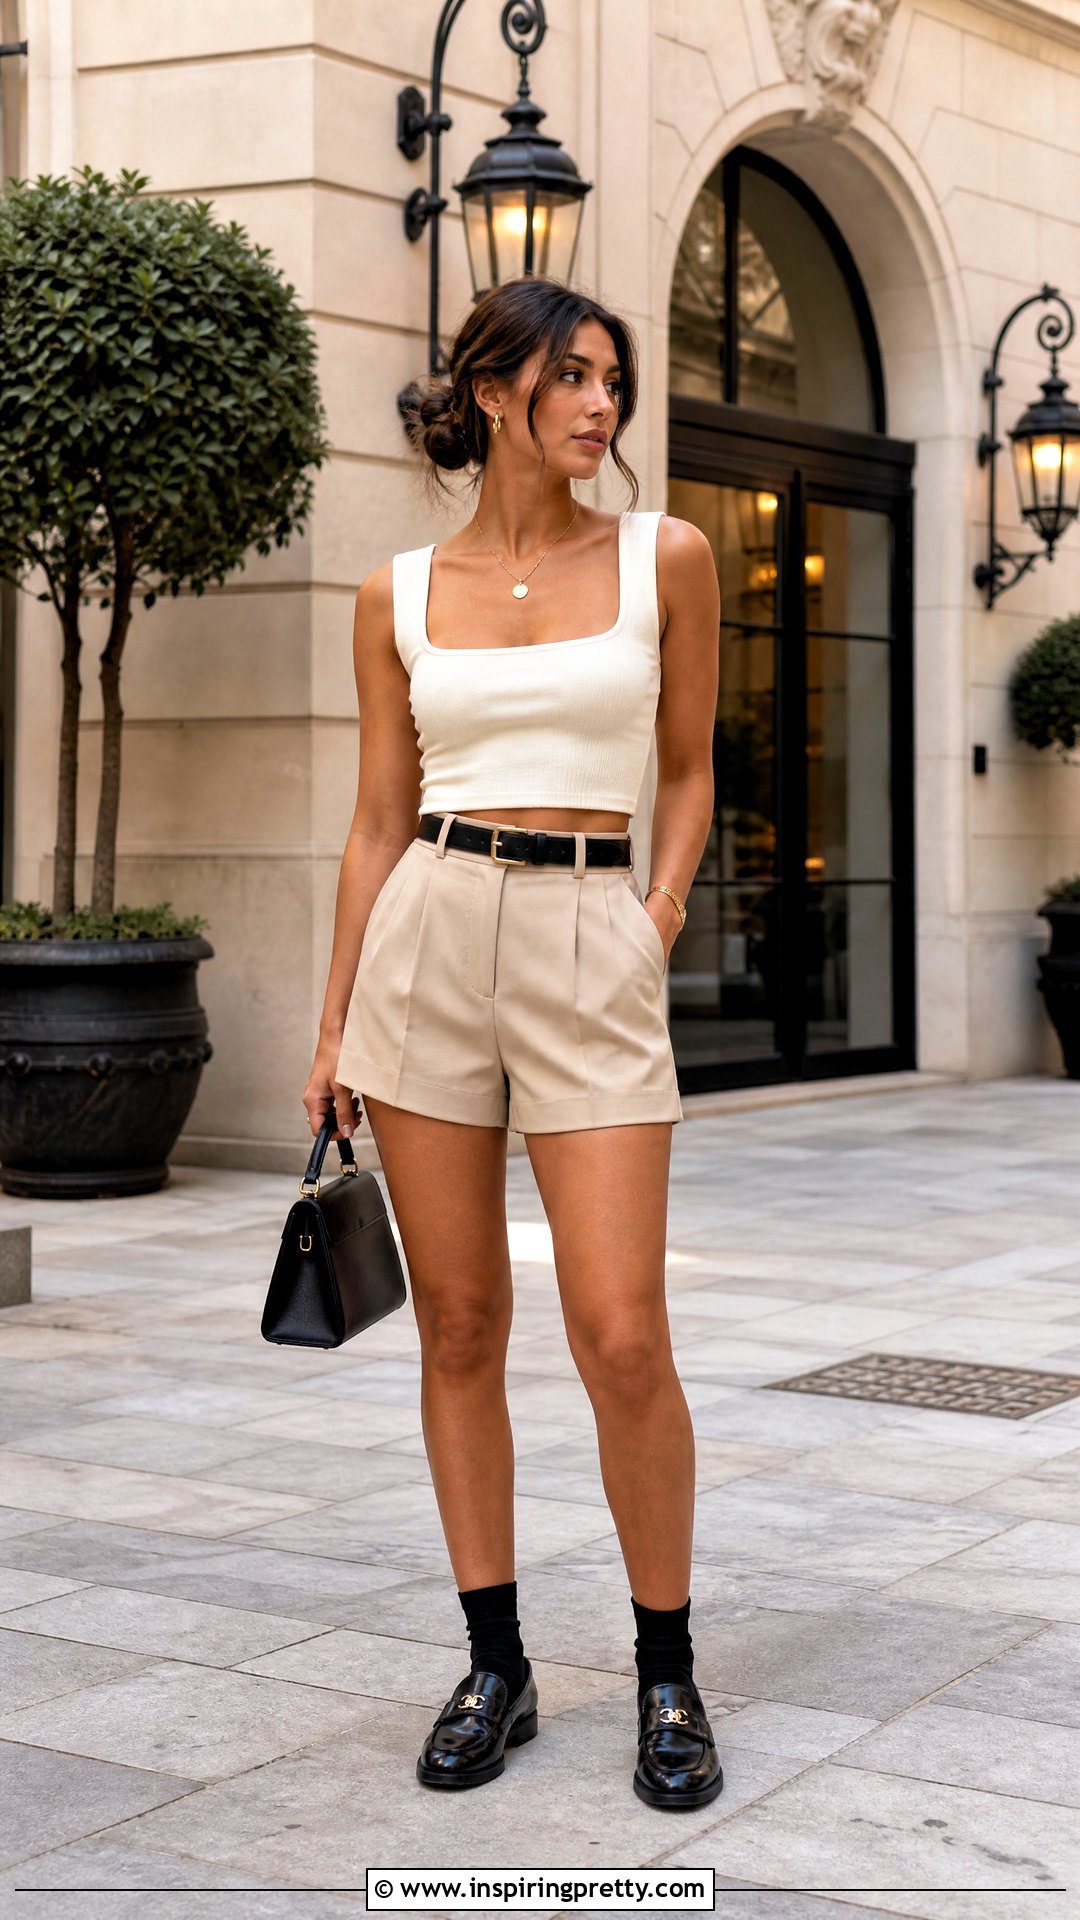
A square neckline makes a simple fitted tee feel structured and modern. Turn the shirt inside out and mark a square opening around the original neckline. Keep the corners slightly rounded because sharp inner corners are harder to finish neatly. Cut inside the marked line first, try on the top, and enlarge the opening only if needed. Finish the neckline with stretch binding, a facing, or a carefully folded narrow hem. Crop and hem the bottom after checking the proportions. Style the finished top with high-waisted pleated shorts, loafers, ankle socks, a structured handbag, and a simple pendant. These polished pieces support the clean neckline while creating a comfortable outfit with a subtly tailored appearance. ()
14. Ruffle-Hem Crop Top
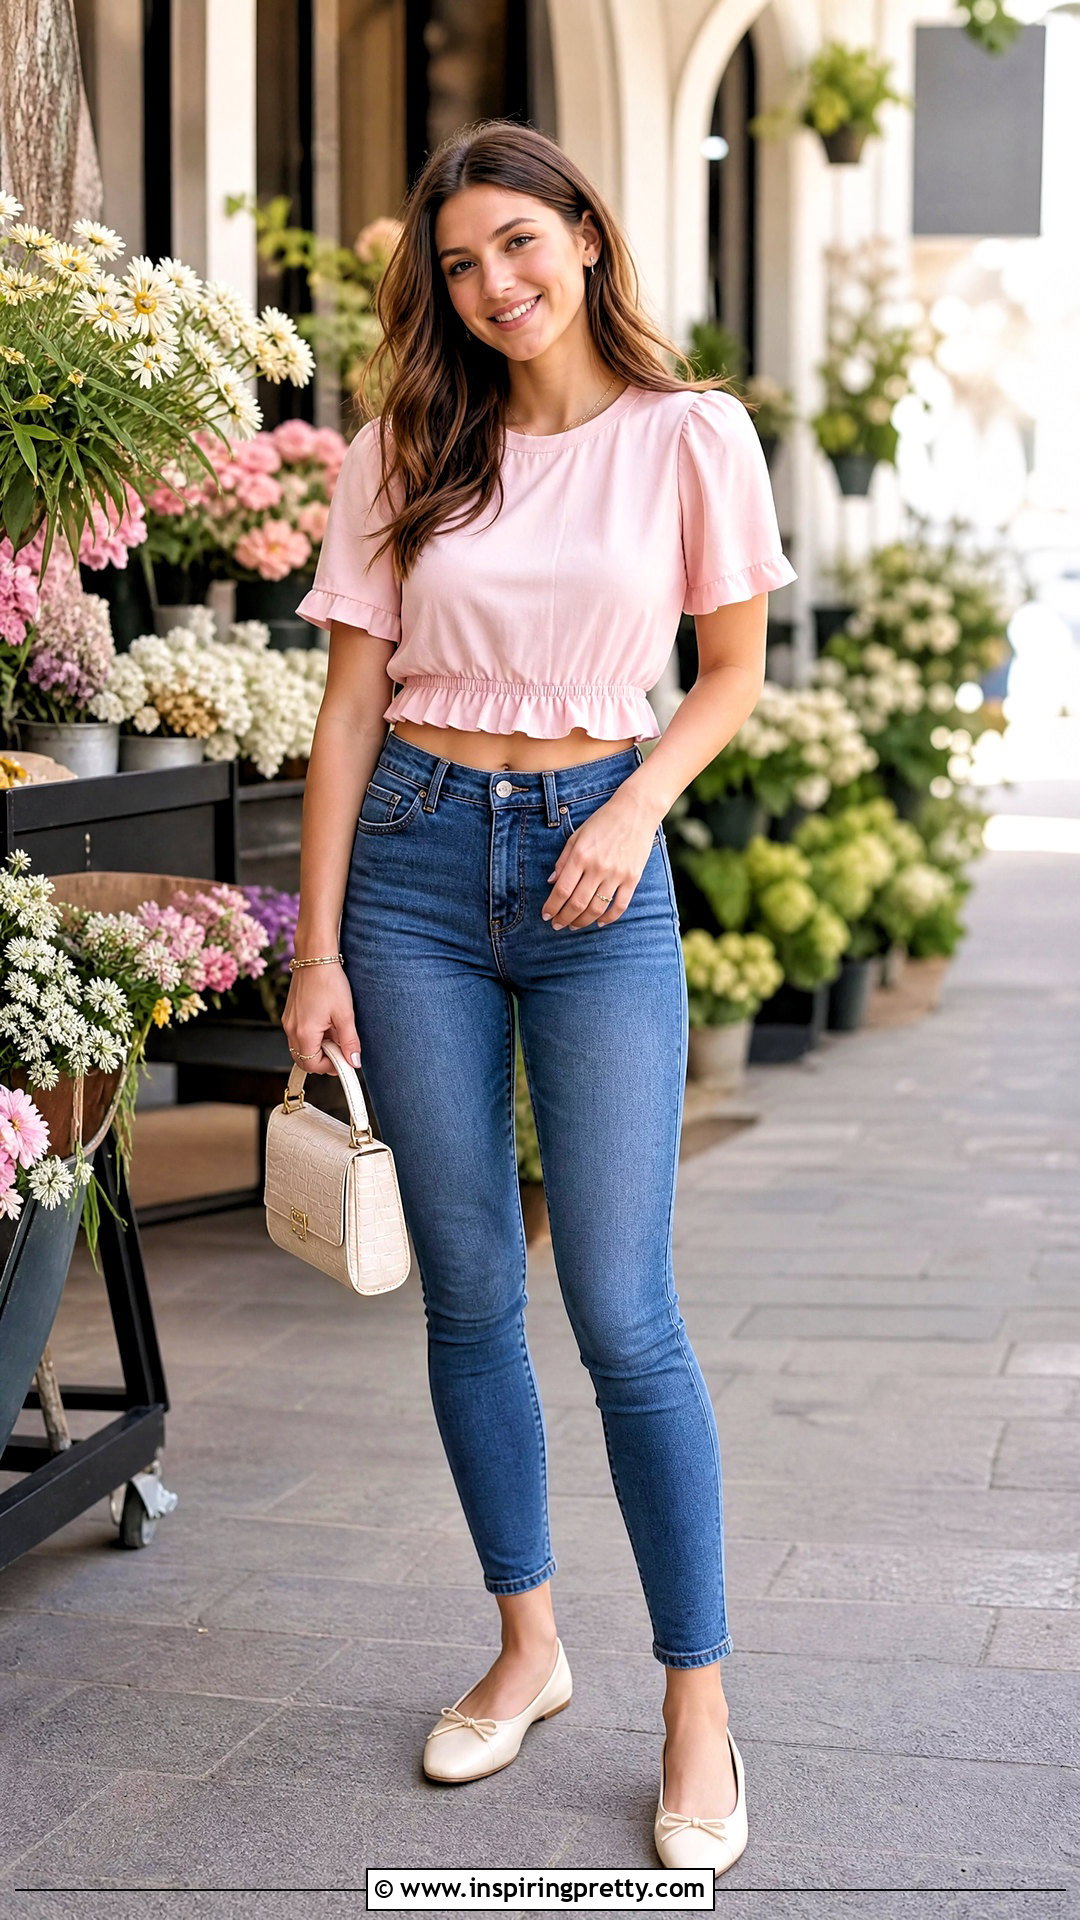
A fabric ruffle can add length and detail to a crop top that feels too plain or slightly too short. Cut the base shirt at the desired level and measure around its lower opening. Prepare a fabric strip approximately one and a half to two times that measurement. Join the short ends, finish the lower edge, and sew long gathering stitches across the upper edge. Pull the threads until the ruffle matches the shirt’s circumference. Pin it with the right sides together, sew the seam, and press it upward. Complete the look with slim high-waisted jeans, ballet flats, a small top-handle bag, and stud earrings. The simple accessories prevent the gathered hem from appearing overly busy. ()
15. Elastic-Waist Crop Top
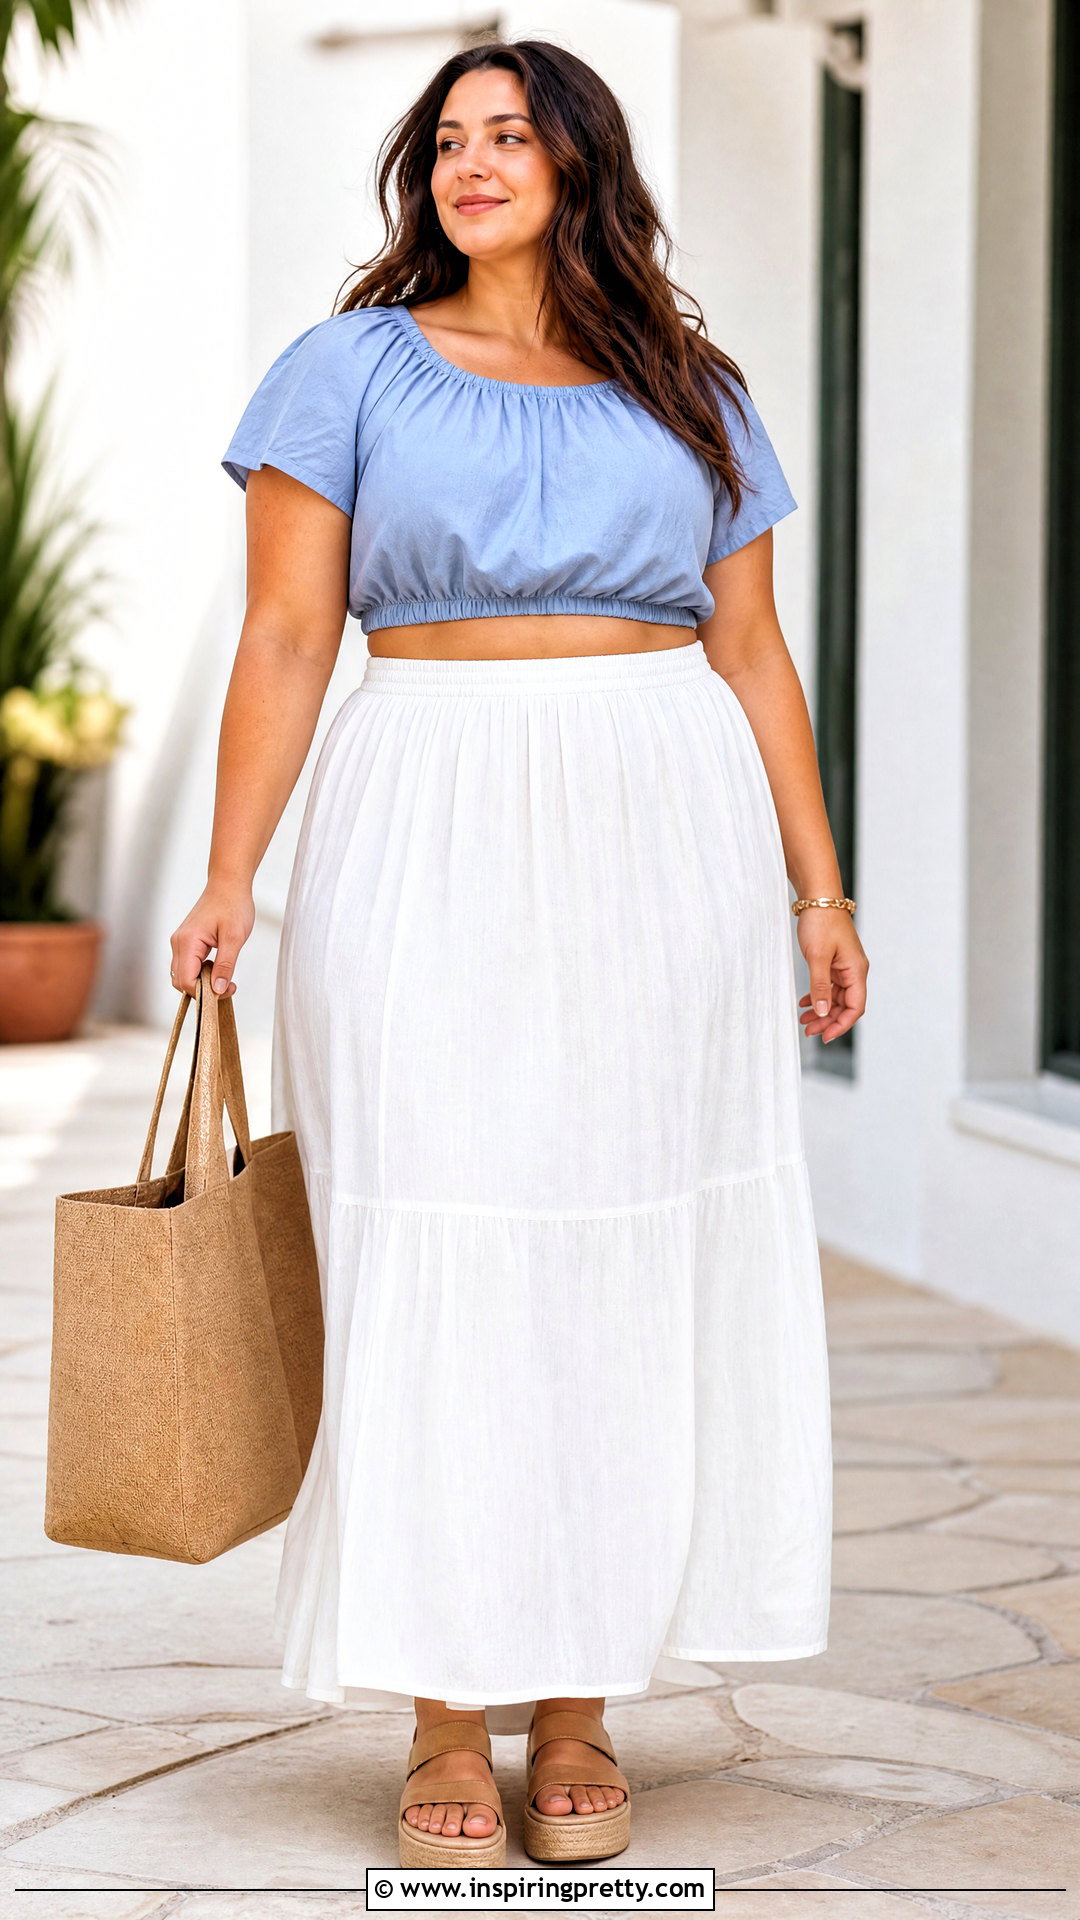
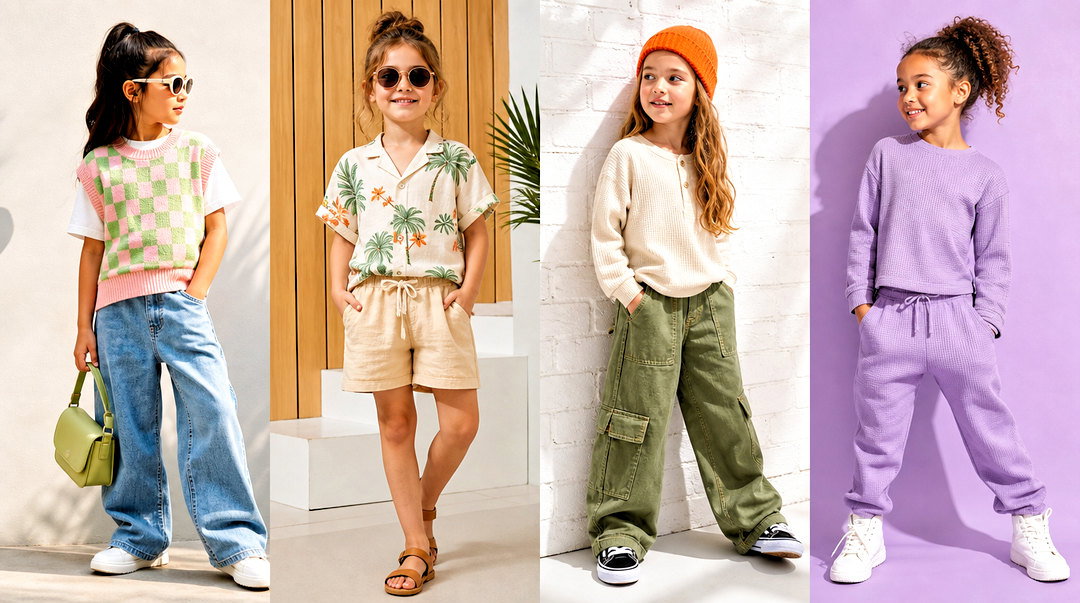
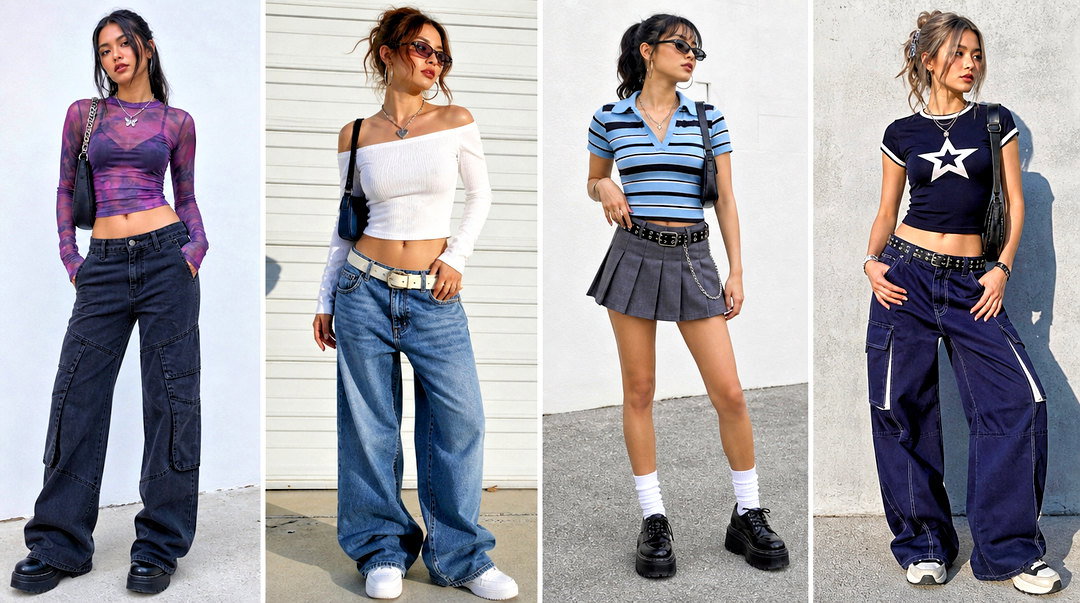
An elastic waist creates a secure cropped shape and helps a roomy shirt sit closer to the body. Cut the garment longer than the intended final length. Fold the lower edge inside to form a casing slightly wider than your elastic. Sew around it while leaving a small opening. Wrap the elastic comfortably around your torso where the hem will rest, add a seam allowance, and cut it. Thread the elastic through the casing, overlap and stitch its ends, then close the opening. Distribute the gathers evenly before wearing the top. Pair it with an A-line maxi skirt, platform sandals, a roomy tote, and a lightweight bracelet. The flowing skirt balances the gathered top and offers adjustable waist coverage.
16. Button-Front Shirt Crop Top
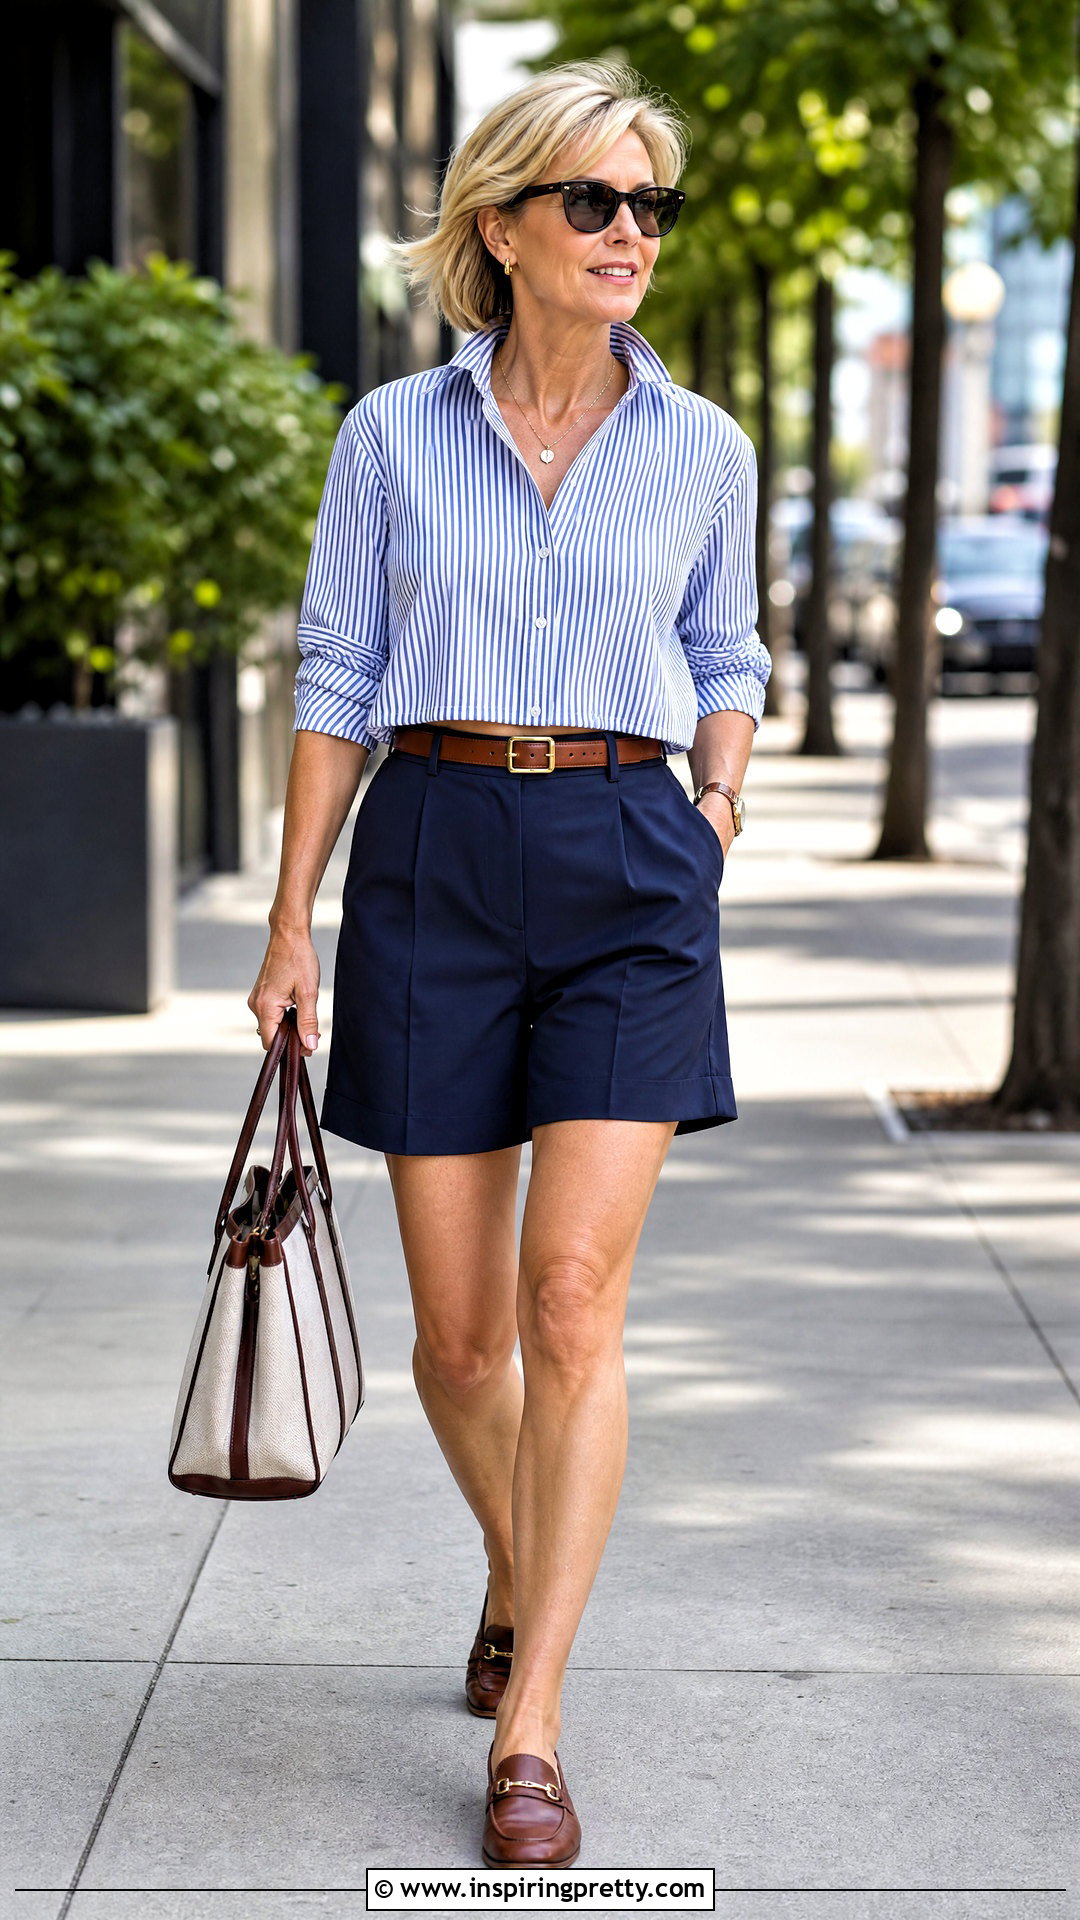
A roomy button-down shirt can become a polished crop top while keeping its collar and front closure. Put on the shirt, button it, and mark the desired length. Remove it and cut evenly below the mark, allowing room for a double-fold hem. Sew the hem and shorten the sleeves if needed. For a closer fit, add two back darts or insert elastic across the center back. Another option is leaving two longer front panels that can be tied together. Wear the finished shirt with high-waisted tailored shorts, loafers, a leather belt, and a structured tote. The crisp collar and coordinated accessories make the upcycled garment suitable for casual offices, lunches, or everyday city wear.
17. Scarf Crop Top
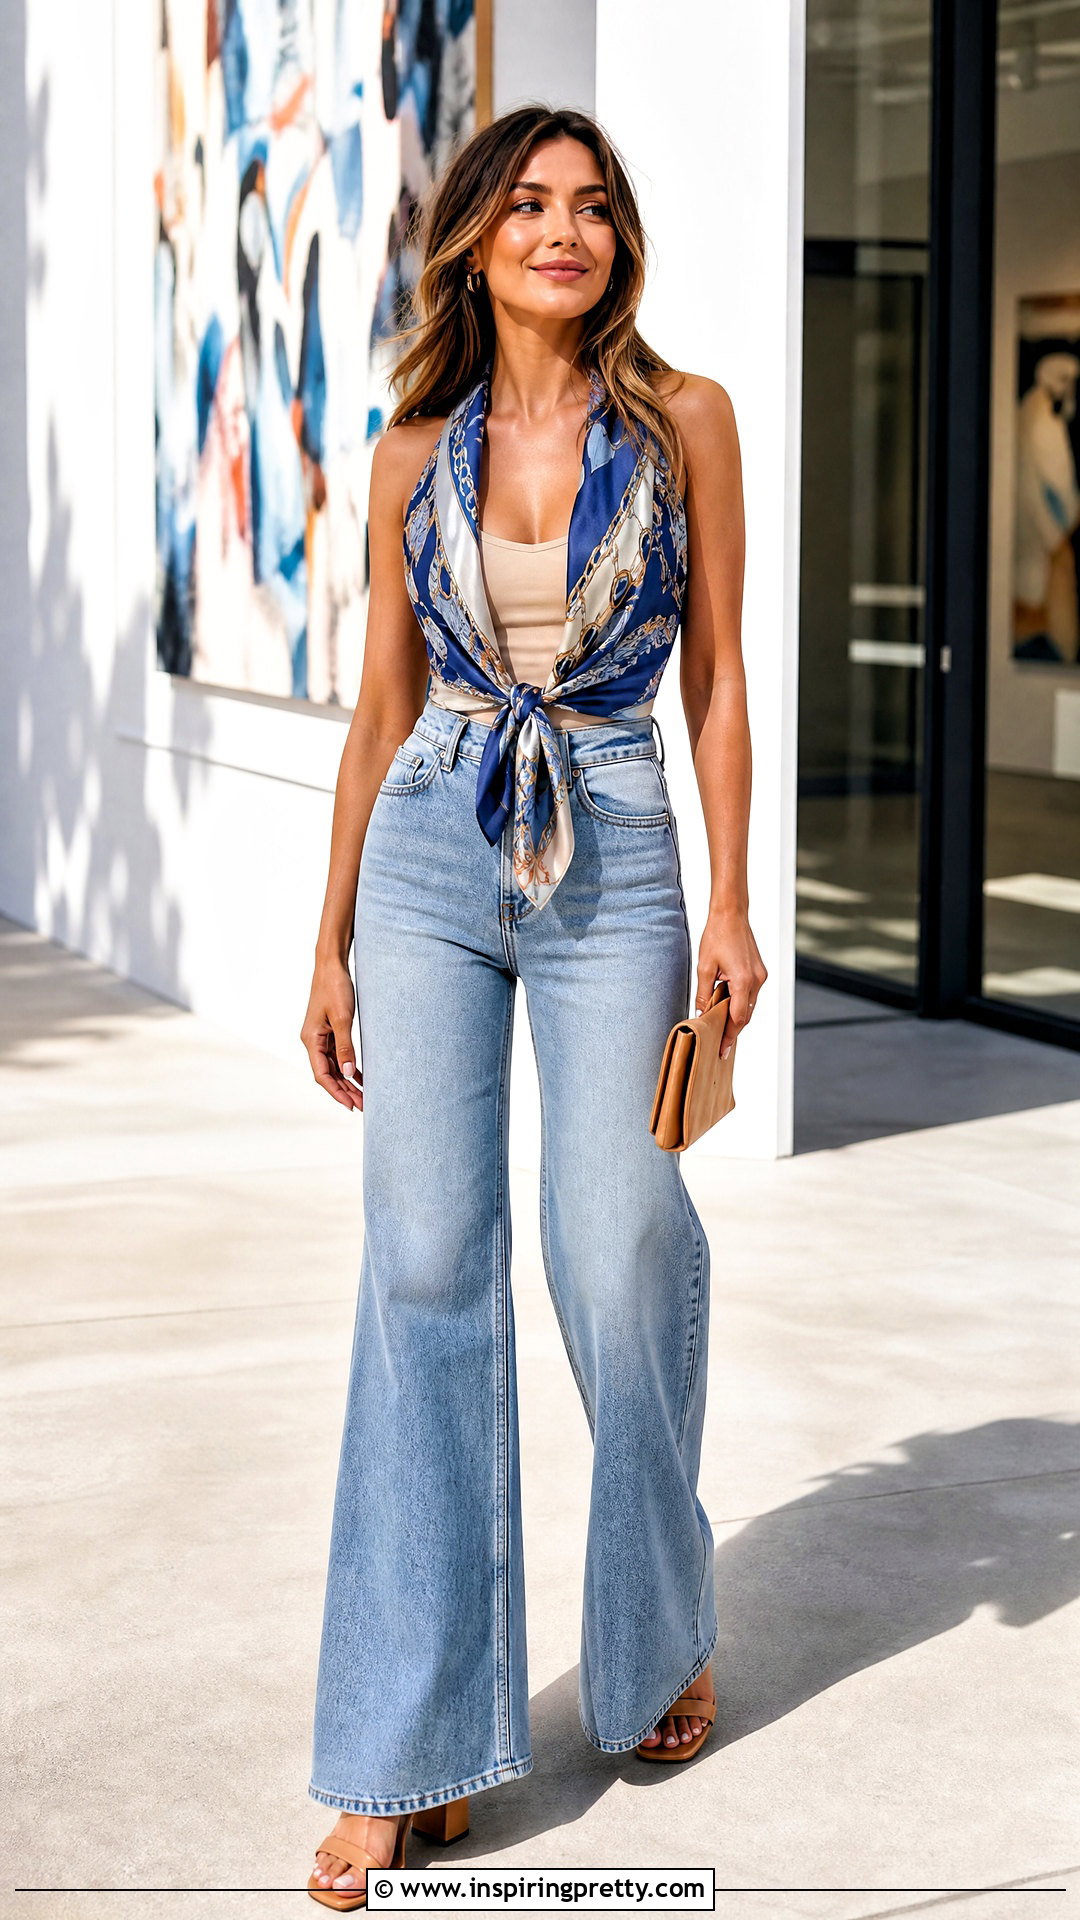
A large square scarf can become a crop top without permanently cutting the fabric. Fold the scarf diagonally into a triangle and position the longest edge across your chest. Tie the upper corners securely behind your neck and the side corners around your back. For additional coverage and stability, wear a fitted camisole underneath or use a scarf ring to control the folds. Choose a substantial cotton or satin scarf that stays in place rather than a very slippery fabric. Complete the outfit with high-rise wide-leg jeans, block-heel sandals, a simple clutch, and understated earrings. The solid denim anchors a printed scarf and helps the finished look feel cohesive rather than costume-like.
18. Pillowcase Crop Top
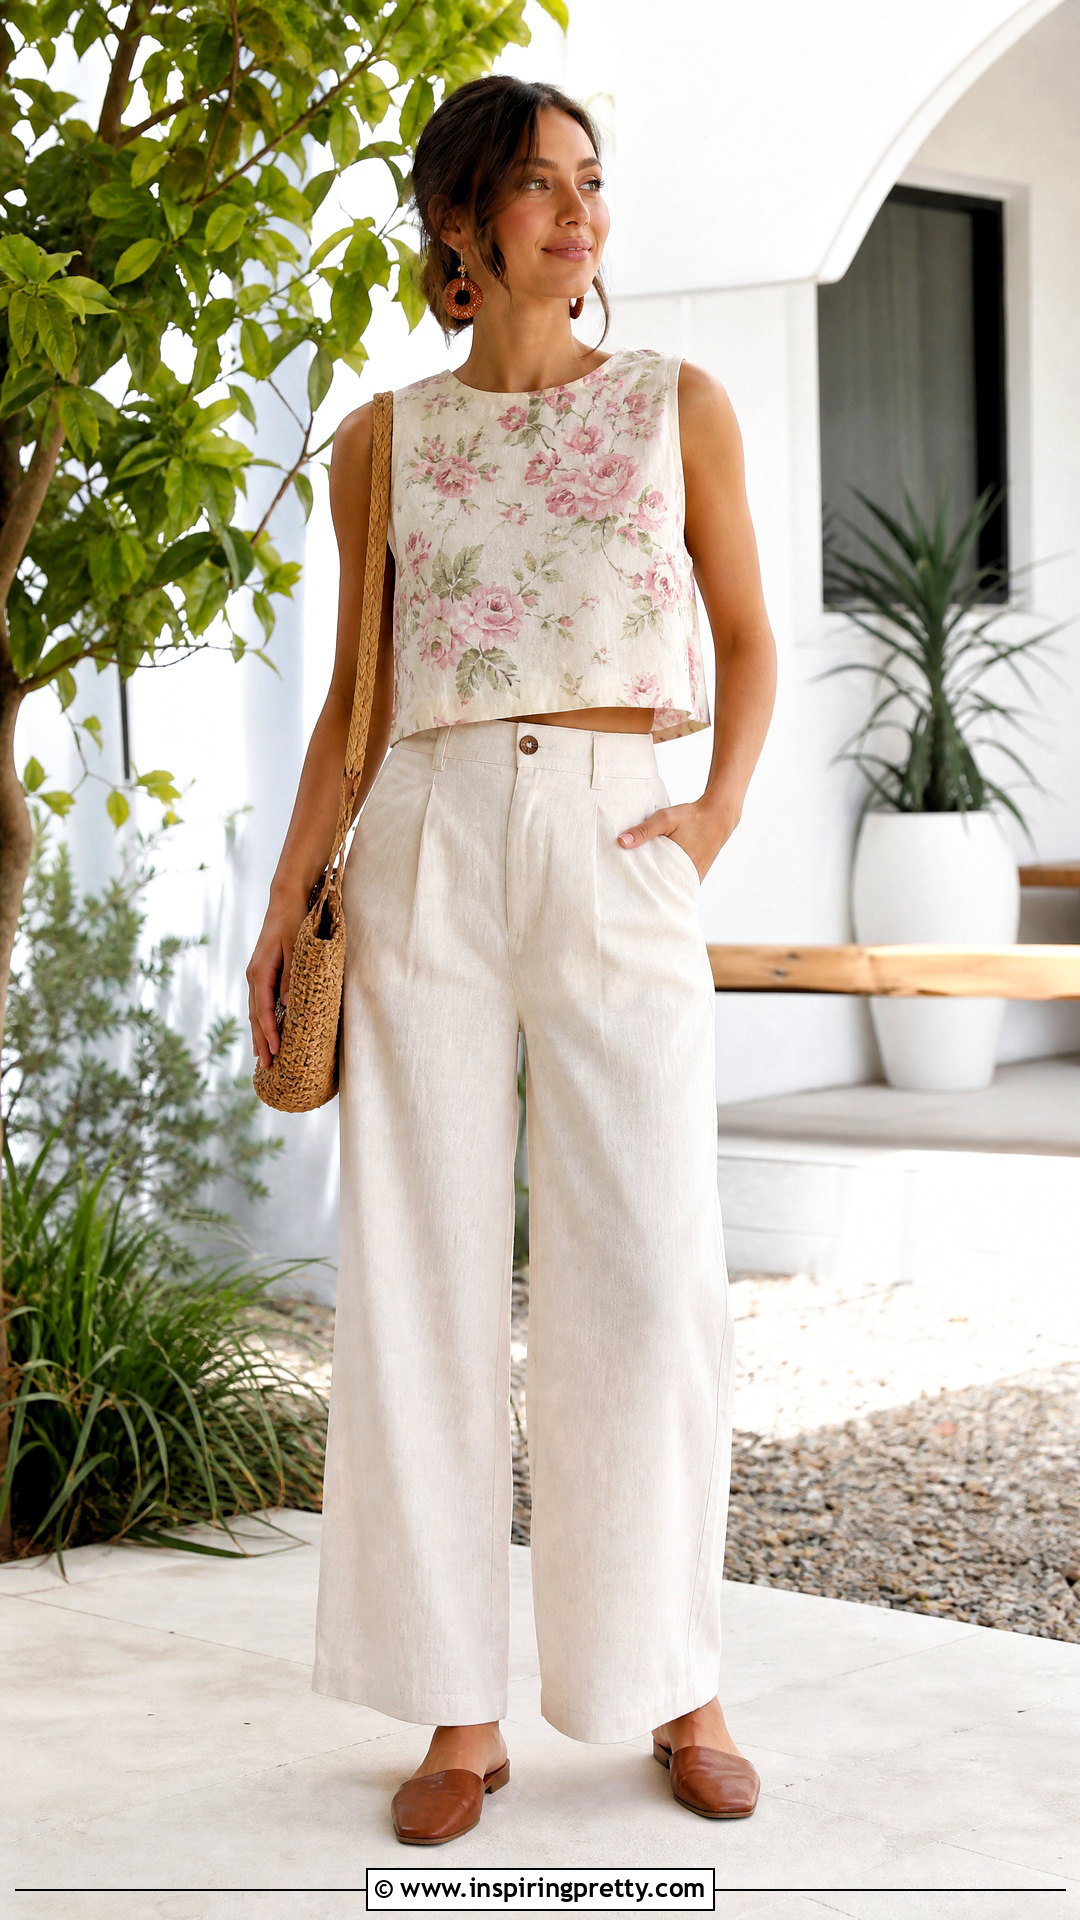
A clean pillowcase provides enough woven fabric for a simple boxy crop top. Wash and press it before measuring. Place a loose sleeveless top over the fabric and trace around it, adding seam and hem allowances. Cut matching front and back pieces. Shape the neckline and armholes gradually, then sew the shoulder and side seams with the right sides facing. Finish every raw edge with bias binding, a zigzag stitch, or a double-fold hem. Add short side slits if you want more movement. Style the top with high-waisted linen pants, flat mules, a woven shoulder bag, and wooden earrings. This breathable outfit works especially well when the pillowcase has a soft floral or striped print.
19. Smocked Crop Top
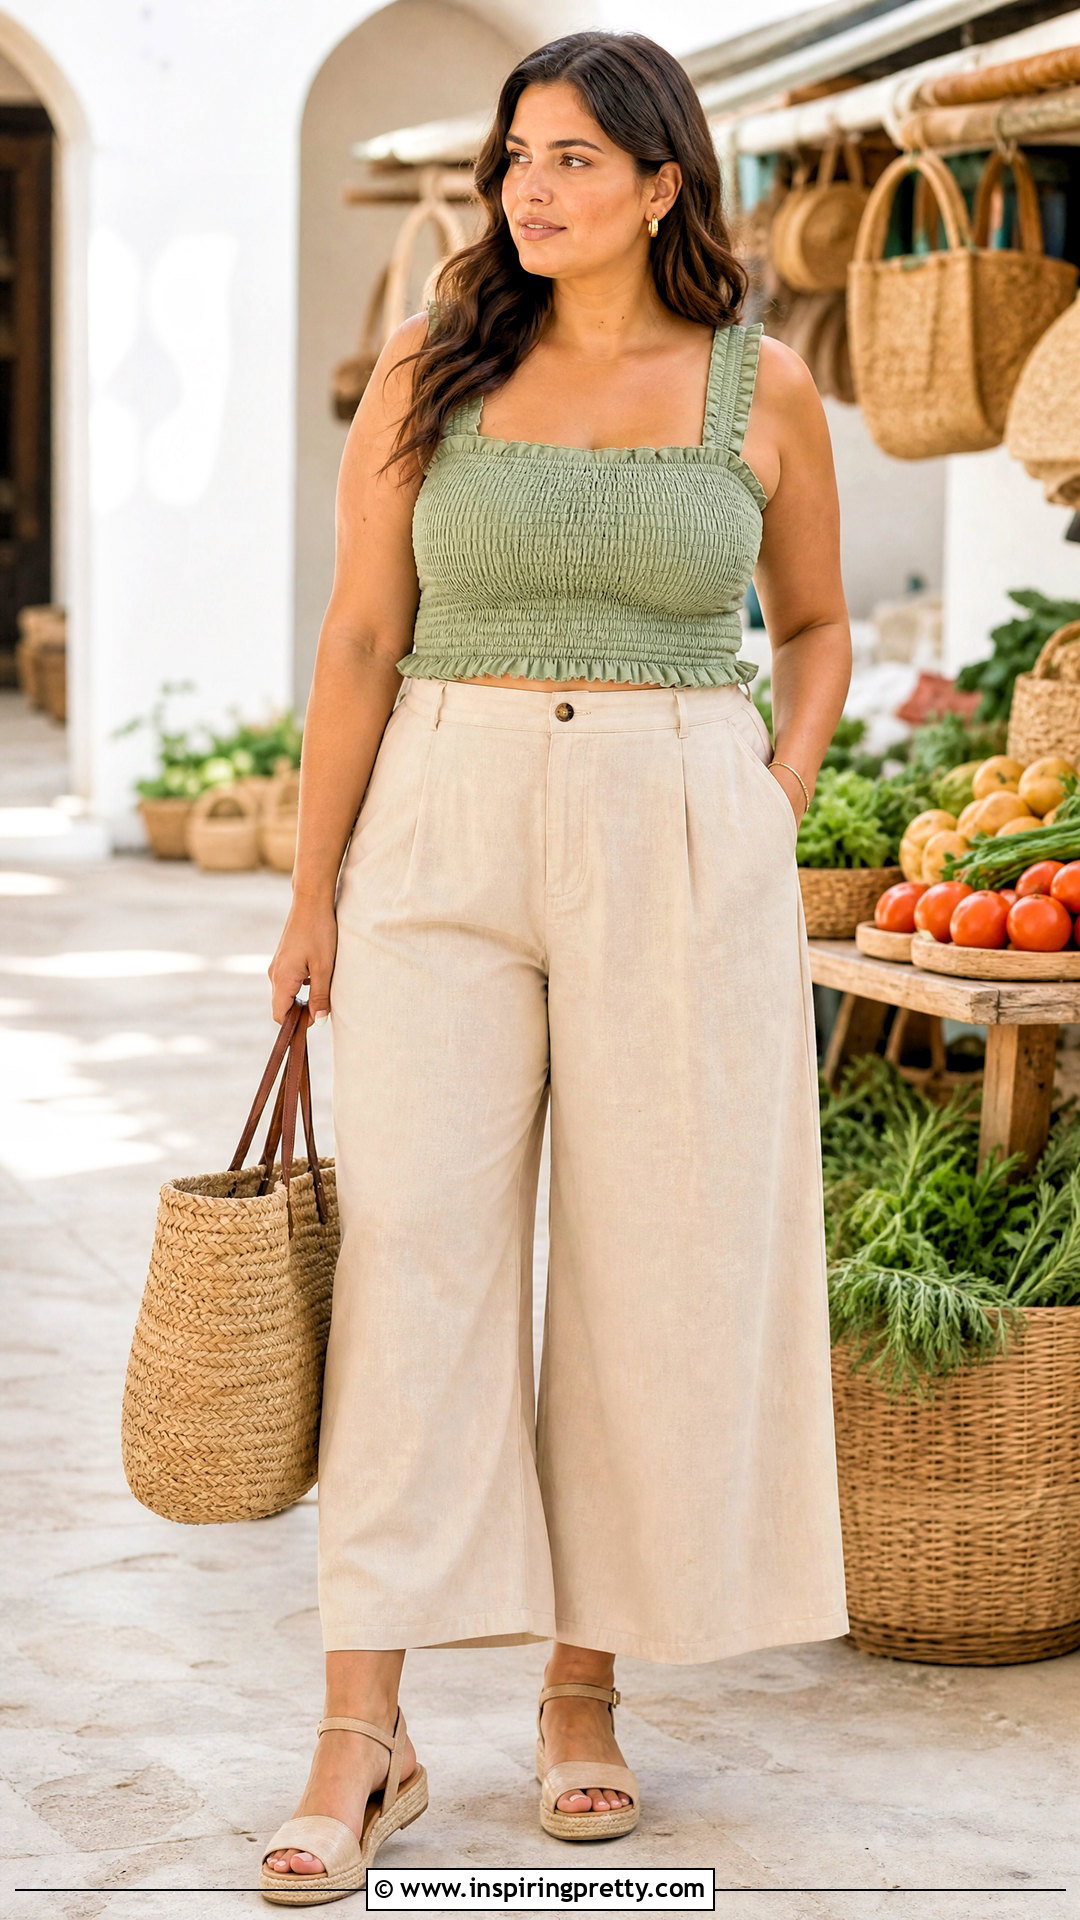
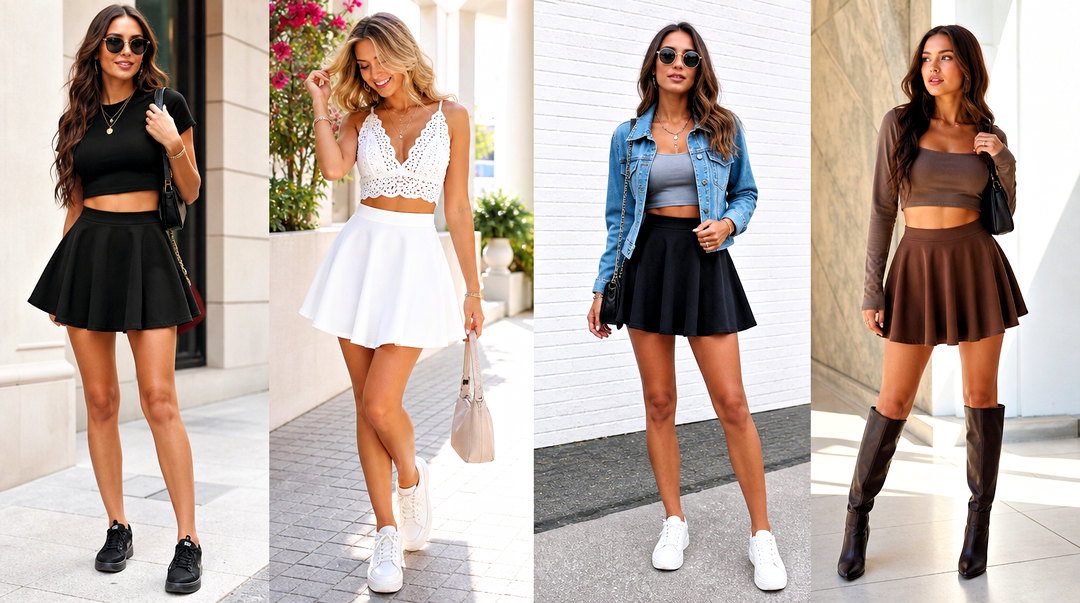
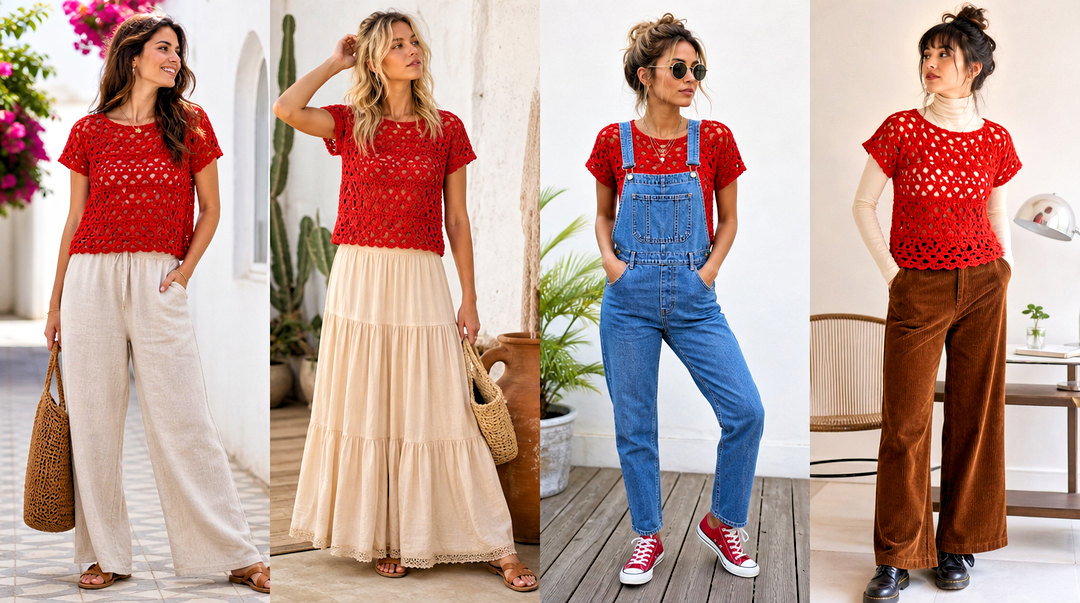
A smocked crop top can be made from lightweight cotton, rayon, or another soft woven fabric. Cut a rectangle long enough to wrap around the fullest part of your torso with extra room for gathering and a back seam. Finish the upper and lower edges. Wind elastic thread onto the bobbin by hand and sew several evenly spaced horizontal rows across the fabric. The material will begin gathering as the rows are added. Steam it gently according to the fabric’s care instructions, join the back seam, and attach straps if desired. Wear the top with high-waisted culottes, espadrille sandals, a straw tote, and small earrings. The wider bottoms balance the fitted, textured bodice. ()
20. Patchwork Crop Top
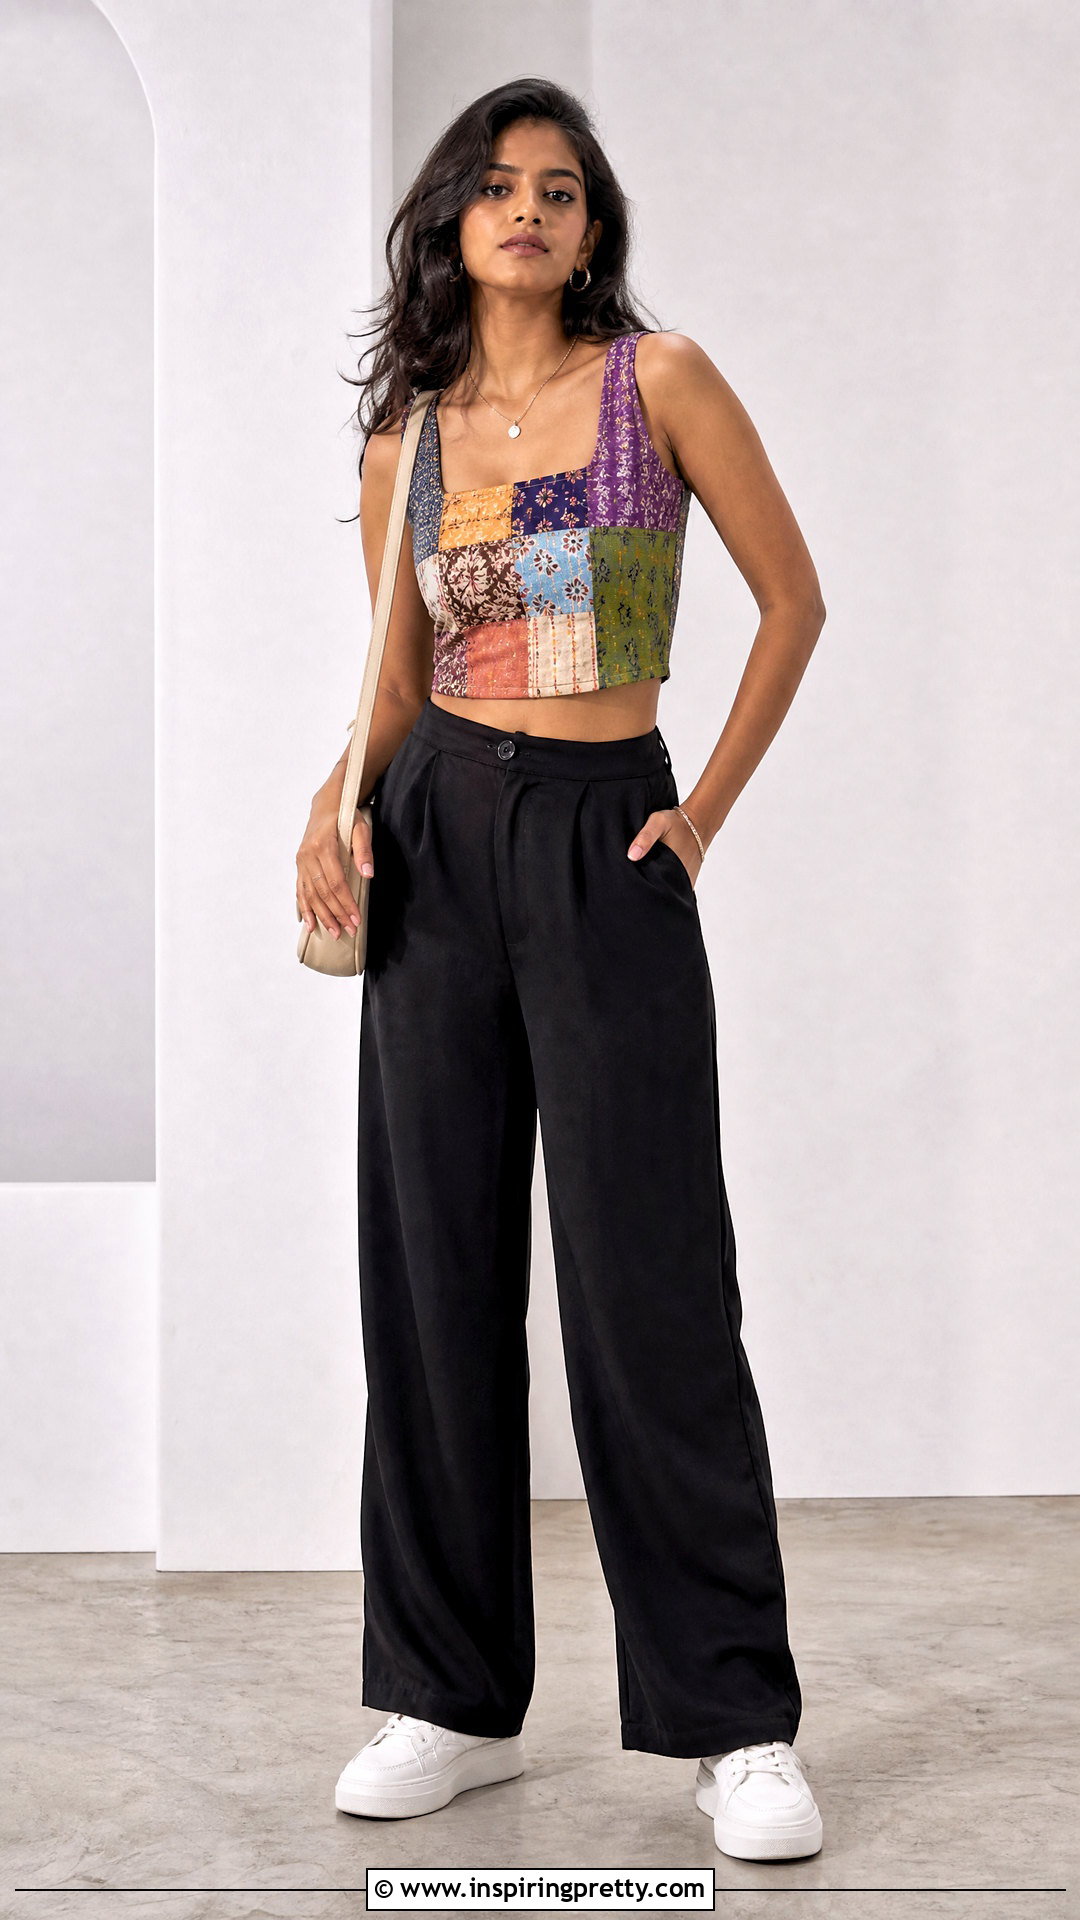
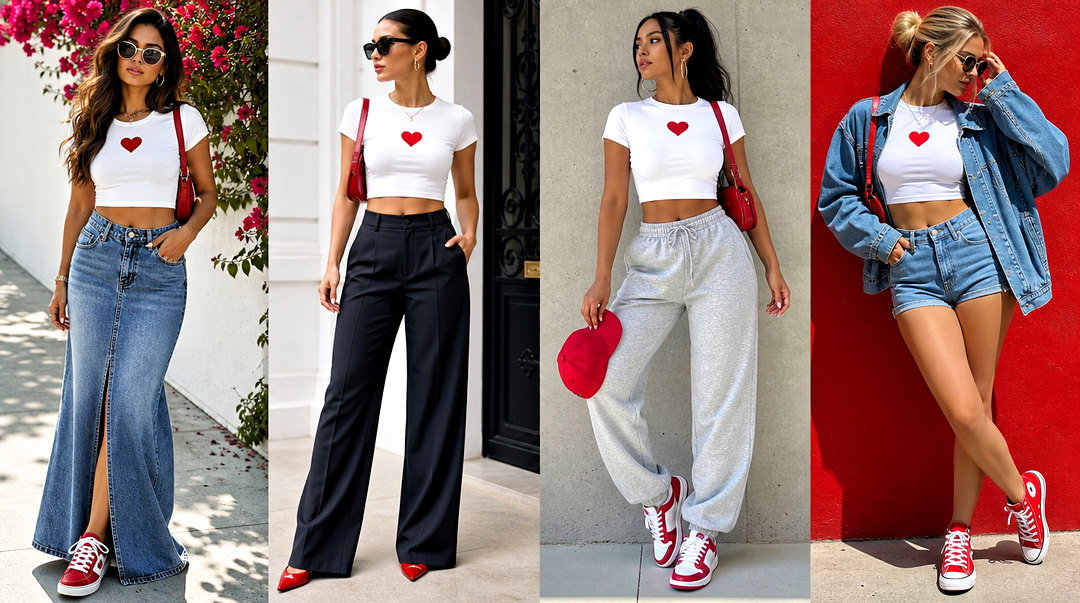
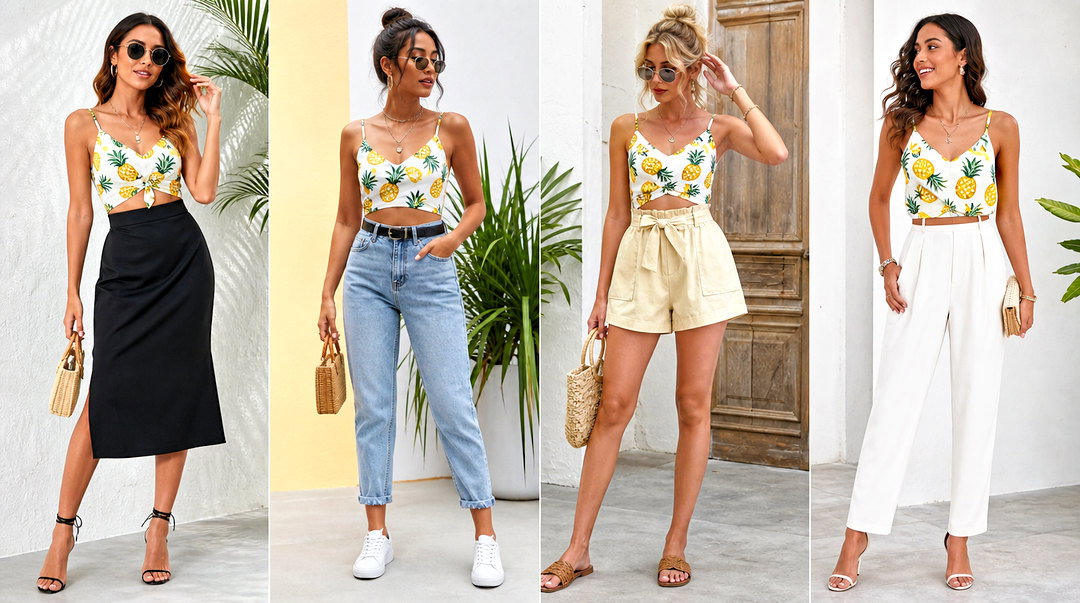
Small fabric remnants can be combined into a colorful patchwork crop top. Choose materials with similar weights and stretch levels so the finished garment behaves consistently. Arrange the scraps into two panels large enough for the front and back. Sew the pieces together with consistent seam allowances, pressing each seam as you work. Place a simple crop top pattern over the panels, cut the shapes, and join the shoulders and sides. Finish the neckline, armholes, and hem with matching binding. Style the completed top with solid high-waisted trousers, neutral sneakers, a plain crossbody bag, and minimal jewelry. A simple base outfit gives the mixed colors and patterns enough room to stand out without overwhelming the look.
Conclusion:
Knowing how to make cute crop tops diy gives you many ways to update clothing you already own. Start with a no-sew T-shirt project if you are new to garment customization, then try hems, casings, elastic, and gathered details as your confidence grows. Measure carefully, cut less than you think you need, and test the fit throughout the process. Fabric type also matters, so use stretch stitches for jersey and finish the raw edges of woven materials. Most importantly, make each design comfortable for your body and wardrobe. With thoughtful styling, an inexpensive handmade crop top can become the focal point of a polished, practical, and completely personal outfit.
Related posts:


Leave a Reply