
Learning how to make a boxy top opens the door to one of the most practical beginner sewing projects. The relaxed shape needs fewer fitting adjustments than a close-cut blouse, yet fabric, length, sleeves, and finishing details can completely change the result. Boxy tops can be drafted from measurements, copied from an existing shirt, cut from simple rectangles, or sewn with a printable pattern. Current tutorials also show versions with cuffs, flute sleeves, color blocking, patchwork, split hems, and zero-waste layouts. () Before cutting your best material, test the design in inexpensive fabric and confirm that the neckline fits over your head. The following methods explain how to make a boxy top (20 ways).

1. Boxy Top Without A Pattern
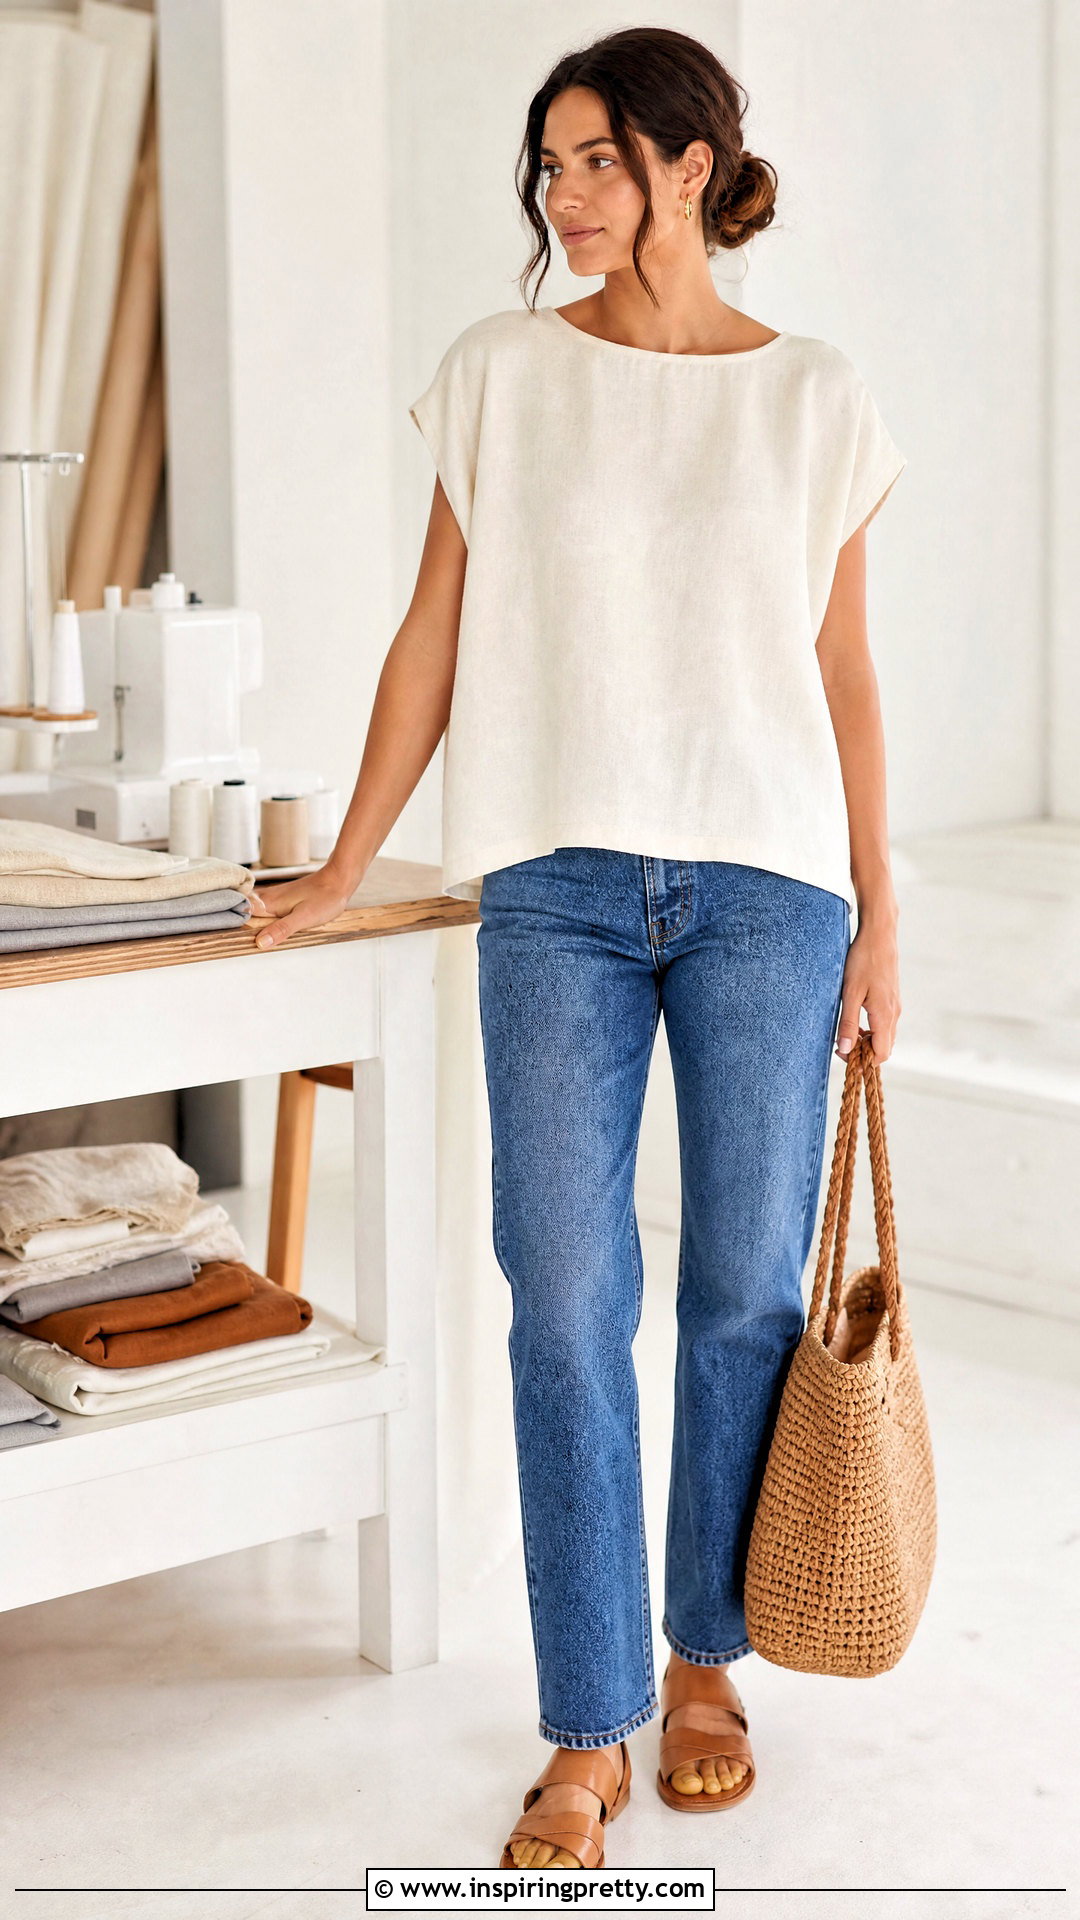
A pattern-free boxy top begins with accurate body measurements and two simple fabric panels. Measure around the fullest part of your bust or hips, whichever is larger. Divide that number by four, then add approximately 4 to 6 inches for loose-fitting ease and seam allowances. Use this figure as the width of each folded panel. Measure from your shoulder to the desired hem for the length. Shape a shallow neckline, slope the shoulders slightly, and extend the upper sides to form short sleeves. Cut the front neckline a little deeper than the back. Sew the shoulder seams first, finish the neck with bias binding, and then stitch the side seams. Try on the top before hemming so you can correct the length or width.
2. Boxy Top From An Existing T-Shirt
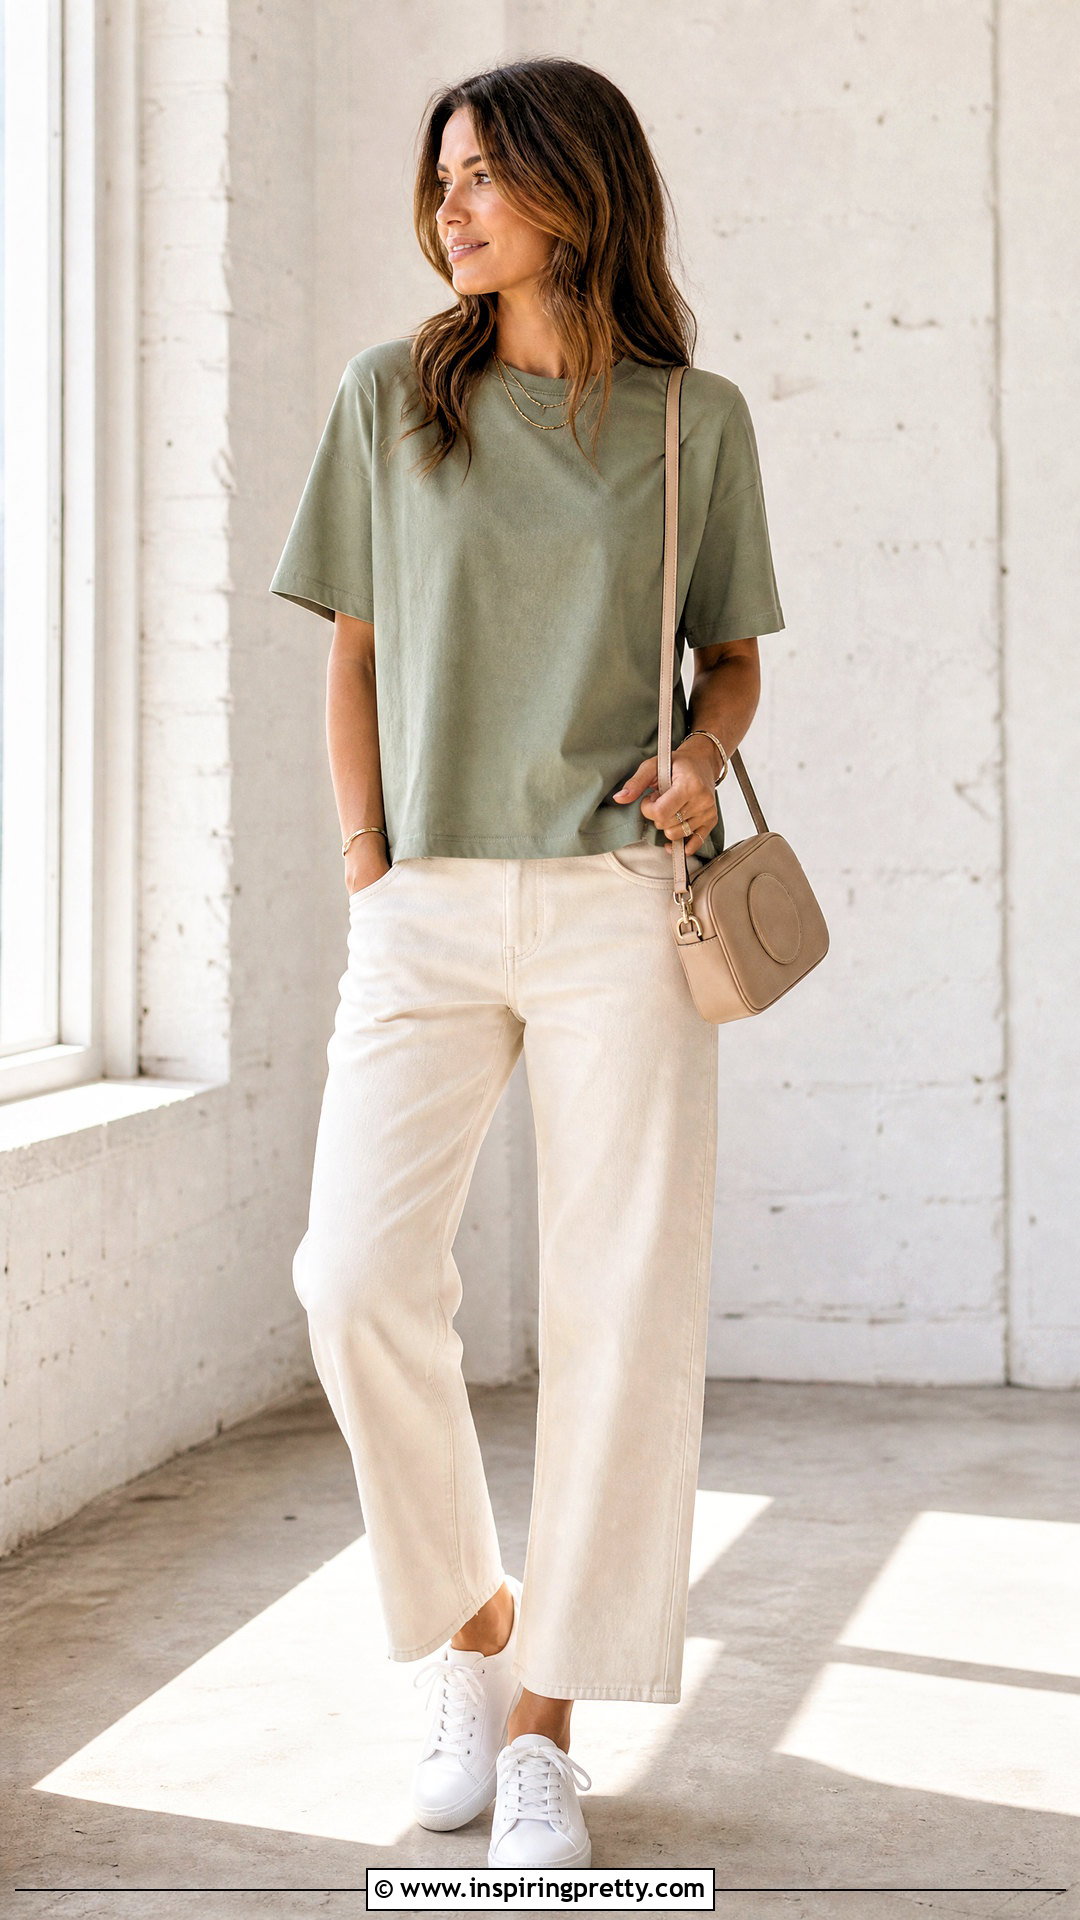
An existing loose T-shirt provides a useful starting shape when you do not want to draft measurements. Choose a shirt with the shoulder position, width, and neckline you already enjoy wearing. Fold it in half and place it over folded fabric, keeping the center front parallel to the grainline. Trace around the shirt while adding your preferred seam allowance. Straighten the side seam slightly to create a more angular silhouette. Cut separate front and back pieces, making the front neckline deeper. You can copy the original sleeves or extend the shoulder line for simple grown-on sleeves. After cutting, sew the shoulders, attach sleeves if needed, close the side seams, and finish the edges. Make a test version because fabric drape can noticeably change the final fit.
3. Two Rectangle Boxy Top
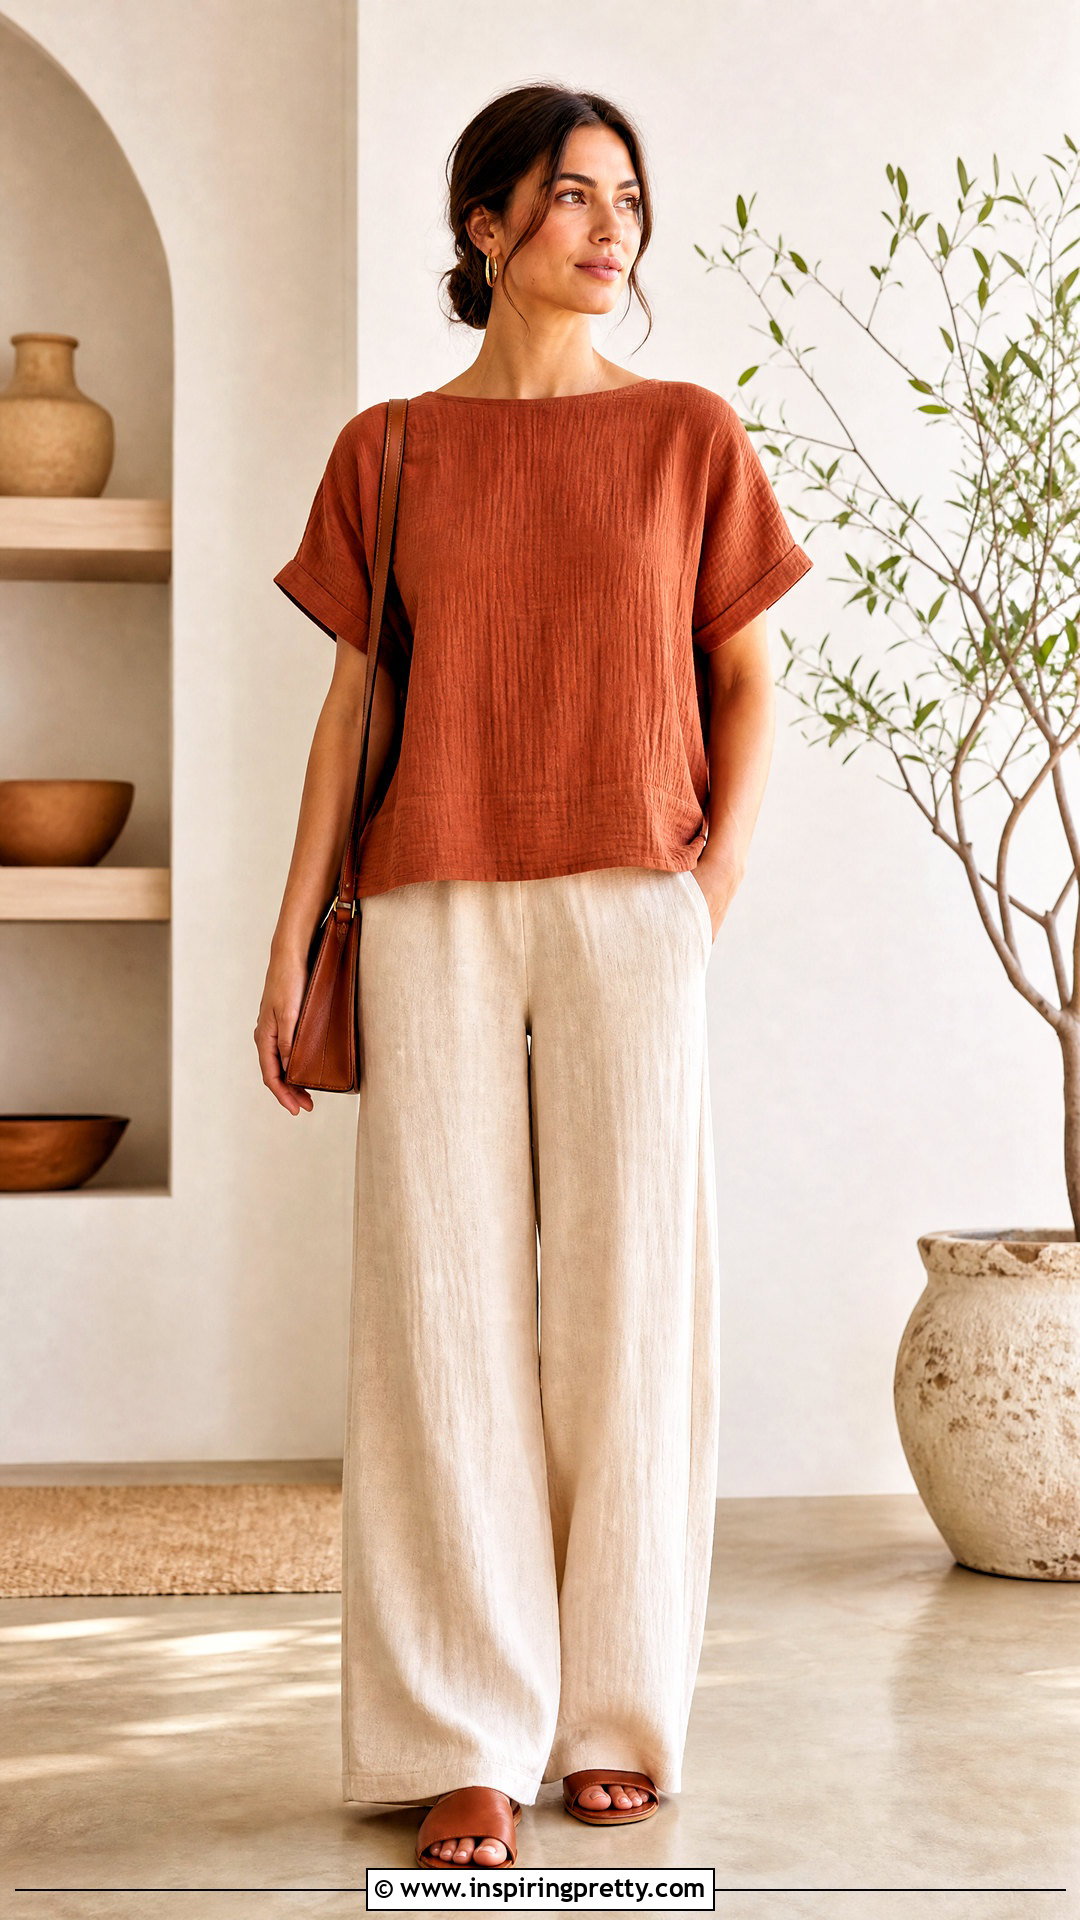
Two rectangles can become a minimalist boxy top with very little pattern work. Cut matching fabric pieces wide enough to cover half your body circumference plus generous wearing ease. The rectangle length should run from the shoulder to your chosen hem. Place the pieces right sides together and sew short shoulder seams, leaving a centered opening that comfortably passes over your head. Finish this opening with narrow bias binding or a clean facing. Mark equal armhole openings along both upper side edges. Sew from the bottom of each armhole to the hem, then finish the raw seams. Fold and stitch the armhole and lower edges. This method works especially well with linen, cotton gauze, and other fabrics that look intentional in a simple geometric shape.
4. Boxy Top With A PDF Pattern
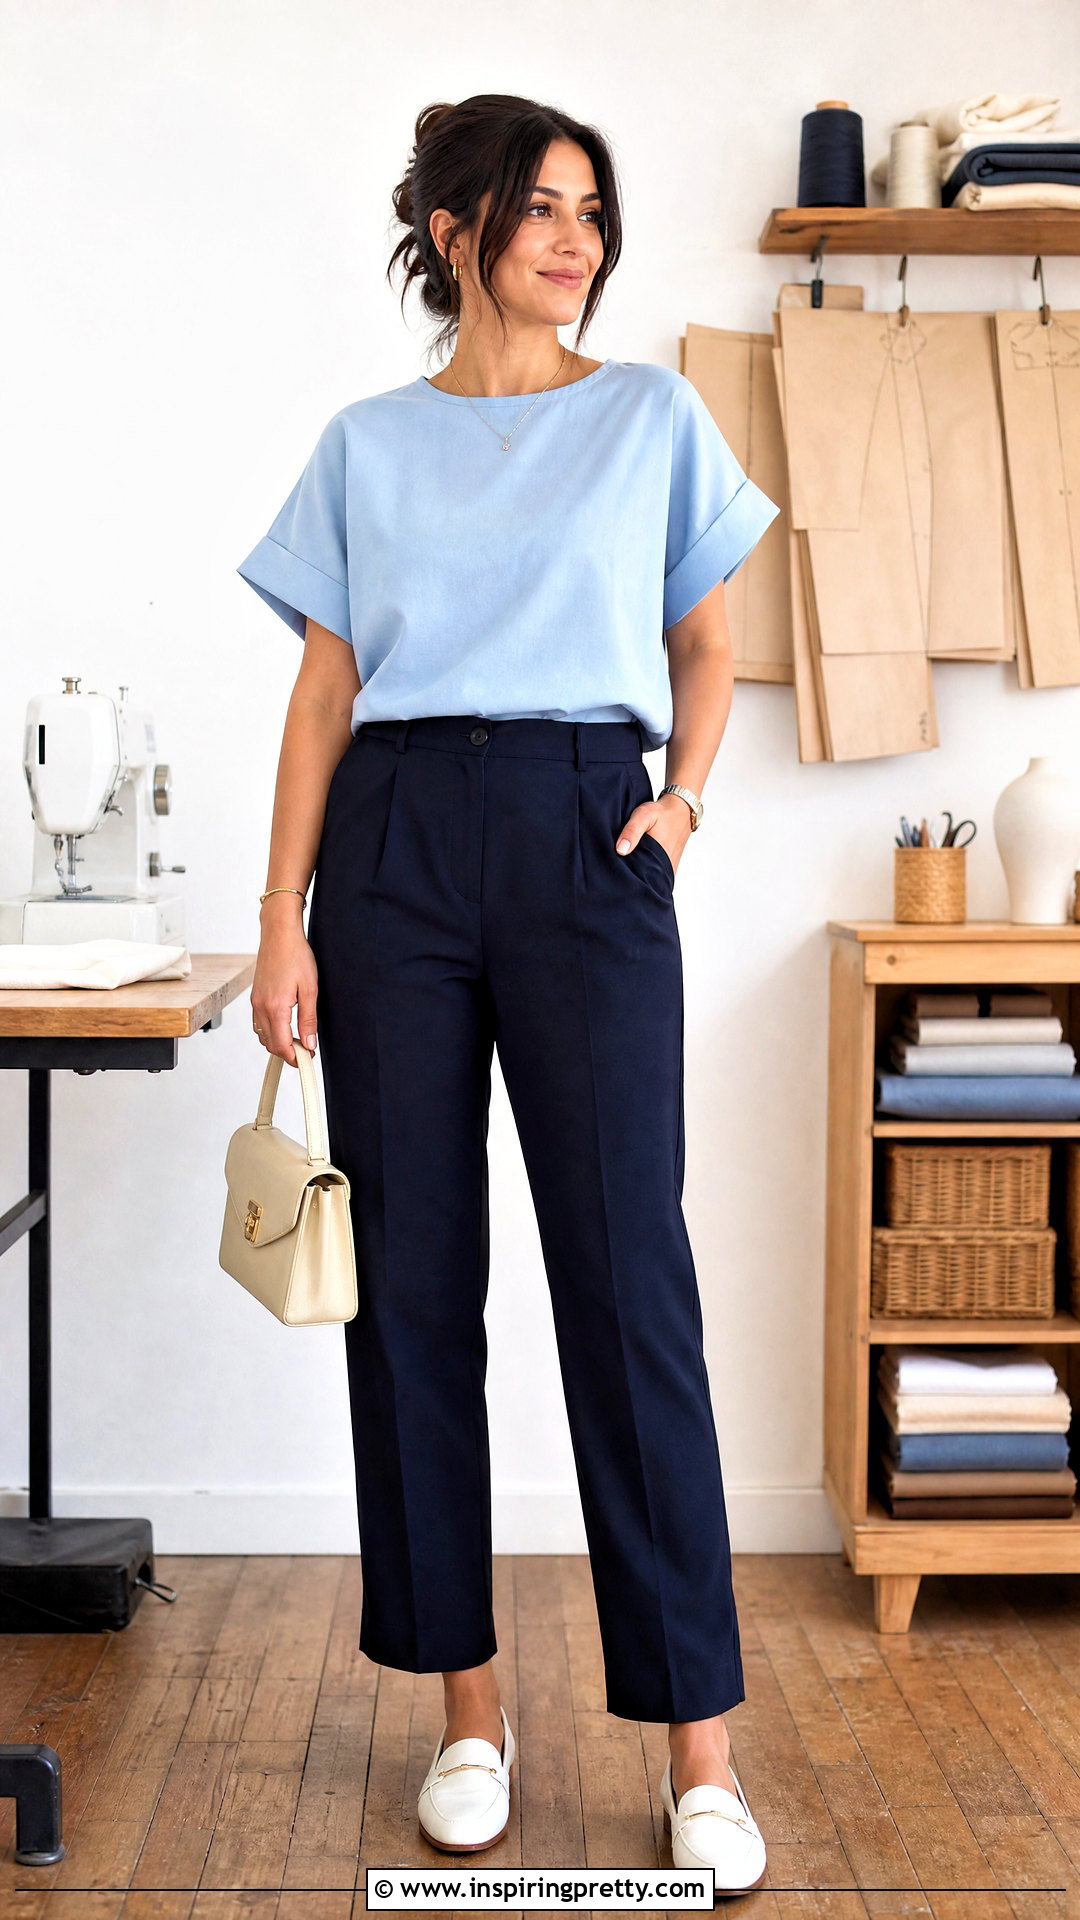
A printable PDF pattern is a reliable choice when you want established sizing, marked seam allowances, and clear construction order. Select the size from the pattern’s finished garment measurements rather than relying only on your usual store size. Print the test square first and confirm that scaling is set to 100 percent. Assemble the pages, cut or trace your size, and transfer all notches and markings to the fabric. Follow the recommended grainline so the top hangs correctly. Staystitch curved necklines before handling them, especially when using loosely woven material. Assemble the shoulders, neckline, sleeves, and side seams in the order provided. Several downloadable boxy-top patterns are designed as approachable projects and can be customized after the basic fit is tested. ()
5. Cropped Boxy Top
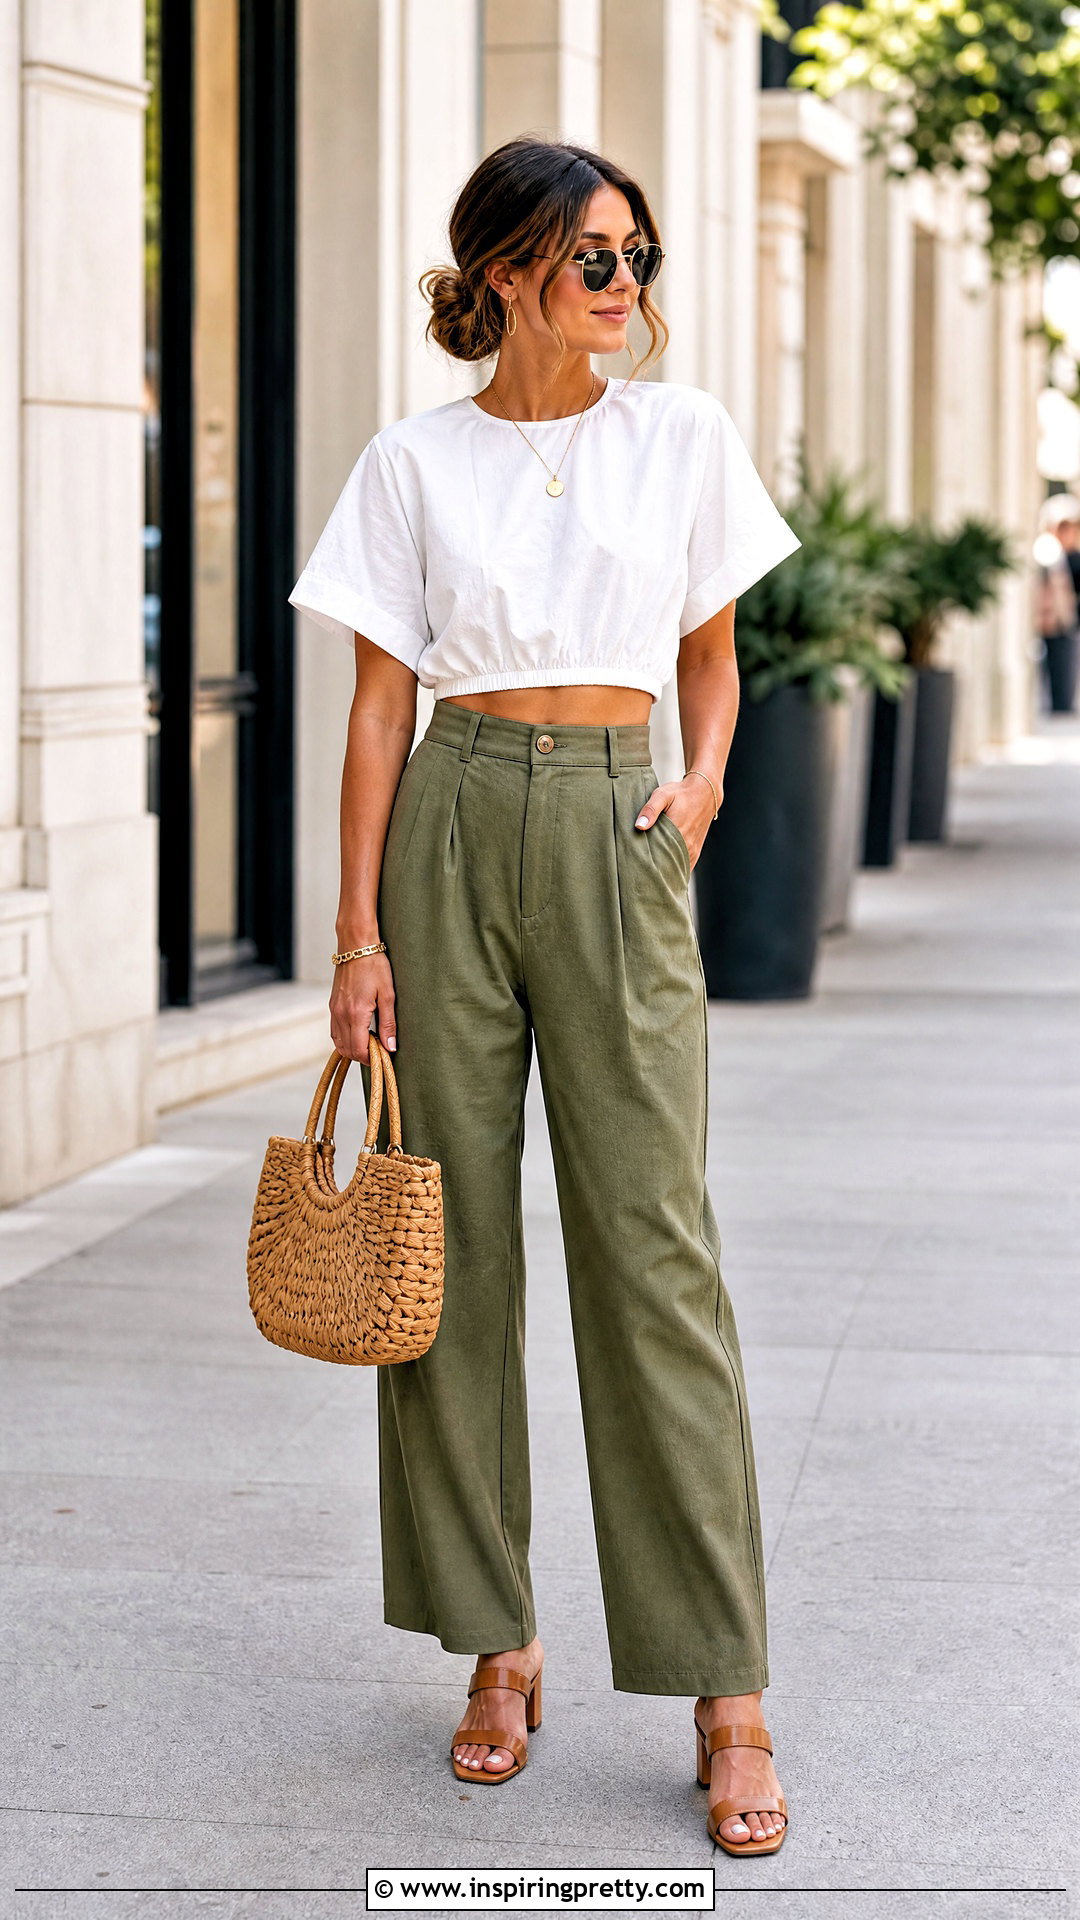
A cropped boxy top creates a balanced shape with high-rise jeans, skirts, and tailored pants. Begin with a basic loose top pattern and mark the finished hem at your natural waist or slightly below it. Add a hem allowance before cutting. If the top is very wide, shortening it may cause the hem to stand away from the body, so test the proportions in muslin first. Keep the back slightly longer when you want additional coverage. Sew the garment normally, then try it on with the bottoms you plan to wear most often. Level the hem while standing naturally. A deep turned hem gives lightweight fabric more structure, while a narrow hem suits crisp cotton. Add side vents if the cropped edge feels restrictive when you sit or raise your arms.
6. Linen Boxy Top
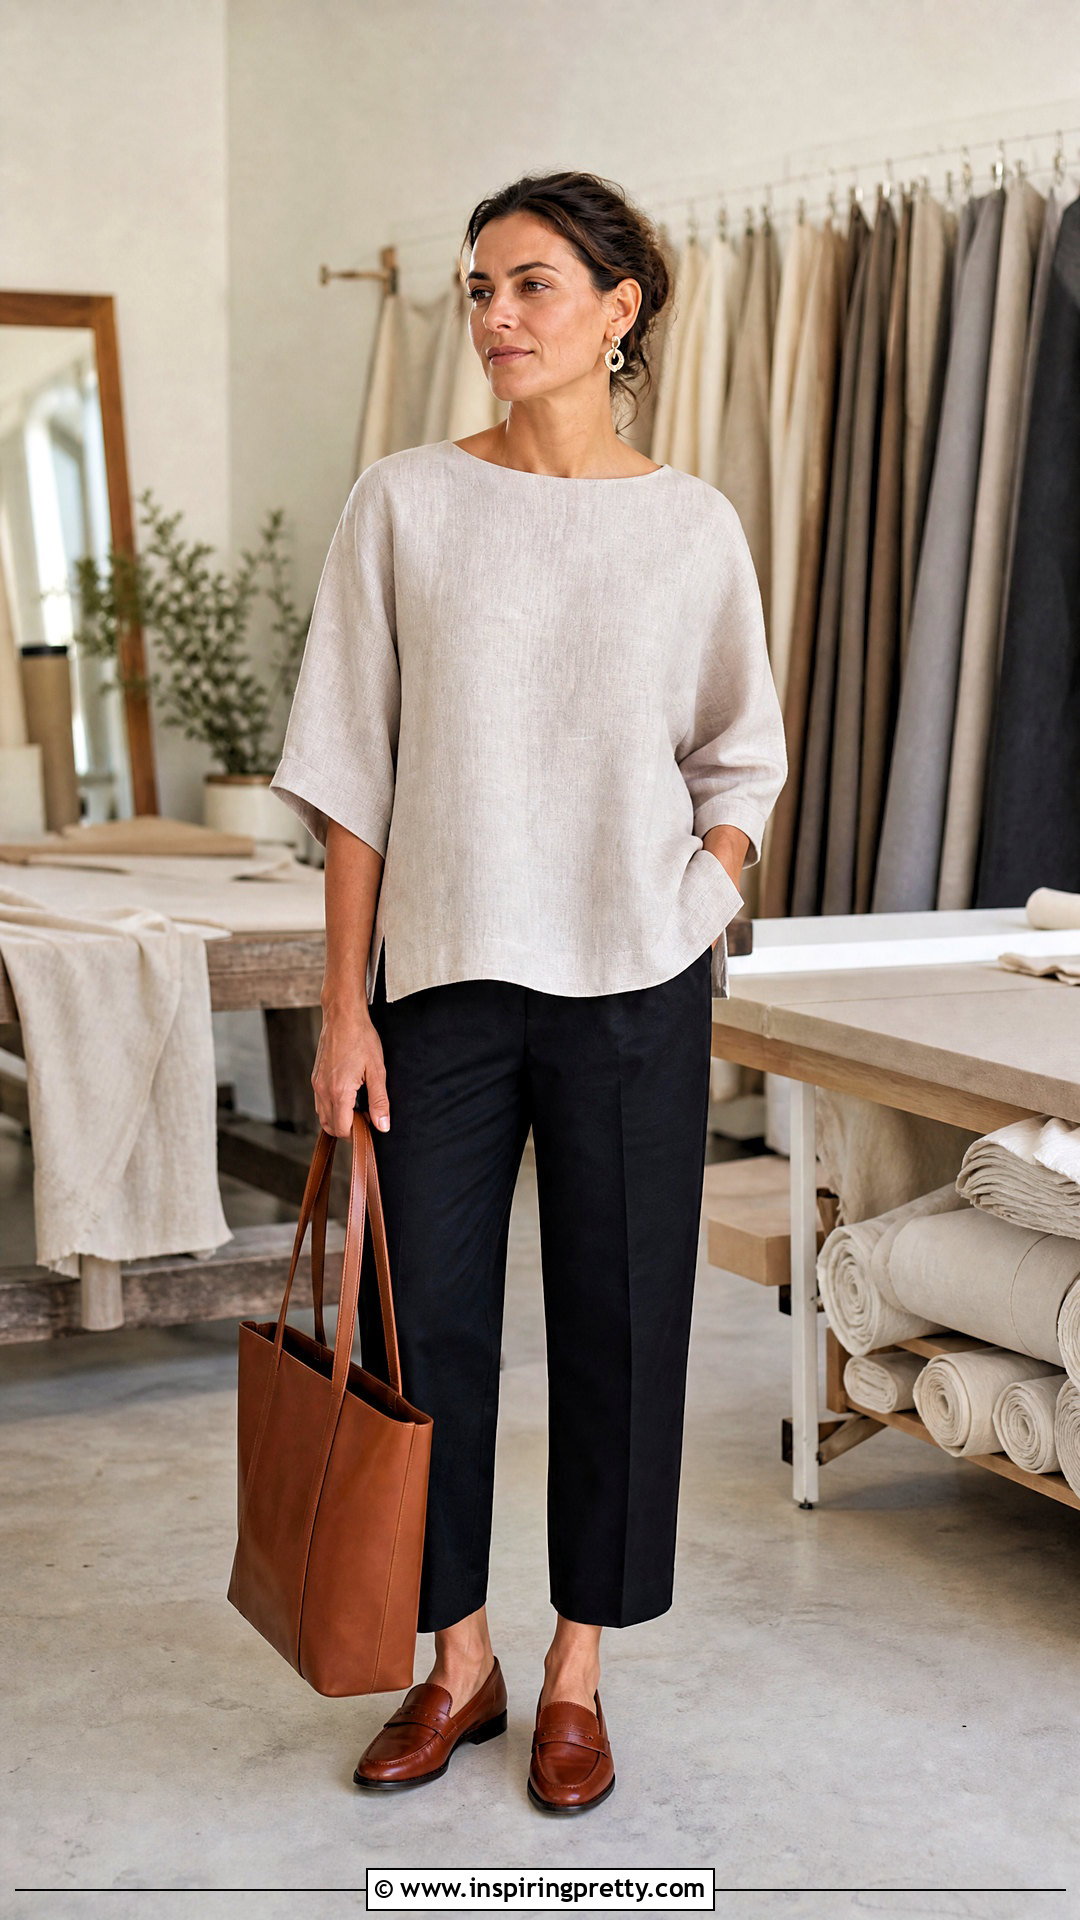
Cool, textured linen gives a boxy top a relaxed shape that becomes softer with washing and wear. Prewash and dry the fabric using the same method you intend to use for the finished garment because linen may shrink. Press it carefully before placing the pattern pieces on the grain. Choose a simple design with a round, boat, or gently squared neckline so the fabric remains the focus. Stabilize the neckline with staystitching, then finish it with bias binding or a lightweight facing. French seams create a neat interior when the linen is light enough, while serged or zigzagged edges suit heavier cloth. Press every seam during construction for a cleaner result. A linen version can be slightly cropped, hip length, or finished with small side vents for comfortable movement.
7. Cotton Poplin Boxy Top
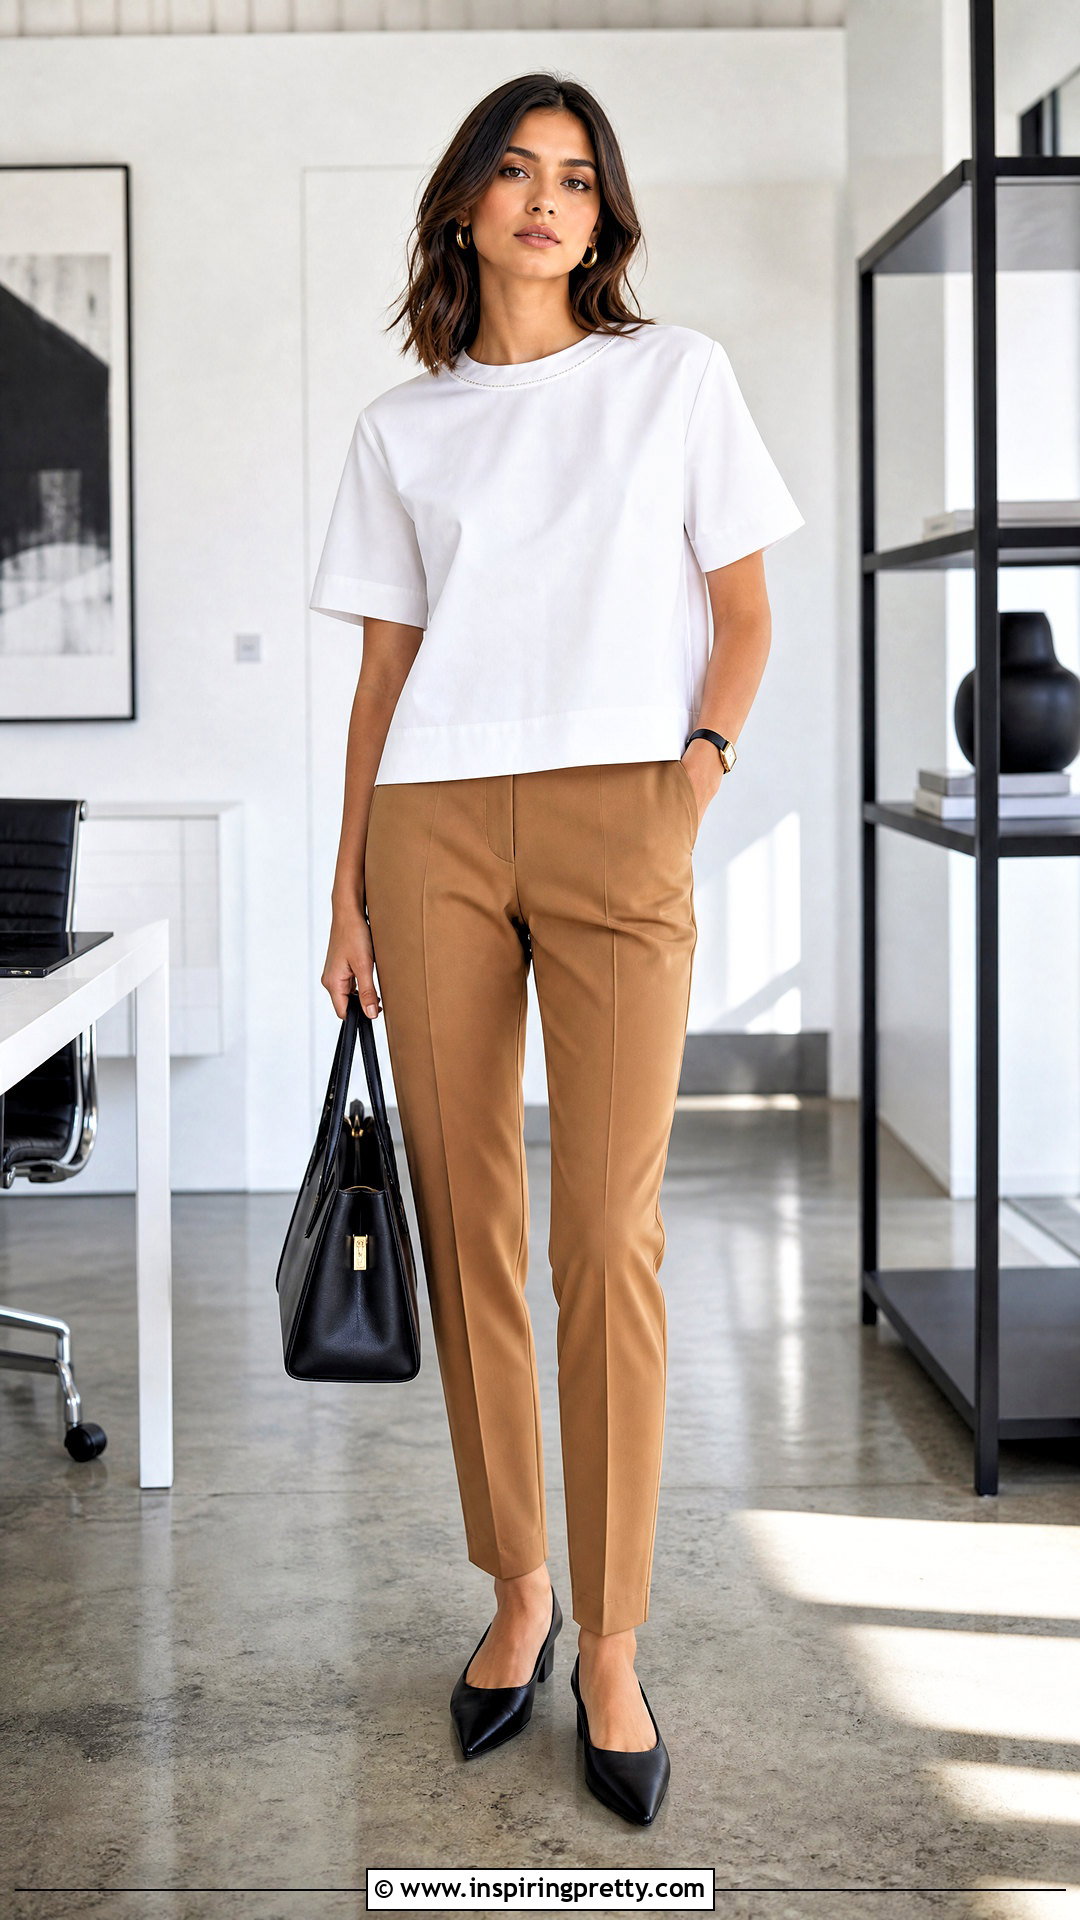
Crisp cotton poplin creates a structured boxy top with clean edges and a clearly defined silhouette. Because the fabric holds its shape, avoid adding excessive width unless you want a deliberately oversized garment. Prewash the cotton, press out all wrinkles, and align the pattern grainline with the selvage. A simple jewel neckline, short grown-on sleeves, and straight hem complement poplin’s smooth surface. Finish the neckline with a facing for a polished result, using lightweight interfacing only if the edge needs extra support. Clip curved seam allowances carefully before turning the facing inward. Understitch it to prevent rolling. French seams or neatly serged edges work well inside the garment. Press the finished top thoroughly and add visible topstitching around the neckline, sleeves, or hem for subtle definition.
8. Knit Boxy Top
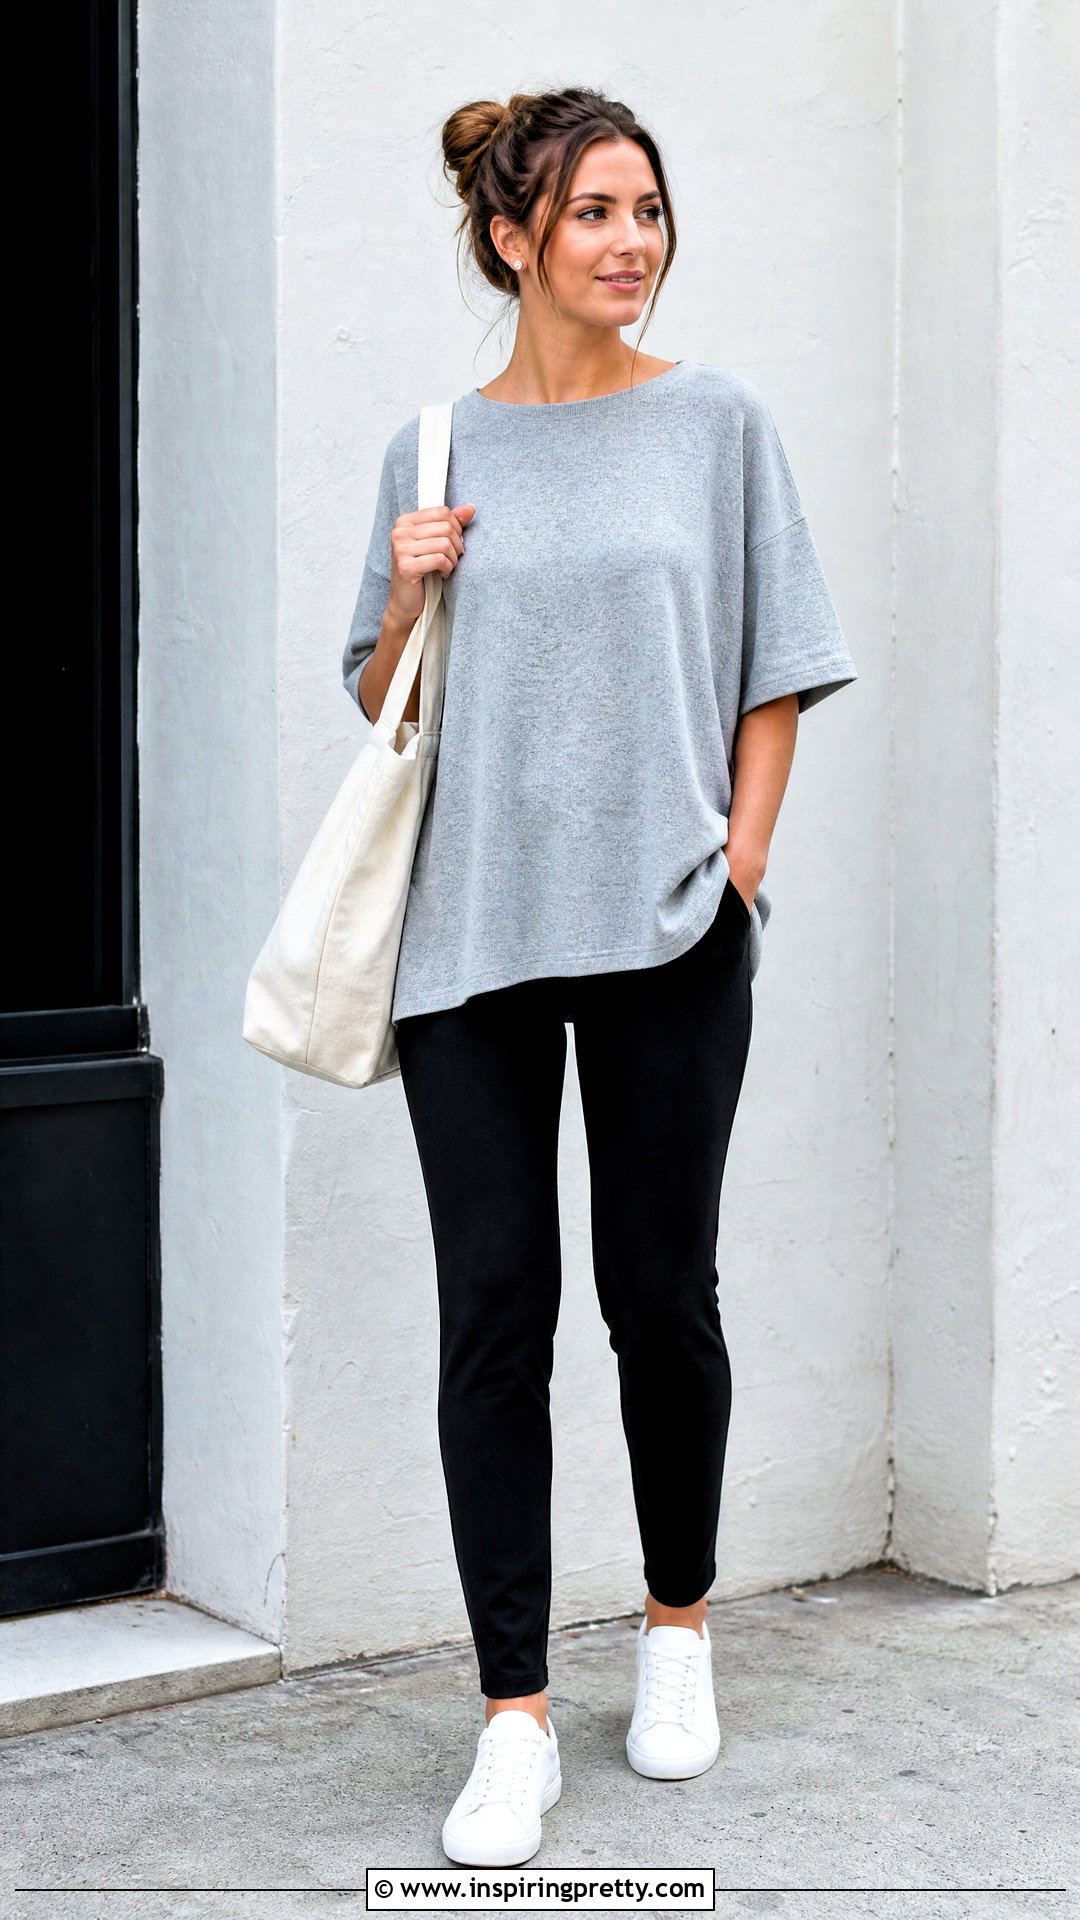
A knit boxy top feels soft and casual while providing more flexibility than a woven version. Choose a stable jersey or interlock rather than a very thin, slippery, or highly elastic knit for your first project. Confirm that the fabric stretches in the direction required by the pattern. Use a ballpoint or stretch needle and test the stitch on a scrap before sewing the garment. A narrow zigzag, stretch stitch, or serger prevents seams from snapping during wear. Stabilize the shoulder seams with clear elastic or knit stay tape. Finish the neckline with a folded neckband cut slightly shorter than the opening, distributing it evenly without stretching the garment itself. Press with moderate heat and a pressing cloth. Complete the sleeves and hem with a twin needle or flexible zigzag stitch.
9. Drop Shoulder Boxy Top
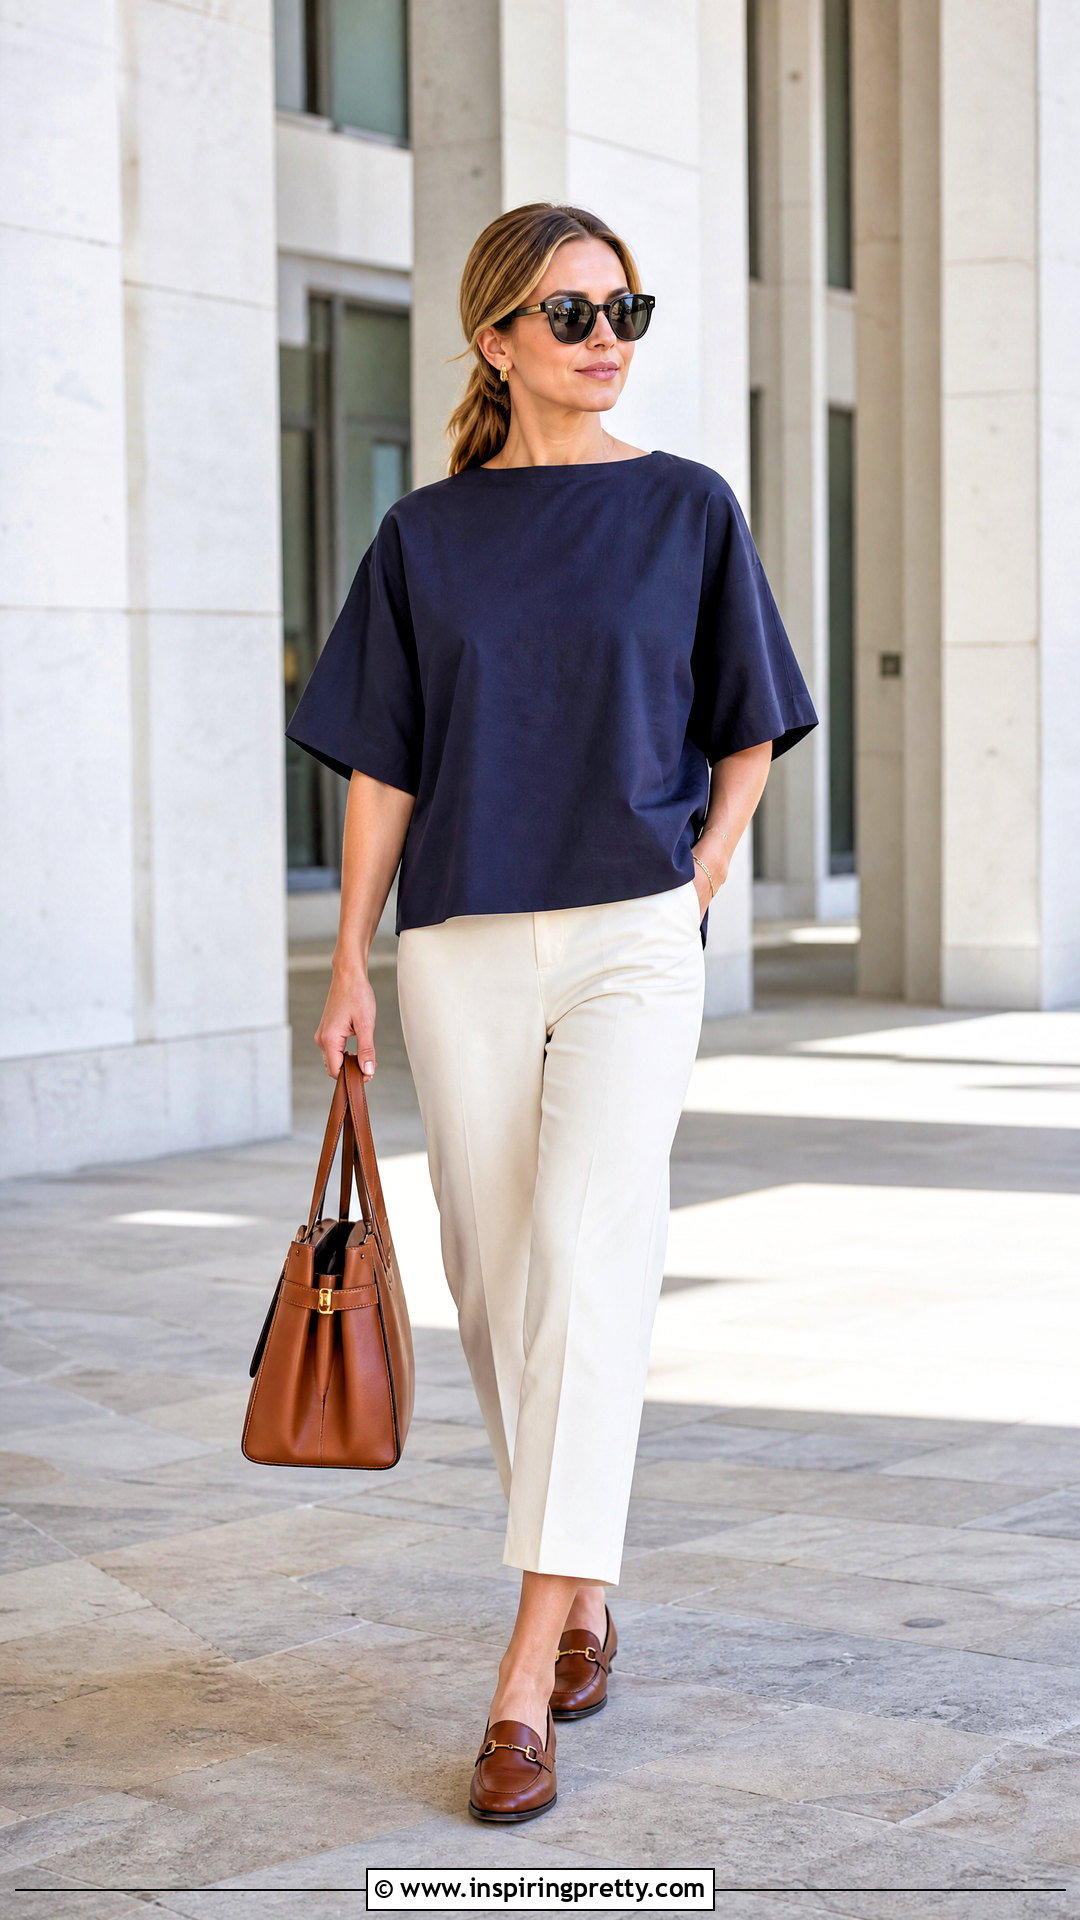
A drop-shoulder boxy top has an easy, oversized appearance created by extending the shoulder seam beyond the natural shoulder point. Start with a loose bodice pattern and lengthen the shoulder line by approximately 2 to 4 inches. Redraw the armhole so it meets the lower edge of the extended shoulder smoothly. The sleeve head should be flatter than a traditional fitted sleeve because the armhole sits lower on the body. Make a muslin to check that the sleeve does not restrict movement or create too much bulk beneath the arm. Sew the shoulders and attach the sleeves flat before closing the sleeve and side seams continuously. Lightweight denim, linen, cotton twill, or stable knit can emphasize the relaxed construction. Keep the neckline simple to balance the added volume.
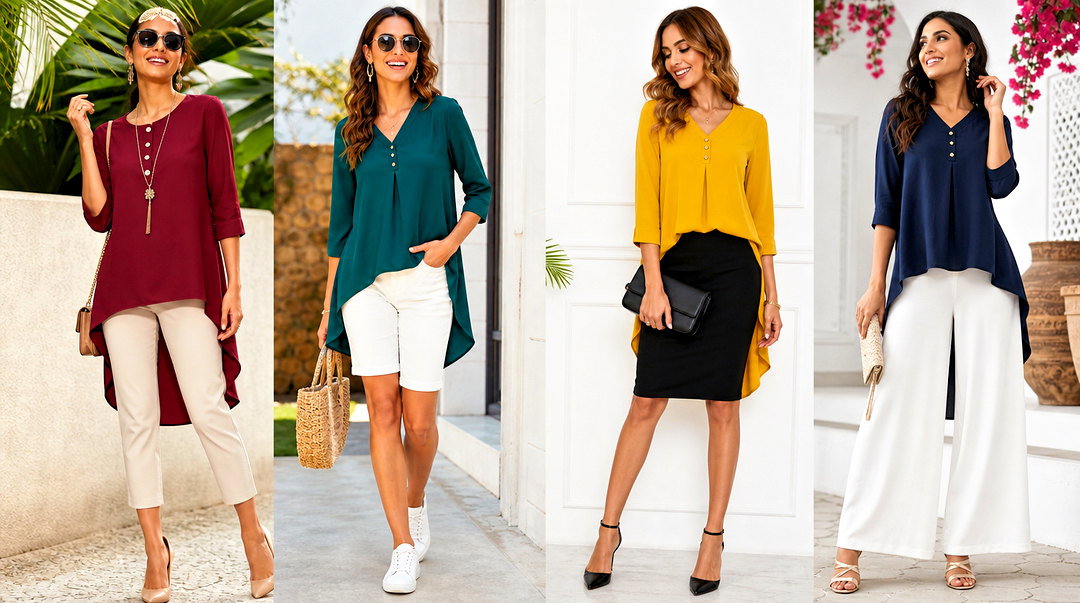
10. Kimono Sleeve Boxy Top
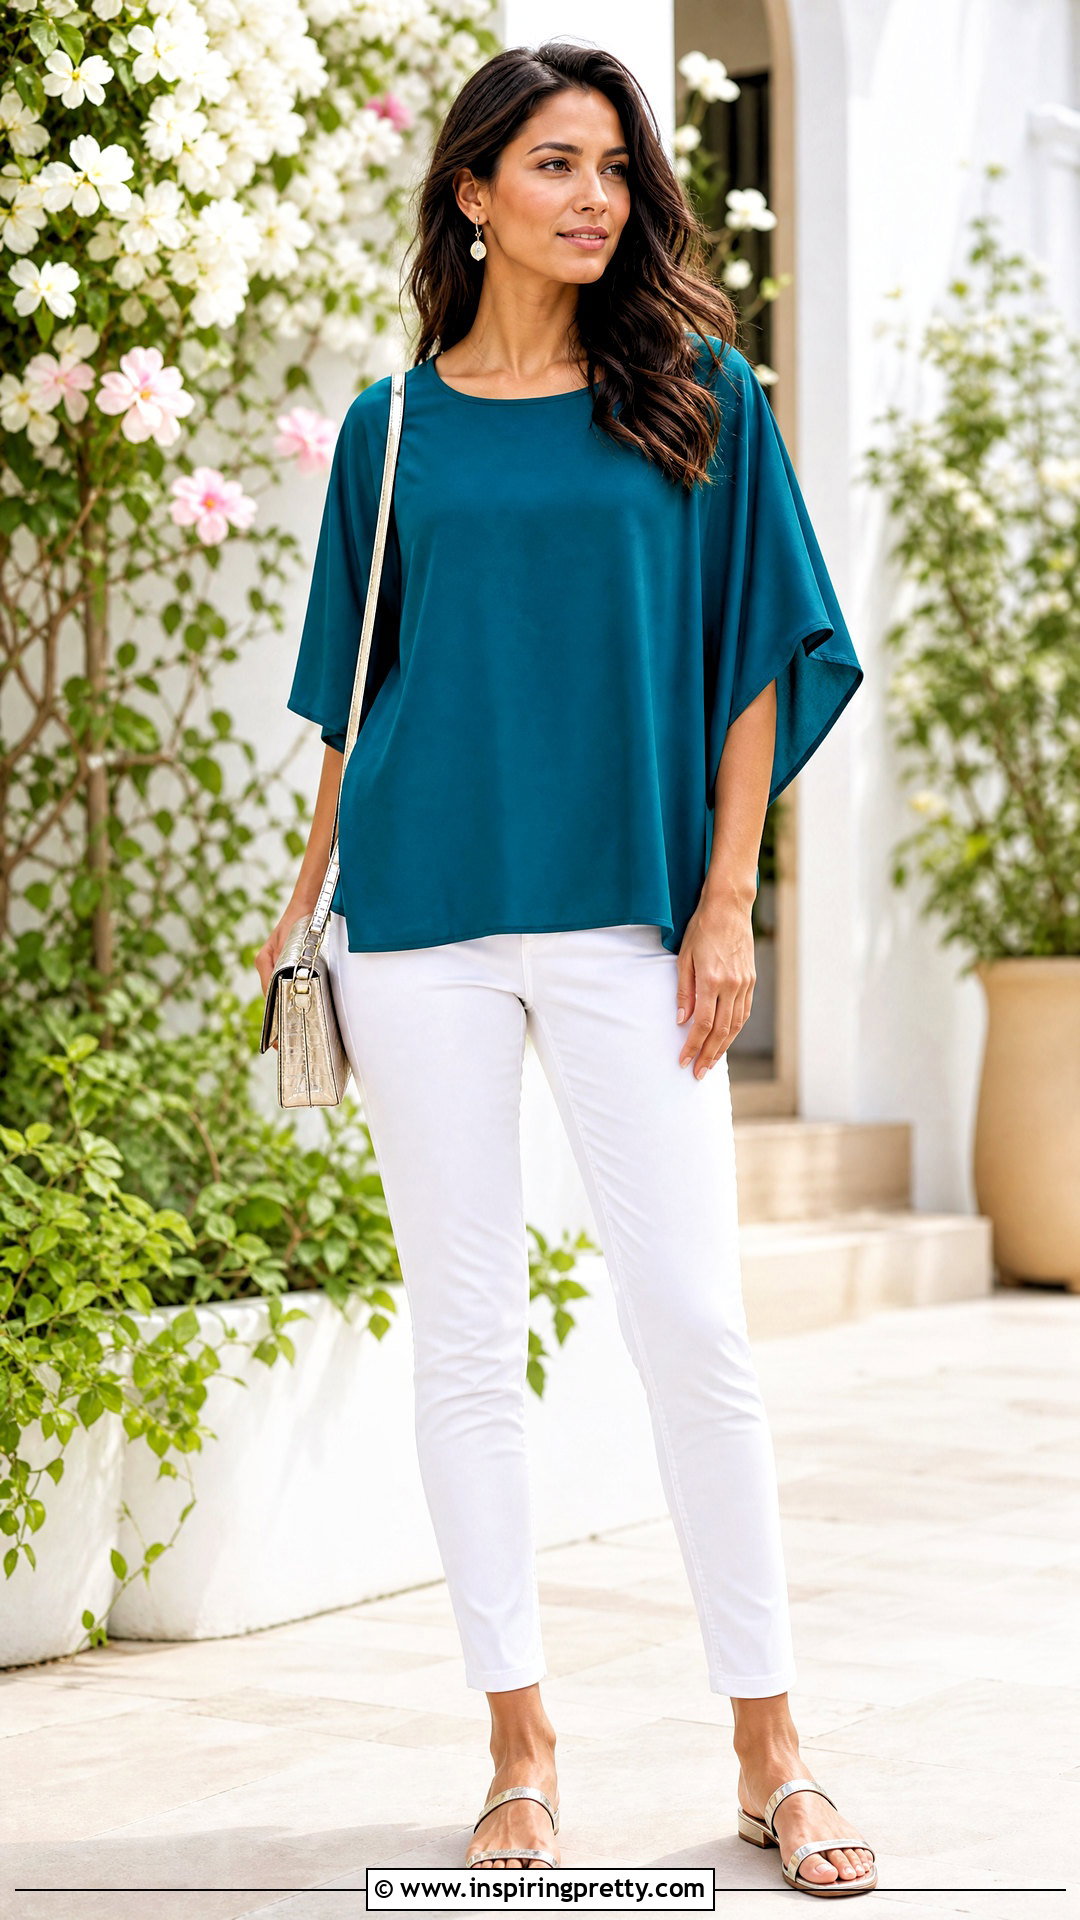
A kimono-sleeve boxy top combines the bodice and sleeves into continuous front and back pattern pieces. Extend the shoulder line to your preferred sleeve length, then draw the lower sleeve edge toward the side seam. Avoid creating a sharp underarm corner because it can be difficult to sew neatly and may feel restrictive. Instead, blend the lines with a gentle curve. Reinforce the underarm curve with a short second row of stitching, then clip the seam allowance carefully so it can spread without weakening the seam. Finish the neckline before sewing the side and underarm seams in one continuous pass. This construction looks especially graceful in rayon, linen blends, double gauze, or lightweight cotton. A narrow sleeve hem keeps the extended edge from becoming stiff or bulky.
11. Sleeveless Boxy Top
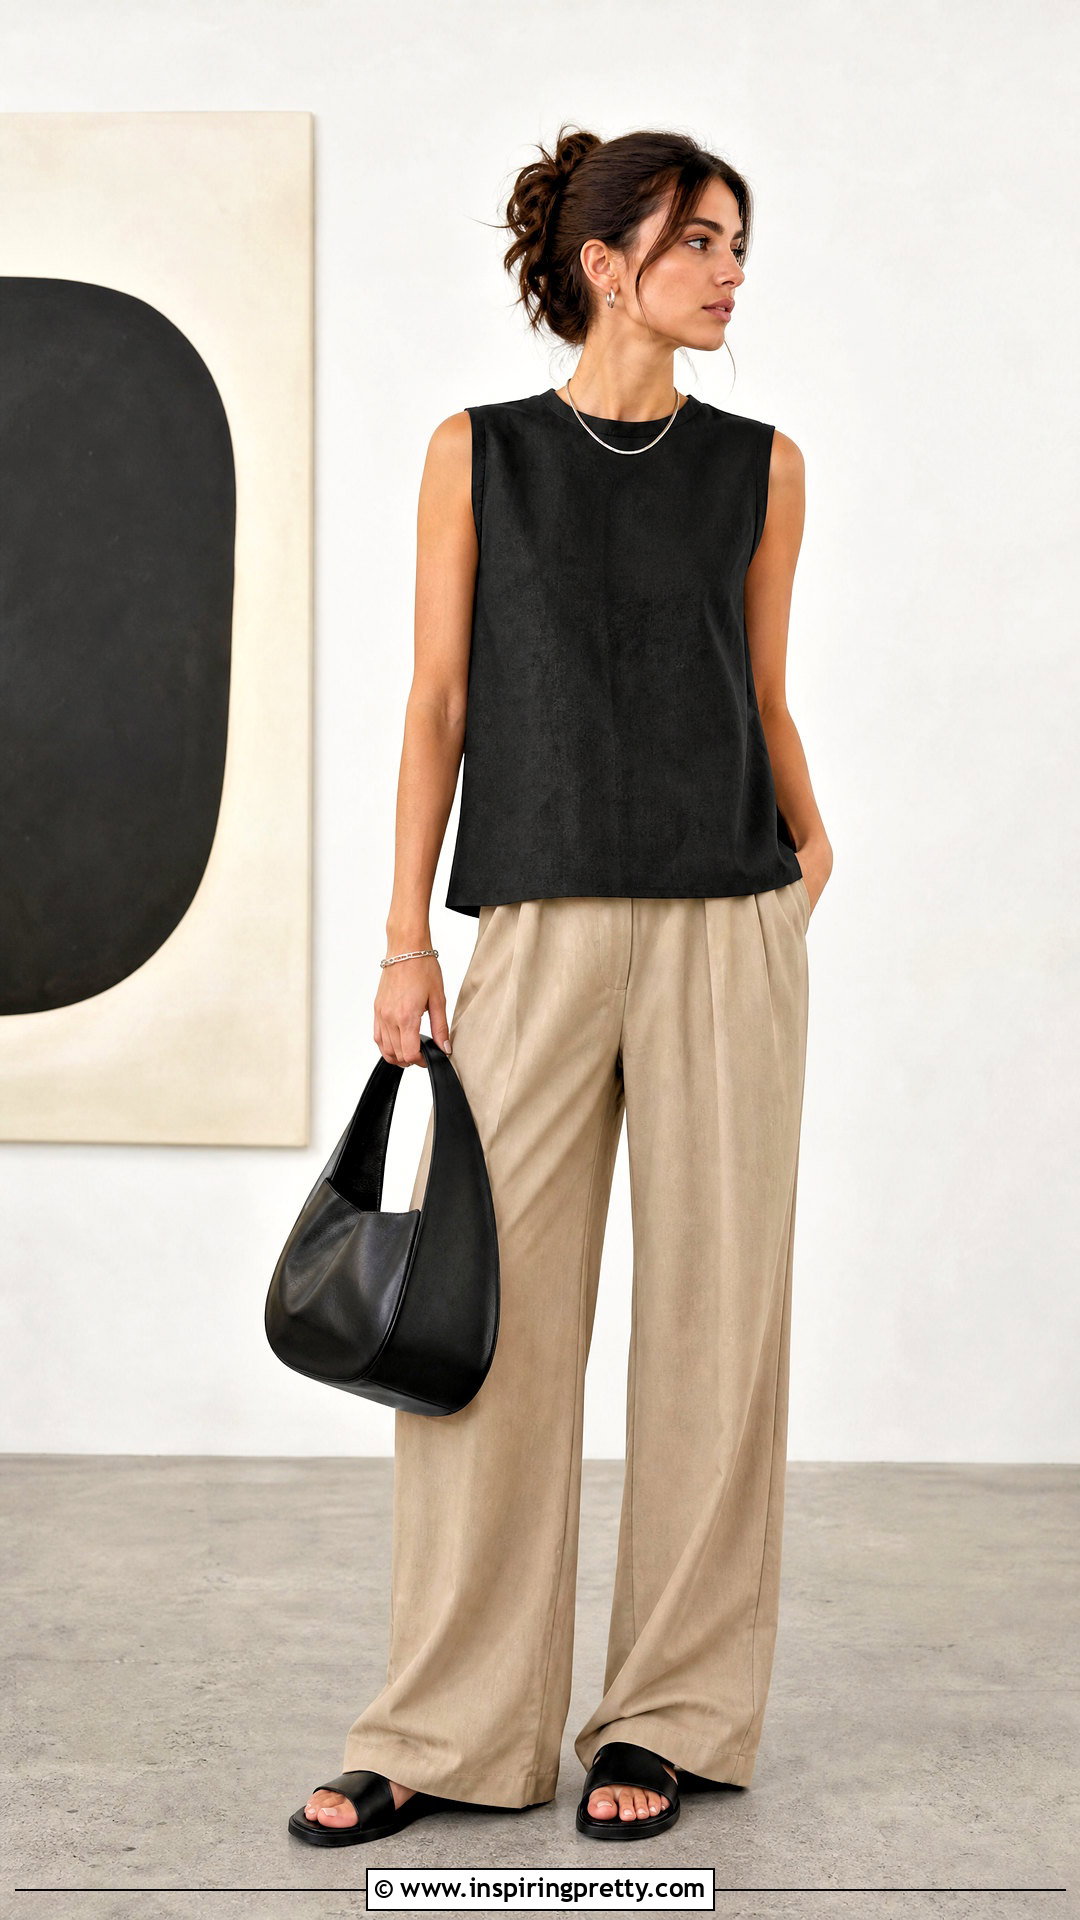
A sleeveless boxy top needs carefully shaped armholes so it looks relaxed without exposing too much at the sides. Begin with a basic boxy bodice and mark the desired shoulder width. Redraw the armhole from that point to a comfortable depth under the arm. Compare the pattern with a well-fitting sleeveless top and make a muslin before using your final fabric. If the armhole gapes, remove a small wedge from the pattern or raise the underarm point. Sew and press the shoulder and side seams before finishing the openings. Bias binding gives a lightweight, flexible edge, while an all-in-one facing can create a more tailored interior. Understitch wherever possible so the finishing remains hidden. Pair a moderate armhole with a slightly longer hem to keep the overall shape balanced.
12. Cuff Sleeve Boxy Top
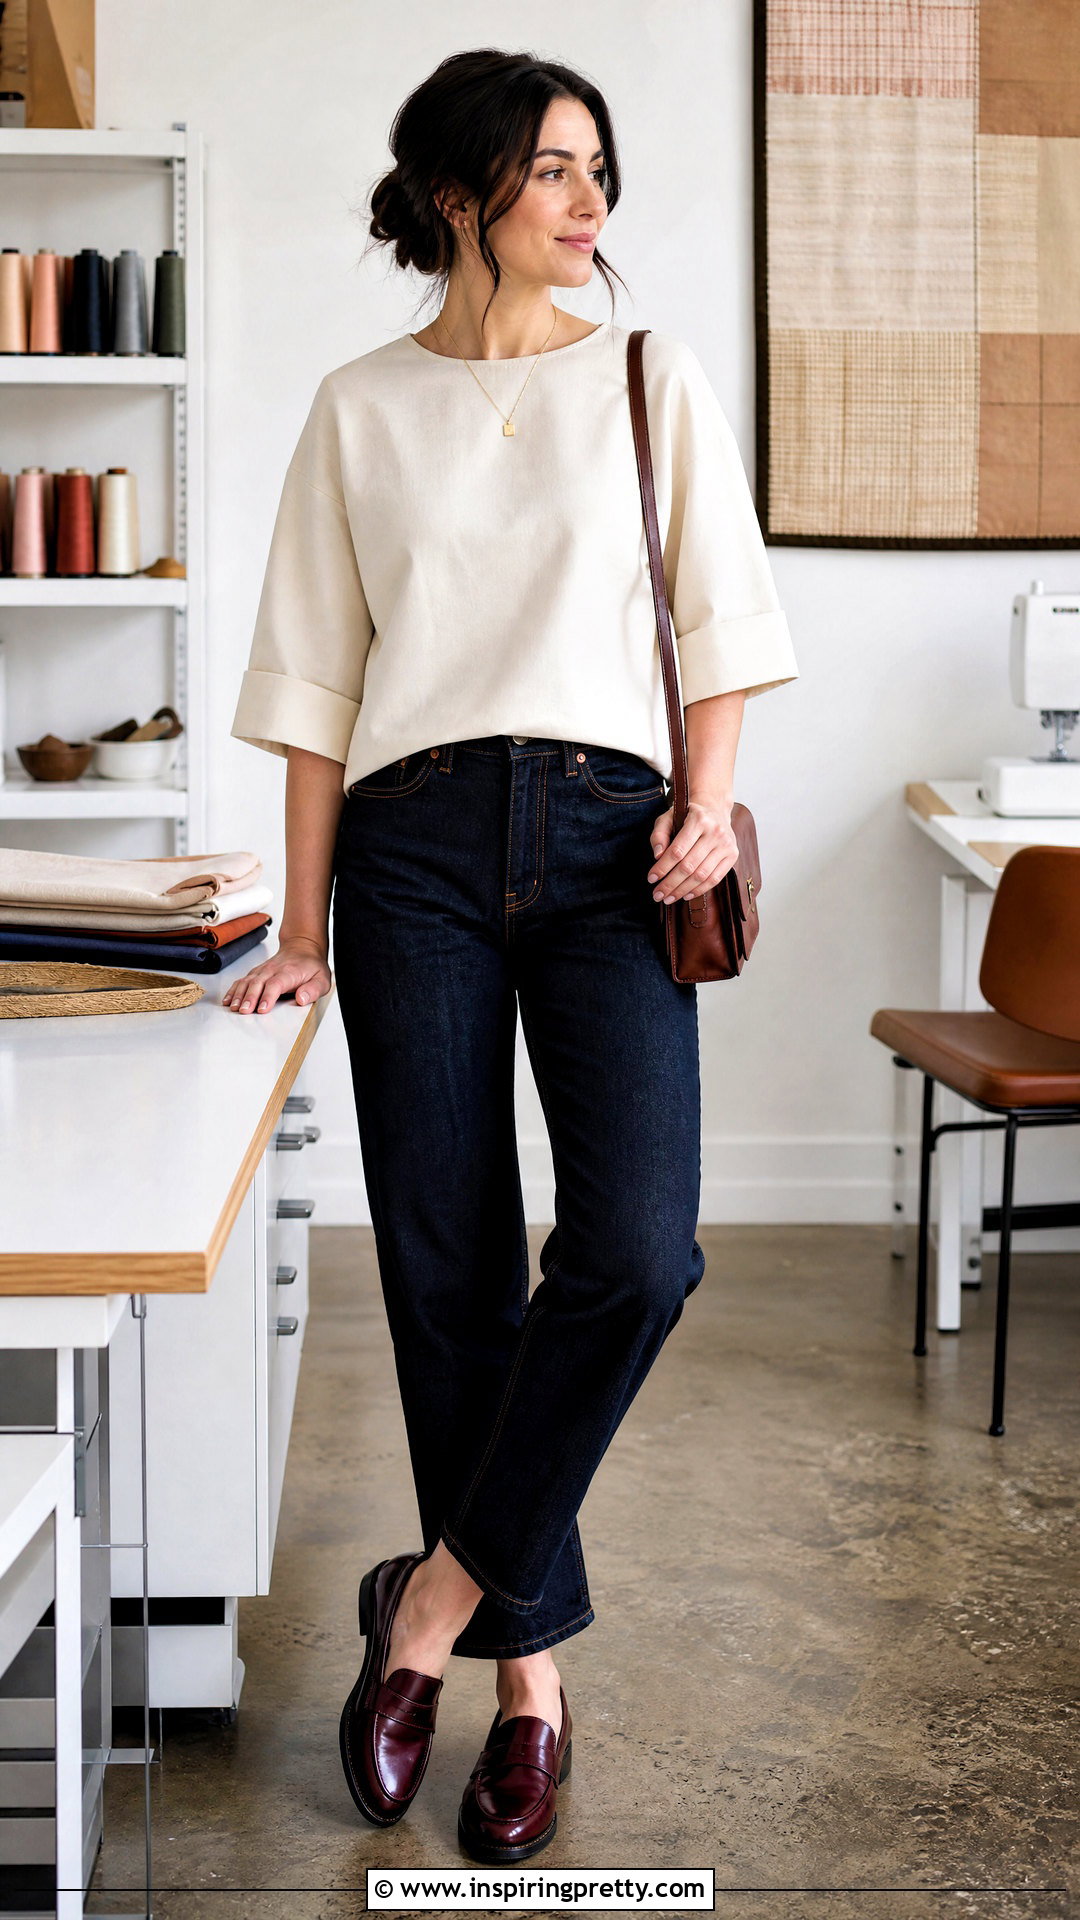
A cuff-sleeve boxy top adds definition without requiring a complicated set-in sleeve. Draft a grown-on or short drop-shoulder sleeve, then measure its finished opening. Create a rectangular cuff that matches this measurement after seam allowances are considered. Cut two cuffs on the fabric grain and interface them lightly only when the material lacks structure. Join each cuff into a loop, fold it lengthwise, and press. Attach the raw cuff edges to the sleeve opening, keeping the seam aligned with the underarm. Finish the seam allowance and press it toward the bodice. Topstitching can help the cuff sit neatly. For a wider folded appearance, make the cuff deeper and turn it outward after sewing. Linen and cotton are particularly suitable because they maintain the cuff’s clean geometric shape.
13. Ruffle Sleeve Boxy Top
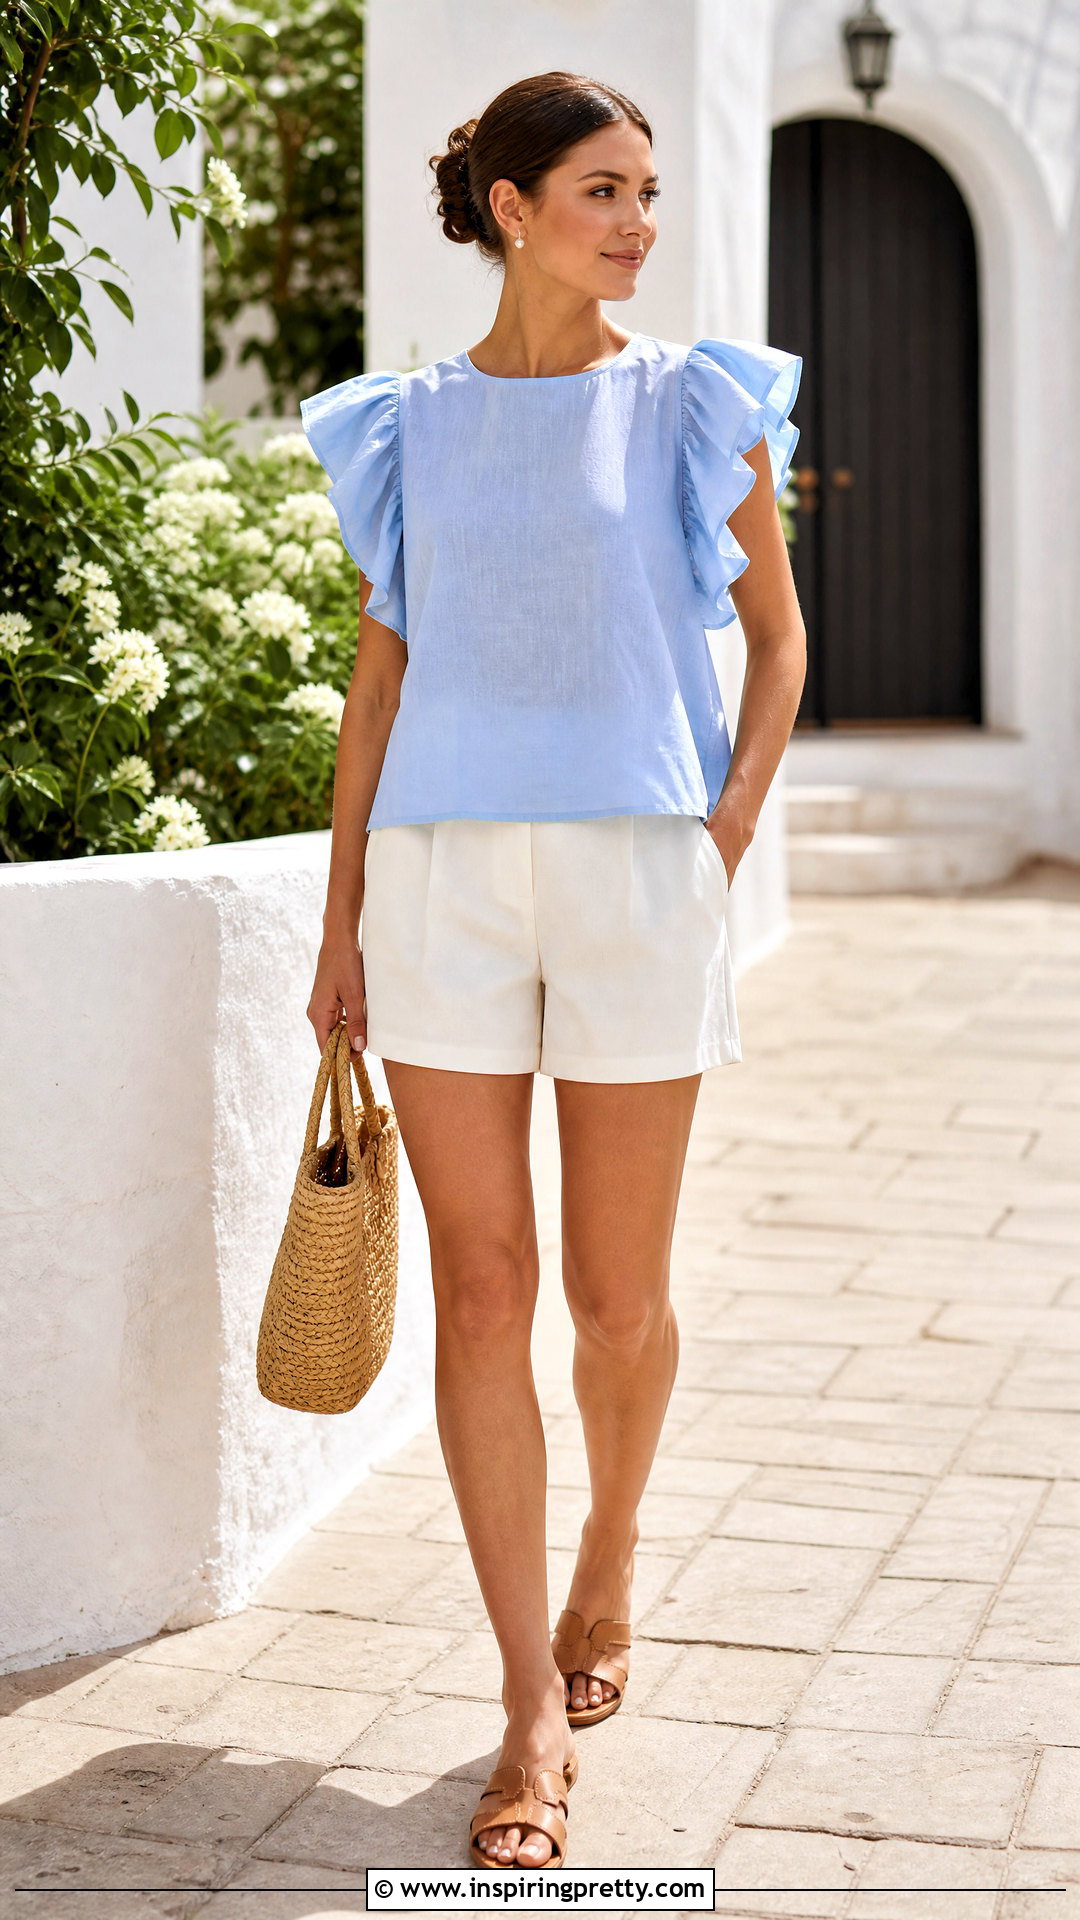
Soft ruffles can transform a basic boxy top into a more decorative garment while keeping the bodice construction simple. Start with a sleeveless, cap-sleeve, or short-sleeve base. Measure the sleeve opening and cut a ruffle strip approximately one and a half to two times that length. Join the short ends, finish the outer edge with a narrow hem, and sew two rows of long gathering stitches along the raw edge. Pull the threads evenly until the ruffle fits the opening. Divide both pieces into quarters before pinning so the fullness remains balanced. Stitch, finish the seam, and press it toward the bodice. Lightweight cotton lawn, rayon, voile, or double gauze produces softer movement. Avoid heavy fabric because it can make the ruffle project awkwardly from the arm.
14. Flute Sleeve Boxy Top
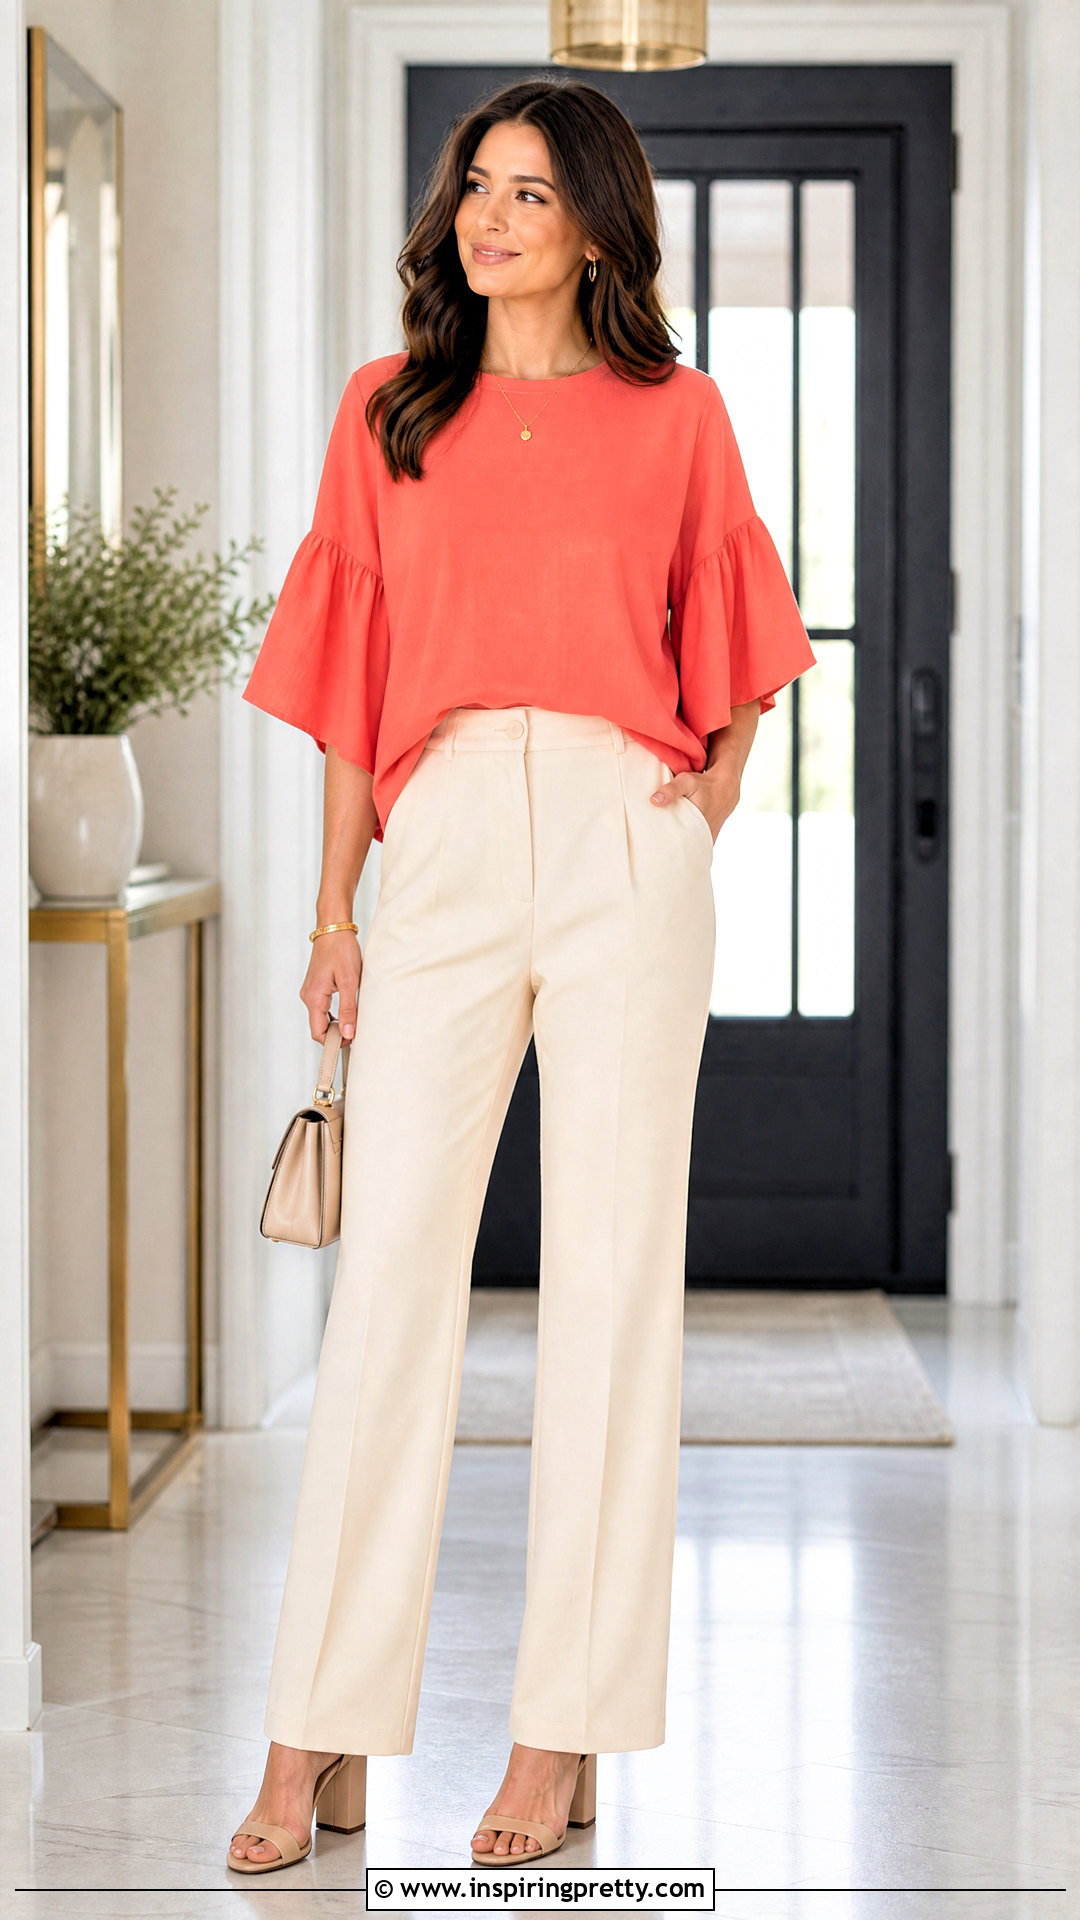
A flute-sleeve boxy top has a fitted or moderately narrow upper sleeve that widens toward the hem. Draft the sleeve first, then draw several vertical slash lines from the lower edge toward the sleeve cap. Cut along the lines without separating them completely at the top. Spread the sections evenly over paper and trace the expanded shape. More space creates a fuller flare, while a smaller spread produces a subtle bell. Keep the sleeve cap unchanged so it still fits the original armhole. Cut two mirrored sleeves and finish their lower edges before installation if the opening becomes very wide. A narrow rolled hem works well on light fabric. Attach the sleeves according to the pattern, sew the underarm and side seams, and press carefully without flattening the natural flare. ()
15. Color Block Boxy Top
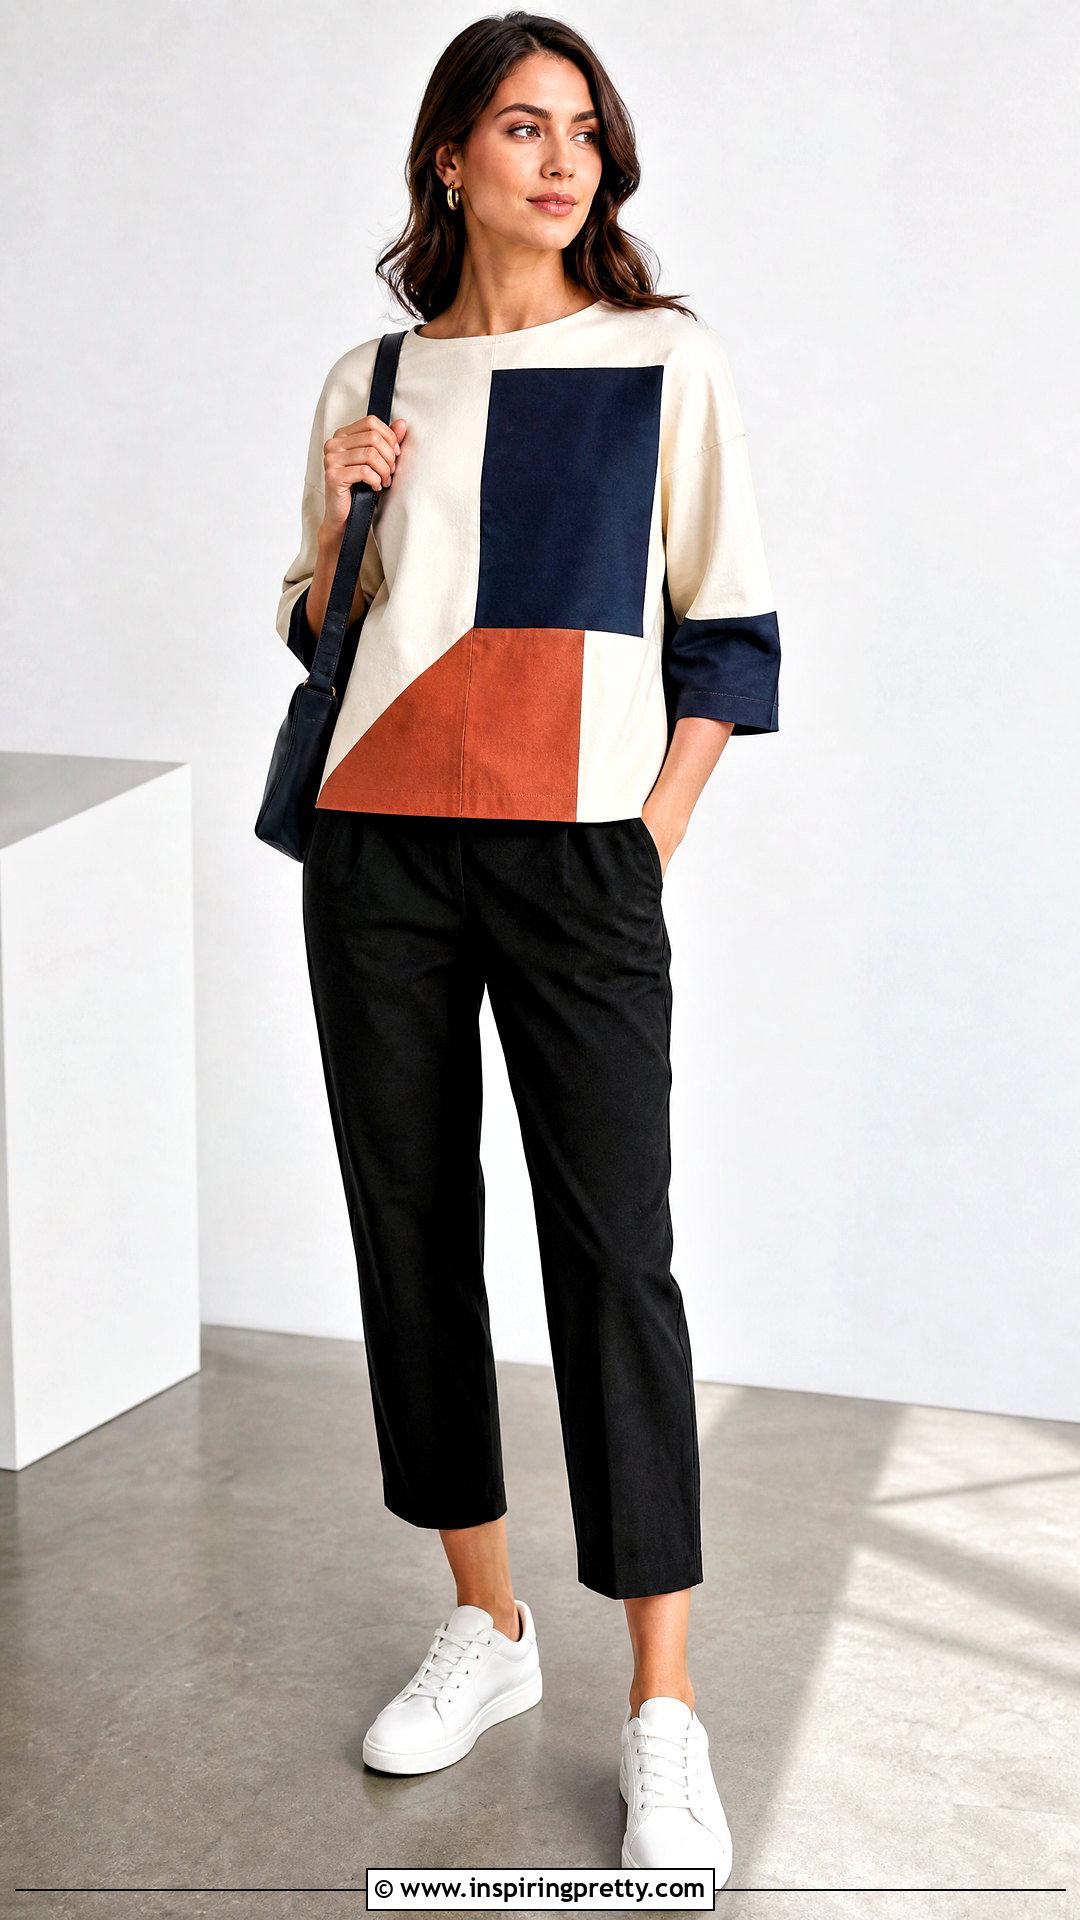
Color blocking uses a simple boxy silhouette as a canvas for contrasting fabric sections. Trace a complete front and back pattern before drawing new seam lines. Straight horizontal, vertical, or diagonal divisions are easier to sew than tight curves. Cut the traced pattern apart along these lines and add seam allowance to every new edge. Label each piece clearly, including the grainline and its position in the garment. Choose fabrics with similar weight, stretch, and care requirements so the sections behave consistently. Sew the smaller panels together first, pressing the allowances toward the darker fabric when possible. Confirm that the reconstructed pieces still match the original pattern before assembling the top. Topstitching can emphasize each division and help the internal seams remain flat. ()
16. Patchwork Boxy Top
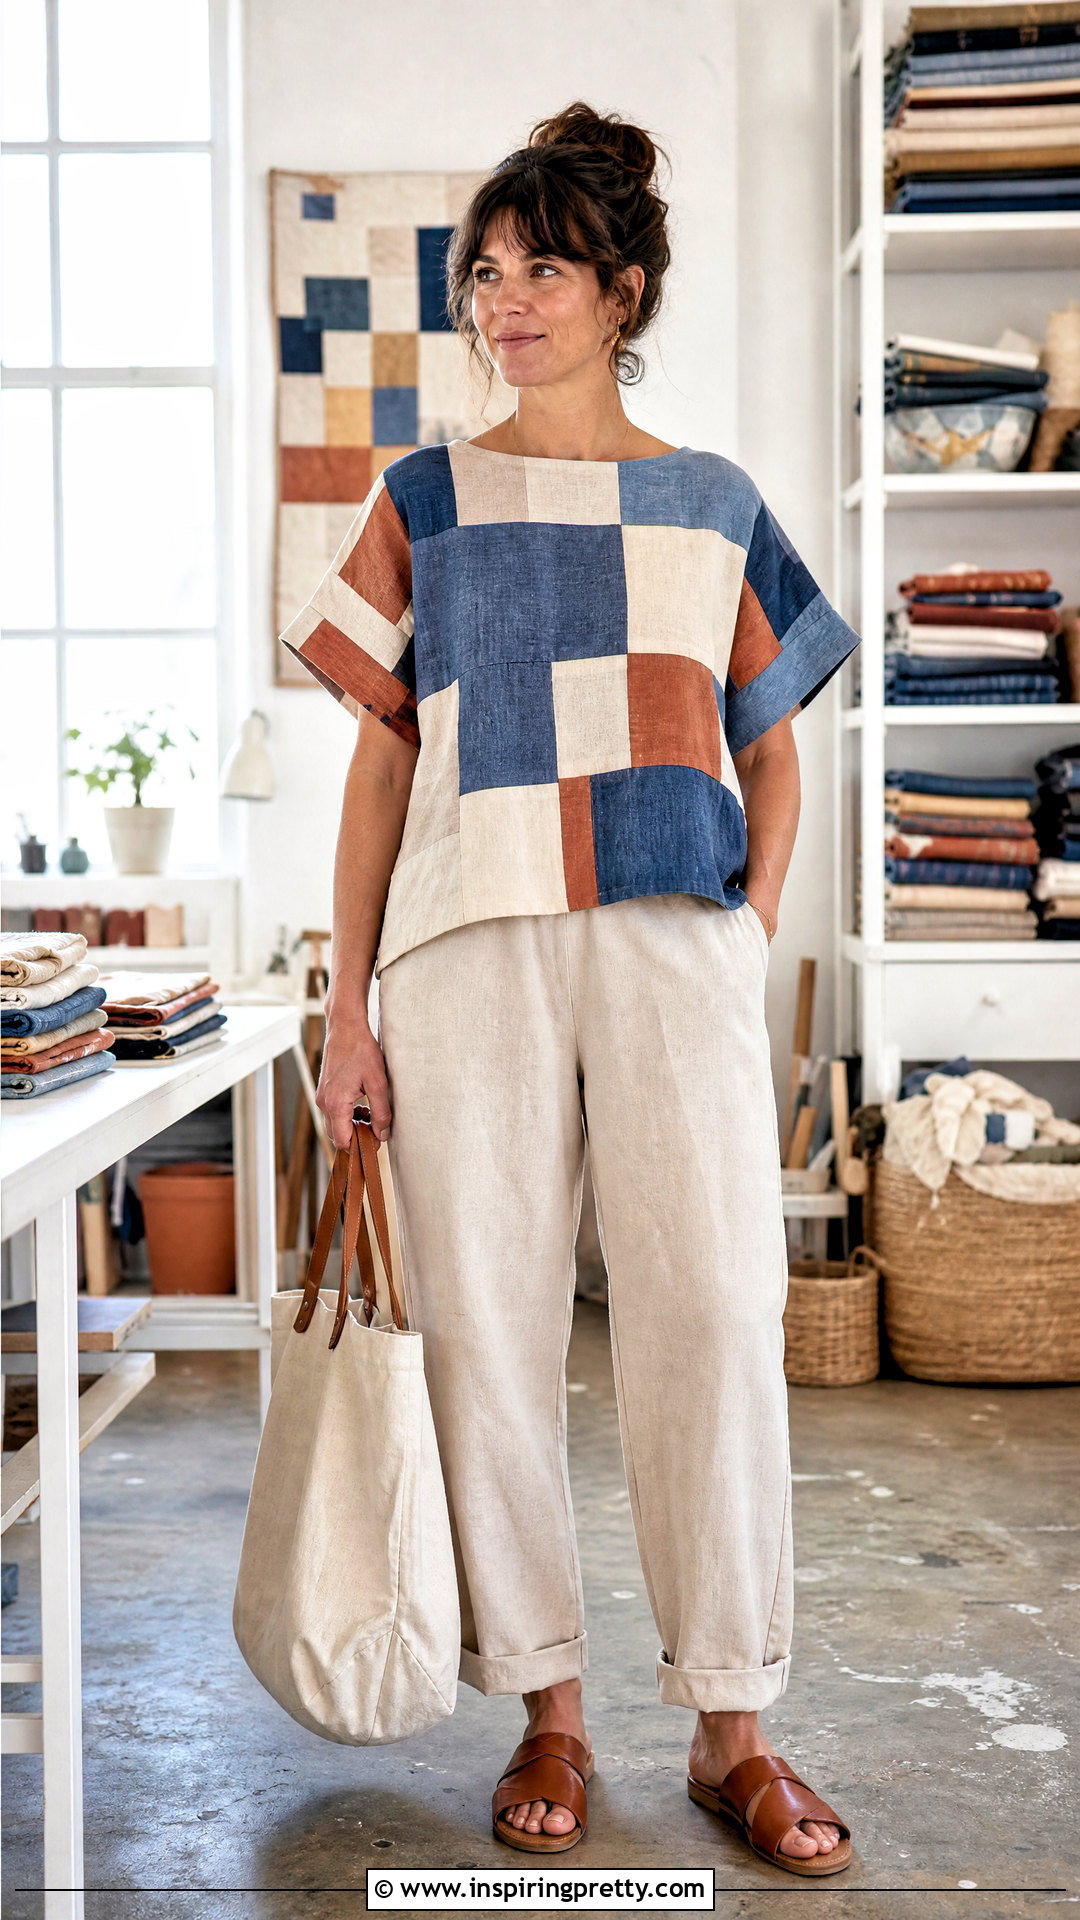
A patchwork boxy top is an effective way to use coordinated fabric remnants while creating a completely original surface design. Arrange squares or rectangles until they form panels larger than the required pattern pieces. Sew the scraps together with consistent seam allowances, pressing each seam as you work. Lightweight interfacing or a thin backing can support loosely woven sections, but avoid adding unnecessary stiffness. Once both patchwork panels are complete, place the pattern over them and consider where prominent colors and seam intersections will appear. Cut the front and back only after confirming the panel dimensions. Staystitch the neckline immediately because multiple patchwork seams may make it vulnerable to stretching. Use a plain bias binding for a clean edge, then complete the shoulders, side seams, sleeves, and hem as usual.
17. Button Back Boxy Top
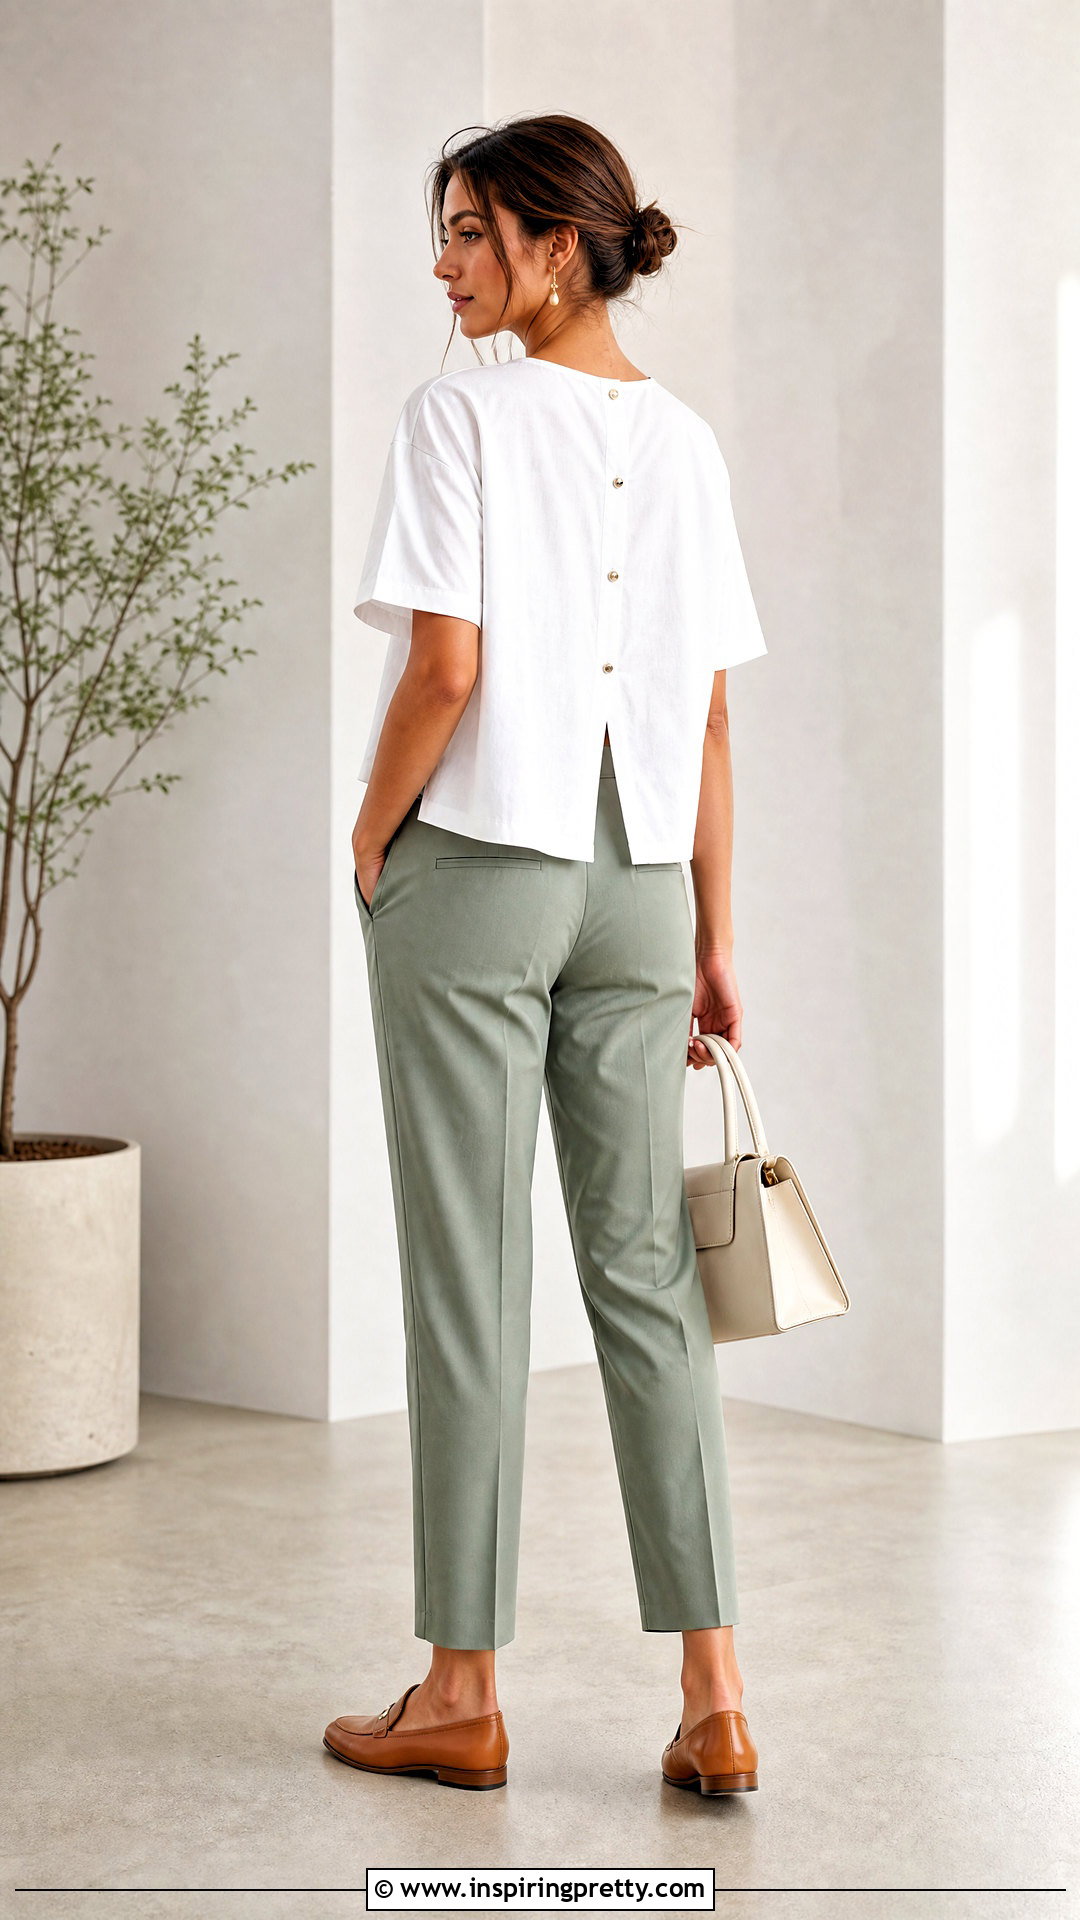
A button-back boxy top combines a relaxed shape with a practical opening and tailored detail. Add an extension to the center back pattern for the button placket, following the required finished width and turn-back allowance. Cut the back as two mirrored pieces rather than on the fold. Interface the placket area lightly so it supports buttonholes without becoming rigid. Finish the neckline with a facing that meets the plackets cleanly. Mark the button positions while the top is lying flat, placing one near the neckline and spacing the others evenly. Sew test buttonholes on fabric scraps with the same number of layers before working on the garment. The buttons may be functional along the entire back or limited to the upper section. Complete the side seams, sleeves, and hem after constructing the opening.
18. Split Hem Boxy Top
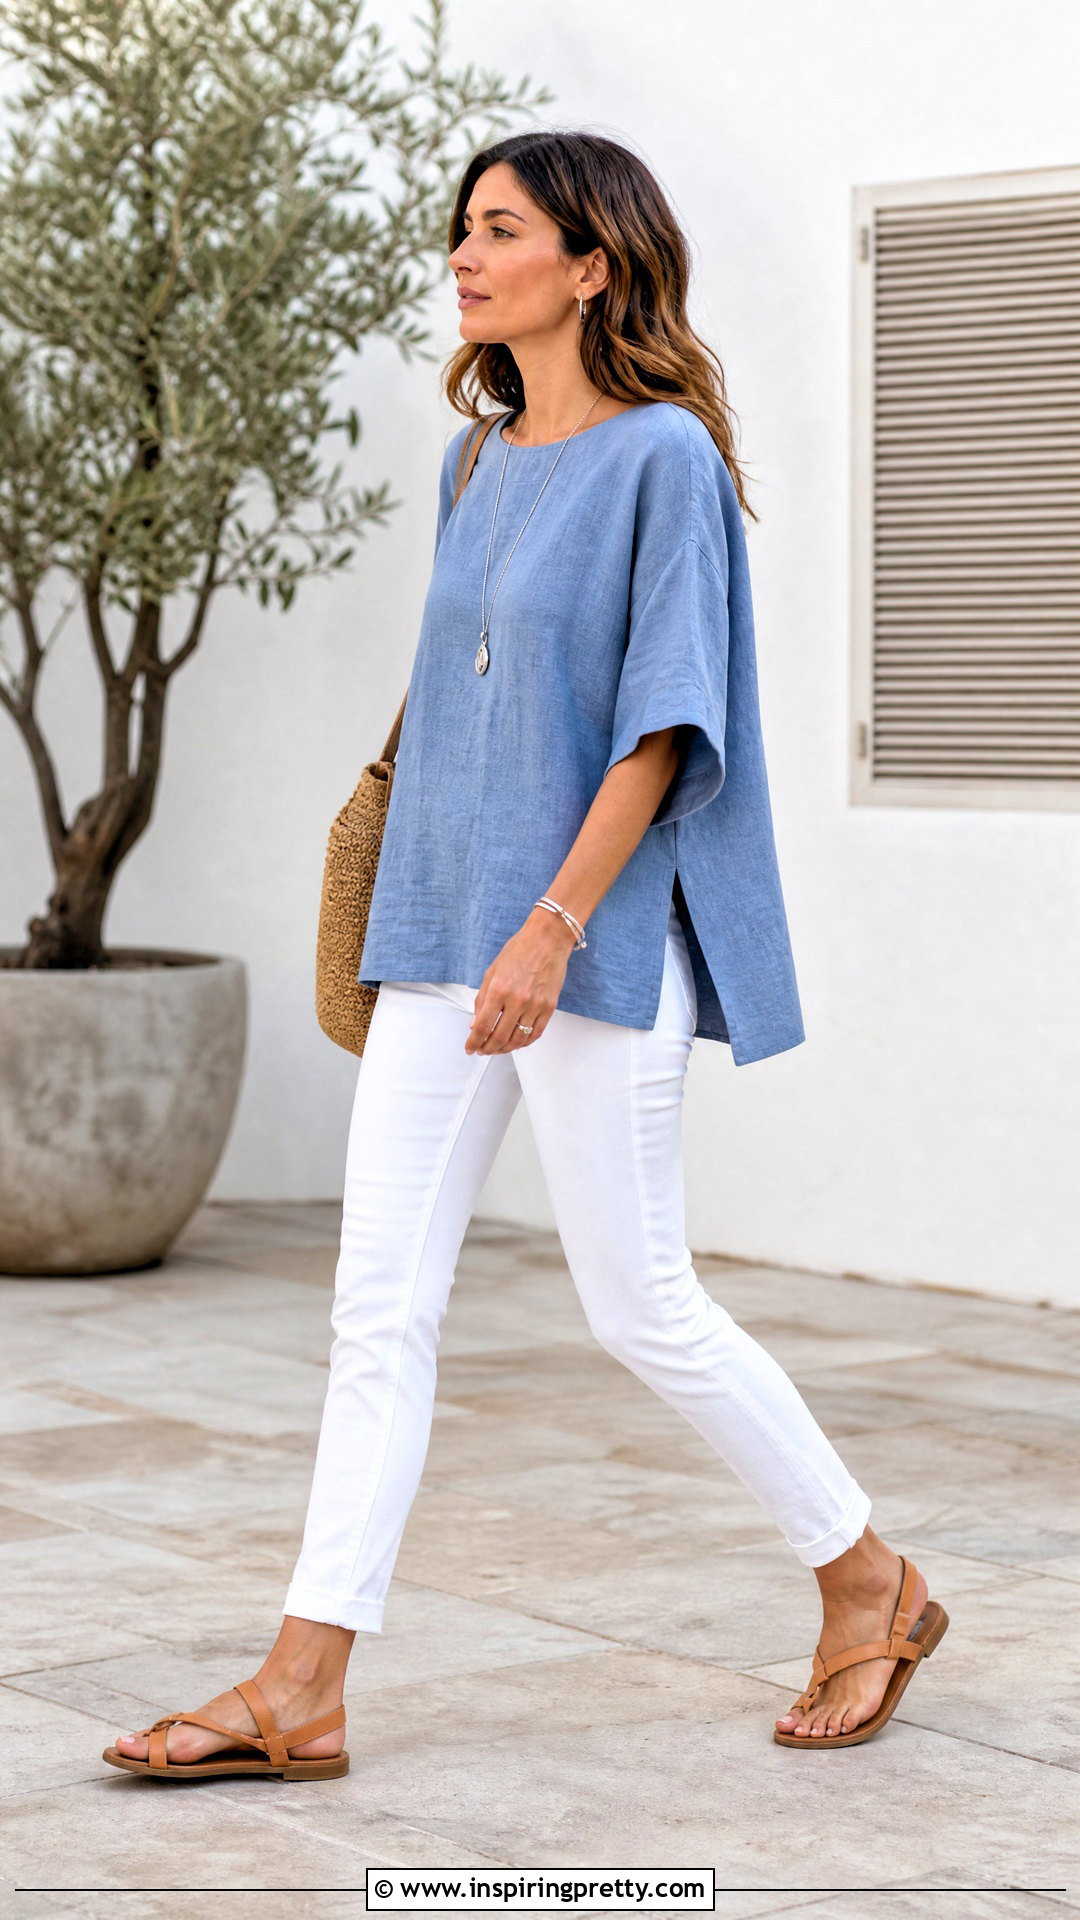
Side splits give a boxy top greater movement and help a longer hem fall smoothly over the hips. Mark the top of each vent at the same height on the front and back side seams. Reinforce these points with interfacing or stay tape if the fabric frays easily. Sew the side seams only to the vent markings and backstitch securely. Finish the front and back seam allowances separately below each opening. Press the allowances inward, forming a narrow, even border around the vents. Stitch around each split, pivoting carefully at the upper corners. Add a short horizontal bar tack above the opening when extra reinforcement is needed. Hem the front and back panels separately so their edges meet neatly. You may also lengthen the back panel slightly for additional coverage and visual balance.
19. Reversible Boxy Top
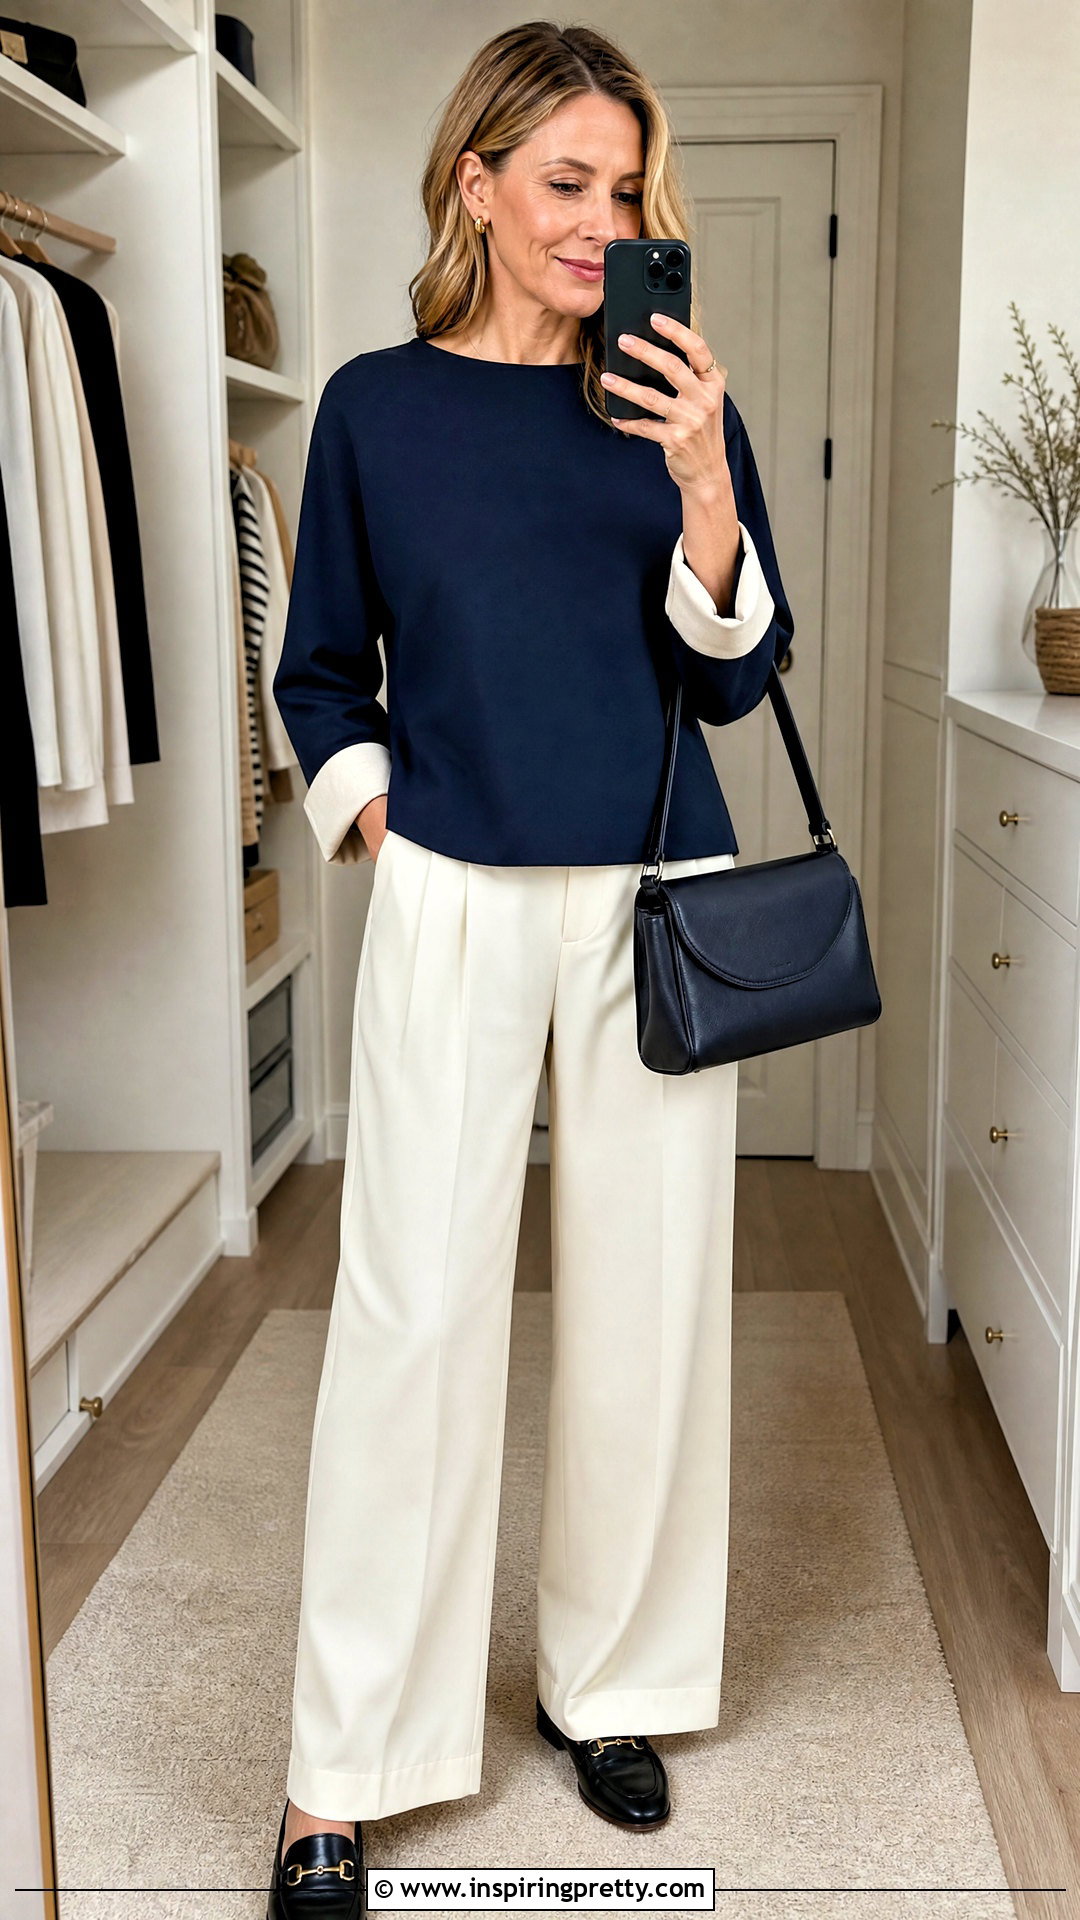
A reversible boxy top provides two wearable finishes while enclosing most raw seams. Choose two lightweight fabrics that complement each other and will not become bulky when layered. Cut a complete front and back from each fabric. Construct the shoulder seams for both versions separately and press them flat. Join the layers around the neckline with right sides together, clip the curves, turn, and understitch where accessible. Finish the armholes using the burrito method, bias binding, or careful hand sewing, depending on the pattern shape. Sew the side seams while keeping corresponding layers together. At the hem, leave a small opening, stitch the layers around the edge, and turn the garment right side out. Close the opening invisibly. Press gently so both fabrics remain smooth and correctly aligned.
20. Zero Waste Boxy Top
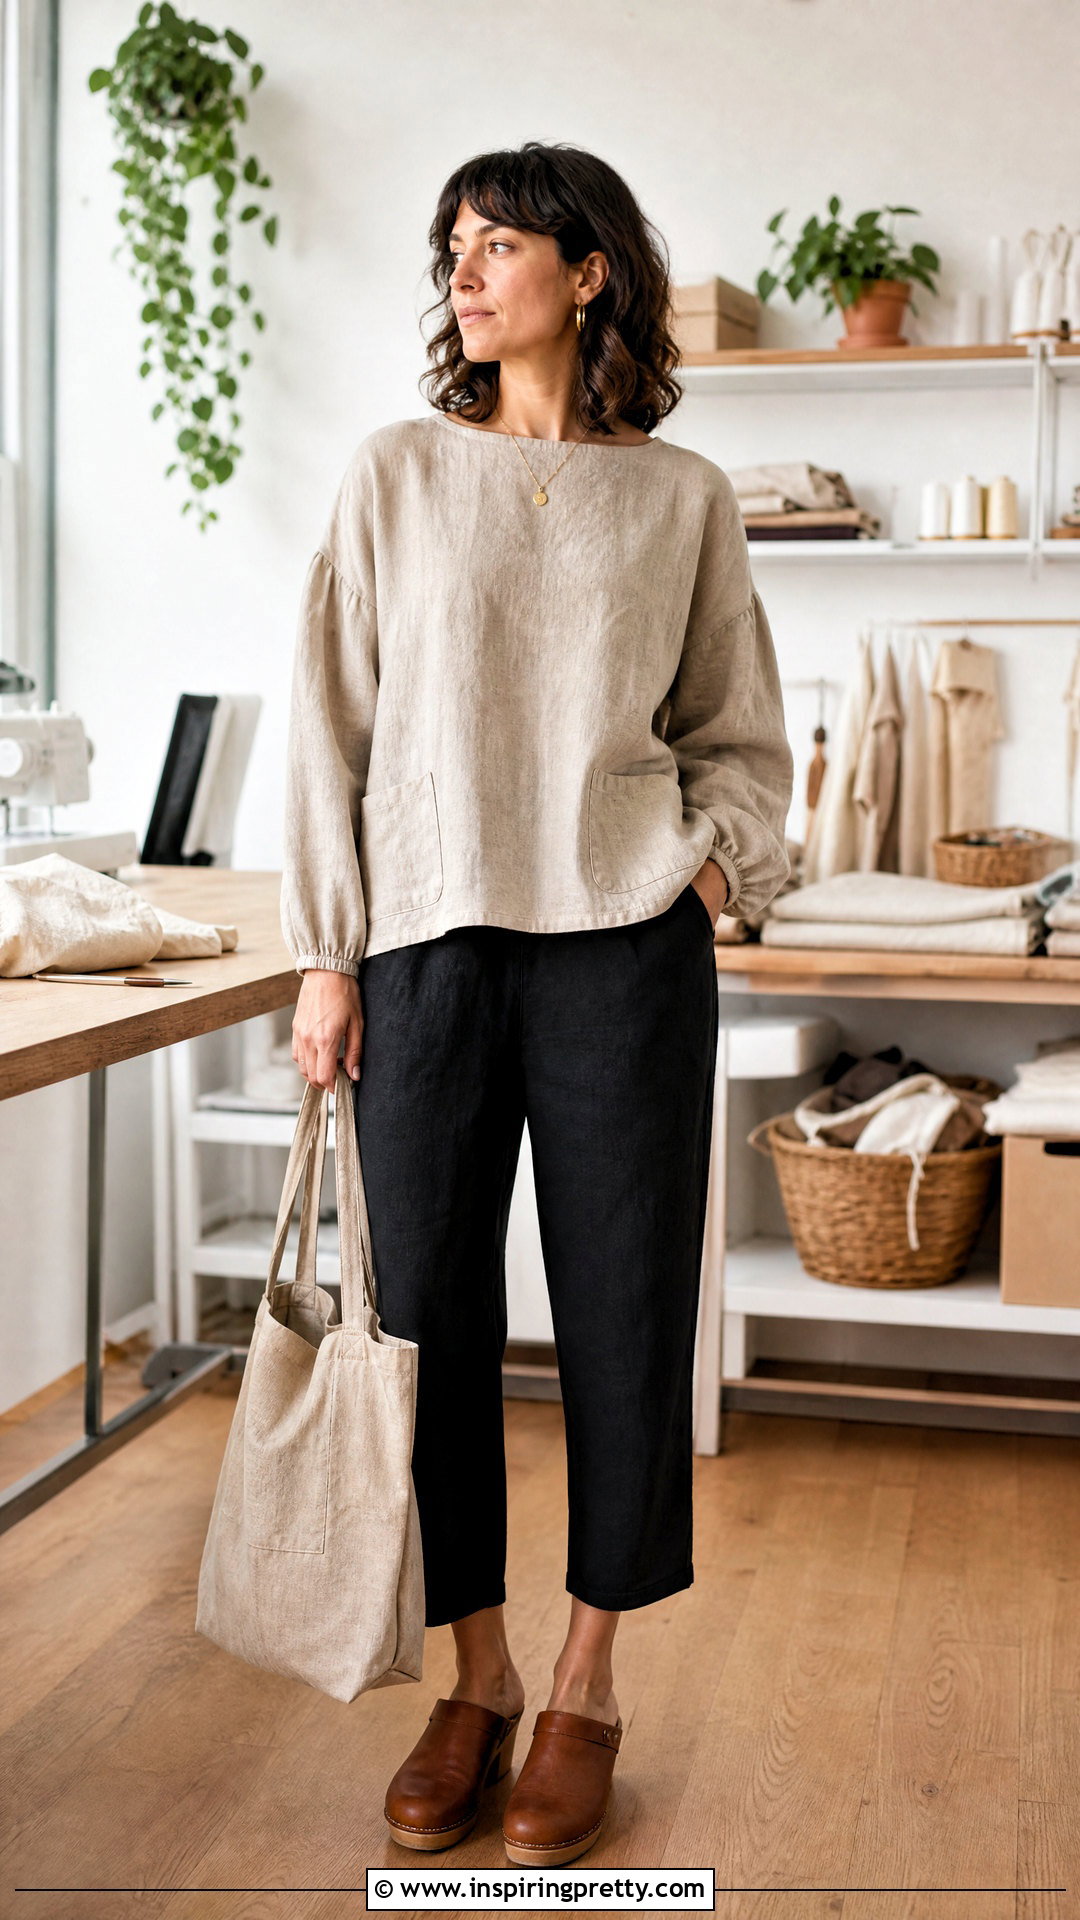
A zero-waste boxy top is planned around the full width of the fabric so few or no cutoffs remain. Begin by recording the fabric width, body circumference, desired garment length, and sleeve length. Sketch a rectangular cutting layout before making any cuts. The front and back may be formed from large rectangles, while narrower leftover sections become sleeves, cuffs, binding, pockets, or ties. A straight or slit neckline can reduce curved scraps, although comfort and head clearance must remain priorities. Mark every piece directly on the cloth with removable chalk and confirm the layout twice. Sew the neckline and shoulder areas first, followed by sleeves and side seams. Simple geometric construction is especially effective in linen or other fabric with attractive drape. Some zero-waste versions can even be sewn by hand with minimal seams. ()
Conclusion:
Knowing how to make a boxy top gives you a flexible foundation for building a handmade wardrobe. Start with the pattern-free, rectangle, or PDF method if you are new to garment sewing. Once the basic fit works, experiment with cropped hems, drop shoulders, cuffs, ruffles, color blocking, or patchwork. Fabric choice matters as much as pattern shape. Crisp cotton emphasizes the geometric silhouette, while linen, rayon, and soft knits create a gentler drape. Always prewash your material, check finished measurements, test unfamiliar stitches, and sew a sample before cutting valuable fabric. These 20 approaches can produce casual basics, polished blouses, and distinctive statement pieces from one uncomplicated silhouette.
Related posts:


Leave a Reply