
An old shirt is one of the best things to practice corset shaping on, because the fabric is already cut, finished and free. The projects below run from ribbon threaded through safety pins to fully lined, boned bodices, so pick one that matches your sewing confidence. T-shirts give soft, stretchy tops; button-downs, denim and flannel hold more structure. Wash and press the shirt before cutting, since cotton can still shrink. Be clear on one point from the start: these are fashion tops with corset styling, not waist-training garments, so they should shape you without squeezing. You'll need sharp scissors, matching thread, pins, chalk and whatever closures your project calls for.

Which Shirt Is Worth Cutting Up
The shirt you start with decides how much shaping is possible, so I check a few things before any scissors come out.
- Woven or knit: pinch the fabric and pull. Shirting, denim and flannel barely stretch and hold seams, darts and boning well. Jersey tees stretch and curl, so they suit lacing, shirring and soft shapes unless you stabilize them with knit interfacing.
- Size: go bigger than you think. Paneled and boned projects lose a surprising amount of width to seam allowances, and an oversized men's shirt gives the most usable fabric.
- Fiber: read the label. All-cotton presses crisply and takes heat; polyester blends resist creases but won't hold a sharp pressed edge and can melt under a hot iron.
- Pattern: solids are forgiving. Stripes and plaids need matching across every seam, which takes extra fabric and patience.
- Condition: look for thin patches at the elbows and collar. They don't matter if those parts get cut away, but worn fabric near the waist won't hold eyelets.
Wash and dry the shirt the way you'll launder the finished top. If it's going to shrink, it should do it before you fit it, not after.
1. No-Sew T-Shirt Corset Top

This is the one I'd hand a complete beginner, because nothing gets cut. Choose a fitted tee, put it on, and chalk two straight vertical lines where the lacing should sit; take it off before you attach anything. Fix small, sturdy safety pins in evenly spaced pairs along both lines, each pin horizontal so the loops face each other. Thread soft ribbon through in a crisscross from the bottom up and tighten just enough to gather the fabric. It's decorative only. Pull hard and the pins tear little holes in the knit. Wear it with relaxed jeans and sneakers.
2. Oversized Shirt Corset Top With Ribbon Loops

Sewn ribbon loops are the first step up from pins, and they spread the pull across more fabric so nothing tears. Turn a loose shirt inside out and mark two parallel lines down the center back, several inches apart. Fold short lengths of narrow ribbon into loops and pin the raw ends on the lines, loops pointing inward. Stitch each one with a small box and a few reverse stitches; this is where the tension lands. Turn it right side out, lace a longer ribbon through and tighten gradually. If fabric still bunches at the waist, add two small back darts. Straight-leg pants and low heels suit it.
3. T-Shirt Corset Top With Side Lacing

Side lacing is the trick for a band tee or a neckline you love, since the front stays untouched. Try the shirt on and mark the desired finished width at both side seams. Open the seams and trim exactly the same amount from each side; I measure from the center fold, because uneven trimming twists the shirt and drags the neckline sideways. Finish the edges with narrow hems or reinforcing strips, then add eyelets or loops at matching intervals. Lace from underarm to hem with room to breathe and sit. A midi skirt and ankle boots suit it.
4. T-Shirt Corset Top With Back Eyelets

Eyelets in a T-shirt back look like a real corset detail, but knit is the weakest base for them. Choose a slightly loose shirt and cut a straight opening down the center back, stopping above the hem if you want to keep the original band. Before any hole goes in, back both edges with fusible interfacing and a folded strip of woven fabric; eyelets set into a single layer of jersey stretch out and pull through within a few wears. Mark positions with a ruler, set each eyelet, and thread flat ribbon through. A modesty panel behind the lacing gives full coverage. Tailored trousers and platform sneakers work well.
5. Button-Down Shirt Front Lace Corset Top

A button-down already has a front opening, so it converts neatly into a lace-up front. Remove the buttons with a seam ripper rather than scissors to avoid nicking the fabric. Fold and press both plackets to equal widths, back them with lightweight interfacing, and set evenly spaced eyelets well clear of the edges. Shorten the shirt to corset length and finish the hem with bias tape. Lace from the bottom, adjusting tension so the plackets stay straight; if they ripple, the lacing is too tight. Wear it over a fitted tank for coverage, with high-waisted jeans.
6. Button-Down Shirt Sweetheart Corset Top

A sweetheart neckline takes a button-down from office to evening. Button the shirt, lay it flat, and draw a symmetrical curve above the bust; I fold the shirt in half at the center front and cut both sides together so they match. Add seam allowance, then cut front and back separately. Remove the collar and sleeves and staystitch the new curve straight away, because a curved edge stretches the moment you handle it. Finish with bias binding or a facing. Darts aimed toward the bust point, stopping short of it, give a closer fit. Snaps behind the buttons stop gaping. Wide-leg pants and pointed flats suit it.
7. Men’s Shirt Paneled Corset Top

An oversized men's shirt holds enough fabric for a complete rebuild. Unpick the sleeves, collar, pockets and plackets so you have flat sections to work with. Lay a fitted bodice pattern over the largest pieces, matching grainlines and lining up stripes across the panels, which matters more than people expect, since a stripe that jumps at a seam is the first thing the eye catches. Cut mirrored front, side and back panels. Sew the panels together, press the curves over a tailor's ham or rolled towel, and test the fit before lining it. Close with a zipper or back lacing. A full midi skirt suits it.
8. Band Shirt Graphic Corset Top

A favorite band shirt can live on as the front panel of a corset top. Center a paper pattern piece over the print and make sure no important detail falls inside the seam allowance. Fuse lightweight knit interfacing to the back of the tee before cutting, so the stretchy fabric behaves like a woven one. Cut side and back panels from plain cotton, denim or twill; they carry the tension, so the printed knit isn't stretched. Sew the graphic panel into the bodice, add a lining, straps and back lacing. Black cargos and chunky sneakers suit the band-tee mood.
9. Polo Shirt Princess Seam Corset Top

A polo converts into a sporty corset top with the collar and placket left as they are. Start one or two sizes up from your usual fit, because the princess seams eat fabric. Chalk curved seam lines from each armhole down to the waist, keeping both sides symmetrical, then cut, remove narrow wedges and sew the panels back together. Pique knit frays very little but curls, so press each seam toward the side and topstitch it flat. Hem at the natural waist and shorten or remove the sleeves. Light boning only works if the knit is stabilized and lined first. A pleated skirt and white sneakers suit it.

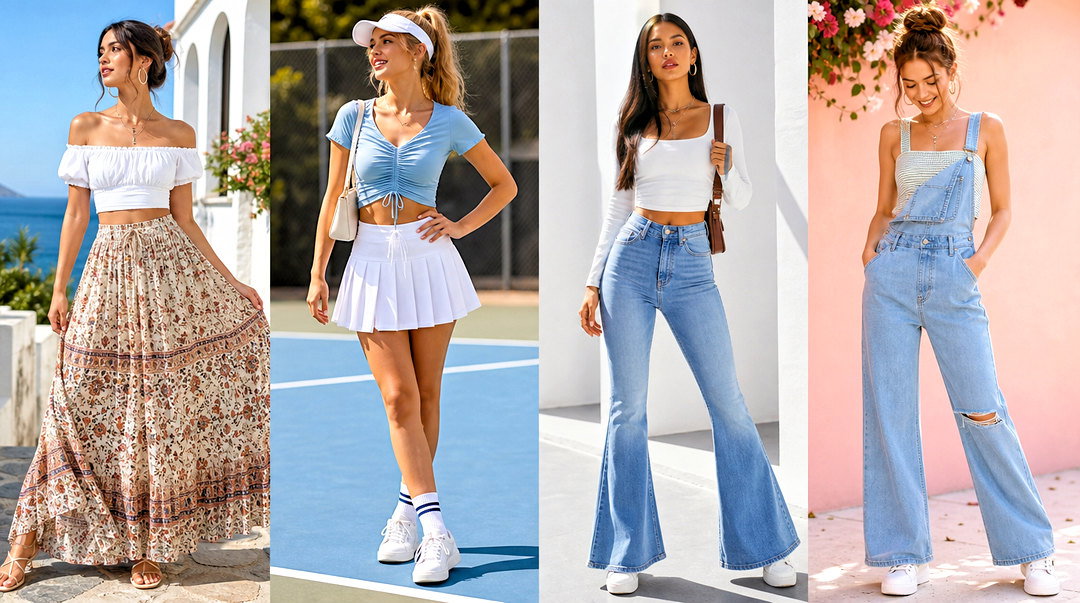
10. Flannel Shirt Underbust Corset Top

An underbust corset from a flannel shirt is a great layering piece over tees and fitted knits. Remove the sleeves and upper chest, keeping fabric from just below the bust to the waist. Curve the top edge up slightly at the sides and down at the center front. Plaid is the part I take slowest: when you add darts or vertical seams, match the checks at each seam line, which may mean cutting more carefully and wasting some fabric. Line it with firm cotton and add flexible boning beside the main seams. Keep the front buttons as decoration and close it at the back with hooks or lacing. Layer it over a white tee with dark jeans.
11. Denim Shirt Boned Corset Top

Denim is the strongest shirt fabric for a properly structured top. Light to medium-weight denim works; heavy denim builds bulky seams where several layers meet. Remove the collar and sleeves and divide the shirt into front, side-front, side-back and back panels using a fitted bodice pattern. Keep pockets or topstitching only where they land neatly within a panel. Sew, clip the curves and add a cotton lining. Stitch channels along the vertical seams and insert plastic or spiral-steel boning; a denim needle and slightly longer stitch help through the thick seams. Bind the edges and add a separating zipper. A flowing maxi skirt balances the structure.
12. Dress Shirt Corset Top With Darts

Darts are the gentlest way to shape a dress shirt and leave the rest intact. Put it on inside out and pin out the excess at front and back, then take it off before adjusting. Draw smooth darts that taper to nothing at both ends; a dart that stops abruptly leaves a little bubble at the point. Baste first and try it on. The buttons should still run in a straight line and the fabric should lie flat over the bust. Stitch, press the darts toward the center and shorten the hem. Taking off the sleeves pushes it further toward a corset look. Cropped trousers and ballet flats suit it.
13. Shirt Corset Top With Shirred Back

A shirred back builds in stretch, which means you can pull the top on without any closure at all. Use the front of a button-down or printed shirt as the fitted front bodice. Cut a separate rectangle for the back, roughly one and a half to two times your finished back width. Hand-wind elastic thread onto the bobbin, use regular thread on top and a long stitch, and sew parallel rows across the panel. It will gather only a little as you sew; a shot of steam shrinks it up properly. Attach it at the side seams and finish with straps. A tiered skirt and flat sandals suit it.
14. Shirt Corset Top With Front Zipper

A front zipper is easier to manage alone than back lacing, which makes it my pick for a top you'll wear often. Remove the buttons and separate the plackets. Adjust the side seams or add darts until the bodice already fits smoothly; the zipper should close it, not pull it in. Back the center-front edges with interfacing, then baste the separating zipper in place and check the neckline, waist and any print line up before sewing it properly. A fabric guard behind the zipper keeps the teeth off your skin. Bind the armholes and topstitch around the opening. Utility pants and sneakers suit it.


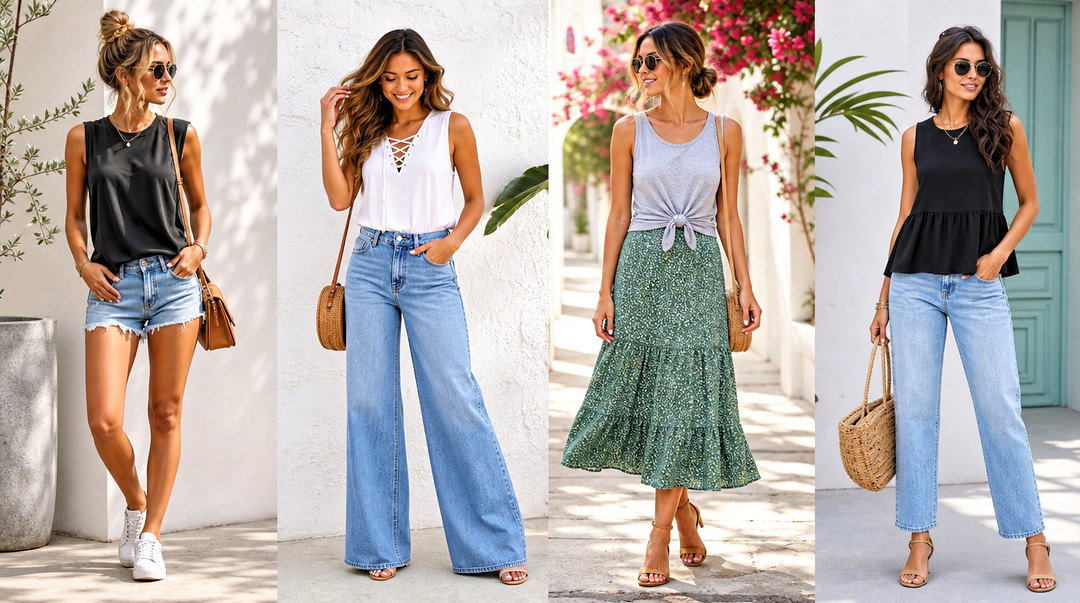
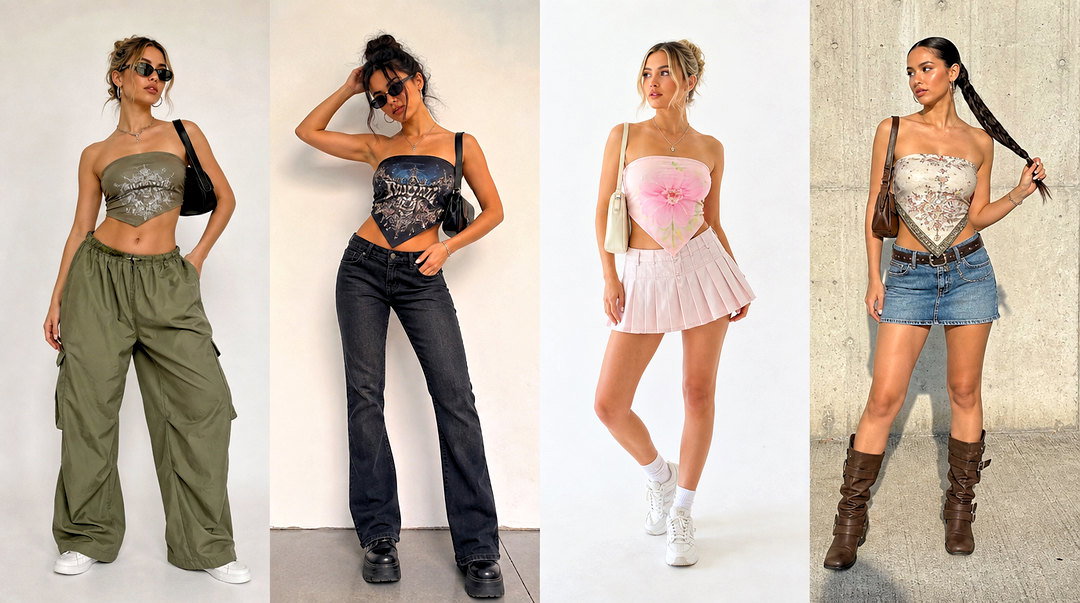

15. Shirt Corset Top With Hook And Eye Closure

Hooks and eyes give a quiet front closure with no visible ribbon or zipper. Turn a fitted woven shirt into a sleeveless, waist-length bodice, remove the plackets, and back both center-front edges with interfacing and folded facings. Hook-and-eye tape is much quicker than single hooks and lines up automatically; if you use individual ones, mark every position before sewing, because one misplaced hook makes the whole front pucker. A modesty panel behind the closure keeps it covered. Shape with darts or lightly boned channels. An A-line skirt and Mary Janes suit the neat finish.
16. Shirt Corset Top With Tie Straps

Tie straps rescue a shirt whose sleeves or shoulders are stained or worn. Remove the sleeves and cut a straight, square or shallow sweetheart neckline. Cut four long strips from the sleeve fabric, fold each lengthwise, sew the edge, turn it through with a safety pin and press it flat. Insert two at the front neckline and two at the back before attaching the lining. The ties let you adjust strap length, which helps if the shoulder points sit at a different width than the original shirt. Shape the bodice with back darts and a side zipper or lacing. Linen pants and espadrilles make it a summer outfit.
17. Shirt Halter Corset Top

A halter needs the back to sit firmly on its own, or the neck straps end up carrying the whole bodice. Start with a large button-down, tee or light denim shirt, remove the sleeves and upper back, and shape the front into two angled sections that rise toward the neck. Stabilize stretchy fabric before cutting so the edges don't curl. Join the ends behind the neck with ties or an adjustable strap. Fit the lower bodice with darts or panels, and add a side zipper if the fabric doesn't stretch. Relaxed palazzo pants and flat sandals let the neckline stay the focus.
18. Off-Shoulder Shirt Corset Top

For an off-shoulder version, cut away the collar and upper shoulder in one smooth curve, leaving enough fabric to fold over into a casing. Stitch the casing and thread elastic that rests comfortably around the upper chest and arms. Measure that elastic while wearing it, sitting down and lifting your arms, because too-tight neckline elastic leaves red marks and creeps up. Do the waist shaping with darts or side lacing so the neckline isn't doing all the work. Gather the sleeves short or leave them slightly puffed. Line the midsection if the shirt is thin. High-rise straight jeans and heeled sandals finish it.
19. Shirt Peplum Corset Top

Keep the bottom of an oversized shirt to make a peplum below the fitted bodice. Build the upper top from the chest area with darts, princess seams or side panels. Cut a wide strip from the hem section, keeping the original finished edge so you don't need to hem it again. Gather or pleat the raw top edge until it matches the bodice waist; I prefer pleats in shirting because they look crisper, while gathers read softer. Sew it on, press the seam upward and cover it inside with binding. Close with back lacing, a side zipper or the original placket. Slim ankle pants balance the flare.
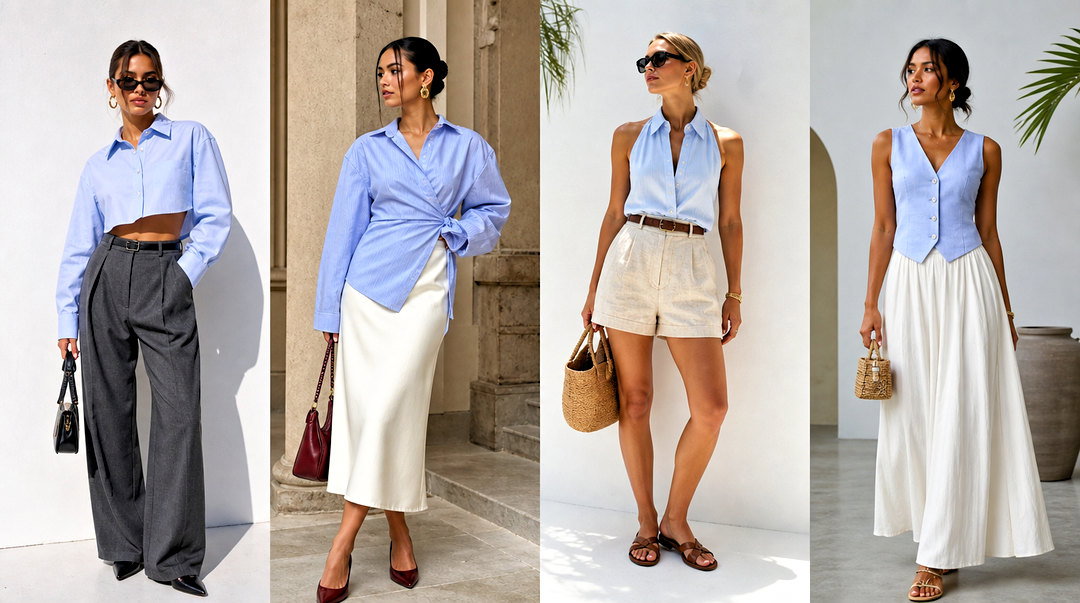
20. Fully Lined Shirt Corset Top

The most finished result comes from a complete rebuild: fitted pattern, stable lining and optional boning. Choose a woven shirt large enough for every mirrored pattern piece, and plan the layout so stripes, checks or graphics sit where you want them. Cut lining pieces from cotton twill or another stable fabric. Sew the outer shell and the lining separately and fit the shell first, correcting any pulling before the two are joined, since it's much harder to adjust afterward. Add boning channels along selected seams without aiming for heavy waist reduction. Install a zipper or properly backed eyelets and bind the edges. Wide-leg trousers and a blazer show off the work.
Plastic, Spiral Steel or Flat Steel Boning
Several of these projects mention boning, and the type you pick changes how the top feels to wear.
Polyester boning
The woven polyester kind can be stitched straight through onto a seam allowance, with no channel needed. It's light and cheap, and the right choice for soft shaping in shirt cotton. The drawback is that it takes a permanent bend from body heat and sitting, so it won't stay crisp forever.
Spiral steel
This flexes in every direction, so it follows curved princess and side seams comfortably. It needs a proper channel and metal end caps, and it's cut with heavy wire cutters. I use it on denim and fully lined projects.
Flat steel
Flat steel bends only one way. It belongs at a straight center front or beside lacing and eyelets, where it stops the edges from rippling under tension.
Whatever you use, cut each bone a little shorter than its channel so it can't push through the stitching at the top or bottom edge. Rounded or capped ends also stop it from poking you when you sit.
Your First Shirt Corset Is a Practice Run
Start with ribbon loops, darts, shirring or tie straps if you're new to this, and move to shaped panels, lining, eyelets and boning as your confidence grows. Whatever method you use, reinforce anything that takes tension and try the top on before you trim any seam allowance. The finished piece should feel secure while you sit, breathe and reach. Keep it a fashion top, not a waist trainer. Careful measuring, patient fitting and clean finishing are what make an old shirt look like a corset top rather than a craft project.
Related posts:





Leave a Reply