
Making your own strapless top is a practical way to refresh old clothing, use leftover fabric, and create a fit that suits your body. If you are learning how to make strapless top designs, start by measuring around your upper bust and deciding where the finished hem should sit. Stretch knits are beginner-friendly, while woven fabrics usually need elastic, shirring, darts, boning, or a fitted closure. Keep scissors, matching thread, pins, measuring tape, and a sewing machine nearby. Always test the fit before finishing the seams, then raise your arms, sit, and walk to check security. From quick scarf transformations to structured corset-inspired pieces, the following projects explain how to make strapless top in 20 wearable ways.
1. Elastic Tube Strapless Top
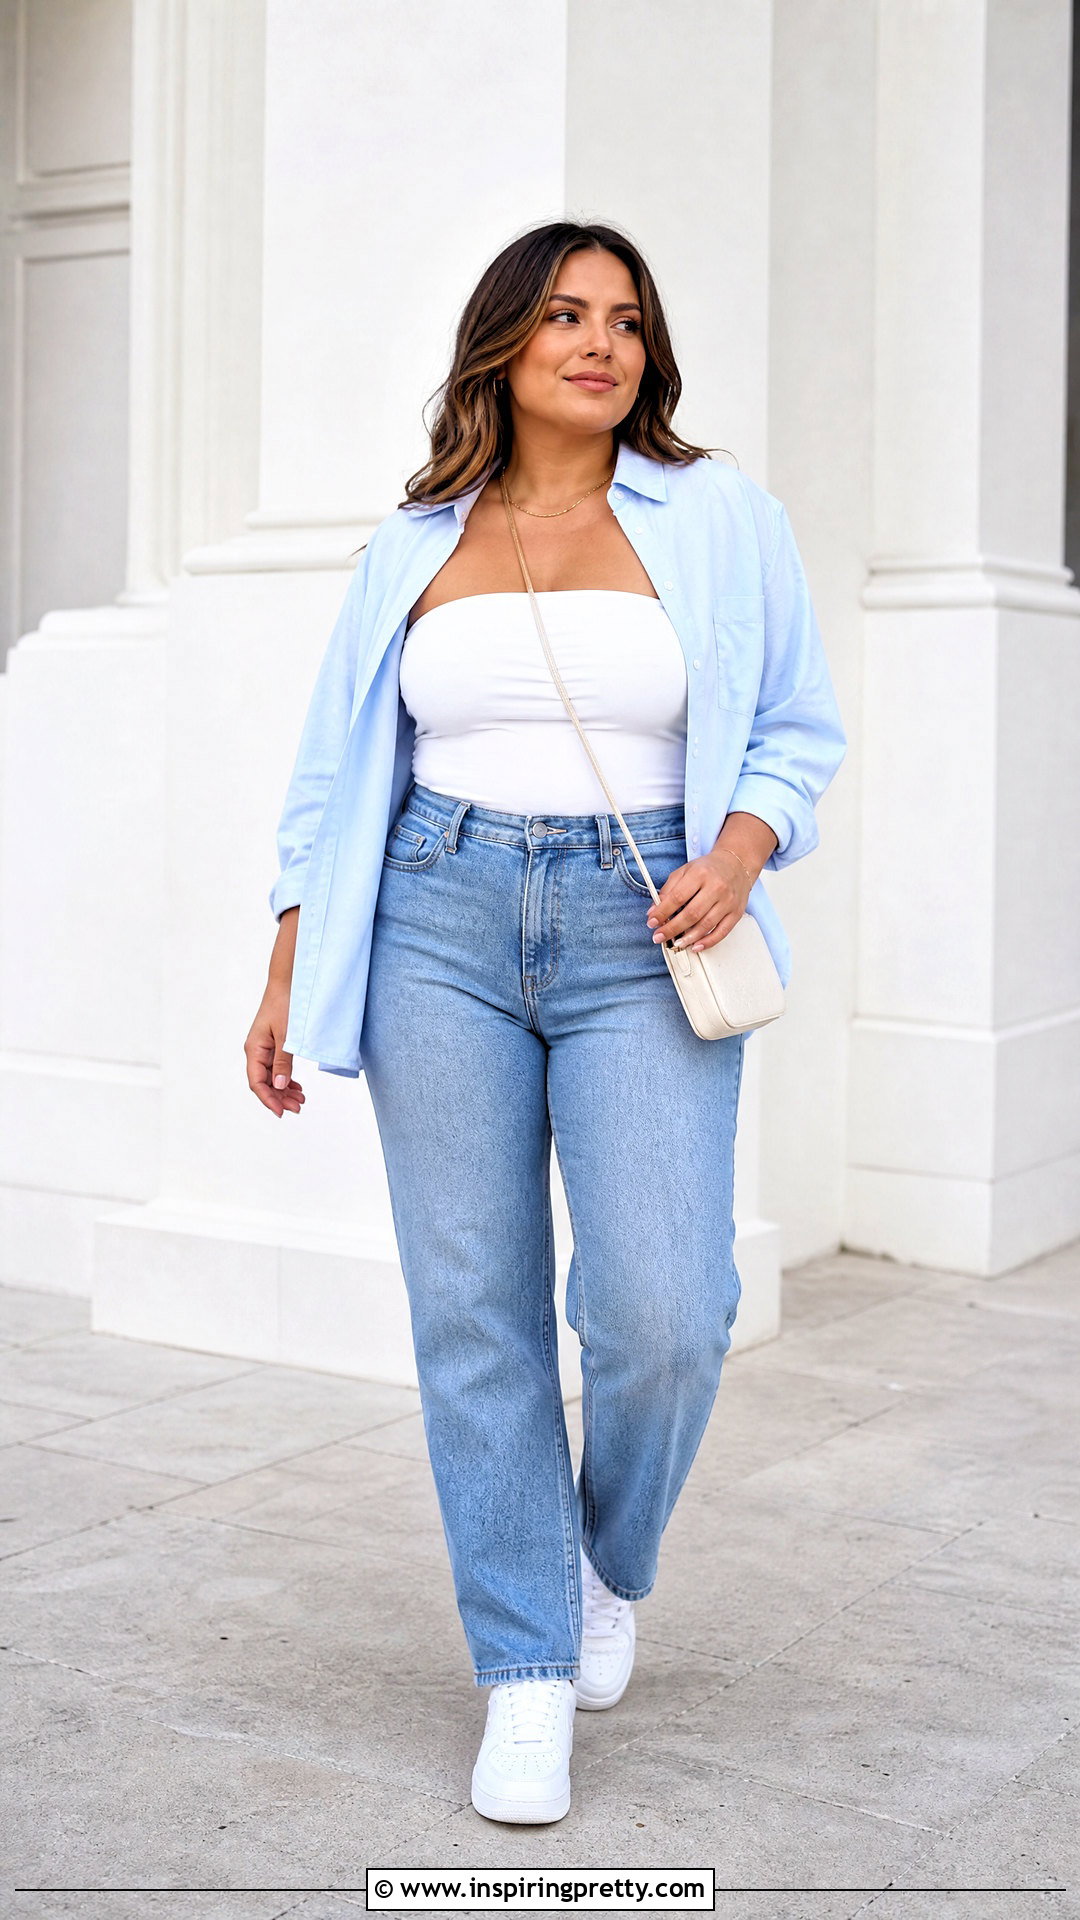
An elastic tube design is one of the easiest places to begin. Choose a medium-weight stretch jersey and cut a rectangle based on your upper-bust measurement, allowing extra width for the seam. Make the rectangle long enough to cover your bust and reach your preferred hemline. Fold it with the right sides together, sew the short ends, and finish the seam. Create a casing around the upper edge, leaving a small opening. Thread elastic through it with a safety pin, overlap the ends, and stitch them securely. Close the opening and hem the bottom. The elastic should feel secure without restricting your breathing. Wear the finished top with high-rise jeans, sneakers, and a lightweight button-down shirt.
2. Double Layer Jersey Strapless Top
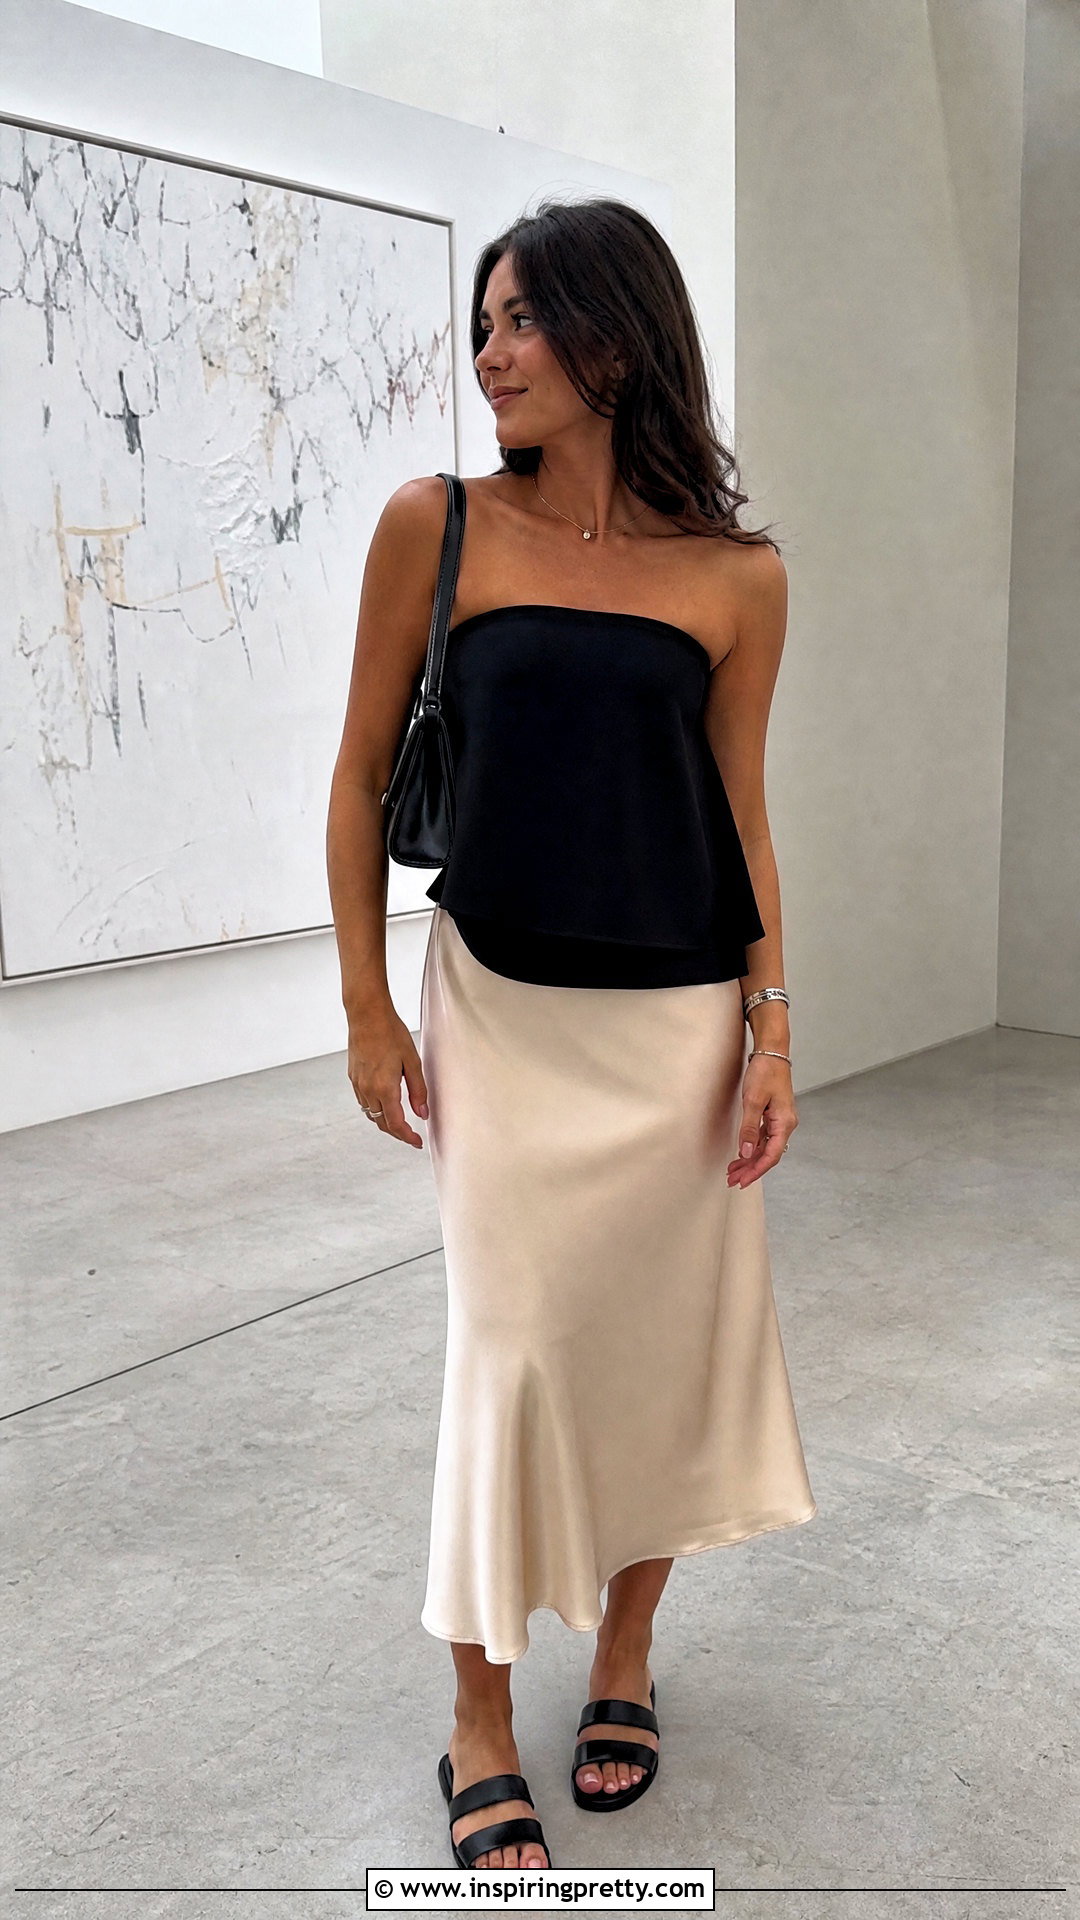
Soft jersey can become thin or slightly transparent when stretched, so a double-layer construction offers better coverage. Cut two matching rectangles using a fitted tank top or body measurements as your guide. Sew each rectangle into a separate tube. Place one tube inside the other with the right sides facing, align the upper edges, and stitch around the opening. Turn the fabric right side out, press the edge carefully, and topstitch if needed. Sew the lower edges together or leave the inner layer slightly shorter. Stretch fabric with good recovery can hold the top in place without bulky elastic, although narrow elastic adds security. Complete the look with a satin midi skirt, flat sandals, and a small shoulder bag.
3. Shirred Strapless Top
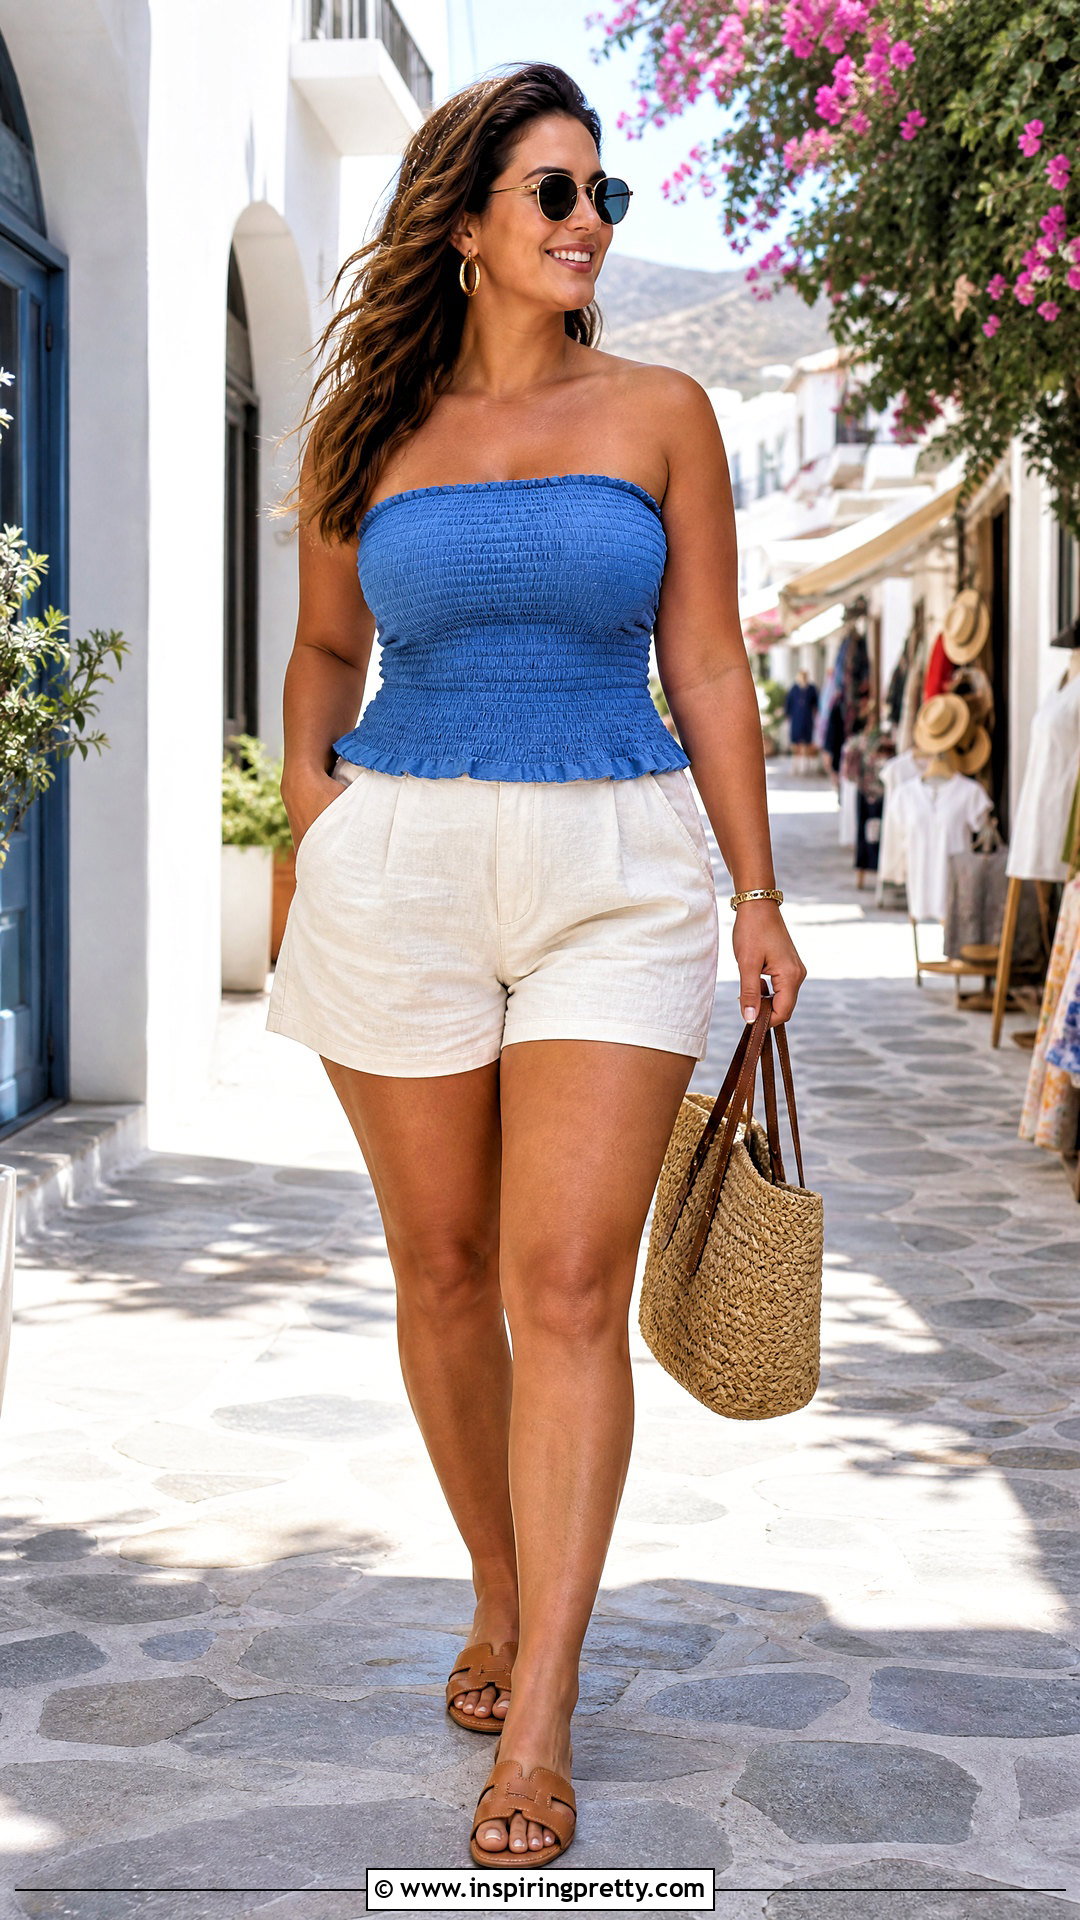
Rows of elastic shirring create a flexible strapless top that adjusts naturally to different body shapes. Begin with lightweight cotton, rayon, or a soft woven fabric. Cut a rectangle wider than your bust so the material can gather properly. Finish the upper edge before sewing evenly spaced rows with elastic thread in the bobbin and regular thread on top. Test your machine settings on scrap fabric first. Continue shirring until the gathered area comfortably covers the bust. Steam can help the elastic rows contract, but avoid placing the iron directly on them. Sew the back seam and hem the lower edge. A thrifted button-down can also be converted using this technique. () Pair it with linen shorts, slides, and a woven tote.
4. Smocked Peplum Strapless Top
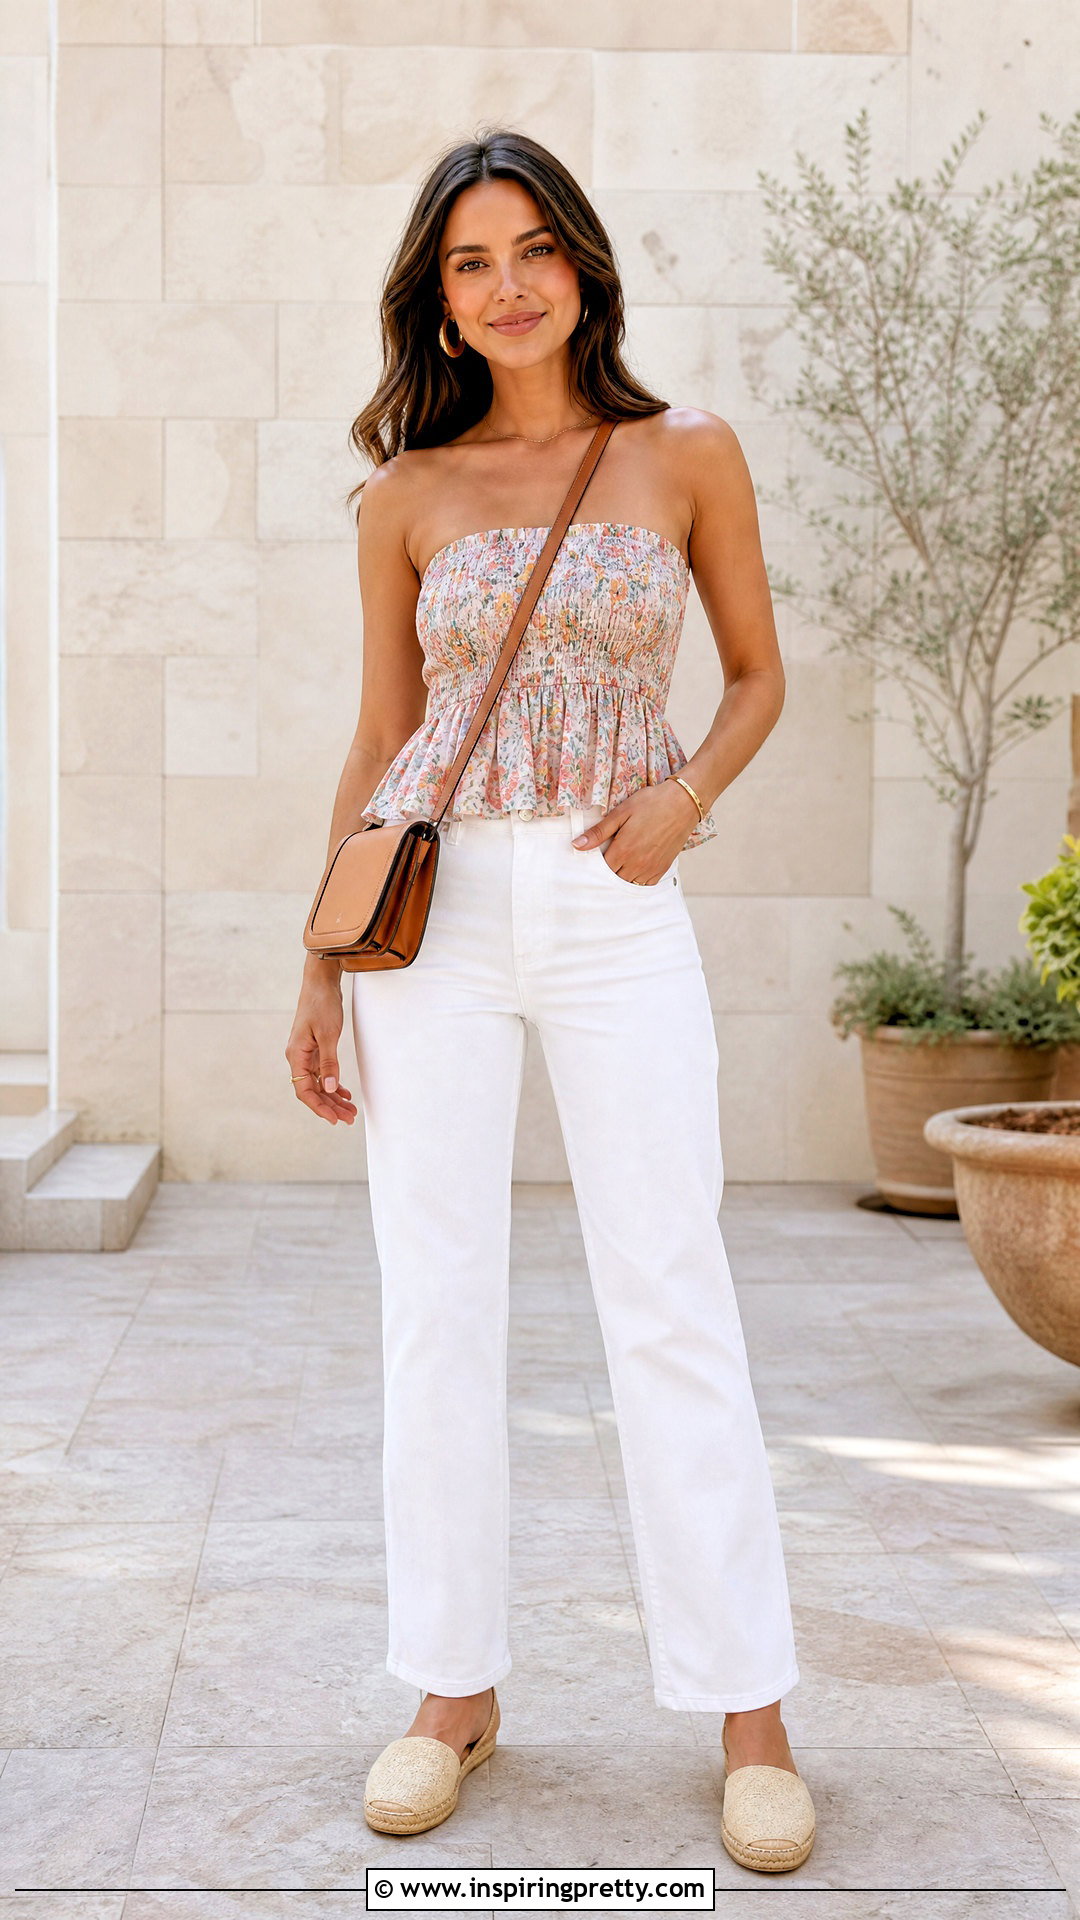
A smocked peplum top combines a fitted upper section with a softly flared waist. Cut a wide rectangle from lightweight cotton or linen-blend fabric. Finish the top edge, then add closely spaced rows of shirring from the neckline to just below the bust. Stop the elastic stitching where you want the peplum to begin. The unshirred fabric will fall loosely over the waist, creating natural volume. Sew the side or back seam, try on the top, and adjust its length before hemming. For more fullness, attach a separate gathered strip around the bottom of a fitted smocked bodice. Style this breathable top with straight-leg white jeans, espadrilles, hoop earrings, and a structured crossbody bag for a balanced summer outfit.
5. T-Shirt Strapless Top
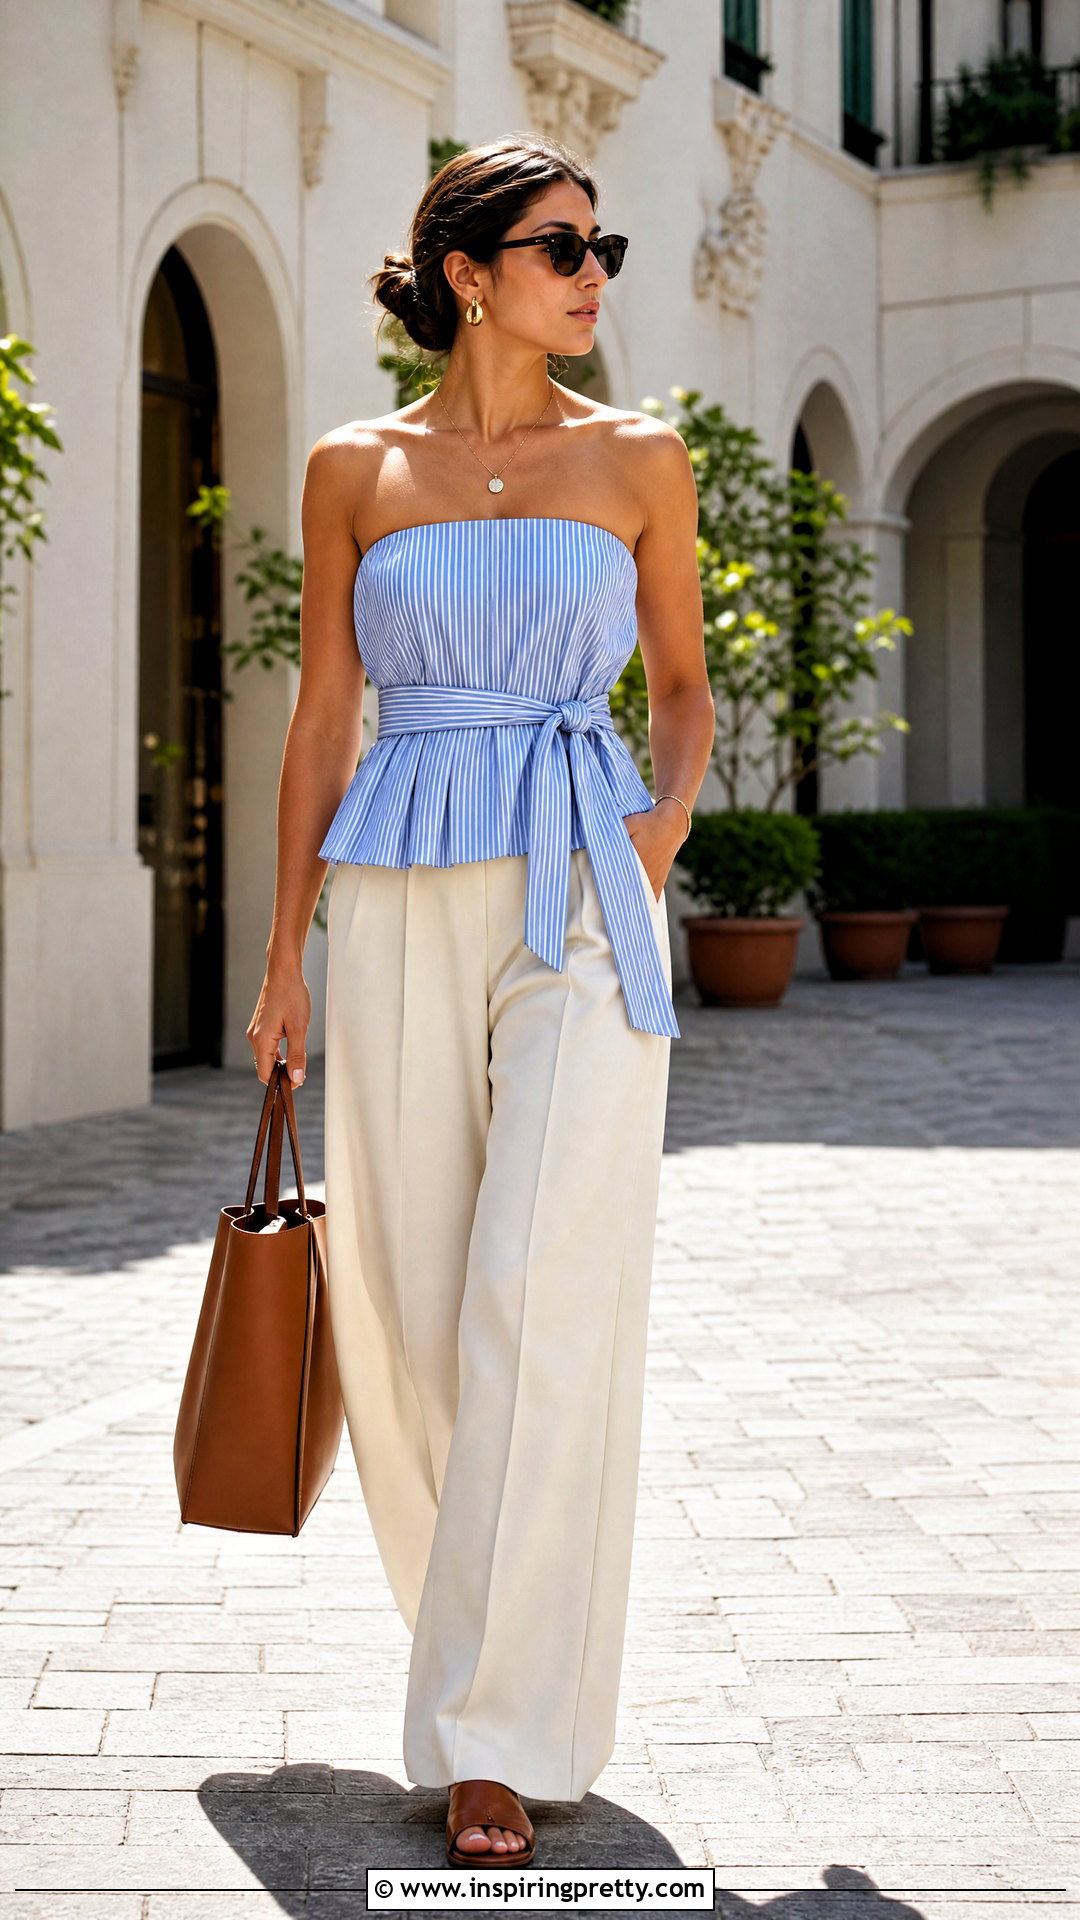
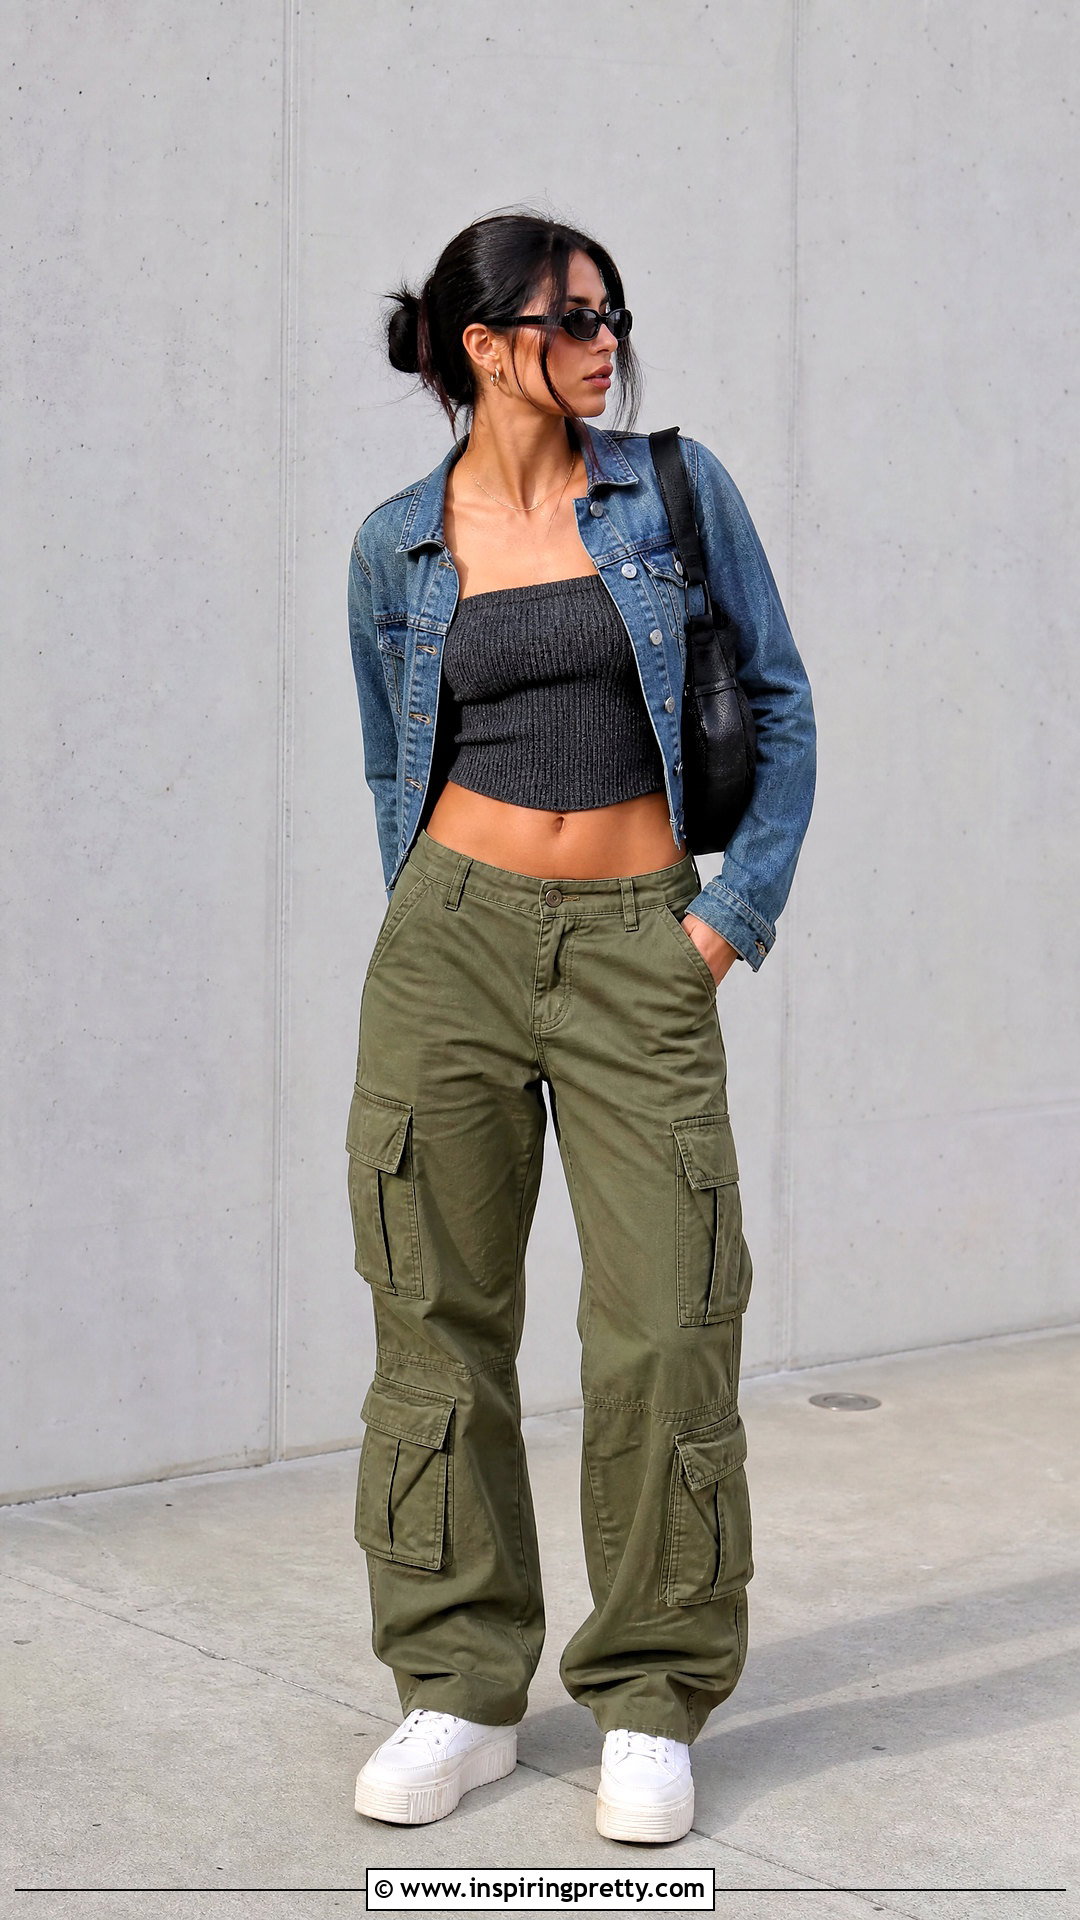
Transforming a fitted T-shirt is a useful beginner project because the side seams and bottom hem are already finished. Choose a shirt that fits closely enough to stay secure after alteration. Lay it flat and draw a straight line beneath the neckline and sleeves. Cut through both layers, keeping the line even. Fold the raw upper edge inward to form a casing, then stitch while leaving a small opening. Insert wide elastic cut slightly shorter than your upper-bust measurement. Join the elastic ends, close the casing, and distribute the gathers evenly. A close-fitting shirt generally works better than an oversized one for this refashion. () Wear your new top with cargo pants, platform sneakers, sunglasses, and a cropped denim jacket.
6. Oversized T-Shirt Ruched Strapless Top
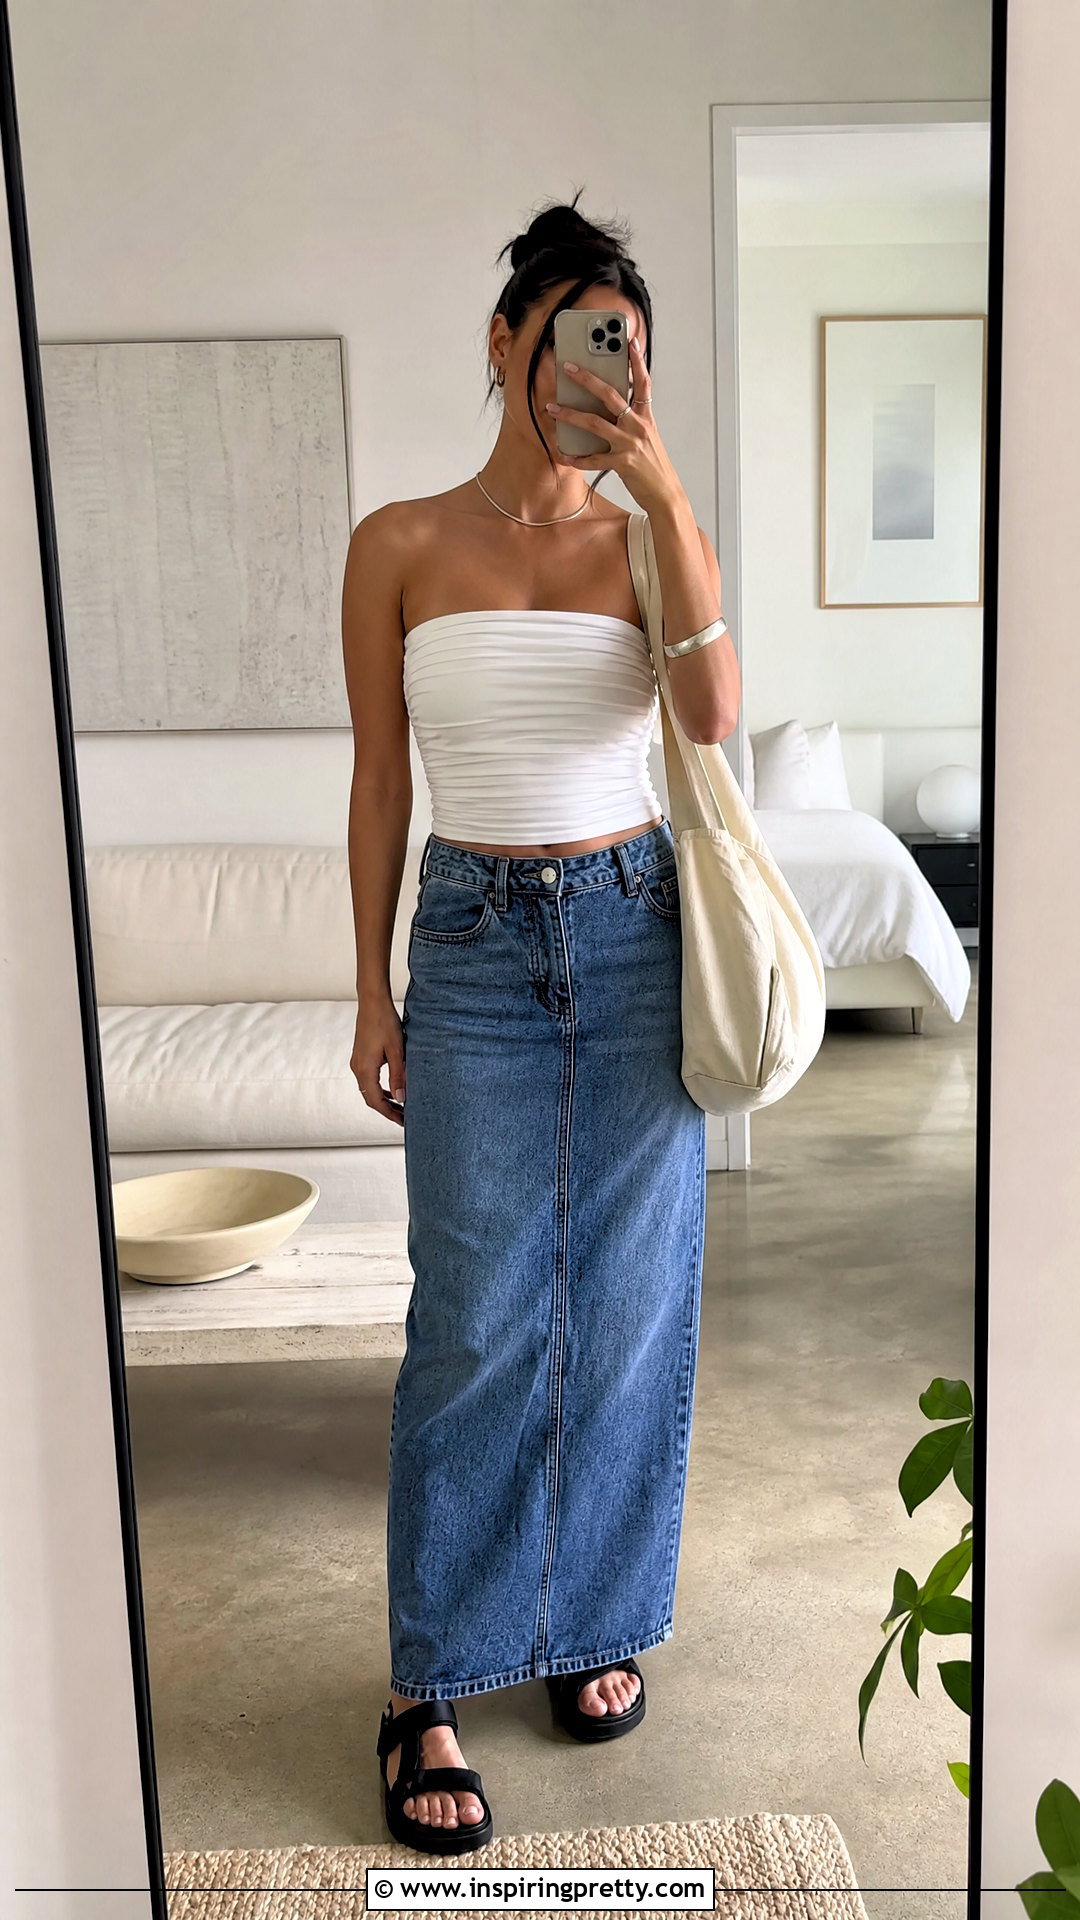
An oversized T-shirt provides enough material for a gathered or ruched strapless design. Remove the upper portion by cutting horizontally below the armholes. Turn the remaining body section inside out and adjust the side seams until the tube fits comfortably. Create an upper elastic casing or sew elastic directly to the wrong side while gently stretching it. For center-front ruching, mark a vertical line and sew two narrow channels. Thread a fabric tie through the channels and pull it to gather the top. Secure the tie in a bow or knot. No-sew ruching is possible with carefully placed cuts and ties, but stitching produces a more durable finish. () Add a denim maxi skirt, sporty sandals, and a canvas shoulder bag.
7. Long-Sleeve Shirt Strapless Top
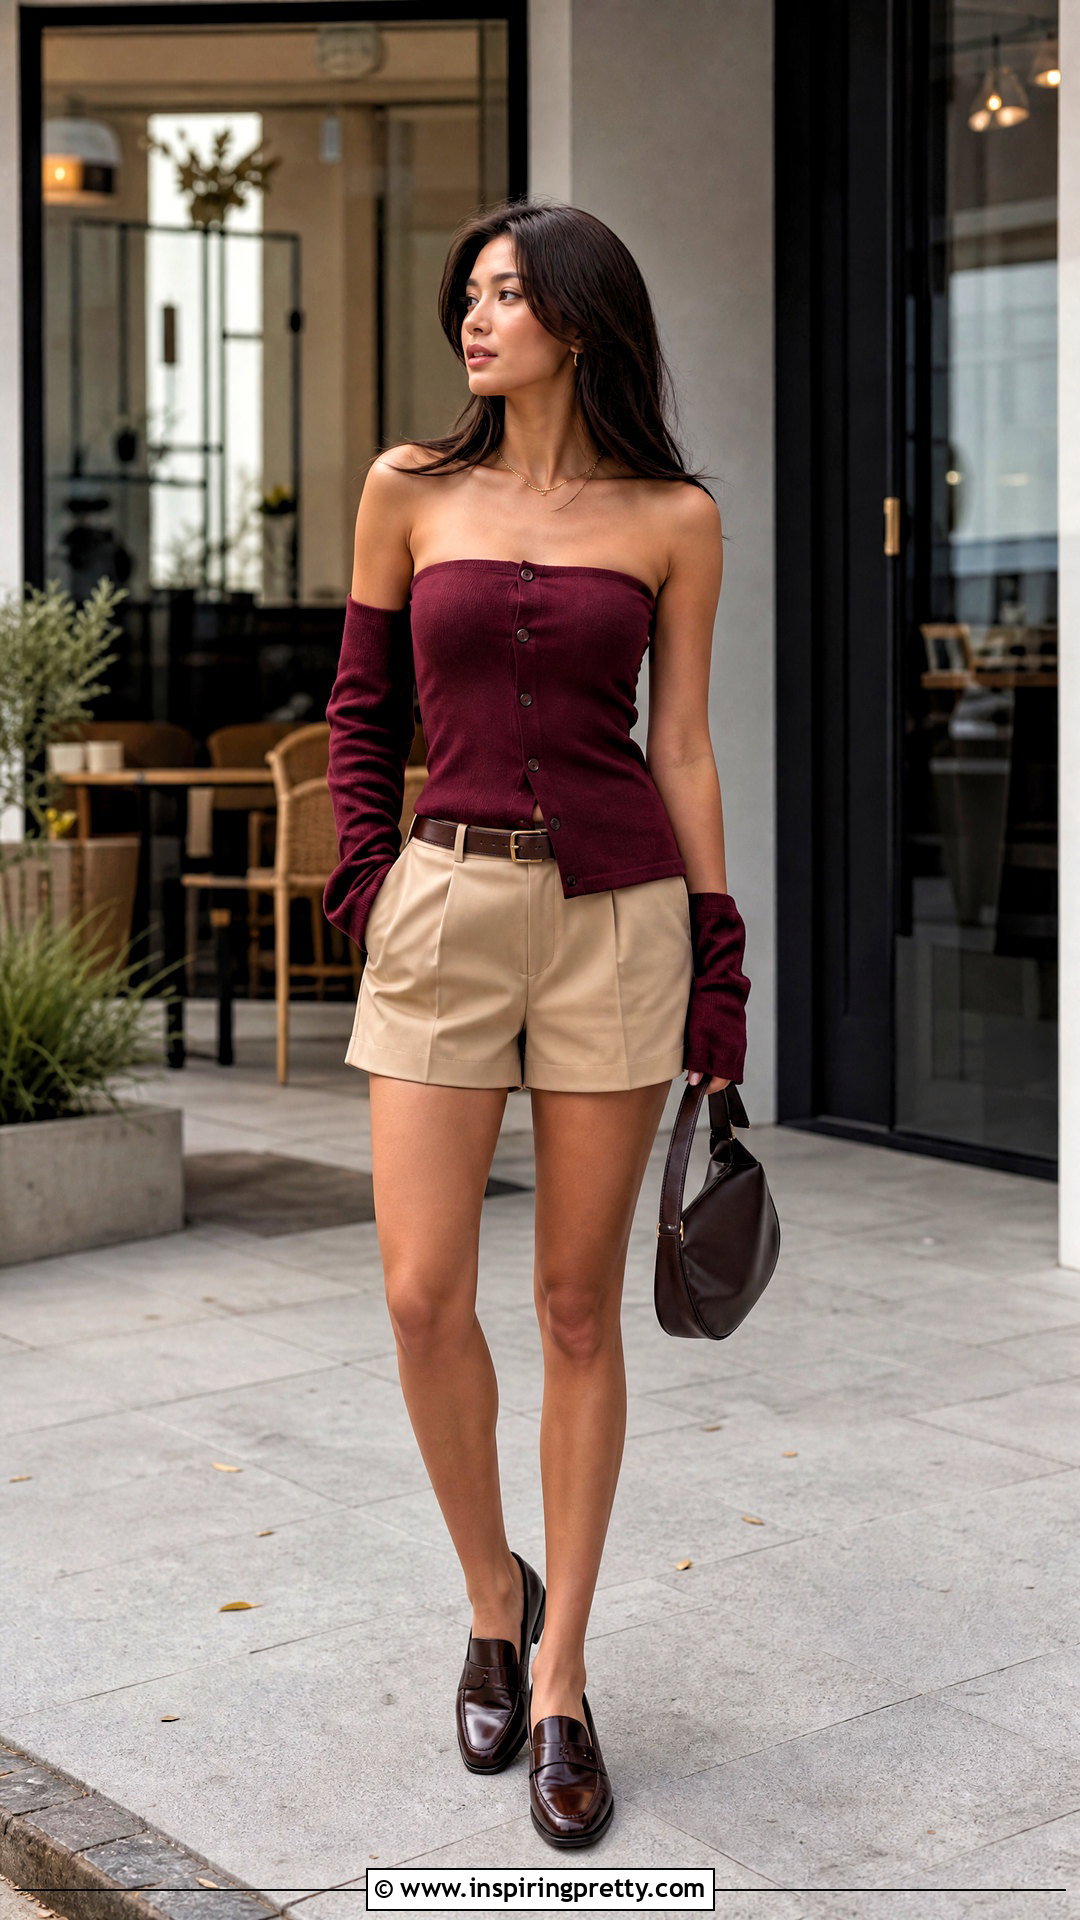
A long-sleeve knit shirt can be reshaped into a secure strapless top with minimal new fabric. Select a shirt that fits smoothly around your torso. Cut straight across beneath the neckline, leaving enough fabric to fold the raw edge inward. Remove the sleeves close to their seams, then close any openings created along the sides. Use fabric from the sleeves to make a folded neckline band, decorative tie, or fitted belt. Alternatively, add an elastic casing to the upper edge. Pin everything before sewing and try the top on while the seams are still easy to change. This method works best when the original knit has reliable stretch and recovery. Finish the outfit with tailored shorts, loafers, a slim belt, and a compact handbag.
8. Men’s Button-Down Strapless Top
A roomy men’s button-down can become a lightweight strapless blouse with its original buttons preserved as a design feature. Remove the sleeves and cut horizontally across the chest below the collar. Add small pleats to control extra width at the front and back. Baste the pleats before topstitching them so you can check the fit. Fold the raw upper edge over wide elastic, stitch a casing, and thread the elastic through. Secure it at the side seams to reduce twisting. You can use leftover fabric to make a coordinating waist tie or gathered ruffle. Button-down refashions commonly use pleats and an elasticized upper edge to shape the oversized fabric. () Add wide-leg trousers, leather slides, and a polished tote.
9. Scarf Strapless Top
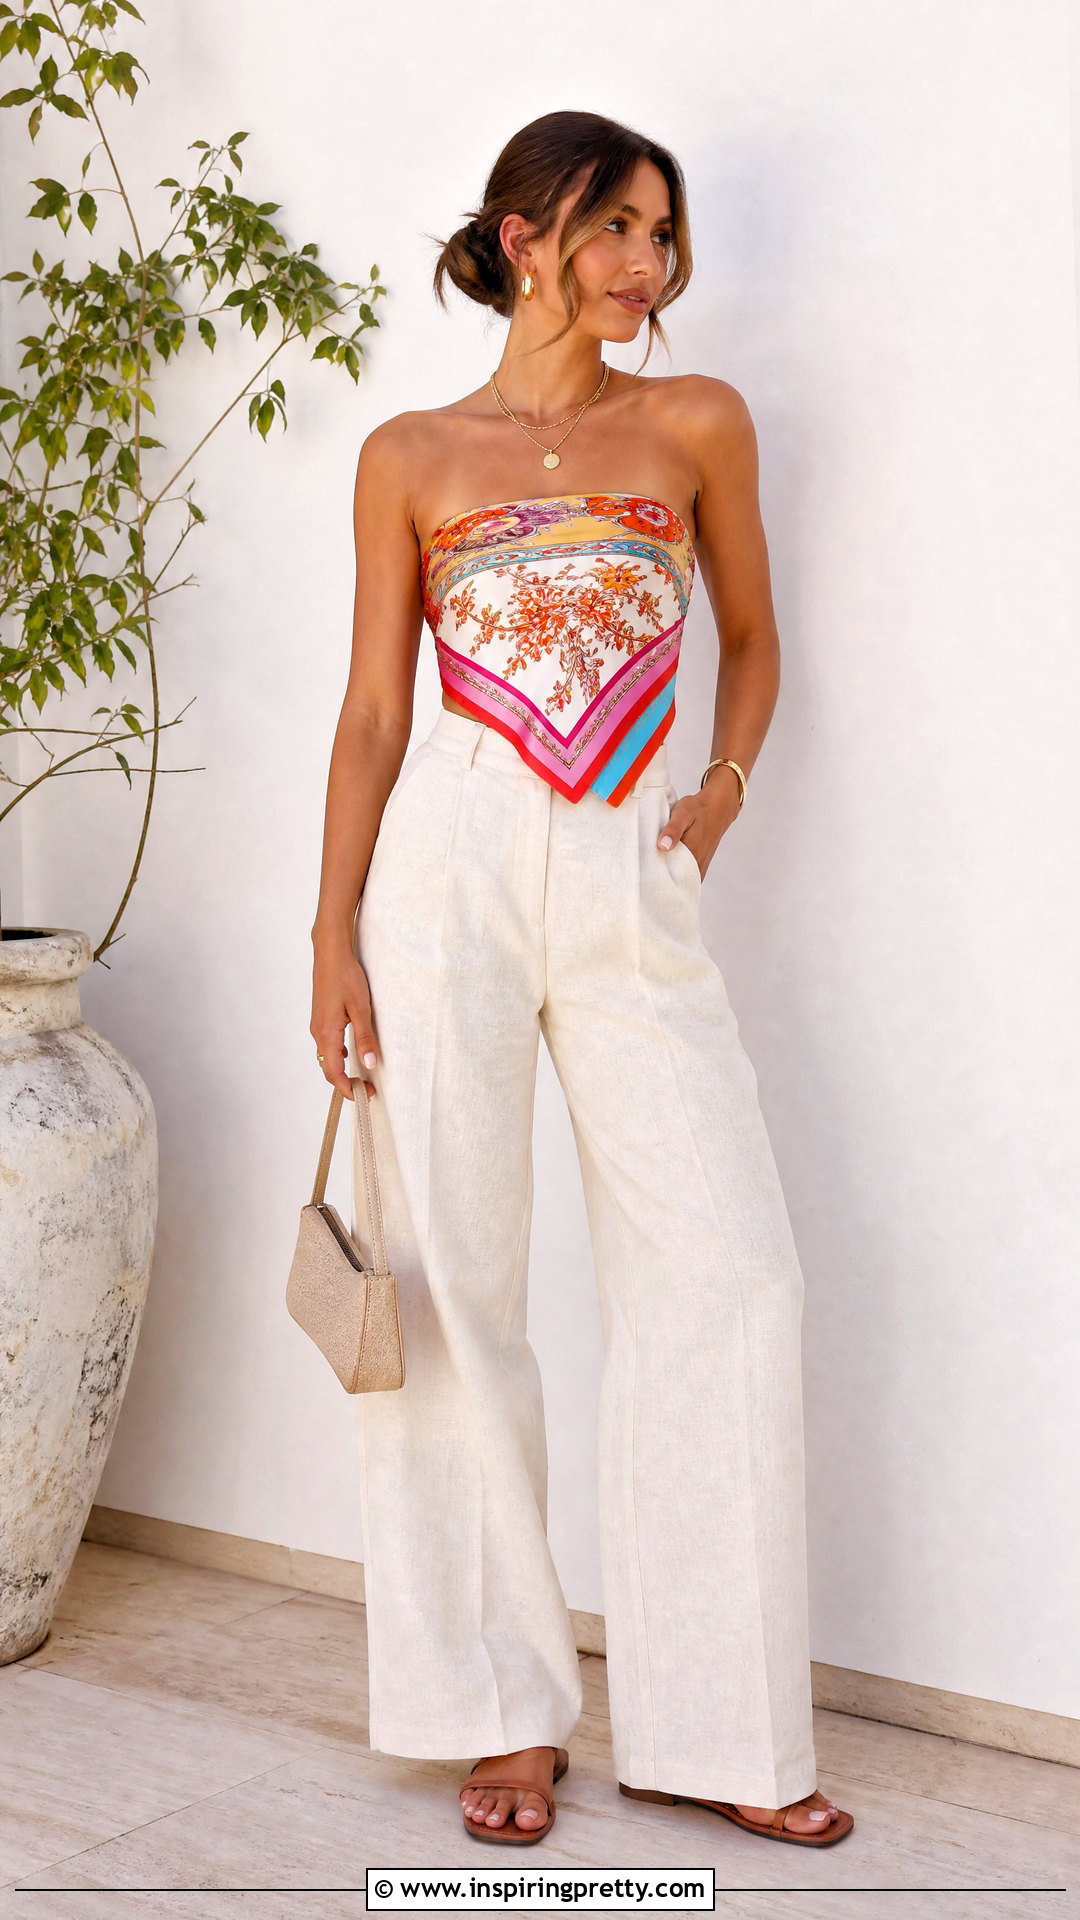
A large square scarf offers a fast option with very little cutting. Fold the scarf diagonally to create a triangle, then position the longest edge across your bust. Wrap the two side corners around your torso and tie them firmly at the back. Fold the upper edge inward before wrapping if you want more coverage and a cleaner neckline. For better security, sew snaps, hooks, or ties at the back rather than relying only on a knot. You can also stitch the scarf over a simple stretch bandeau so the base remains hidden underneath. Scarves are often converted into tops because their finished edges reduce hemming work. () Pair the print with neutral linen pants, flat sandals, and simple jewelry.
10. Two Scarf Strapless Top
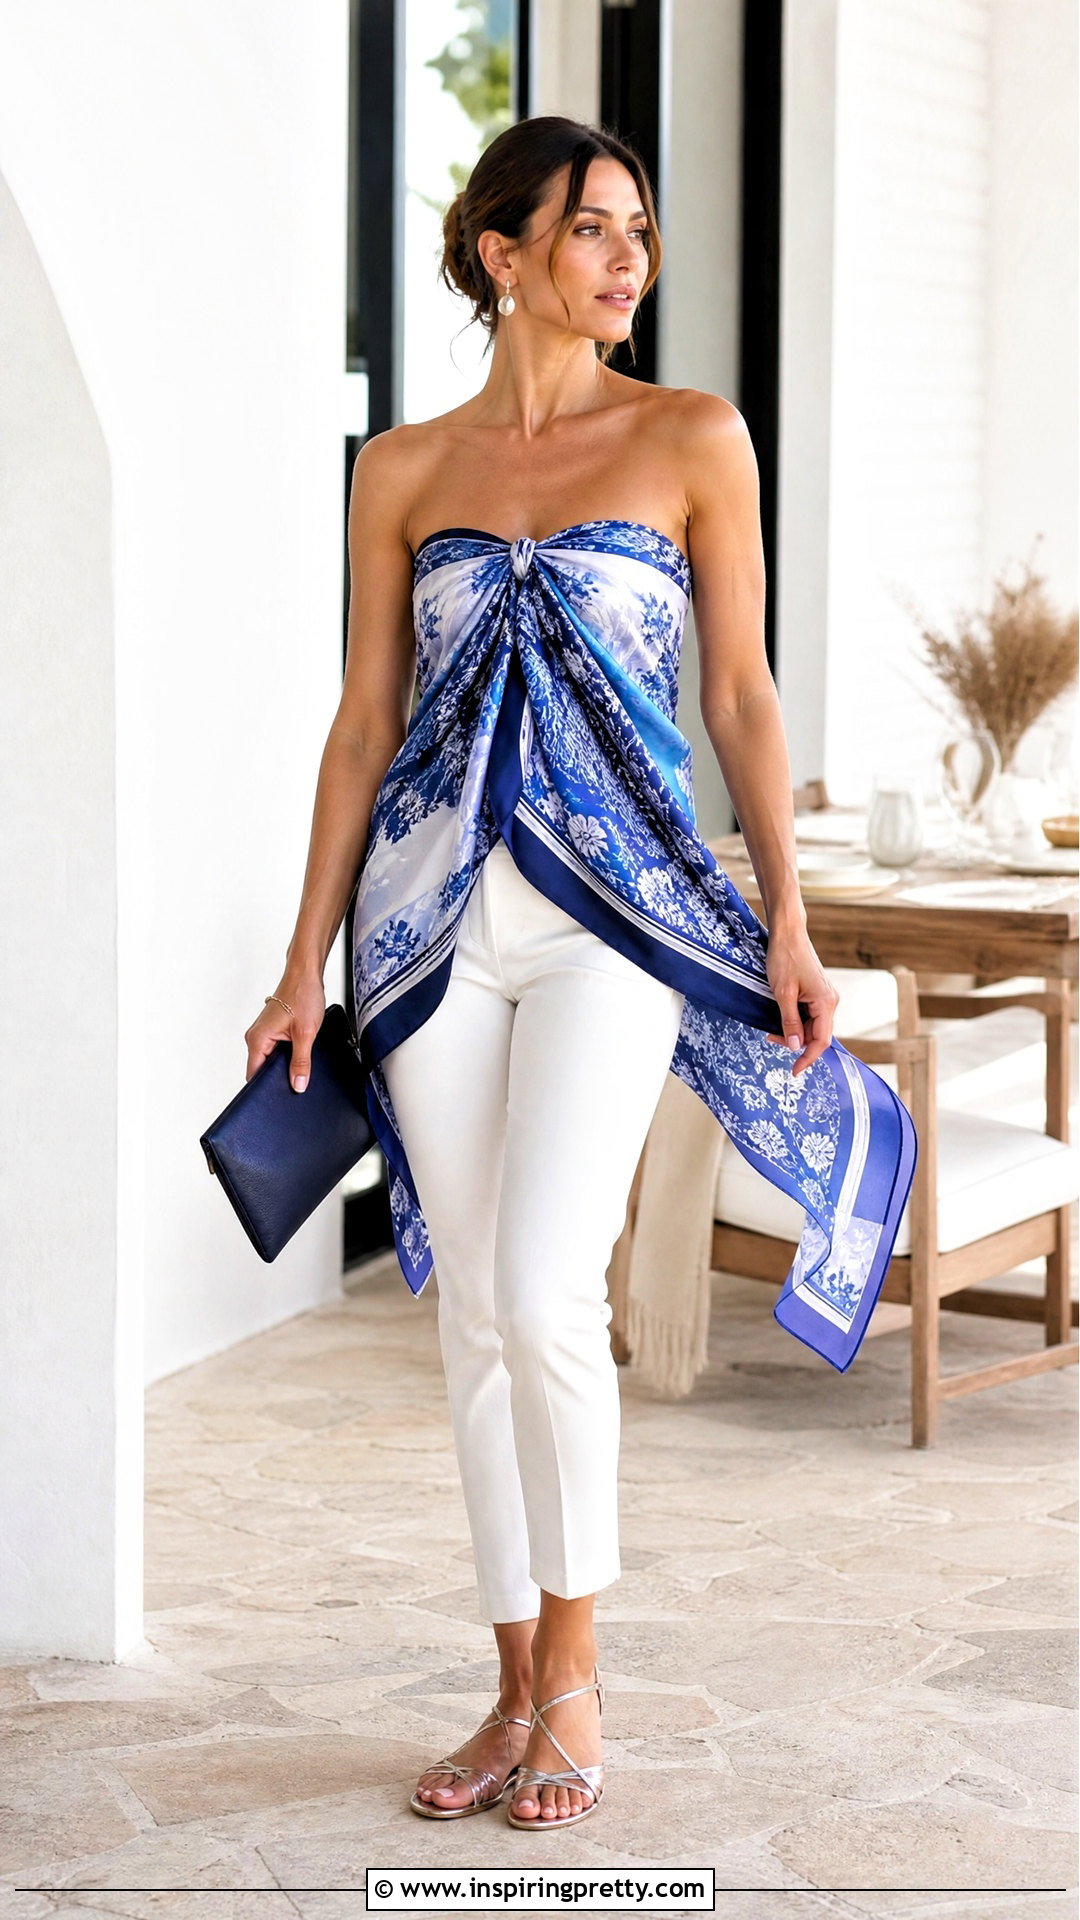
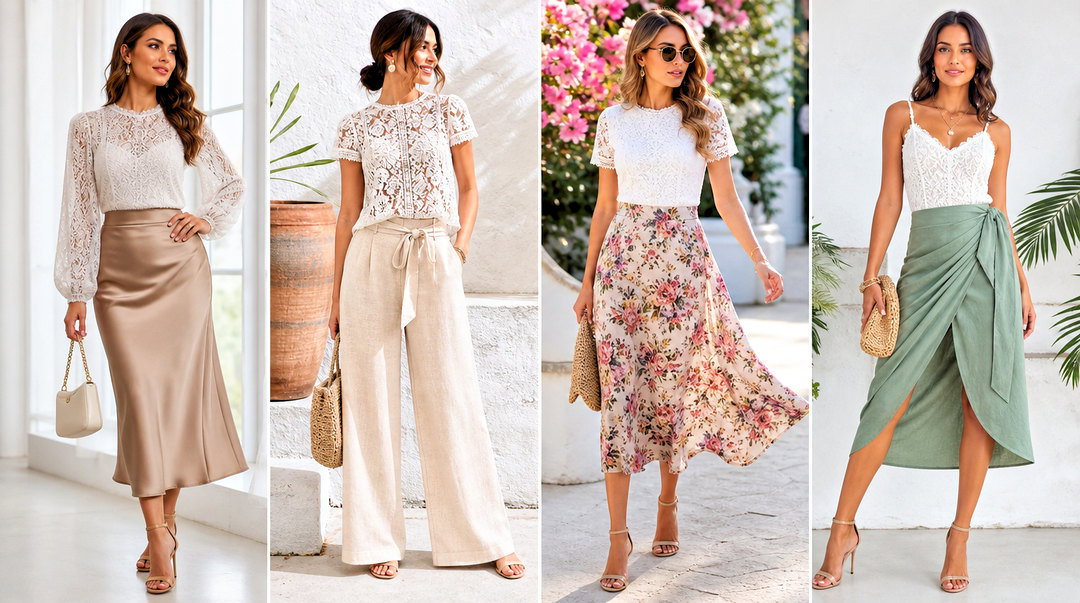
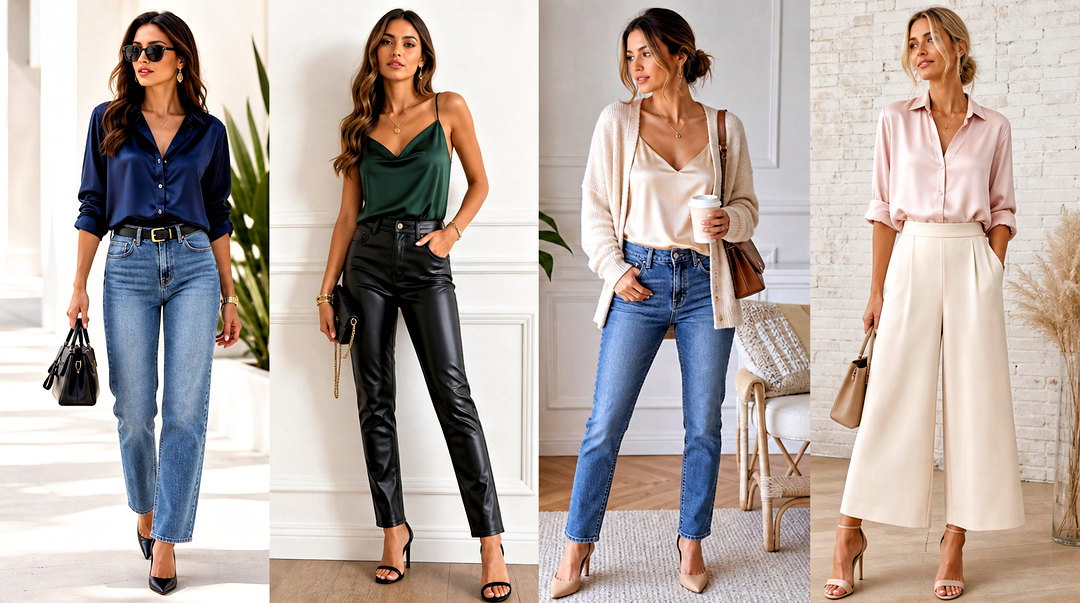
Two matching scarves provide more coverage and create a flowing, reversible top. Place the scarves with the right sides together and sew short sections along the side edges. Leave enough open space for comfortable movement. Fold the joined scarves so their finished edges meet at the neckline. Create a casing near the upper opening and insert elastic or a drawstring. Elastic produces a true strapless shape, while a drawstring allows the neckline width to be adjusted. Lightweight scarves may require a fitted bandeau or camisole underneath, particularly when the fabric is sheer. Two large scarves can be joined with short seams and finished with an adjustable channel. () Style the finished piece with slim trousers, strappy flats, and a solid-color clutch.
11. Bandana Patchwork Strapless Top
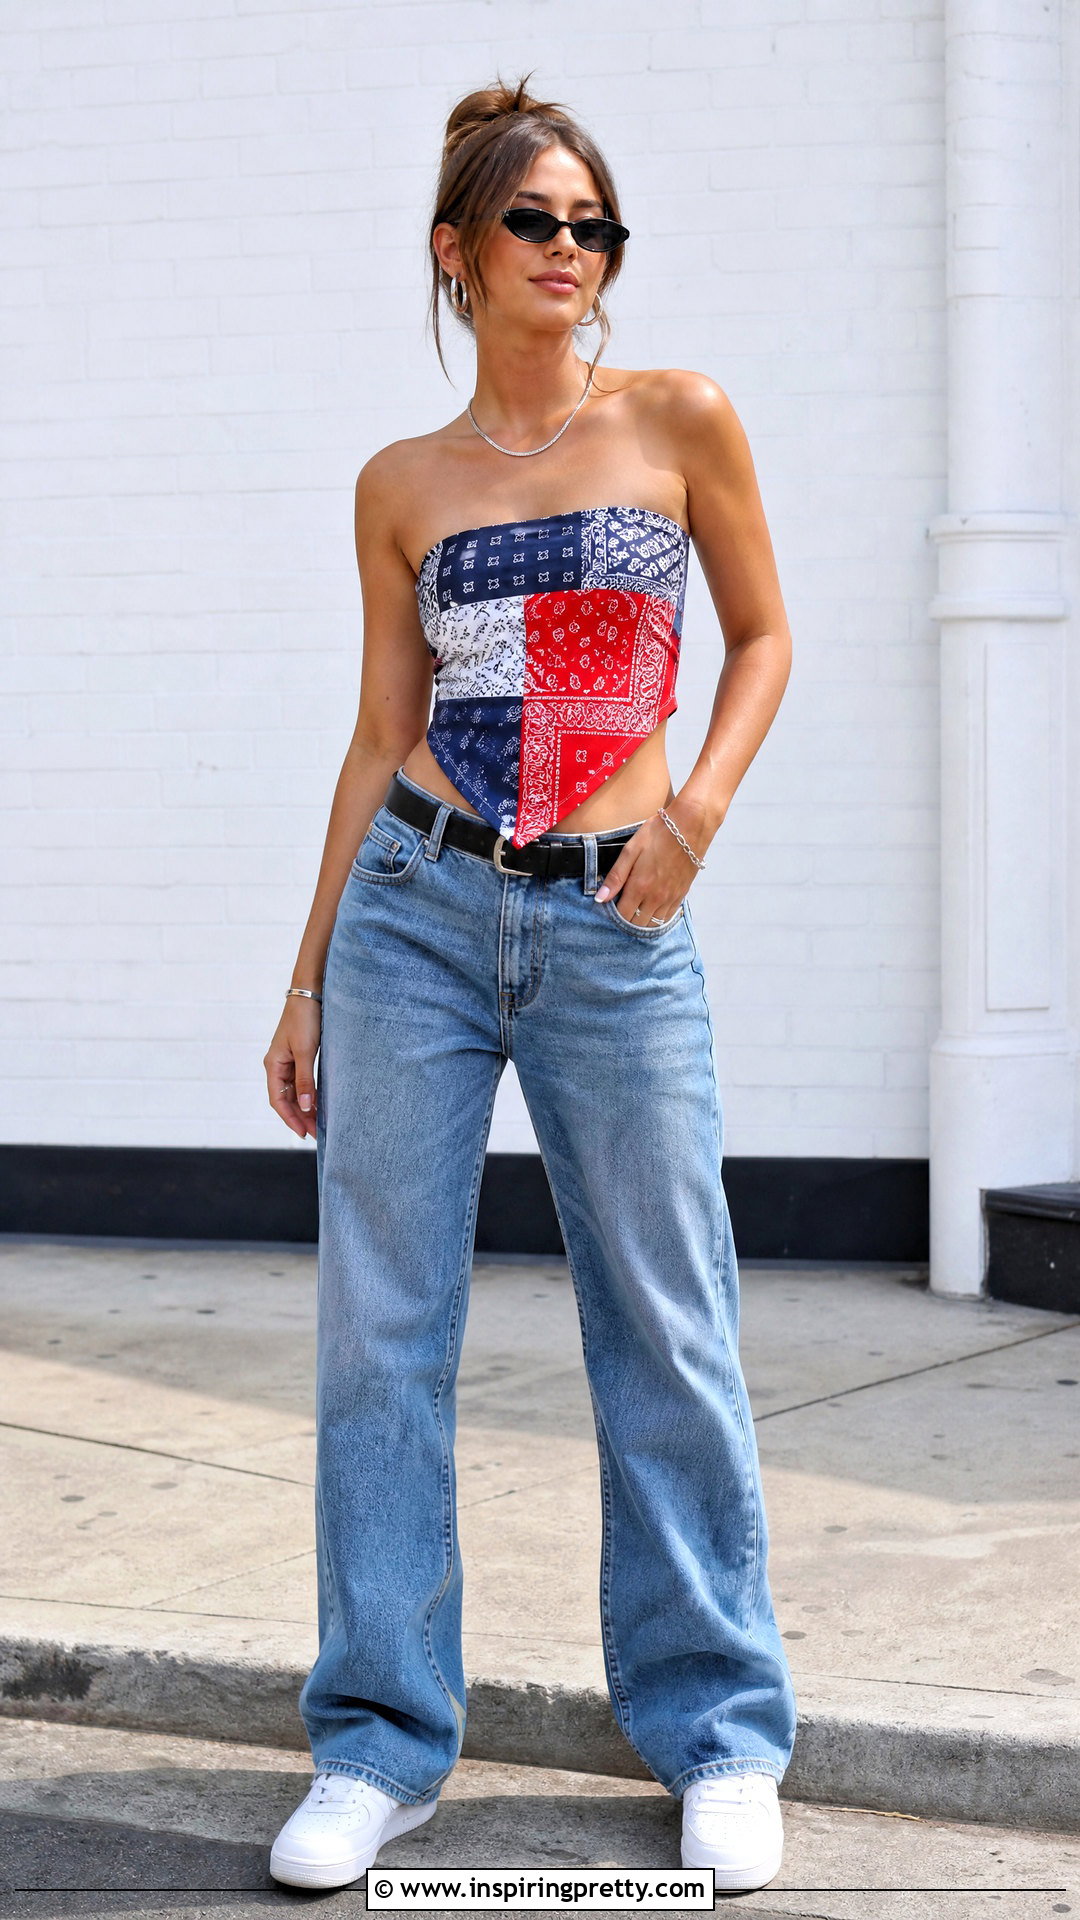
Several bandanas can be joined to make a colorful patchwork strapless top. Wash and press them first because cotton may shrink. Arrange the squares or cut them into equal panels, balancing the prints before stitching. Join the pieces with straight seams and finish the seam allowances using a zigzag stitch or serger. Wrap the patchwork panel around your torso and mark the correct width. Sew it into a tube, then add a wide facing or elastic casing around the upper edge. A coordinating knit lining can improve comfort and coverage. Keep the lower edge straight, pointed, or slightly cropped depending on your preference. Wear the statement top with relaxed blue jeans, white sneakers, a simple belt, and minimal silver accessories.
12. Ruched Drawstring Strapless Top
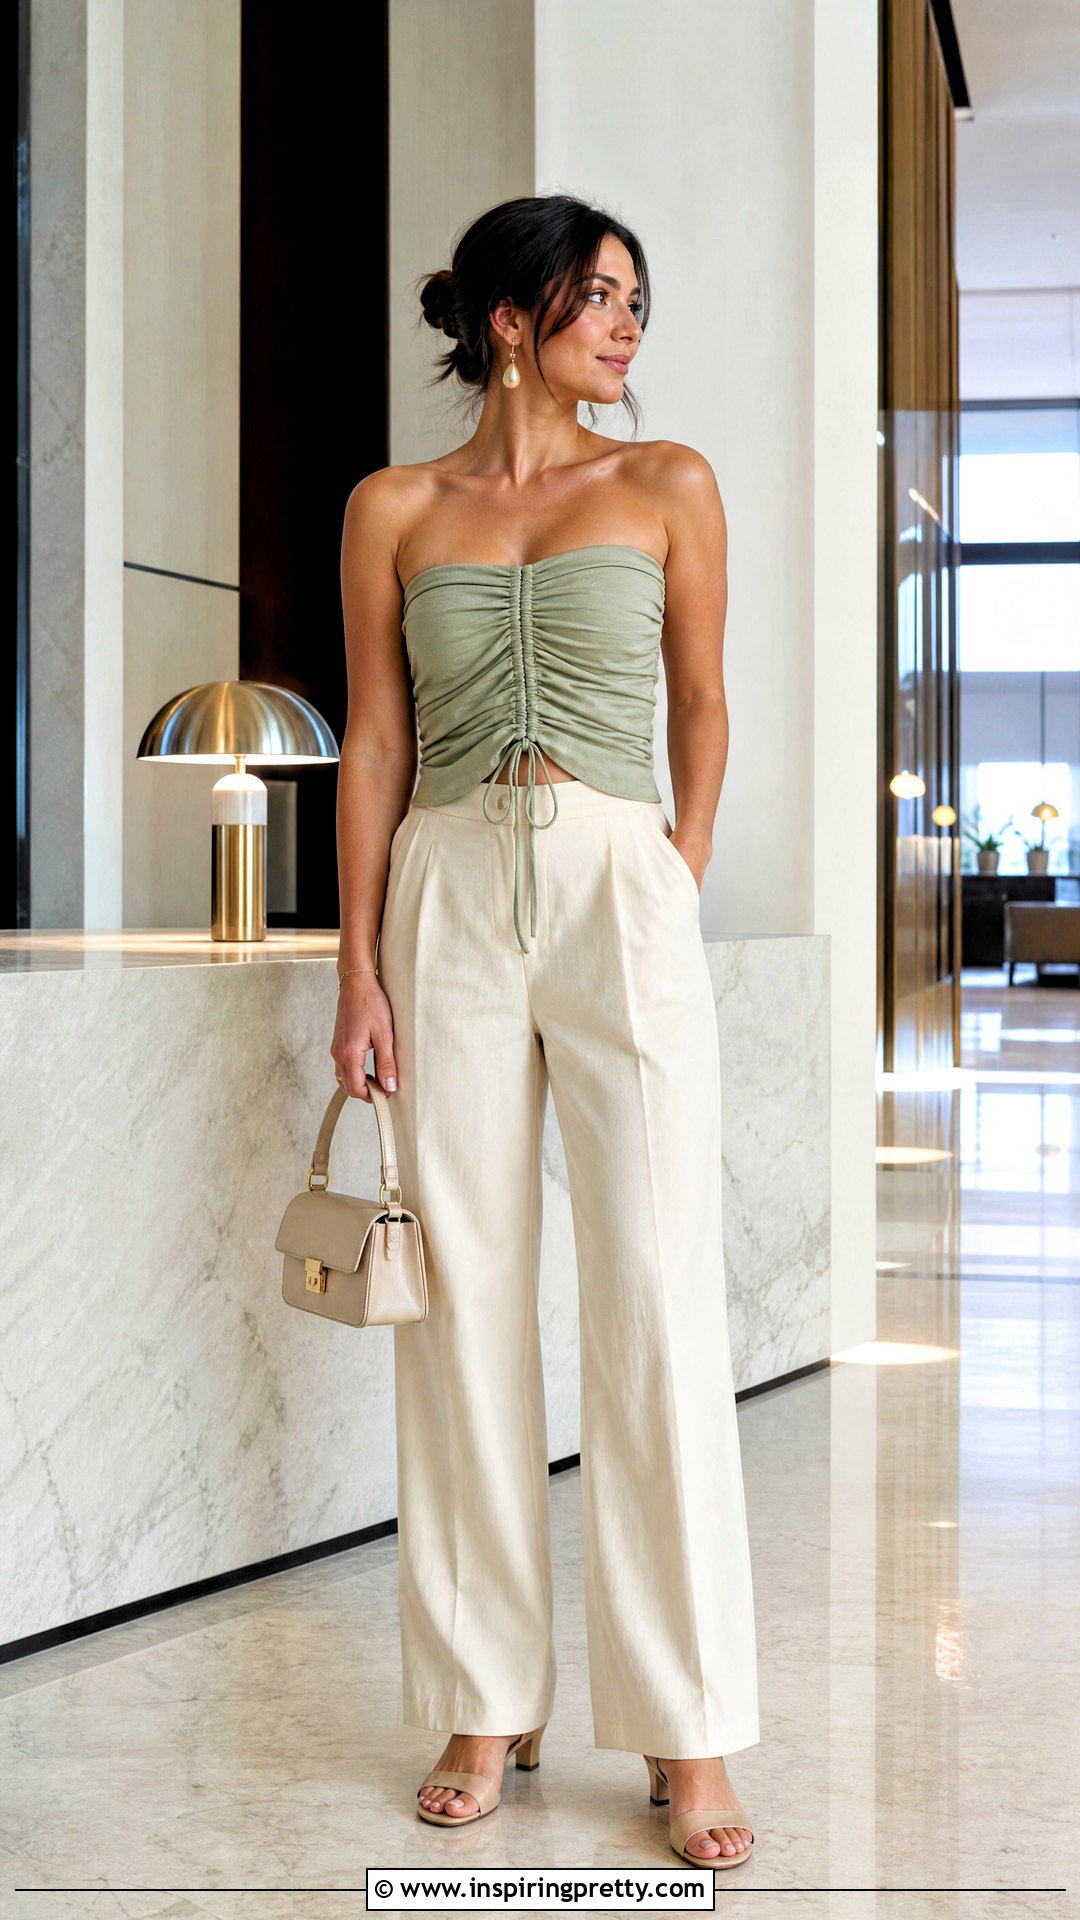
Adjustable drawstrings make it easy to change both the length and texture of a strapless top. Start with a fitted double-layer rectangle and sew it into a tube. Add narrow vertical channels at the center front or along both side seams. Make long ties from matching fabric, use soft cord, or insert narrow ribbon. Thread each tie through its channel, then pull upward to create ruching. Knot the ends so they cannot disappear inside the casing. Finish the neckline with elastic, a stretch facing, or a snug folded band. Keep the drawstrings long enough to loosen the top before putting it on. Combine this gathered top with high-waisted tailored pants, low heels, a structured mini bag, and delicate earrings.
13. Twist Front Strapless Top
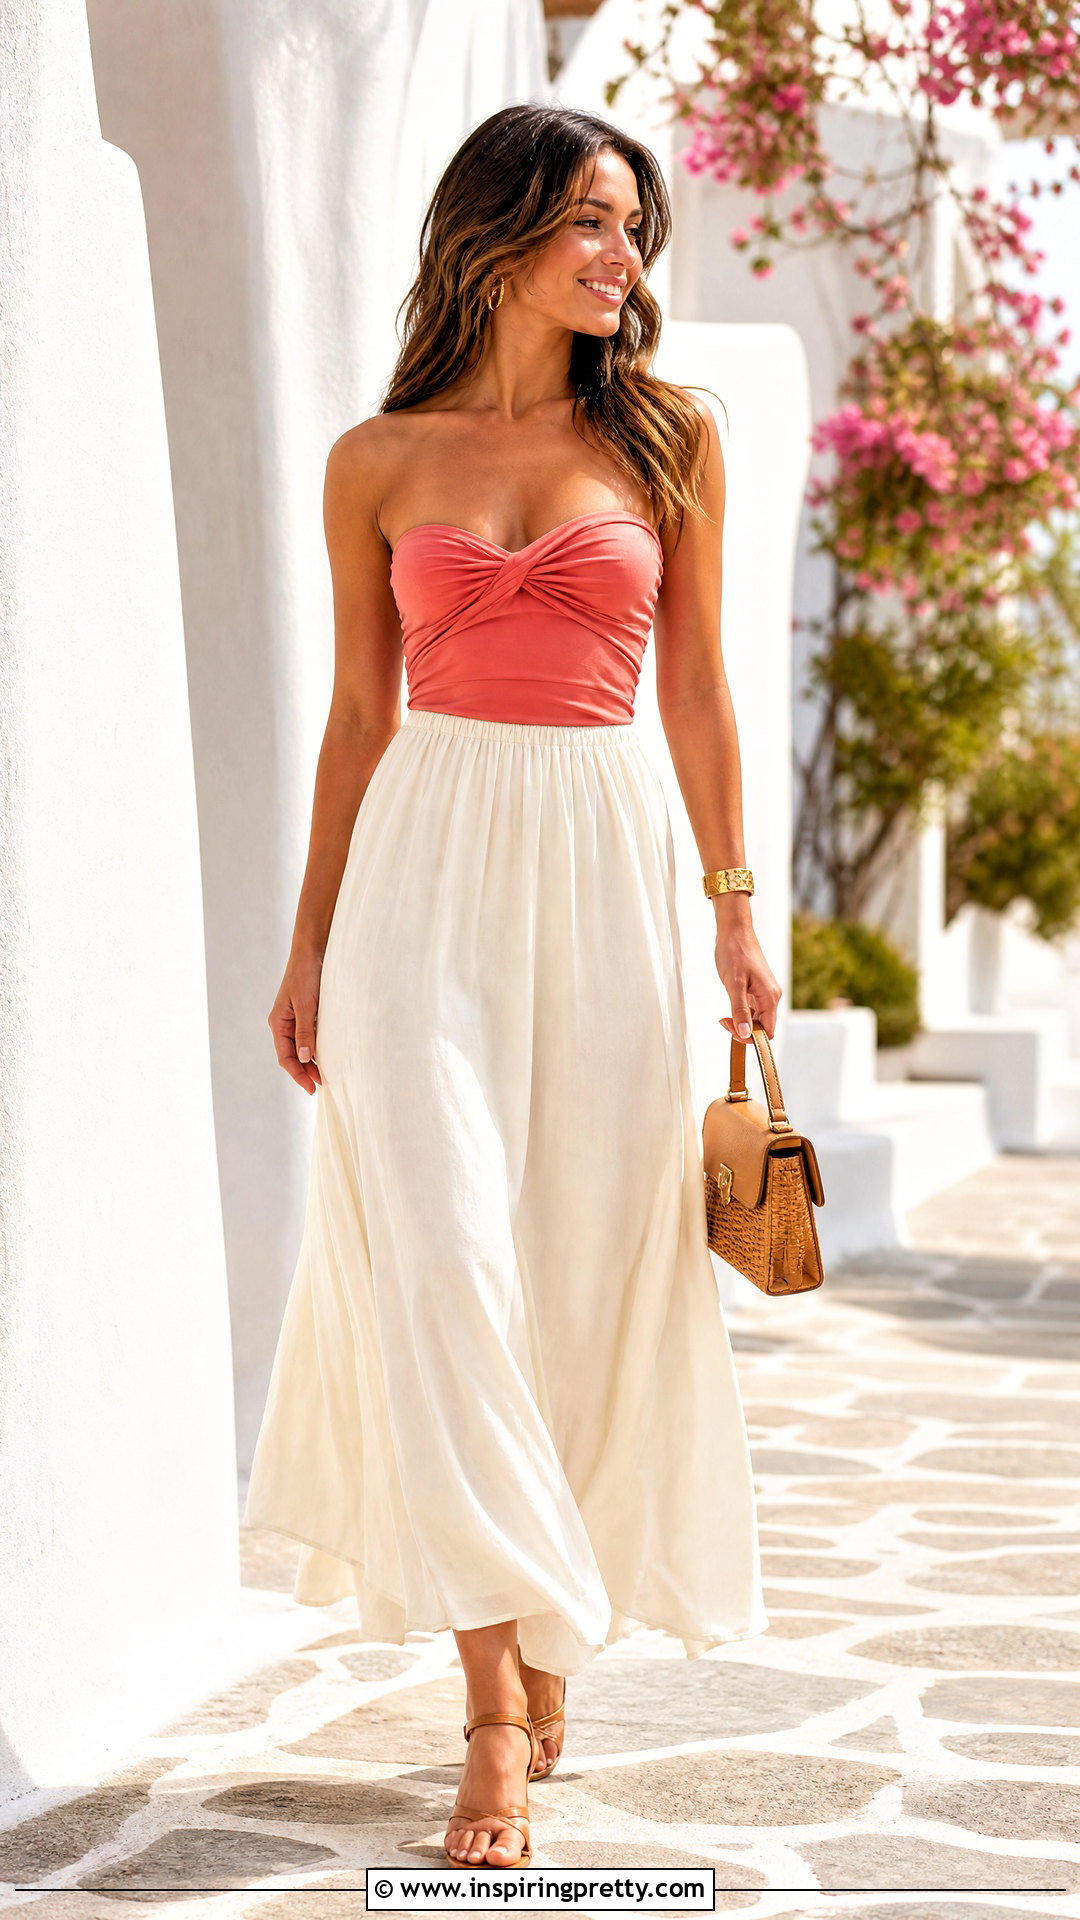
A twist-front construction gives a plain stretch top more shape and definition. Cut two wide front panels and one solid back panel from stretchy jersey. Overlap and twist the front panels once at the center, ensuring both sides remain smooth. Pin the outer edges of the twisted pieces to the back panel, then sew the side seams. Add a full lining if the twist creates unwanted openings. Finish the neckline with clear elastic or a folded stretch band so the top remains secure. The center twist should sit comfortably over the bust without pulling the side seams forward. Test the design in inexpensive knit fabric before cutting special material. Style it with a flowing maxi skirt, block-heel sandals, a bracelet, and a small top-handle bag.
14. Tie Back Strapless Top
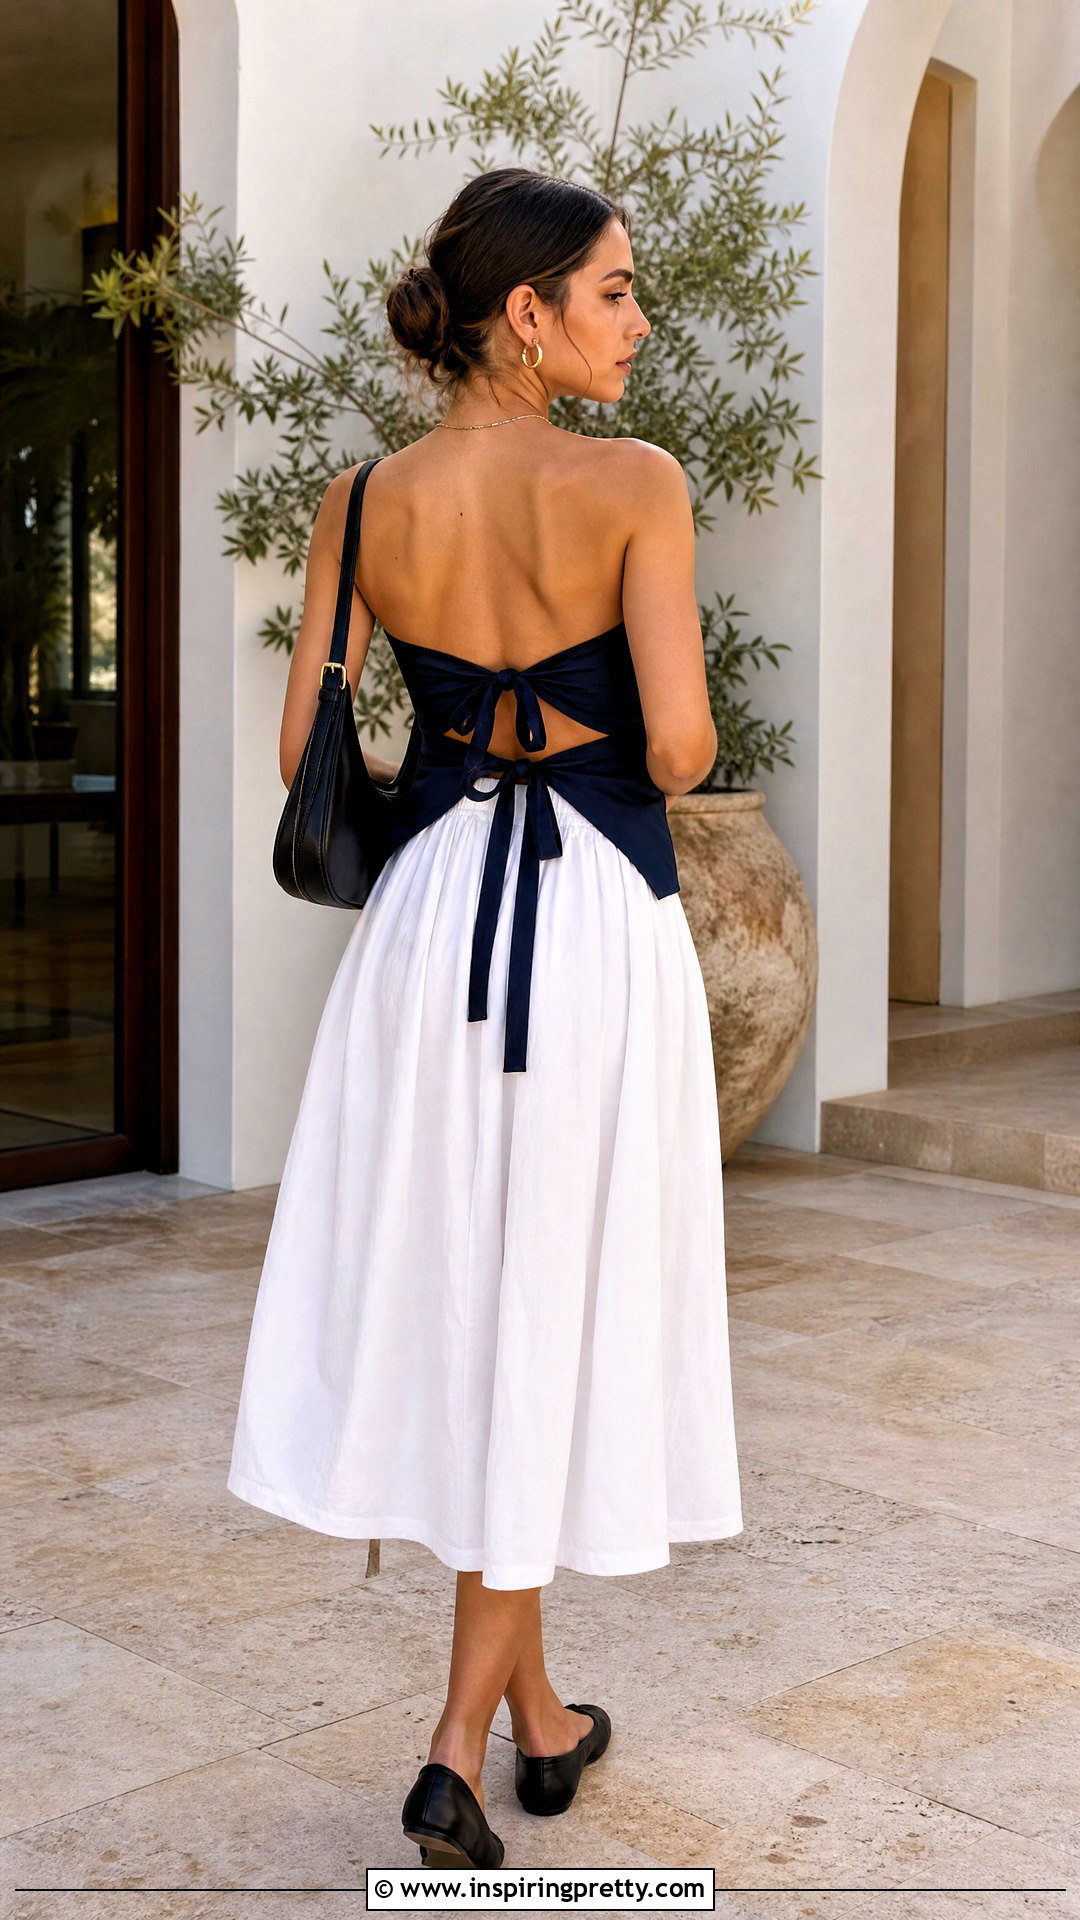
A tie-back top can be adjusted without installing a zipper. Cut a shaped front panel long enough to wrap partly around your sides. Add bust darts when using woven fabric, or rely on negative ease when working with a stable knit. Make four long ties and attach two to each back edge, positioning them near the neckline and lower band. Line the entire top or add a facing to hide the raw edges. Turn it right side out, press, and topstitch around the perimeter. Tie the upper and lower straps separately for balanced support. Make sure the ties are wide and strong enough to stay flat without digging into your skin. Wear it with a full midi skirt, ballet flats, and a soft shoulder bag.
15. Lace-Up Back Strapless Top
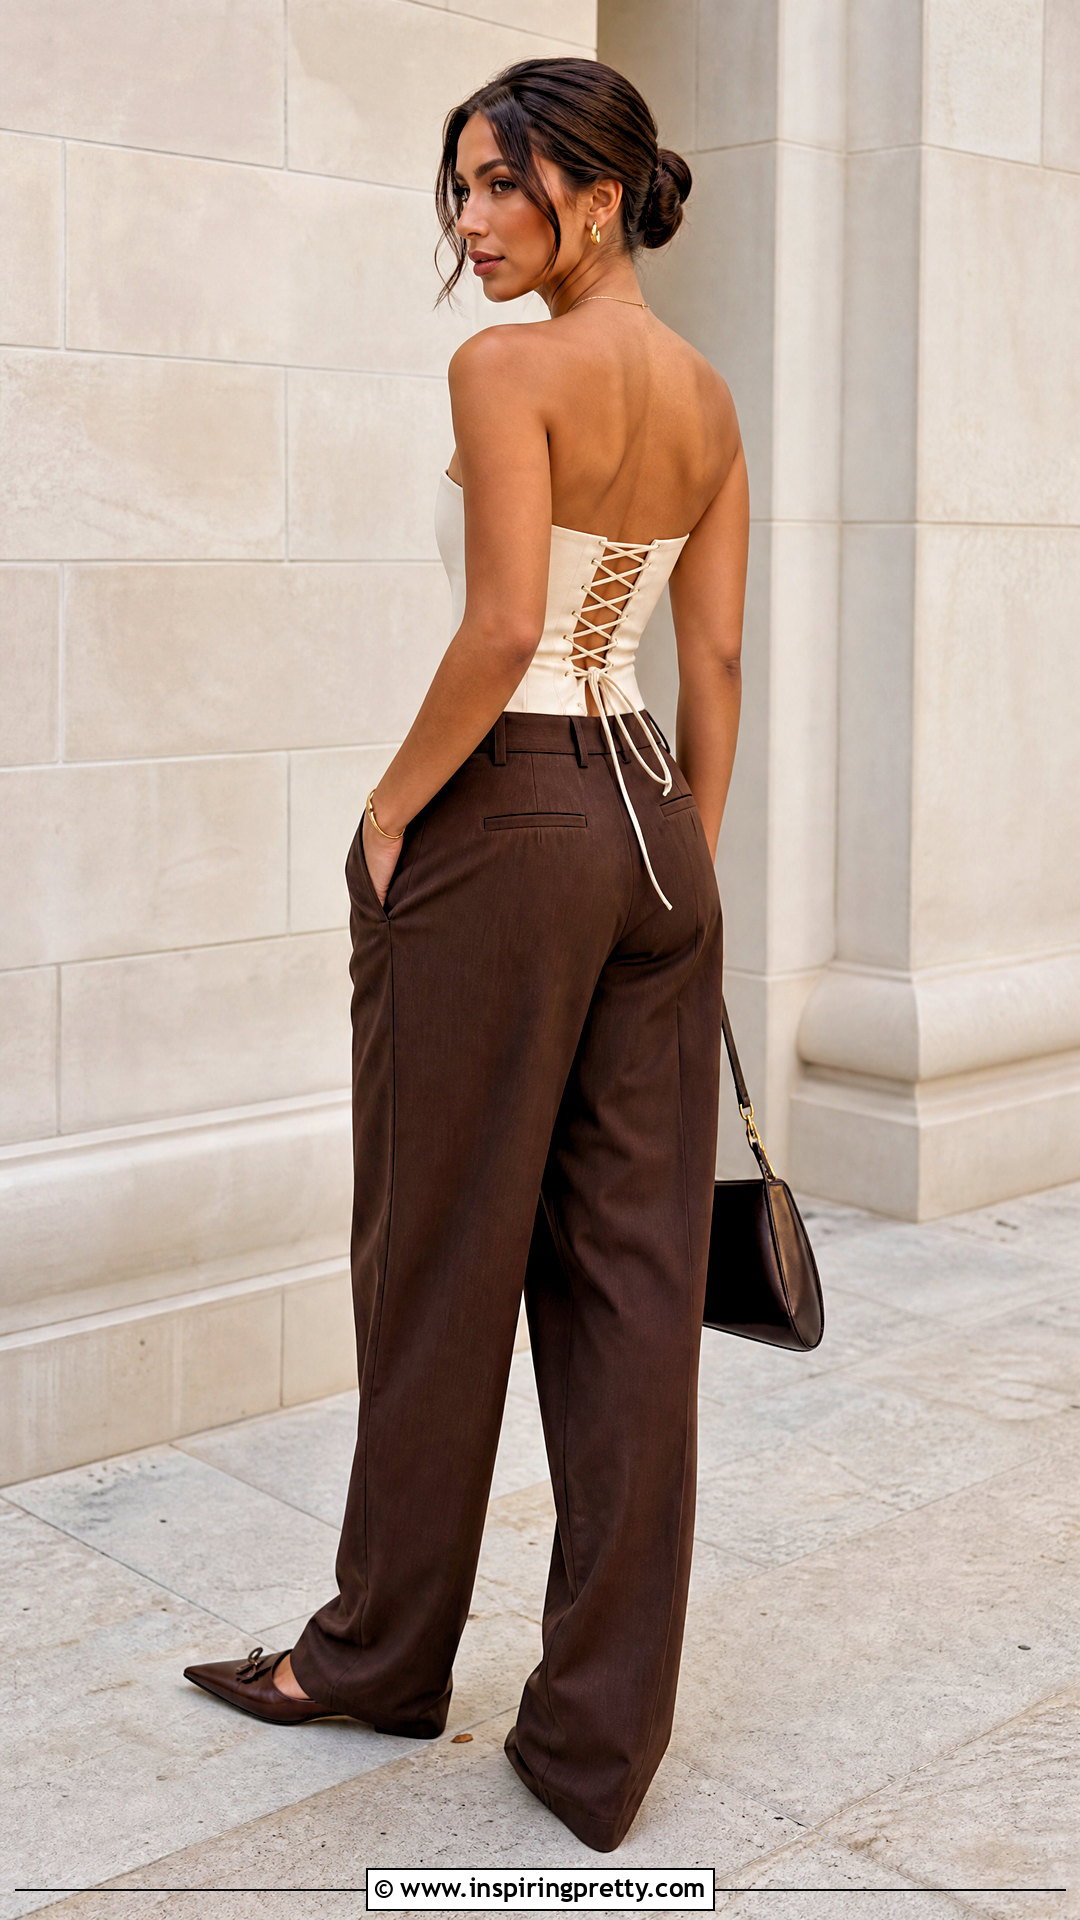
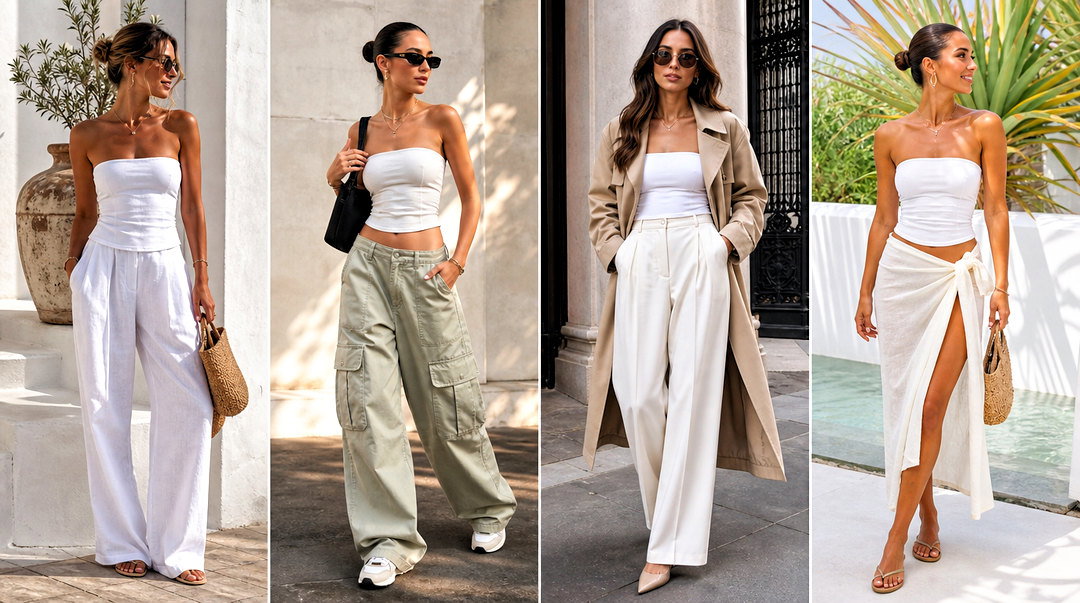
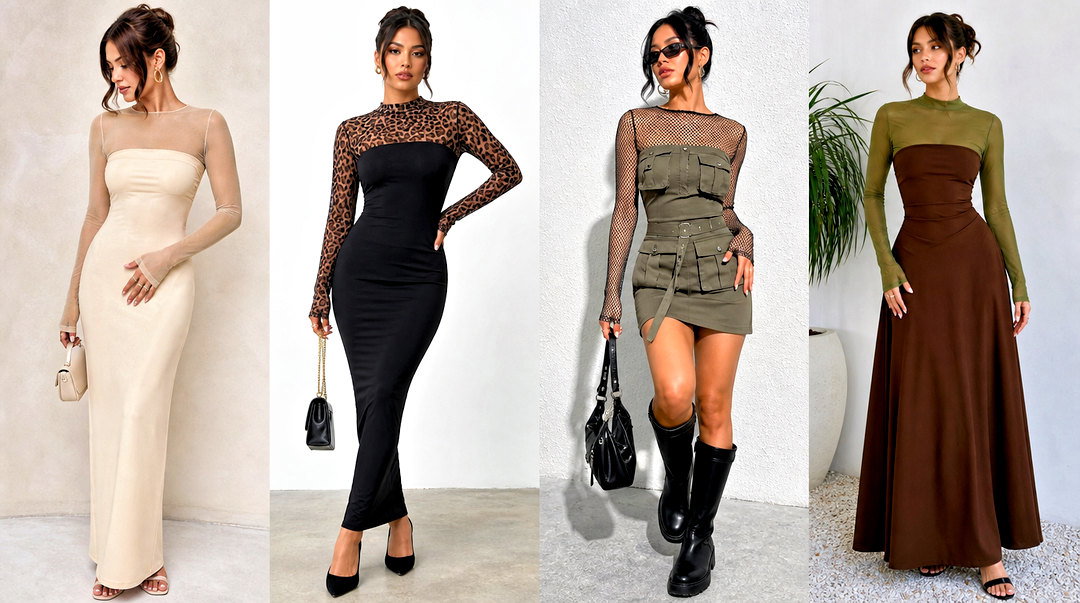
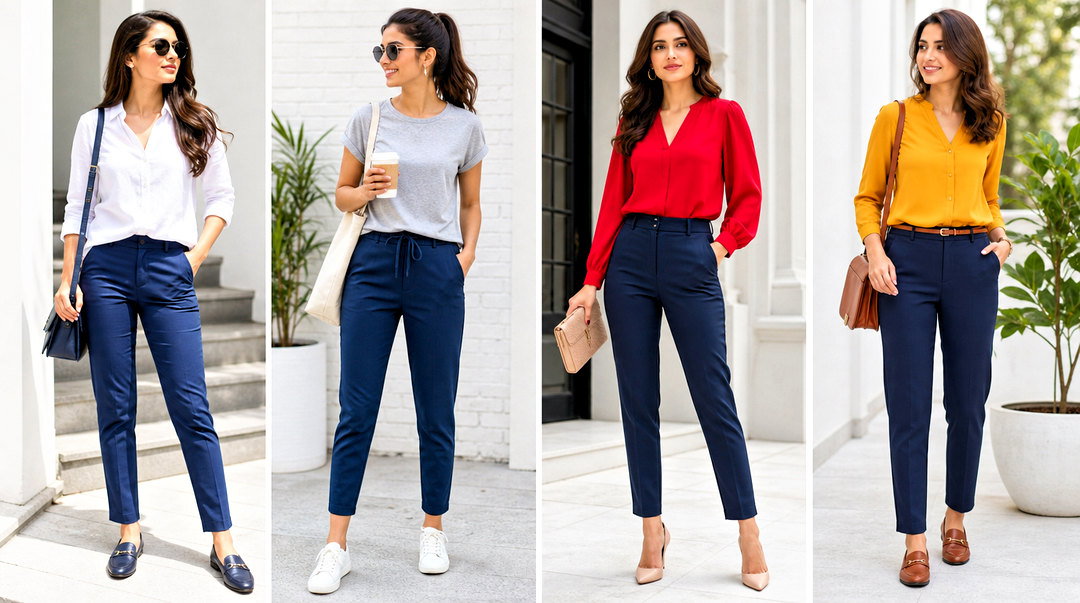
A lace-up back creates an adjustable fit while adding structure to the design. Draft a fitted front and two back panels from medium-weight woven fabric. Add interfacing to the back edges, then install evenly spaced metal eyelets or stitched fabric loops. Line the bodice to conceal seam allowances and reinforce the upper edge with a firm facing. Thread cotton cord, satin ribbon, or a matching fabric tie through the openings in a crisscross pattern. Leave a modesty panel beneath the lacing if you want complete back coverage. Light boning near the side seams can help prevent folding or slipping. Pair the fitted top with pleated trousers, pointed flats, a sleek handbag, and understated jewelry for a clean, coordinated outfit.
16. Corset Strapless Top
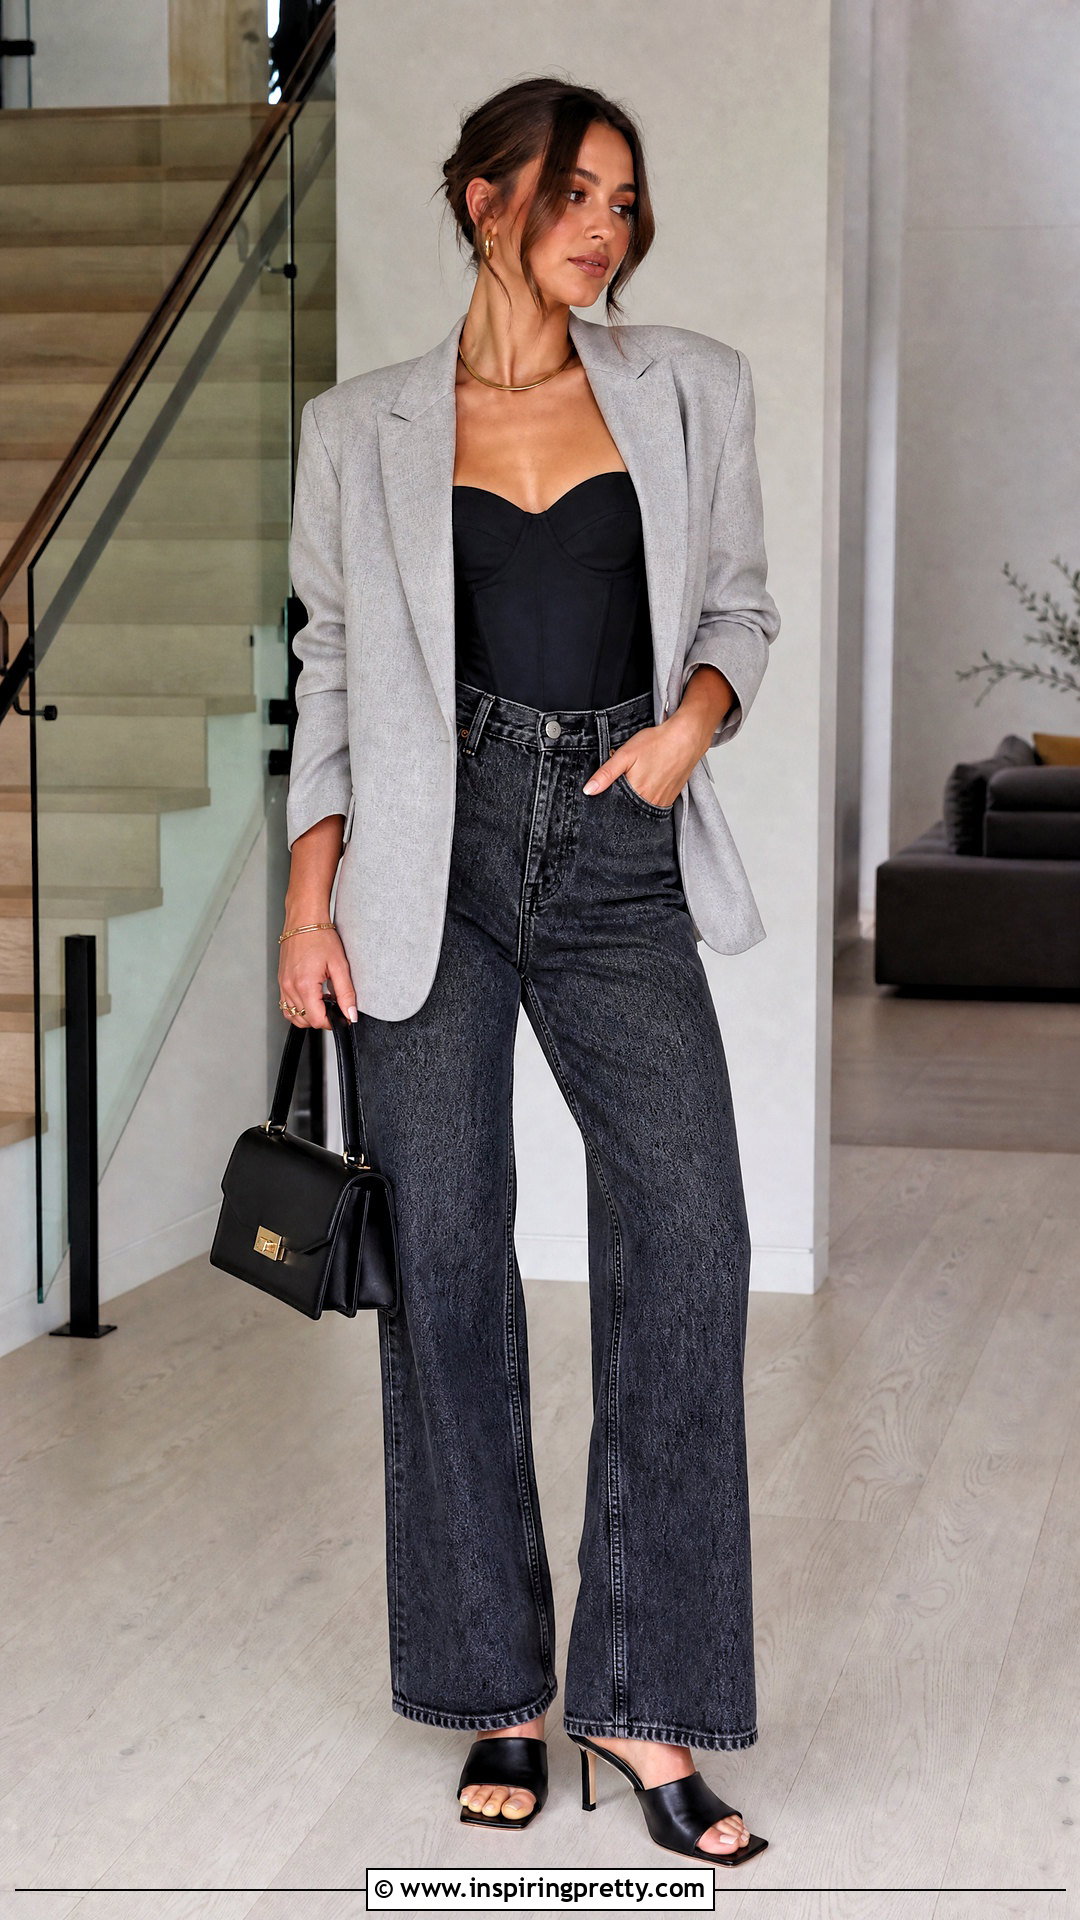
A corset-inspired strapless top requires more precise fitting than a simple stretch tube. Use a fitted bodice pattern with separate front, side, and back panels. Make a test version from inexpensive fabric and correct any gaping before cutting the final material. Add interfacing for stability and sew flexible boning channels along selected seams. The boning should support the fabric rather than press painfully against the body. Attach a lining, finish the upper edge with understitching, and install a zipper or lace-up closure. Consider adding a waist stay inside for extra security. Because this design involves multiple fitted seams, careful pressing makes a noticeable difference. Complete the outfit with wide-leg jeans, heeled mules, a blazer, and a structured bag.
17. Sweetheart Neckline Strapless Top
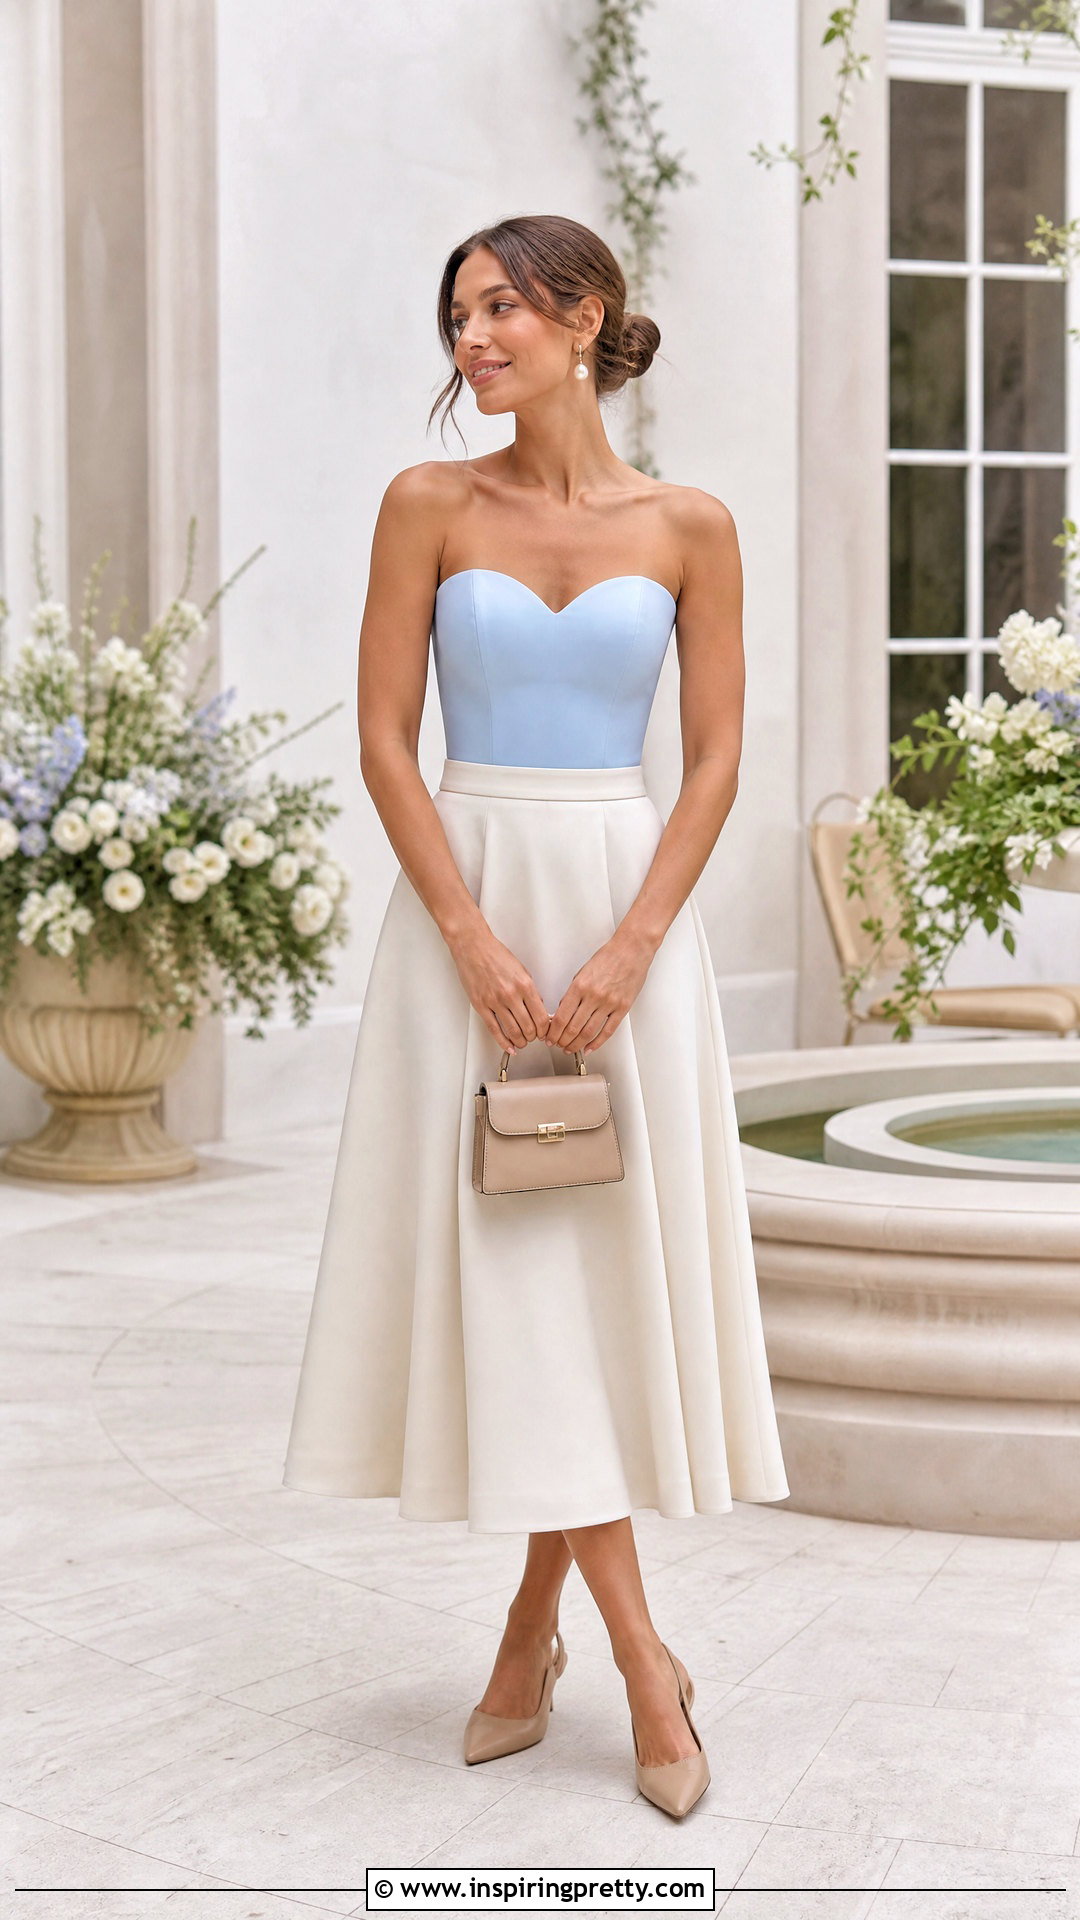
A sweetheart neckline creates a curved upper edge rather than a straight bandeau shape. Begin with a fitted strapless bodice pattern and redraw the center front into a gentle heart-shaped curve. Keep the lowest point high enough to provide comfortable coverage. Cut the front as two mirrored pieces or use multiple princess-seam panels for easier shaping. Interface the outer fabric, add a lining, and reinforce the upper seam with understitching or lightweight boning. Clip carefully into curved seam allowances before turning the top right side out. Check that both sides of the neckline are symmetrical. A back zipper gives this woven design a smooth finish. Style it with an A-line midi skirt, slingback shoes, pearl earrings, and a compact handbag.
18. Denim Strapless Top
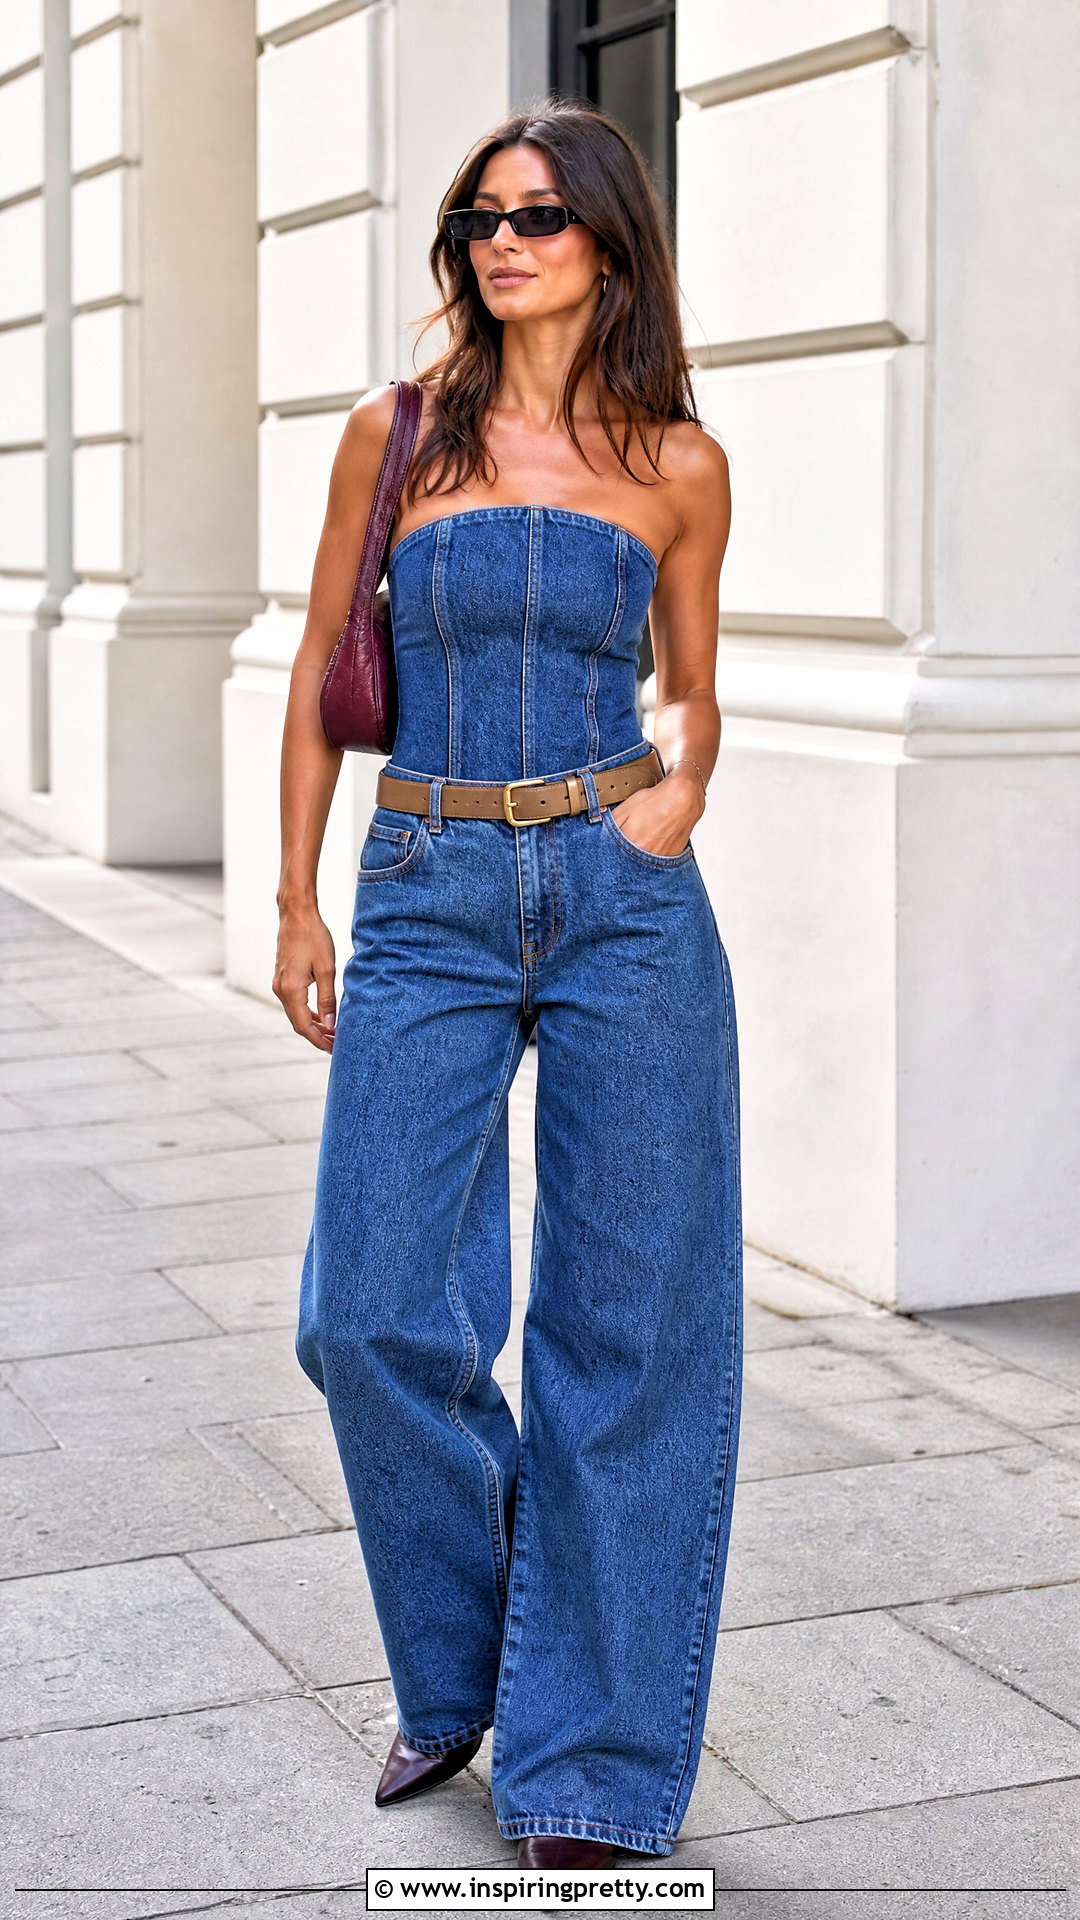
Old jeans can supply durable fabric for a structured strapless top. Open the inner-leg seams and press the denim flat before arranging your pattern pieces. Use a fitted paneled bodice pattern to accommodate the fabric’s limited stretch. Place thicker seams or pockets thoughtfully so they do not create uncomfortable bulk. Sew with a denim needle and longer stitch length, then grade heavy seam allowances. Add a cotton lining and a separating back zipper, lace-up closure, or exposed metal zipper. Boning at the side seams can help the upper edge stay upright. Repurpose belt loops along the hem for subtle detail. Wear the denim top with matching wide-leg jeans, ankle boots, a neutral belt, and a contrasting shoulder bag.
19. Crochet Strapless Top

A crochet strapless top needs a dense stitch pattern and a secure upper band. Begin with a foundation chain that fits snugly around your upper bust, considering how much the yarn may stretch. Join it without twisting and work in continuous rounds or rows that are seamed later. Use tight single crochet, half-double crochet, or a textured stitch to improve coverage. Decrease slightly near the waist if you prefer a shaped silhouette. Thread elastic through the uppermost row or sew elastic to the inside with matching thread. Add a fabric lining when the stitches remain open. Detachable straps can be secured inside with discreet buttons or snaps if desired. Pair the top with a linen maxi skirt, flat sandals, and a woven shoulder bag.
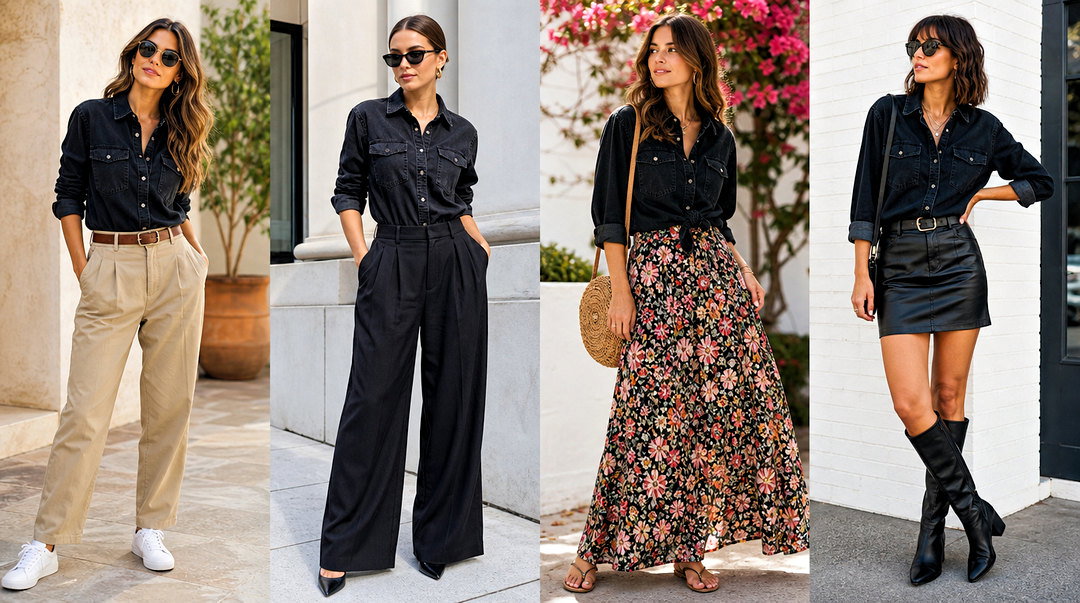
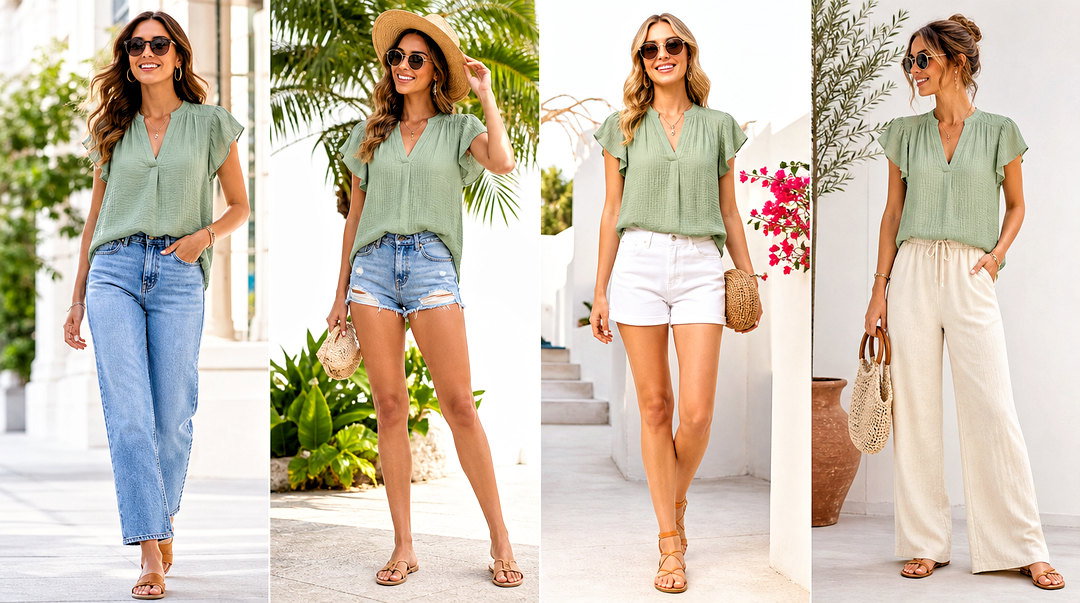
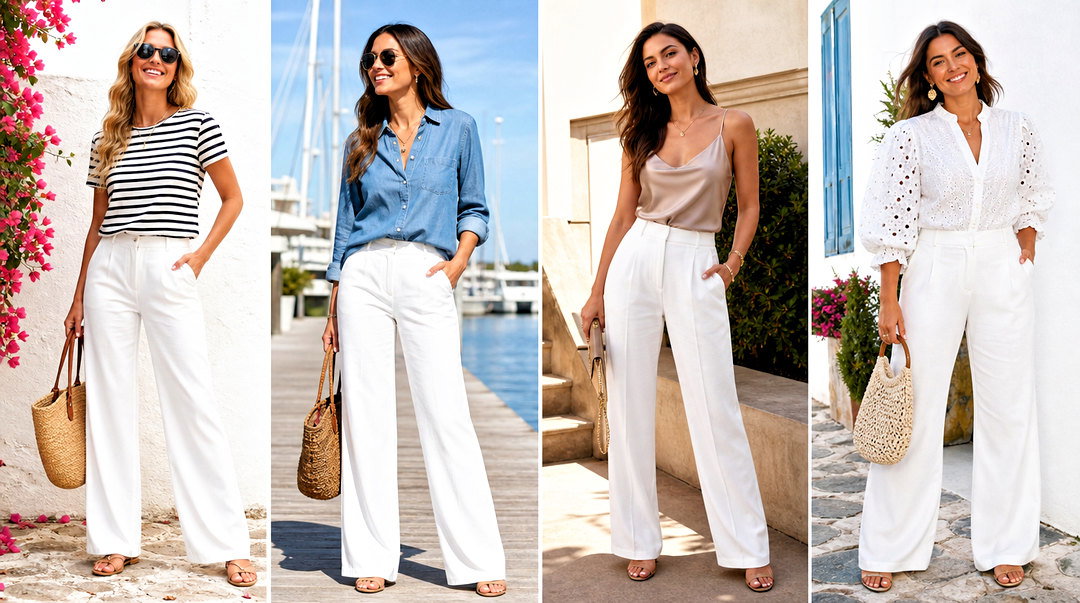
20. Bow Front Strapless Top
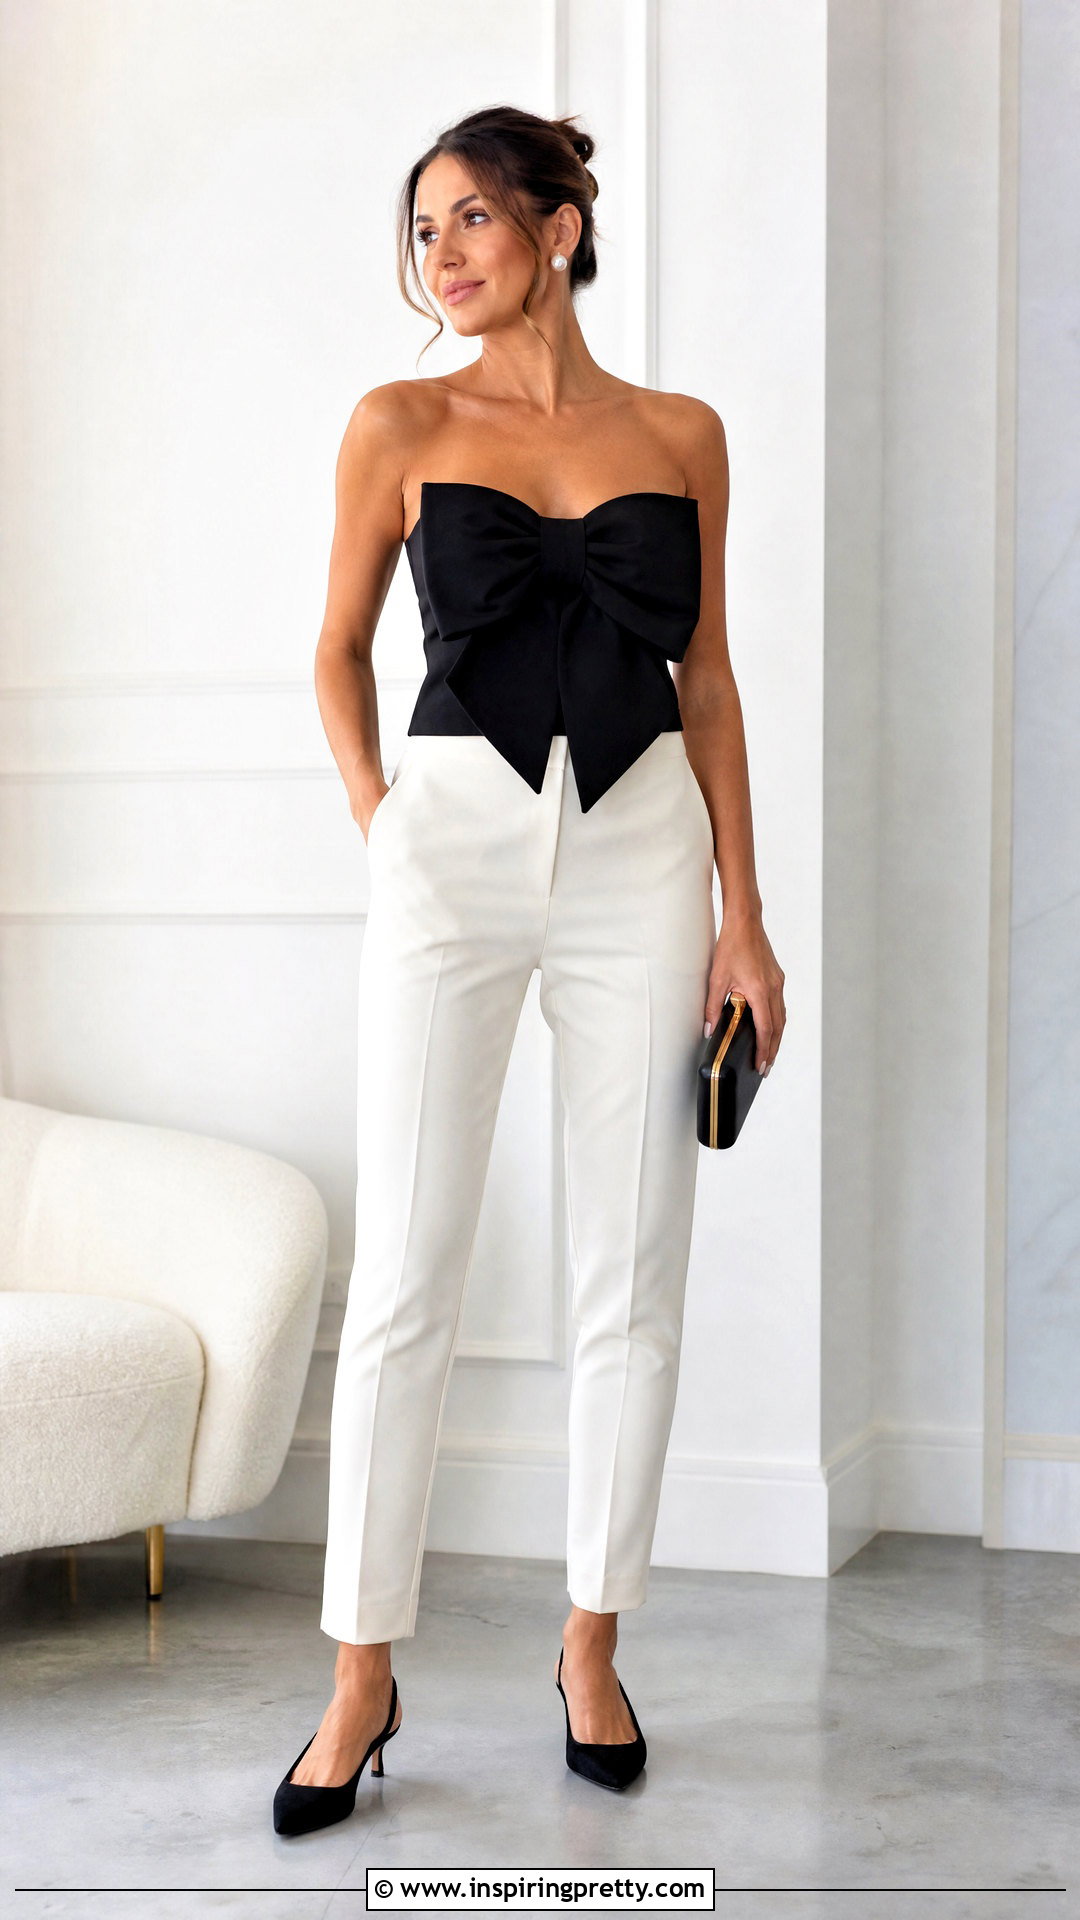
A bow-front design turns a simple fitted base into a polished statement top. First, sew a double-layer bandeau using stable stretch fabric or a lined woven bodice. Add elastic, boning, or a secure back closure depending on the chosen material. Cut a long rectangular strip for the bow, interface it lightly, and sew around the edges while leaving an opening. Turn, press, and close the opening neatly. Gather or pleat the center, then attach the bow firmly to the front of the bandeau. Keep the bow proportional so it does not pull the neckline forward. A few hidden hand stitches can hold its loops in position. Complete the look with cigarette pants, kitten heels, stud earrings, and a structured clutch.
Conclusion:
Learning how to make strapless top designs gives you many options beyond buying a standard bandeau. You can refashion a T-shirt, button-down, scarf, bandana, or old pair of jeans, or create a fitted garment from new fabric. Stretch versions are usually the easiest for beginners. Structured woven tops require more careful measurements, shaping, lining, and support. Whichever method you choose, make a sample when possible and test the finished top through normal movement. Elastic should feel secure but comfortable, while ties, zippers, and lace-up closures must remain firmly attached. Once the fit is right, style your handmade top with balanced bottoms, supportive undergarments, comfortable shoes, and accessories that complement its fabric and shape.
Related posts:


Leave a Reply