
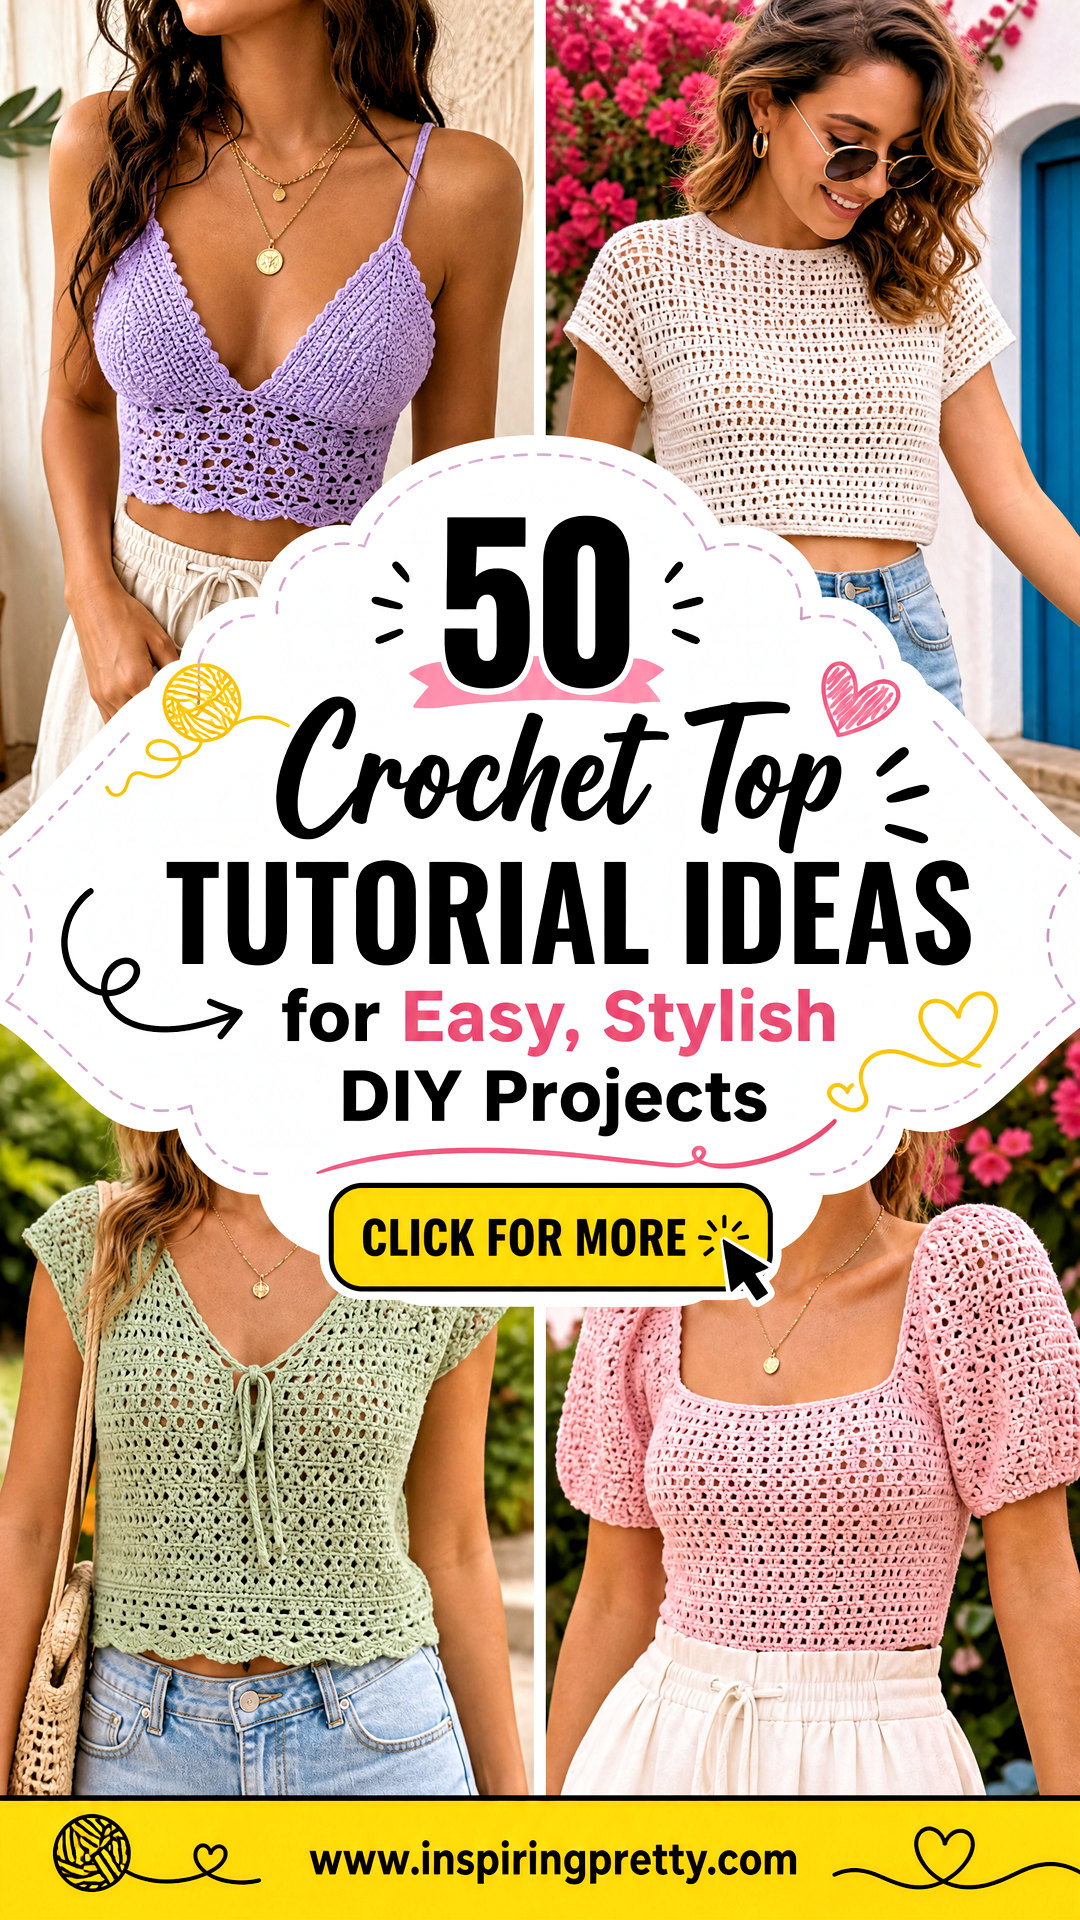
Crochet tops are rewarding projects because they combine practical garment-making skills with plenty of room for personal expression. A beginner can start with two simple rectangles, while an experienced crocheter can explore lace, shaping, motifs, sleeves, and fitted construction. Lightweight cotton, bamboo, linen blends, and smooth plant-based yarns are especially useful for breathable warm-weather pieces. Current crochet collections feature everything from ribbed camisoles and granny-square halters to mesh tees, tunics, and side-to-side tops. () Before starting, make a gauge swatch, record your body measurements, and check the fabric for stretch and transparency. The complete projects below provide construction guidance, customization tips, and wearable outfit inspiration for anyone searching for a **50 crochet top tutorial**.
1. Beginner Rectangle Crochet Top
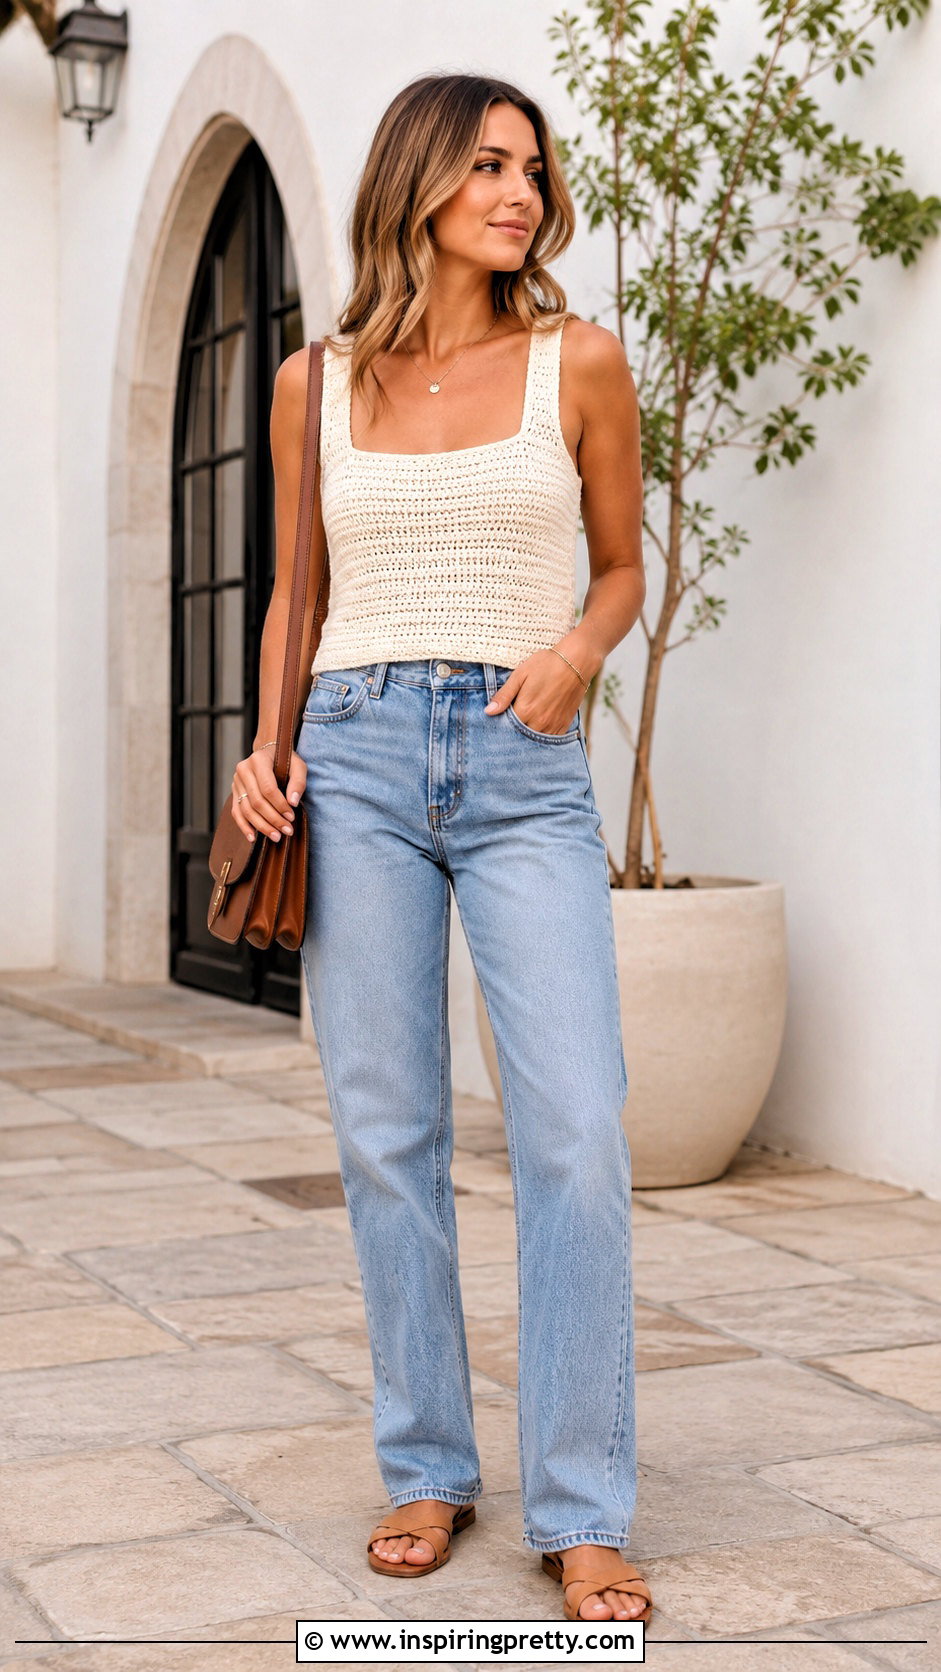
Start your first wearable with two matching rectangles because this construction requires minimal shaping. Choose smooth cotton or a cotton-acrylic blend in a light or medium weight. After making a gauge swatch, chain enough stitches to cover half your desired bust width. Work each panel from the lower edge upward using half double crochet or double crochet. Stop when the rectangle reaches your preferred length. Place the panels together and seam the shoulders, leaving a comfortable neckline opening. Seam both sides while reserving space for the armholes. Add single crochet around the neck, hem, and armholes for a clean finish. Wear the completed top with high-waisted jeans, flat sandals, and a structured crossbody bag.
2. Simple Crochet Crop Top
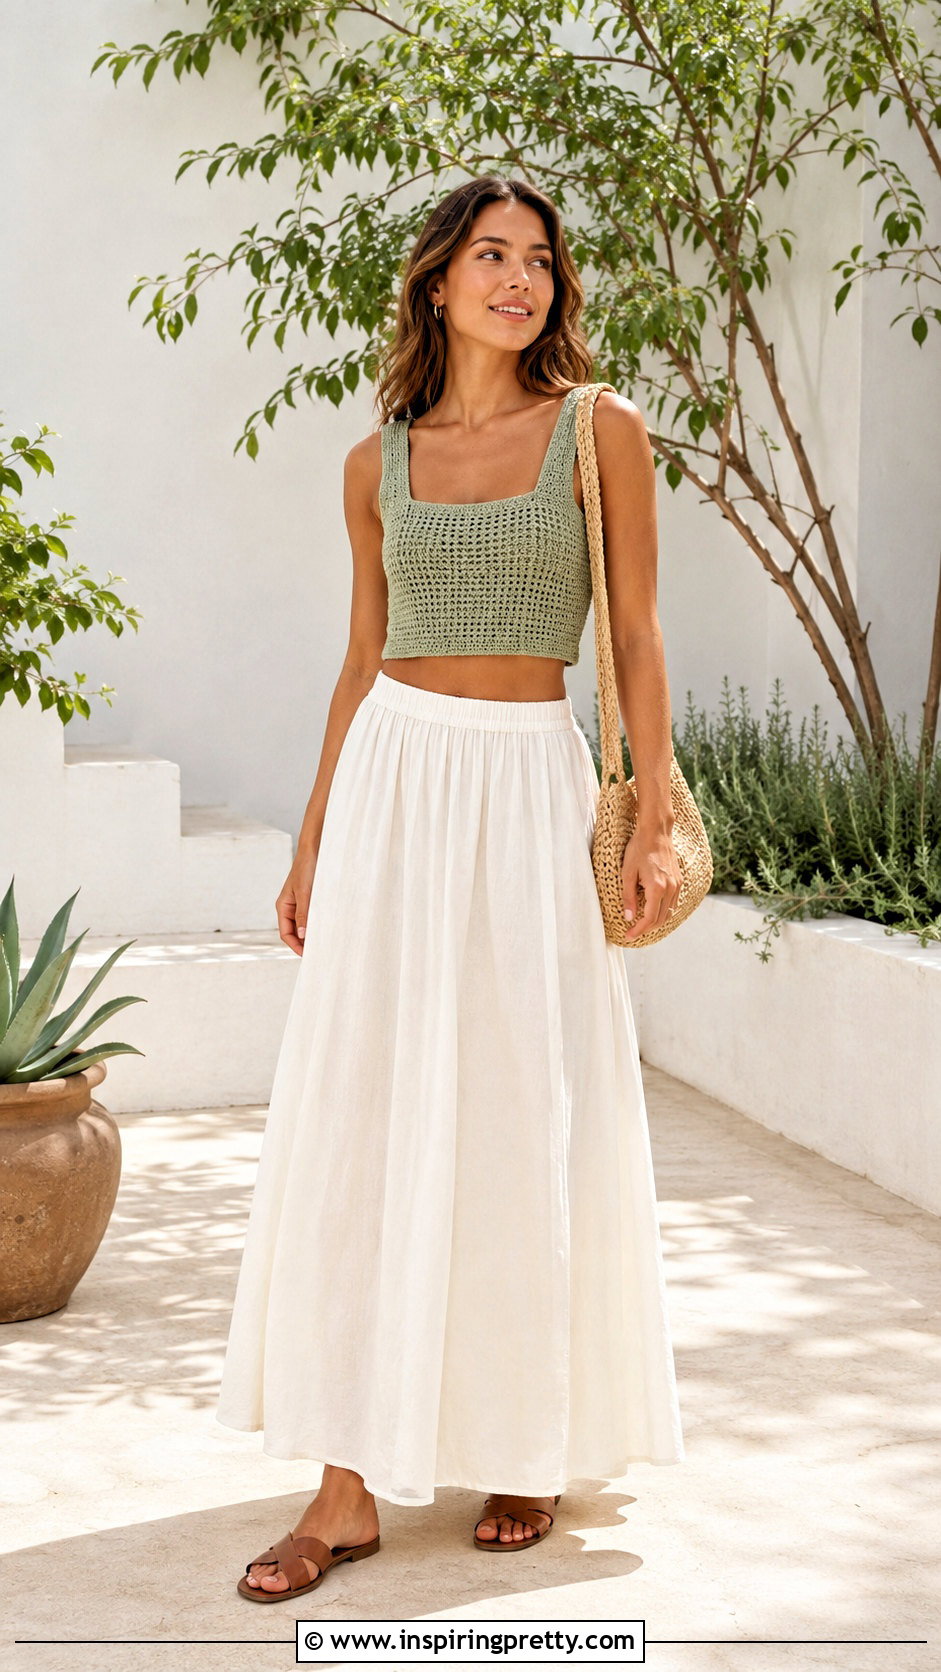
A simple crop top is quick to make and easy to adjust using your own measurements. Measure around the fullest part of your bust, decide how much ease you want, and crochet a foundation chain that covers the front width. Work upward in half double crochet until the panel reaches the bottom of the armholes. Create a matching back panel, then seam the sides. Add wide shoulder straps directly to the upper corners, trying on the top before securing their final length. Finish the neckline and hem with reverse single crochet or a basic scalloped border. Cotton yarn creates a firm fabric, while bamboo blends offer softer drape. Style the finished crop top with a flowing maxi skirt, leather slides, small hoop earrings, and a woven shoulder bag.
3. Crochet Tank Top
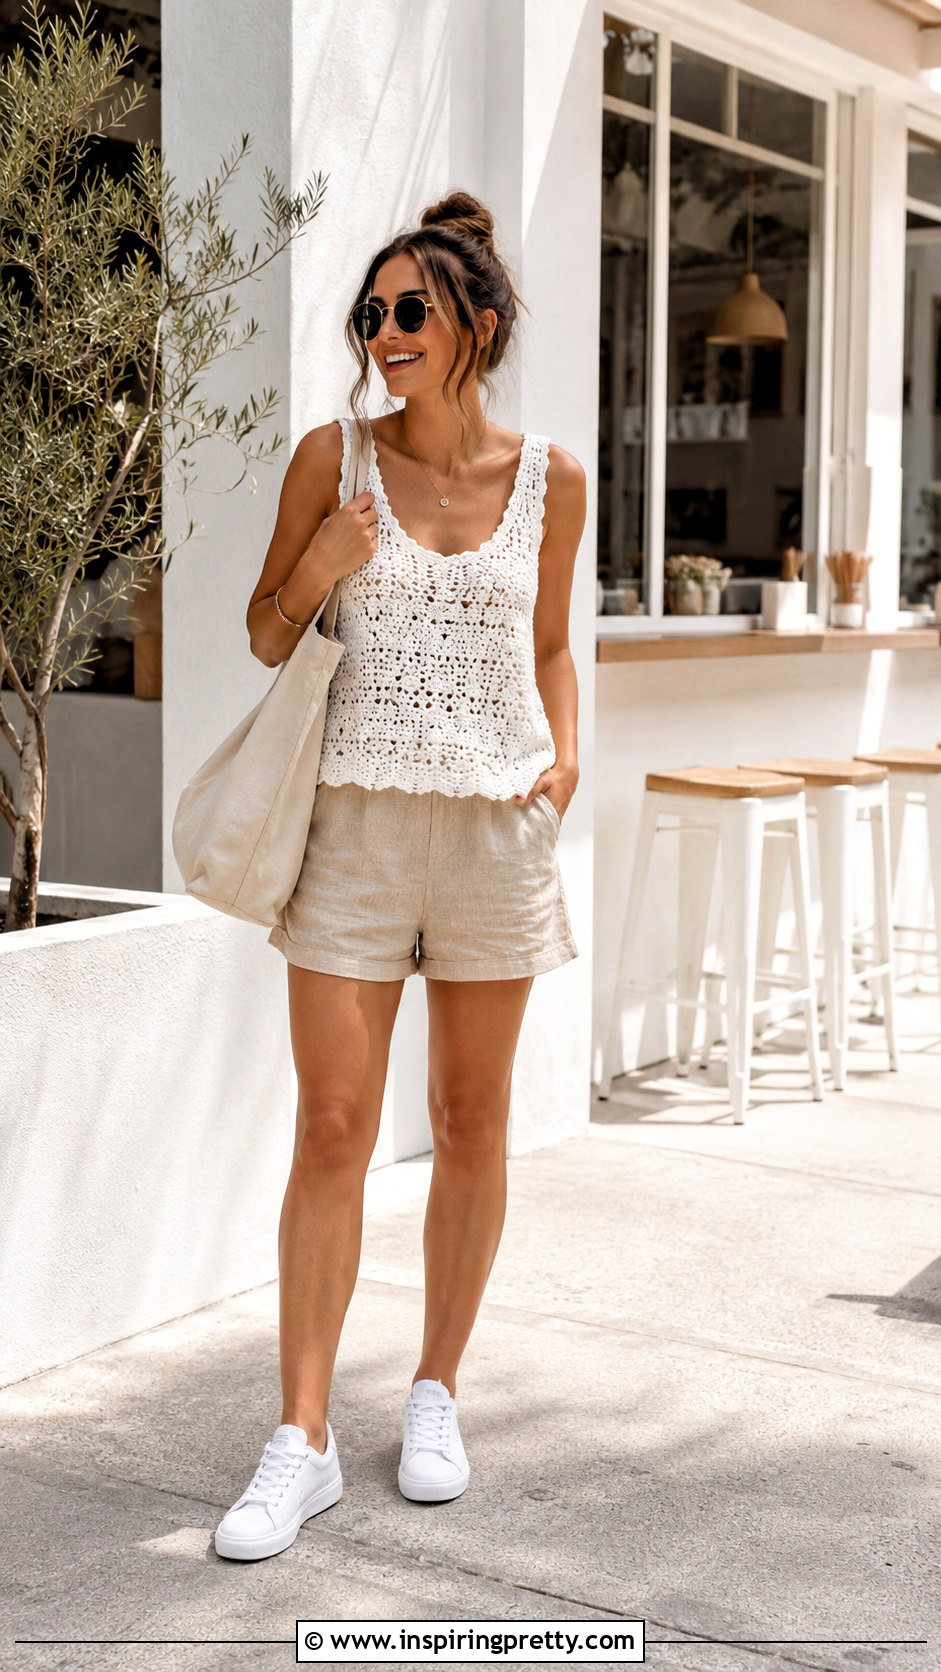
Picture a lightweight tank that works with nearly everything in a summer wardrobe. Make the front and back as separate panels, beginning with a foundation chain based on your bust measurement and gauge. Crochet the body in double crochet, linen stitch, or alternating solid and open rows. At the armholes, reduce the width gradually by skipping stitches or using decreases. Continue the remaining stitches to form two shoulder sections. Repeat the shaping for the back, then seam the shoulders and sides. A row of single crochet helps stabilize every opening. Steam or wet block the top according to the yarn label. Pair this handmade tank with linen shorts, white sneakers, a canvas tote, and simple sunglasses for an easy everyday outfit.
4. Crochet Halter Top
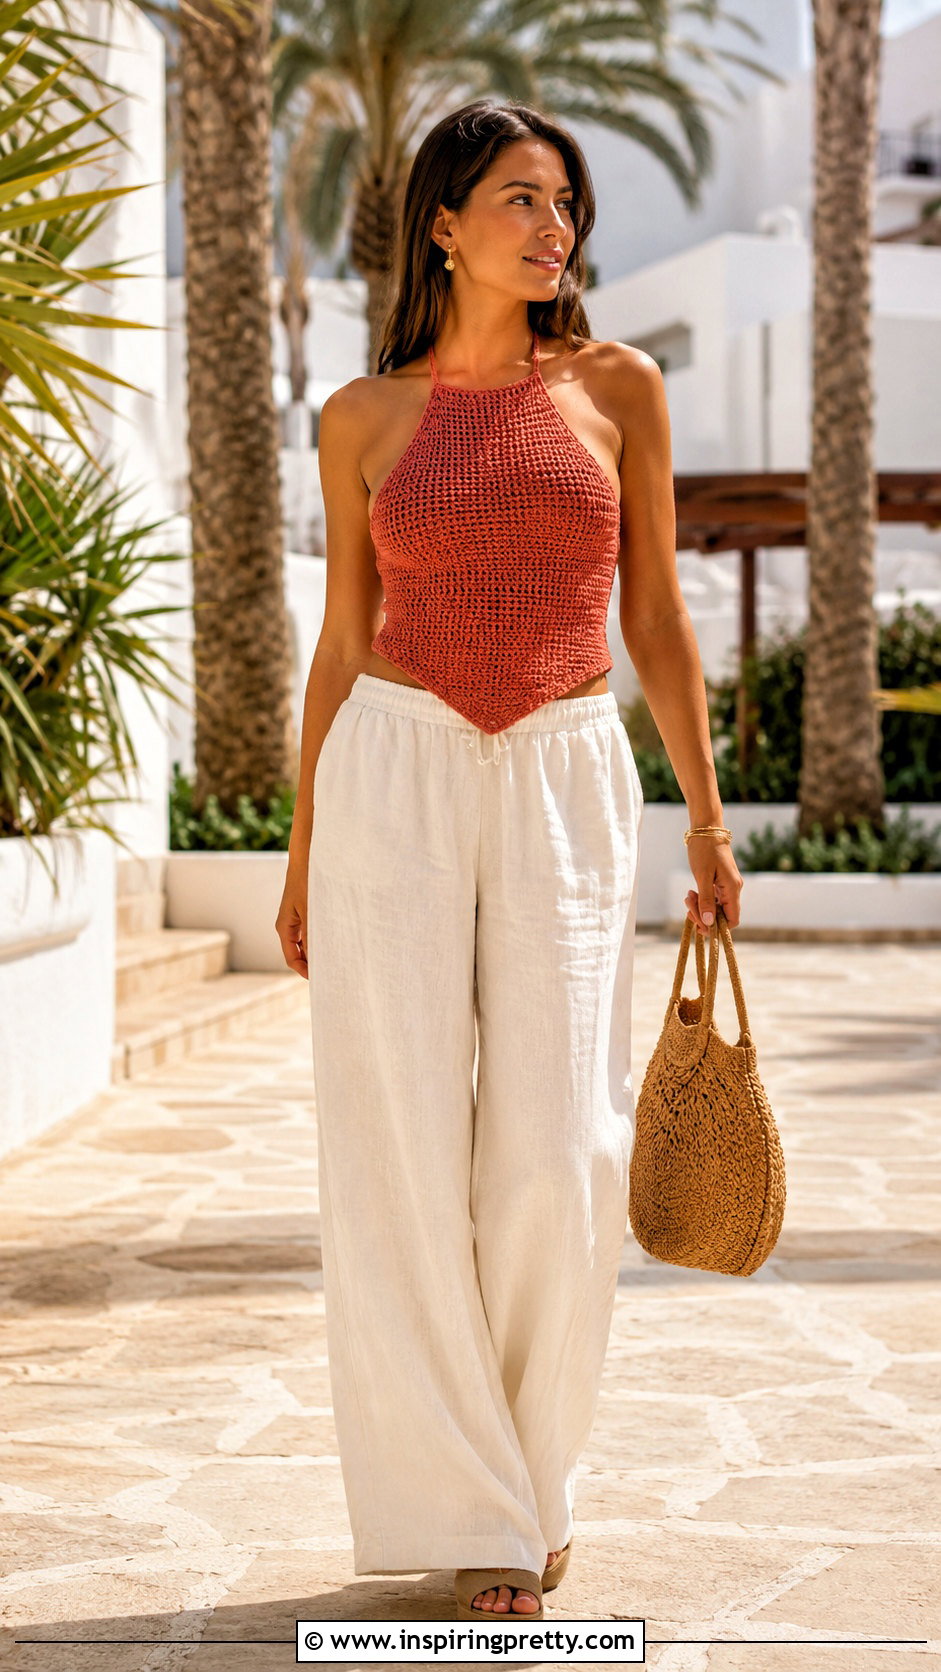
The signature feature of a halter top is its neckline, so accurate upper-body measurements are important. Begin at the lower edge and crochet a fitted rectangular band that sits securely around your torso. Continue working upward while decreasing at both sides to create a triangle or trapezoid-shaped front. When the neckline reaches the desired width, crochet two long ties or one sturdy neck strap. Add separate ties at the lower corners if you prefer an adjustable back. Use dense single crochet for coverage or lined double crochet for faster progress. Test the strap length before weaving in the ends. Complete the outfit with wide-leg linen pants, platform sandals, a raffia bag, and understated jewelry that keeps attention on the handmade neckline.
5. Granny Square Crochet Top
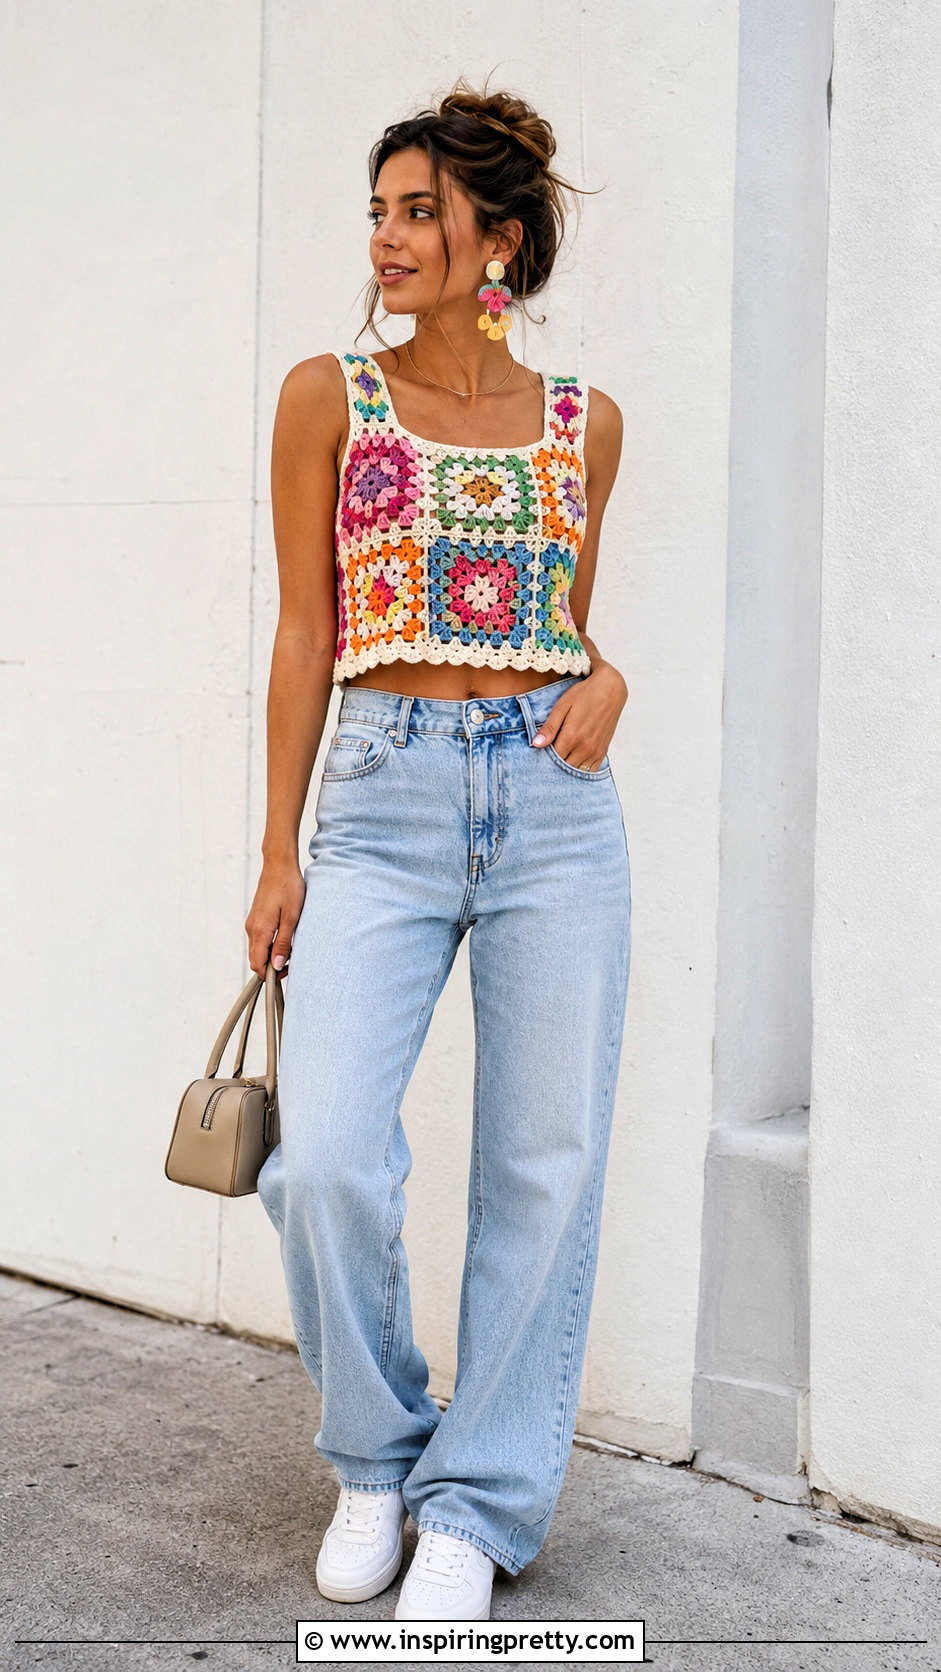
Colorful yarn and repeating motifs turn a granny-square top into an excellent stash-friendly project. Crochet enough squares to cover the front and back of your torso, checking their blocked measurements rather than relying on unblocked size. Arrange the motifs on a flat surface before joining them so the colors appear balanced. Connect the squares with slip stitches, single crochet, or an invisible mattress seam. Add partial motifs or solid crochet rows near the sides when extra width is needed. Finish the neckline, armholes, and hem with a consistent border that strengthens the joins. For a modern outfit, wear the top with relaxed straight-leg jeans, clean white sneakers, a neutral mini bag, and earrings that repeat one color from the squares.
6. Crochet Bralette Top
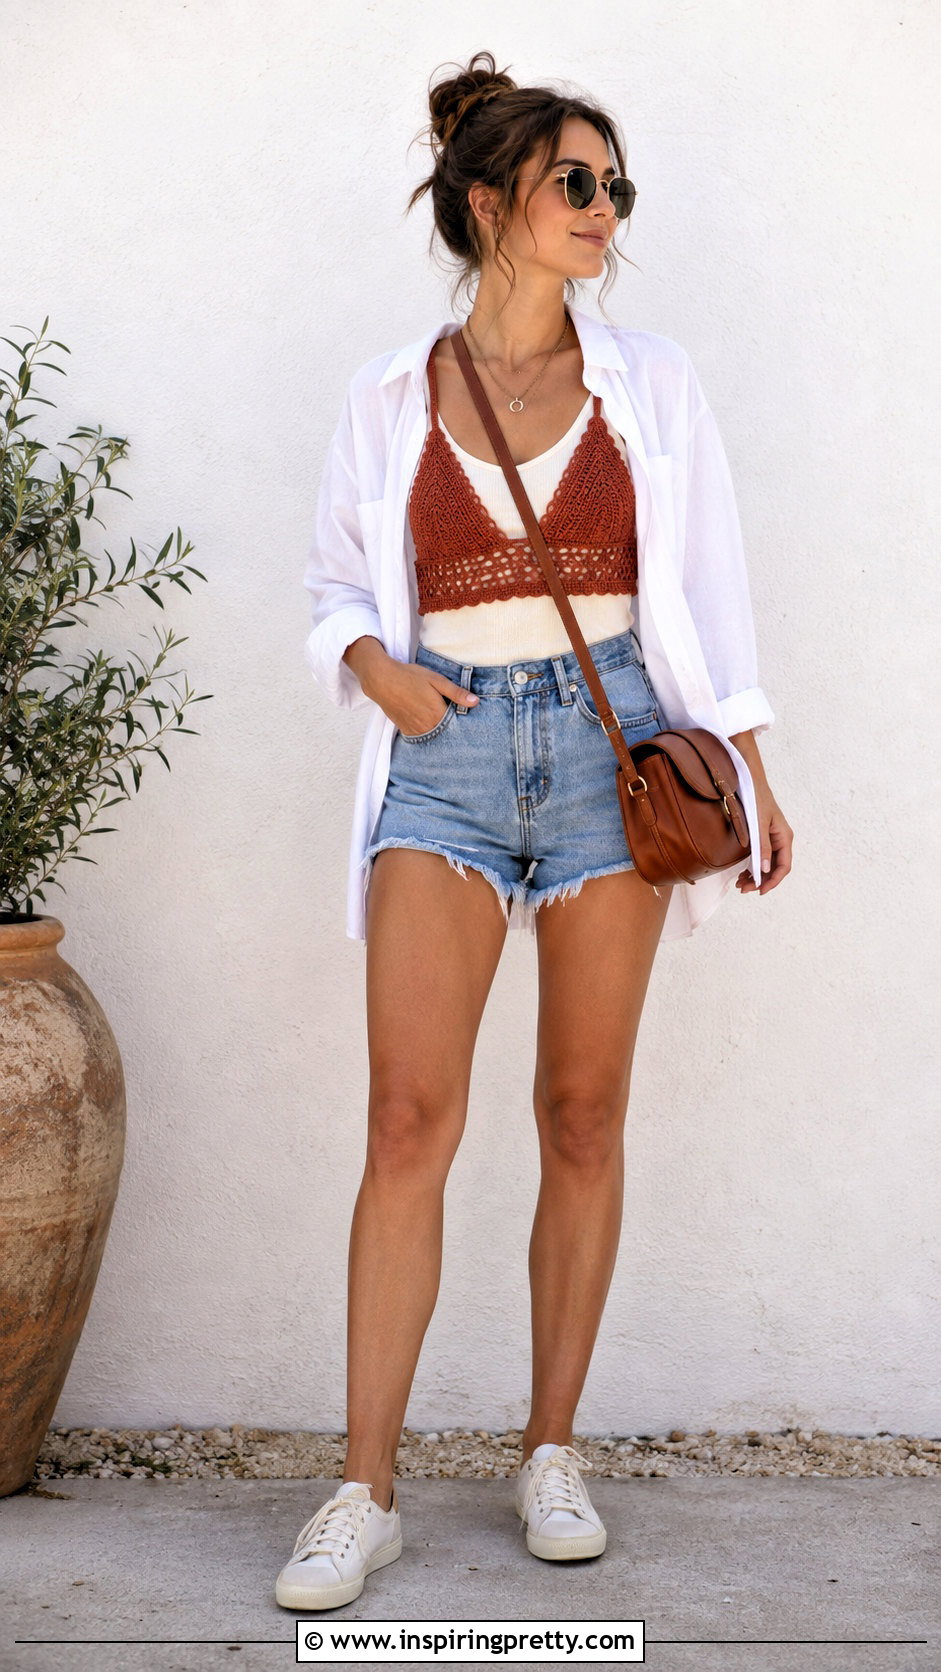
A crochet bralette begins with two shaped cups and a supportive underbust band. For each cup, crochet around both sides of a foundation chain, placing several stitches into the final chain to form a smooth curved center. Keep adding rows until the cup provides the width and height you need. Make the second cup identical, then join both pieces with slip stitches or a short connecting panel. Crochet a firm ribbed or single-crochet band beneath the cups. Add adjustable shoulder and back ties, making them wide enough to remain comfortable. Consider sewing in a soft fabric lining for additional coverage. Style the finished top over a fitted tank with high-rise shorts, low-profile sneakers, and a lightweight overshirt for a balanced layered look.
7. Crochet Camisole Top
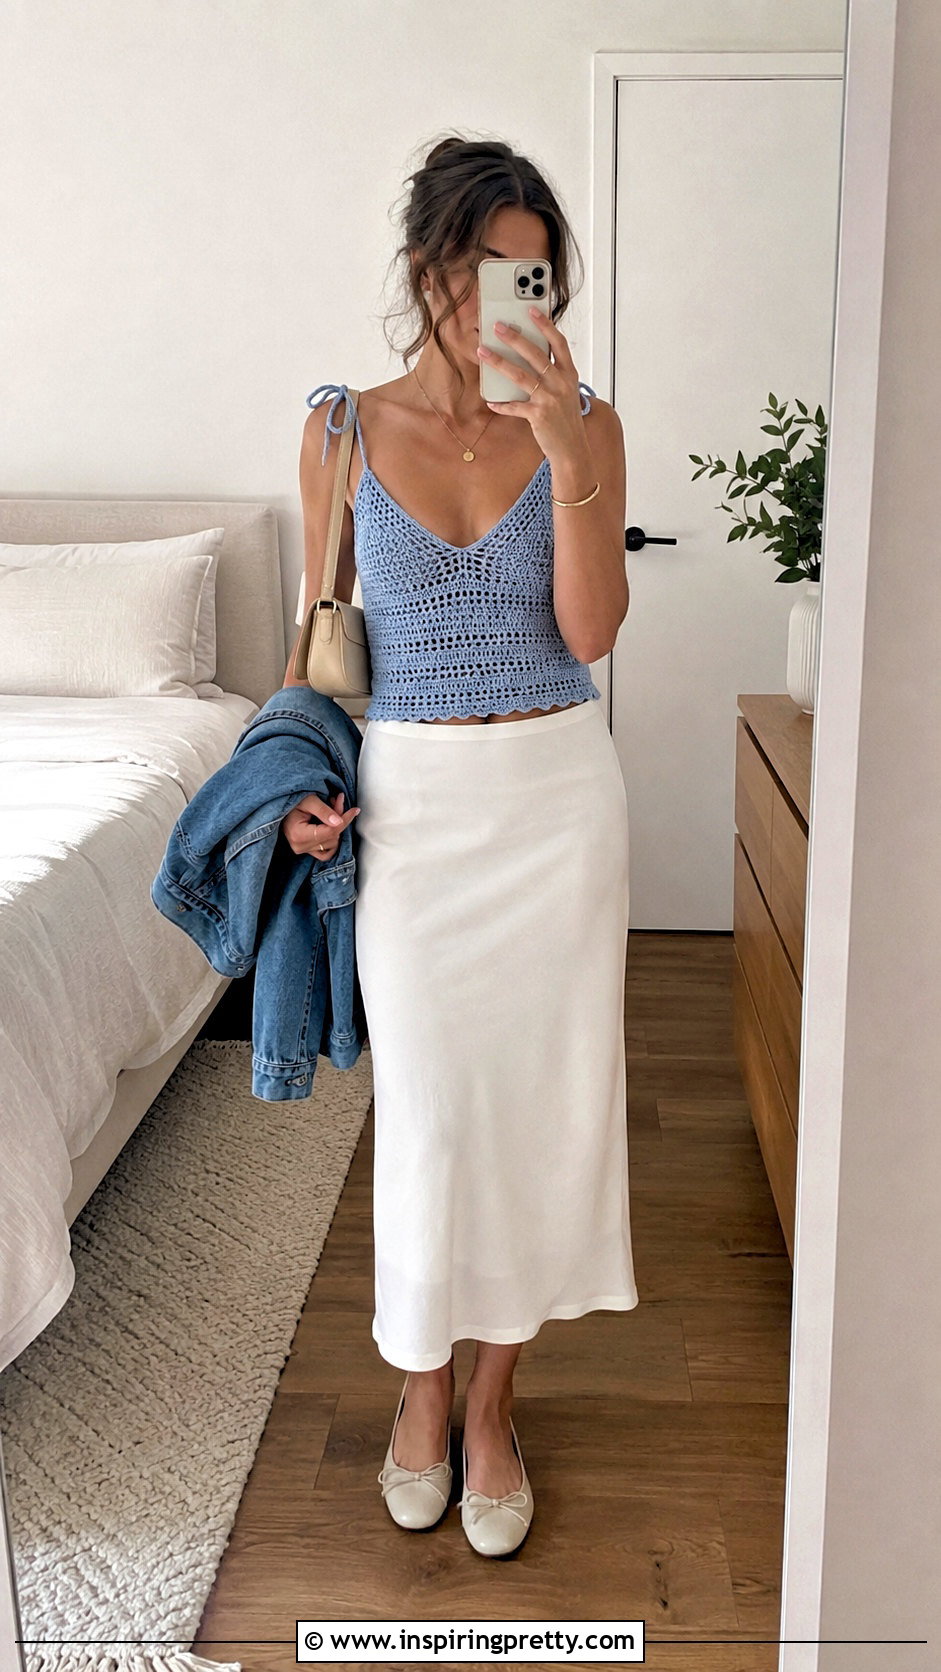
Soft drape gives a crochet camisole its relaxed, wearable character. Select a lightweight yarn and use a hook that creates flexible fabric without oversized gaps. Crochet the body as one tube in joined rounds, or make two flat panels if you find seaming easier. Continue until the body reaches just below the armholes. Shape a gentle front neckline with short rows or gradual decreases. Keep the back slightly higher if you want additional support. Crochet four narrow straps so their length can be adjusted with ties, or sew two fixed straps securely in place. Block carefully to even the stitches. Pair the camisole with a midi skirt, ballet flats, a compact shoulder bag, and a cropped denim jacket when extra coverage is useful.
8. Ribbed Crochet Top
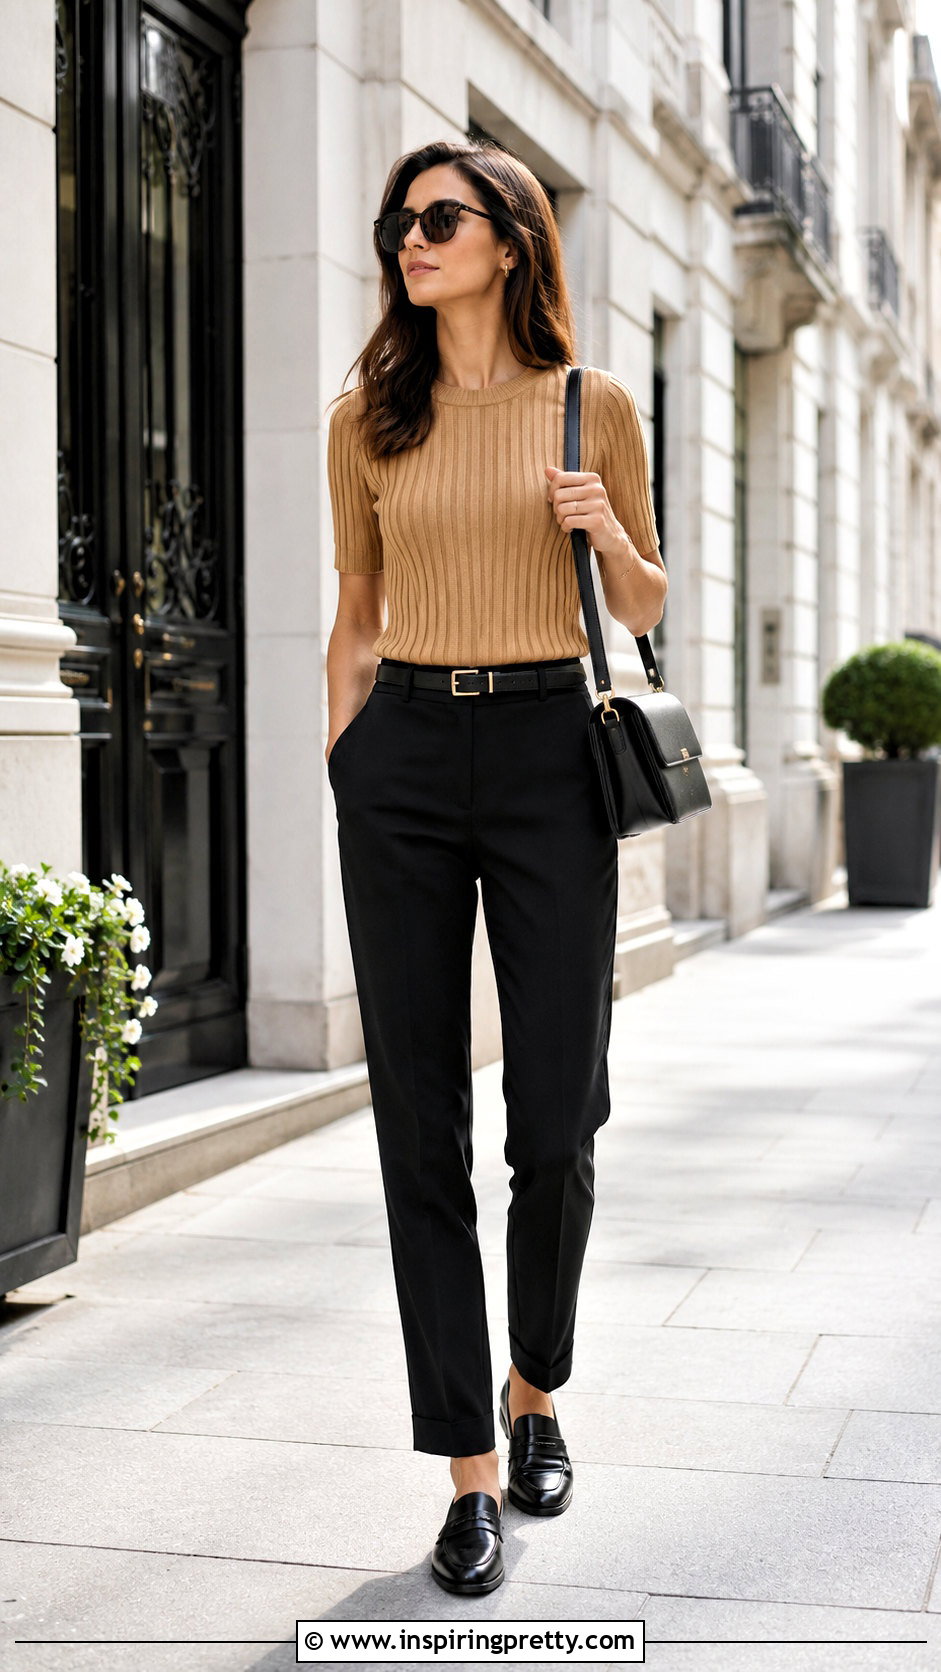
Would you like crochet fabric that stretches and follows the body comfortably? Create vertical ribbing by working single crochet or half double crochet through the back loop only. Begin with a chain equal to the finished length of the top, then work rows until the panel wraps around half your torso. Make a second panel or continue until one large rectangle fits around the full bust. Seam the body carefully so the rib direction remains vertical. Add straps, short sleeves, or a simple neckline border depending on your preferred silhouette. Remember that ribbing can relax after wear, so test the swatch before choosing negative ease. Style this fitted top with tailored trousers, loafers, a slim belt, and a polished shoulder bag.
9. Crochet Tube Top
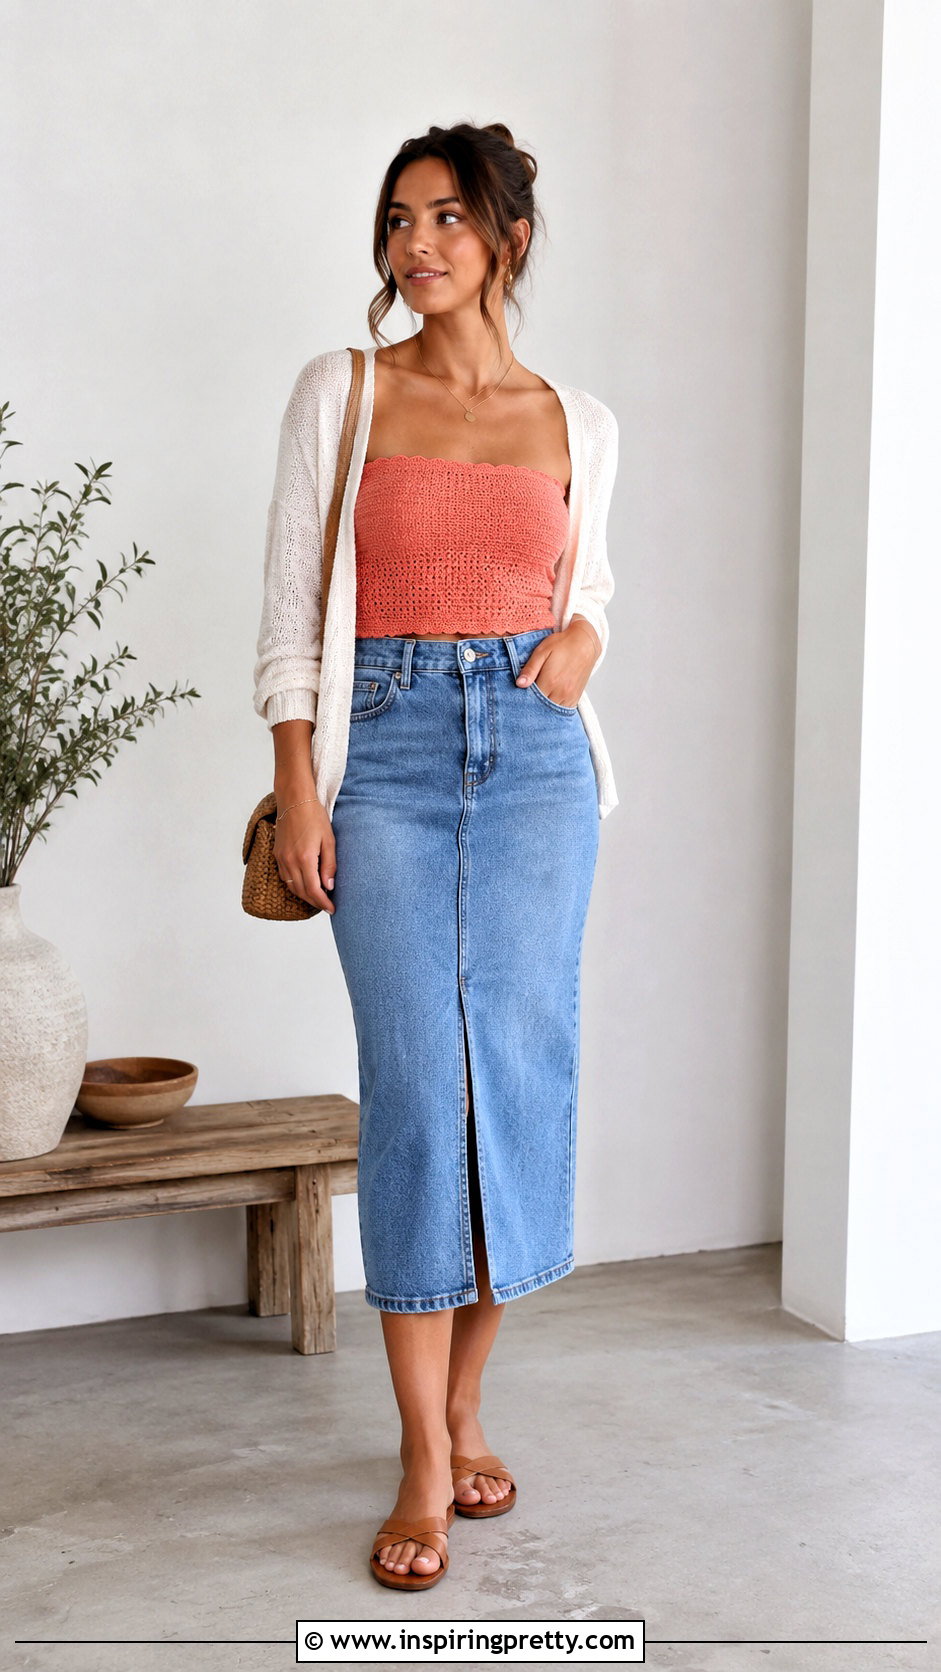
A tube top needs a secure upper edge and enough stretch to stay comfortably in place. Crochet a ribbed rectangle using back-loop half double crochet, checking the fit around your upper bust as the fabric grows. Make the rectangle slightly smaller than your body measurement if the swatch stretches easily. Join the short ends to form a tube, then turn the seam toward the back. Add several rounds of tight single crochet along the upper edge for stability. An elastic thread or narrow elastic band can be incorporated discreetly when extra hold is required. Finish the lower edge with a plain border or subtle picots. Wear the top with a high-waisted denim midi skirt, flat sandals, a light cardigan, and a practical shoulder bag.
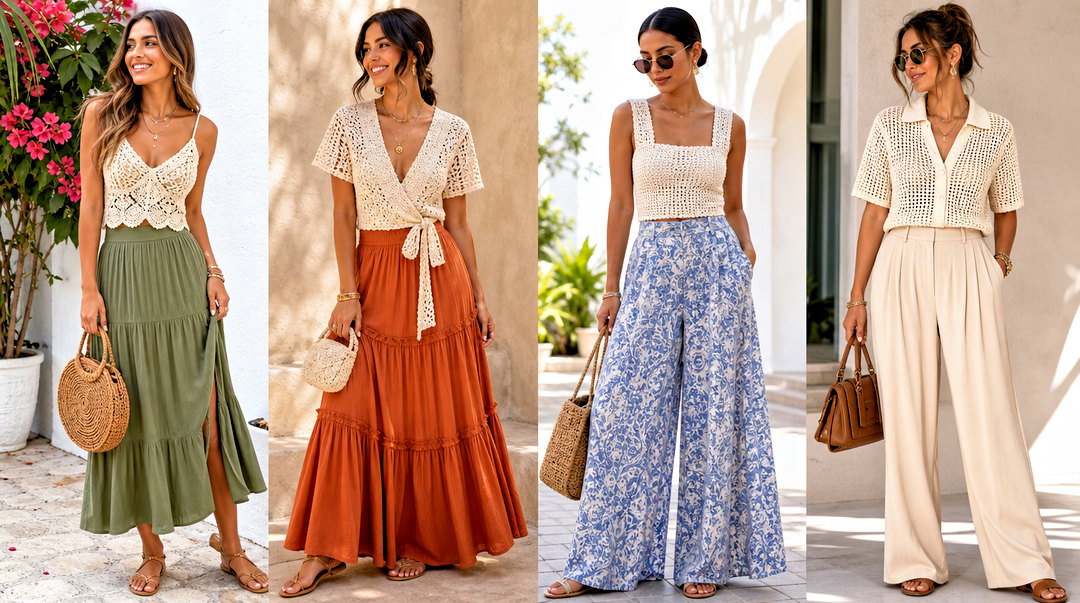
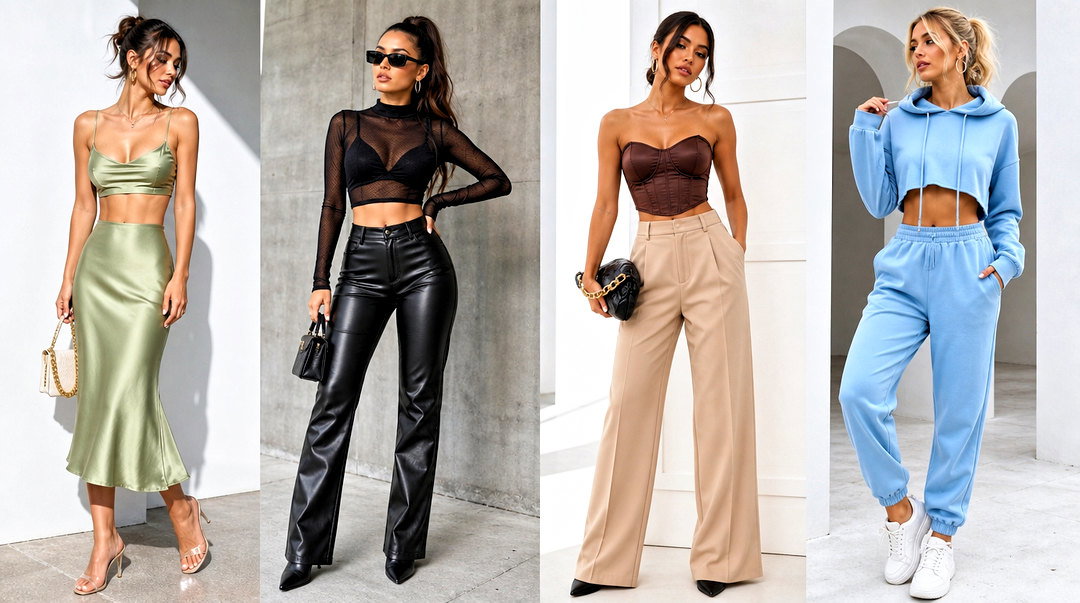
10. Crochet Corset Top
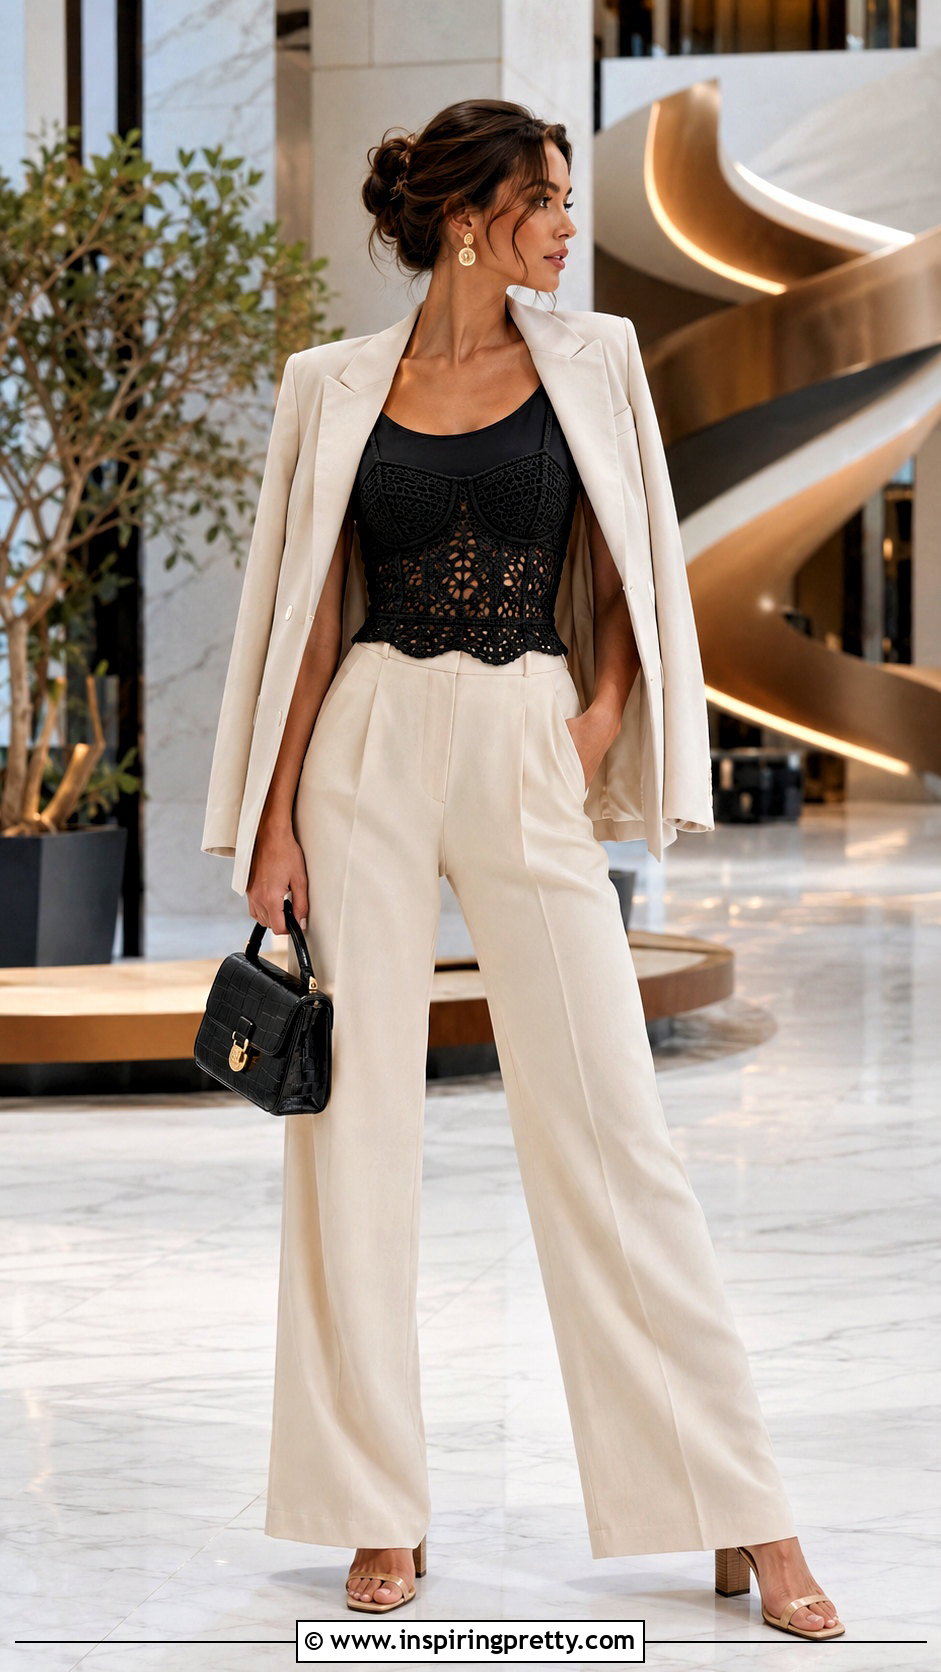
Structured shaping makes a crochet corset top a satisfying intermediate project. Begin with a firm underbust band, then divide the front into sections that follow the natural curves of the torso. Use increases near the bust and decreases toward the waist to create contouring. Decorative vertical rows can imitate traditional panel lines without requiring rigid boning. Crochet the back as two narrow panels and add evenly spaced loops for adjustable lacing. Use cotton yarn and a compact stitch to reduce unwanted stretching. A fabric lining can improve comfort, opacity, and stability. Keep the final fit supportive rather than restrictive. Pair the corset top with wide-leg trousers, block heels, a fitted blazer, and a small top-handle bag for a refined outfit.
11. Crochet V Neck Top
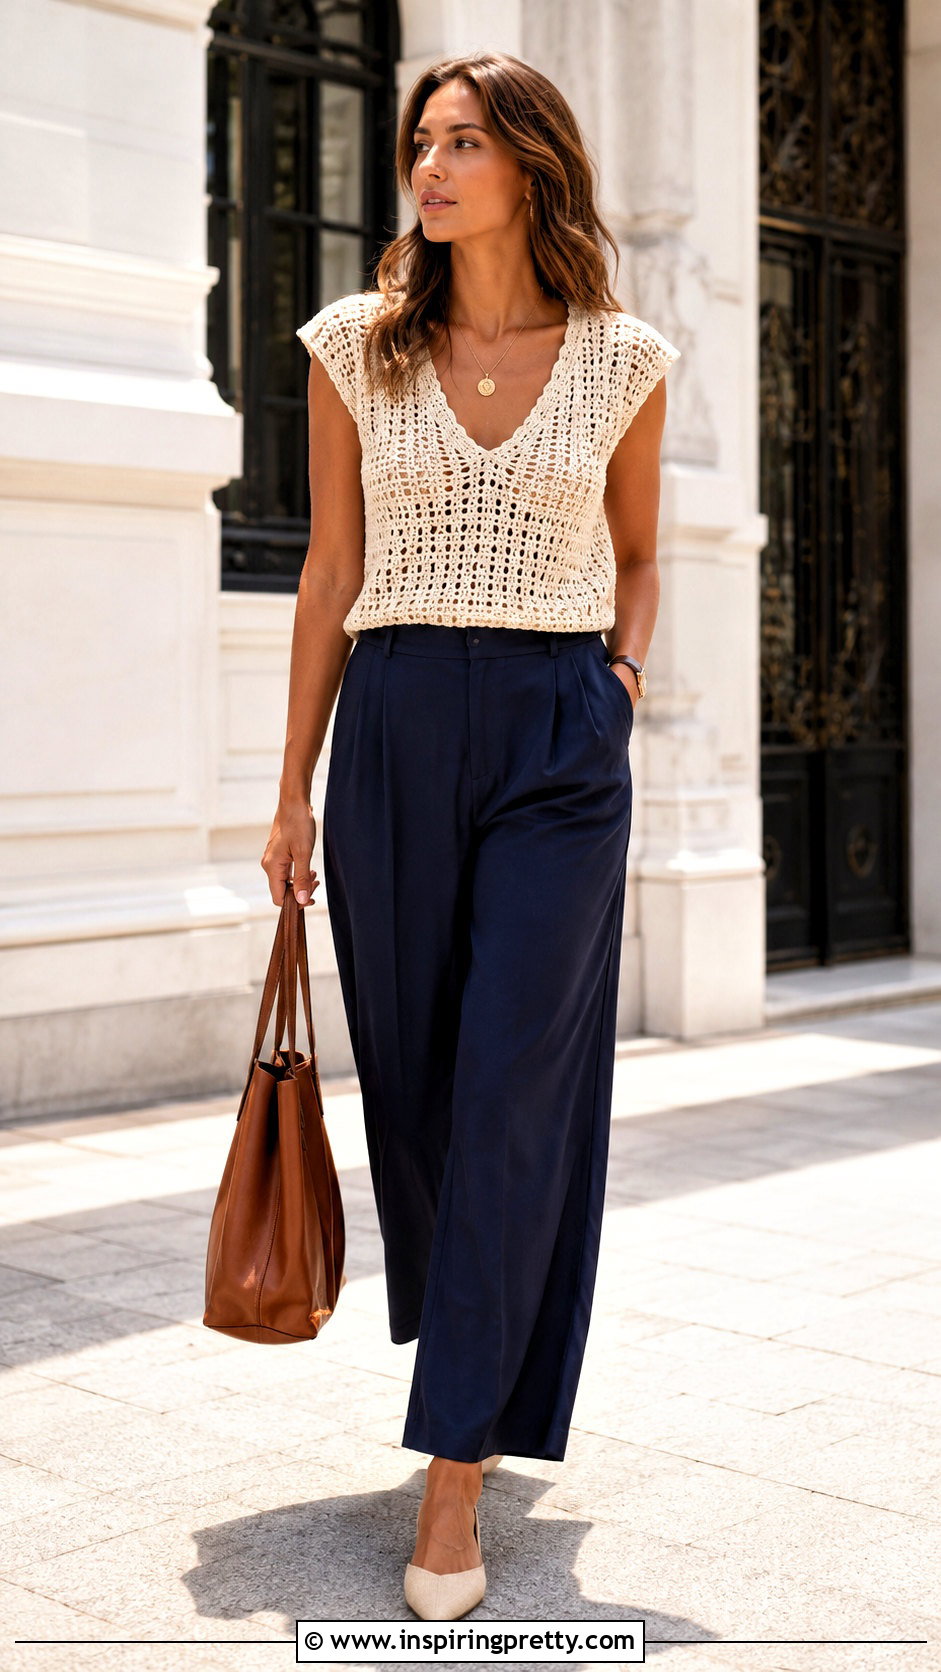
A V-neck top can visually lengthen the neckline while providing a polished handmade finish. Crochet the lower body in rounds or create separate front and back panels. Once the front reaches the armhole level, divide the stitches evenly at the center. Work each side separately, decreasing one stitch near the neckline every row or every other row. Continue until both shoulder sections reach the correct length. Keep the back neckline shallower, then join the shoulders and sides. Crochet an even border around the V, placing decreases at the lowest point so the edging lies flat. Block the finished garment to sharpen the neckline. Style it with ankle-length trousers, pointed flats, a leather tote, and a delicate pendant necklace.
12. Crochet Square Neck Top
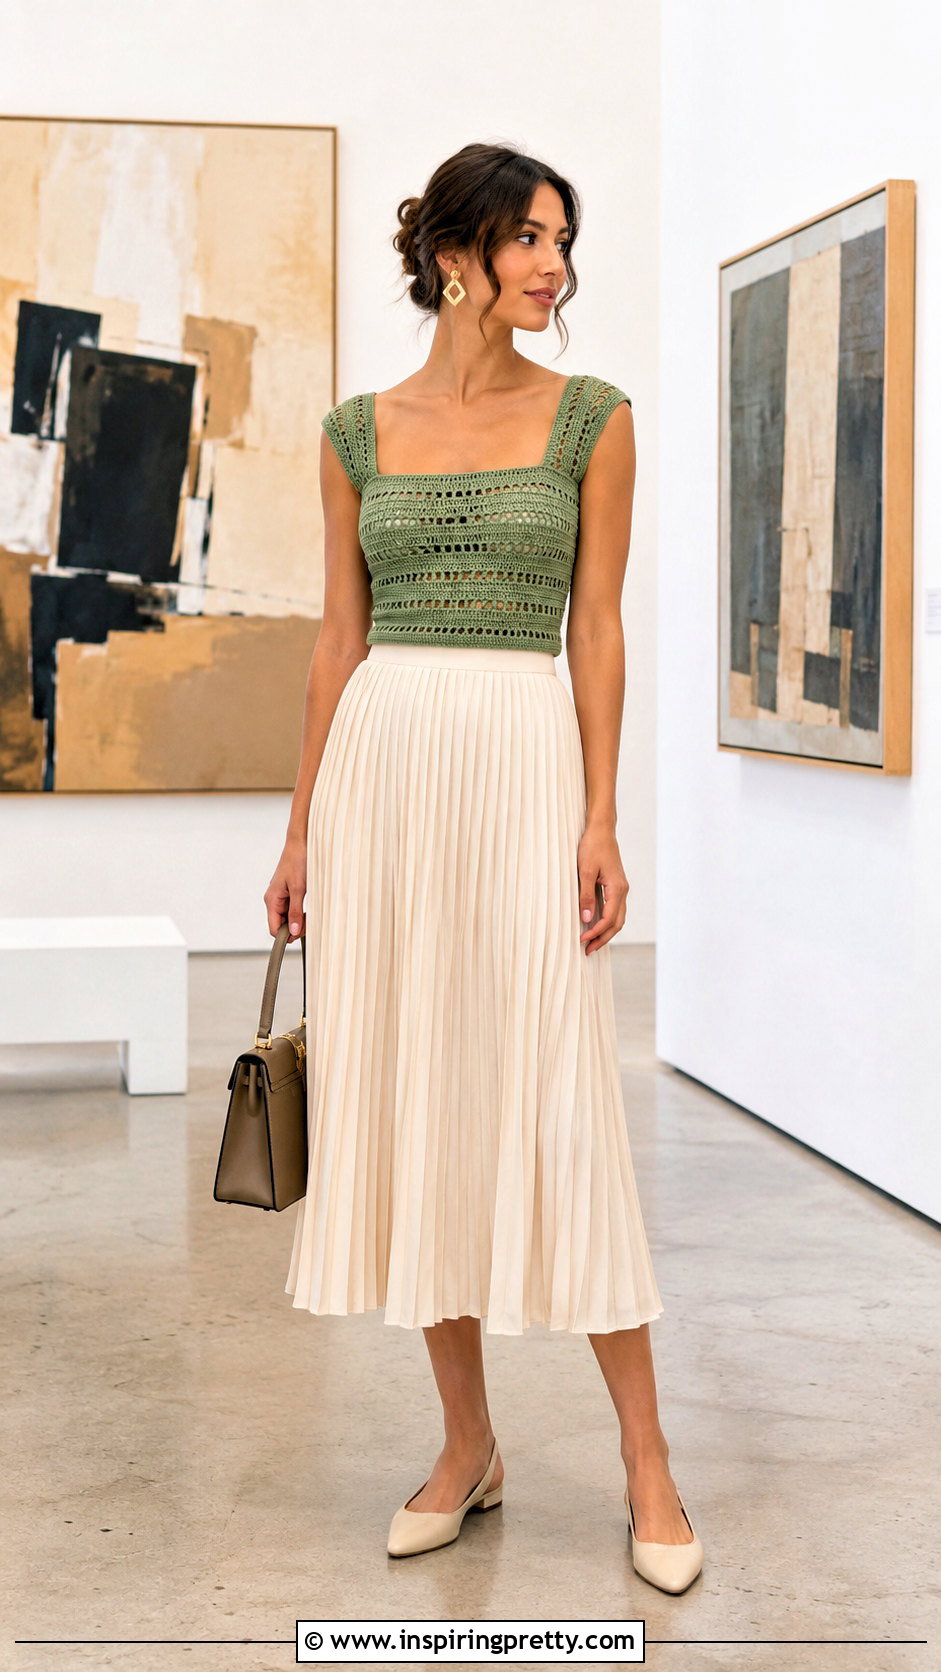
Clean angles give a square-neck crochet top a modern appearance. Start with a fitted body worked in simple half double crochet or a lightly textured stitch. When the front reaches the base of the neckline, stop working the center stitches and continue each side separately to form two straight shoulder sections. Make the back with a higher rectangular opening or a solid upper panel. Join the shoulders, then crochet around the neckline with single crochet to strengthen the corners. Place multiple stitches or carefully positioned decreases at each corner so the border remains smooth. Add short sleeves or sturdy straps as desired. Wear the finished top with a pleated midi skirt, slingback flats, a structured handbag, and geometric earrings that echo the neckline.
13. Crochet Scoop Neck Top
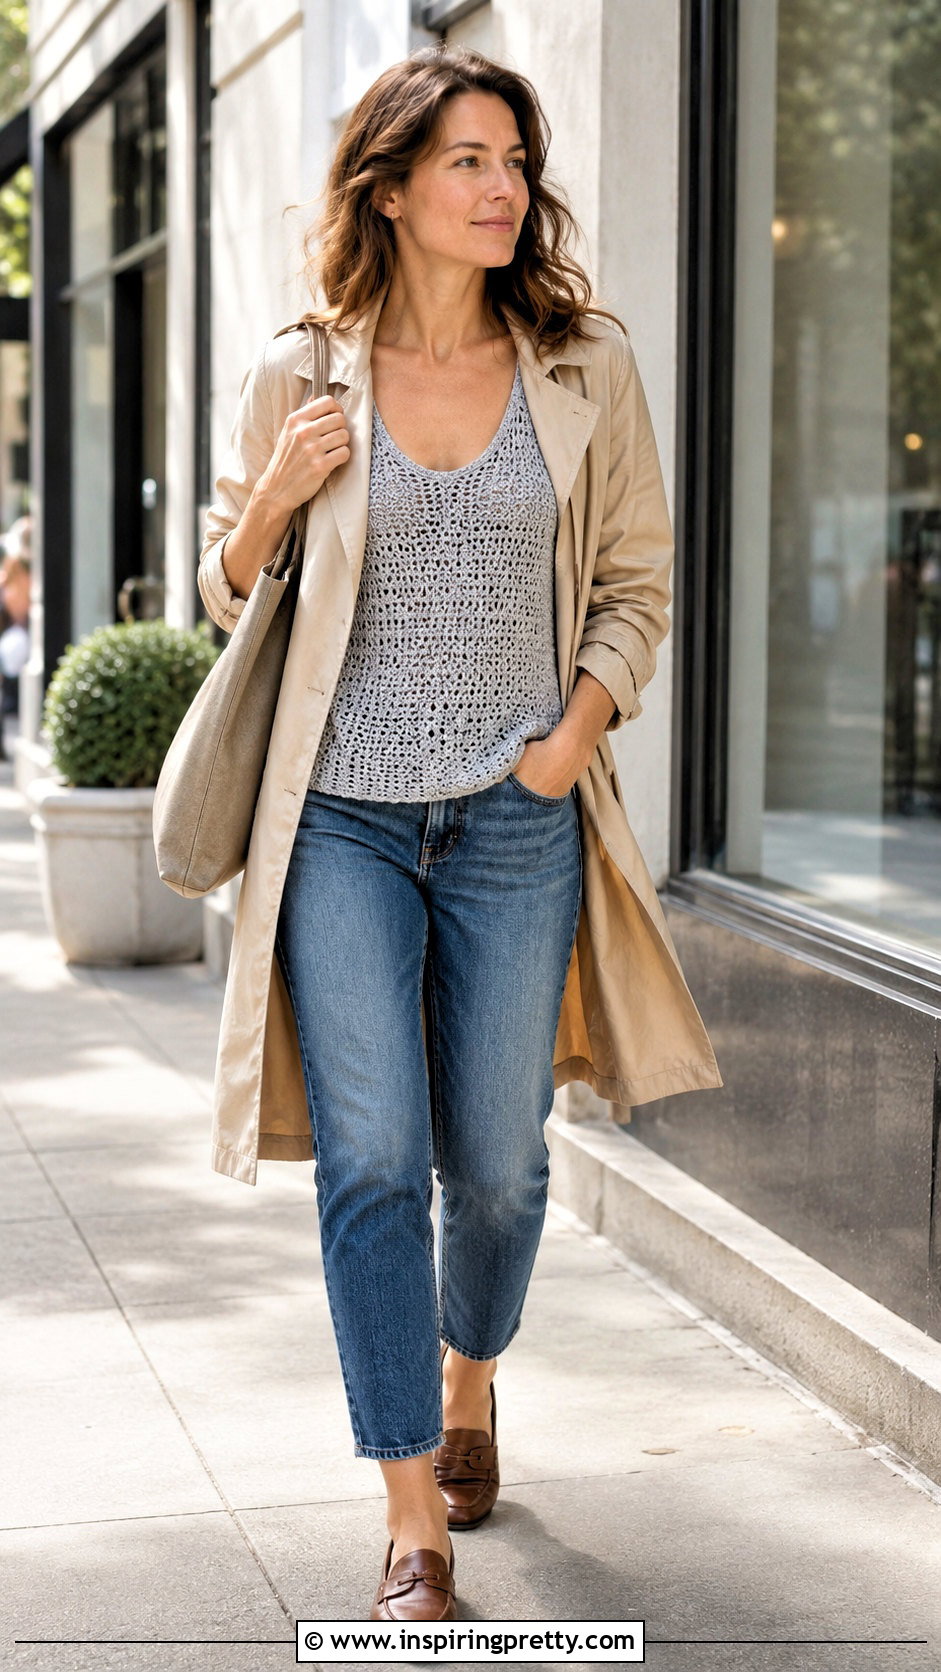
A rounded scoop neckline looks soft and works beautifully with close-fitting or relaxed tops. Make the body from the bottom upward, then mark the center front stitches when you reach the neckline. Leave those stitches unworked and shape both sides separately. Decrease gradually along each inner edge to form an even curve instead of a sharp corner. The back can have a shallow scoop or sit higher for greater coverage. After joining the shoulder seams, crochet one or two rounds of single crochet around the opening. Skip stitches evenly if the edge begins to ripple. Blocking will help the curve settle into place. Complete the outfit with cropped jeans, leather loafers, a lightweight trench, and a roomy neutral tote.
14. Crochet Boat Neck Top
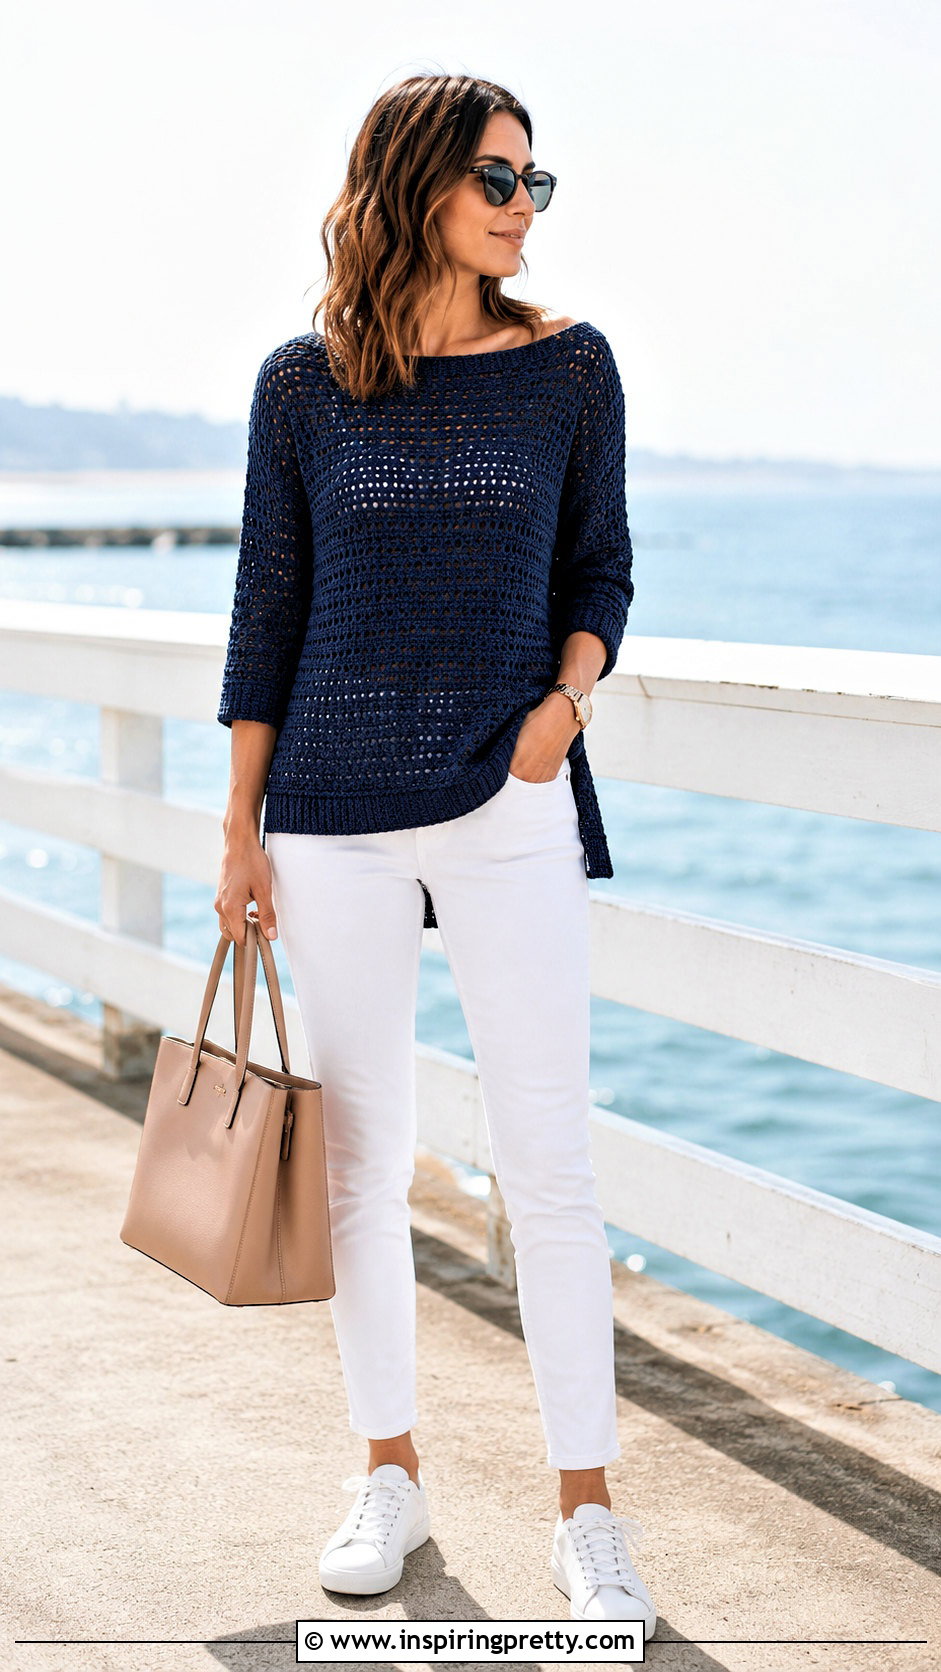
The wide, nearly horizontal neckline of a boat-neck top requires very little shaping. Crochet two rectangular panels from the hem upward using a draping stitch pattern. Seam the outer shoulder edges while leaving a generous center opening for the neck. Try the garment on before finishing because an opening that is too wide may slip from the shoulders. Seam the sides, leaving balanced armholes, and add narrow borders around every opening. A split hem can be created by leaving the lower side seams open. Choose lightweight cotton or a linen blend for a relaxed silhouette. Style the finished top with slim ankle pants, minimalist sneakers, a watch, and a structured tote for a comfortable outfit with clean proportions.
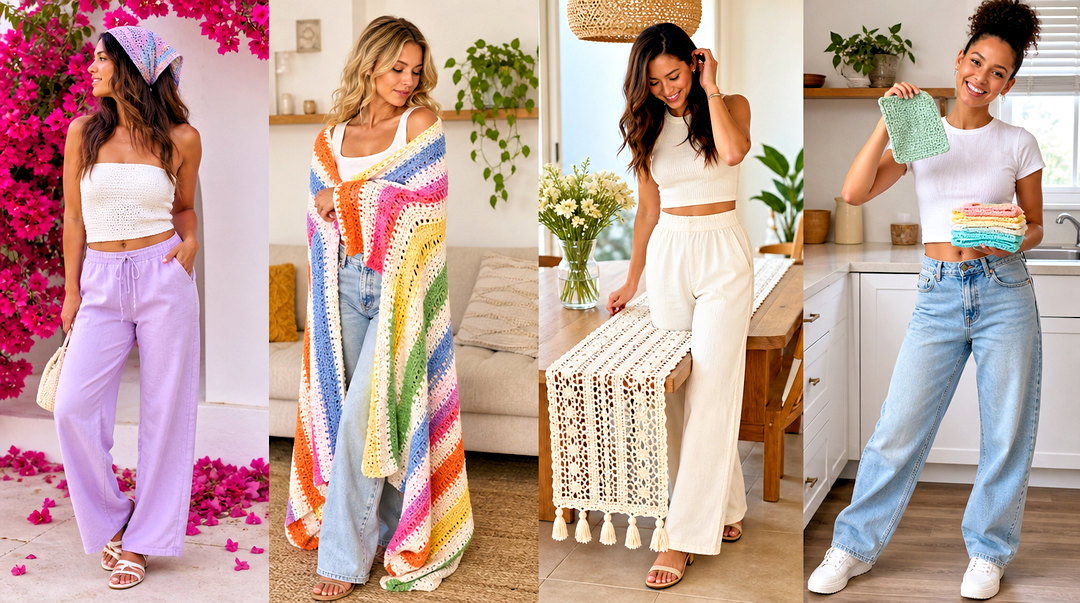
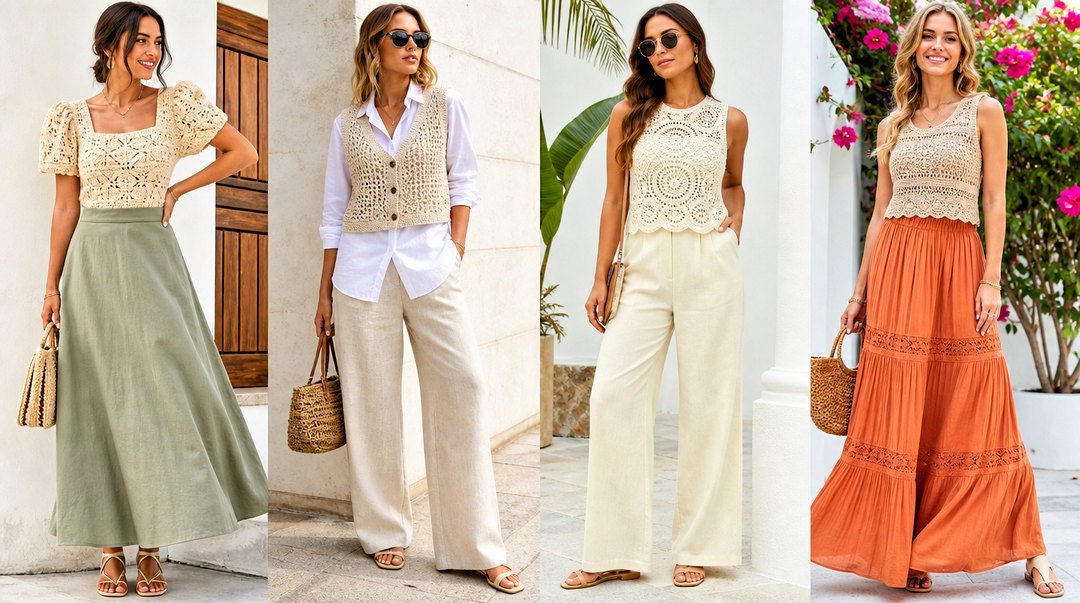
15. Crochet Off Shoulder Top
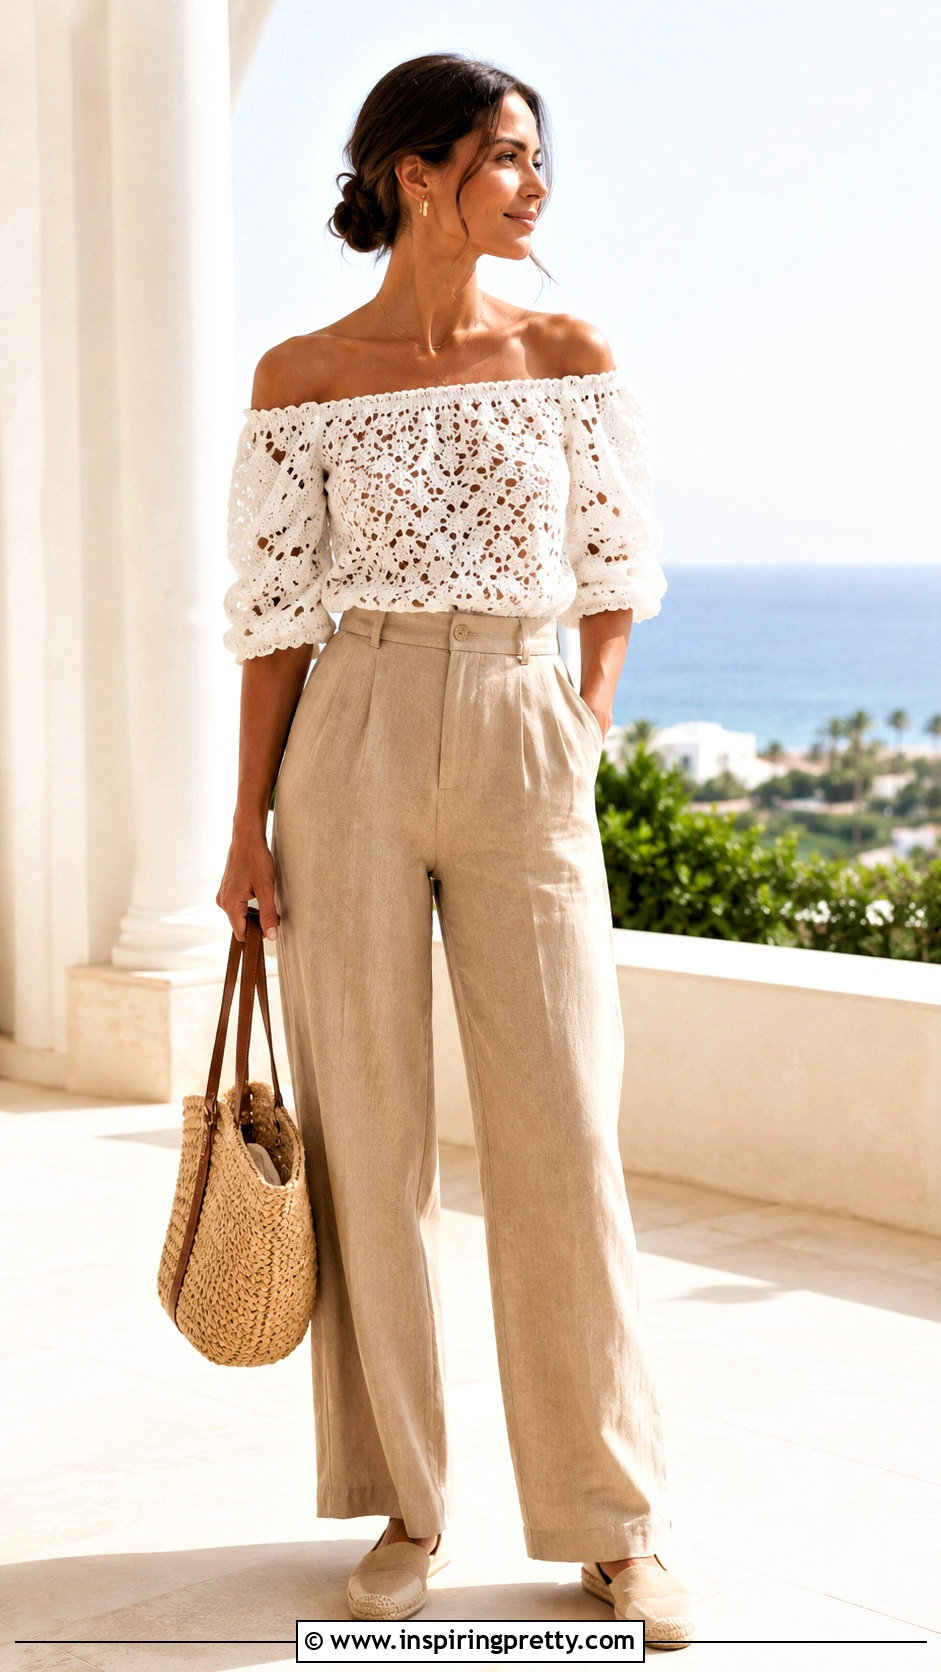
An off-shoulder crochet top begins with an upper band that fits around the shoulders without feeling tight. Crochet a long ribbed strip and seam the ends, or work a stretchy band directly in rounds. From its lower edge, crochet the body downward using evenly distributed stitches. Add increases if you want a loose, flowing shape. Sleeves can be worked from marked sections of the band, with gradual increases creating extra volume. A lightweight yarn prevents the neckline from becoming heavy and slipping too far. Consider weaving elastic through the upper band for reliable support. Pair this top with high-waisted linen pants, espadrille flats, a woven tote, and small earrings for a bright warm-weather outfit.
16. Crochet One Shoulder Top
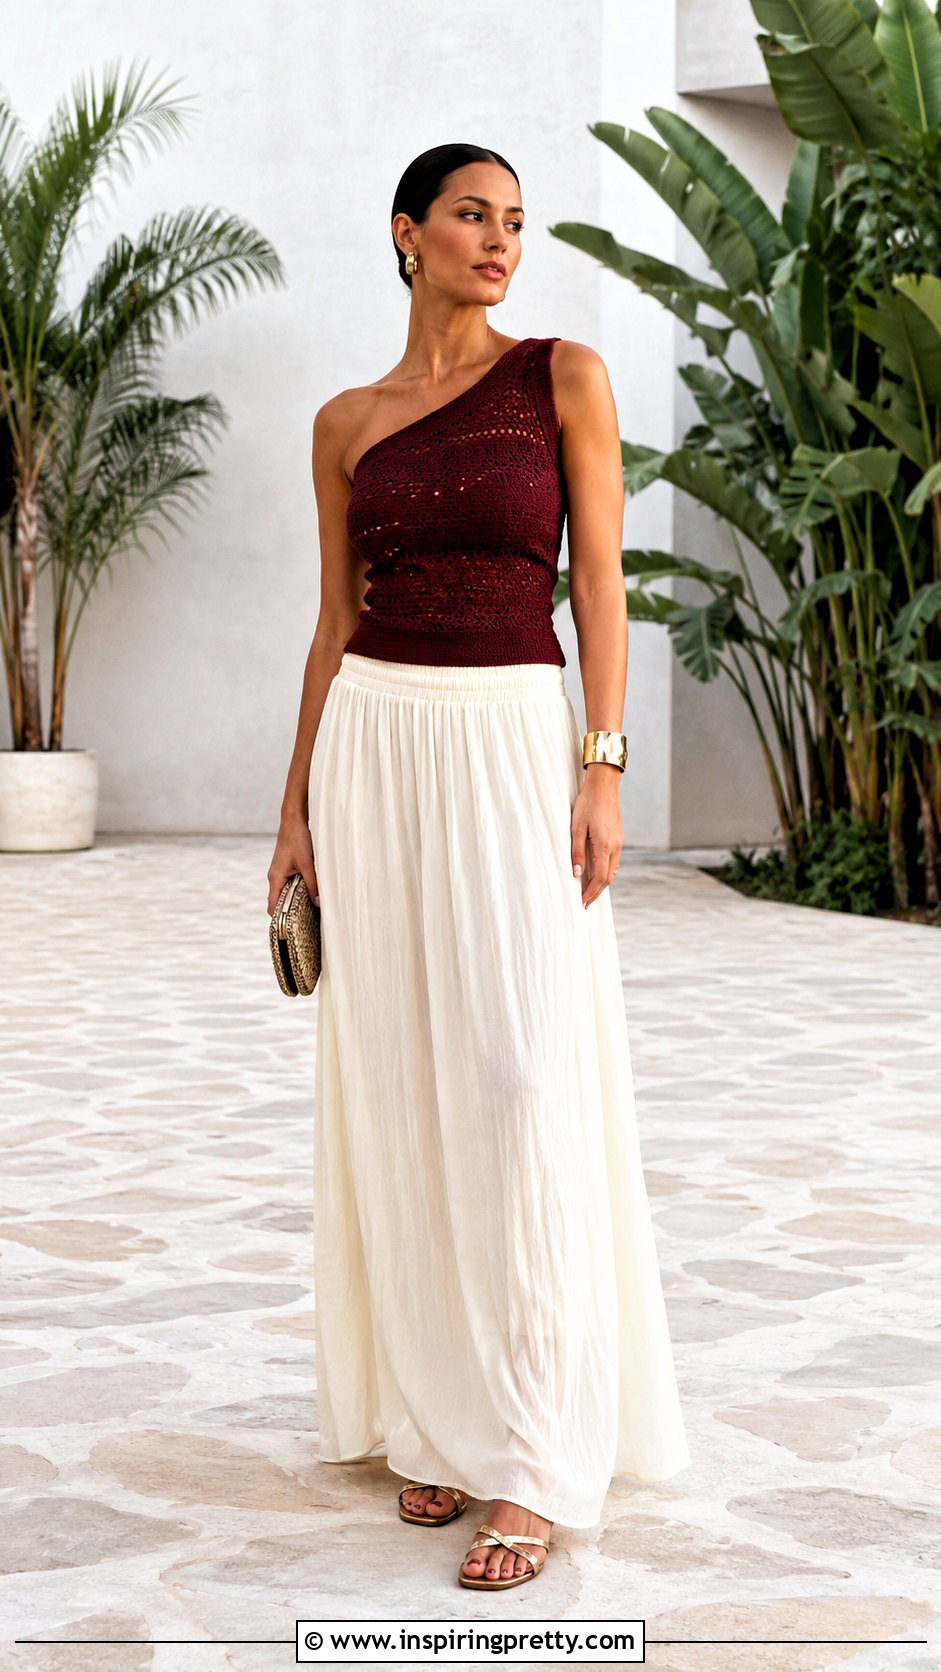
Asymmetrical construction gives a one-shoulder top a distinctive silhouette without demanding complicated stitches. Crochet a fitted body from the hem upward, working in joined rounds or flat panels. At the upper chest, stop working one side and continue across the remaining stitches. Shape the diagonal neckline with gradual decreases until the fabric reaches the opposite shoulder. Create a wide strap that connects securely to the back panel. Reinforce the neckline and armhole with tight single crochet to limit stretching. Try on the garment during construction because small changes can noticeably affect an asymmetrical fit. Style the completed top with a flowing maxi skirt, flat metallic sandals, a compact clutch, and one bold bracelet on the exposed-arm side.
17. Crochet Racerback Tank Top
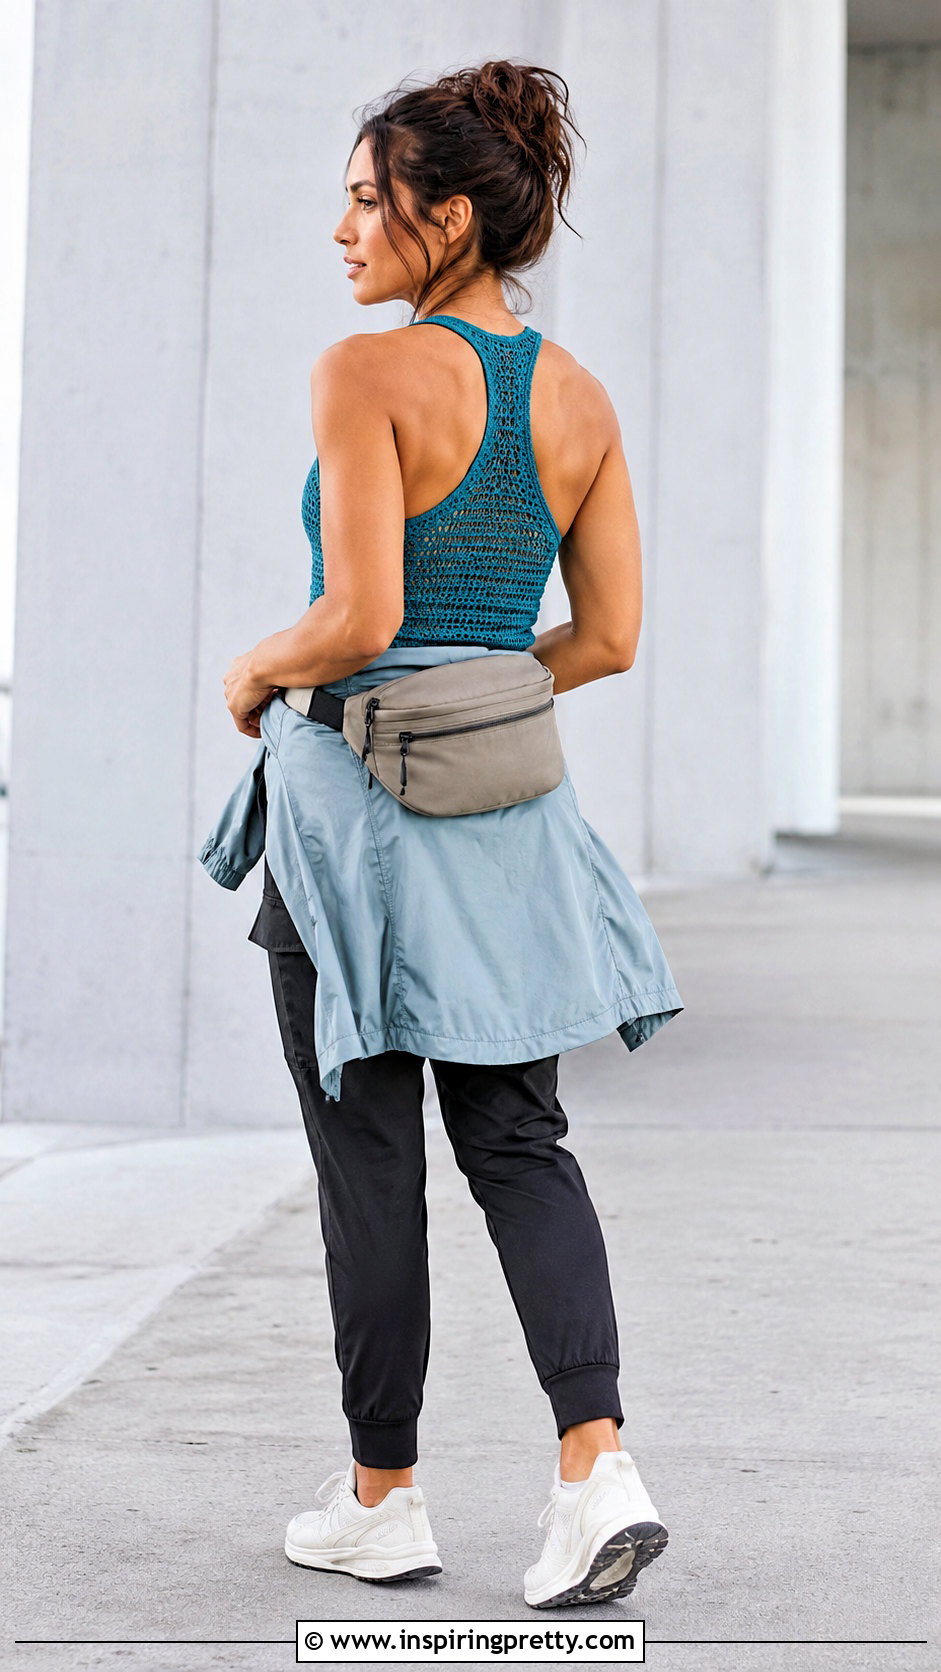
A racerback tank provides secure straps and a sporty shape that works well for casual layering. Crochet the lower body in the round until it reaches the armholes. Divide the front and back, then shape the front with moderate armhole decreases. On the back, decrease more sharply until only a narrow center section remains. Extend this section upward and divide it into straps that connect to the front shoulders. Alternatively, crochet separate straps and attach them after checking their placement. Add firm borders around the neckline and armholes to prevent sagging. Smooth cotton yarn makes the stitches easy to see and care for. Wear the tank with joggers, clean sneakers, a zip-front jacket, and a practical belt bag.
18. Crochet Muscle Tank Top
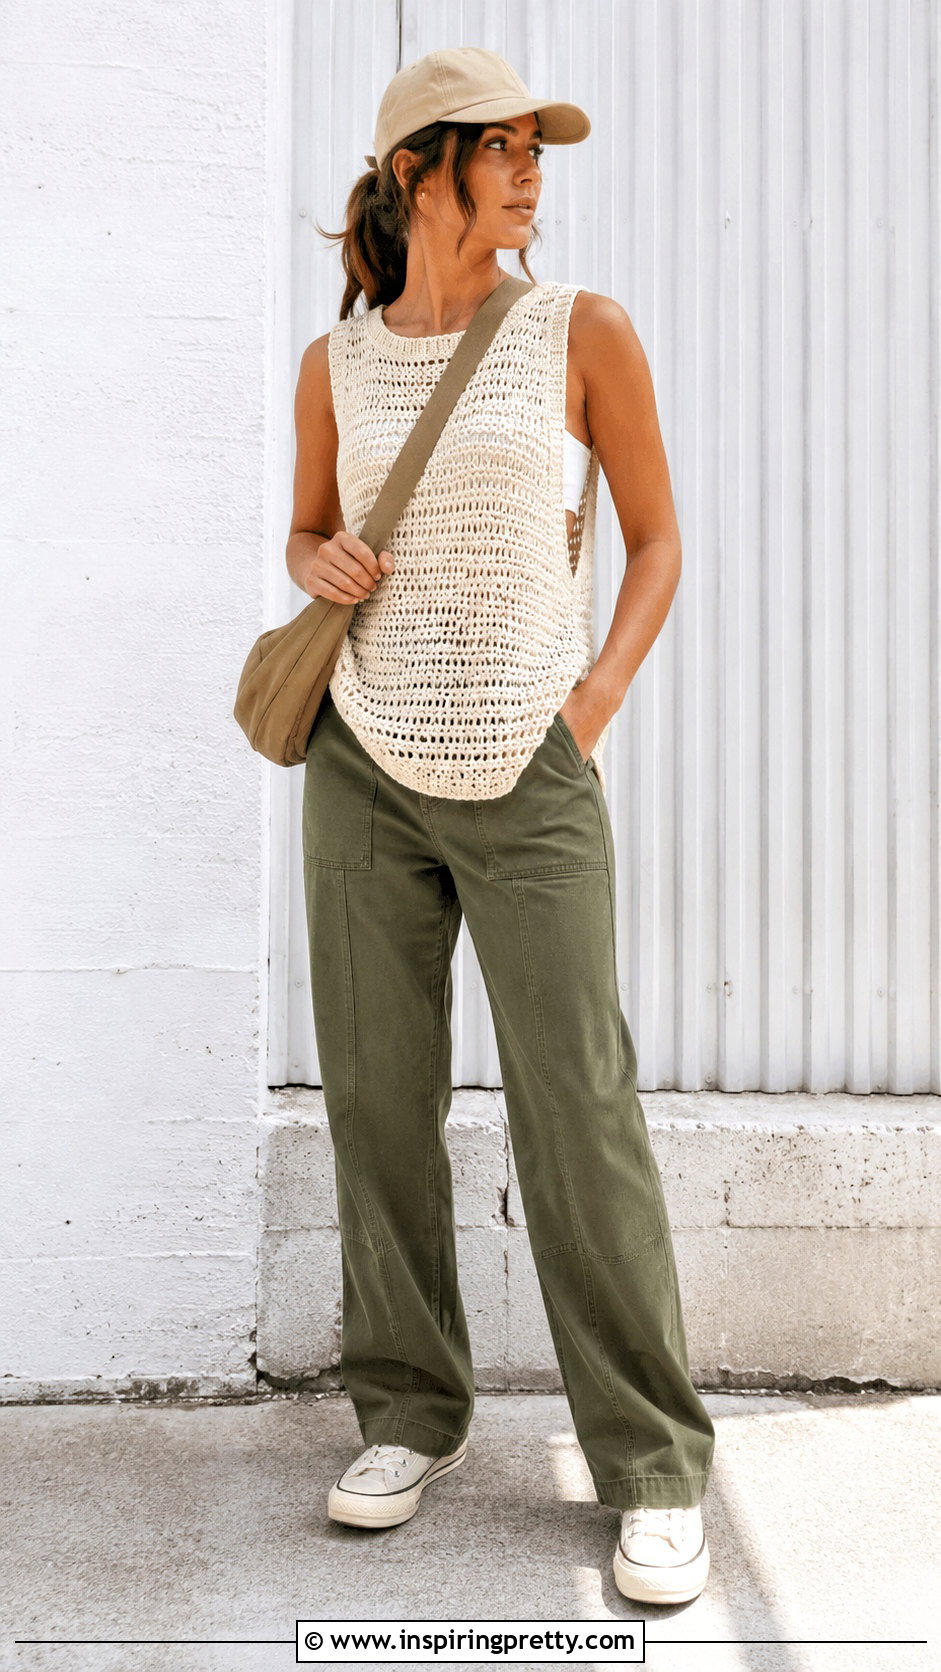
A muscle tank combines a simple body with broad shoulders and deep armholes. Crochet two straight panels using double crochet, linked double crochet, or a compact mesh pattern. Shape only the neckline, keeping the shoulder sections wide. Join the shoulders and seam the sides, stopping lower than usual to create generous arm openings. Add a few rounds of single crochet around the armholes if you want more structure. For comfortable coverage, layer a fitted camisole underneath. A slightly oversized fit enhances the relaxed silhouette, but always check the finished width against your gauge. Create a casual outfit with utility pants, canvas sneakers, a baseball cap, and a crossbody bag in coordinating neutral colors.
19. Crochet T Shirt Top
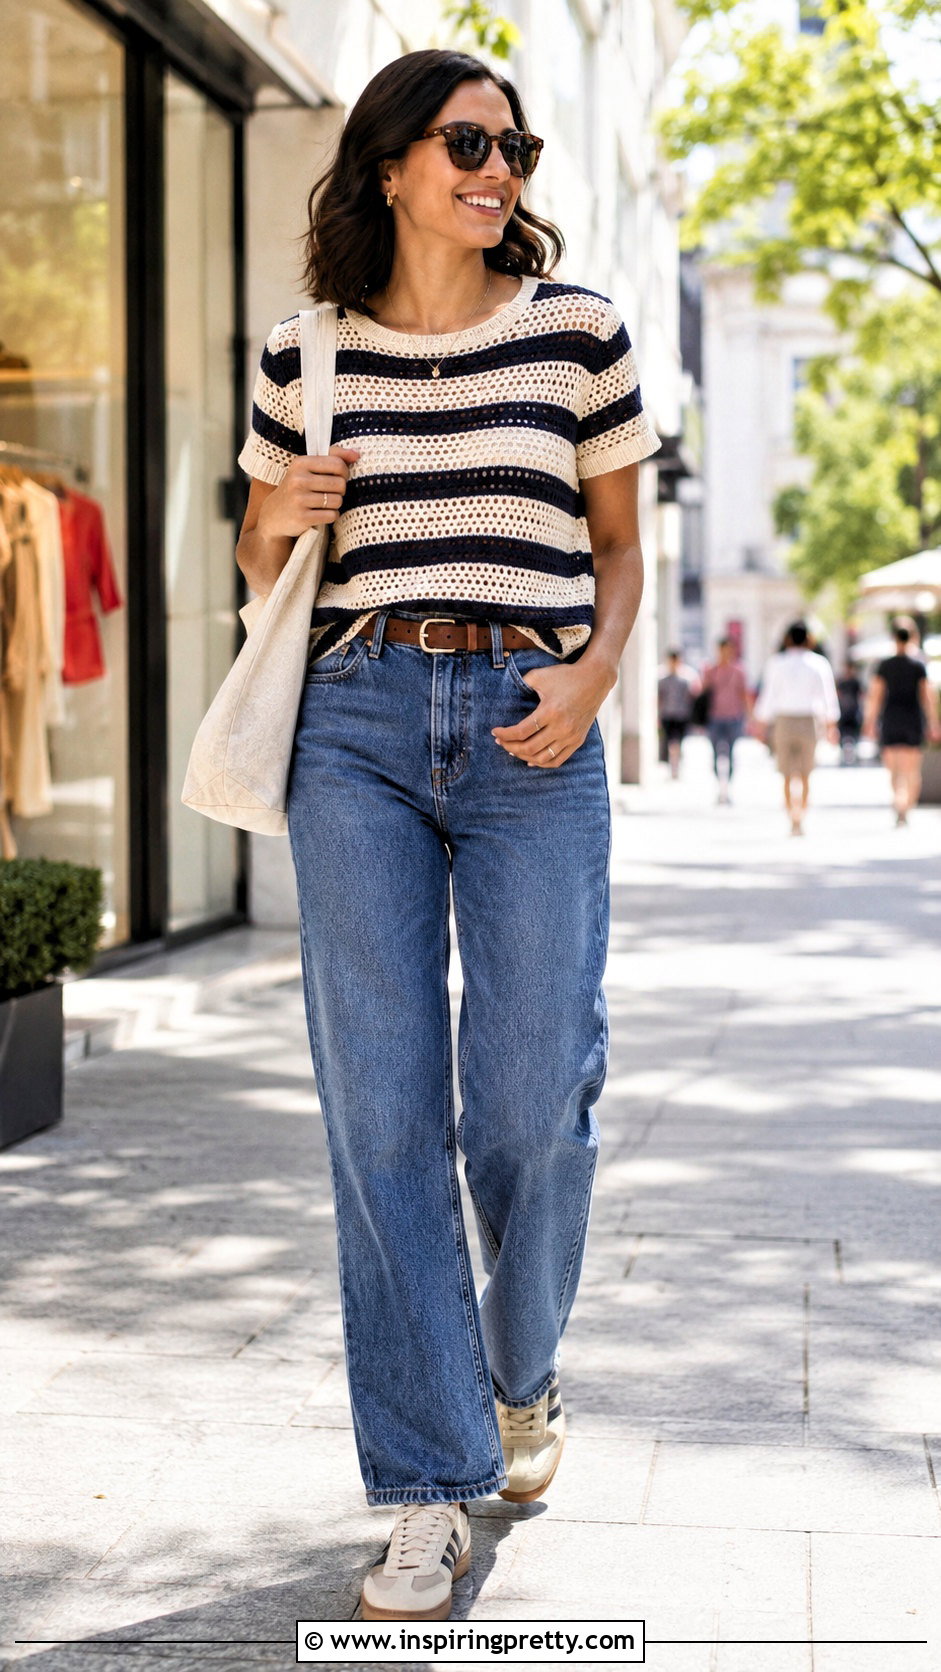
Making a crochet T-shirt becomes manageable when you divide it into a body and two uncomplicated sleeves. Crochet matching front and back panels, adding shallow neckline shaping to the front. Join the shoulder seams and mark an equal distance down each side for the armholes. Crochet each sleeve separately as a short rectangle or tapered piece, then seam it into the opening. You can also work sleeves directly around the armholes to avoid extra sewing. Finish the hem, cuffs, and neckline with matching ribbing or single crochet. Select a fine cotton blend so the garment remains flexible rather than bulky. Pair the finished tee with straight jeans, retro sneakers, a canvas tote, and a simple belt.
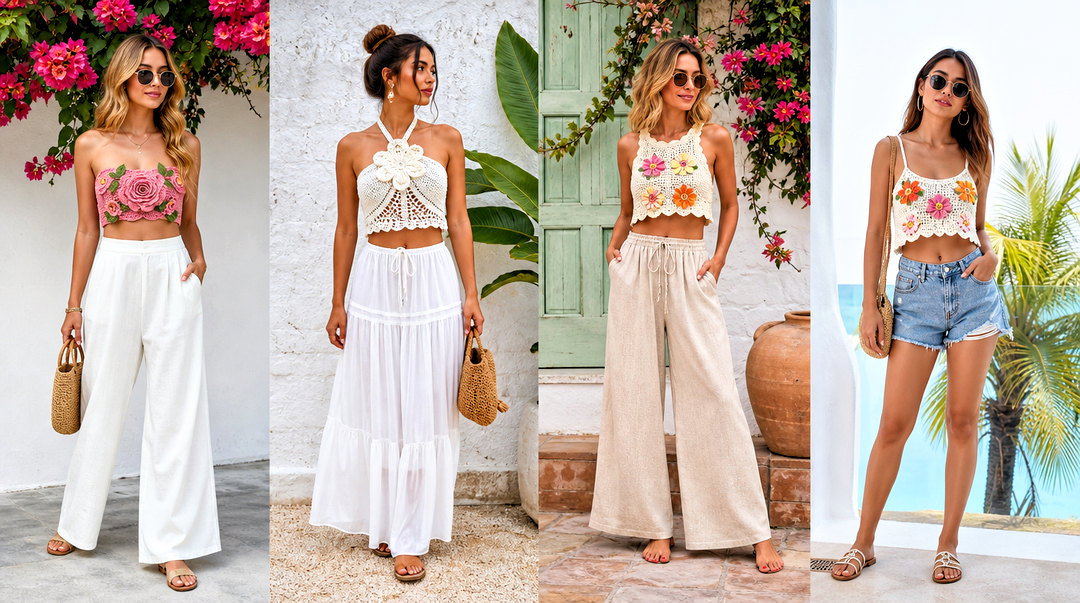
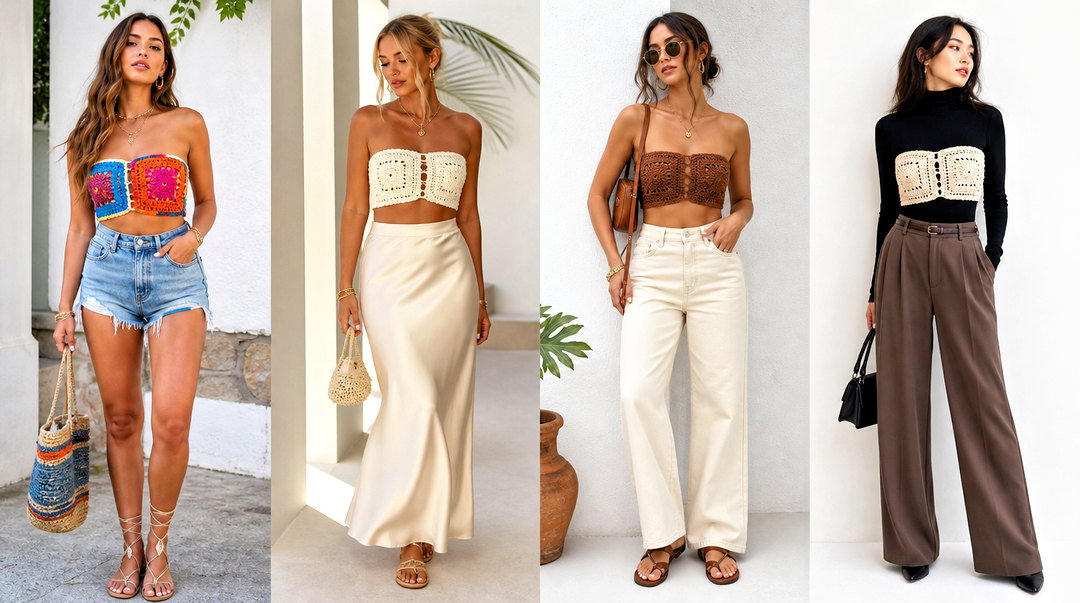
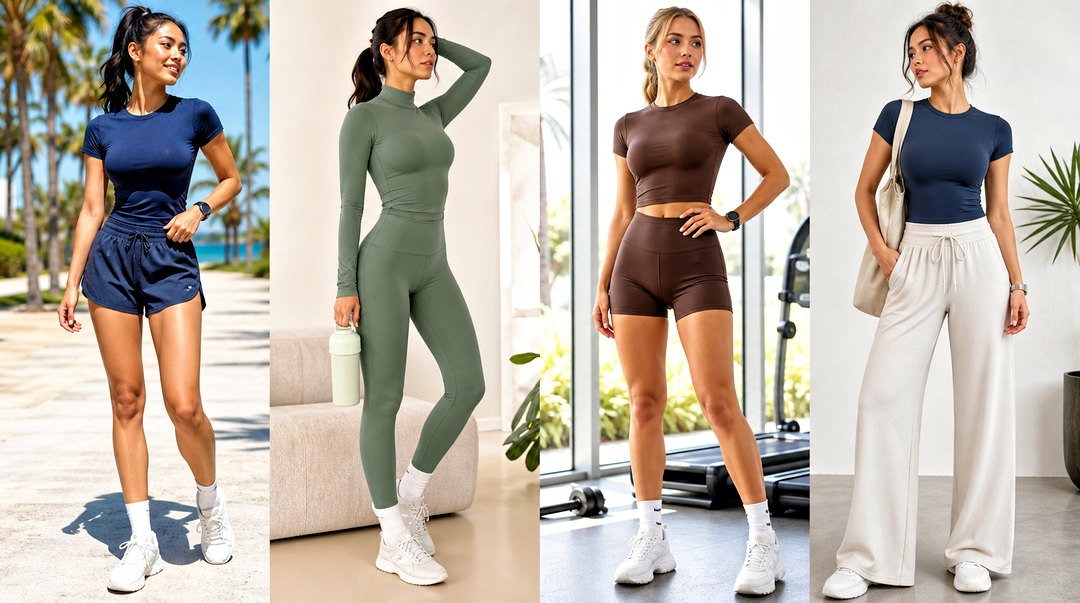
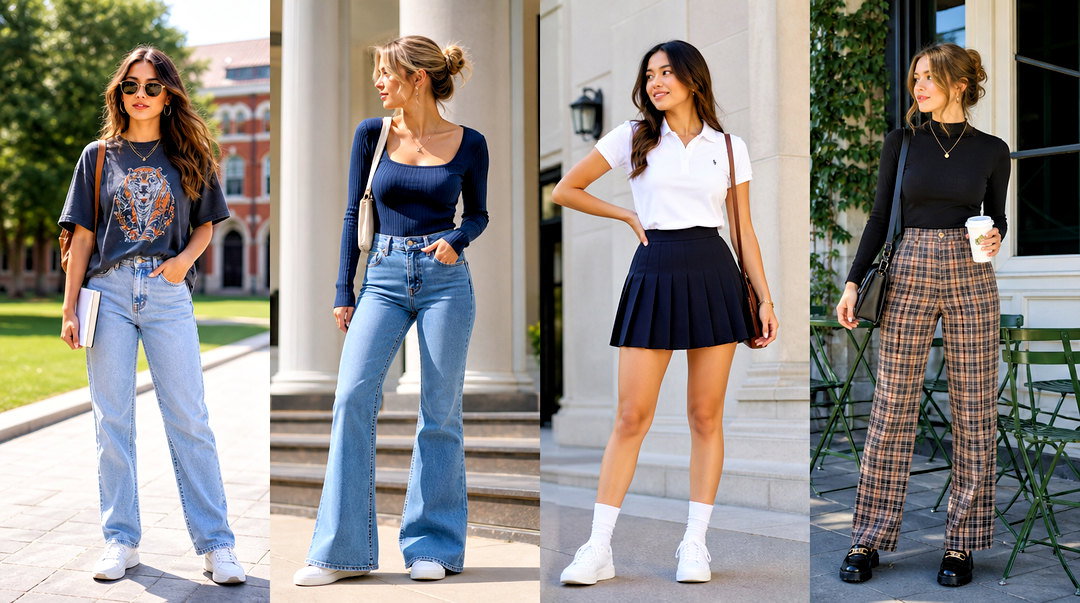
20. Crochet Cap Sleeve Top
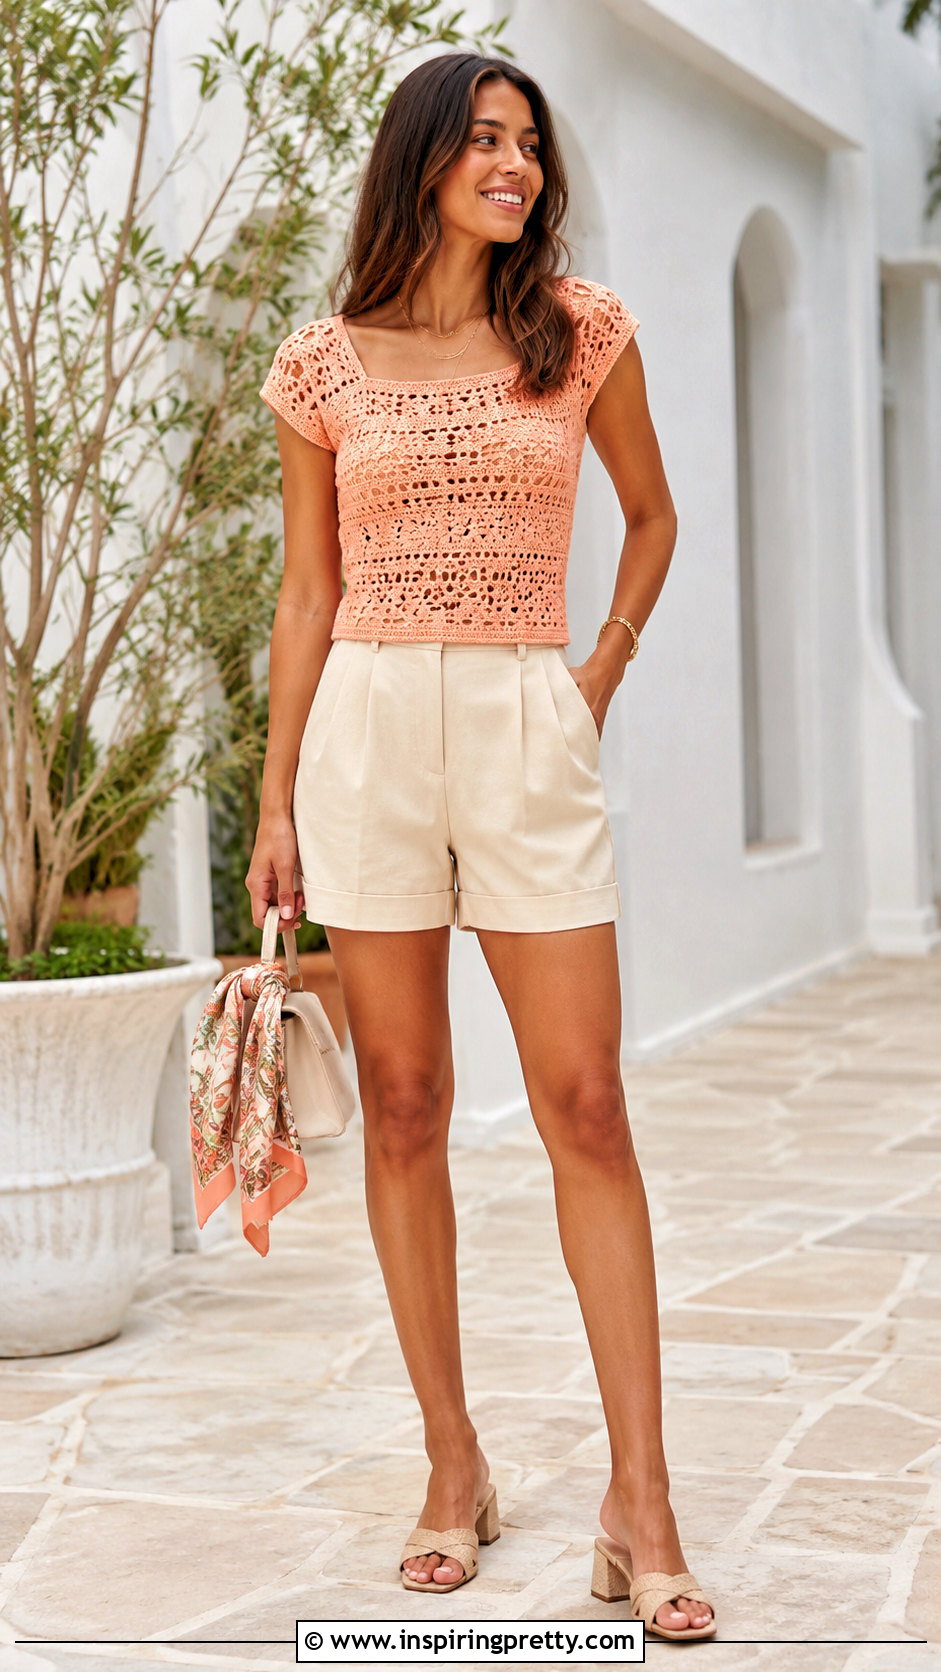
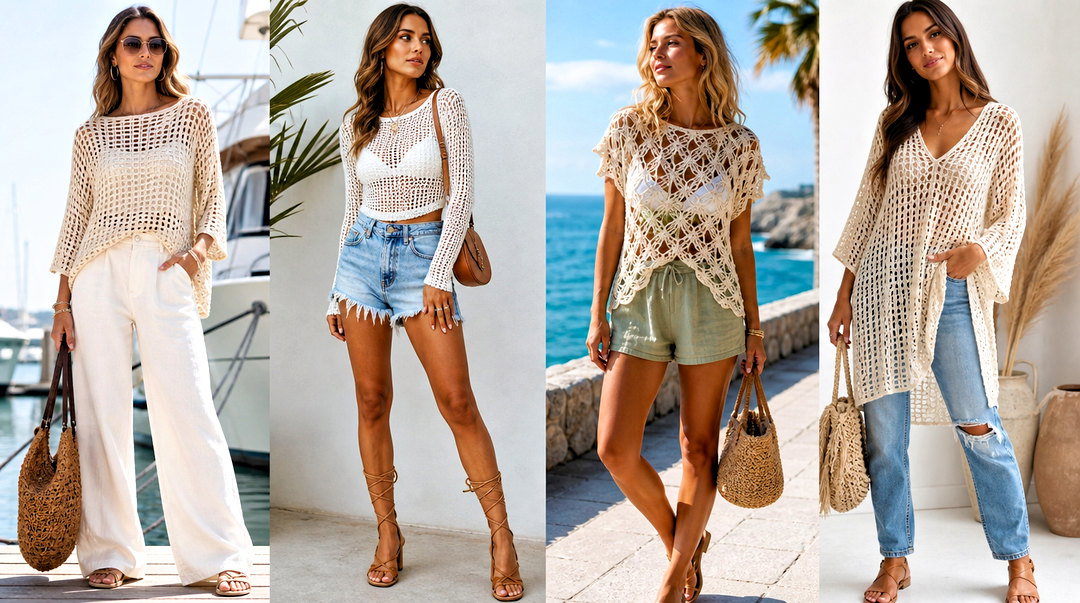
Small cap sleeves add coverage without the weight of full sleeves. Begin by crocheting the front and back panels to the shoulder line. Extend each outer shoulder edge slightly beyond the natural shoulder point, creating a short drop that will become the sleeve. Join the shoulders and seam the sides beneath the arms. For a more rounded cap, attach yarn at the armhole and use taller stitches at the shoulder, gradually switching to shorter stitches near the underarm. Repeat carefully on the second side so both sleeves match. Finish with a neat single-crochet border and block the fabric flat. Style this top with tailored shorts, low block-heel sandals, a structured mini bag, and a lightweight scarf tied to the bag handle.
21. Crochet Short Sleeve Top
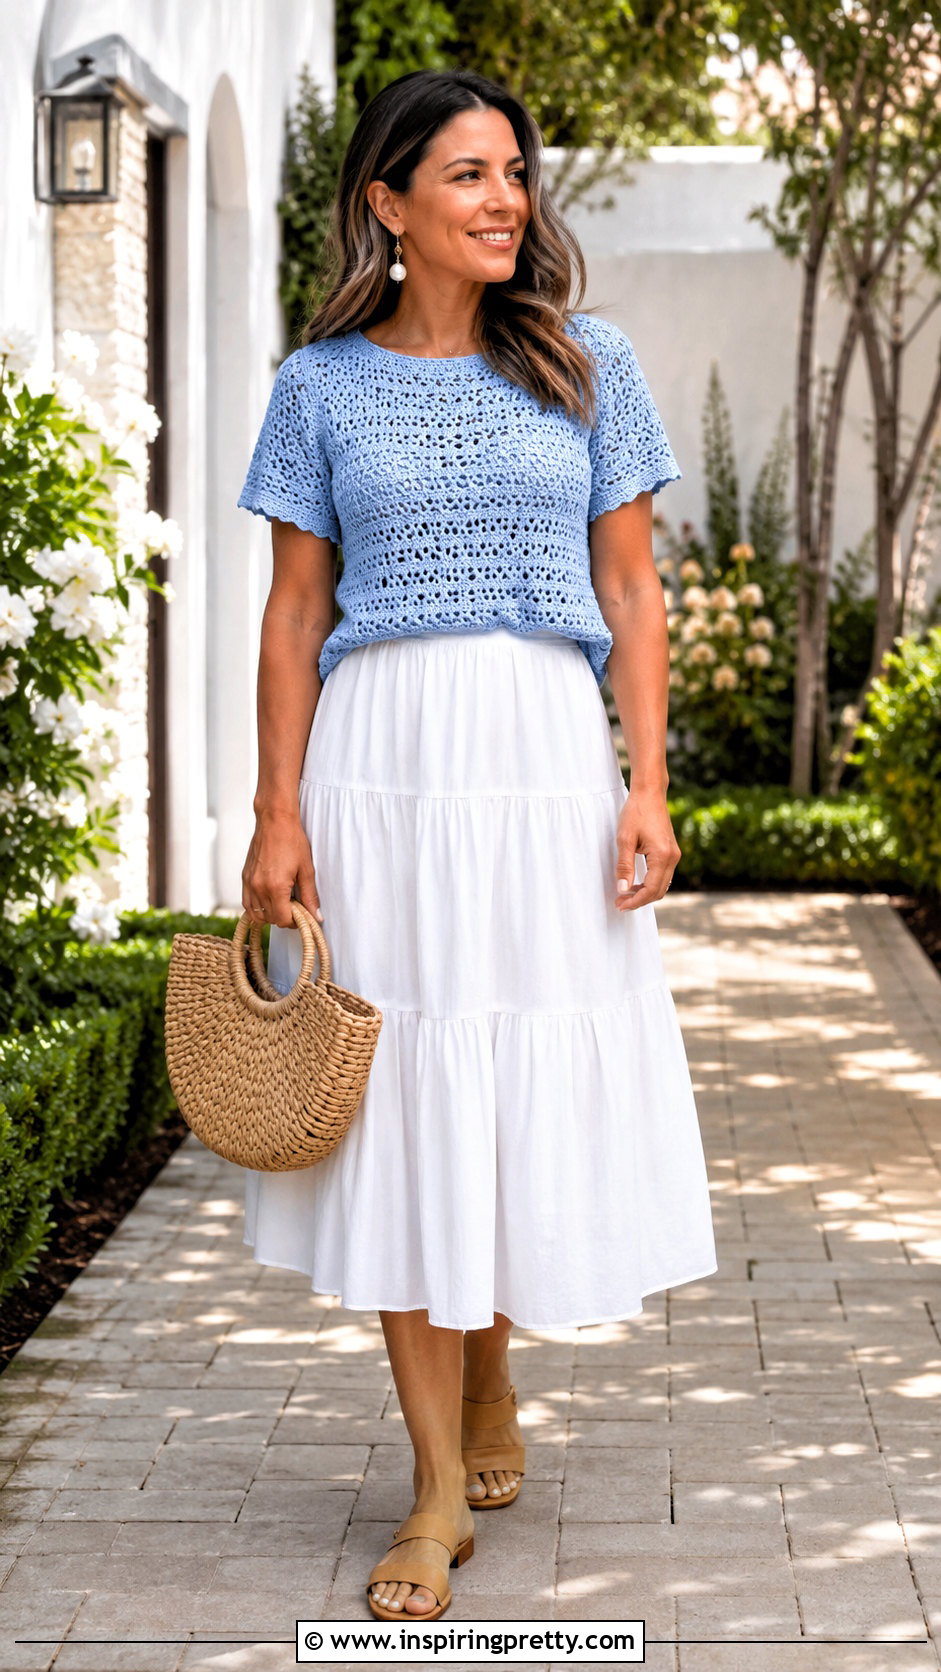
A short-sleeve crochet top can be made from the bottom up with sleeves added after the body is assembled. Crochet the front and back separately, shaping the neckline and armholes according to your measurements. Join the shoulders and sides. Work each sleeve directly around the armhole, placing stitches evenly to avoid puckering. Continue in rounds until the sleeve reaches your preferred length, then add a narrow cuff. If the sleeve looks too wide, decrease near the underarm every few rounds. Repeat the same decrease schedule on the second sleeve. Block both sleeves to matching dimensions. Wear the finished top with a tiered midi skirt, flat sandals, a woven handbag, and simple drop earrings for a comfortable coordinated look.
22. Crochet Puff Sleeve Top
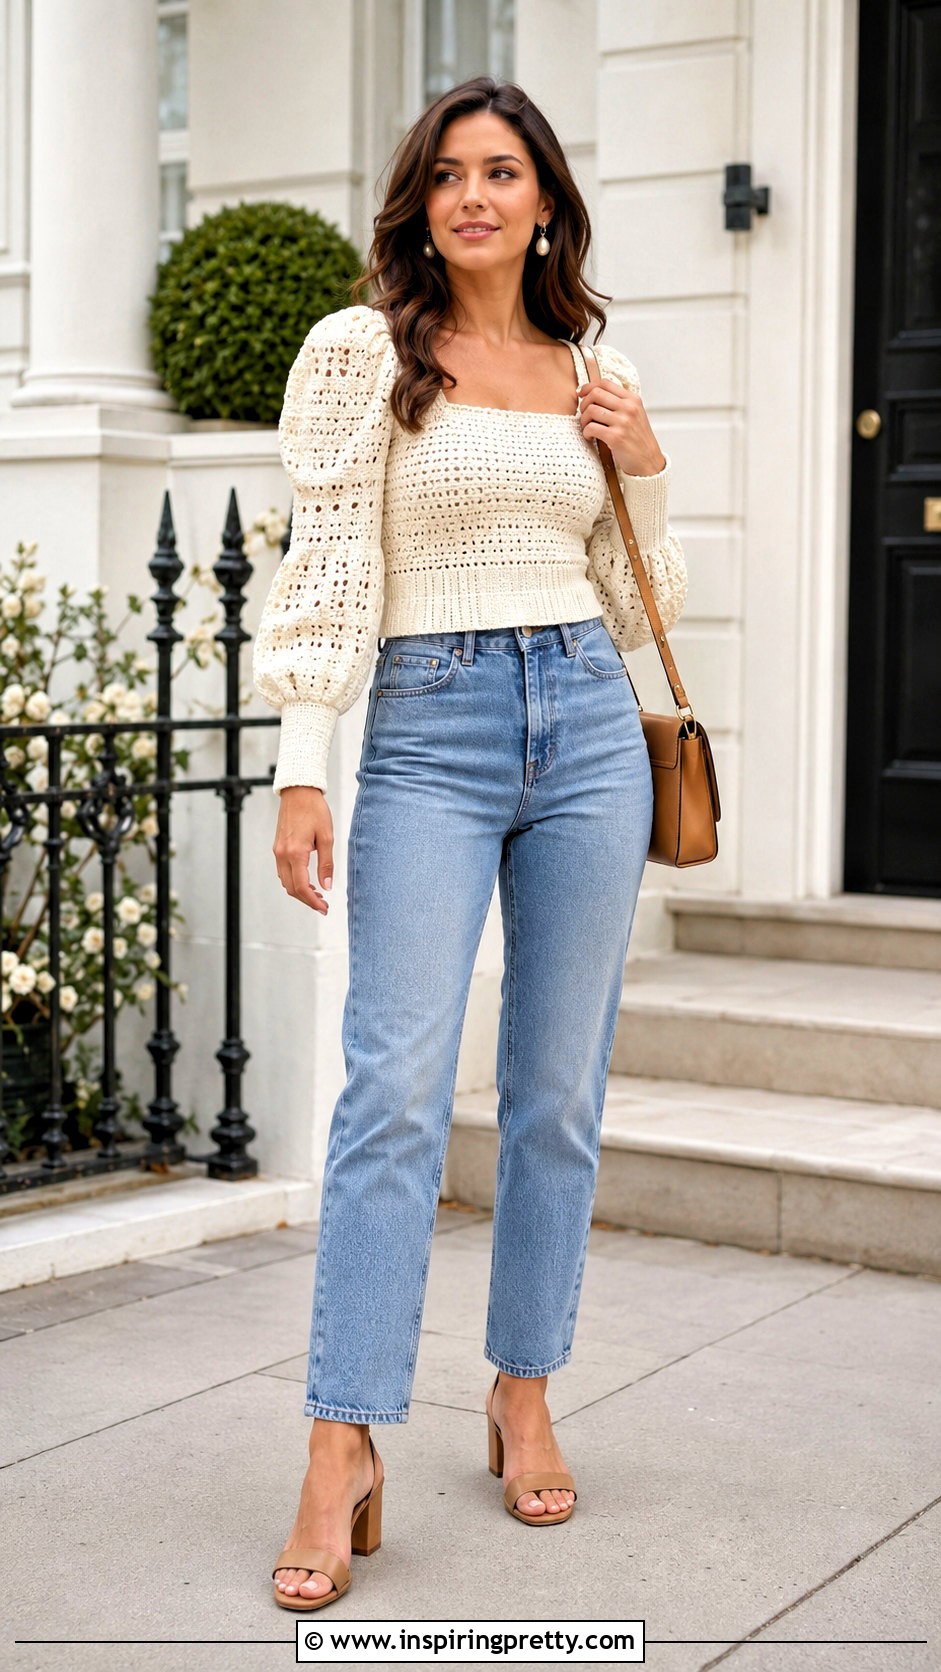
Soft, gathered sleeves create the recognizable shape of a crochet puff-sleeve top. Build a fitted bodice first, using dense stitches for coverage and support. Around each armhole, work a generous number of stitches so the sleeve begins with extra fullness. Continue in rounds without decreasing until the sleeve reaches the chosen length. Create the lower puff by reducing stitches sharply near the cuff, then finish with a snug ribbed band. Use a lightweight yarn because heavy fibers may pull the sleeves downward. Count the stitches and rounds carefully to keep both sides symmetrical. Pair this feminine top with high-rise straight jeans, block-heel sandals, pearl-inspired earrings, and a structured shoulder bag for a balanced everyday outfit.
23. Crochet Bell Sleeve Top
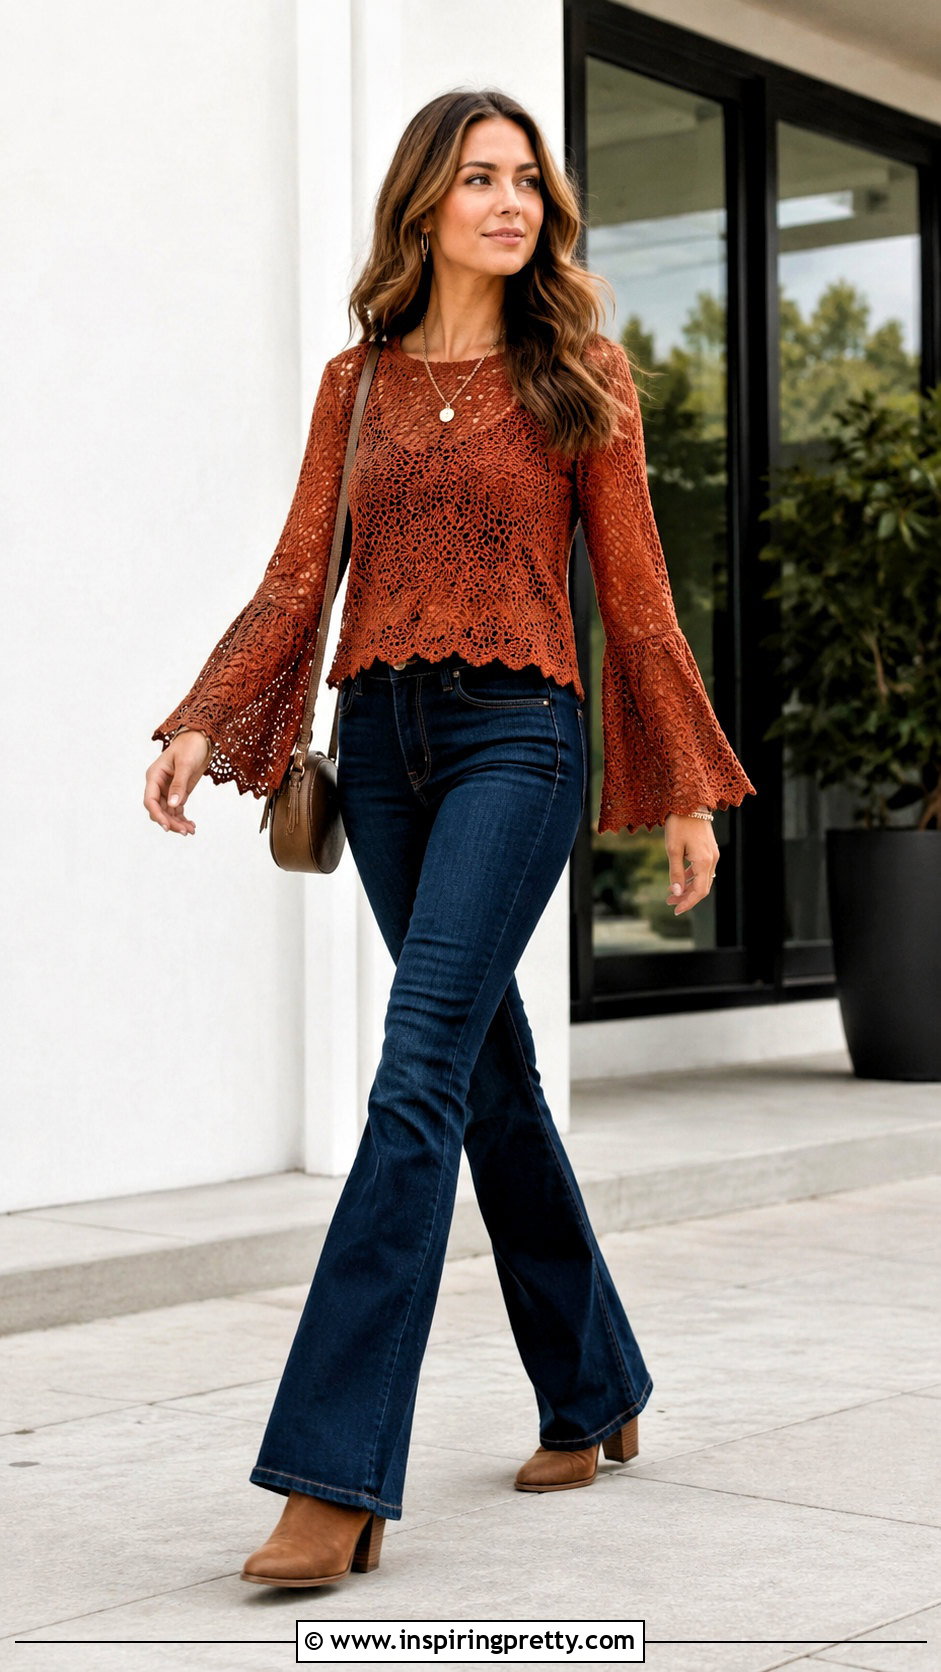
Flowing bell sleeves bring movement to an otherwise simple crochet top. Make a fitted or relaxed bodice, assemble the shoulder and side seams, and crochet sleeves from the armholes downward. Keep the upper sleeves relatively straight until they reach the elbow. Begin increasing at regular intervals, adding more stitches as you approach the cuff. Open lace stitches can reduce weight and emphasize the flared shape. Make notes while completing the first sleeve so the second follows the same increase pattern. Finish the cuffs with a plain edge that will not compete with the silhouette. Style this top with dark flared jeans, heeled ankle boots, a compact crossbody bag, and subtle jewelry for a coordinated outfit with balanced proportions.
24. Crochet Long Sleeve Top
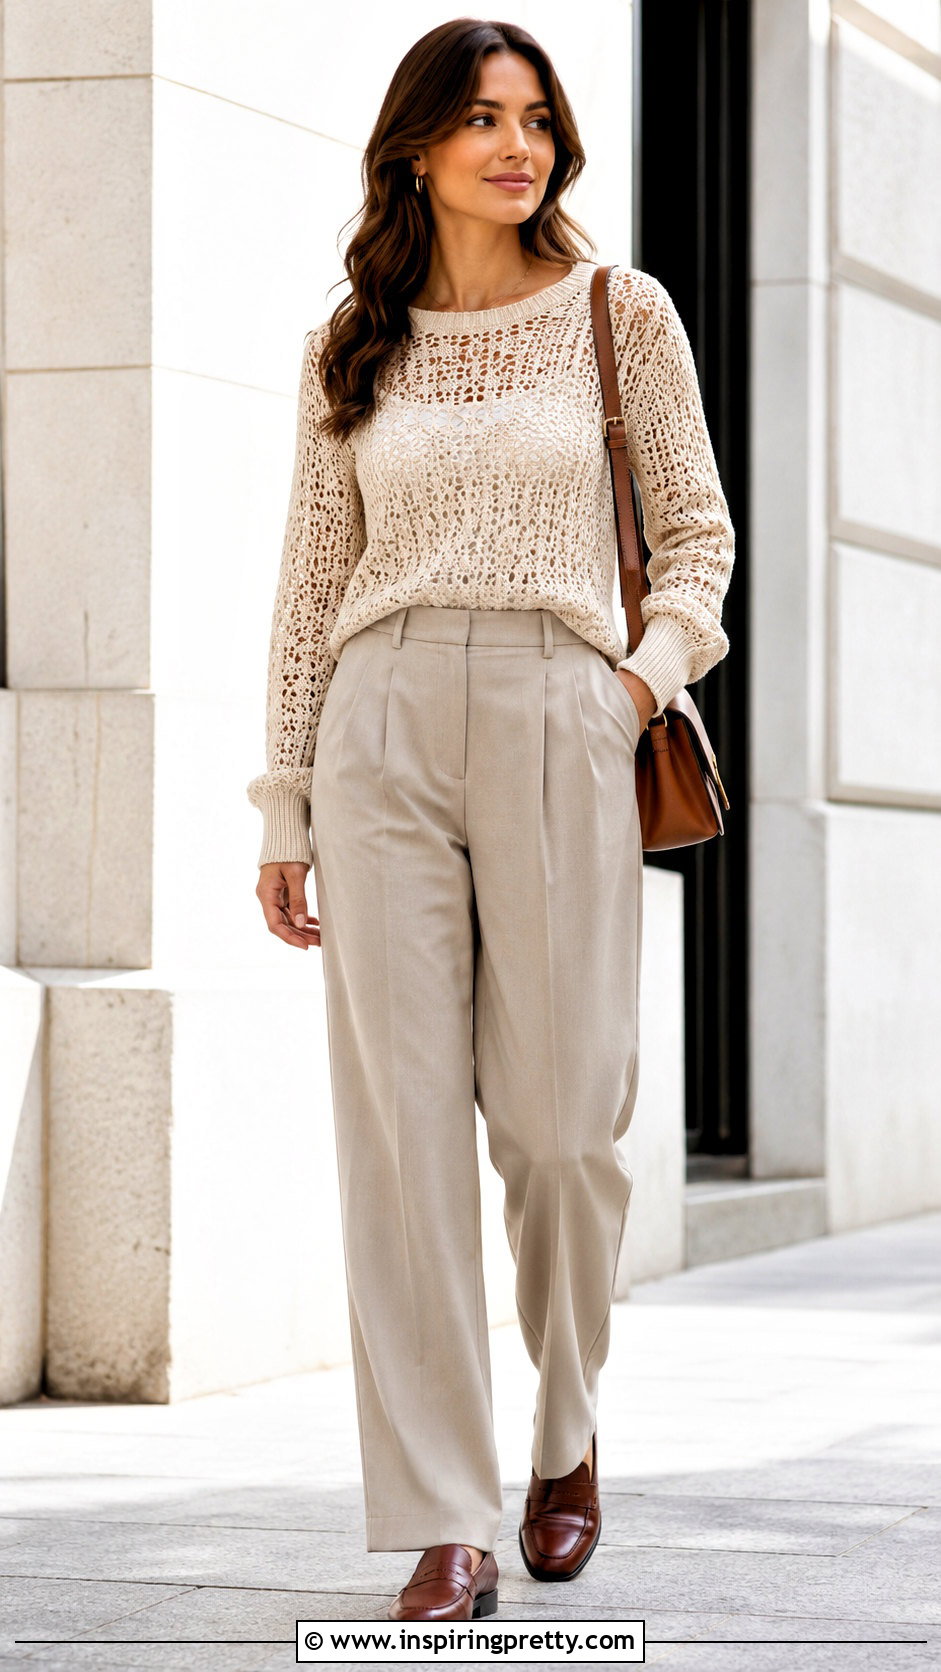
A lightweight long-sleeve top can transition comfortably across several seasons. Crochet the body with two panels or seamless rounds, then shape the neckline and armholes. Work the sleeves from the shoulders downward so you can try them on and control their length. Decrease gradually from the upper arm to the wrist for a tapered fit. Add a ribbed cuff if you prefer a secure finish. Open stitches work well for layering, while linked stitches provide greater coverage. Block the sleeves carefully and allow the garment to dry flat. Create a practical outfit with a fitted tank underneath, high-waisted trousers, leather loafers, and a medium shoulder bag. Add a lightweight coat when the temperature drops.
25. Crochet Mesh Top
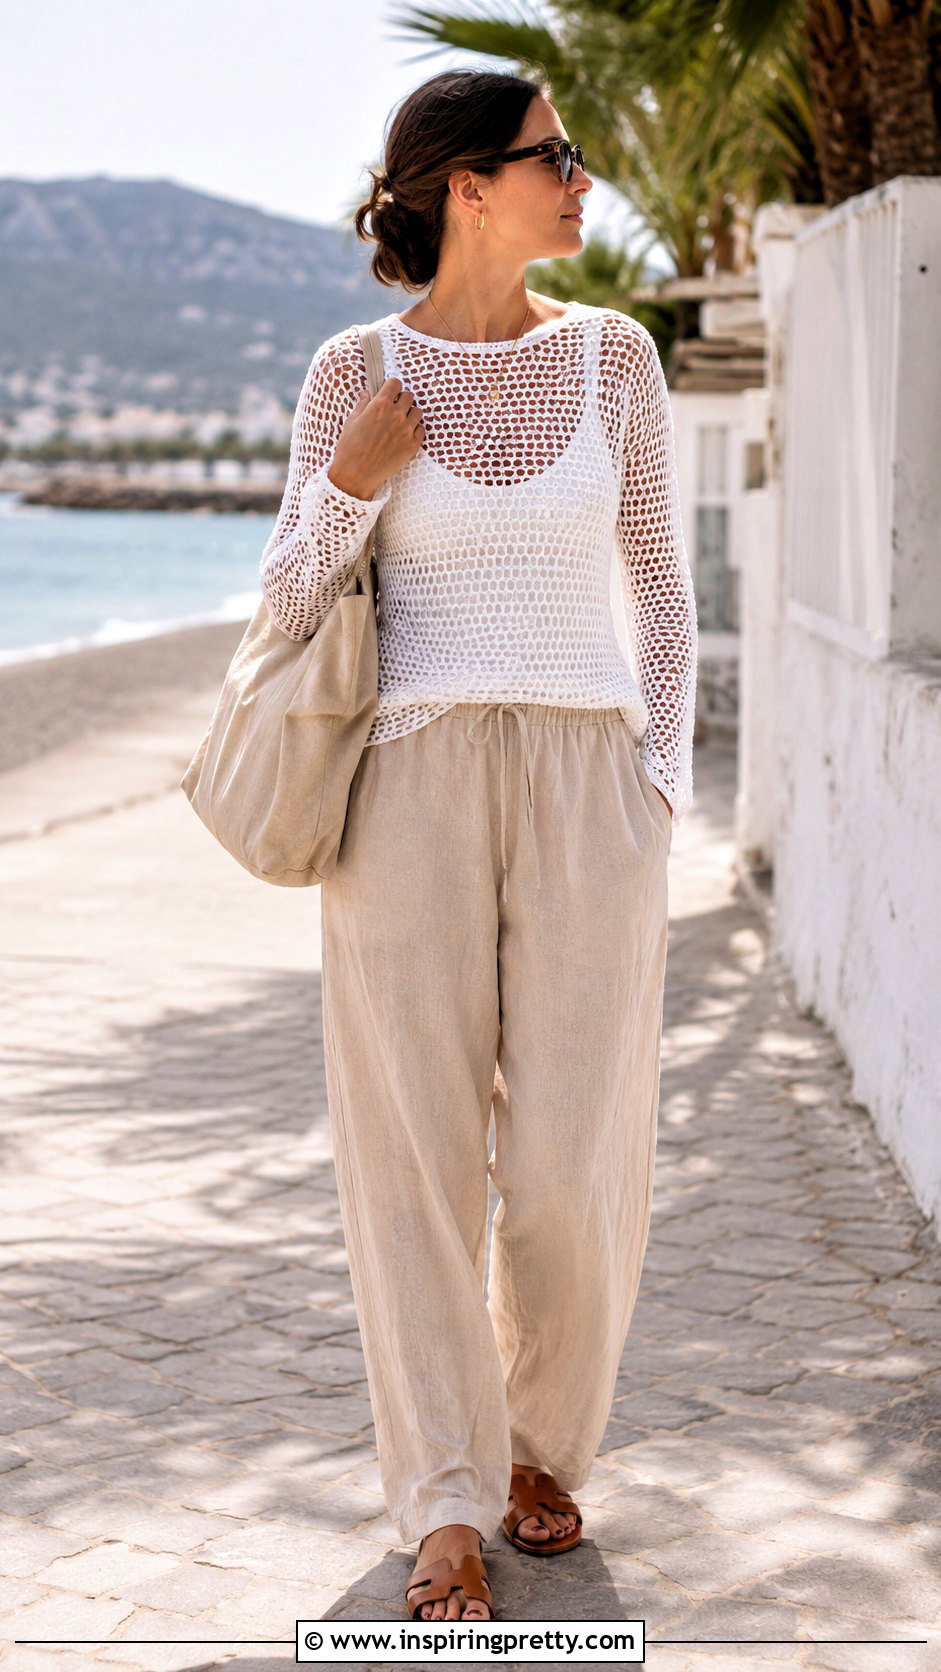
Open mesh fabric works quickly, but consistent tension is essential for evenly sized spaces. Crochet a foundation chain based on the desired body width, then alternate double crochet stitches with one or more chains. Make two relaxed rectangular panels, leaving a wide neckline when joining the shoulders. Seam the sides and add sleeves if desired. A solid single-crochet border will strengthen the open fabric at the neck, wrists, and hem. Choose a smooth yarn because fuzzy fibers can obscure the mesh pattern. Plan the outfit before deciding on transparency and length. Layer the finished top over a tonal camisole, then add loose linen pants, flat slides, a canvas tote, and simple sunglasses for an airy daytime look.
26. Crochet Lace Top
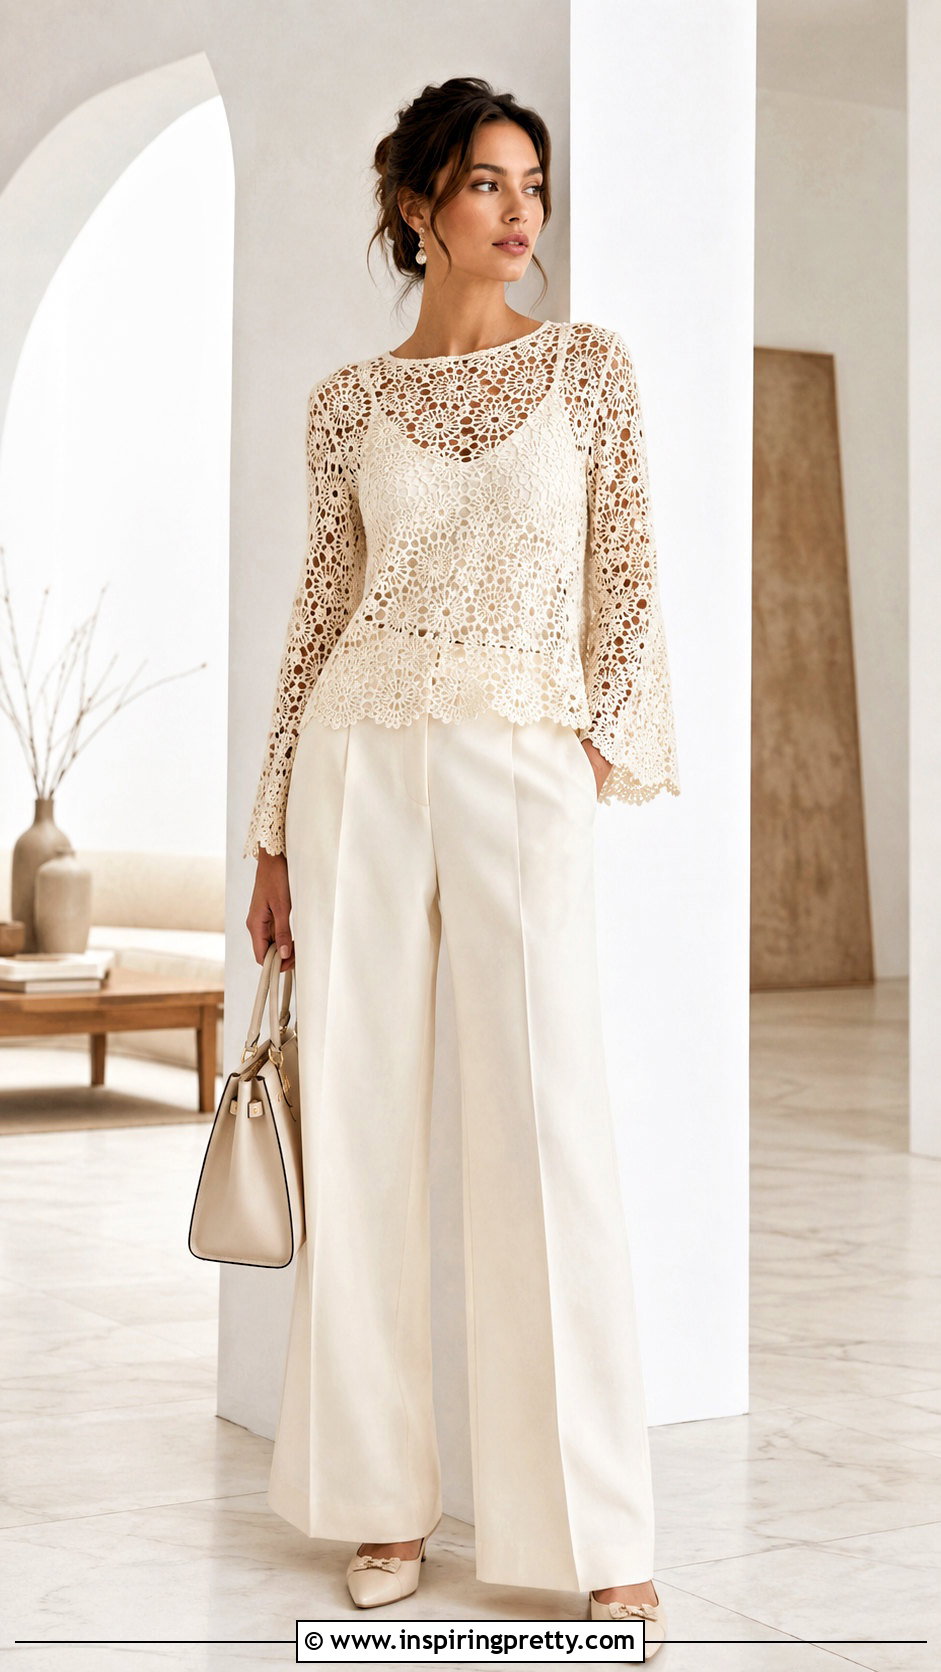
Delicate crochet lace requires patience, accurate counting, and regular blocking checks. Select a repeating stitch pattern with shells, fans, or chain spaces, then make a generous gauge swatch. Calculate the number of repeats needed for the front and back widths. Crochet straight panels when using a complex motif, allowing the stitch design to provide visual interest. Shape the neckline only if the repeat can remain balanced on both sides. Join the panels with a subtle seam and add narrow edges that do not overwhelm the lace. Wear a smooth camisole underneath to highlight the pattern clearly. Finish the outfit with tailored wide-leg pants, pointed flats, a structured handbag, and delicate earrings for an elegant yet approachable result.
27. Crochet Shell Stitch Top
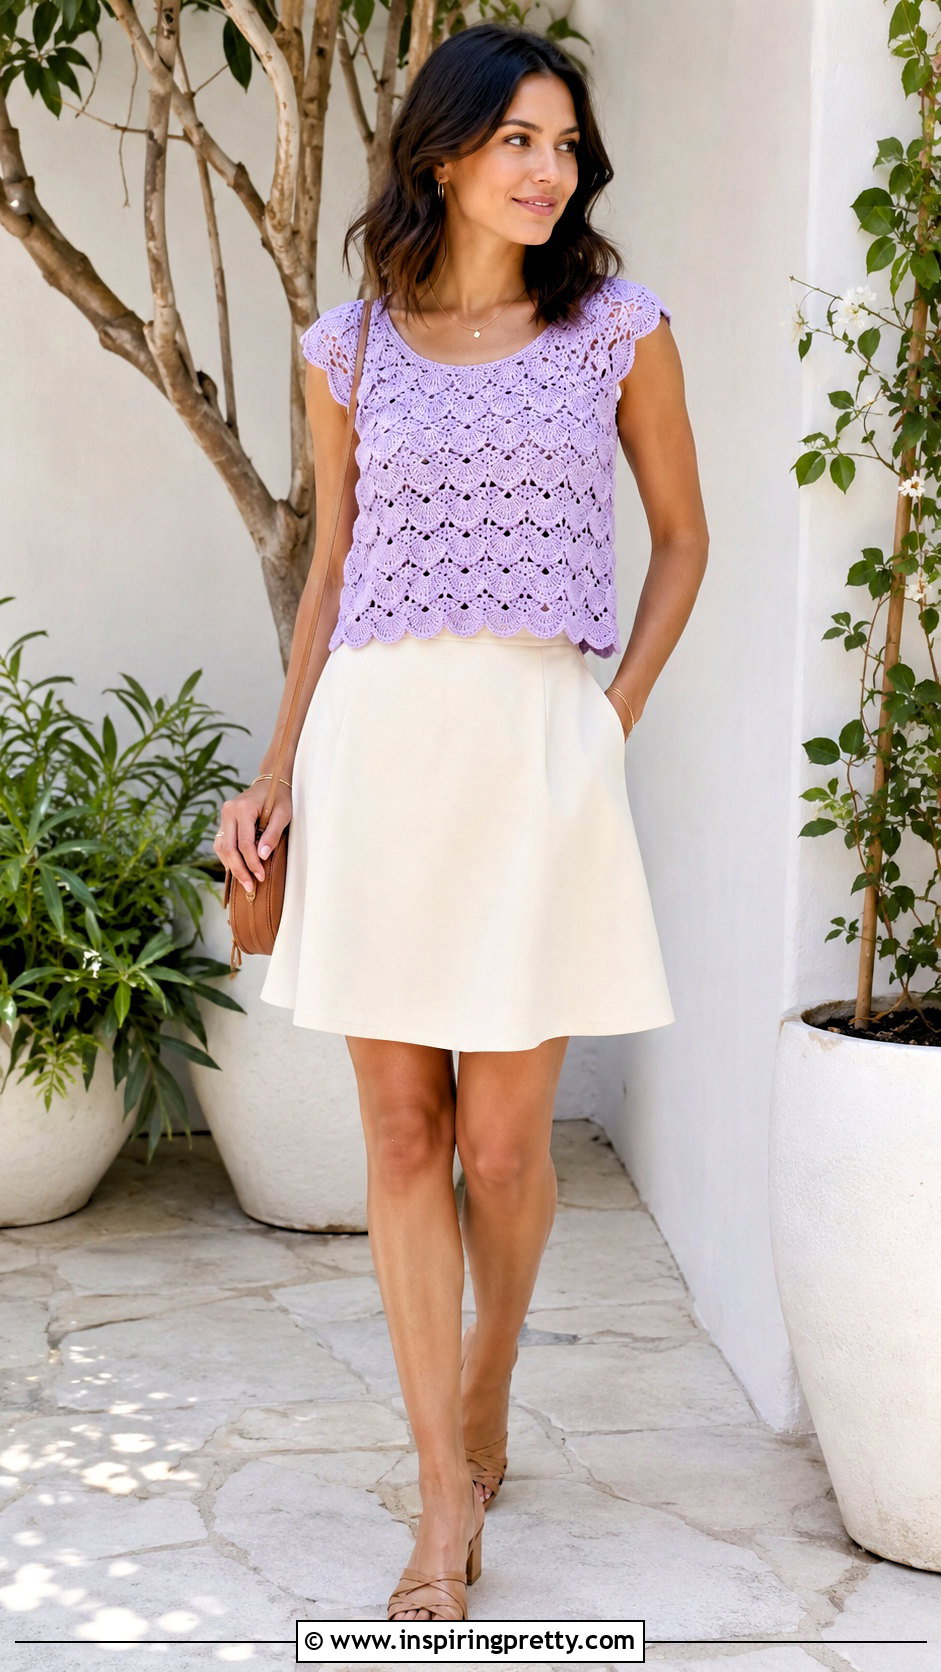
Shell stitches produce a decorative fabric using groups of tall stitches worked into the same space. Begin by swatching the complete shell repeat because its width can change significantly after blocking. Crochet the top from two straightforward panels to avoid interrupting the pattern unnecessarily. Keep the side and shoulder seams aligned with complete or half-shell units. A foundation row of single crochet can make the lower edge more stable. For the neckline, switch to shorter stitches and shape the opening gradually. Block the top flat so every shell opens evenly. Pair the finished piece with a solid A-line skirt, low-heeled sandals, a small leather bag, and minimal jewelry. The simple accessories allow the textured crochet fabric to remain the outfit’s focal point.
28. Crochet Chevron Top
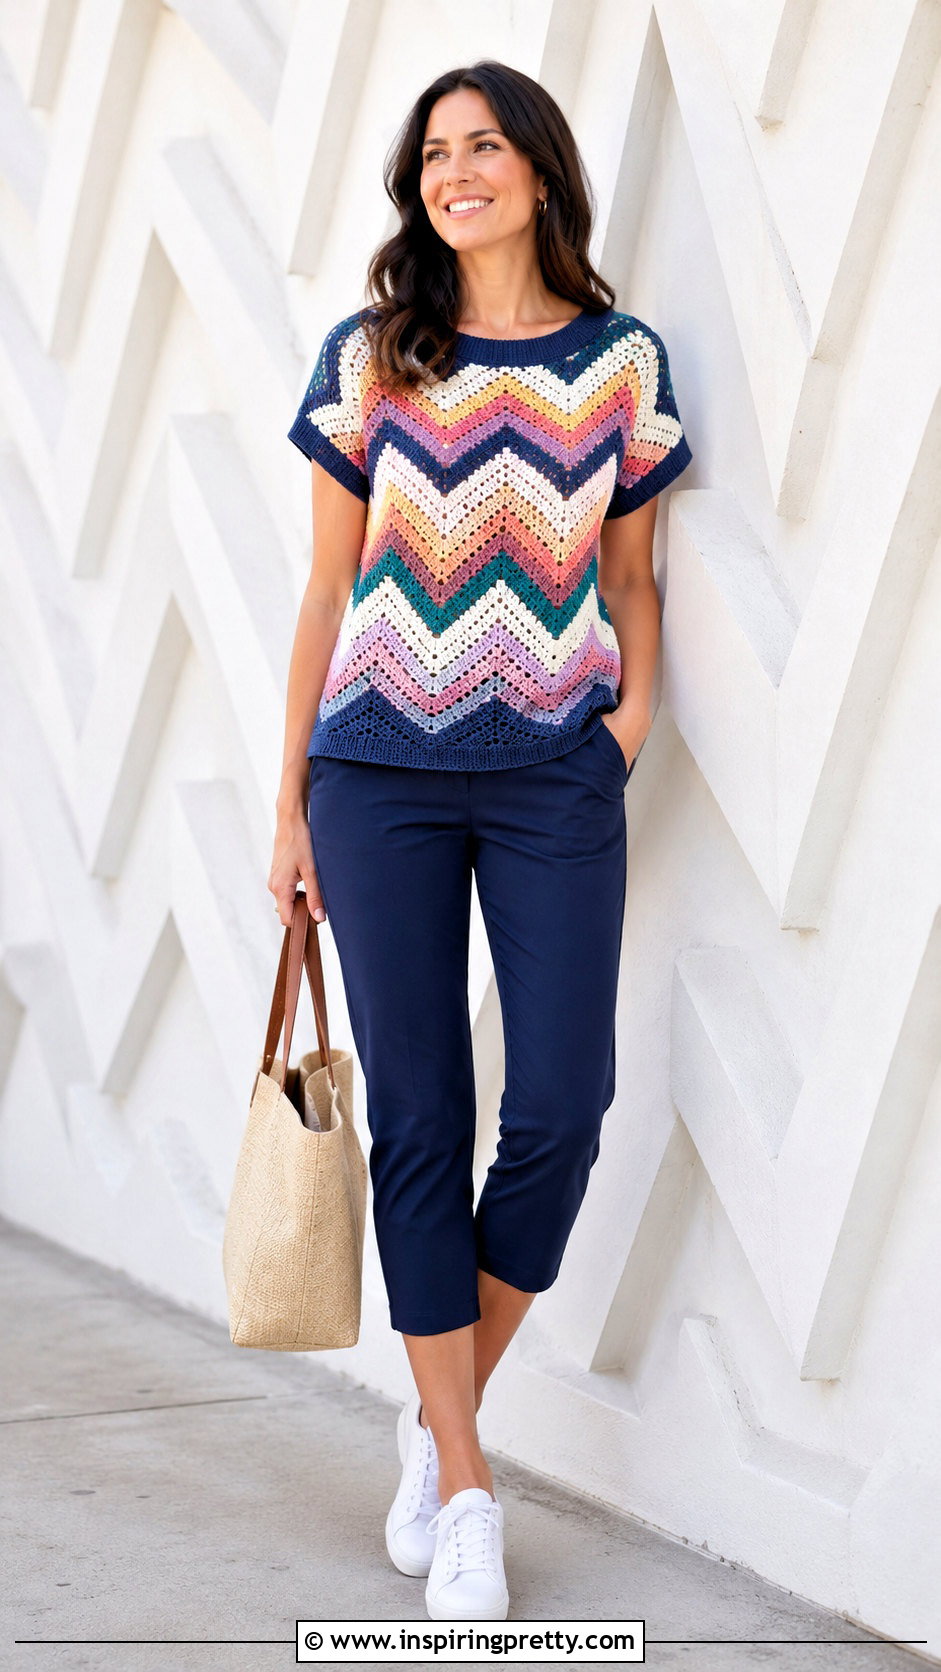
The peaks and valleys of a chevron top are created through carefully placed increases and decreases. Choose a stitch multiple, make a swatch, and determine how many repeats will cover your desired width. Work each row with increases at every peak and decreases at every valley, checking frequently for accidental stitch changes. Make front and back panels in matching stripe sequences, or use one self-striping yarn for easier color transitions. Keep the neckline simple so it does not compete with the zigzag pattern. Join the panels and add narrow borders around the openings. Style this graphic top with solid cropped pants, clean sneakers, a neutral tote, and small hoop earrings that complement rather than overwhelm the pattern.
29. Crochet Striped Top
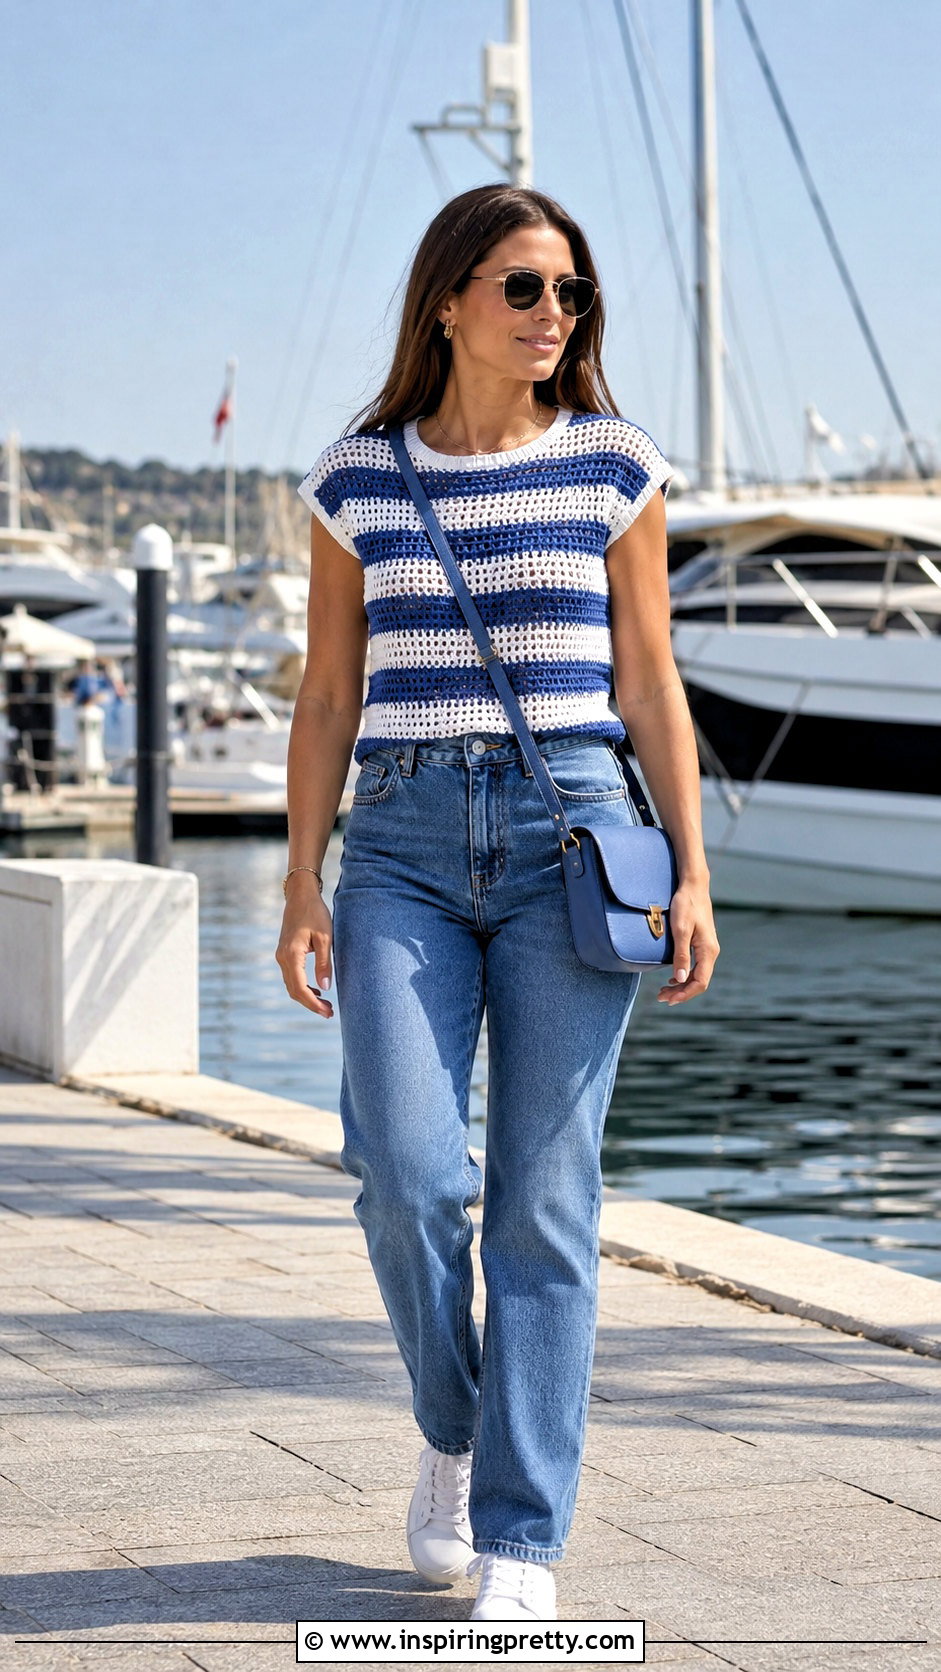
A striped crochet top is an accessible way to practice color changes and create a customized palette. Plan the stripe sequence before starting, including the number of rows assigned to each color. Crochet two panels in a basic stitch, carrying unused yarn along the edge only when the color changes are frequent. Otherwise, cut the yarn and weave in each end securely. Align the stripes when seaming the shoulders and sides so the finished top appears polished. Use a solid shade for the neckline, cuffs, and hem to frame the pattern. Complete the outfit with high-waisted jeans, white leather sneakers, a coordinated crossbody bag, and understated sunglasses for a bright casual look that feels intentionally assembled.
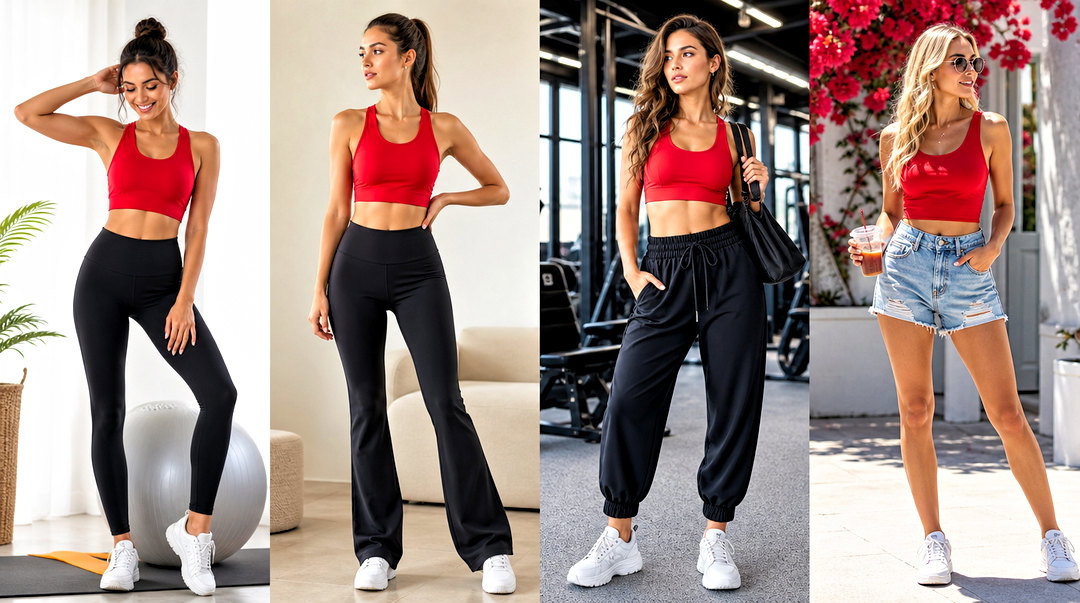
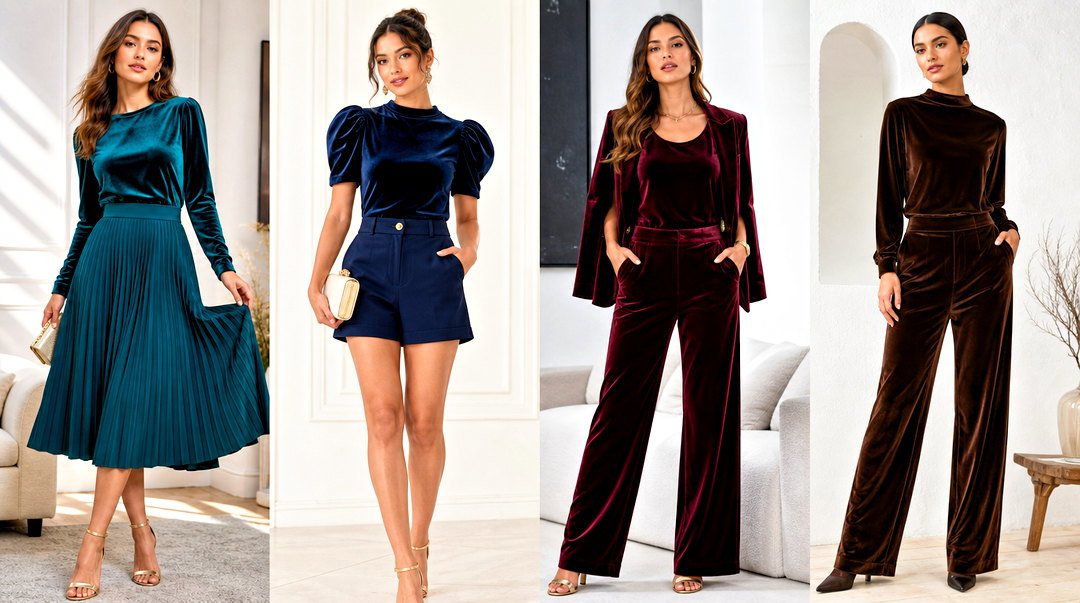
30. Crochet Color Block Top
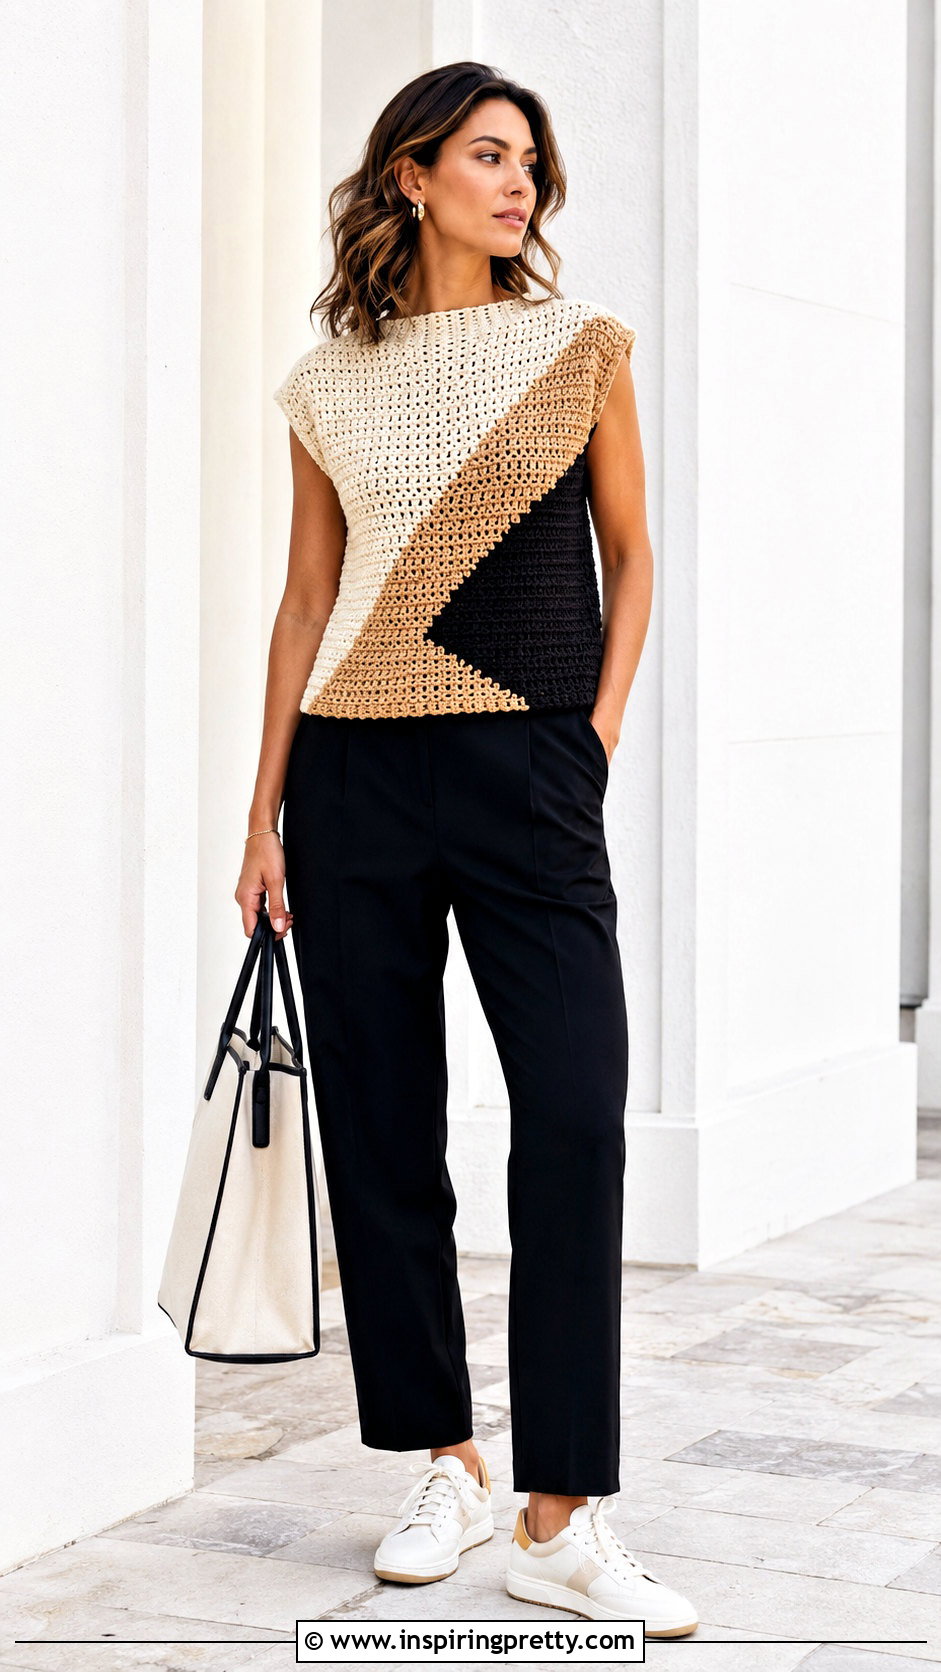
Bold sections of color make a simple silhouette feel visually strong. Sketch the front and back layout before crocheting, then calculate each block using your stitch and row gauge. Horizontal blocks are easiest because you can change yarn at the beginning of a row. For vertical blocks, use separate yarn balls and twist the strands together at each color boundary. Keep the tension consistent so the joins do not pull. Choose two or three colors with clear contrast, or use related neutrals for a quieter design. Finish all openings in one repeated shade to unify the garment. Style the top with solid trousers, minimalist sneakers, a structured tote, and earrings that repeat the smallest accent color.
31. Patchwork Crochet Top
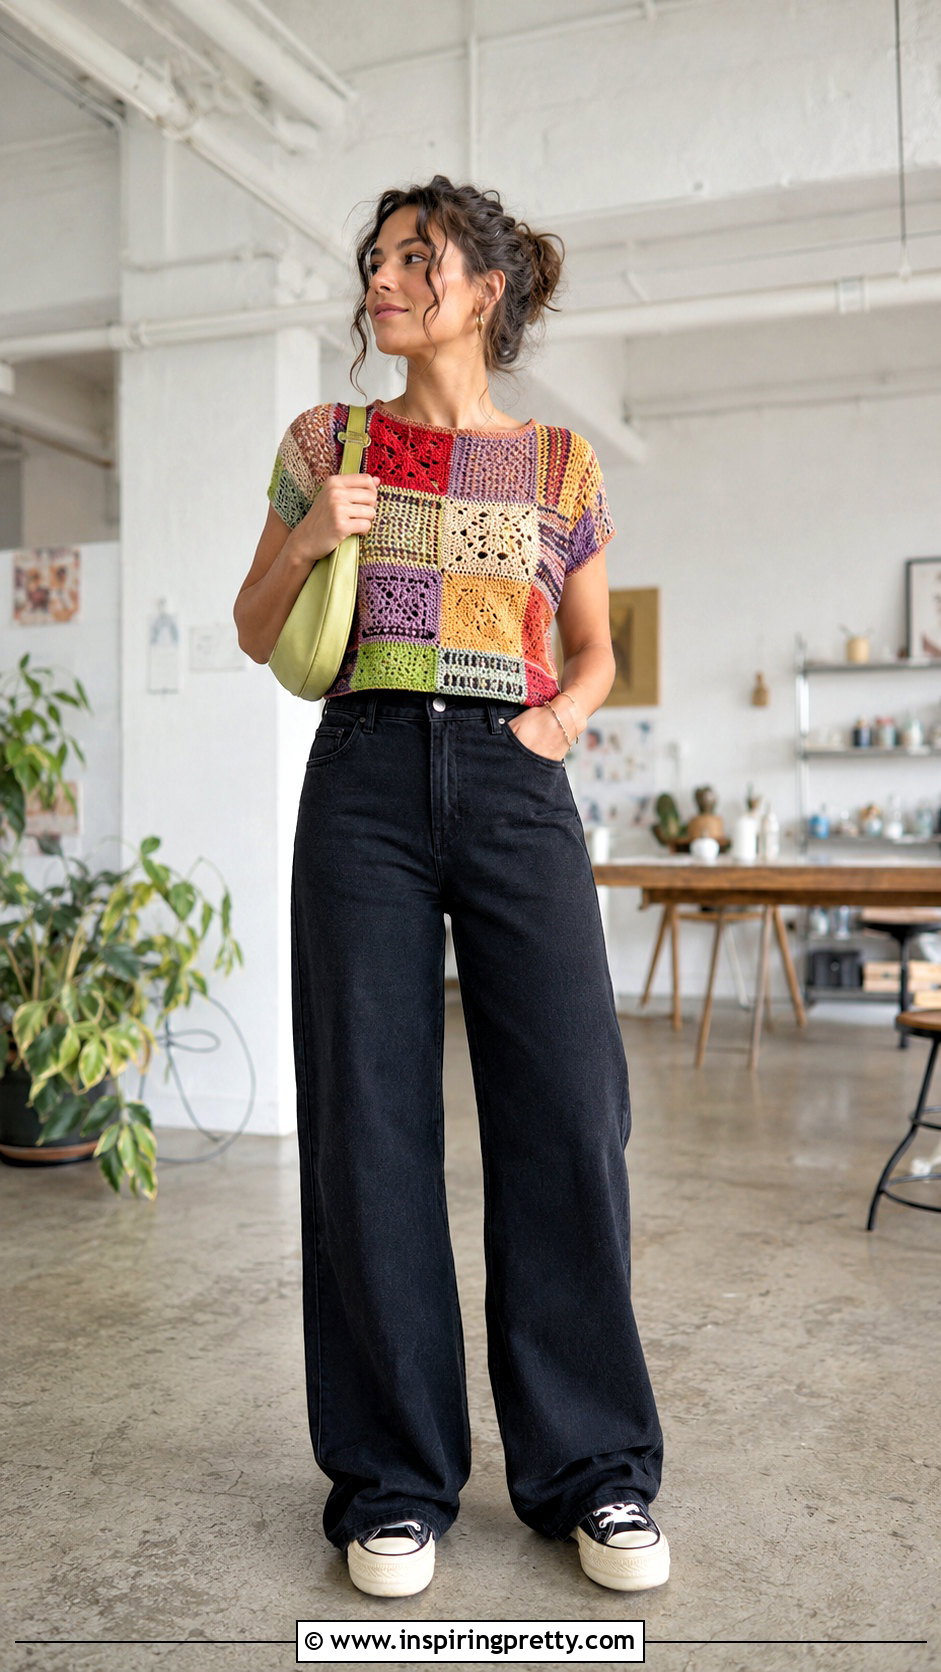
A patchwork top allows you to combine varied colors, stitches, and small yarn quantities in one project. Create a paper layout showing the approximate placement and dimensions of every square or rectangle. Crochet the pieces separately, then block them to consistent measurements before assembly. Arrange the completed patches on a flat surface and adjust the color balance as needed. Join them with single crochet for visible seams or mattress stitch for a smoother surface. Form larger front and back panels, connect the shoulders, and close the sides. Add a plain border to create a unified finish. Wear the finished top with black wide-leg jeans, platform sneakers, a simple shoulder bag, and minimal accessories that keep the patchwork visually clear.
32. Flower Granny Square Crochet Top
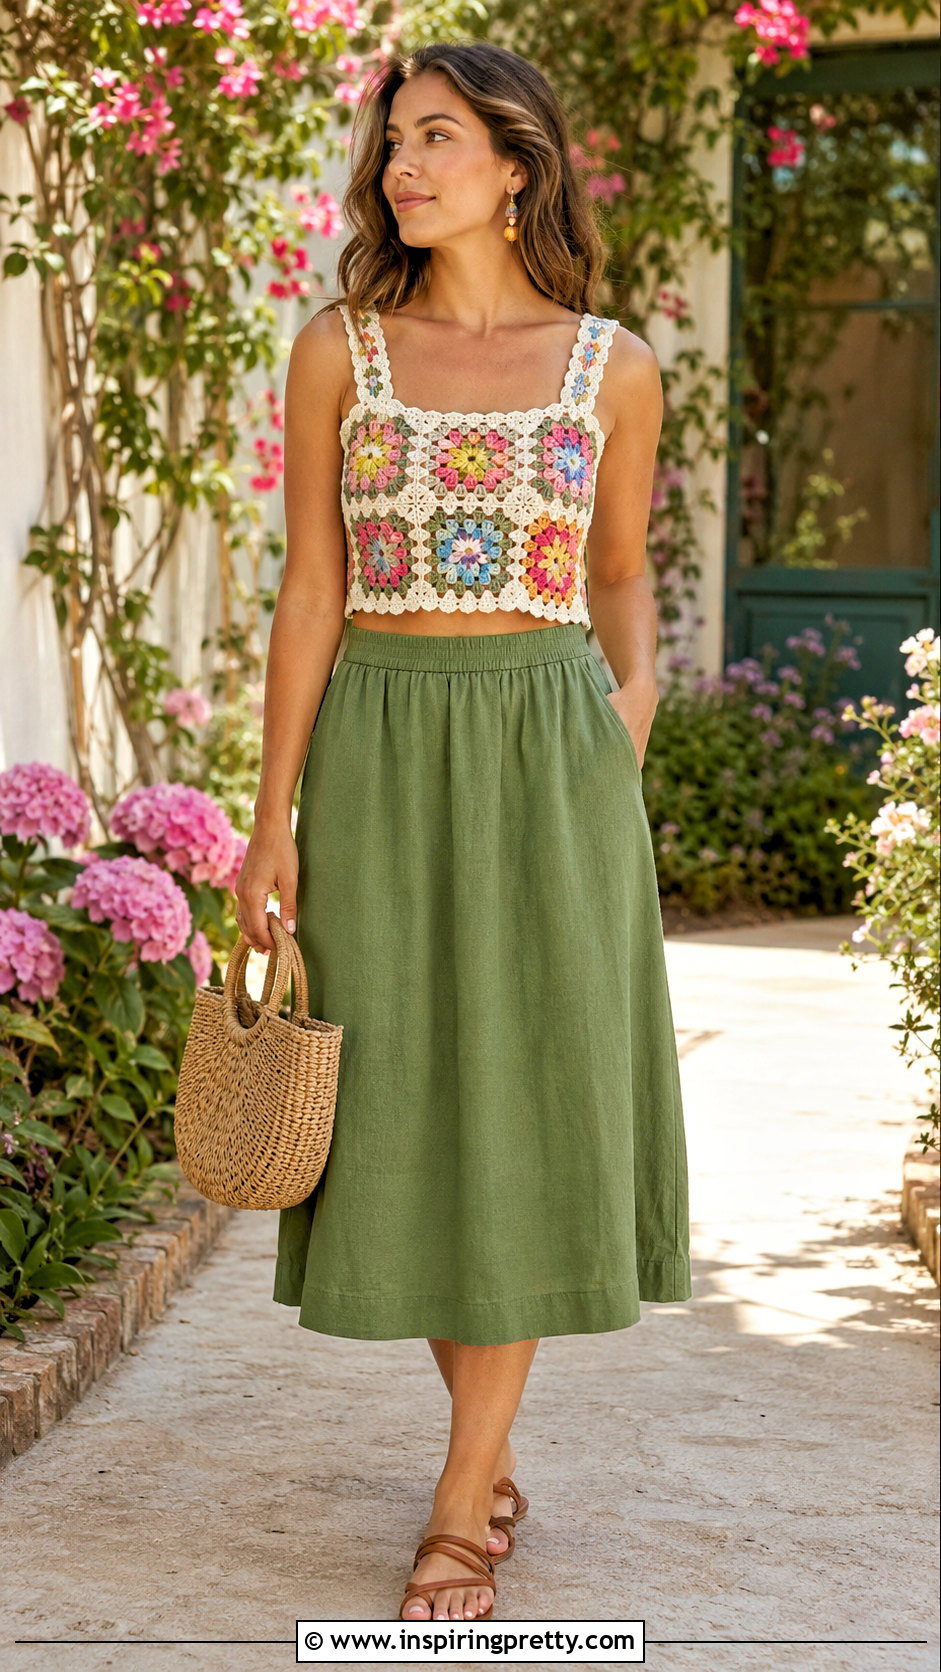
Small floral motifs create a cheerful crochet top with plenty of color possibilities. Crochet each flower center first, followed by petals and a square background. Using one background color across every motif helps the finished garment look cohesive. Block the squares to equal dimensions, then arrange them according to your bust, waist, and desired length. Join the motifs in rows, adding straps or solid side panels where needed. Reinforce the neckline and armholes with compact single crochet. Weave in the many yarn ends before assembly so finishing feels manageable. Style the floral top with a solid midi skirt, flat leather sandals, a woven handbag, and small colorful earrings that coordinate with one of the flower centers.
33. Sunflower Crochet Top
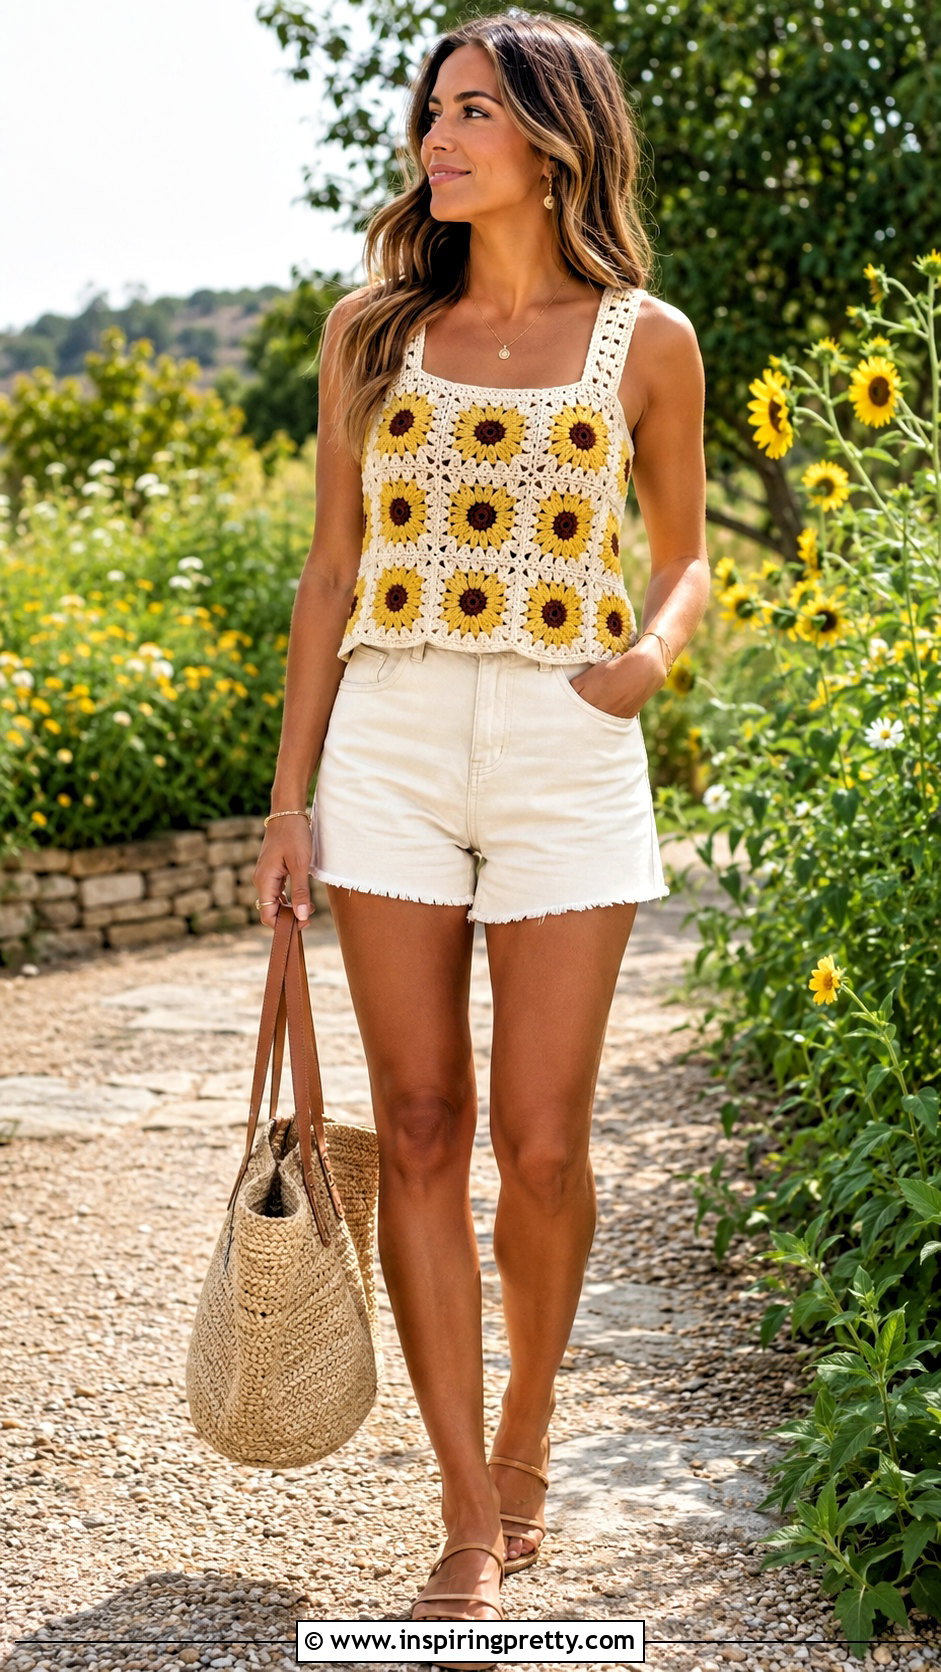
A sunflower top uses recognizable circular motifs surrounded by square borders. Begin each motif with a dark center, add golden petal stitches, and finish with a neutral or green background. Keep the yarn weight and hook size consistent so all squares match. After blocking, join enough motifs to create the body, placing the flower centers at even intervals. Use solid crochet panels under the arms if full squares make the top too wide. Add broad straps for comfort and a firm lower border for stability. Avoid making the garment overly heavy by choosing lightweight cotton. Pair the finished top with cream denim shorts, tan sandals, a neutral straw tote, and simple gold-tone accessories for a coordinated summer outfit.
34. Daisy Crochet Top
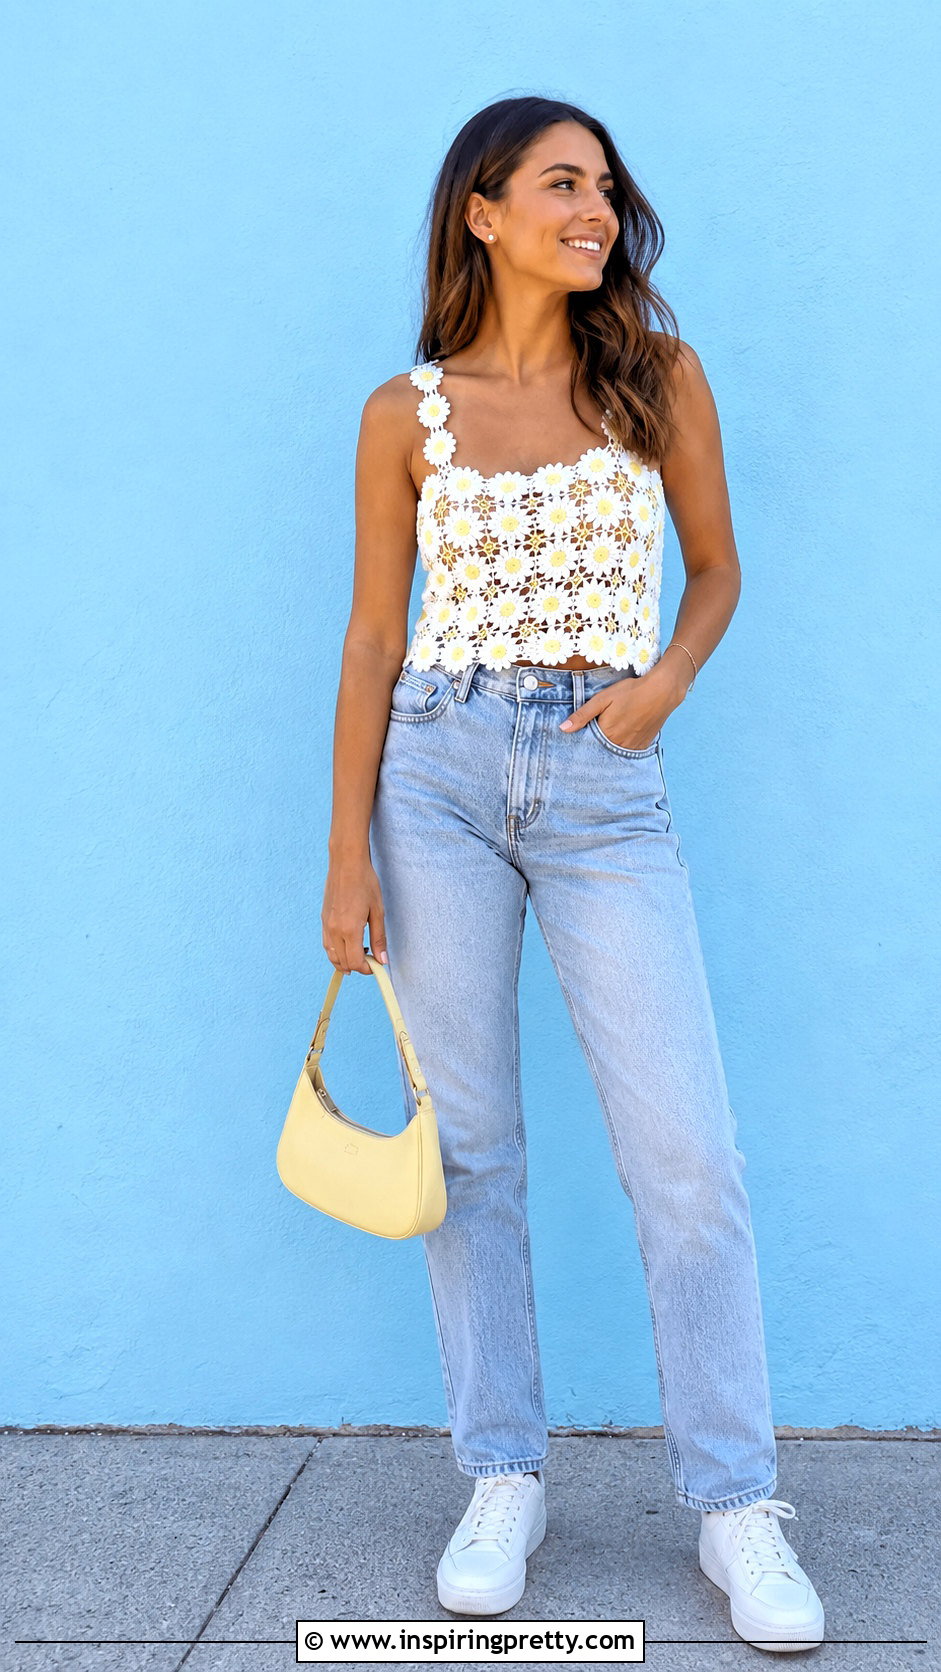
Fresh white petals and bright centers give a daisy crochet top a clean, graphic appearance. Make a collection of small daisy squares, measuring the first blocked motif before deciding how many are required. Arrange the squares with consistent spacing, then join them into front and back panels. If you prefer a lighter effect, connect individual flowers with chain spaces rather than filling every motif into a solid square. Crochet the straps and side sections in the background color to keep the design balanced. Finish with a narrow border that strengthens the delicate joins. Style the completed top with light-wash jeans, white sneakers, a pastel mini bag, and simple stud earrings for an easy outfit with a bright handmade focus.
35. Crochet Butterfly Top
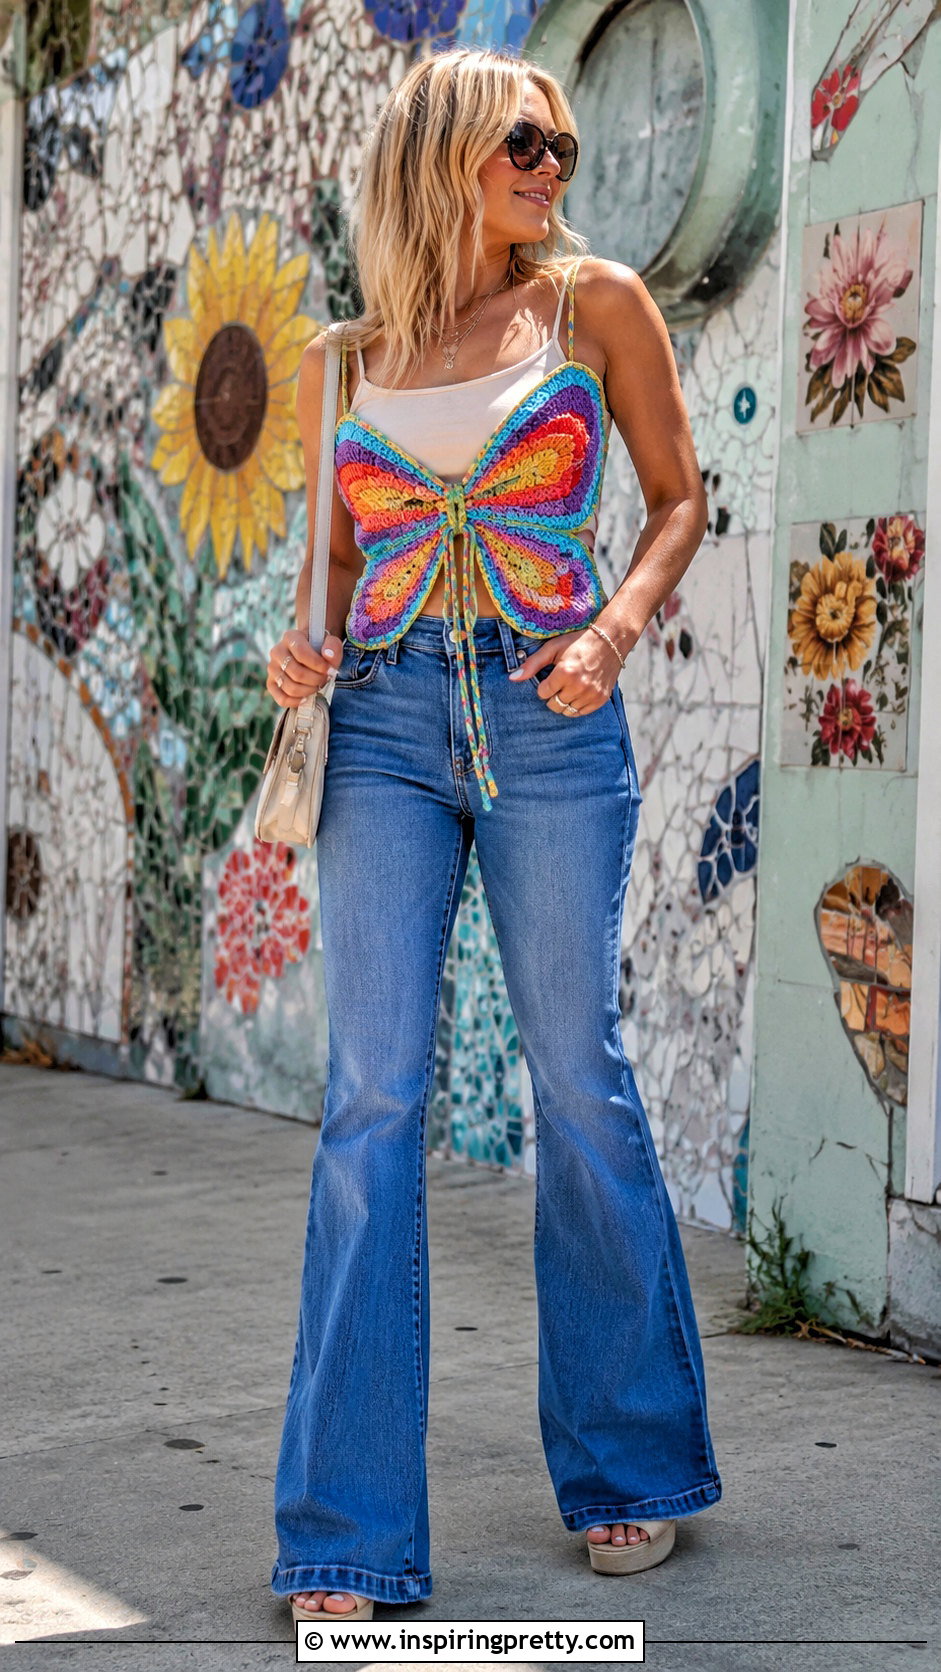
A butterfly top typically uses shaped cups or wings connected at the center. Begin with the two upper wings, using increases to widen each piece and decreases to create tapered outer points. Make smaller lower sections, then join all four pieces around a compact center panel. Crochet a supportive lower band and add neck and back ties. Maintain symmetry by recording every row and repeating the instructions in reverse for the opposite side. A lining can improve comfort and preserve the wing shape. Choose two or three harmonious colors rather than too many competing shades. Layer the finished butterfly top over a fitted camisole and add high-rise flared jeans, platform sandals, and a small shoulder bag.
36. Crochet Peplum Top
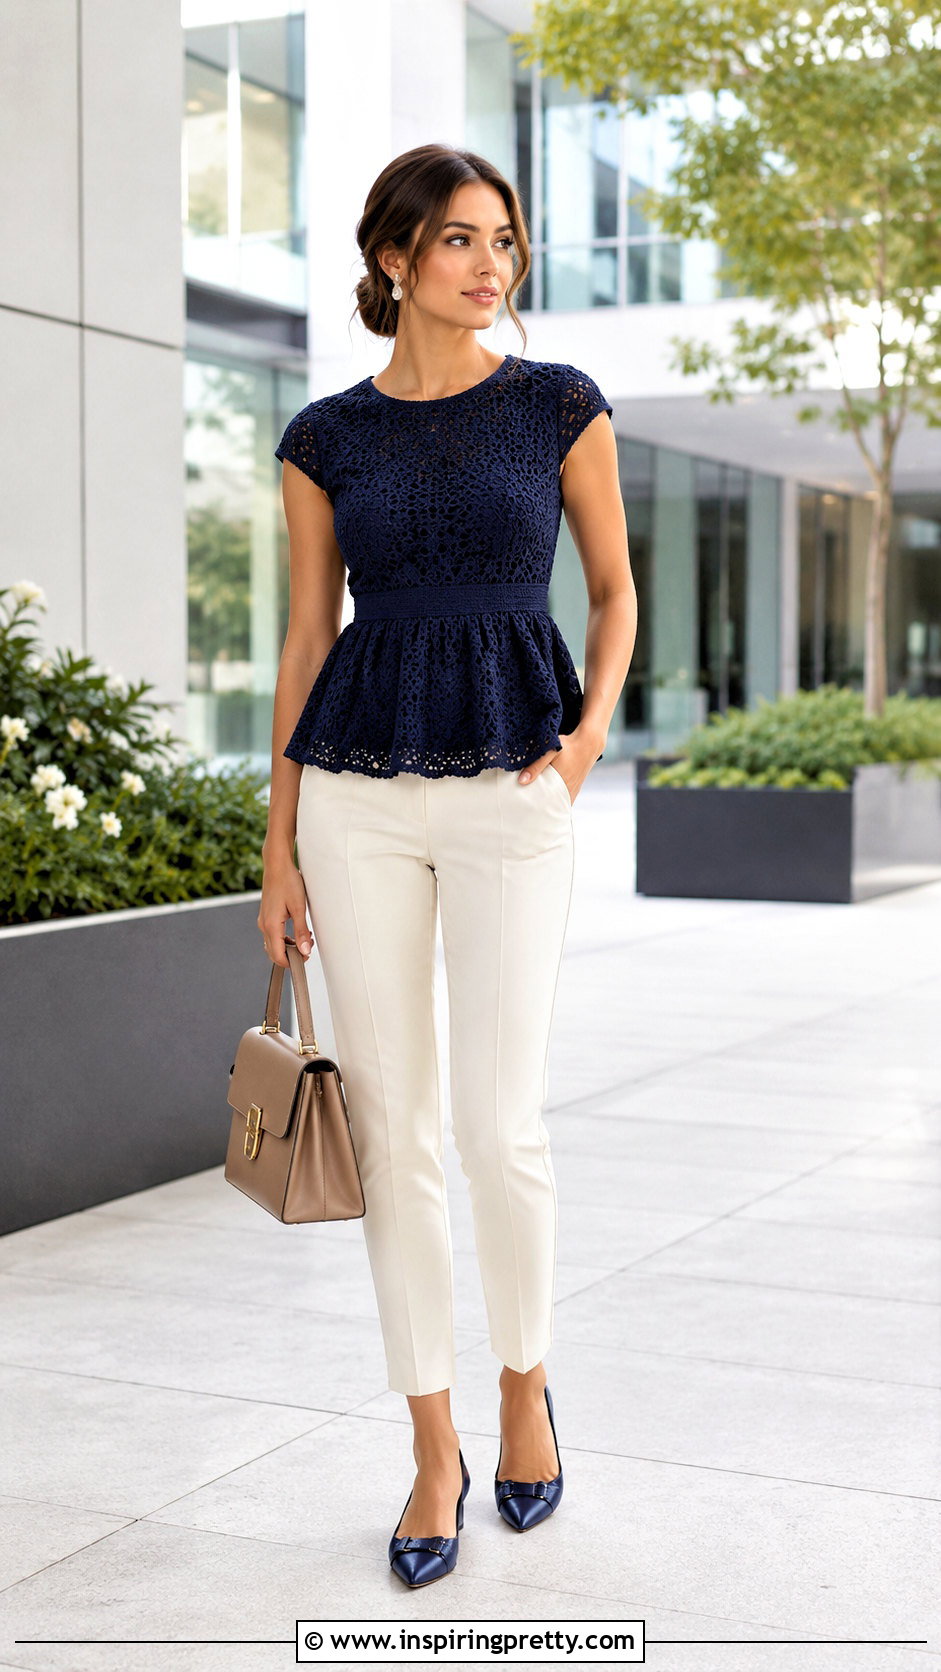
A peplum top combines a fitted upper body with a flared lower section. Crochet the bodice from the underarm to the natural waist, adjusting with decreases if you want closer shaping. Once the waist fits correctly, begin the peplum by increasing stitches evenly around the lower edge. Continue increasing every few rounds until the fabric has the desired fullness. Finish with a plain hem or a small scalloped border. Wide shoulder straps or short sleeves will balance the flare. Use yarn with enough drape to prevent the peplum from looking stiff. Pair this top with slim ankle pants, pointed flats, a structured handbag, and understated earrings for a polished outfit with a defined silhouette.
37. Crochet Babydoll Top
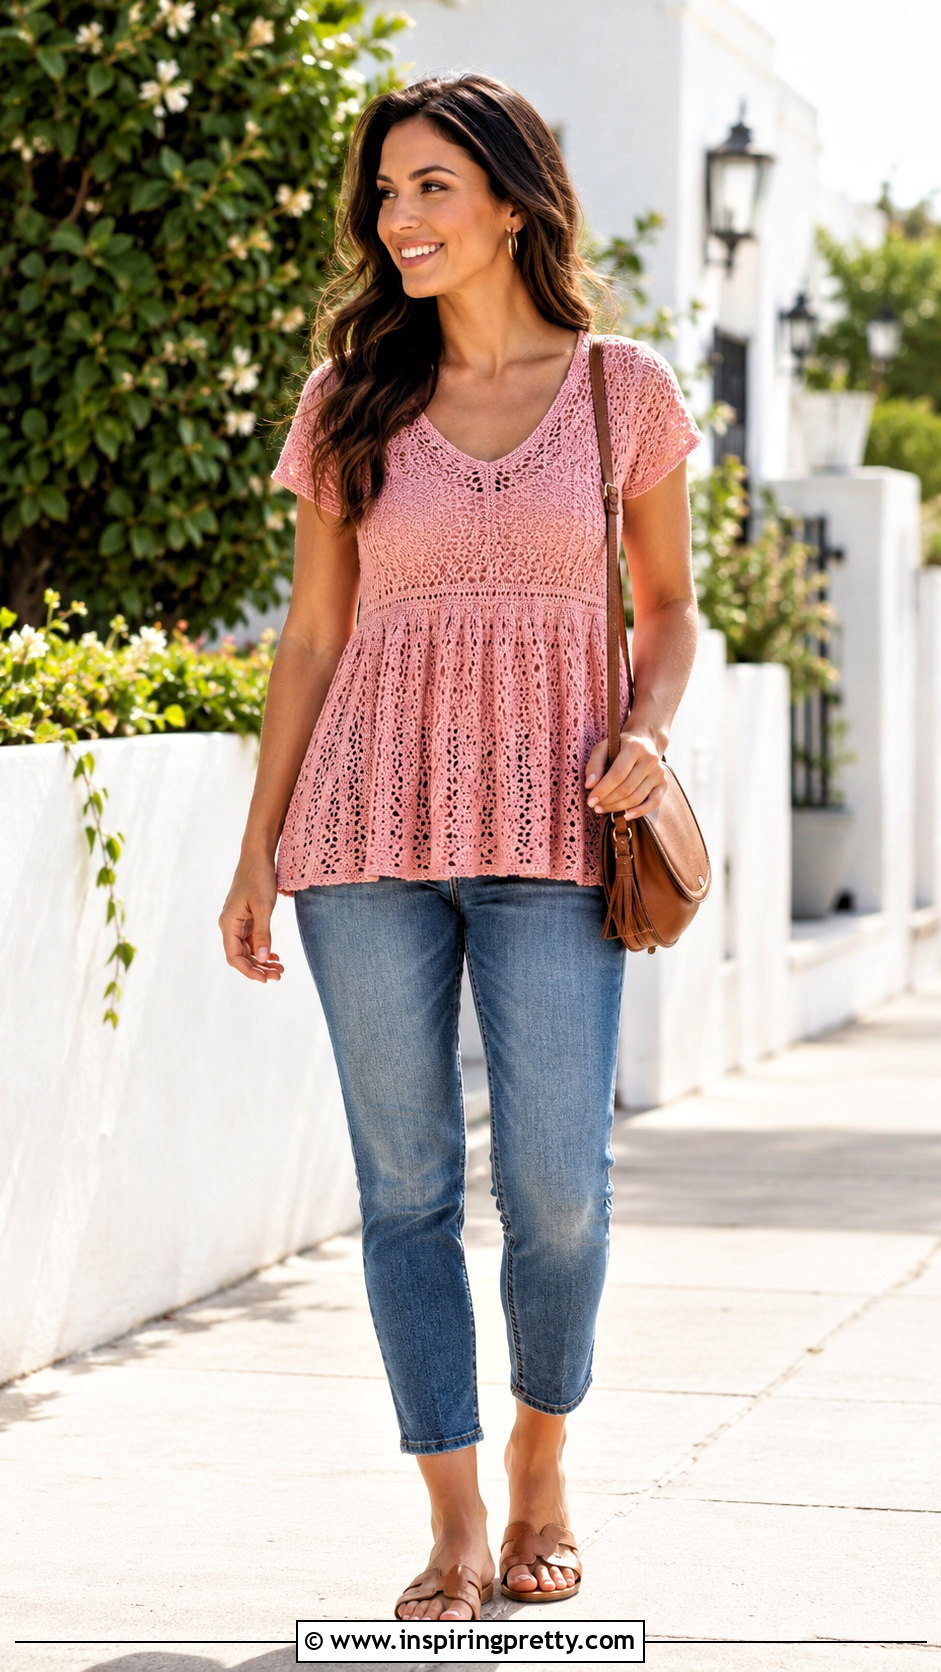
A crochet babydoll top feels comfortable because the fitted upper section opens into a loose body. Start by making a supportive yoke or short bodice that ends beneath the bust. Join the front and back, then crochet along the lower edge while adding evenly spaced increases. Continue downward without additional shaping for a gentle A-line silhouette. Use an airy stitch pattern for the lower section and denser stitches above for coverage. Adjustable straps make it easier to position the raised waistline correctly. Block the garment from the shoulders so the lower fabric settles naturally. Style the finished top with fitted cropped jeans, flat sandals, a compact crossbody bag, and small hoop earrings for a balanced casual outfit.
38. Crochet Tunic Top
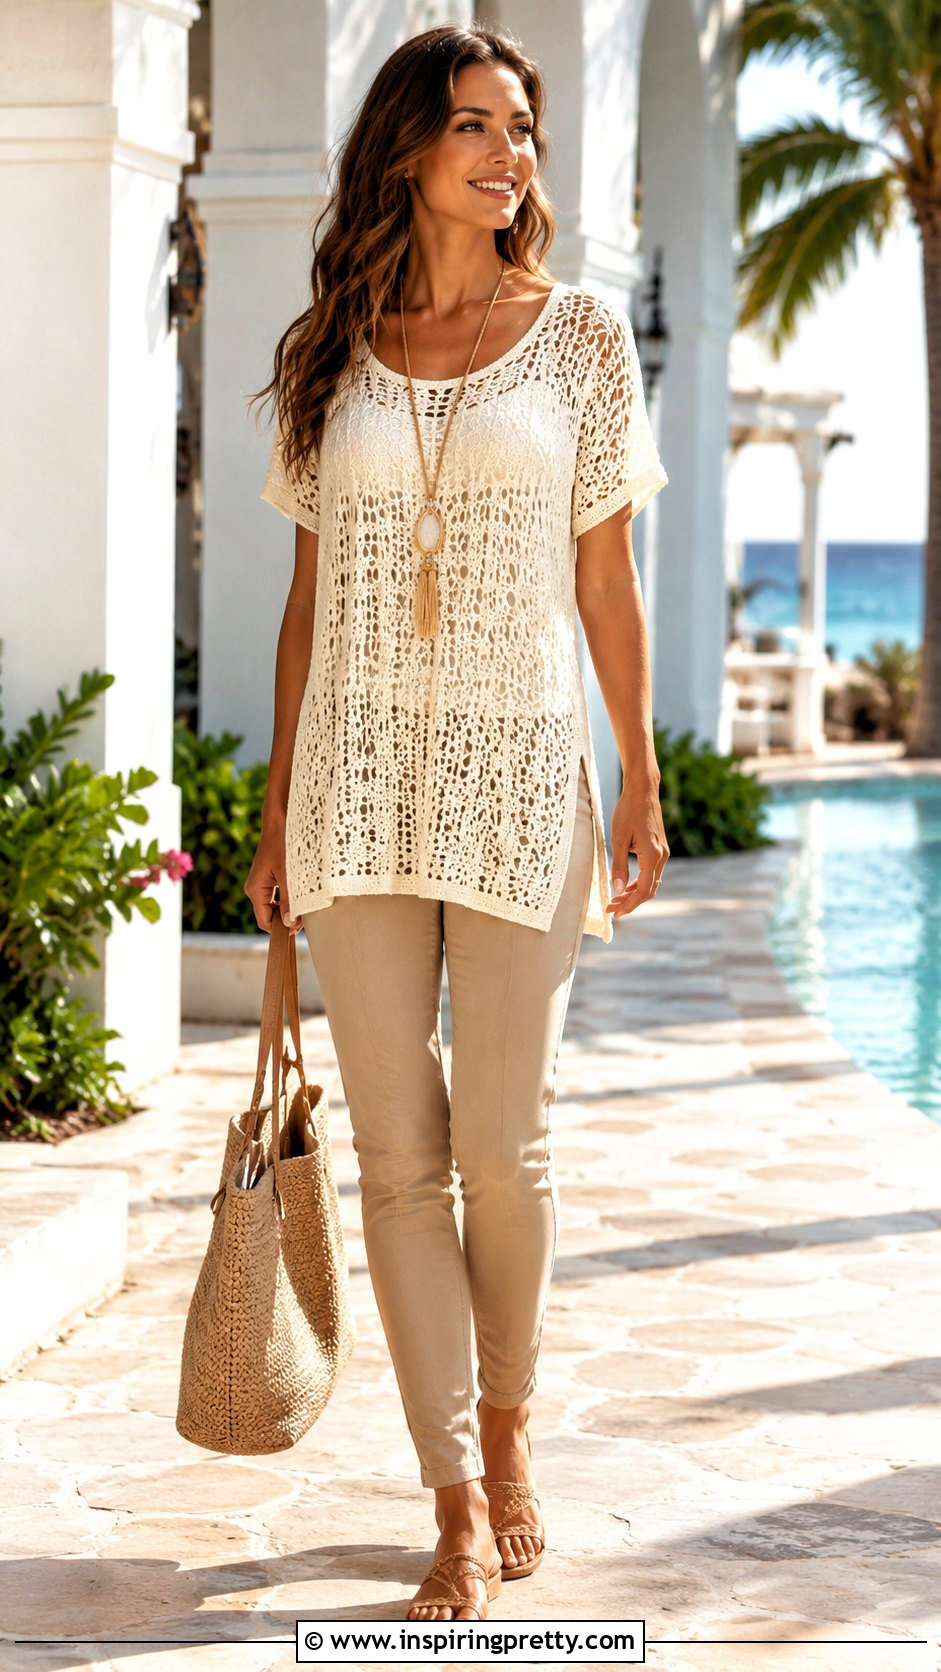
Extra length transforms a standard crochet top into a versatile tunic. Begin with two long rectangular panels that extend to the upper thigh or your preferred point. Add small side increases if you want more room through the hips. Shape a simple neckline, join the shoulders, and seam the sides while leaving comfortable slits near the hem. The slits improve movement and prevent the lower edge from pulling. Choose a lightweight yarn and an open stitch so the finished garment does not become excessively heavy. Add short sleeves or broad shoulder sections for balanced coverage. Wear the tunic over a fitted tank with slim pants, flat sandals, a roomy tote, and a long pendant for a relaxed layered outfit.
39. Crochet Polo Top
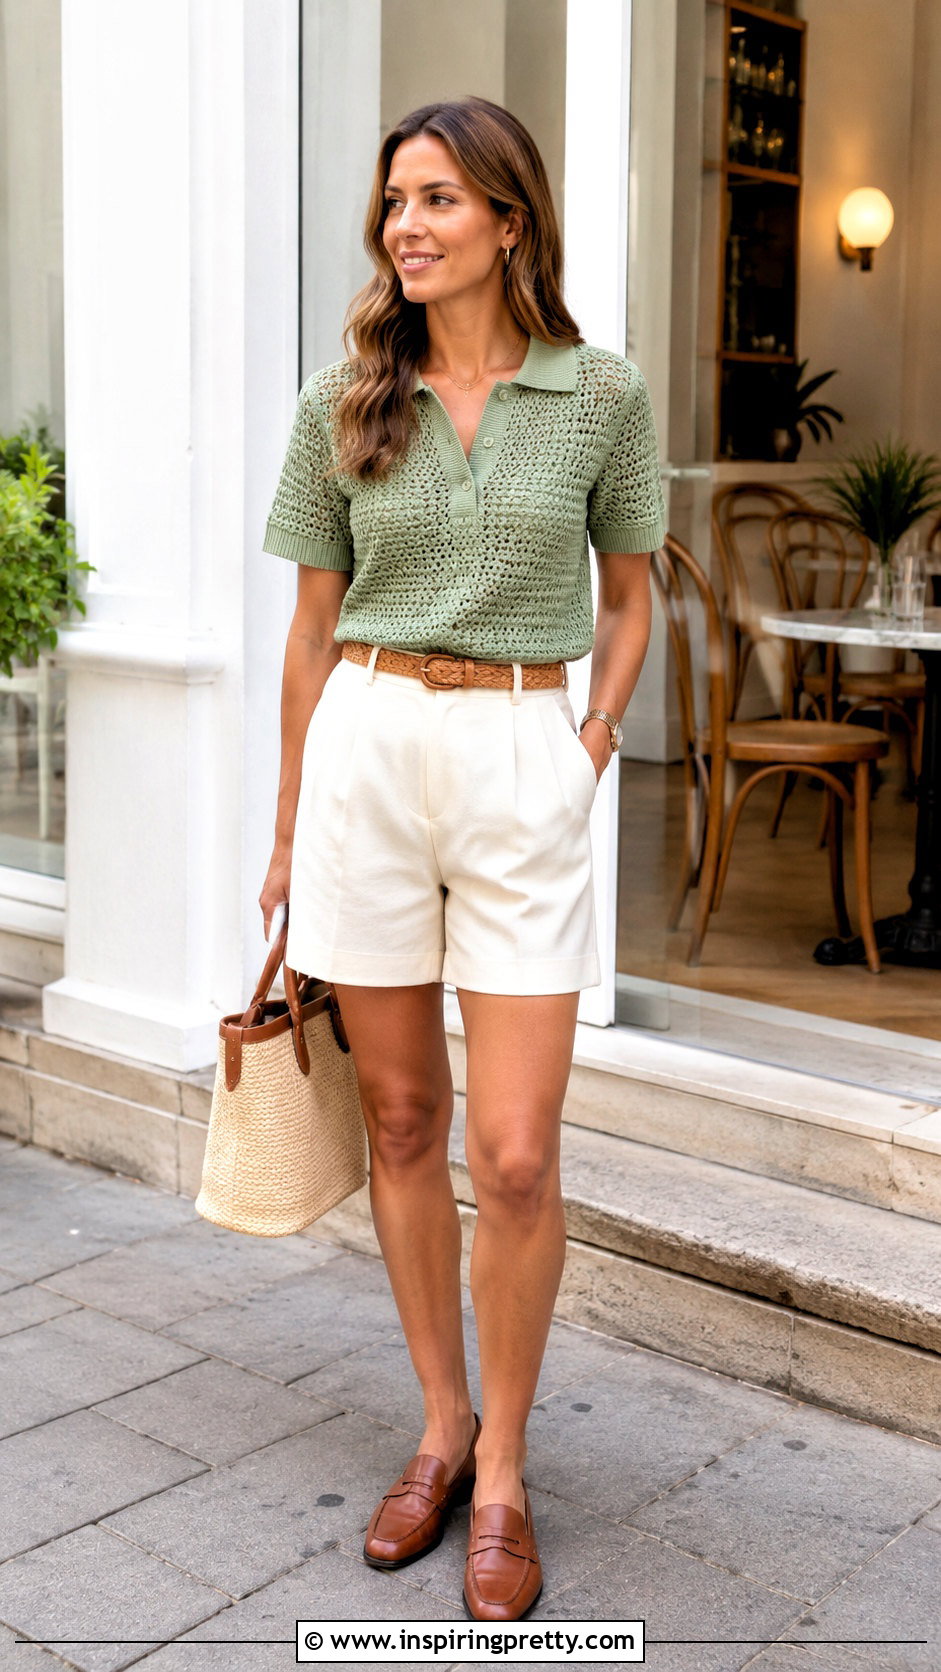
A crochet polo top combines a traditional collar with breathable handmade texture. Make the body and short sleeves first, leaving a centered opening at the upper front. Reinforce both sides of the opening with single crochet bands. Add buttons if desired, spacing the buttonholes evenly on the opposite band. To create the collar, crochet around the neckline in rows, increasing slightly near the corners so it lies flat. Use compact stitches for the collar and placket, even when the body features a more open pattern. Block the collar into shape before wearing. Pair the completed polo with tailored shorts, leather loafers, a woven belt, and a structured tote for a neat outfit that still feels relaxed.
40. Crochet Collared Top
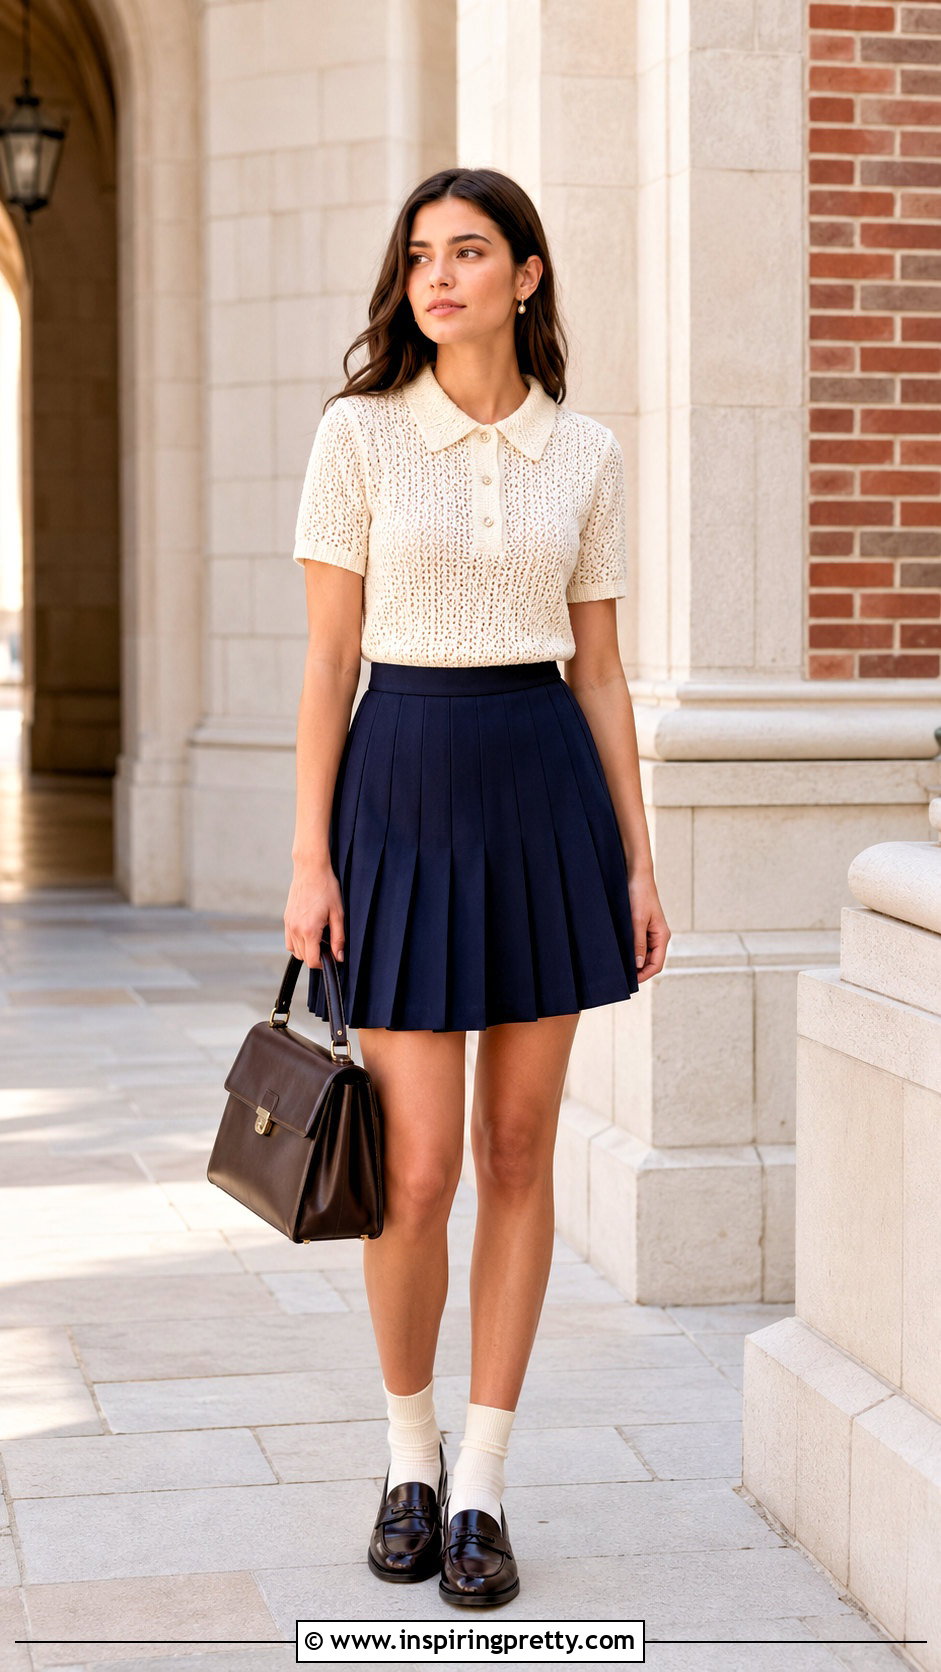
A separate collar can give a basic crochet top a crisp, finished appearance. Construct the body as a sleeveless or short-sleeve tee with a stable round neckline. Mark the center front and center back before attaching the collar. Crochet from one front edge around the back to the opposite edge, increasing where necessary to create two balanced collar points. Work several rows until the collar reaches the desired depth. A contrasting color can emphasize the detail, while matching yarn creates a subtle finish. Steam or wet block the collar flat according to the fiber instructions. Style the top with a pleated skirt, ankle socks, loafers, a structured handbag, and small earrings for a polished head-to-toe outfit.
41. Crochet Button Front Top
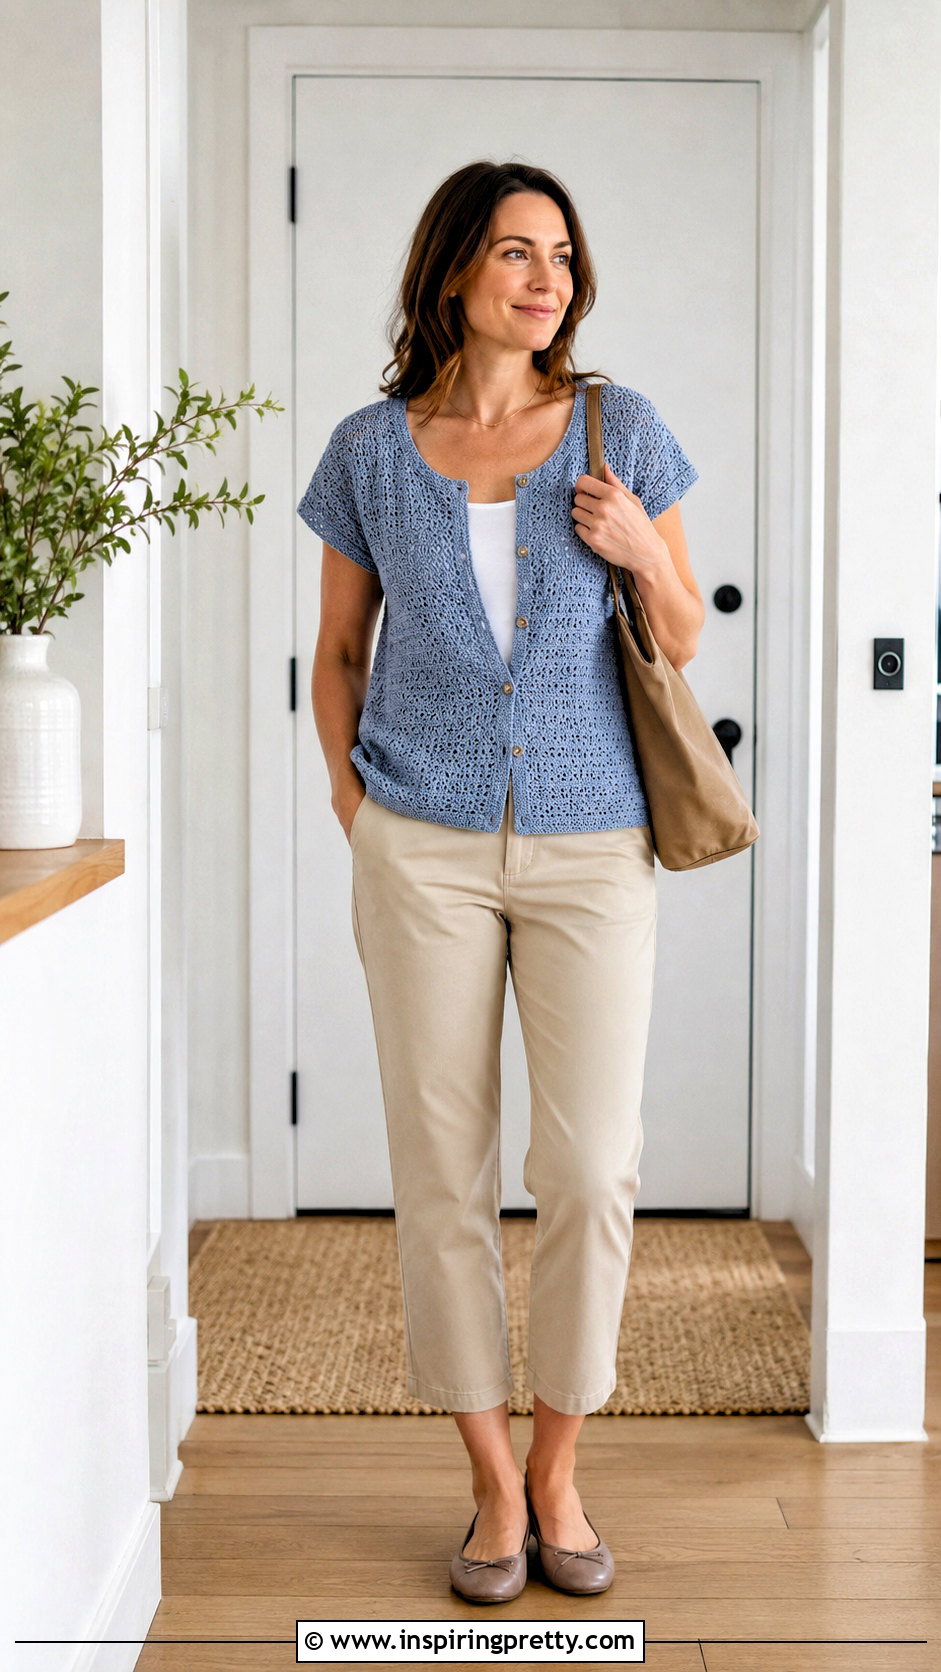
Functional buttons make this crochet top easy to layer and adjust. Crochet the back as one piece and the front as two matching panels. Shape the neckline along the inner edge of each front section, keeping notes so both sides remain symmetrical. Join the shoulders and side seams, then add sleeves if desired. Crochet a firm button band along one opening and a matching band with evenly spaced buttonholes along the other. Select lightweight buttons that will not pull the fabric downward. Sew each button through reinforced stitches using strong thread or matching yarn. Pair the finished top with a plain camisole, cropped trousers, ballet flats, and a medium shoulder bag for an adaptable outfit with practical coverage.
42. Crochet Wrap Top
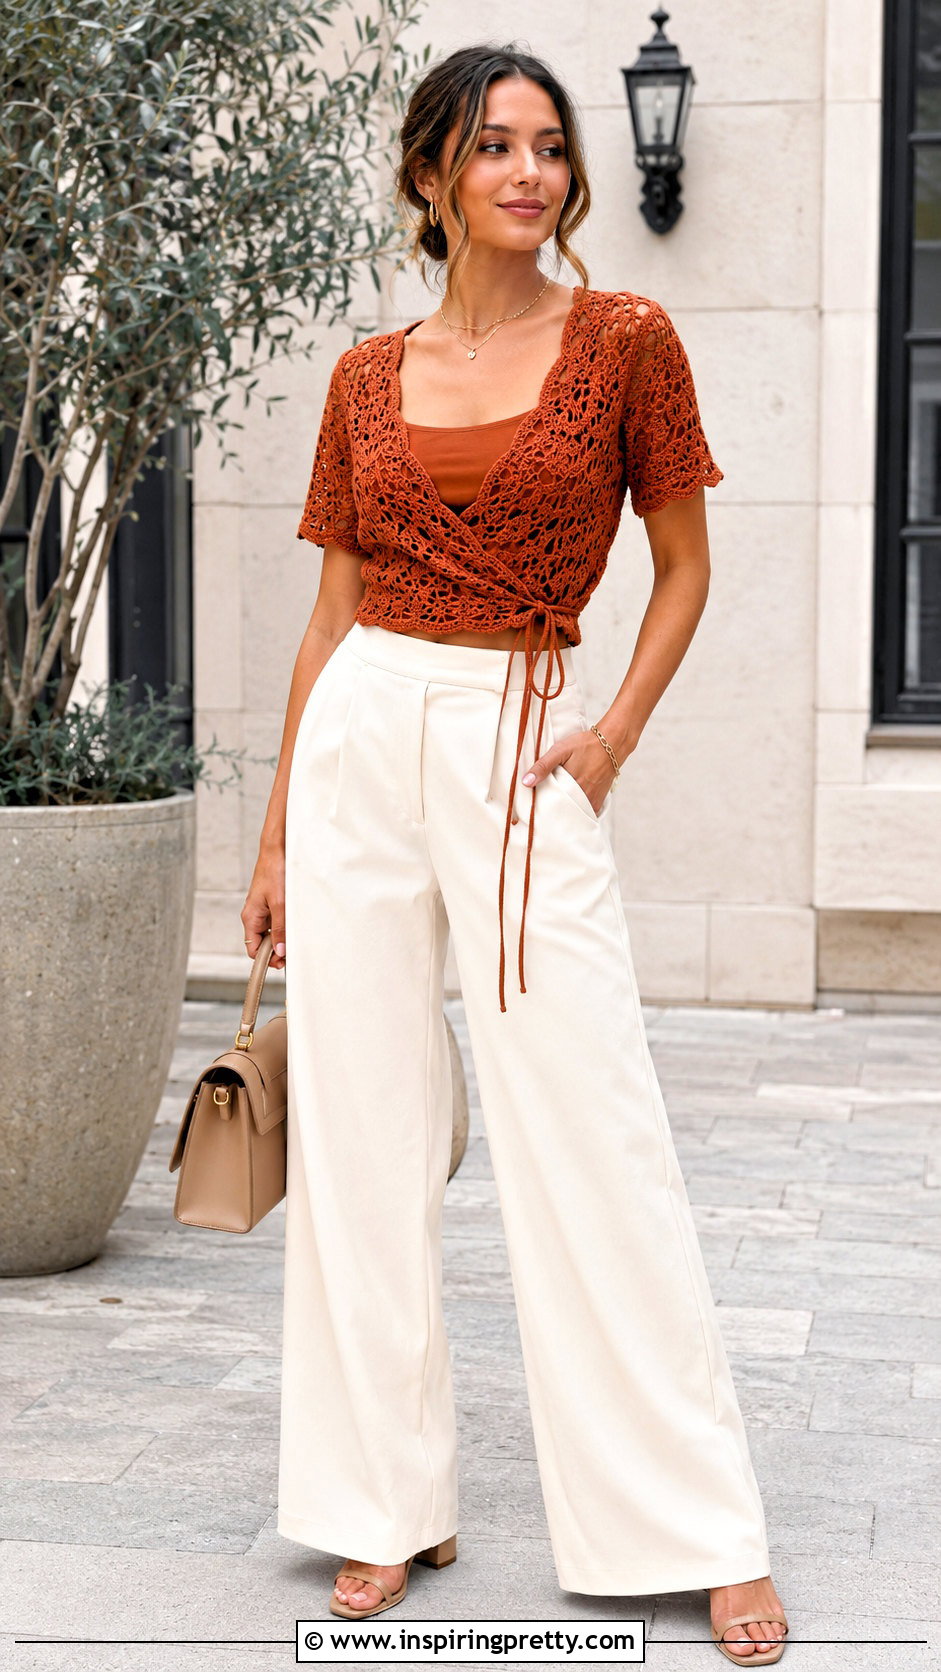
A wrap top uses overlapping front panels and adjustable ties to create its shape. Crochet the back first, then make two front pieces that widen toward the lower outer corners. Join the shoulder and side seams while leaving the angled fronts free. Add a long tie to the point of each panel. One tie can pass through a discreet side opening before wrapping around the waist. Reinforce the opening and ties with tight stitches so they withstand regular wear. Try on the top to confirm that the overlap provides comfortable coverage before finalizing the edges. Style it over a fitted camisole with high-rise wide-leg pants, low heels, a structured bag, and delicate jewelry for a flattering, well-balanced outfit.
43. Crochet Tie Front Top
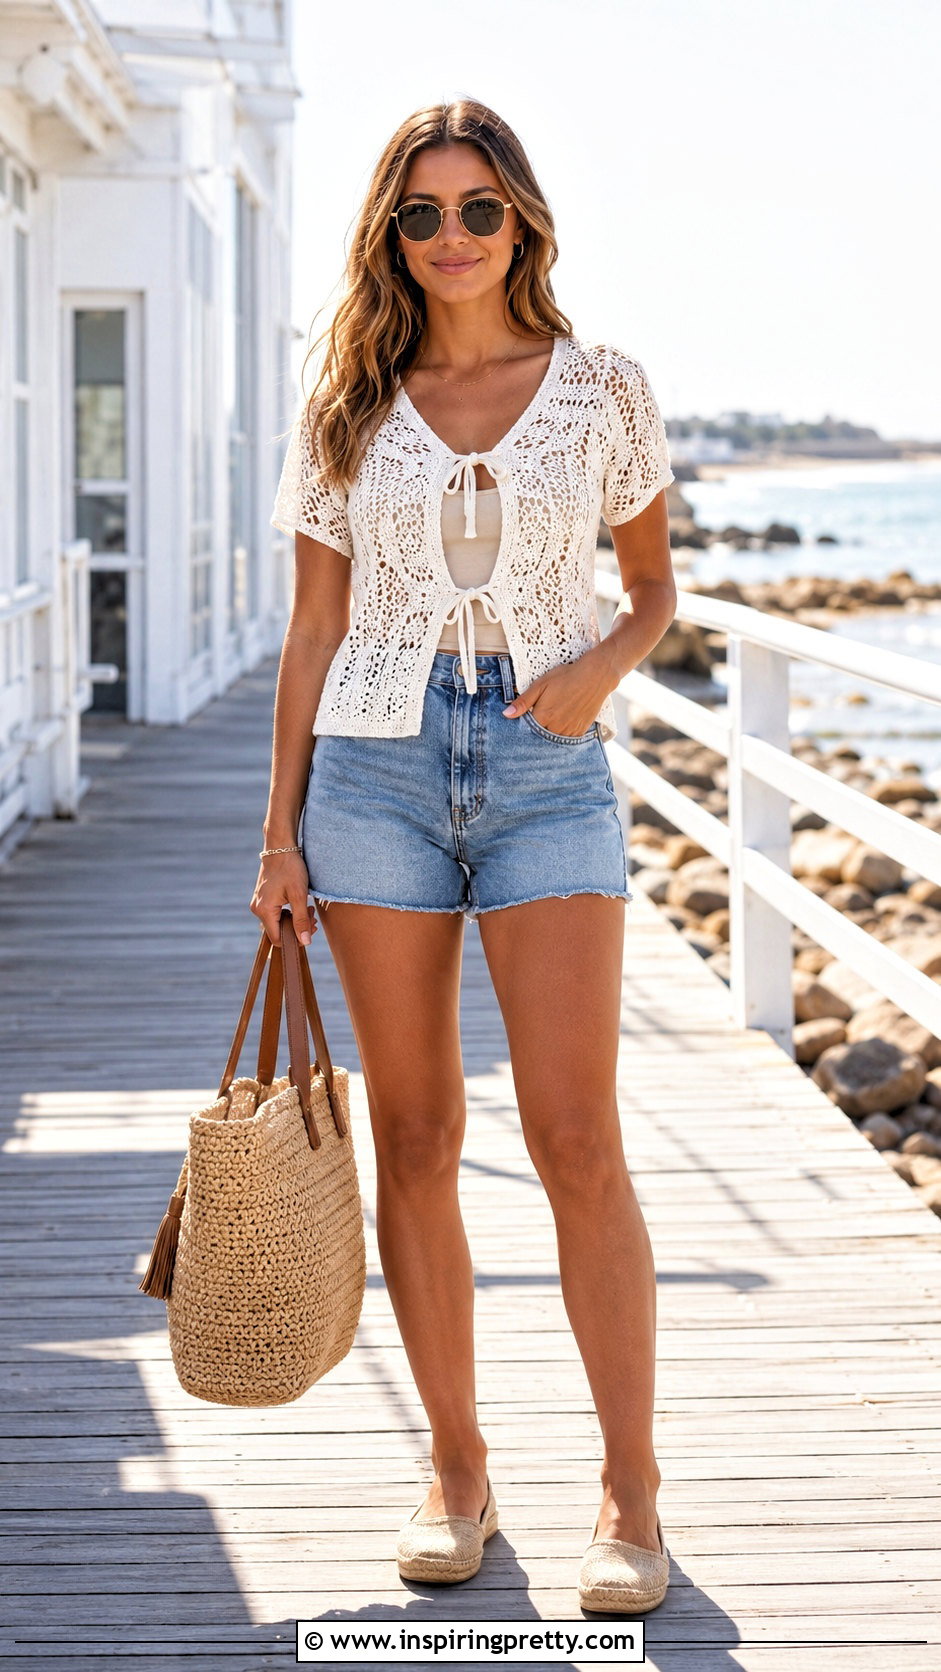
A tie-front top offers a relaxed alternative to buttons or a closed front. Make the back and two front panels, shaping each inner edge so it angles toward the bust or waist. Join the shoulders and sides, then crochet long ties from the lower inner corners. Add additional ties higher on the front if you want greater coverage and security. Strengthen every tie with a slip-stitch row or corded construction to prevent stretching. Keep the surrounding border simple and even. The top can be worn over a camisole when the front opening is wide. Complete the outfit with high-waisted shorts, flat espadrilles, a woven tote, and simple sunglasses for a practical warm-weather combination.
44. Side Tie Crochet Top
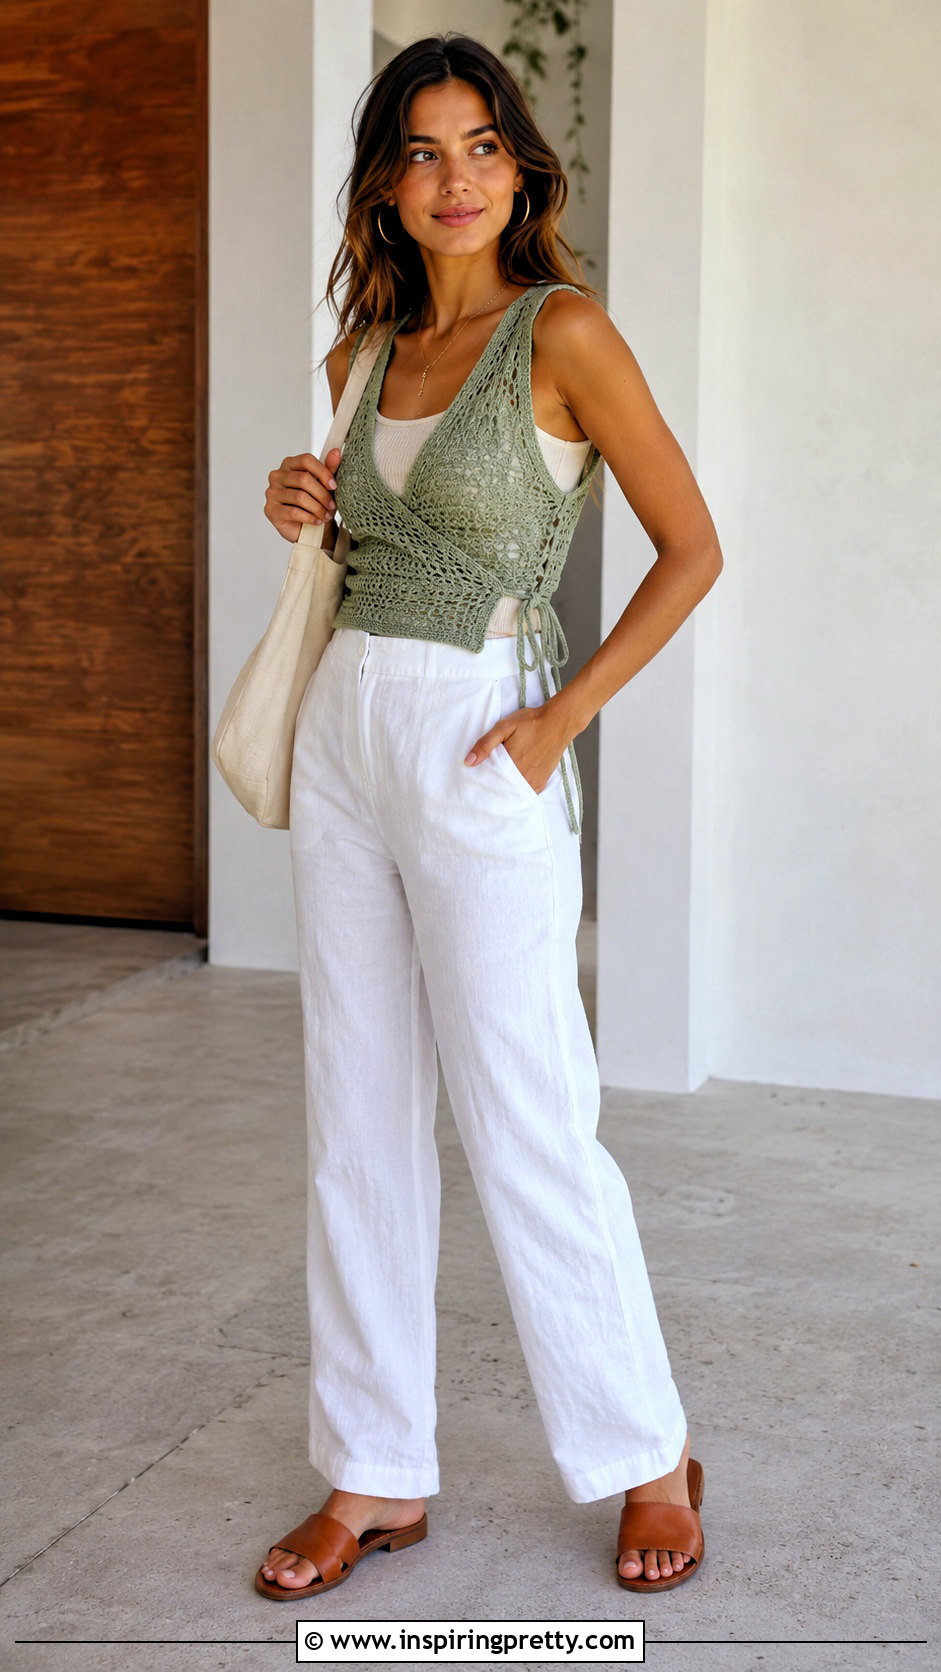
Side ties make it possible to adjust the width of a crochet top without changing the main panels. Crochet matching front and back rectangles, leaving them completely separate along both sides. Join only the shoulder seams. Make several sturdy cords and attach them in evenly spaced pairs from the underarm to the hem. Try on the top and tie each pair with enough room for movement. Add more ties when you want smaller openings, or layer the garment over a fitted tank. Reinforce the cord attachment points with extra stitches. Style the completed top with high-rise linen pants, leather slides, a canvas shoulder bag, and modest hoop earrings for an airy outfit with customizable fit.
45. Crochet High Low Top
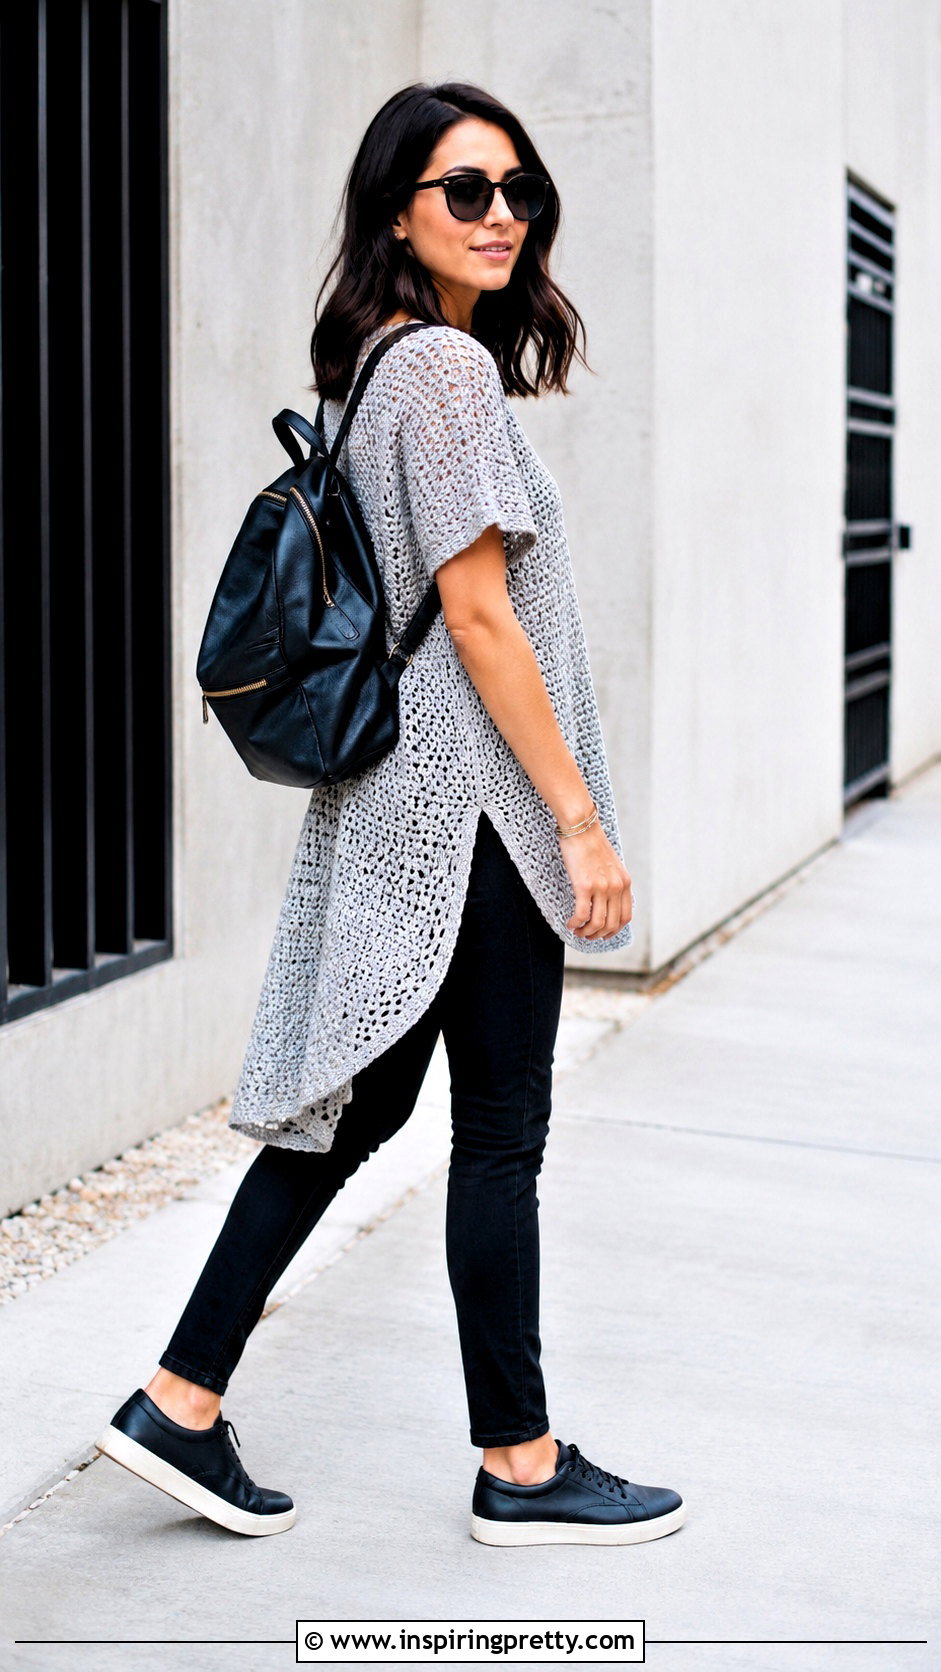
A high-low hem adds movement while preserving useful coverage at the back. Crochet the front panel to your preferred standard length. Make the back panel several inches longer, using gradual short-row shaping if you want a curved transition rather than a sharp difference. Join the shoulders and seam the sides, stopping above the lower edge to create short vents. Keep the stitch pattern light so the longer back does not become heavy. Add a consistent border around both hems to visually connect the two lengths. Check the garment on a hanger and during wear before blocking. Pair it with slim jeans, low-profile sneakers, a structured backpack, and understated jewelry for a comfortable everyday outfit.
46. Crochet Ruffle Top
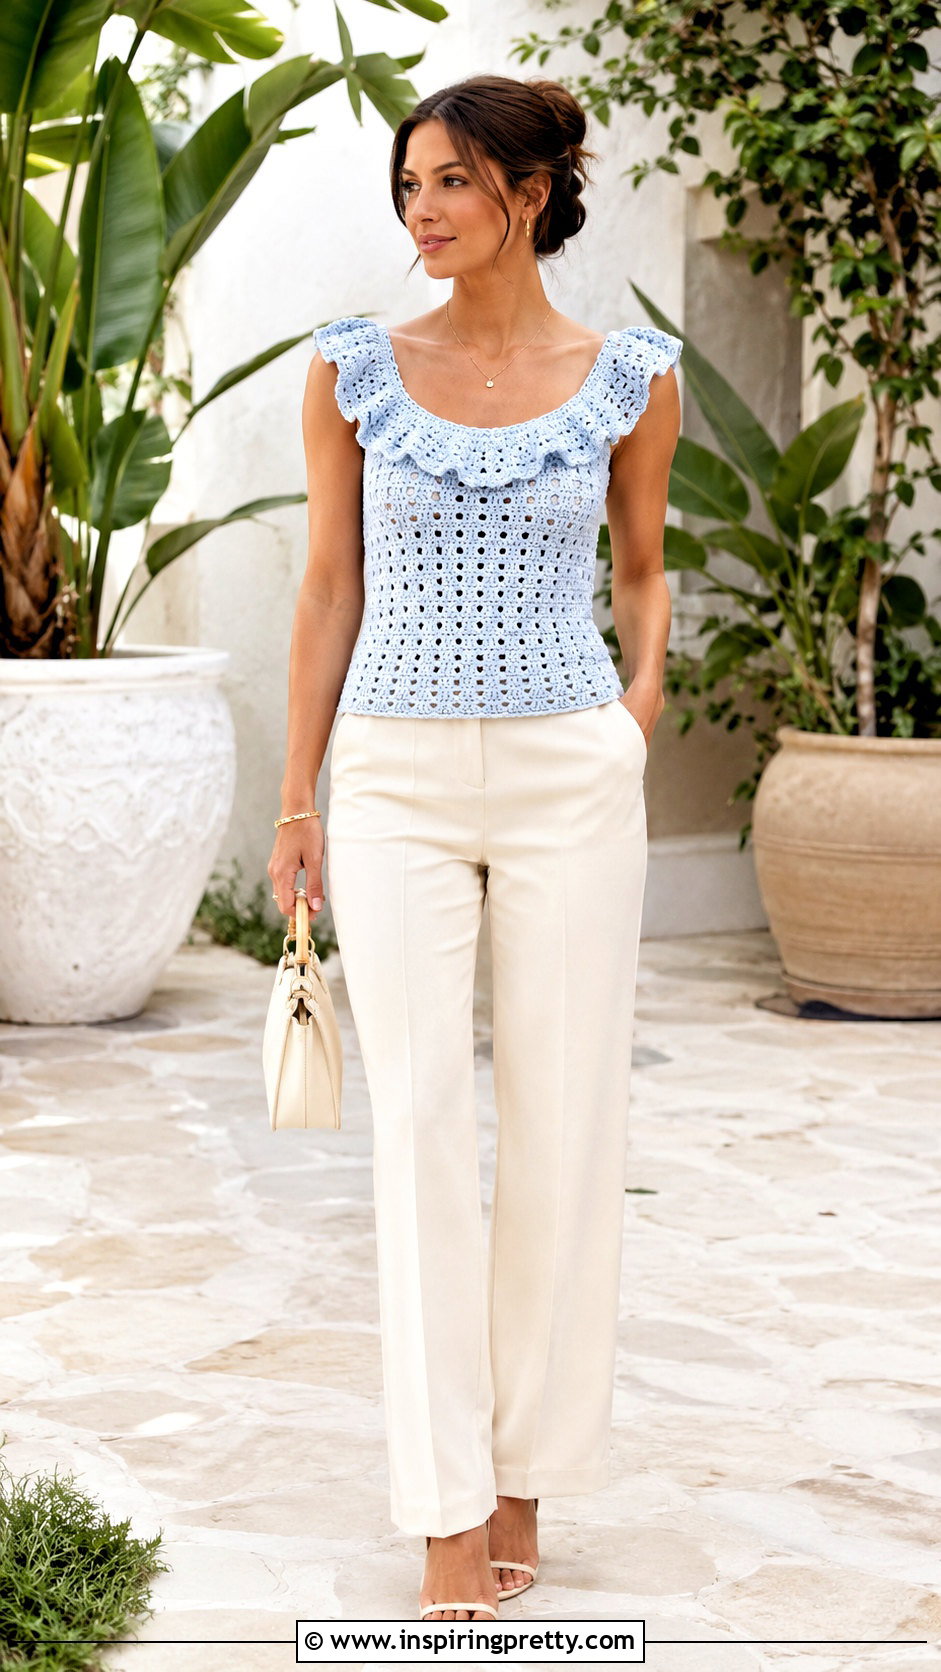
Strategically placed increases create soft crochet ruffles around a neckline, sleeve, or hem. Begin with a simple fitted top so the decorative detail has a stable base. Attach yarn along the chosen edge and crochet two or more stitches into each base stitch, adjusting the increase rate to control fullness. Continue for several rows, using taller stitches if you want a wider ruffle. Lightweight yarn keeps the trim fluid and prevents it from pulling on the garment. Limit the ruffle to one or two areas for visual balance. Finish and block it gently without flattening the texture. Style the top with straight-leg pants, simple sandals, a compact handbag, and minimal jewelry for a coordinated outfit.
47. Crochet Scallop Edge Top
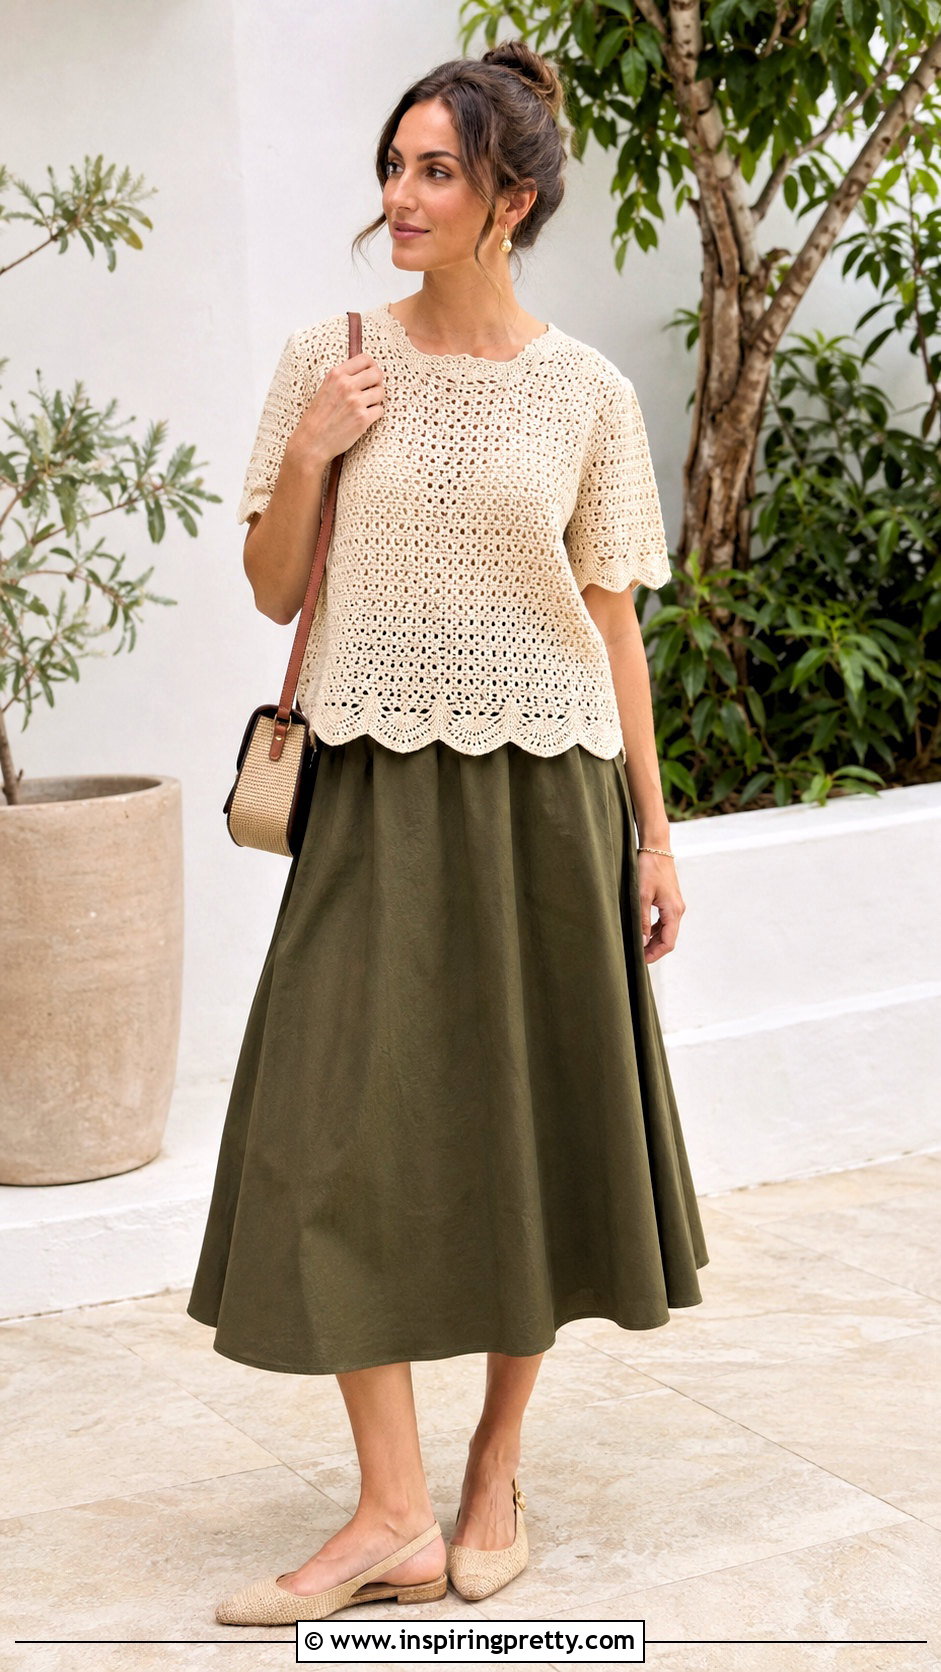
A scalloped border can transform a plain crochet top without changing its basic construction. First, make a fitted tank, tee, or crop top using a simple stitch. Once the body is complete, work a foundation round along the hem with an even stitch count. Create each scallop by placing several double crochet stitches into one space, skipping stitches, and anchoring the curve with single crochet. Repeat the same pattern around the neckline or sleeves if you want matching details. Test a short section before completing the border because too many stitches may cause rippling. Wear the finished top with an A-line midi skirt, slingback flats, a small shoulder bag, and delicate earrings for a polished outfit.
48. Crochet Fringe Top
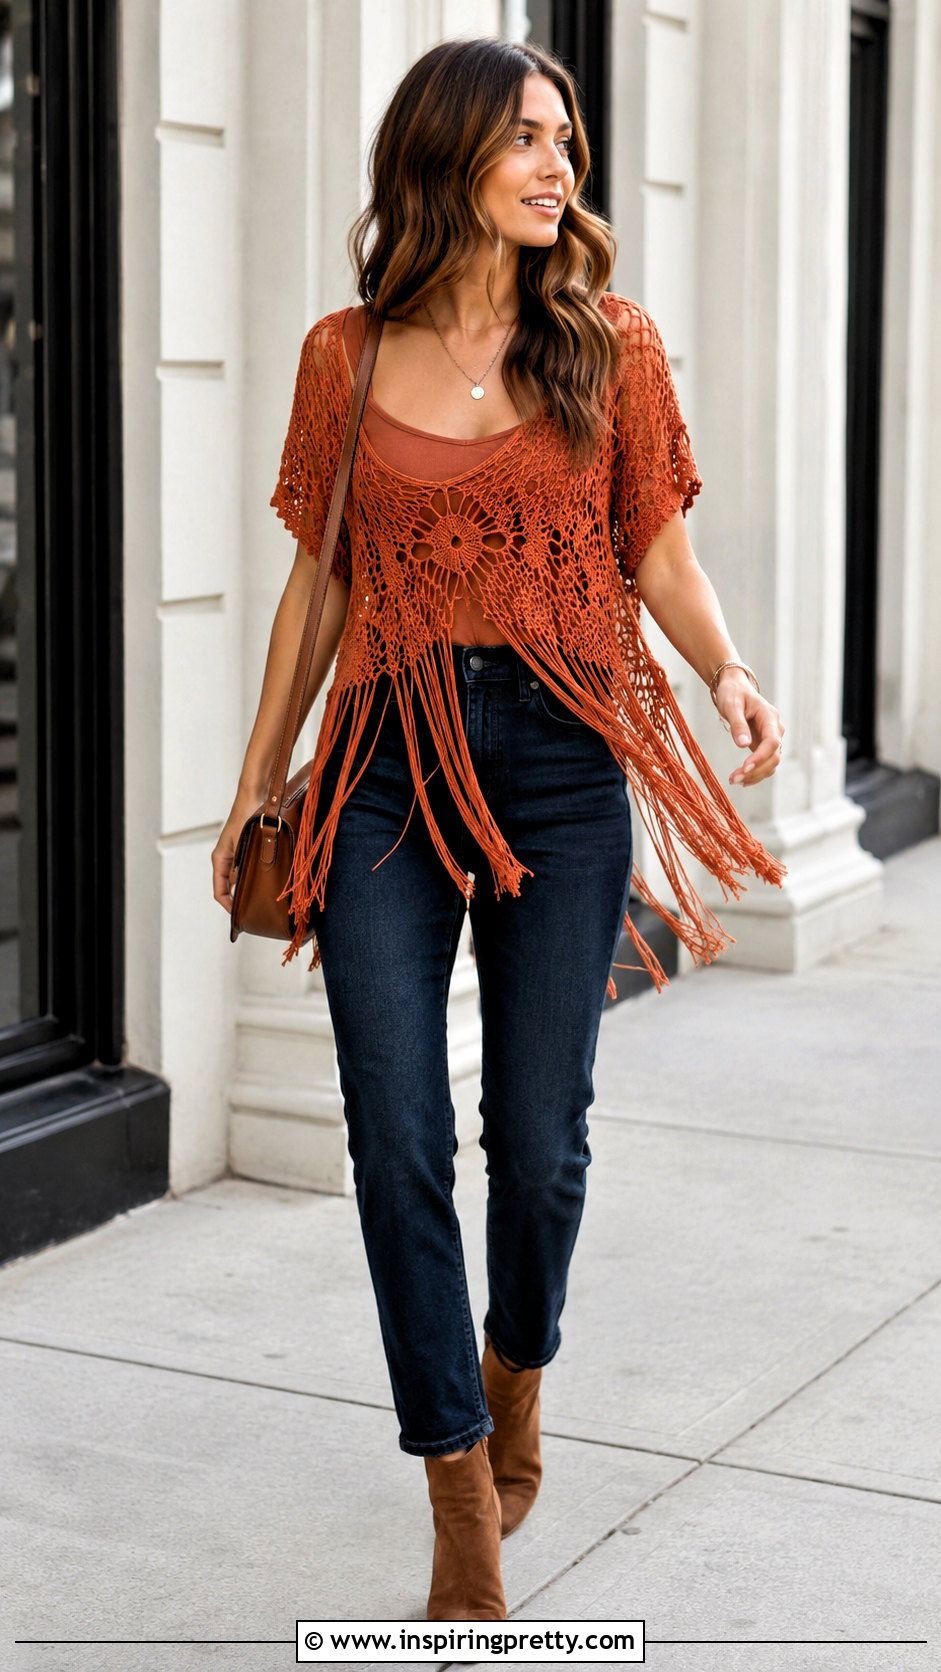
Fringe introduces movement and texture to a simple crochet top. Make a sturdy cropped tank or halter as the base, paying special attention to the lower edge. Cut yarn strands to twice the desired finished fringe length. Fold several strands in half, pull the loop through a hem stitch, and draw the loose ends through the loop. Repeat at even intervals across the front and back. Trim the fringe only after the top has been hung so every strand settles naturally. Use moderate-length fringe to keep the garment practical and easy to maintain. Pair it with high-rise denim, ankle boots, a structured crossbody bag, and simple metal jewelry for a balanced festival-inspired daytime outfit.
49. Crochet Hoodie Top
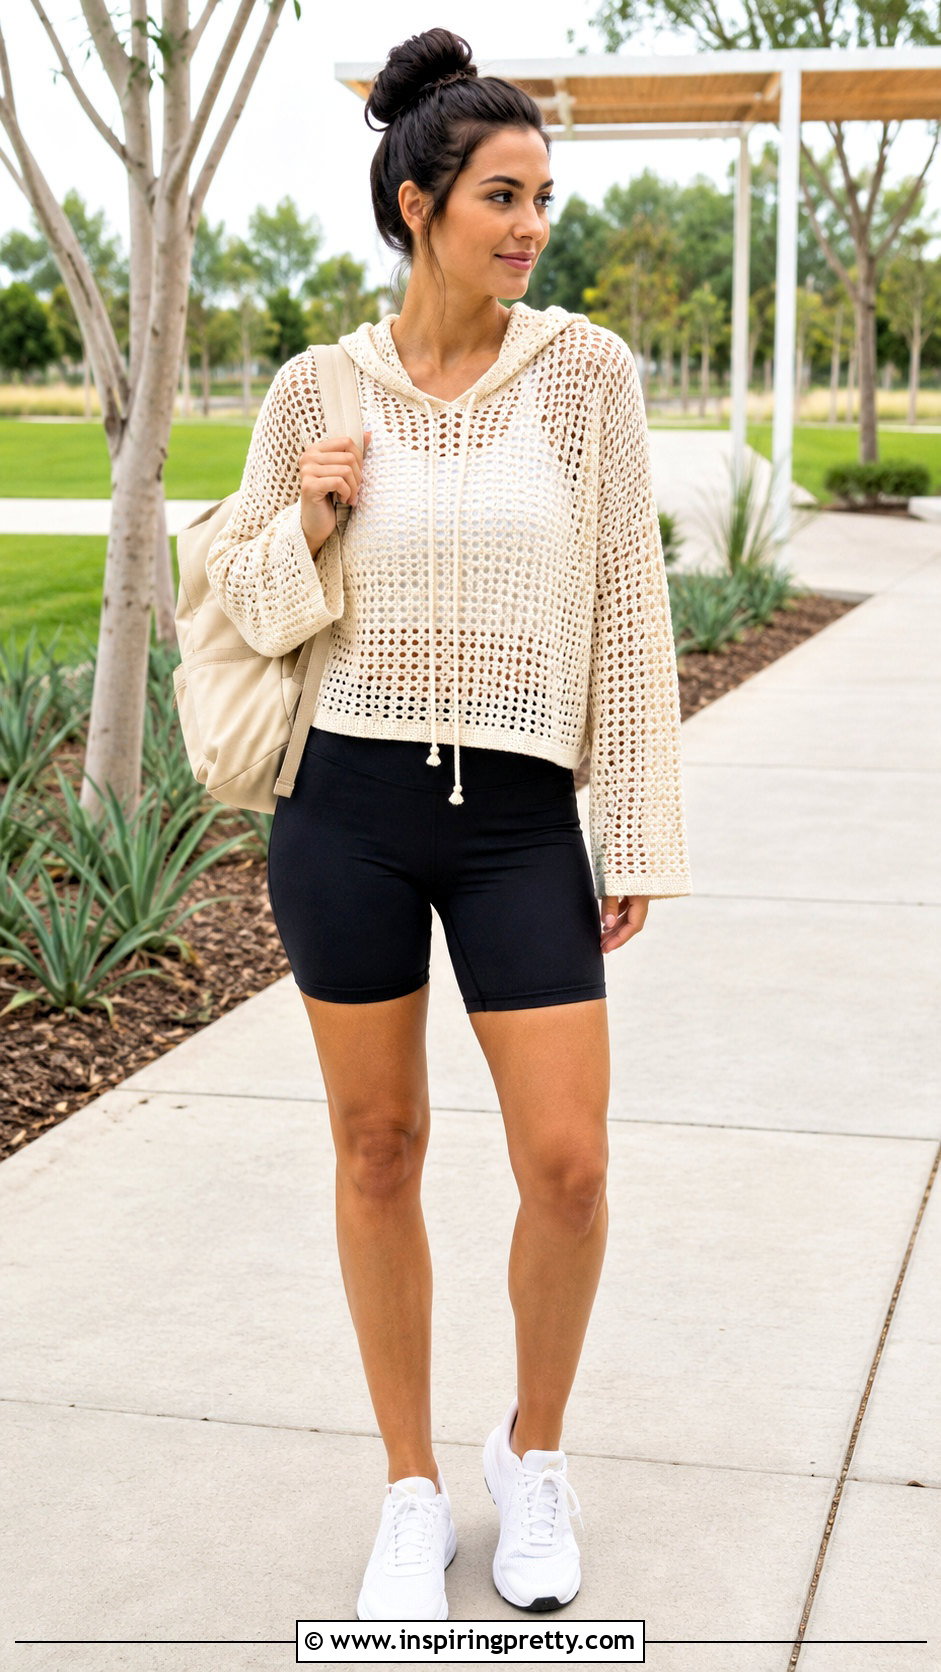
A lightweight hoodie top is useful for breezy summer mornings and casual layering. Crochet a relaxed sleeveless or short-sleeve body, leaving a comfortable round neckline. To form the hood, work stitches around the back and sides of the neck opening. Crochet upward in rows until the rectangle can fold comfortably over the head, then seam the upper edge. Add a narrow border around the hood opening and insert a decorative drawstring if desired. Keep the hood light by using open stitches or fine yarn. A slightly cropped body prevents the silhouette from becoming bulky. Style the finished hoodie with bike shorts, clean sneakers, a canvas backpack, and a fitted tank underneath.
50. Crochet Oversized Top
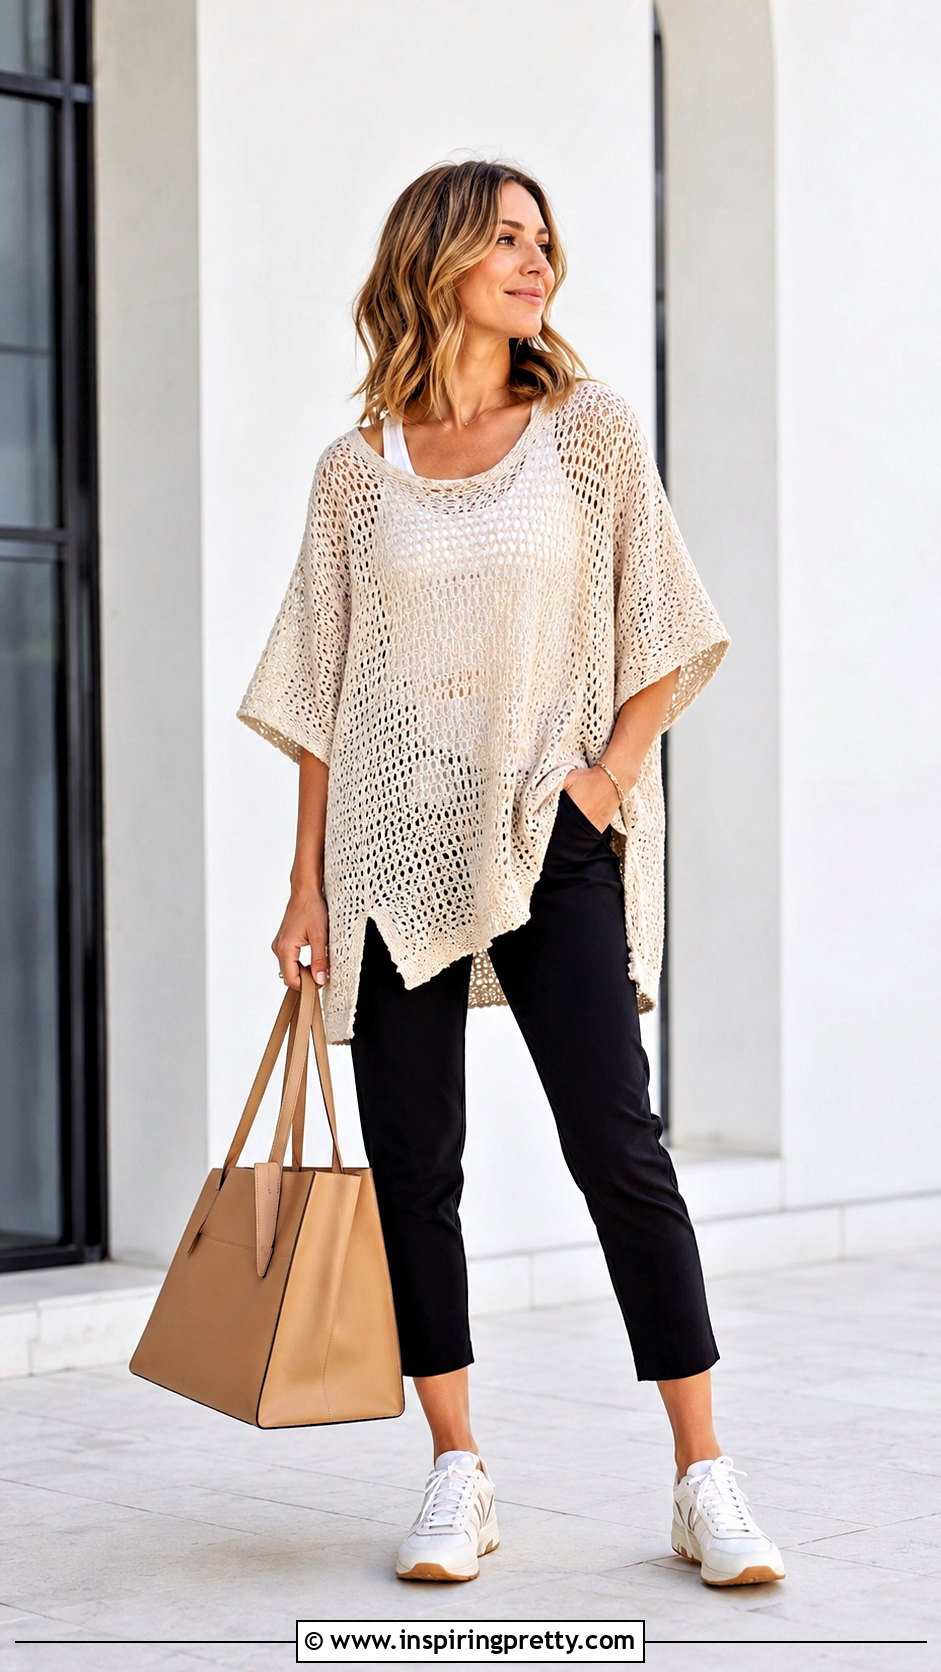
An oversized crochet top should look intentionally relaxed rather than simply too large. Measure the widest part of your body and add the desired positive ease before calculating the panel width. Crochet two broad rectangles with dropped shoulders, using a stitch that drapes well. Join the shoulder seams while leaving a balanced neckline, then close the sides below generously sized armholes. Add short sleeve extensions or work several rounds around each arm opening. A split hem helps the wide body move comfortably. Block the top to its planned dimensions instead of stretching it excessively. Wear it with slim cropped pants, sleek sneakers, a structured tote, and a fitted camisole underneath to balance the volume.
Conclusion:
Working through these projects can build practical skills in gauge, garment sizing, shaping, seaming, borders, color changes, and motif construction. Start with a rectangle, tank, or ribbed design if you are new to handmade clothing. Move toward fitted cups, lace repeats, sleeves, collars, and asymmetrical necklines as your confidence grows. Always swatch the chosen yarn, compare the fabric with your body measurements, and try the garment on throughout construction. Small adjustments made early are much easier than rebuilding a finished top. Most importantly, choose colors and silhouettes that fit your wardrobe rather than copying every detail exactly. Save this **50 crochet top tutorial** as a flexible project guide for creating comfortable, personal, and genuinely wearable crochet clothing.
Related posts:


Leave a Reply