
A square of fabric is the simplest garment pattern there is, and a scarf top is really just draping it on the body instead of on a dress form. Below are fifty ways to do it: halters, bandeaus, one-shoulder wraps, layered vests and a few pinned blouses, none of which need a needle. Most work with a large square around 35 inches or more; the wrapped and crossed styles need a long rectangle. Smooth silk and satin drape the best, while cotton grips better and covers more. Keep fashion tape, a scarf ring, small elastics and safety pins next to the mirror before you start, and I've noted for each tie where it tends to slip and how to stop it.

Scarf Sizes and Fabrics Before You Start Folding
Most failed scarf tops fail because the scarf is too small or too slippery, not because of the knot. Before trying any tie below, I'd measure what you have.
- Small squares around 20 to 27 inches are neckerchief size. They only work layered over a tank or pinned to a bandeau.
- Large squares around 35 inches are the classic silk-scarf size and work for most halters and triangle tops on smaller frames.
- Oversized squares of 40 inches or more are what I'd use for a fuller bust, a wrapped bandeau, or anything that crosses the back.
- Long rectangles are for crisscross, cross-front and sarong styles, where the fabric has to circle the body.
A quick check: wrap the folded scarf around your ribs under the bust. If you have at least a hand's length left on each end for the knot, it's big enough.
Fabric matters as much as size. Silk twill, the slightly ridged weave used for many printed squares, grips skin and holds a knot well. Smooth silk satin and polyester satin drape best but slide, so plan on tape or a base layer. Cotton voile and lawn are the easiest of all for beginners: they grip, they breathe, and the knots stay put.
1. Classic Triangle Scarf Top

Start here if you've never tied one. Fold a large square diagonally into a triangle and lay the folded edge across your chest with the point hanging toward your waist. Take the two side corners behind your back and tie a square knot, right over left and then left over right, so it lies flat. Adjust the top edge until the coverage feels right, then add fashion tape inside if it creeps down. I always use the fold rather than a single layer, because it gives a clean, double-thick top edge that sits flatter. Wear it with high-waisted straight jeans, flat sandals and a small shoulder bag.
2. Backless Halter Scarf Top

A backless halter puts all the support on the neck tie, so the fold matters. Fold your square into a triangle and place the center point over your chest. Tie the upper corners at the nape, then take the lower corners around the ribs and knot them at the back. Spread the front fabric before you tighten anything, or one side ends up covering more than the other. For real security, wear adhesive cups or a coordinating bandeau underneath. Wide-leg linen pants and platform sandals suit it, and a low bun keeps the neck knot on show.
3. Front Knot Scarf Top

Would you like a scarf top that looks finished from the front? Fold a large square diagonally, put the long edge against your back, and bring the outer corners under your arms. Cross them over your chest, tie a firm double knot at the center, and spread the fabric over each side. Pin the remaining lower point to the inside at the back if it hangs loose. A front knot adds bulk right at the breastbone, so thin silk works better here than thick cotton. Pair it with a high-waisted midi skirt and block-heel sandals; a scarf with a printed border makes the knot stand out.
4. Bandeau Scarf Top

The bandeau is the most minimal tie, and the one that relies most on fabric grip. Fold a large scarf lengthwise several times into a wide band, center it across your bust, pull the ends firmly around your torso and tie a flat square knot at the back. Tuck the loose corners under. Make sure the band is deep enough before tightening; a narrow band rolls at the top edge. A strapless bra or fitted tube top underneath gives it something to hold onto. Cotton or textured satin stays put better than smooth silk. Pleated high-waisted shorts and white sneakers keep it casual.
5. Twisted Bandeau Scarf Top

A center twist turns a basic strapless scarf top into something with shape. Fold a square into a wide band, wrap it around your back with equal ends, then bring the ends forward and cross them twice at the center of your chest. Take them around to the back and tie a tight square knot. Spread the twisted sections evenly. The twist takes up length, so you need a bigger scarf than for a plain bandeau. Tape the upper edge. A two-tone scarf shows the twist best; wear it with flare jeans and heeled mules.
6. Ring Front Scarf Top

A scarf ring gives the front of the top a fixed point, almost like a center-front seam. Fold the scarf diagonally, lay the long edge across your back, and bring the side corners under your arms. Thread both through a smooth ring at the center of your chest, cross the ends behind the ring, wrap them around your torso and tie them at the back. Spread the fabric across the bust. Run a fingertip around the inside of the ring first; a rough casting edge will pull threads in silk. Tailored high-waisted trousers and pointed flats make it look refined.
7. Chain Halter Scarf Top

A chain neck strap takes weight off the back of your neck, which is the usual sore spot with halters. Choose a lightweight scarf and a strong chain made for clothing. Fold the scarf into a triangle, loop each upper corner around a separate section of chain, and tie each with a double knot. Put the chain around your neck, bring the lower corners behind your waist and knot them. Adjust the front drape. A bandeau underneath adds cover. With a satin maxi skirt and a small metallic bag, skip other jewelry; the chain is the detail.
8. Necklace Halter Scarf Top

A sturdy necklace can act as the neckband of a halter. Pick a closed necklace that rests near the collarbone and won't bend under light tension; delicate chains will snap. Fold a large scarf diagonally with the point down, bring the upper corners through the necklace from below, and tie them together behind it. Wrap the lower corners around your ribs and tie at the back. A fitted bandeau underneath carries the real support. Cream palazzo pants and flat strappy sandals suit it, with your hair in a low ponytail.
9. Crisscross Halter Scarf Top

A long rectangle draped like a crisscross halter covers more than a folded square. Hang the scarf around the back of your neck with equal lengths in front. Spread each side across the bust, cross the panels at the center, wrap them under your arms and tie at the middle of your back. Adjust the crossover for coverage and tape the inner edges. The wider you spread each panel before crossing, the less likely it is to gap. Tailored high-waisted shorts and leather slides keep it simple. Choose a lightweight fabric or the neck gets bulky.


10. Cowl Neck Scarf Top

A cowl is a fold of loose fabric hanging in a soft U, and you can make one from a square without cutting. Fold one corner in by several inches and place that fold under your chin. Tie the two neighboring corners behind your neck and let the middle drape over your chest. Gather the bottom corners around your waist and knot them at the back. Pull the front layer out a little so it hangs in folds rather than a tight triangle. Satin gives the softest cowl; a fitted cami underneath makes the open drape easier to live with. High-waisted linen trousers suit it.
11. High Neck Scarf Top

For more front coverage, set the long edge high. Fold the scarf diagonally and place the center of the long edge at your collarbones with the point facing down. Take the upper corners around your neck and tie them at the back. Gather the lower side edges behind your ribs and knot or pin them. Smooth the scarf across the chest without pulling the neck tie tight, which digs in fast. A bold border print frames both the neckline and the point. Wear it with a high-waisted column skirt and kitten-heel sandals.
12. Keyhole Halter Scarf Top

A keyhole is a small opening below the neck, and here a knot makes it. Fold a large scarf diagonally, then loosely tie the two upper corners together near the center of your chest, leaving a small gap beneath. Take those corners up and tie them behind your neck. Bring the lower corners around and knot at the back. Spread the fabric so the opening stays small and centered, and tape around it. Very thin satin won't hold the front knot neatly, so choose a medium weight. High-rise cargo pants and platform sneakers give it an easy contrast.
13. One Shoulder Scarf Top

Asymmetry makes a plain summer outfit more interesting. Fold a large square into a triangle across your torso. Bring one upper corner over your shoulder and the other under the opposite arm, and tie them behind your upper back. Wrap the lower corners around your waist and fasten at the back or side. The edge under the bare arm has nothing holding it, so that's where fashion tape goes. An off-center print shows off the angle. Flowing wide-leg pants, flat metallic sandals and a single earring on the bare side finish it.
14. Draped One Shoulder Scarf Top

A softer one-shoulder version lets extra fabric fall across the body. Hold a large scarf behind your back, pull one corner over your left shoulder, and take the opposite upper corner under your right arm; knot them behind your shoulder blade. Gather the lower corners at the side of your waist and tie loosely, leaving some drape across the front. A fitted cami underneath helps if the side gapes. Lightweight satin falls smoothest here, and a bigger scarf covers more at the side. Slim ankle pants and heeled sandals keep the shape lean.
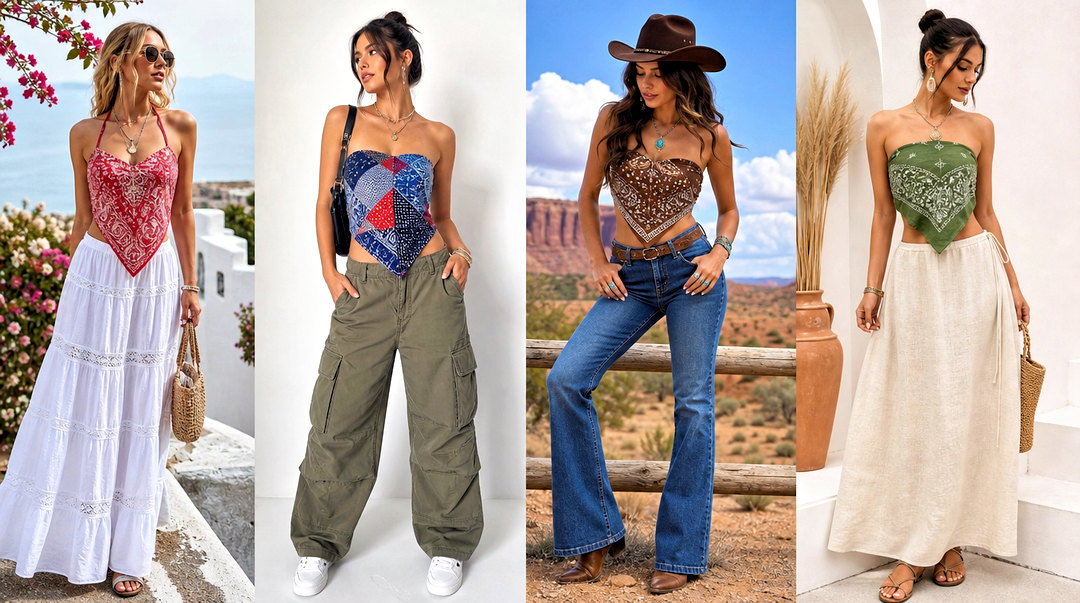
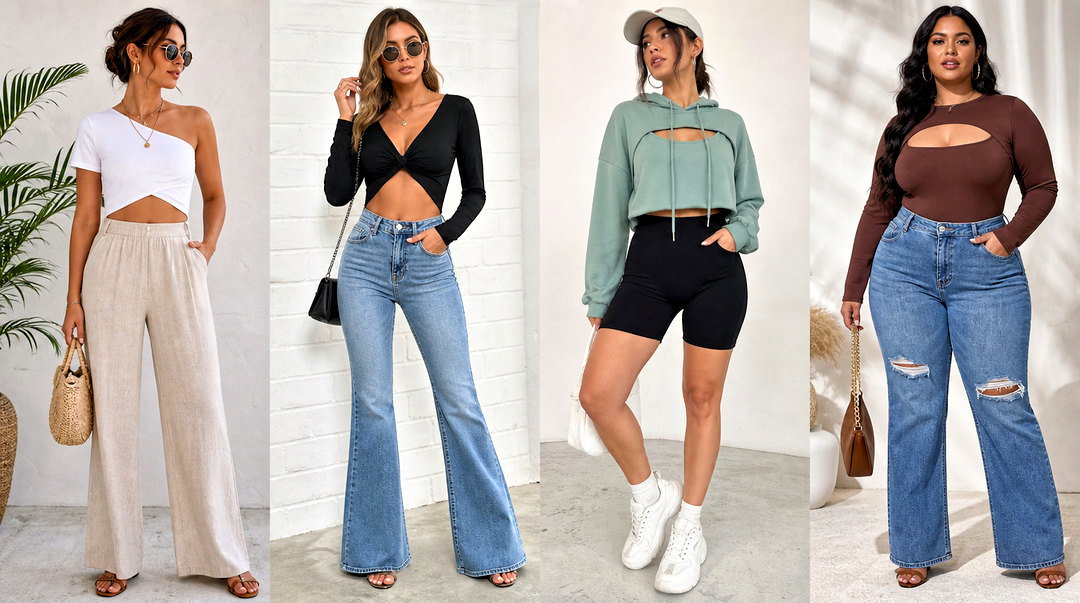
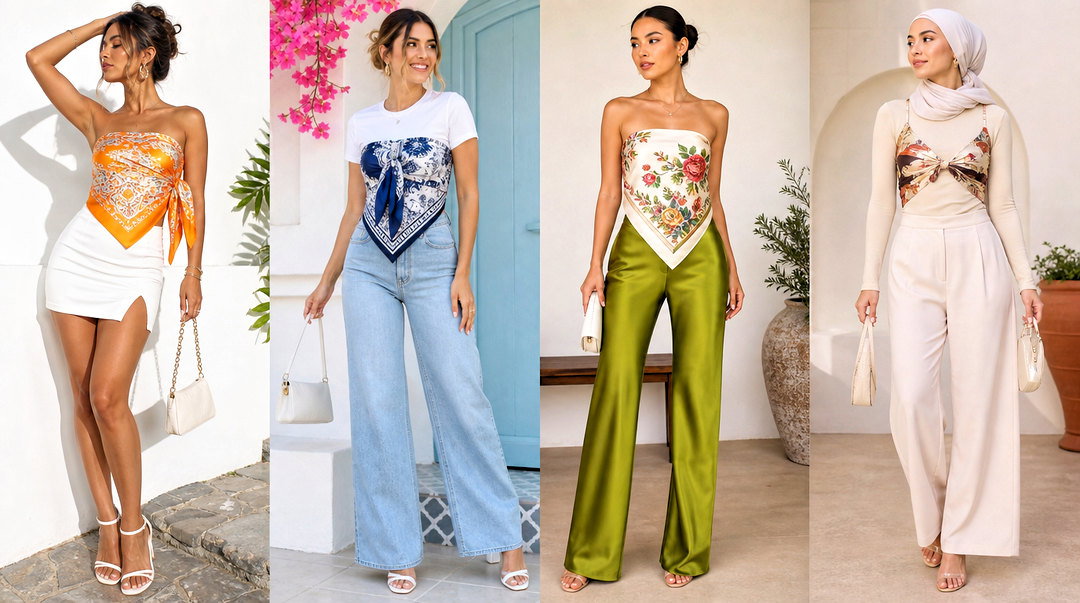
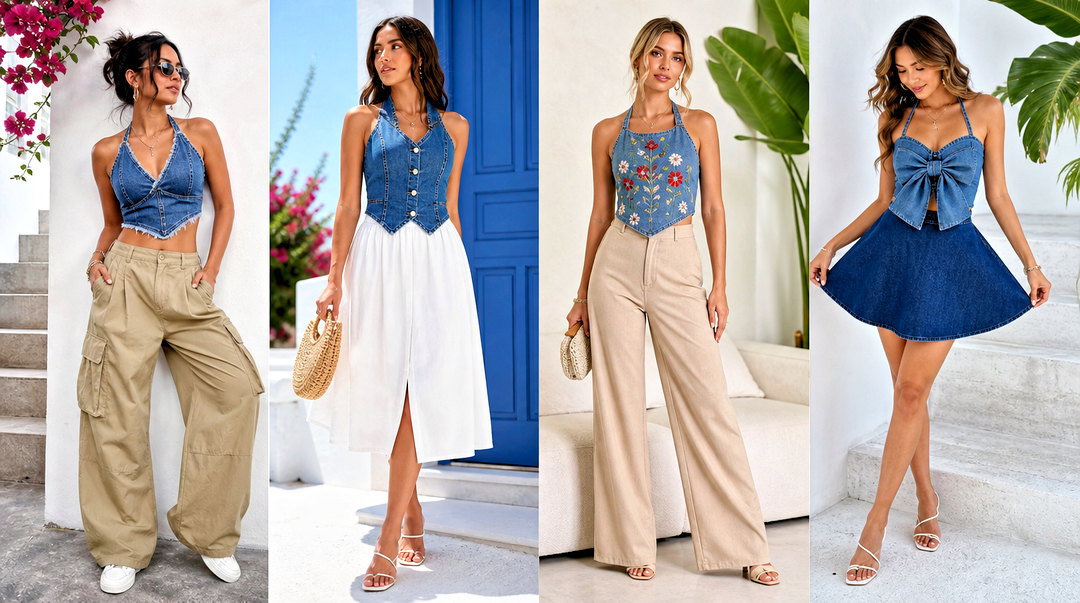
15. Off Shoulder Scarf Top

An off-shoulder tie covers more than a bandeau. Fold a large rectangle lengthwise so it's still wide enough for your torso. Center it across your chest, bring the ends around your upper arms, cross them behind your back, return them under the bust and knot at the side. Pull the upper edge outward so it rests across both shoulders. Tape the neckline to a strapless base. I'd pick soft cotton for this one, since it holds an off-shoulder line far better than slippery silk, which slides off the arm as soon as you reach for anything. A denim midi skirt and espadrilles suit it.
16. Cap Sleeve Scarf Top

A very large square can fake short cap sleeves. Lay it across your shoulders like a shawl with even ends. Bring the two front corners together at your waist and knot them. Reach behind, gather the lower back corners, and tie at your lower back. Tuck a little fabric under each arm to shape the sleeves, and pin from the inside if the openings are too wide. Wear it over a fitted tank. Cotton-silk blends drape without sliding. High-waisted cropped trousers and loafers make it suitable for daytime in town.
17. Short Sleeve Scarf Blouse

Two matching scarves become a loose short-sleeve blouse, which is essentially how the simplest woven tops are cut: a front panel and a back panel joined at the shoulder and side. Lay one scarf over your front and one over your back, upper edges aligned. Tie the matching top corners above each shoulder, leaving space for your head. Knot the side corners under each arm; the fabric between shoulder and side knot becomes the sleeve. Tuck or belt the hem. A fitted cami underneath covers the sides. Straight jeans and ballet flats keep it practical.
18. Cross Front Scarf Top

A cross-front tie gives a wrap shape with a defined waist. Hang a long rectangle behind your neck with even ends. Spread each panel across the bust and cross right over left. Keep wrapping under the arms and around your back, bring the ends forward again and tie a flat knot at your natural waist. Tuck the ends under the band. A fitted tank stops gaps when you move. The scarf must be long enough to circle your torso without pulling on the neck; if it tugs, you need a longer one. Linen shorts and lace-up sandals suit it.
19. Wrap Front Scarf Top

Use a wide rectangle for this wrap front. Center it across your back and bring both ends under your arms. Cross one panel over the other on your chest, then keep pulling each end around your waist. Tie at the back or make a small side bow. Spread the overlapping layers so they cover evenly from neckline to waist. If the crossover opens when you move, a strip of tape at that exact point fixes it. A matte fabric grips better than shiny. A maxi skirt, flat sandals and a canvas tote keep it relaxed.
20. Tie Front Scarf Top

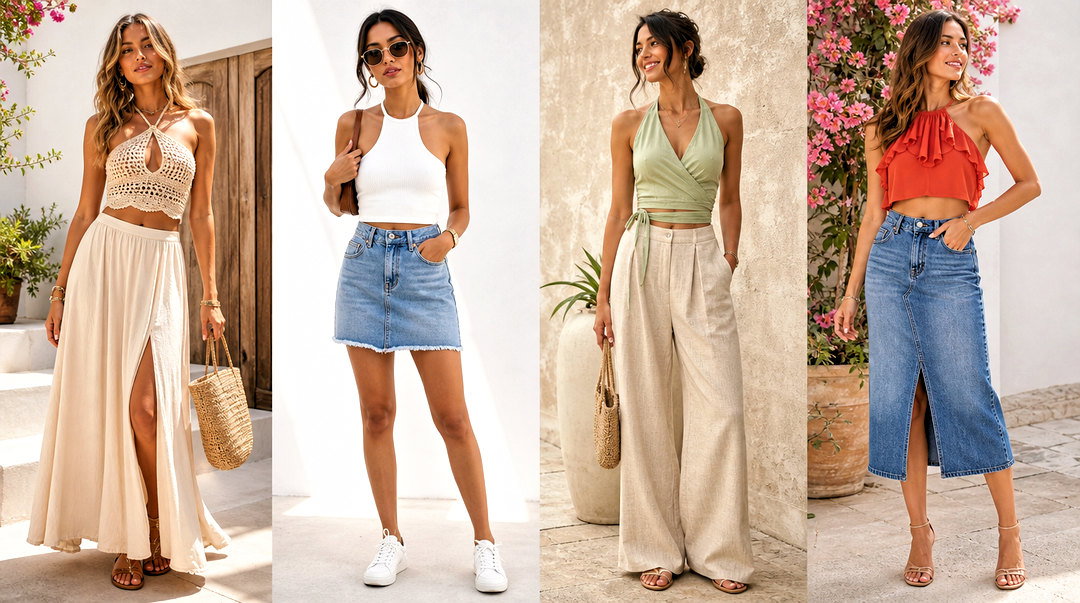
The tie-front works best over a base layer. Put a large rectangle around your back with the ends in front. Pull each side across the bust and tie the ends under your chest in a square knot or short bow. Spread the scarf along your sides and pin the upper corners to the layer underneath. A fitted white tank underneath gives cover and lets a colorful scarf stand out. Keep the knot compact; a big knot sitting on the ribs adds visible bulk. Denim shorts and canvas sneakers make it a weekend outfit.
21. Bow Front Scarf Top

A big front bow is playful, but it needs a knot underneath it or it will slide undone. Fold a square into a wide band and put the middle across your back. Bring the ends under your arms, cross them over your chest, tie a secure knot first, then form the bow. Flatten the loops so they sit neatly and tape the top edge. A scarf with contrasting edges shows the bow off; a solid one looks quieter. White jeans, low block heels and pearl studs suit it.
22. Bow Back Scarf Top

The bow-back scarf top keeps the front smooth and moves the detail behind you. Fold a square into a triangle and lay the folded edge across your chest. Take the side corners behind, tie a firm knot, and use the remaining length for a wide bow. Center the front point. The bow should feel secure without restricting your breathing, so take a deep breath as you tie it. Tape or a strapless bandeau gives extra support. Wear your hair up; tailored shorts and slingback flats finish it.
23. Side Knot Scarf Top

A side knot gives asymmetry without baring a shoulder. Fold a large scarf diagonally with the folded edge across your chest. Wrap one corner around your back toward the opposite hip, bring the other corner across the front to the same hip, and tie a double knot. Tuck short ends under. Tape the top edge. Positioning the knot just above the hip bone defines the waist; any lower and the point hem hangs crooked. Relaxed high-rise jeans and strappy sandals keep it casual.
24. Ruched Center Scarf Top

Ruching is gathered fabric, and you can make it with an elastic instead of stitches. Fold a square into a wide band and hold it across your chest. Pinch the fabric at the center and wrap a small covered elastic around the gathers. Pull the ends around your torso and tie at the back. Spread the fabric above and below the gather evenly. Hide the elastic with a small scarf ring or a matching ribbon. Medium-weight satin holds the gathers well. Pleated high-waisted pants and heeled slides suit the dressier look.

25. Rosette Front Scarf Top

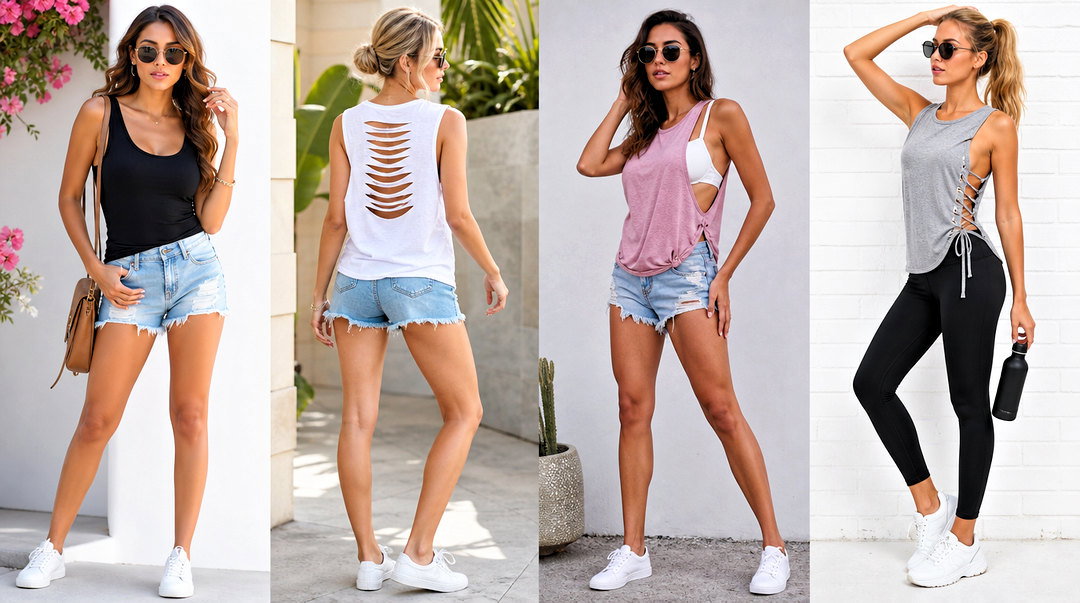
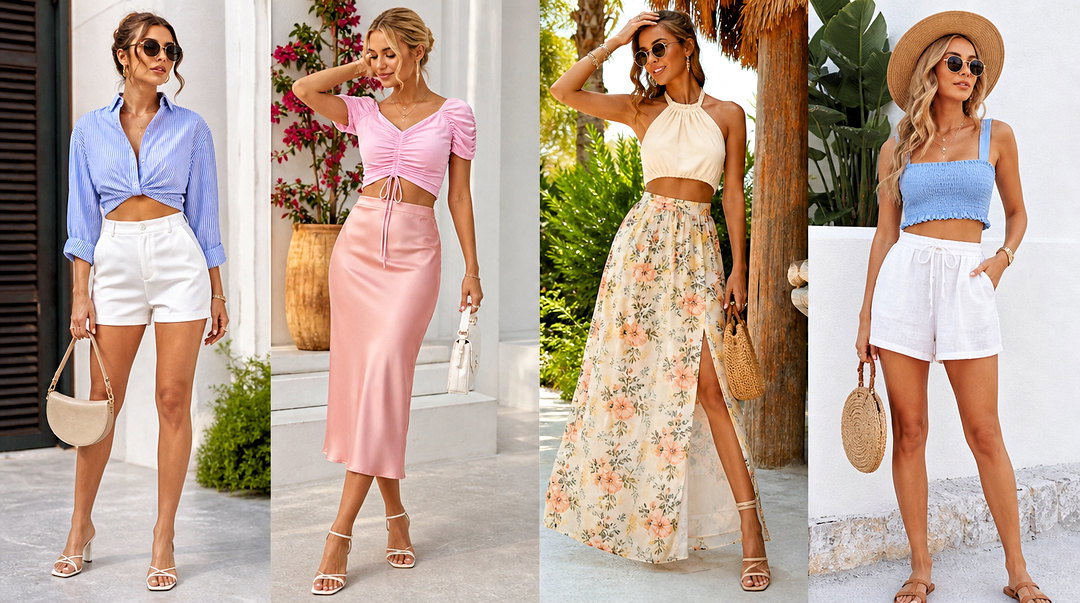
A twisted rosette adds a decorative center without any sewing. Fold a long scarf into a wide band and wrap it from the back. Bring the ends forward and twist them together several times at the center. Coil the twisted section into a flat spiral, tuck the tips under and pin from behind. Spread the fabric around it and tape the neckline. This rosette top goes well with a solid midi skirt and minimal jewelry. A scarf with a different reverse side gives the coil more depth, because both colors show in the spiral.
26. Braided Strap Scarf Top

Braided straps add detail to a simple halter. Fold a large square into a triangle across your front. Gather each upper corner into a narrow strand and twist or loosely braid it with a matching ribbon. Tie both straps behind your neck. Wrap the lower corners around your ribs and knot at the back. Braids are firmer than a flat tie and can rub, so check the back of your neck after a few minutes. Utility trousers and platform sandals keep it casual; pick a contrasting ribbon if you want the straps to read from a distance.
27. Double Scarf Halter Top

Two scarves layered give more coverage and a richer look. Fold each square diagonally. Lay the first triangle across your chest, point down, and the second over it at a slight angle. Tie the upper corners of both together behind your neck, then gather the lower side corners and knot behind your waist. Two layers double the bulk at every knot, so use lightweight scarves. Choose prints that complement rather than match. Solid wide-leg pants keep the outfit from getting busy.
28. Scarf Ring Halter Top

A scarf ring makes a clean halter neckline without a bulky knot at the throat. Fold a square diagonally against your torso. Thread the upper corners through a smooth ring and pull enough through to form short straps. Separate them above the ring and tie behind your neck. Take the lower corners around and secure them at the back. Let the ring rest just below the collarbone. Use a lightweight ring made for scarves; a heavy one drags the neckline down over an evening. A satin skirt and slim sandals suit it.
29. Belted Scarf Top

A belt holds a large scarf in place as a loose, well-covered top. Drape an oversized square across your shoulders like a shawl. Cross the front panels over your torso so both cover your chest. Fasten a slim belt at your natural waist. Tuck the lower corners under it or let them hang as a handkerchief hem. The sides stay open, so wear a fitted tank underneath. Cotton gives it structure; silk makes it softer. Straight trousers and loafers turn it into a work-friendly outfit.


30. Corset Inspired Scarf Top

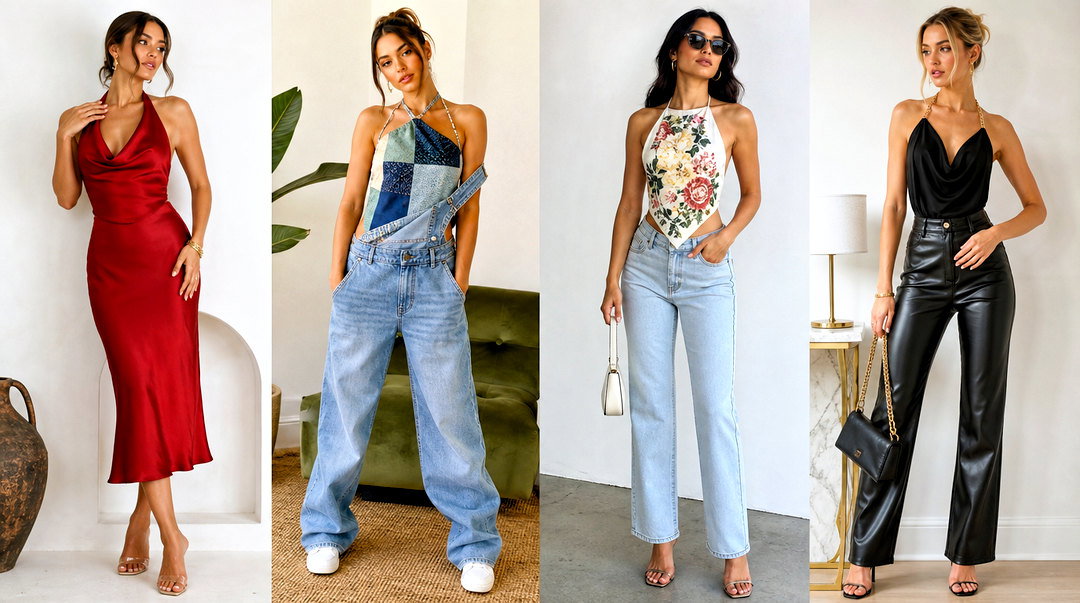
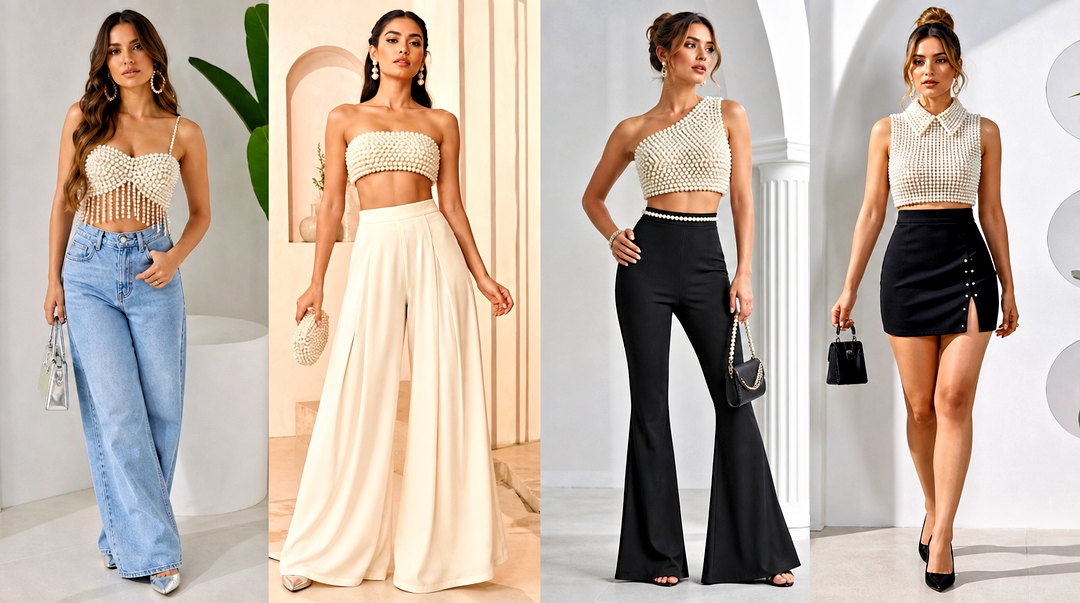
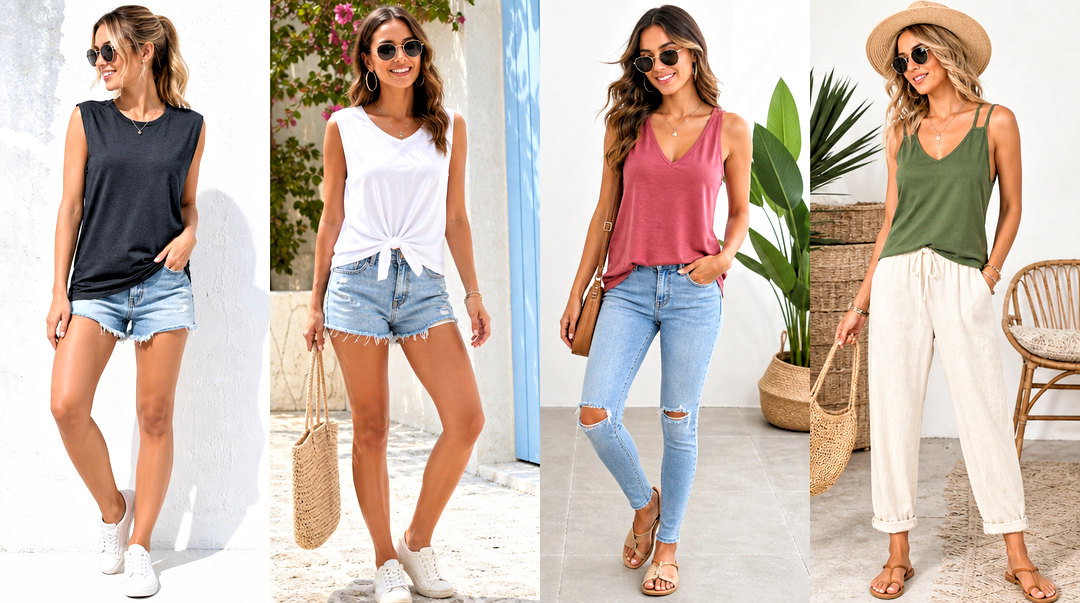
This corset-style top uses layered wrapping rather than lacing. Fold a large rectangle into a broad band. Center it across your chest, take the ends behind your back, cross them and bring them forward, cross again at your waist, then go back once more and tie. Spread each layer so it forms a wide, smooth bodice. When I drape this, I keep every wrap broad: narrow ones dig into the ribs, while broad ones spread the pressure the way boning does in a real corset. Tape and a fitted bandeau add security. Never pull it tighter than you can breathe in comfortably. A full midi skirt and pointed flats suit it.
31. Scarf Vest Top

A scarf vest has open sides and a flowing front. Fold a large square in half into a rectangle. Tie the top corner to the bottom corner on each side, leaving an armhole between the knots. Slide your arms through and let it fall like a short vest. Wear it open over a fitted tank or belt it. Pull every knot tight and turn them so they sit under the arms where they're least visible. A border print frames the vest edges. Jeans and flat sandals keep it easy.
32. Cropped Scarf Vest Top

For a shorter vest, start with a medium square folded into a rectangle. Tie the top and bottom corners together on each short side to make two small armholes. Put your arms through and arrange the center across your back. Bring the front edges together under the bust and secure with a small knot or ring. Layer it over a fitted sleeveless bodysuit. Keep the armholes roomy enough to lift your arms, or the whole vest rides up. Cotton holds the cropped shape; satin drapes more. Cargo pants and chunky sneakers suit it.
33. Tube Scarf Top

A tube top made from a scarf gives a straight neckline and more length than a bandeau. Fold an oversized scarf into a broad rectangle that reaches from your upper chest to your waist. Wrap it firmly with the fold at the top. Overlap the ends at the back and fasten with two safety pins through several layers. A slim belt or ribbon at the waist adds stability. Wear a strapless base underneath, and turn the pins so the closed side faces your skin. A maxi skirt and platform sandals finish it.
34. Longline Bandeau Scarf Top

The longline bandeau covers down toward the waist. Use a very large square or wide rectangle. Fold the top edge in once, position it across your chest, wrap the ends around your back, cross them, bring them forward around your waist and tie at one side. Smooth the top and tuck the lower point under the waist tie. That extra fold at the top edge makes it firmer, which helps stop it rolling. Tape the neckline. Relaxed linen pants and flat slides keep it simple; a solid scarf makes a clean column of color.



35. Peplum Scarf Top

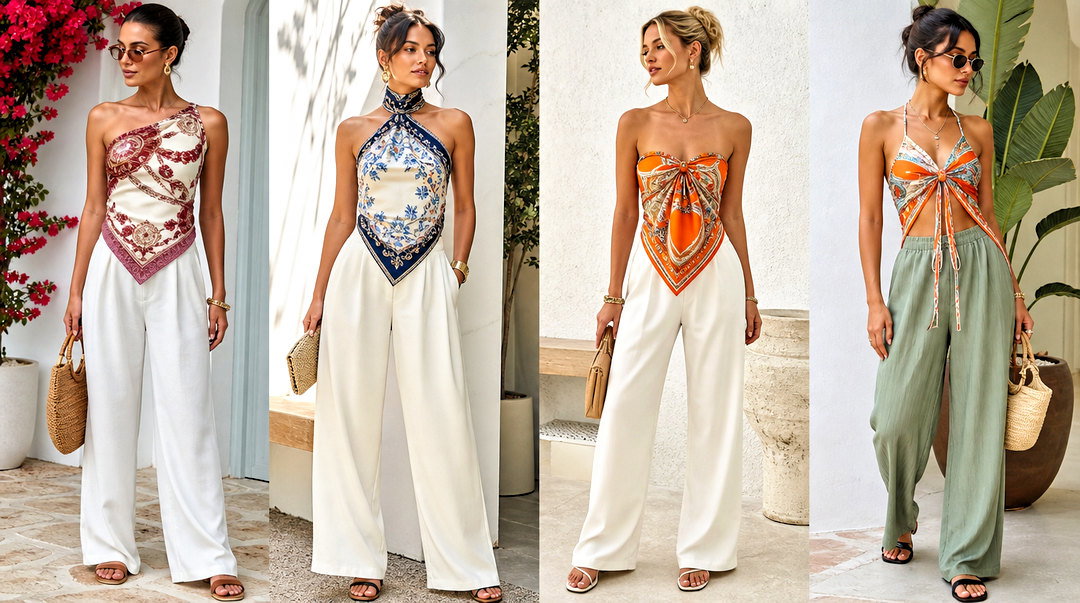
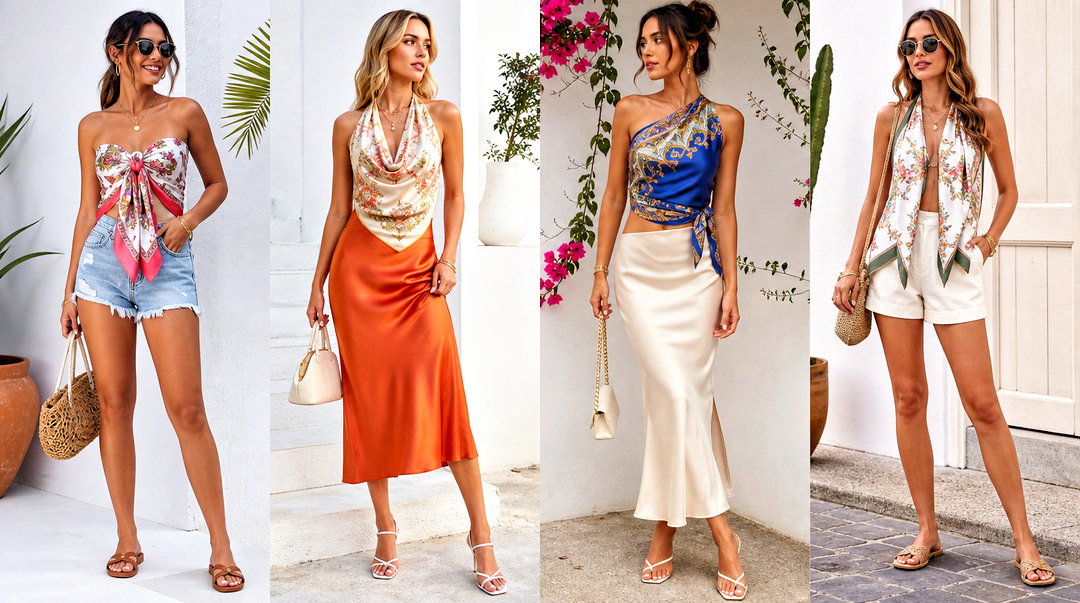
A peplum is a short flared section below a fitted waist, and a belt over a scarf gives you one. Fold a large square diagonally with the long edge across your chest. Tie the upper corners behind your back, then wrap a narrow belt or ribbon around your natural waist. Pull a few inches of fabric up over the belt so the top blouses slightly, and let the point flare over your hips. Tape the neckline. Crisp cotton-silk makes a defined flare; satin gives a softer one. Slim ankle pants and kitten heels balance the volume.
36. Babydoll Scarf Top

The babydoll shape is loose through the waist and very comfortable in heat. Fold a large scarf diagonally and gather the long edge across your upper chest. Tie the upper side corners behind your neck. Instead of wrapping the lower corners tightly, knot them loosely under your shoulder blades and let the rest fall freely. A fitted bandeau underneath handles the open sides. Lightweight cotton or rayon moves softly without clinging. Slim high-waisted shorts keep the loose top from looking shapeless.
37. Apron Scarf Top

The apron top has a square neckline and waist ties, like a cook's apron. Hold a large rectangle vertically against your front. Fold the upper corners in to narrow the neckline, then thread a matching ribbon through both folded corners and tie it behind your neck. Wrap the lower corners around your waist and knot at the back. Pin the folded corners so they hold. A bandeau or fitted tank covers the sides. Medium-weight cotton keeps the front panel flat; thinner fabric twists. Wide-leg jeans and clogs suit it.
38. Handkerchief Hem Scarf Top

The handkerchief hem shows off the scarf's natural point. Fold it diagonally and lay the long edge across your chest. Wrap the side corners behind and tie a flat square knot. Leave the center point hanging free over your waist. Center the point exactly; even an inch off-center reads as crooked. Tape the neckline. A scarf with a strong corner motif draws the eye down to the hem. A bandeau underneath gives support. High-waisted flare pants and platform sandals suit the long point.
39. Reverse Triangle Scarf Top

Flip the usual triangle for a straight hem and a draped neckline. Fold the scarf diagonally but put the point upward against your chest, then fold that point inward to make a layered top edge. Wrap the long corners around your torso and tie at the back. Pin the folded point from inside, then smooth the bottom edge across your waist. A scarf with a central motif works well, since the design sits right across the front. Tape under the top edge. High-waisted shorts and sleek sneakers keep it casual.
40. Open Back Scarf Top

An open back looks dramatic but is quick to tie. Fold a large square into a triangle with the point over your front. Take the upper corners around your neck and tie at the nape; take the lower corners around your waist and tie at the center back, leaving the middle back bare. Adjust the front before tightening either knot. Adhesive cups or a low-back bandeau give the coverage you want. The waist knot carries more than you'd think, so make it a proper square knot. Palazzo pants and low heels make it evening-ready.
41. Shoulder Bow Scarf Top

A shoulder bow gives a one-shoulder top a focal point. Drape a large square diagonally across your torso. Bring two neighboring corners together above one shoulder and tie them into a bow over a knot. Pull the opposite corners under your arm and fasten behind your waist. Flatten the loops and spread the front. Tape the unsupported side. A bow on the shoulder catches on bag straps, so carry a clutch or a bag on the other side. Tailored high-waisted pants and pointed sandals suit it.
42. Arm Tie Scarf Top

The arm tie adds a sleeve-like detail to an asymmetric neckline. Fold a large scarf diagonally over your torso. Take one upper corner over your shoulder and tie it to the opposite corner behind your back. Wrap one remaining point around your upper arm and tie a bow. Tie the last corner at your waist or into the back knot. Keep the arm tie loose enough to lift your arm fully, or it pulls the whole neckline. A lightweight scarf makes soft folds. A denim skirt and ankle-strap sandals suit it.
43. Toga Scarf Top

An oversized scarf can give a toga-style top with a lot of diagonal coverage. Put one corner over your left shoulder and let the scarf cross your chest. Pull the opposite upper corner under your right arm and tie it to the shoulder corner behind your back. Wrap the lower section around your waist and secure the last corners at your left side. A slim belt holds loose fabric. A fitted tank closes side gaps. A solid color keeps the diagonal folds clear; prints hide them. Straight trousers and flat metallic sandals suit it.
44. Sarong Scarf Blouse

A sarong or long rectangle can become a flowing blouse. Put the center across your back and bring both upper corners over your shoulders. Cross them at the chest and tie them behind your neck. Gather the lower corners at your waist, wrap them toward one hip and tie a firm side knot. Spread the front panels so they overlap completely, and tape where needed. The extra length covers more than a square. I check a sarong against bright light before tying it, because many are woven thin enough to see through. Slim white pants and flat sandals suit it.
45. Scarf Top Over Button Down Shirt

Layering a scarf over a buttoned shirt takes the idea off the beach. Button a crisp white or pale blue shirt with the collar open. Fold a square diagonally, lay the long edge across your chest and tie the corners behind your back. Tuck the shirt into high-waisted trousers so the scarf's point shows. Tape between scarf and shirt holds it without touching skin. A colorful print stands out against the plain shirt. Roll the sleeves to the elbow. Loafers and a structured tote make it office-appropriate.
46. Scarf Top Over Fitted Tank

A fitted tank underneath gives a scarf top both coverage and something to grip. Choose a tank that matches one color in the scarf. Fold the scarf diagonally across the bust and tie the side corners behind your back. Pin the scarf's upper edge to the tank straps or neckline with two hidden safety pins, placed between the layers so they don't show. This is the method I'd use for smaller scarves that can't wrap around the torso alone. Relaxed jeans and leather slides keep it everyday.
47. Scarf Top With Bandeau Base

A bandeau base makes a scarf top secure while keeping the neckline open. Put on a fitted bandeau in a matching color. Fold a large square into a triangle across your front. Tie the upper corners behind your neck and the lower corners behind your waist. Fix the scarf to the bandeau with tape or small hidden pins. A sliver of bandeau showing at the top can look intentional. This is the most reliable setup for slippery satin or a day of walking. Linen shorts and flat sandals suit it.
48. Secure Full Coverage Scarf Halter Top

For fuller coverage, use a bigger scarf instead of stretching a standard one. Fold it diagonally and center the widest part over your chest. Tie the upper corners behind your neck, with the knot low enough not to pull. Wrap the lower corners fully around your ribs, cross them at the back, and bring them forward to tie at the waist. Wear a supportive halter bra or a fitted tank underneath. Check the fit standing and sitting. Textured cotton or cotton-silk grips and holds knots. Wide-leg jeans and block heels give a balanced outfit.
49. No Sew Pinned Scarf Blouse

Hidden safety pins turn an oversized scarf into a loose blouse with no stitching. Fold the scarf into a rectangle and drape it over your shoulders. Pin the front and back layers together under each arm, leaving room to move. Gather the front edges at the waist and pin from inside. A fitted tank underneath keeps every pin off your skin. Use locking safety pins and check them before you go out. A medium-weight scarf is better here, because thin silk tears around a pin under strain. Cropped trousers and ballet flats suit it.
50. Reversible Scarf Top

A double-sided scarf gives two colorways from one tie. Fold it diagonally with your chosen side out. Lay the long edge across your chest, wrap the corners behind and tie. Fold the point up to show a strip of the reverse color and fix it inside the top edge with pins or tape. For the second version, turn it over and repeat. Contrasting but coordinated sides make both versions wearable, and that folded strip gives the neckline a clean border. Neutral high-waisted pants and simple sandals let it lead.
Knots That Stay Tied Until You Untie Them
Every tie above depends on a knot, and the wrong one comes loose by lunch.
Square knot, not granny knot
Tie right over left, then left over right. The finished knot lies flat and holds under tension. If you go right over left twice, you get a granny knot, which sits crooked and slips. When the fabric is slippery, add a third half-knot on top.
Where the knot sits
A knot in the middle of the back presses into you every time you lean against a chair, so I often tie back knots slightly to one side. Neck ties should sit low, at the base of the neck, and never be pulled so tight that the halter lifts the bust; that tension gives you a sore neck within an hour.
Untying without damage
Tight knots crease silk sharply. Untie them as soon as you take the top off, then steam or hang the scarf in a steamy bathroom. Fashion tape can leave residue, so peel it from the fabric gently rather than pulling the scarf away from your skin in one go.
Practice the Fold at Home First
One square of fabric can make all of these tops. Start with a generous size, check your coverage from the side and back as well as the front, and use a base layer whenever it makes you more comfortable. Square knots, tape, rings and hidden pins keep each tie secure, but none should feel tight around your neck or ribs. Balance a bold scarf with plain bottoms and quiet accessories. Then try the folds a few times at home before you wear one out.
Related posts:


Leave a Reply