
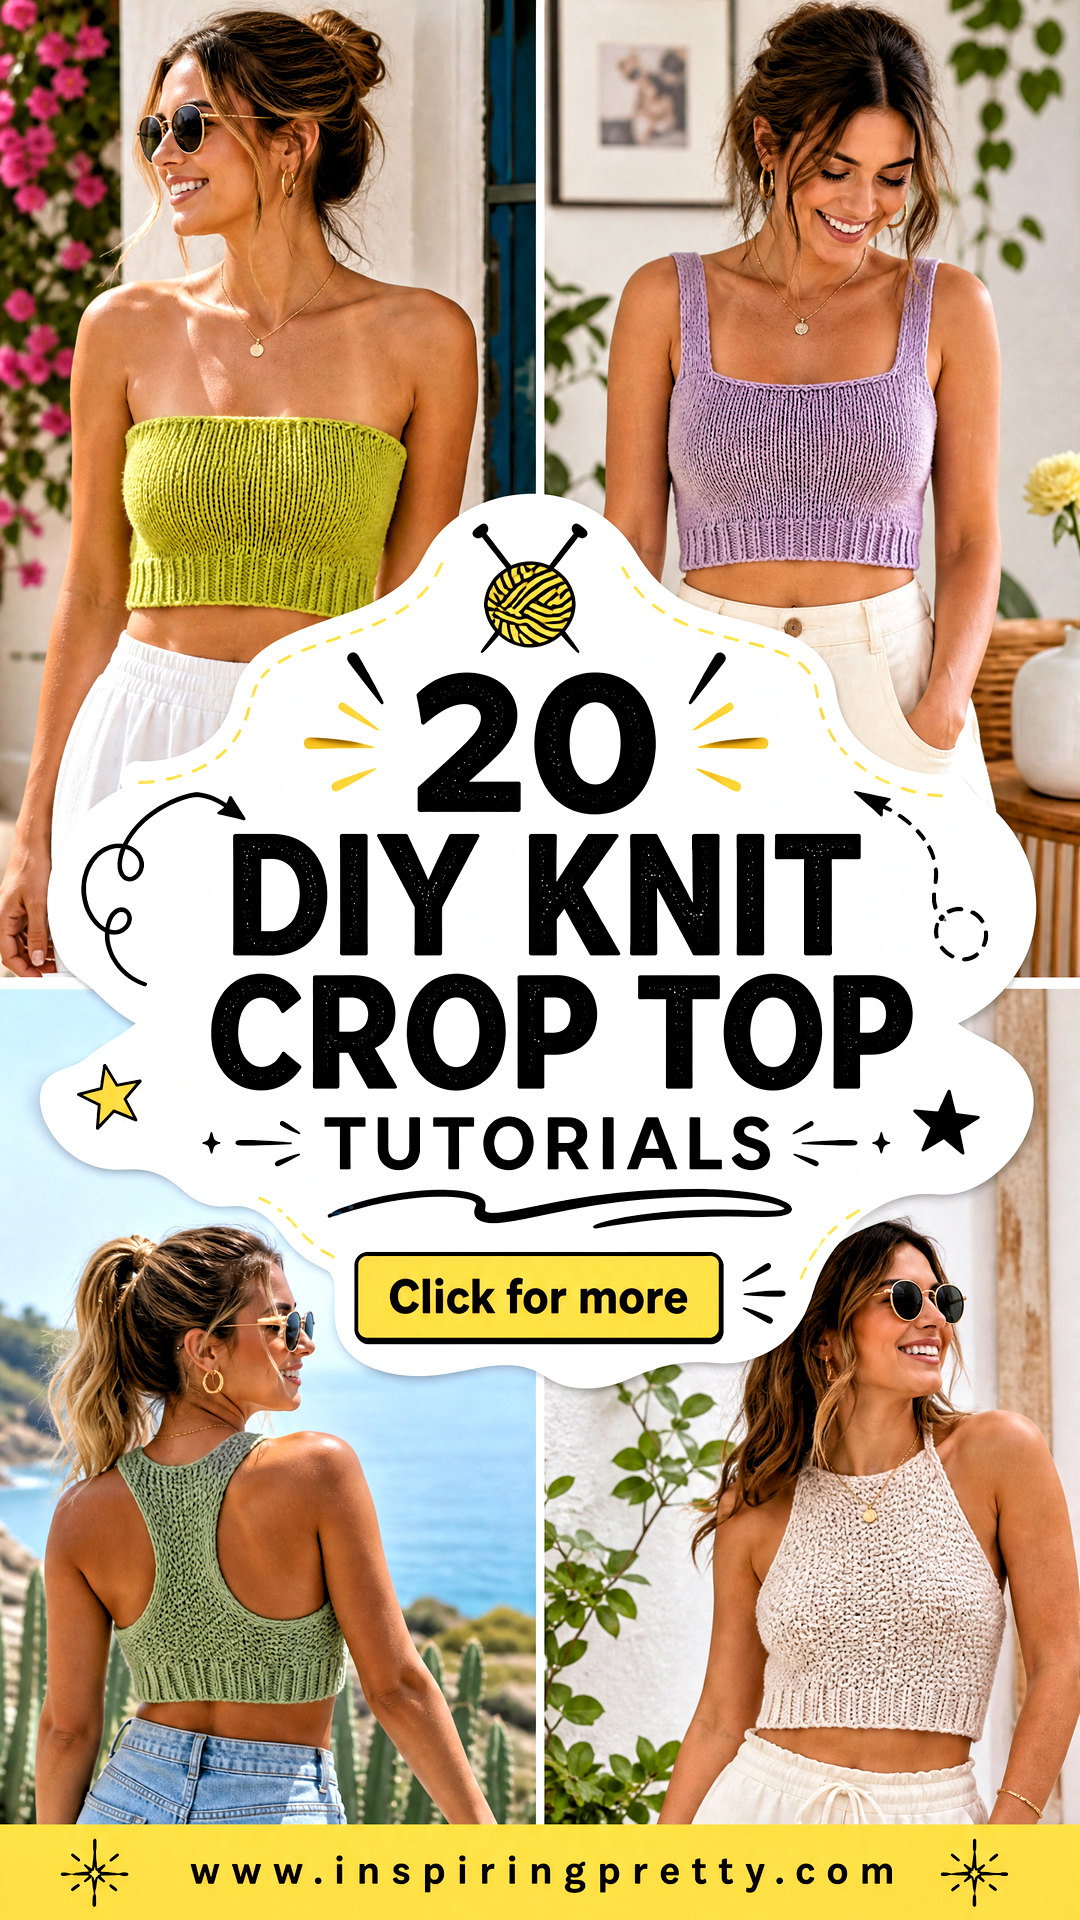
DIY knit crop tops are rewarding projects because they use less yarn than full sweaters and offer plenty of room for customization. You can adjust the length, neckline, straps, texture, and ease to create a top that fits your wardrobe. Current patterns range from beginner-friendly rectangle construction and adjustable halters to lace panels, cables, ribbing, and seamless designs worked in the round. () Before beginning, knit and wash a gauge swatch, take accurate bust measurements, and choose a comfortable yarn with good recovery. Cotton blends work well for summer, while wool blends suit cooler weather. Whether you want a quick first project or a more detailed challenge, use these 20 Diy Knit Crop Top Tutorials to find your next handmade favorite.
1. Beginner Garter Stitch Knit Crop Top
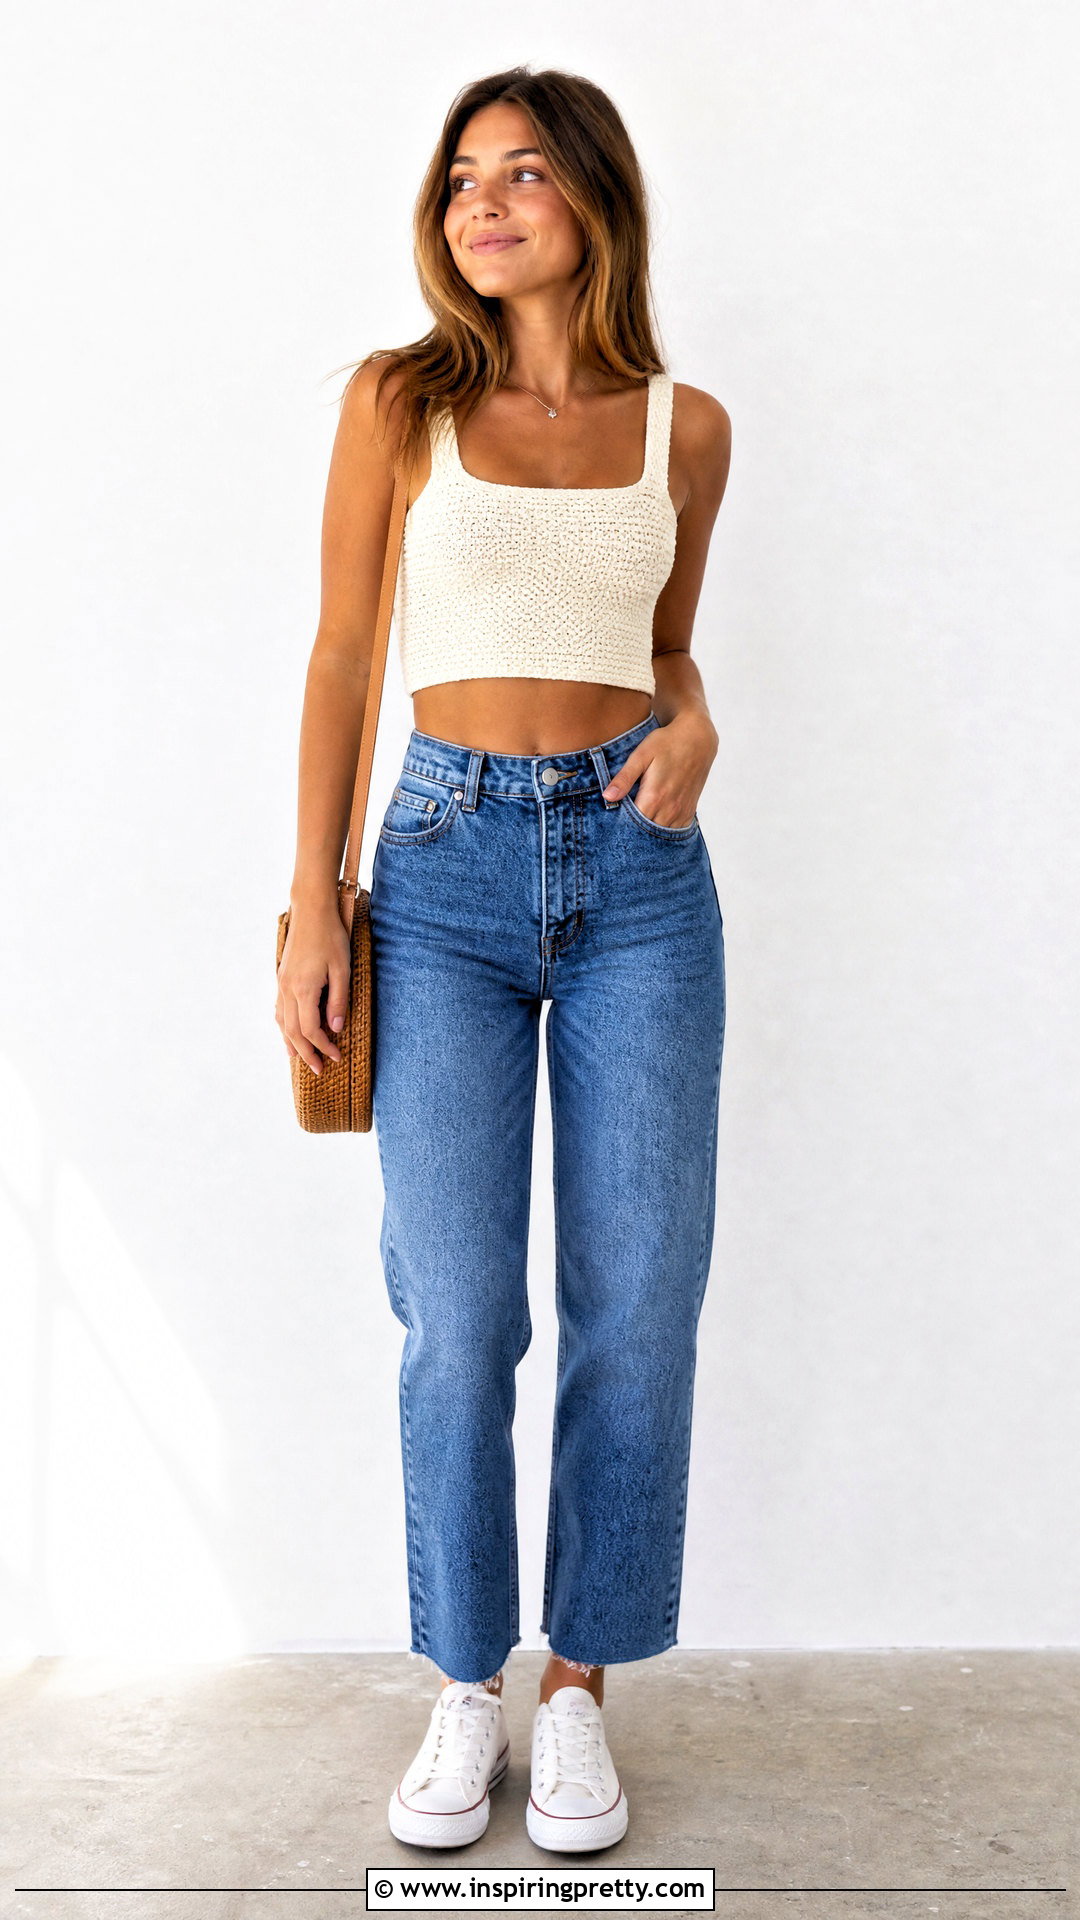
Start with a straightforward crop top made from two garter-stitch rectangles. Choose soft worsted-weight yarn and needles that create a fabric with comfortable drape. After making and washing a gauge swatch, calculate the stitches needed for half your desired finished circumference. Knit every row until each panel reaches your preferred cropped length. Leave enough room for the armholes when seaming the sides, then join the shoulders with short seams or knitted straps. A crochet-free knitted cord can be added at the waist for an adjustable fit. Finish by weaving in the ends and lightly blocking the top. Wear it with high-rise jeans, canvas sneakers, and a simple shoulder bag for a relaxed everyday outfit.
2. Ribbed Knit Crop Tank Top
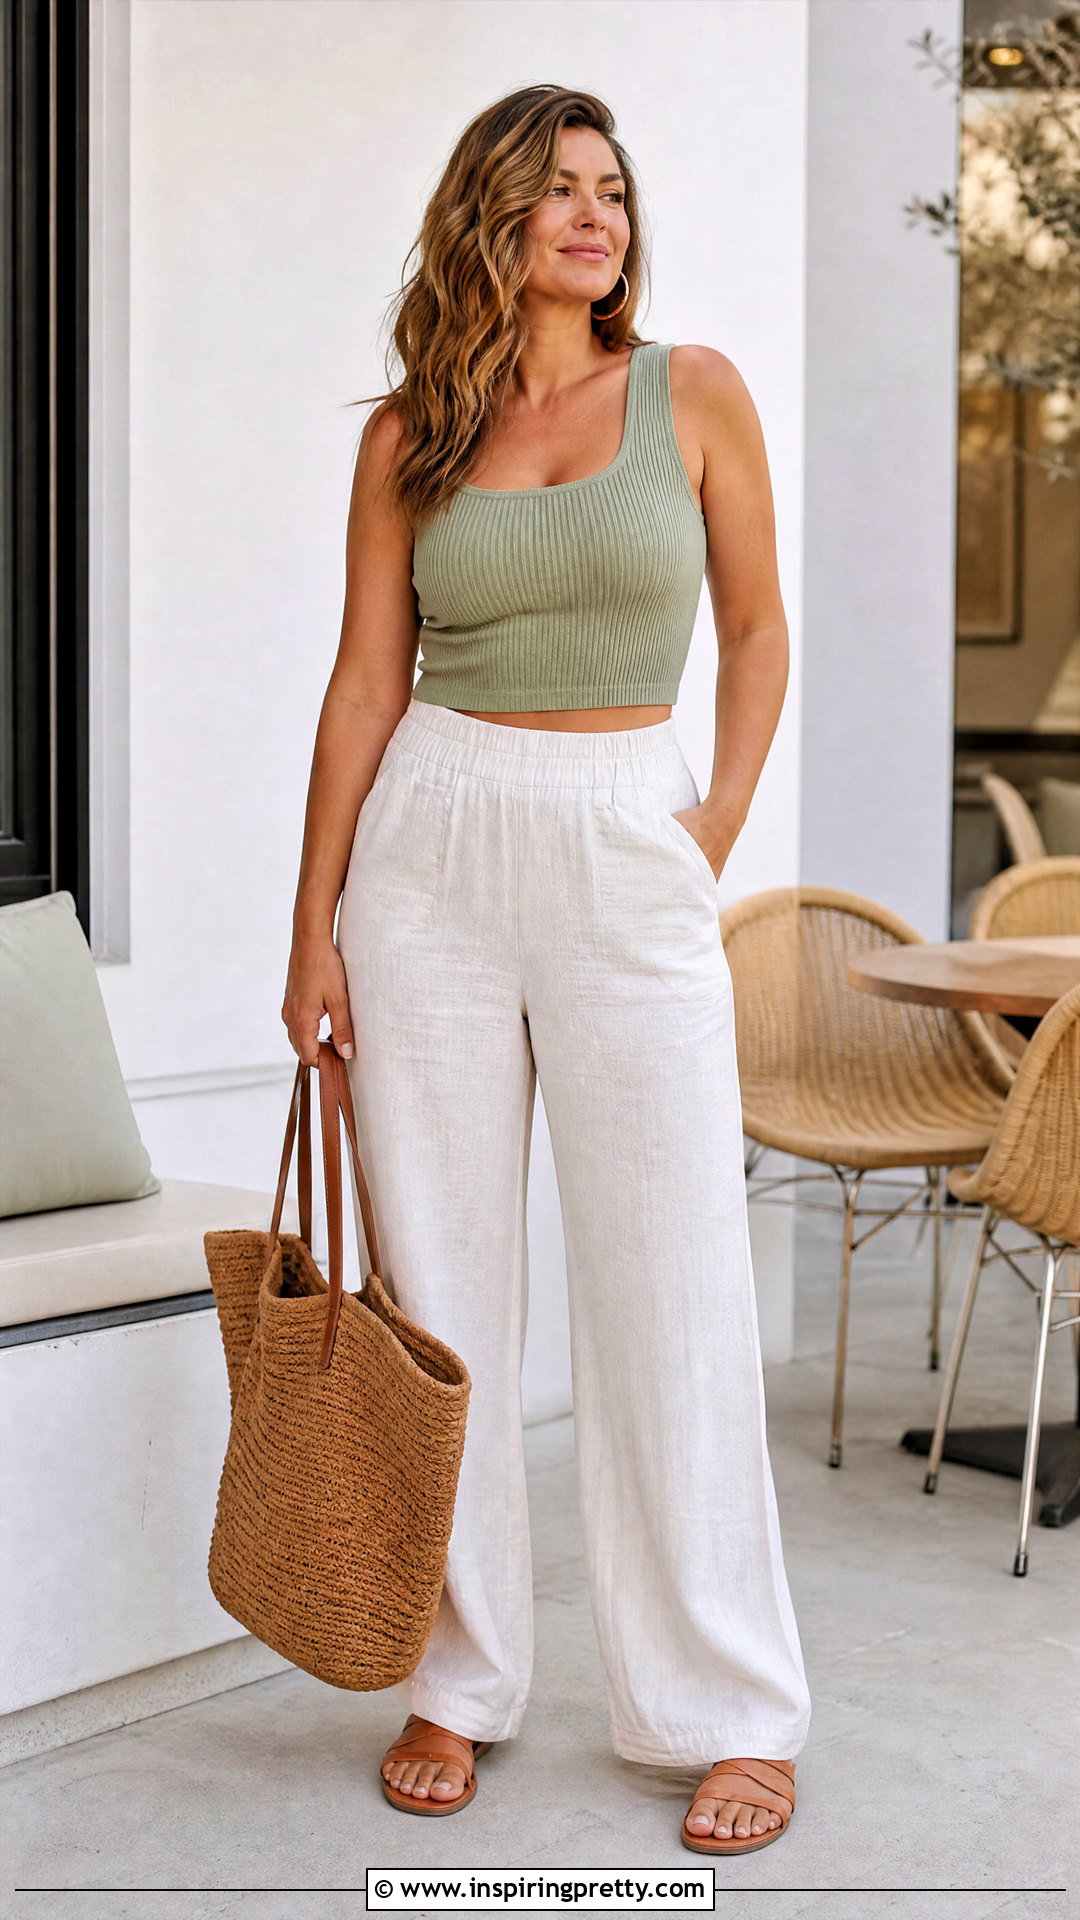
A ribbed crop tank stretches comfortably while creating a close, flexible fit. Use DK or light worsted cotton-blend yarn and work a knit-two, purl-two rib over a stitch count divisible by four. You can knit the body in the round for fewer seams or create matching front and back panels. Continue until the body reaches the underarm, then divide the stitches and shape each side separately. Bind off center stitches for the neckline and decrease gradually around the armholes. Knit wider shoulder straps if you want better coverage and support. Block gently without overstretching the ribs. Style the finished tank with wide-leg linen pants, flat sandals, small hoop earrings, and a woven tote for a balanced summer look.
3. Stockinette Knit Halter Crop Top
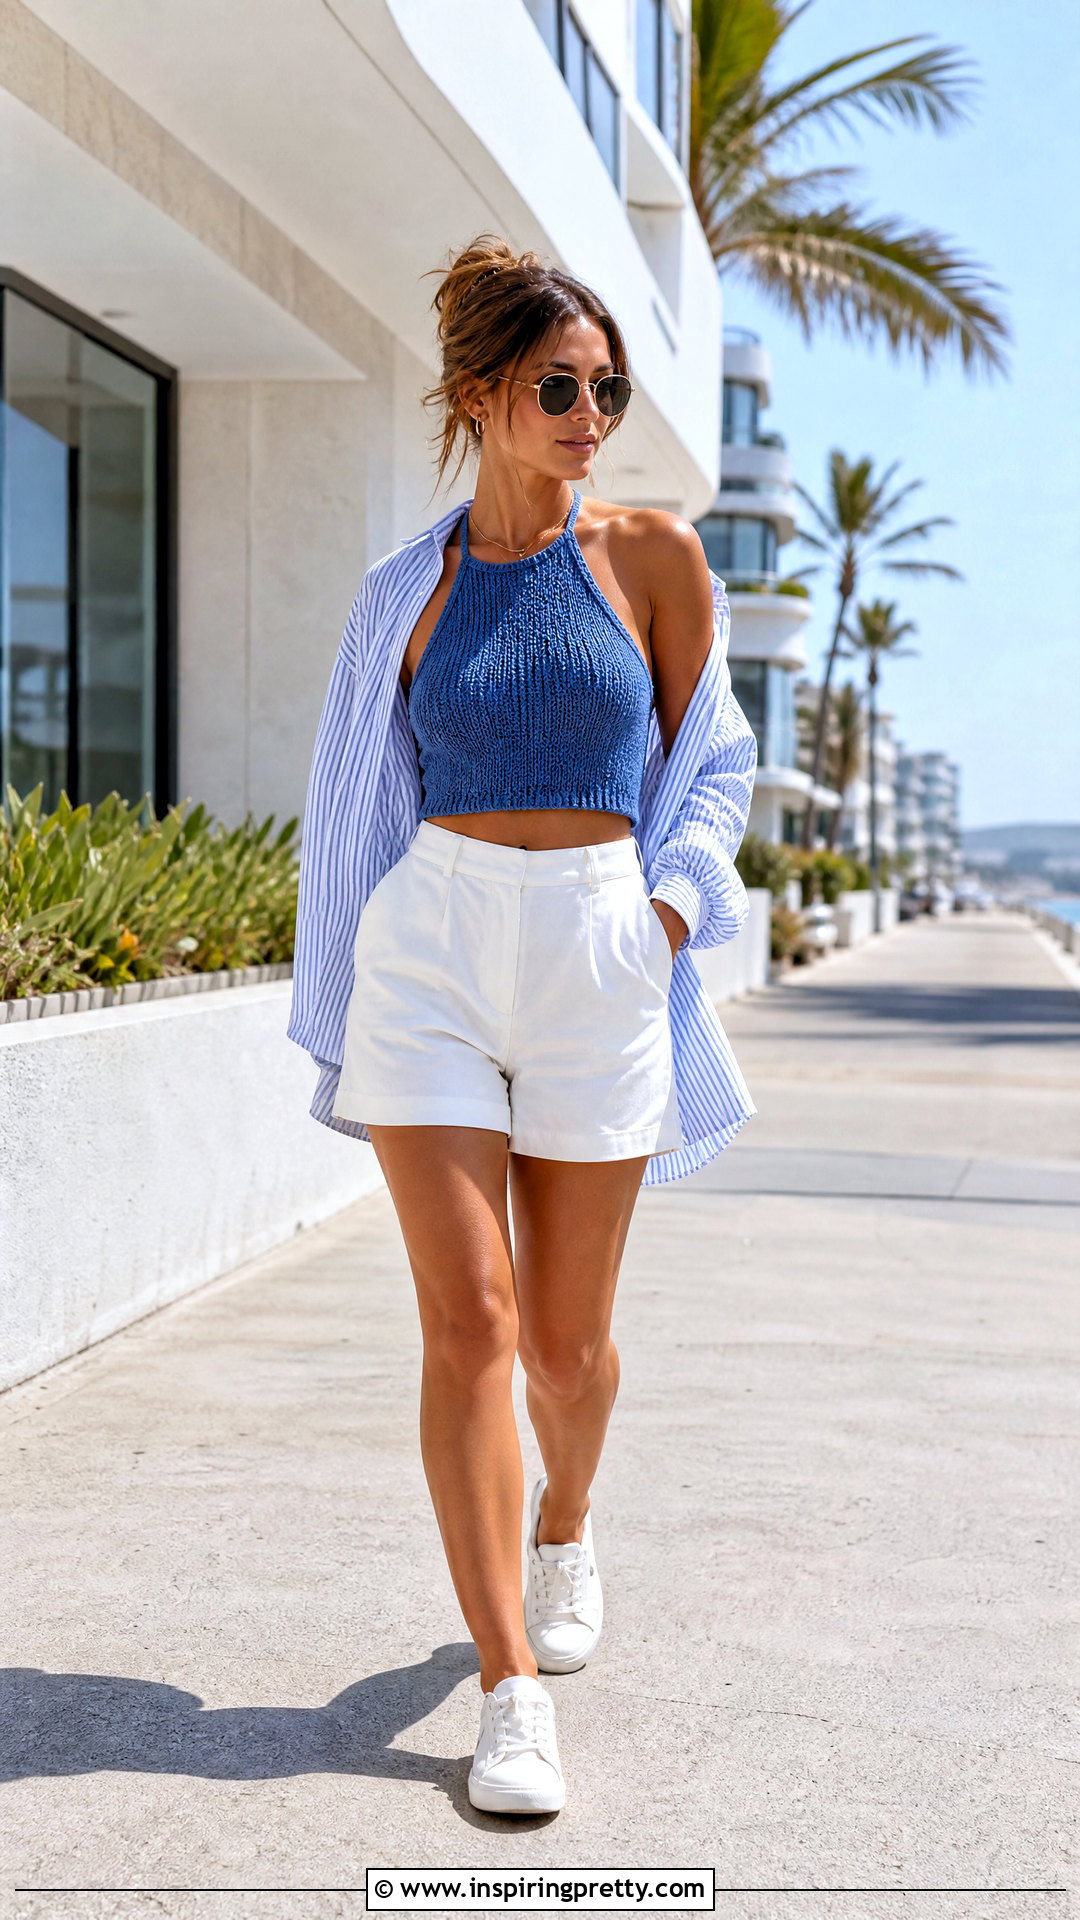
Smooth stockinette fabric gives a knitted halter top a clean and simple finish. Begin at the lower edge and knit the body flat, adding a narrow garter or ribbed border to prevent curling. Work evenly until you reach the underbust area, then decrease at both edges to form the triangular upper section. Continue shaping until only a small group of neckline stitches remains. Knit an attached cord long enough to tie securely behind the neck. Add two longer side ties at the back for an adjustable closure. Measurement-based halter construction can be adapted to different yarns and gauges, making swatching especially important. () Pair the top with tailored shorts, low-profile sneakers, sunglasses, and a lightweight overshirt.
4. Strapless Bandeau Knit Crop Top
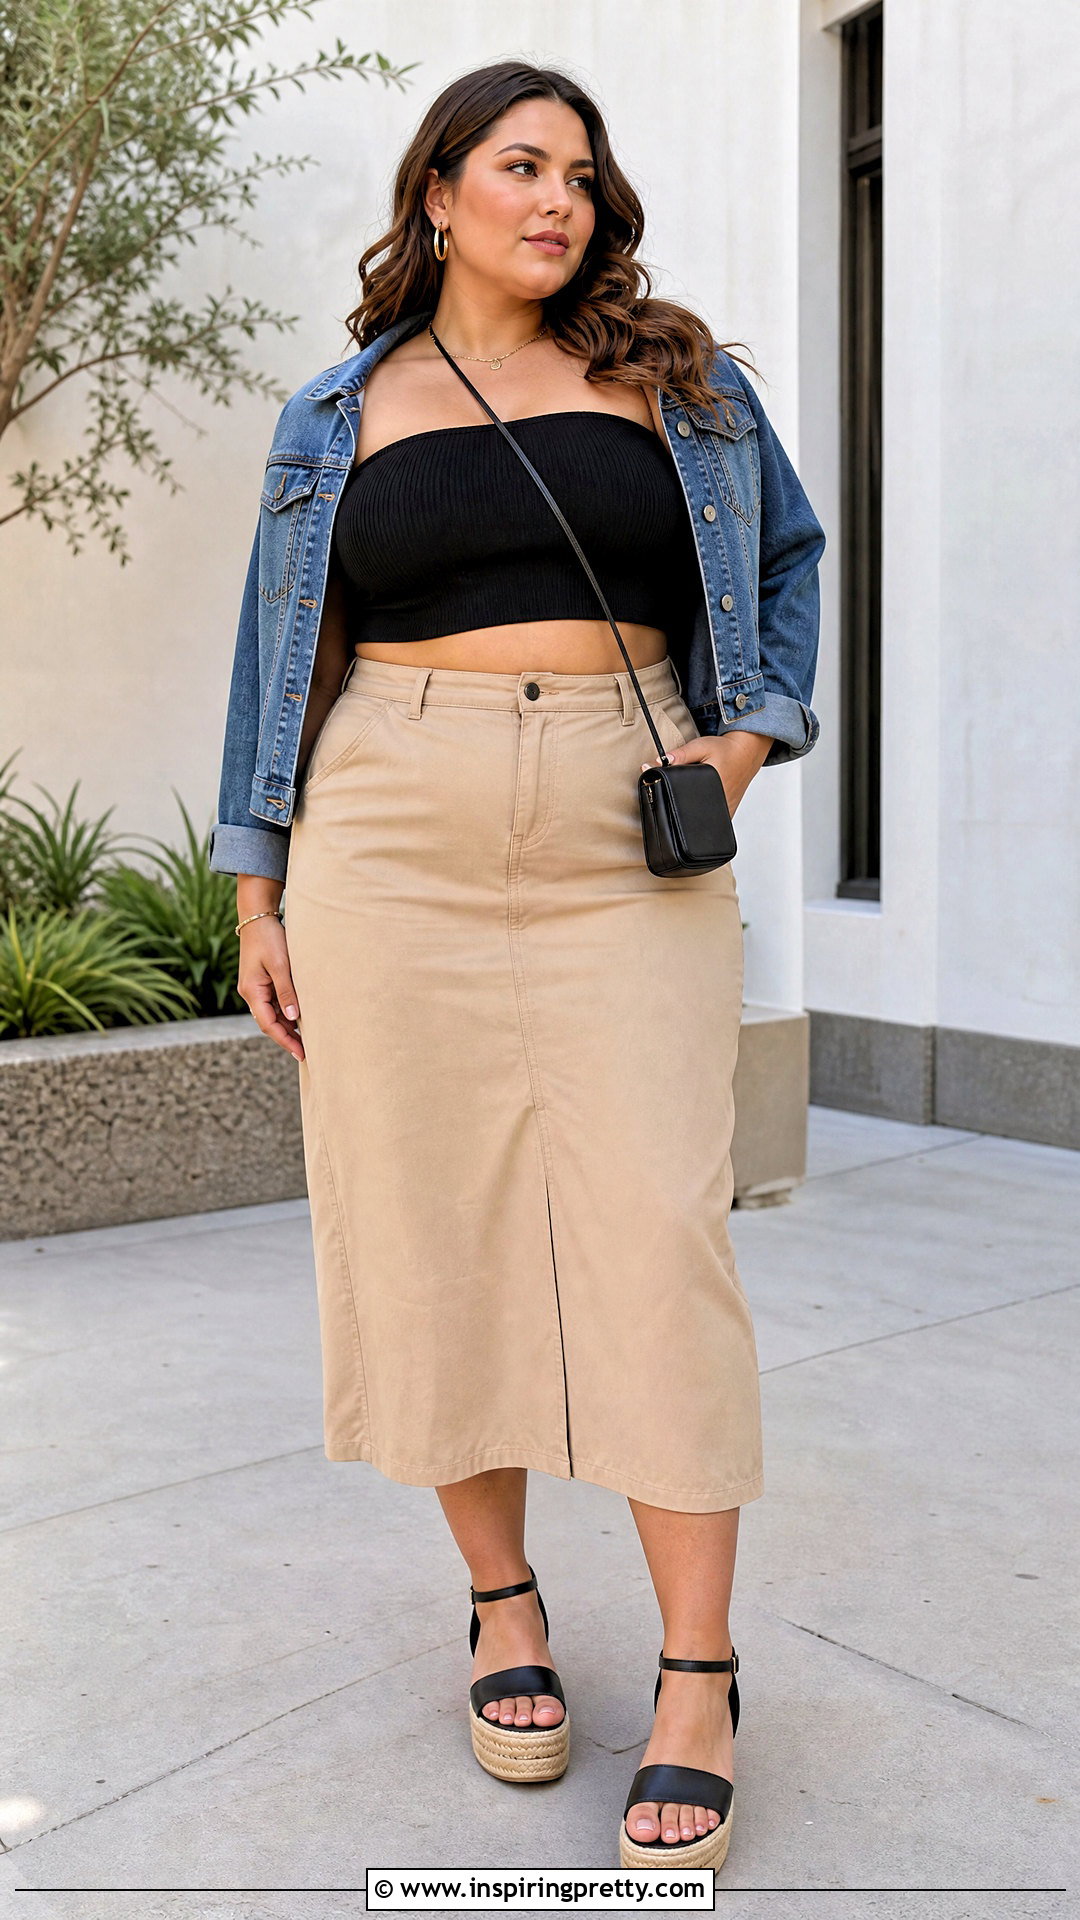
A bandeau crop top is a fast project, but it needs firm fabric and thoughtful shaping. Select a cotton yarn with elastic recovery rather than a very loose or slippery fiber. Knit a large ribbed rectangle that measures slightly smaller than your bust circumference, allowing negative ease to help the top stay in place. Sew the short edges together neatly, or work the entire tube in the round. Add a folded upper casing with narrow elastic if extra security is needed. A drawstring through the center front can create gentle ruching and improve shaping. Try the top on before finishing every edge. Complete the outfit with a high-waisted midi skirt, platform sandals, a cropped denim jacket, and a compact crossbody bag.
5. V-Neck Knit Crop Top
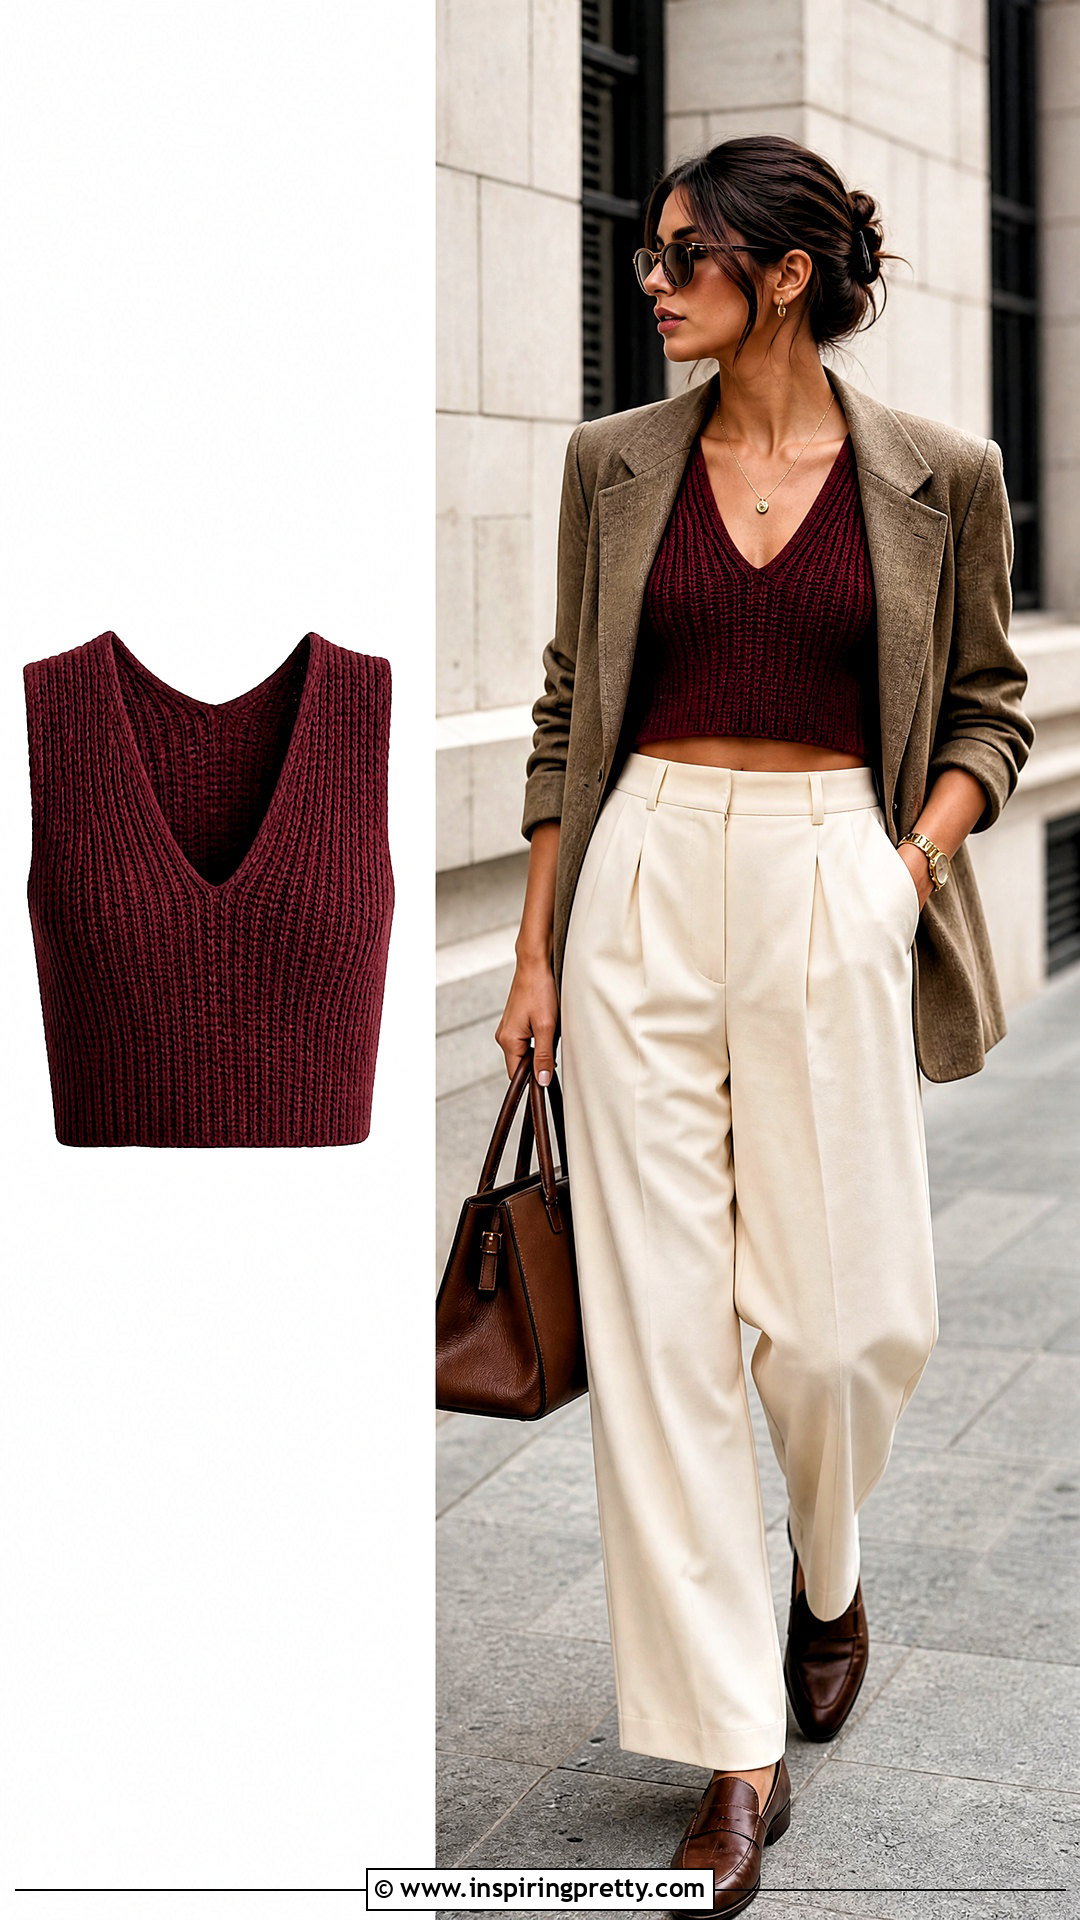
For a flattering V-neck, knit the top from the bottom upward and divide the front stitches at the center. Work the lower body in stockinette with a ribbed waistband, then place half of the front stitches on hold. Decrease one stitch near the neckline edge every few rows while shaping the armhole along the outside edge. Repeat the process in reverse for the other front section. The back can have a straight neckline or a shallower V. Join the shoulders and finish the neckline with picked-up ribbing or a neat applied edge. Keep both sides symmetrical by recording every shaping row. Wear this handmade top with pleated trousers, loafers, a structured handbag, and a light blazer for a polished casual outfit.
6. Square Neck Knit Crop Top
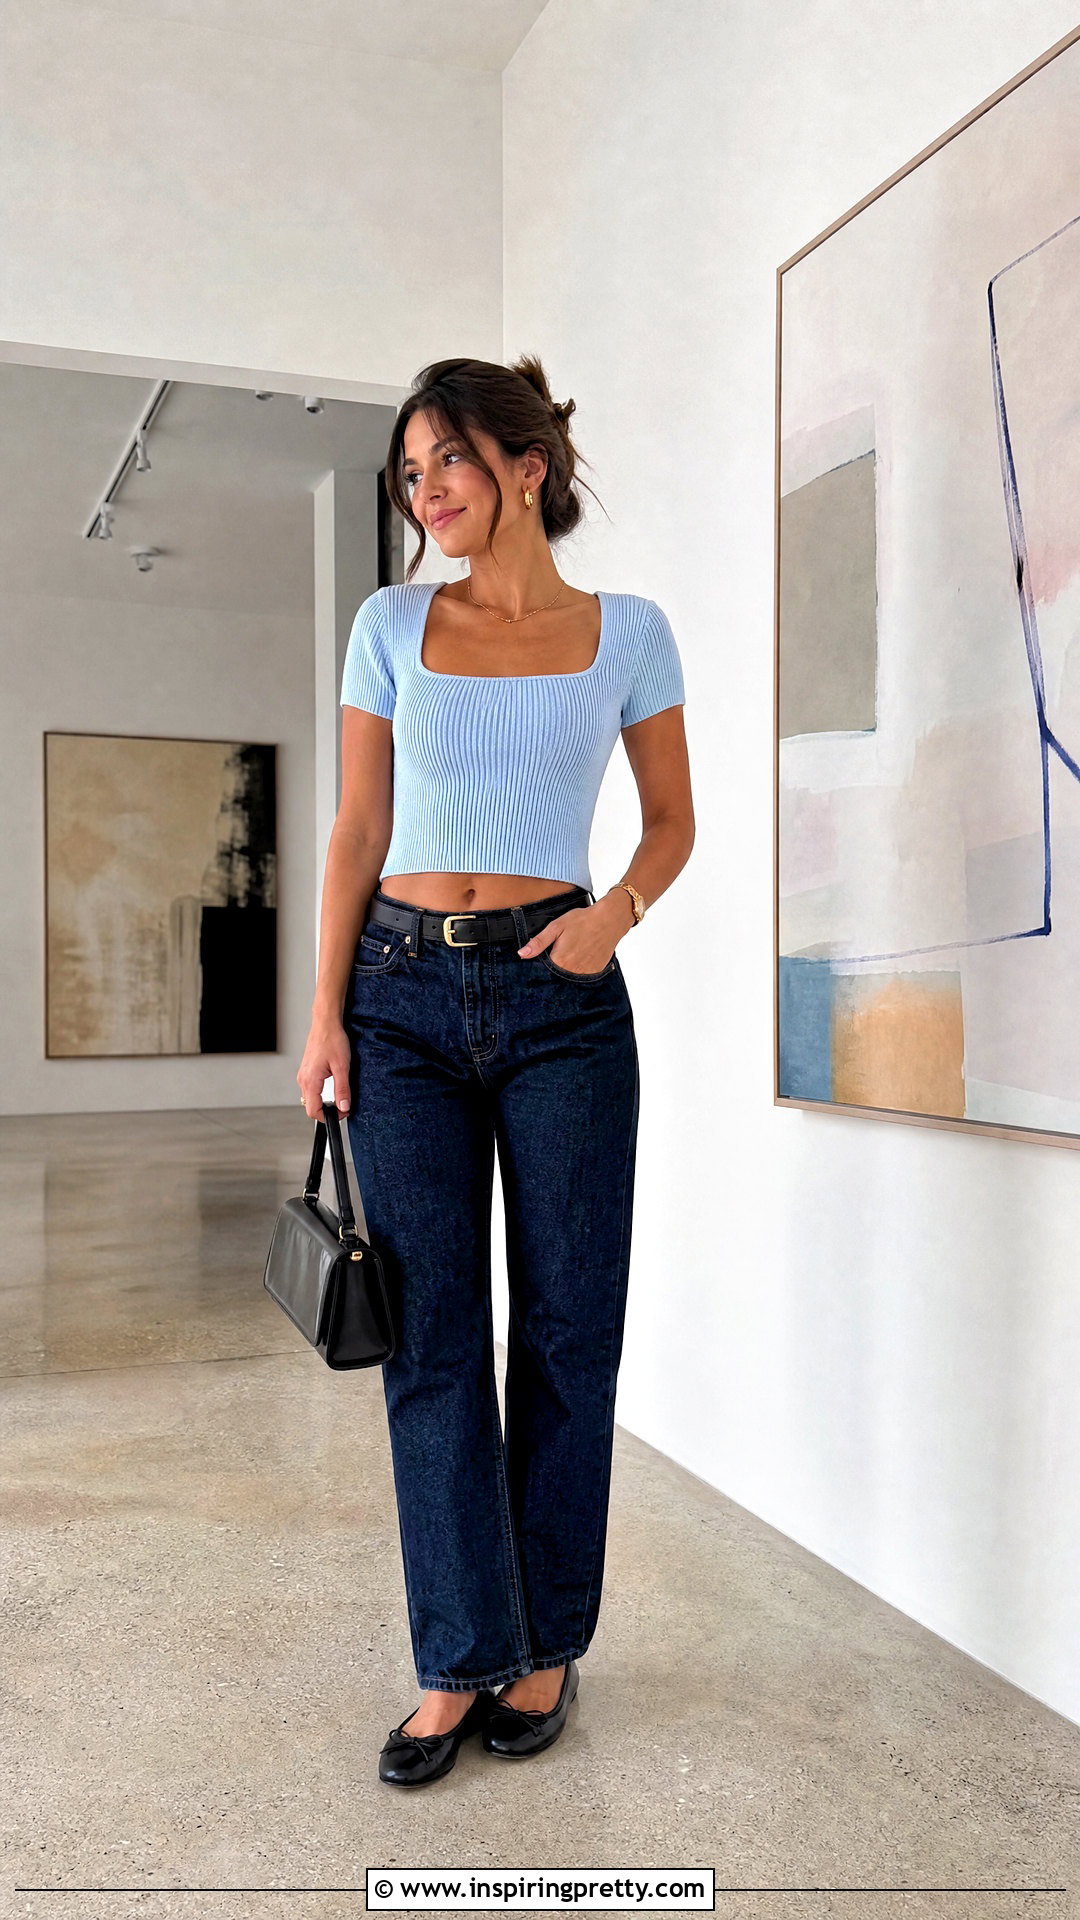
A square-neck crop top combines clean lines with beginner-friendly shaping. Knit the body in the round to the underarms, then separate the front and back. On the front, bind off the center stitches earlier than you would for a standard tank. Work each upper side separately without additional neckline decreases, creating two straight vertical edges. Shape the armholes gradually and continue until the straps reach the required height. Make the back neckline slightly higher for stability. After joining the shoulders, pick up stitches evenly around the square opening and work a narrow ribbed border. Blocking will help sharpen the corners. Style it with straight-leg jeans, ballet flats, a slim belt, and a small top-handle bag for an easy refined look.
7. Racerback Knit Crop Tank
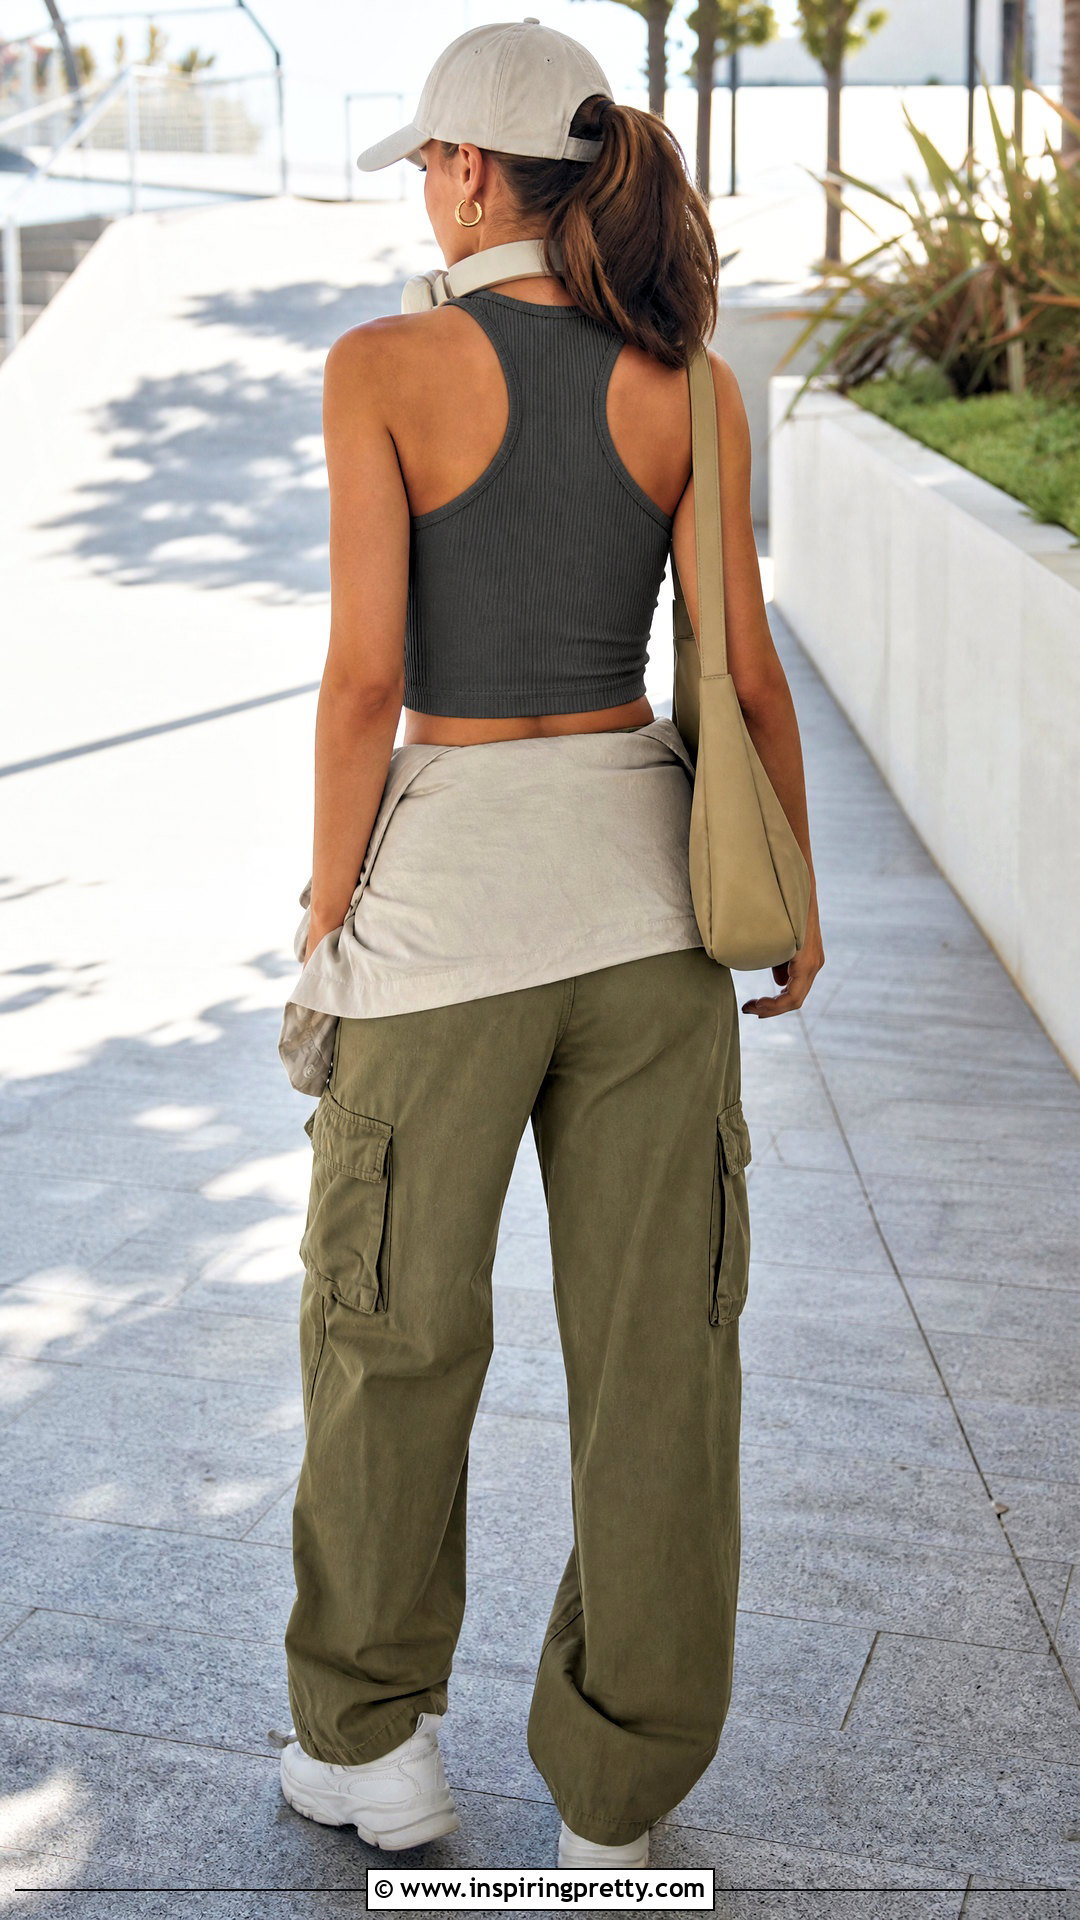
A racerback tank offers a practical shape for warm days and active casual outfits. Begin with a fitted ribbed or stockinette body worked in the round. Once you reach the underarms, bind off stitches at each side and work the front and back separately. Keep the front straps moderately wide. For the back, decrease steadily along both armhole edges until the fabric narrows toward the center. Continue the central section upward, then divide it to form two straps that connect to the front. Reinforce each edge with garter stitch or slipped stitches to reduce stretching. Try on the top before permanently joining the straps. Pair it with relaxed cargo pants, clean white sneakers, a baseball cap, and a lightweight zip jacket.
8. Eyelet Lace Knit Crop Top
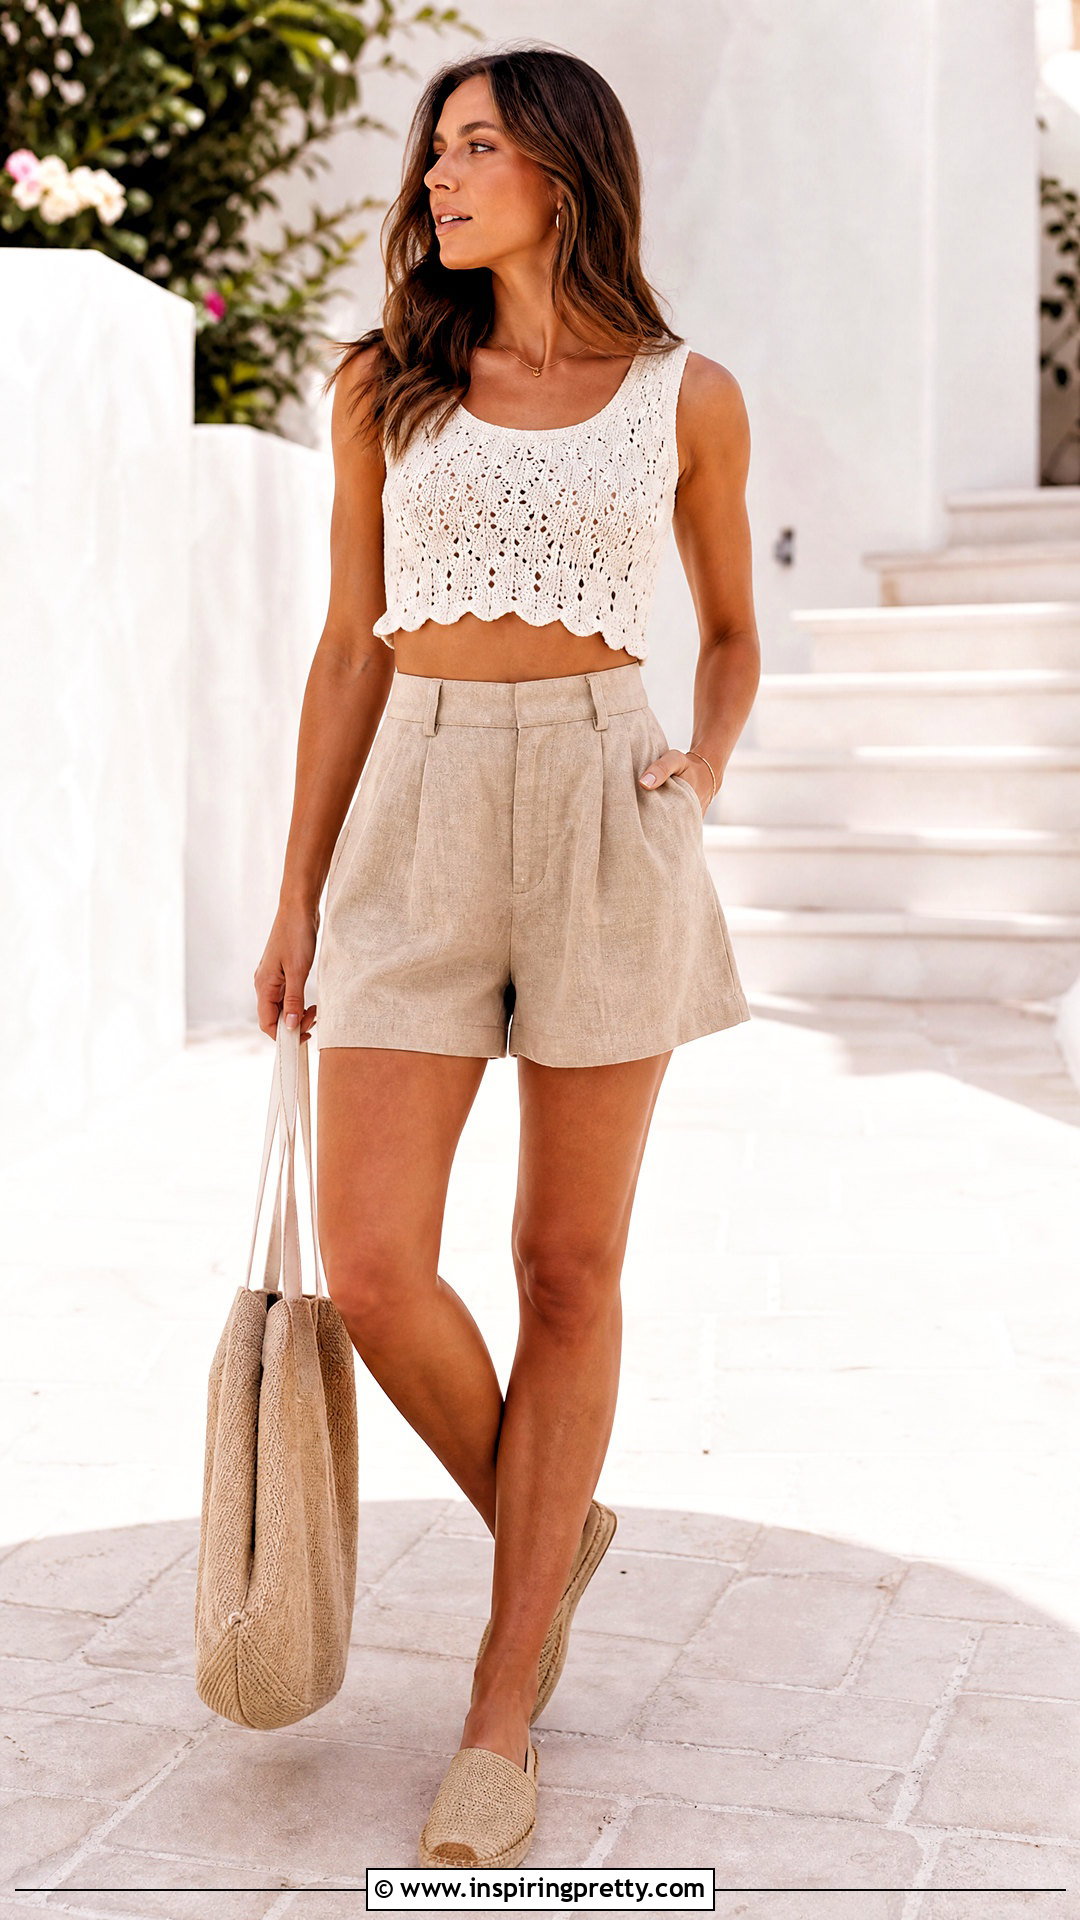
Delicate eyelets can make a simple crop top feel lighter and more detailed. Choose a smooth yarn that clearly displays lace stitches, then practice the repeat on a swatch. A basic pattern can alternate yarn overs with paired decreases, followed by a plain purl or knit round. Keep stitch markers between repeats to catch mistakes quickly. Knit two rectangular panels for the easiest construction, or work the body in the round before dividing at the armholes. Add solid ribbing along the hem, neckline, and straps so the top holds its shape. Lace crop tops can also be built from two rectangles with openings left for the head and body. () Wear yours with linen shorts, espadrilles, and a neutral tote.
9. Cable Knit Halter Crop Top
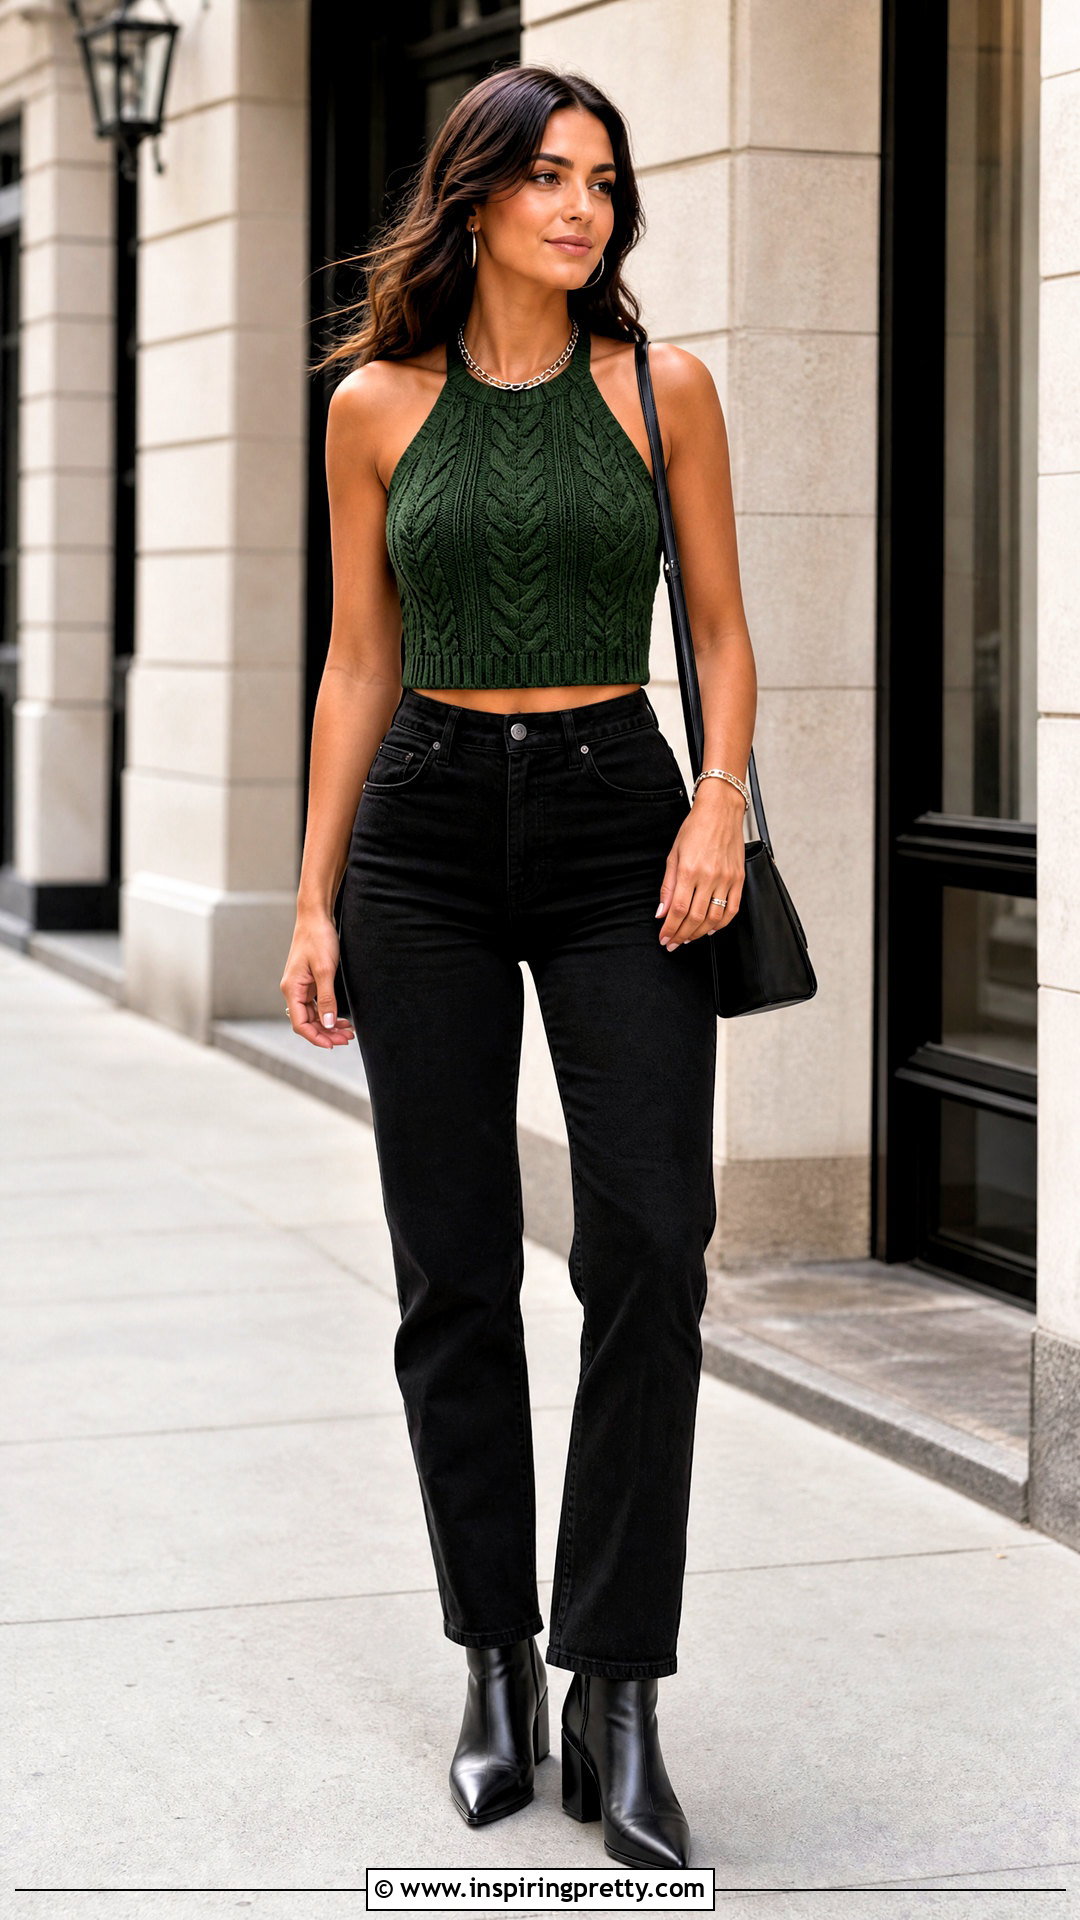
A cable-knit halter makes an excellent intermediate project because it combines shaping with a strong central texture. Begin with a ribbed lower band and place one cable panel in the middle of the front. Work the surrounding stitches in reverse stockinette or a simple rib so the cable remains visible. As the upper section narrows, decrease outside the cable panel instead of interrupting the motif. Finish the neckline with a knitted tie, folded collar, or two sturdy straps. The back can be open with long waist ties for easy adjustment. Use stitch markers and write down every cable row to avoid losing your place. Complete the outfit with black high-rise jeans, ankle boots, a minimal shoulder bag, and understated silver jewelry.
10. Seed Stitch Knit Crop Top
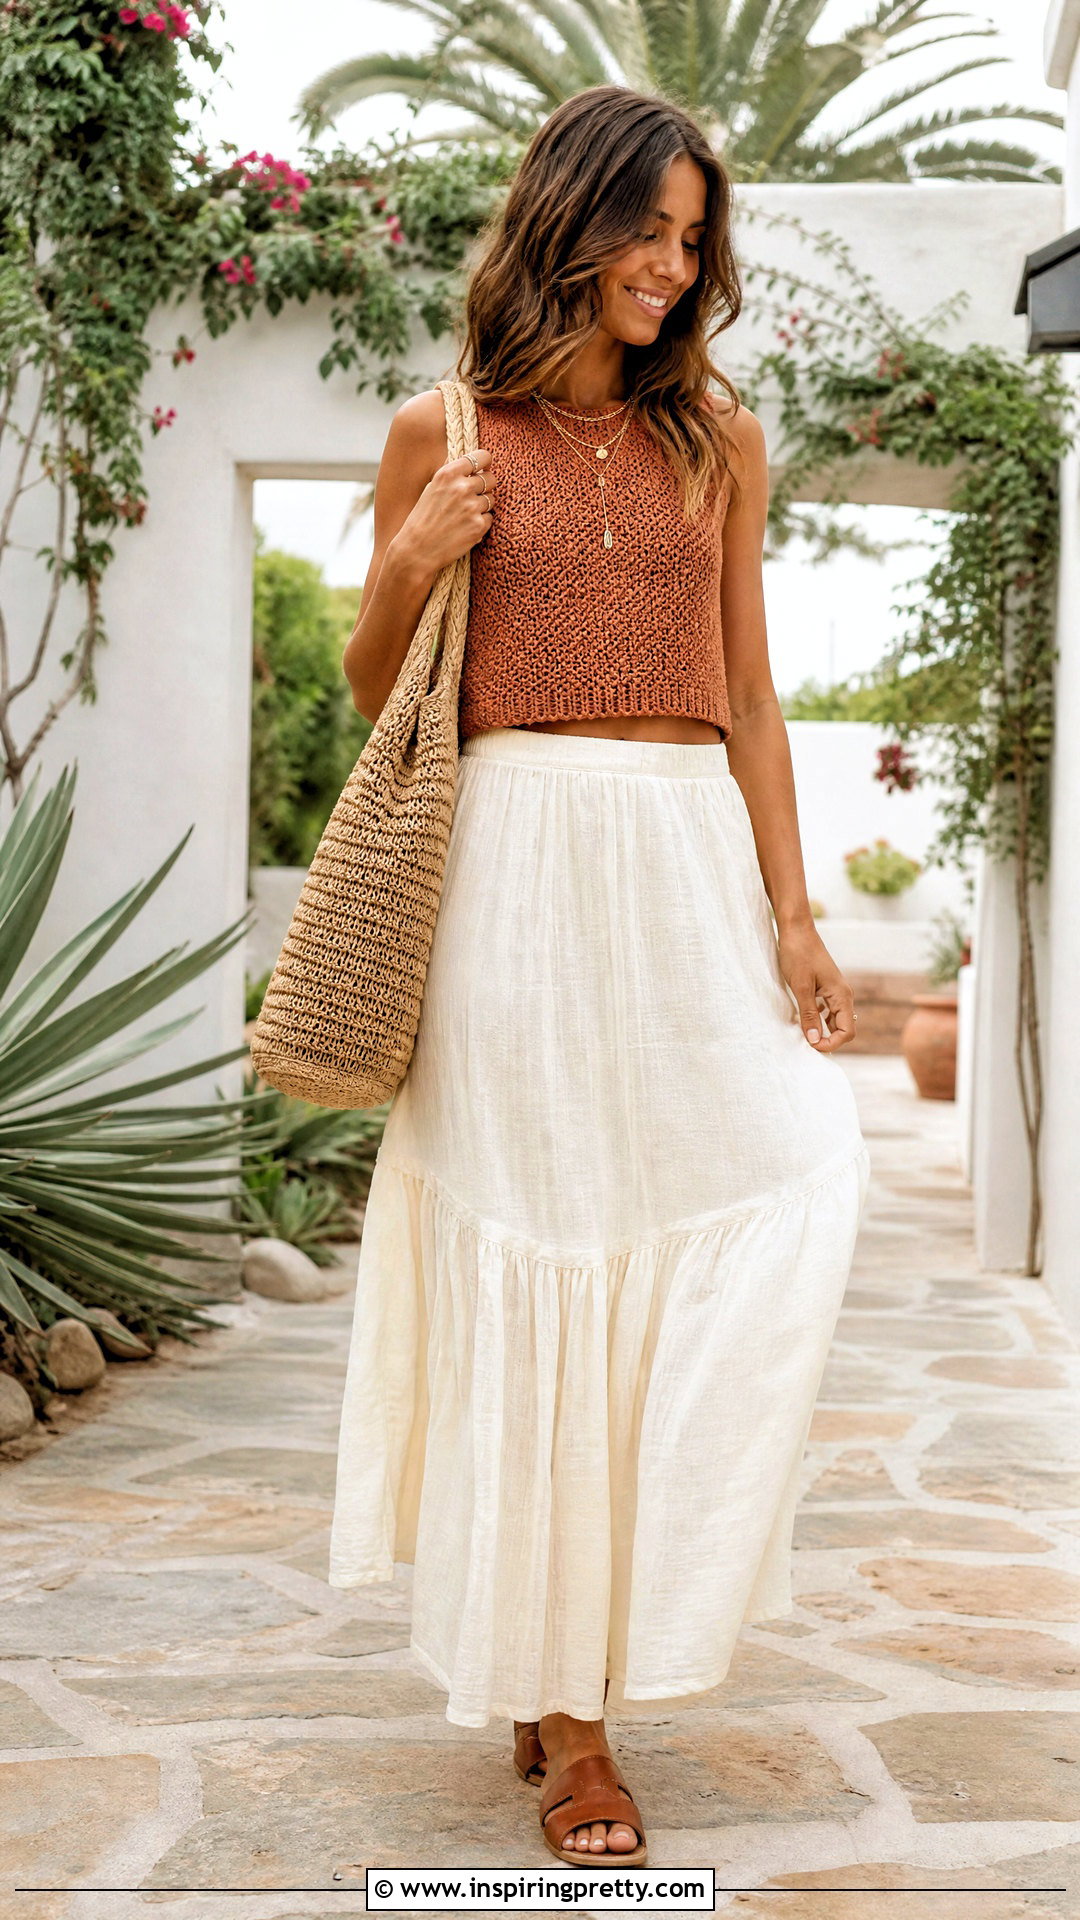
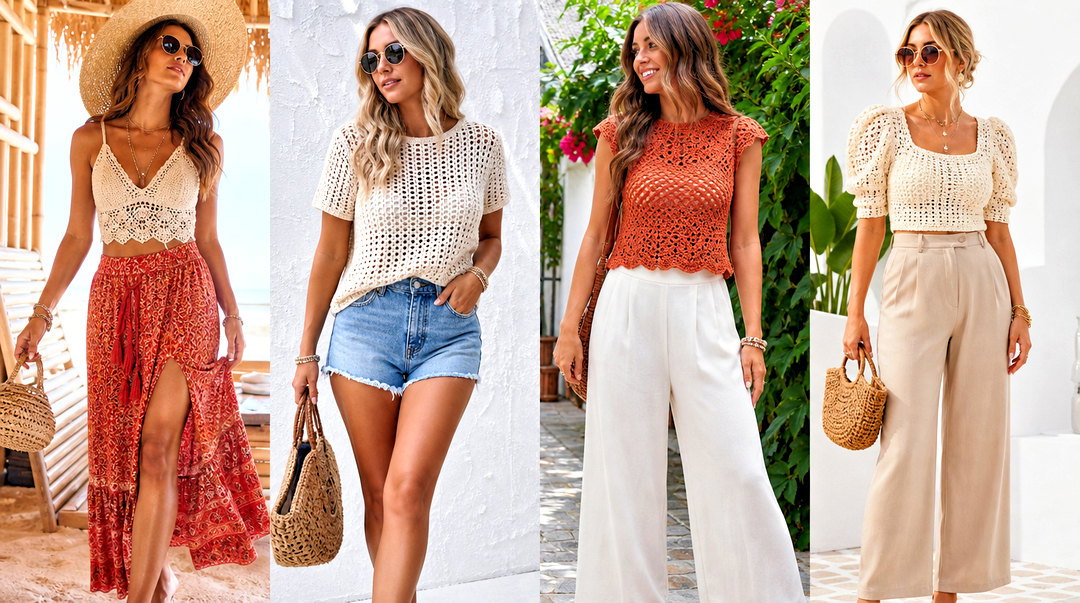
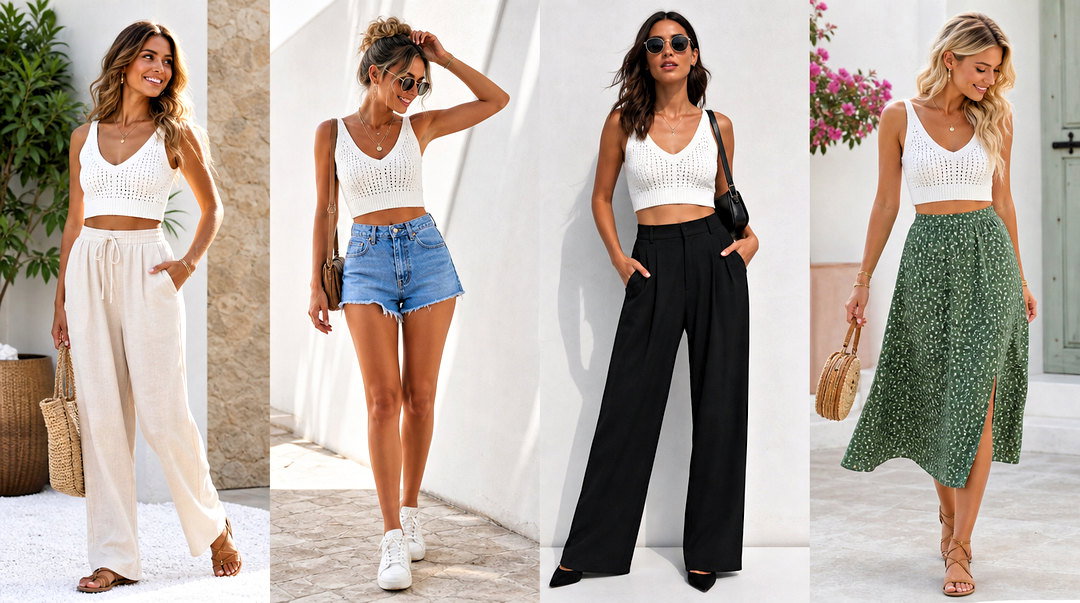
Seed stitch creates a textured fabric that lies flat without requiring complicated techniques. Cast on an odd number of stitches and alternate knit and purl stitches across the row. On the next row, knit the purl stitches and purl the knit stitches. Make two body panels using your bust measurement and desired ease. Shape the armholes with small bind-offs followed by gradual decreases. A scoop neckline works particularly well because it softens the structured texture. Create matching seed-stitch straps or switch to ribbing for extra stretch. Seam the sides with the mattress stitch, then wash and block the top according to the yarn label. Wear it with a flowing maxi skirt, leather slides, a roomy tote, and layered necklaces.
11. Striped Knit Crop Tank
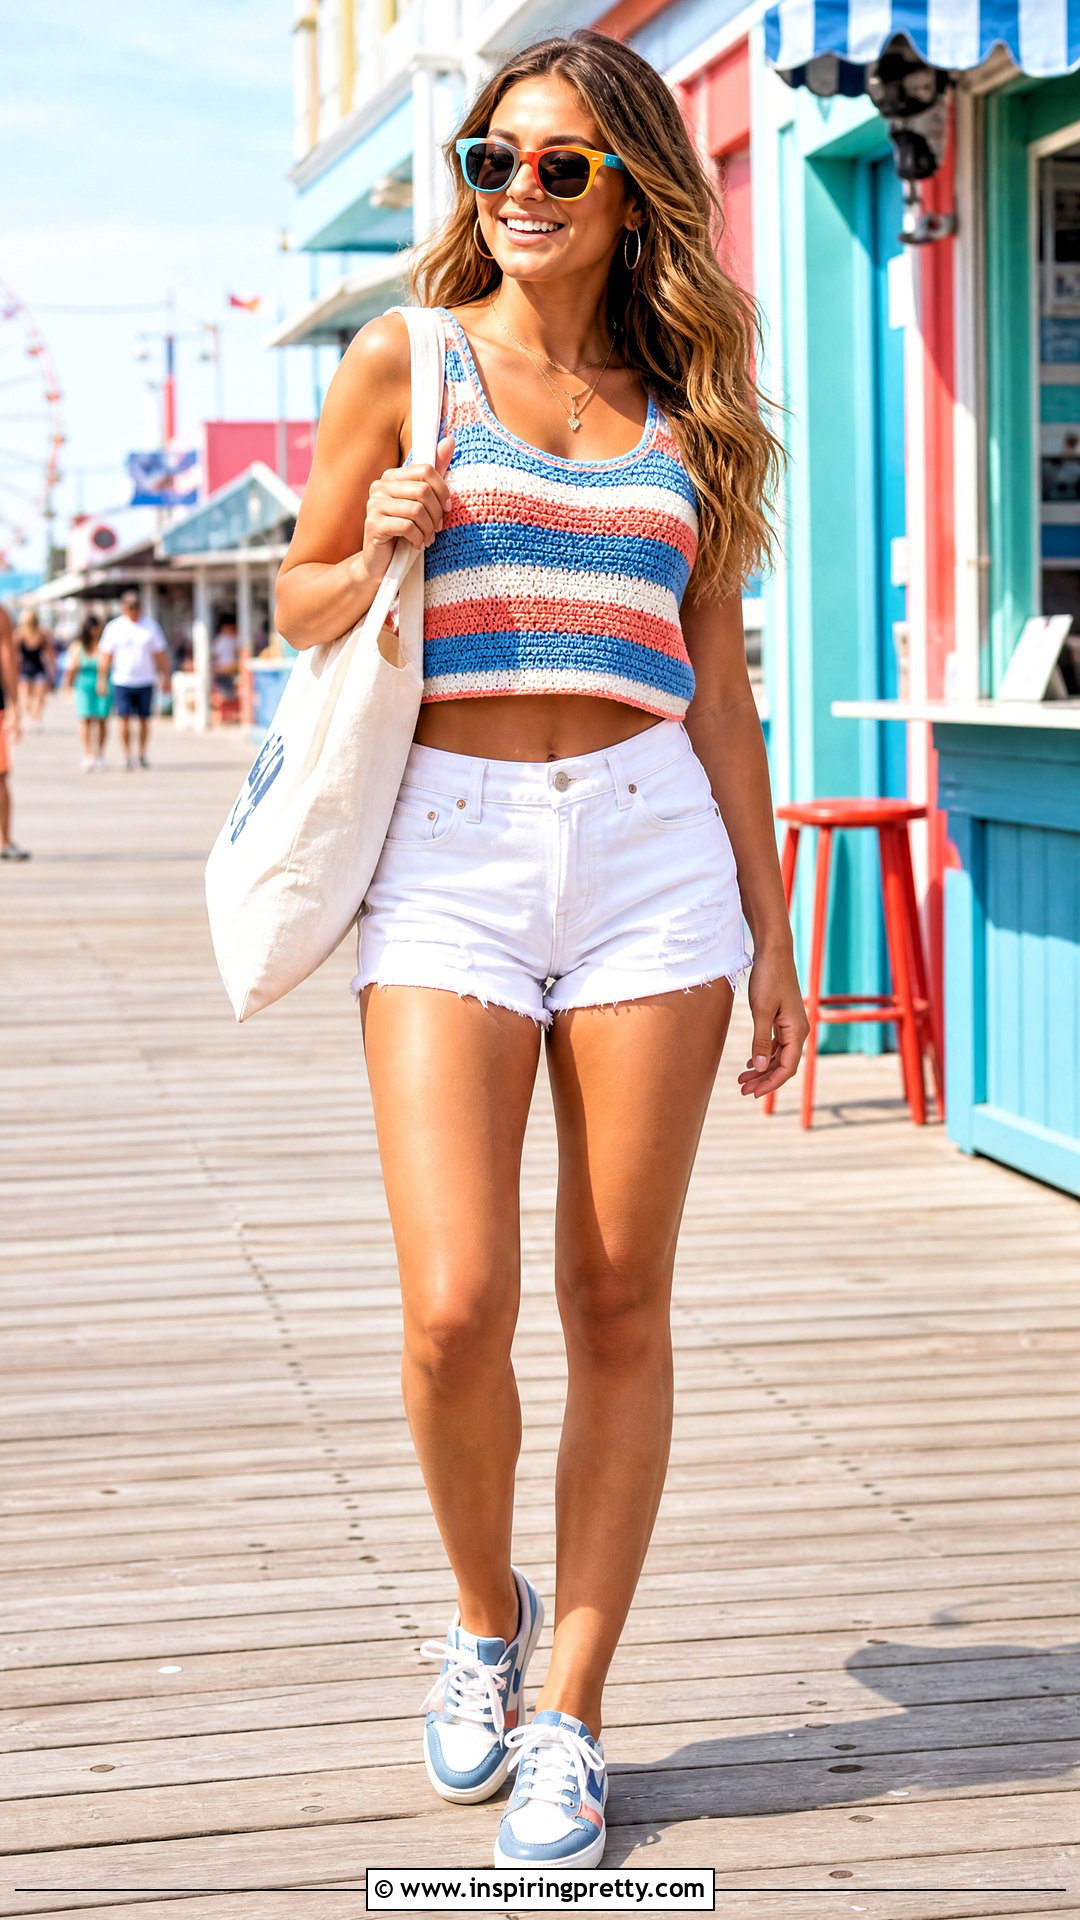
Stripes turn a basic tank pattern into a colorful project without requiring advanced stitches. Choose two or three yarns with the same weight and similar fiber content. Work the body in stockinette or ribbing, changing colors at the side or beginning of the round. Carry unused yarn upward only across short stripe sequences; otherwise, cut it and weave in the ends securely. Keep each stripe width consistent, or arrange wider bands near the hem and narrower bands toward the neckline. Shape the tank using simple armhole and neckline decreases. Jogless color changes can create a cleaner finish when knitting in the round. Style the completed tank with white denim shorts, retro sneakers, a canvas tote, and color-coordinated sunglasses.
12. Color Block Knit Crop Top
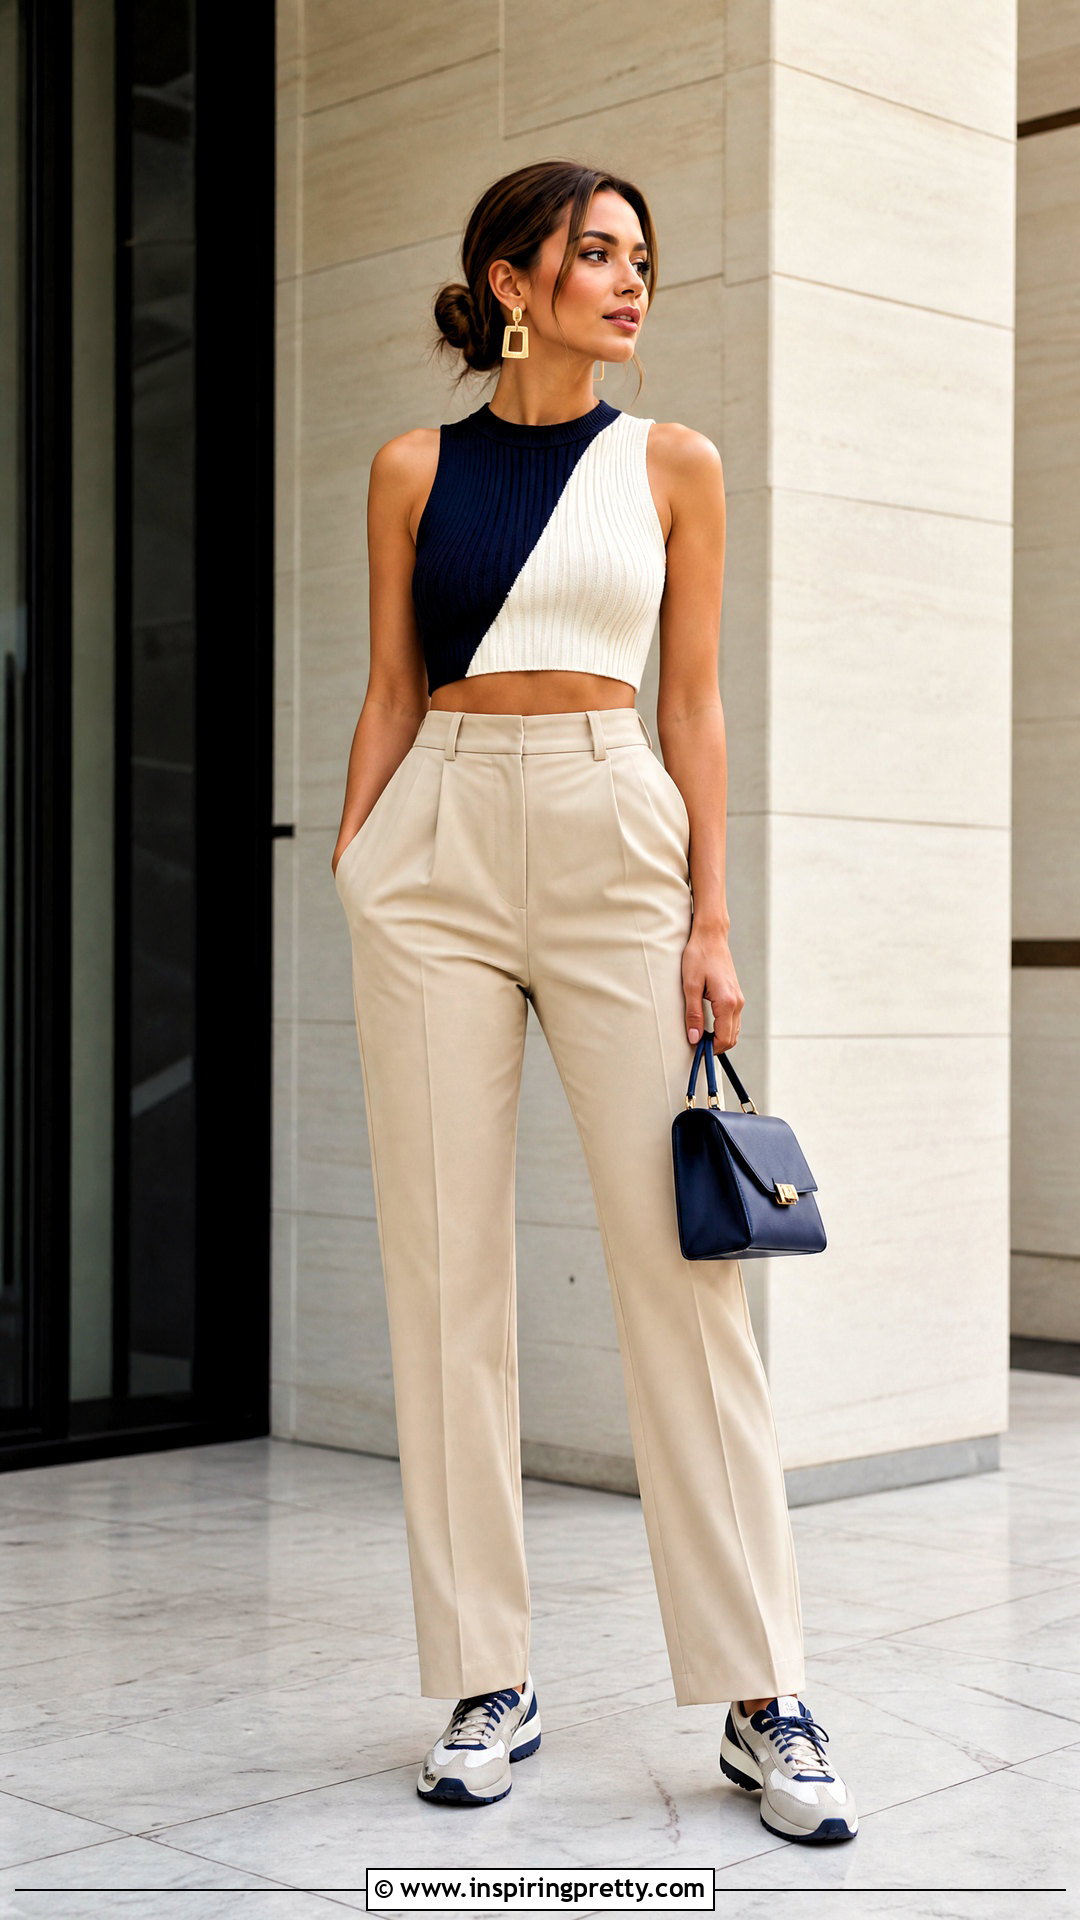
Color blocking is ideal for using partial skeins while keeping the design clean and modern. Divide the crop top into large sections, such as a contrasting waistband, body, and upper chest. You can also knit the front and back in different colors. Select yarns with matching gauge, washing instructions, and stretch so the finished fabric behaves consistently. Knit a simple stockinette body, twisting the strands together at each color boundary if working vertical blocks. Horizontal blocks only require changing yarn at the beginning of a row or round. Keep the neckline and armhole borders in one repeated color to unify the design. Pair the top with neutral tailored pants, coordinating sneakers, a compact handbag, and simple geometric earrings.
13. Picot Edge Knit Crop Top
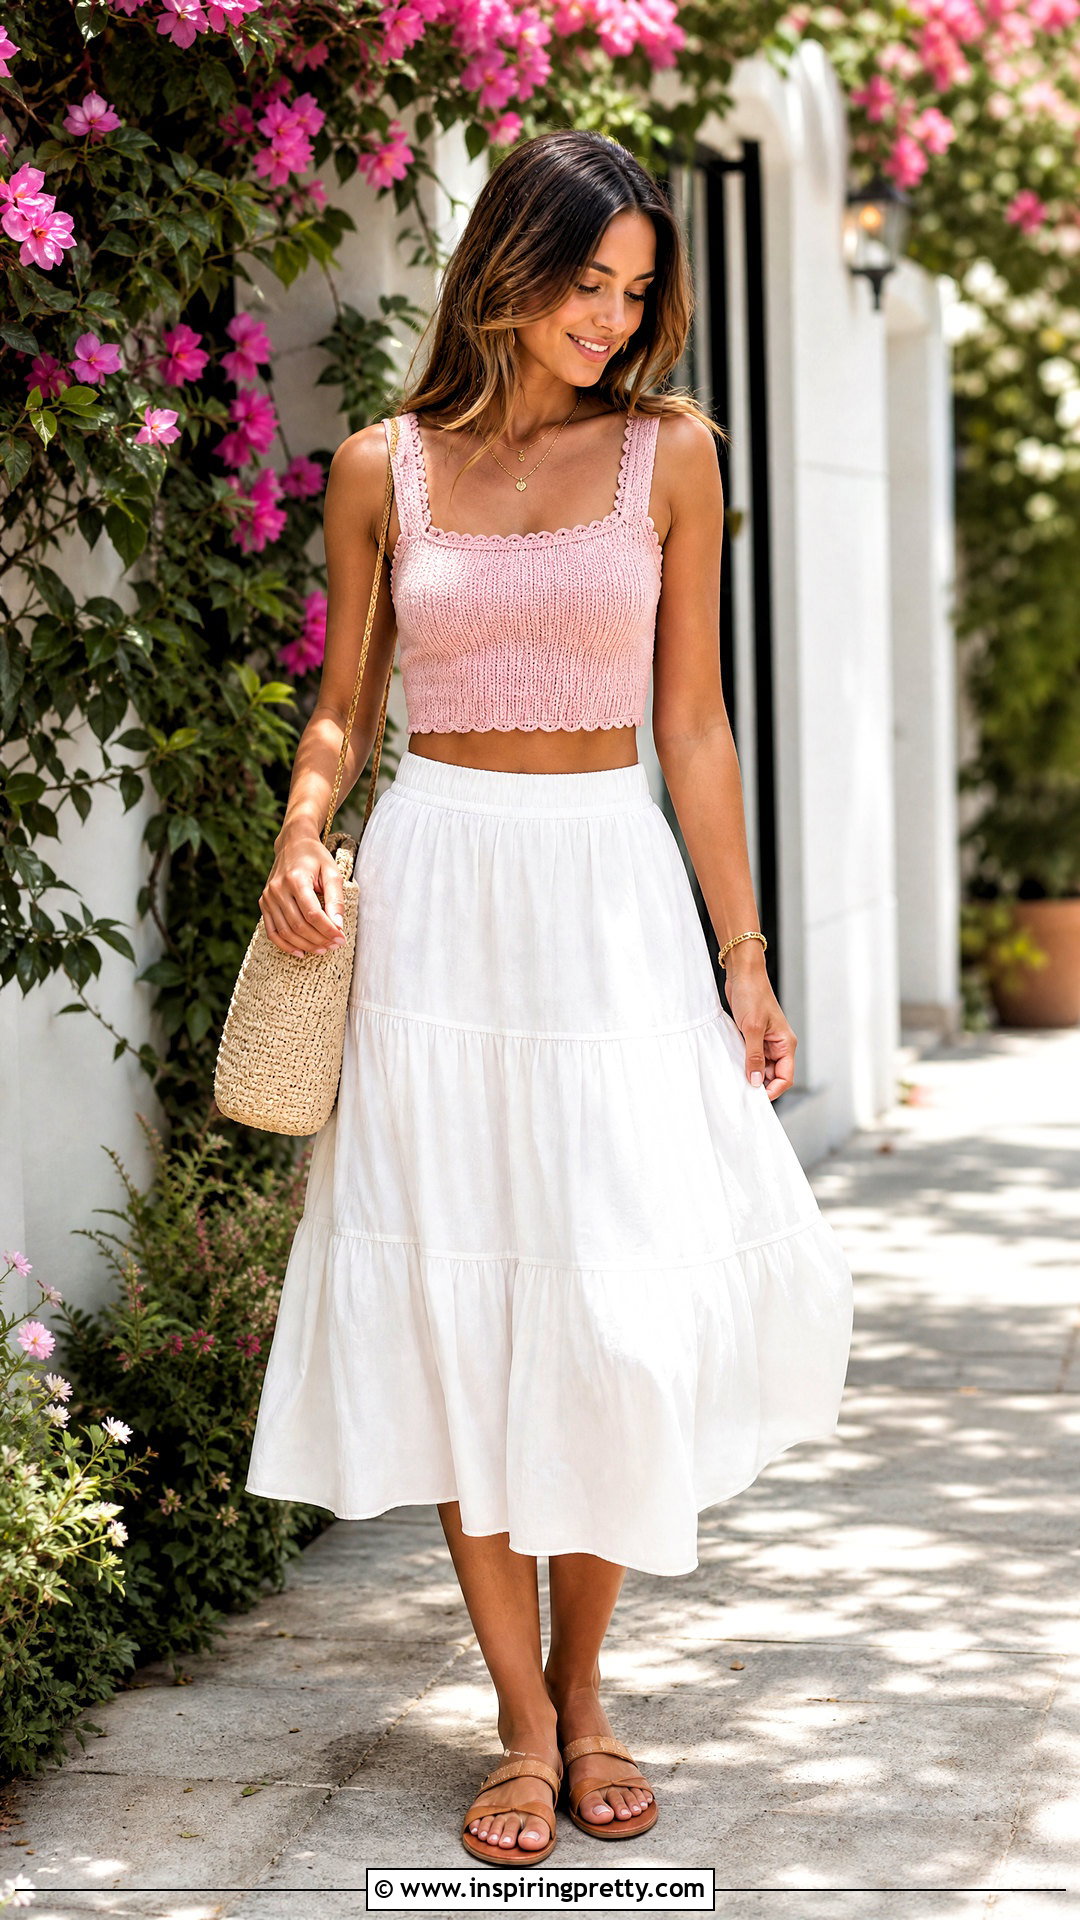
A picot hem adds a decorative finish without overwhelming a simple crop top. Begin with several stockinette rows, then work a turning row by repeating a yarn over and knit-two-together sequence. Continue knitting the same number of rows before folding the edge inward. Join the live stitches to the cast-on edge or sew the facing down after completing the top. Use this detail along the hem, neckline, or both. Keep the main body in plain stockinette so the small points remain the focus. Thin cotton or bamboo-blend yarn creates a light fabric, although a blend with some resilience will hold its shape better. Style the top with a tiered midi skirt, flat sandals, a straw bag, and delicate jewelry.
14. Wrap Front Knit Crop Top
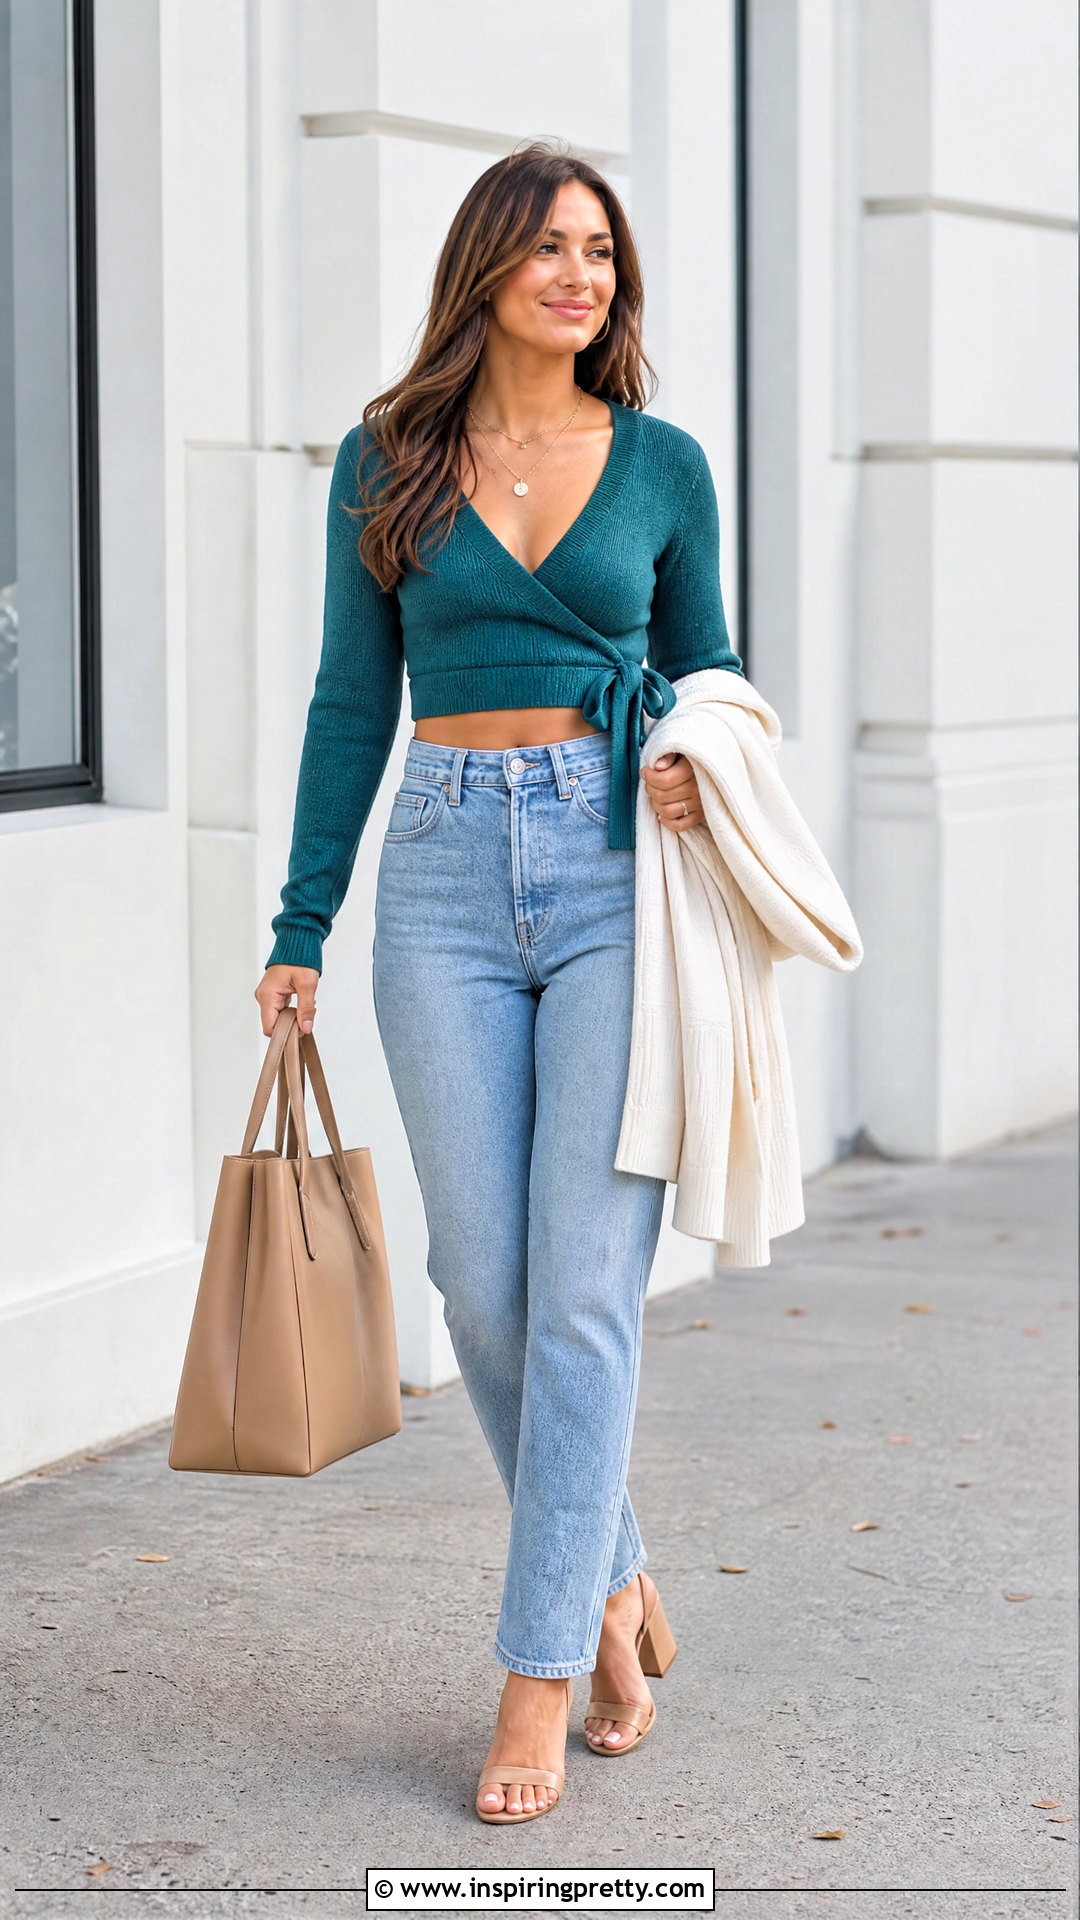
A wrap-front top provides adjustable coverage and an attractive diagonal neckline. Knit the back as a simple rectangle with light armhole shaping. For the front, create two overlapping panels that begin near the side seams and narrow gradually toward the opposite shoulders. Work regular decreases along each diagonal edge while keeping the outer armhole edges properly shaped. Add long knitted ties to the lower corners so the panels can wrap around the waist and fasten securely. Garter-stitch borders help the front edges lie flat without curling. Try the top on over a base layer while determining tie placement and overlap. Wear the finished piece with high-rise straight jeans, block-heel sandals, a structured tote, and a lightweight cardigan.
15. Open Back Knit Crop Top
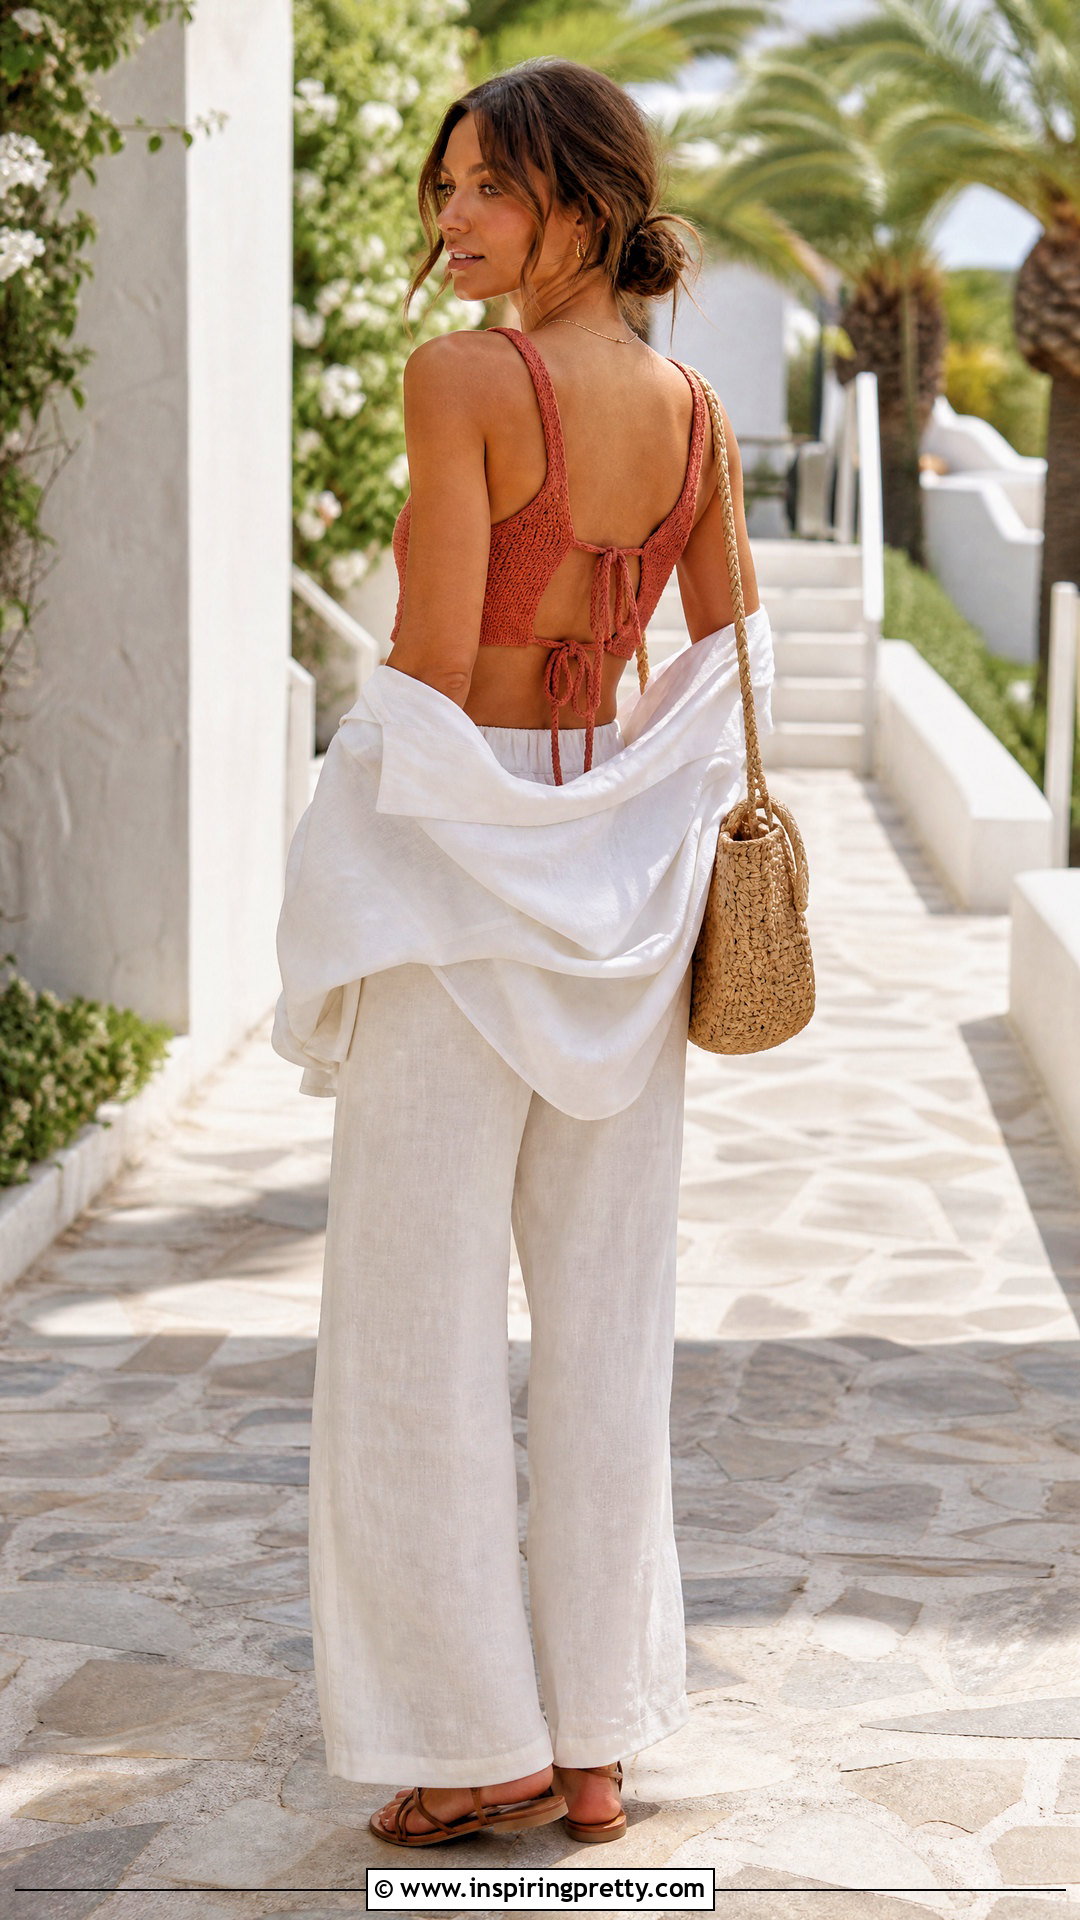
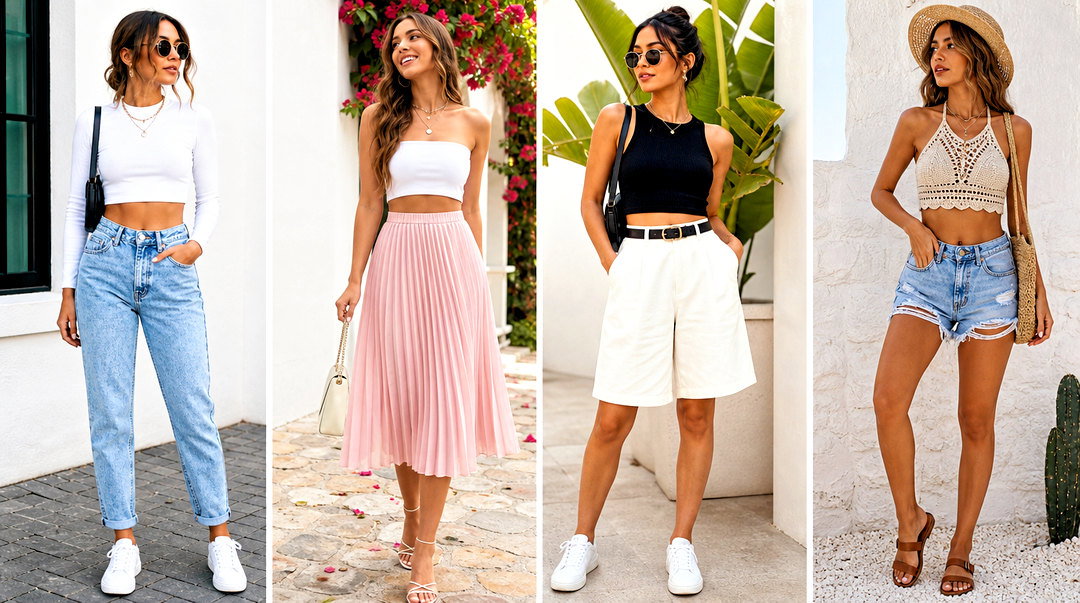
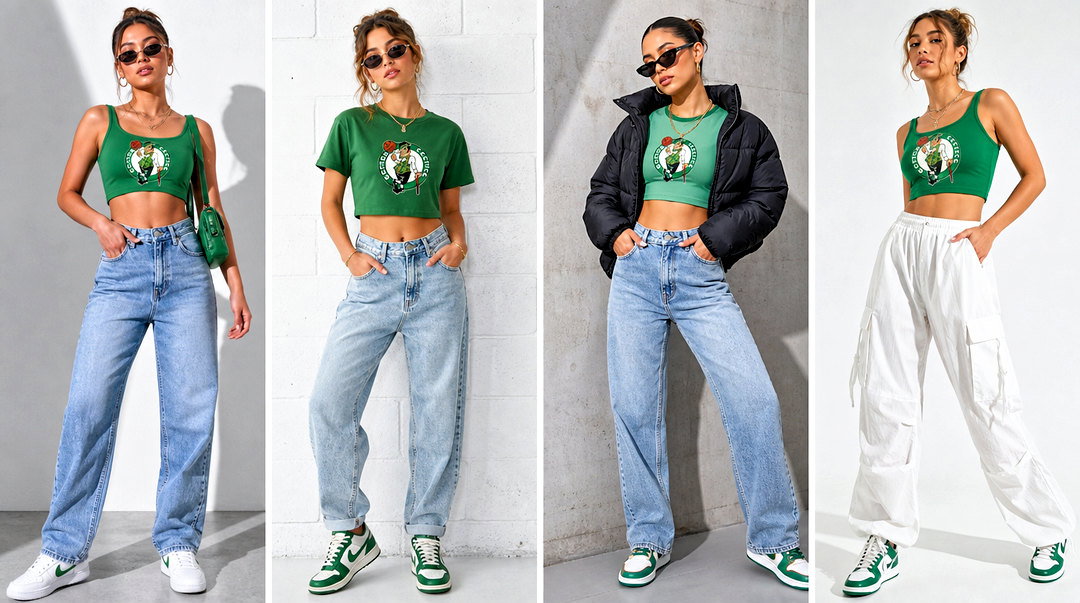
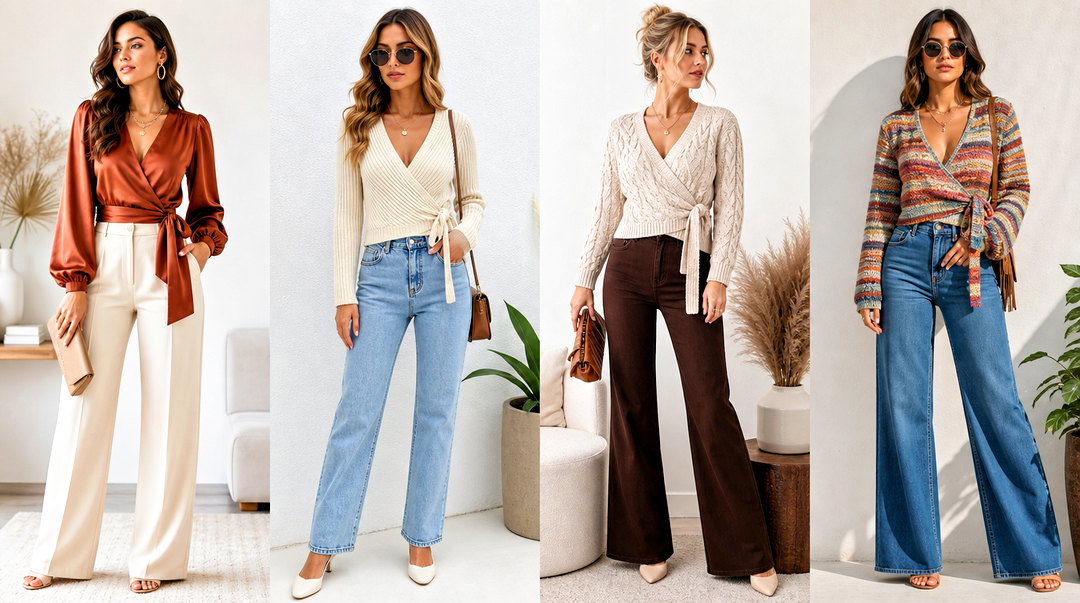
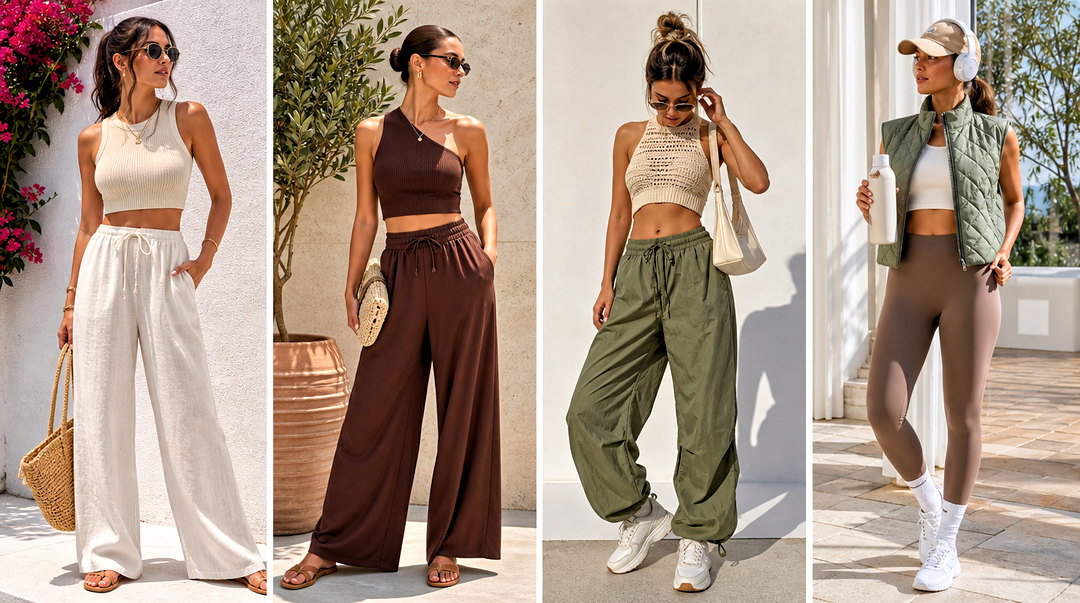
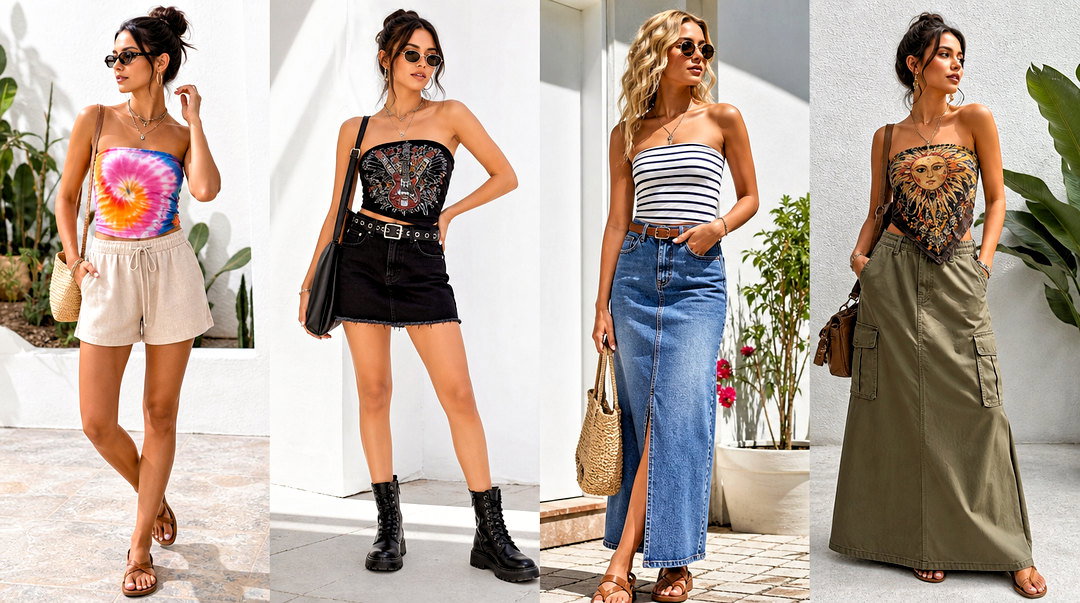
An open-back crop top can remain comfortable and secure when the front has enough structure. Knit the front panel with ribbing or dense stockinette, then shape a scoop, square, or halter neckline. Instead of making a full back, add a narrow lower band and adjustable knitted cords. I-cords work especially well because they are smooth, strong, and easy to tie. Attach one pair near the upper back and another at the waist. Reinforce each attachment point by sewing through several stitches rather than pulling on a single loop. Test the tie lengths before trimming the yarn. For a balanced outfit, combine the top with loose linen pants, flat strappy sandals, a woven shoulder bag, and an airy button-down shirt.
16. One Shoulder Knit Crop Top
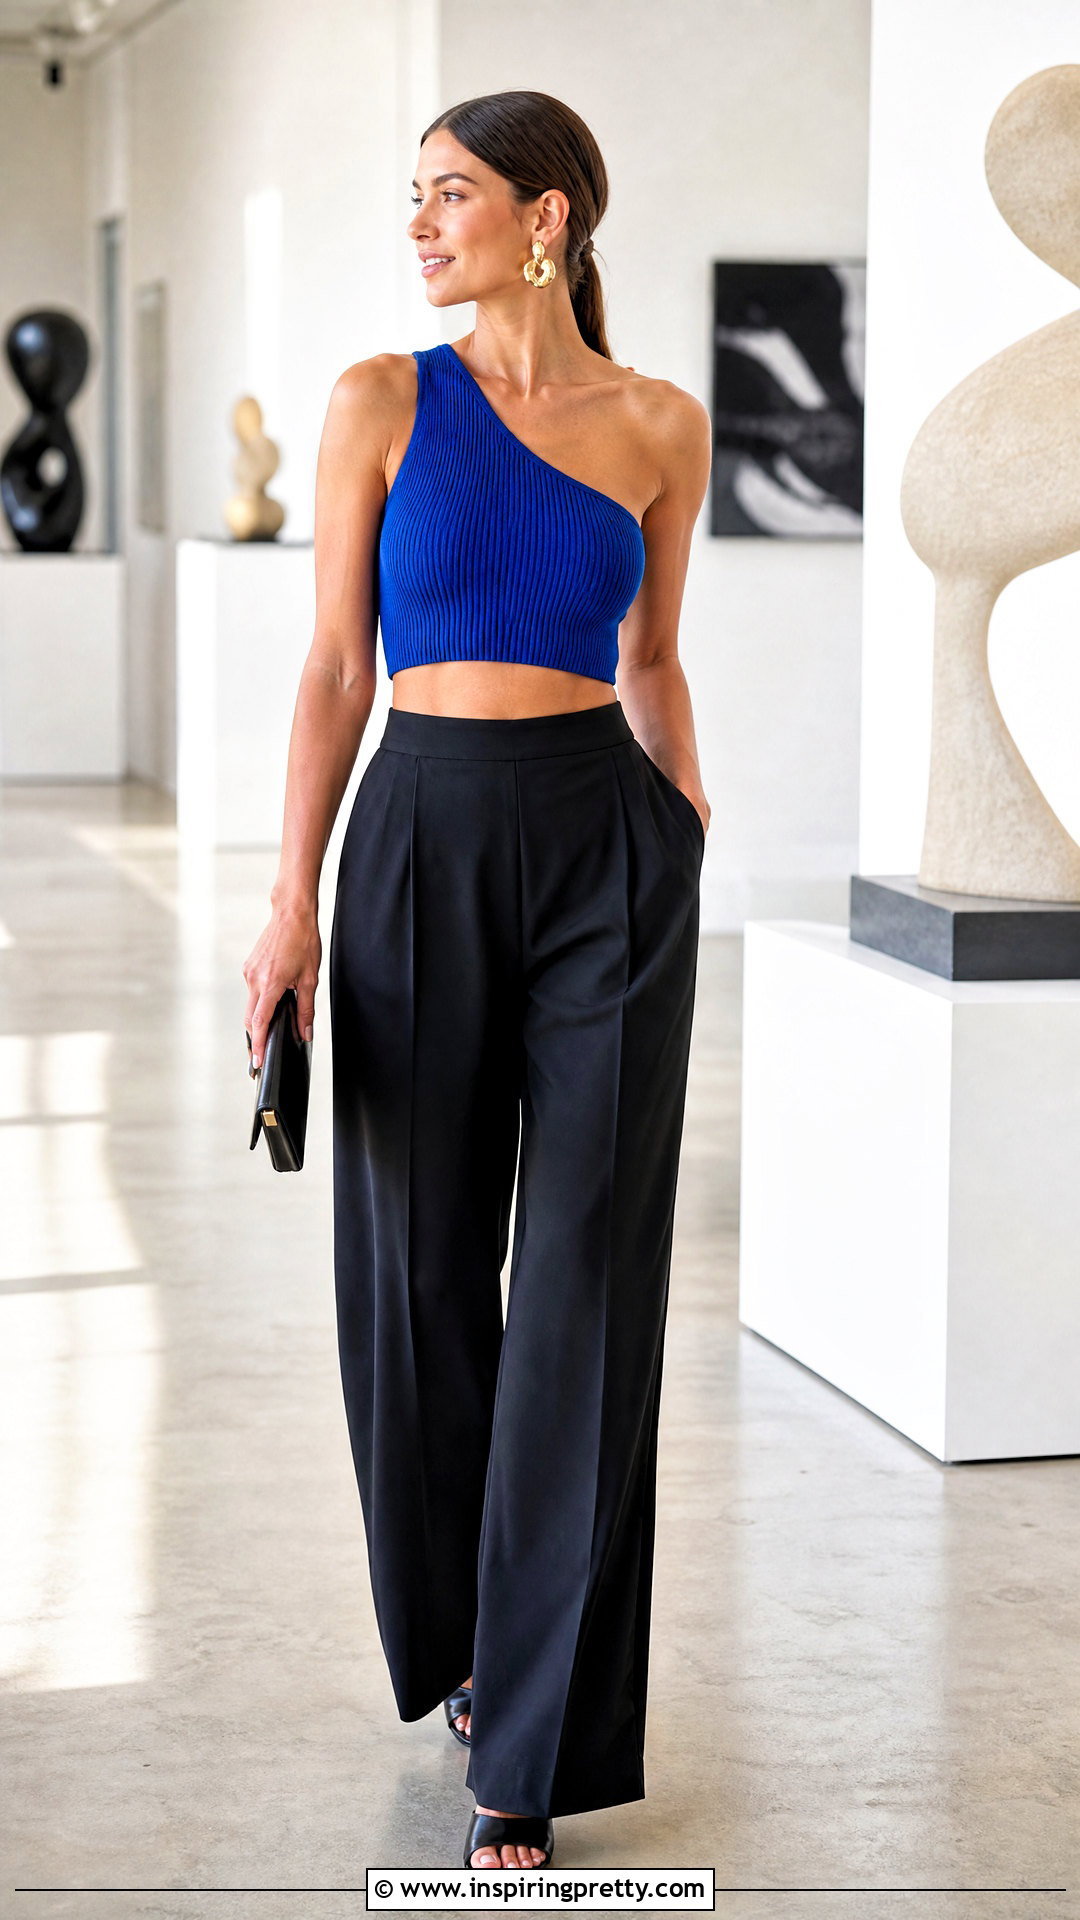
A one-shoulder crop top uses asymmetrical shaping to create a distinctive silhouette. Start with a fitted body worked in the round, preferably in ribbing for flexibility. At the underarm, separate the front and back but keep knitting upward across one side. Decrease gradually along the open neckline edge while maintaining the armhole edge on the opposite side. Continue until the remaining stitches form a comfortable shoulder strap. Join the front and back strap sections with a three-needle bind-off or mattress stitch. Pick up stitches around the diagonal neckline and work a narrow border for stability. Make sure the underarm is not too high or restrictive. Style the top with wide-leg trousers, sleek mules, a clutch, and sculptural earrings.
17. Mock Neck Knit Crop Top
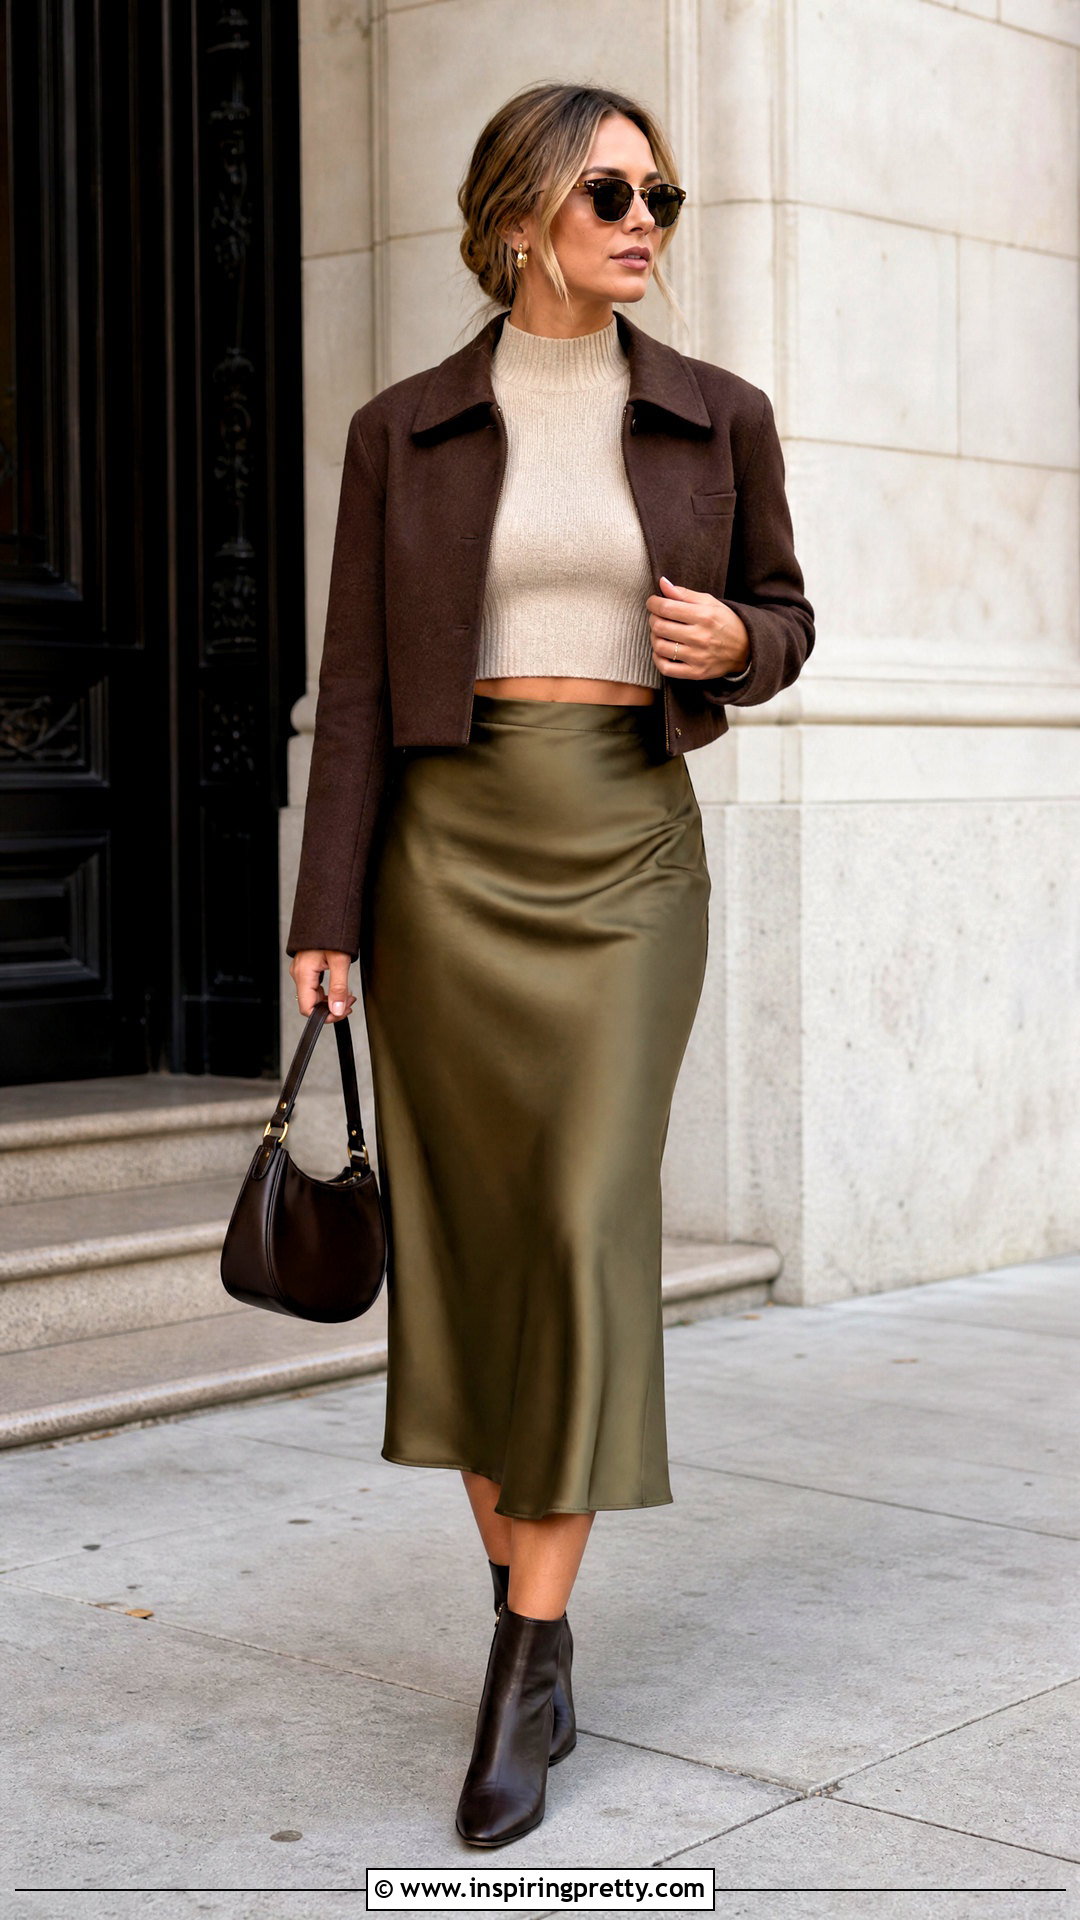
A mock-neck crop top works well as a transitional piece for mild fall or spring weather. Begin at the lower hem with ribbing, then knit the body in stockinette or a subtle textured pattern. Shape the armholes and shoulders as you would for a sleeveless tank, but keep the neckline opening relatively small. After joining the shoulders, pick up stitches evenly around the neckline. Work several inches of knit-one, purl-one ribbing in the round, then use a stretchy bind-off. The collar should sit close without feeling tight, so check the opening before finishing. Wool-cotton or soft merino blends provide warmth without creating excessive bulk. Wear it with a satin midi skirt, ankle boots, a cropped jacket, and a structured handbag.
18. Long Sleeve Knit Crop Top
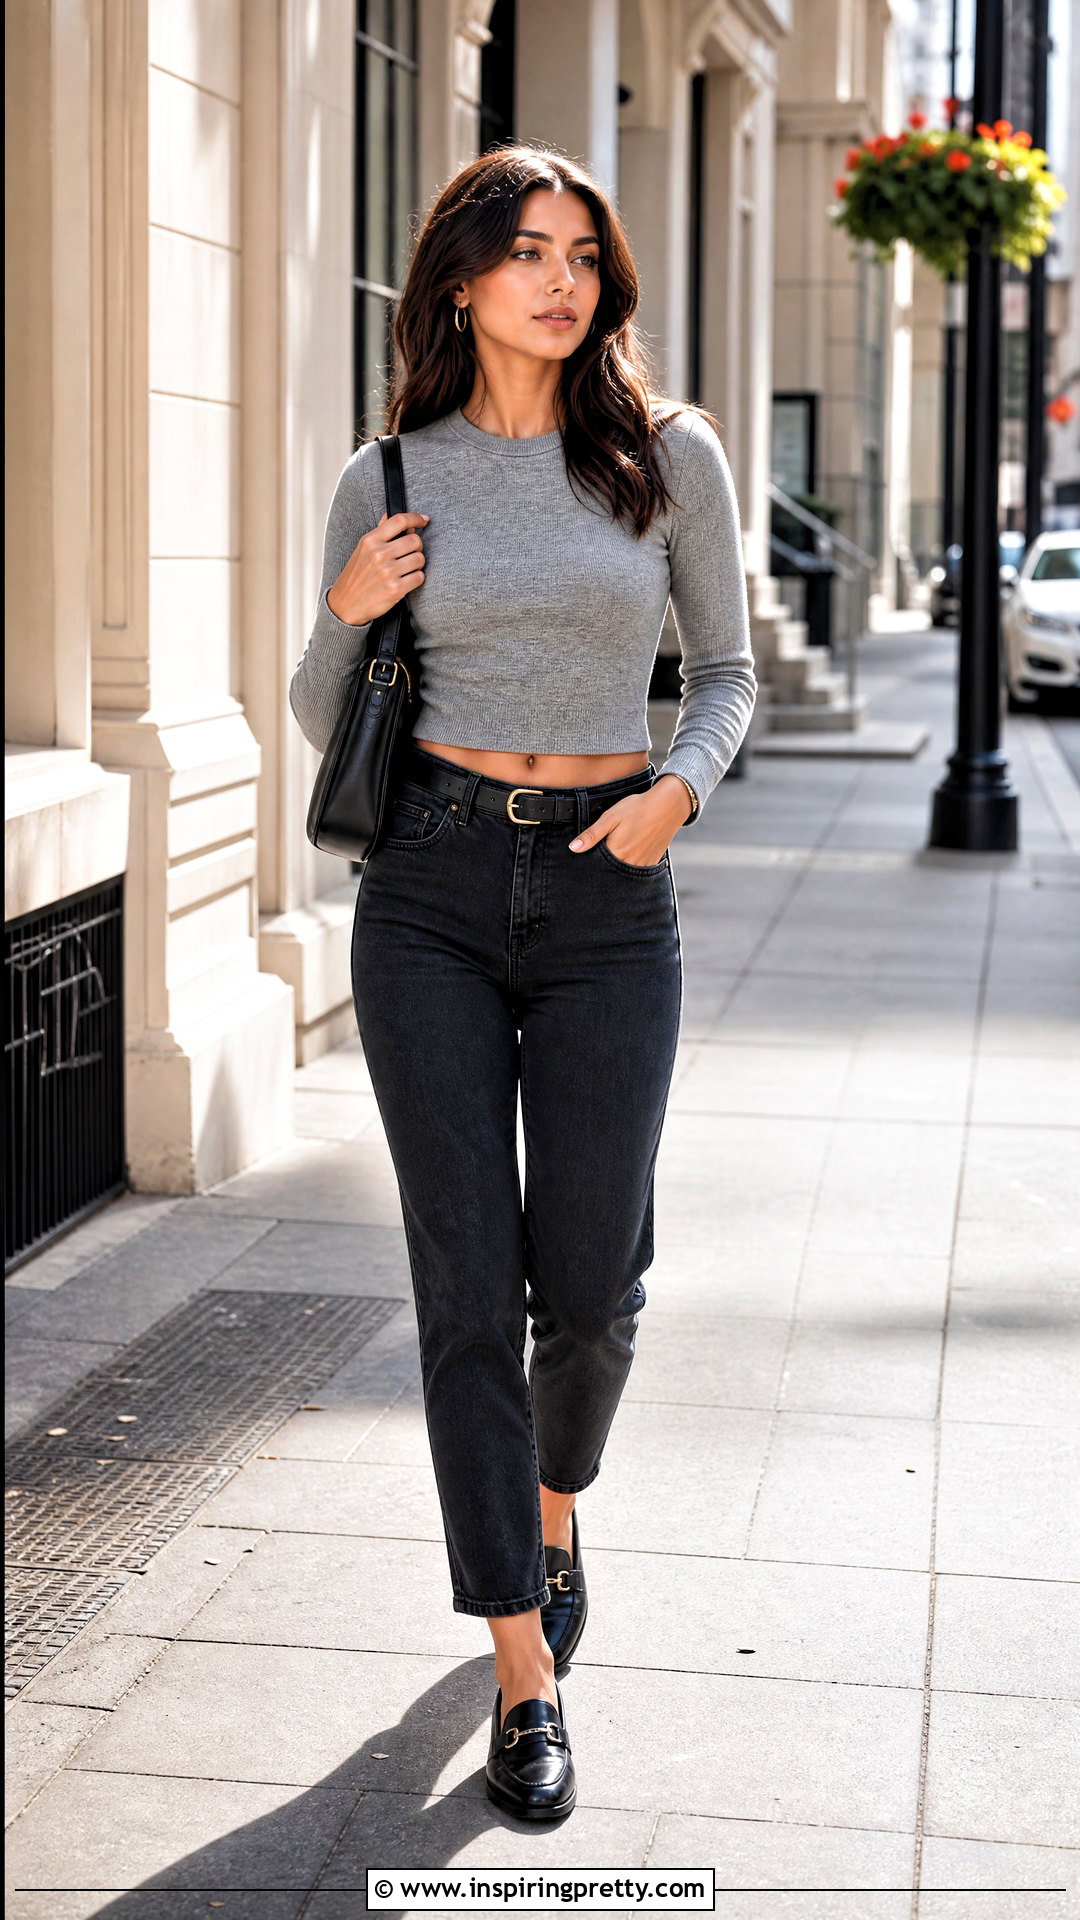
A long-sleeve crop top requires more time, but the short body keeps the project manageable. Knit the front and back separately or work the torso seamlessly in the round. Choose a fitted ribbed body, a relaxed stockinette shape, or a simple raglan construction. For set-in sleeves, pick up stitches around each armhole and knit downward, decreasing gradually toward the wrist. Finish with snug ribbed cuffs to balance the cropped hem. A high neckline offers more coverage, while a wide scoop creates a lighter appearance. Check sleeve length after washing your swatch because some yarns grow during blocking. Complete the outfit with high-waisted jeans, loafers, a leather belt, and a medium-size shoulder bag for cooler casual days.
19. Chunky Knit Crop Top
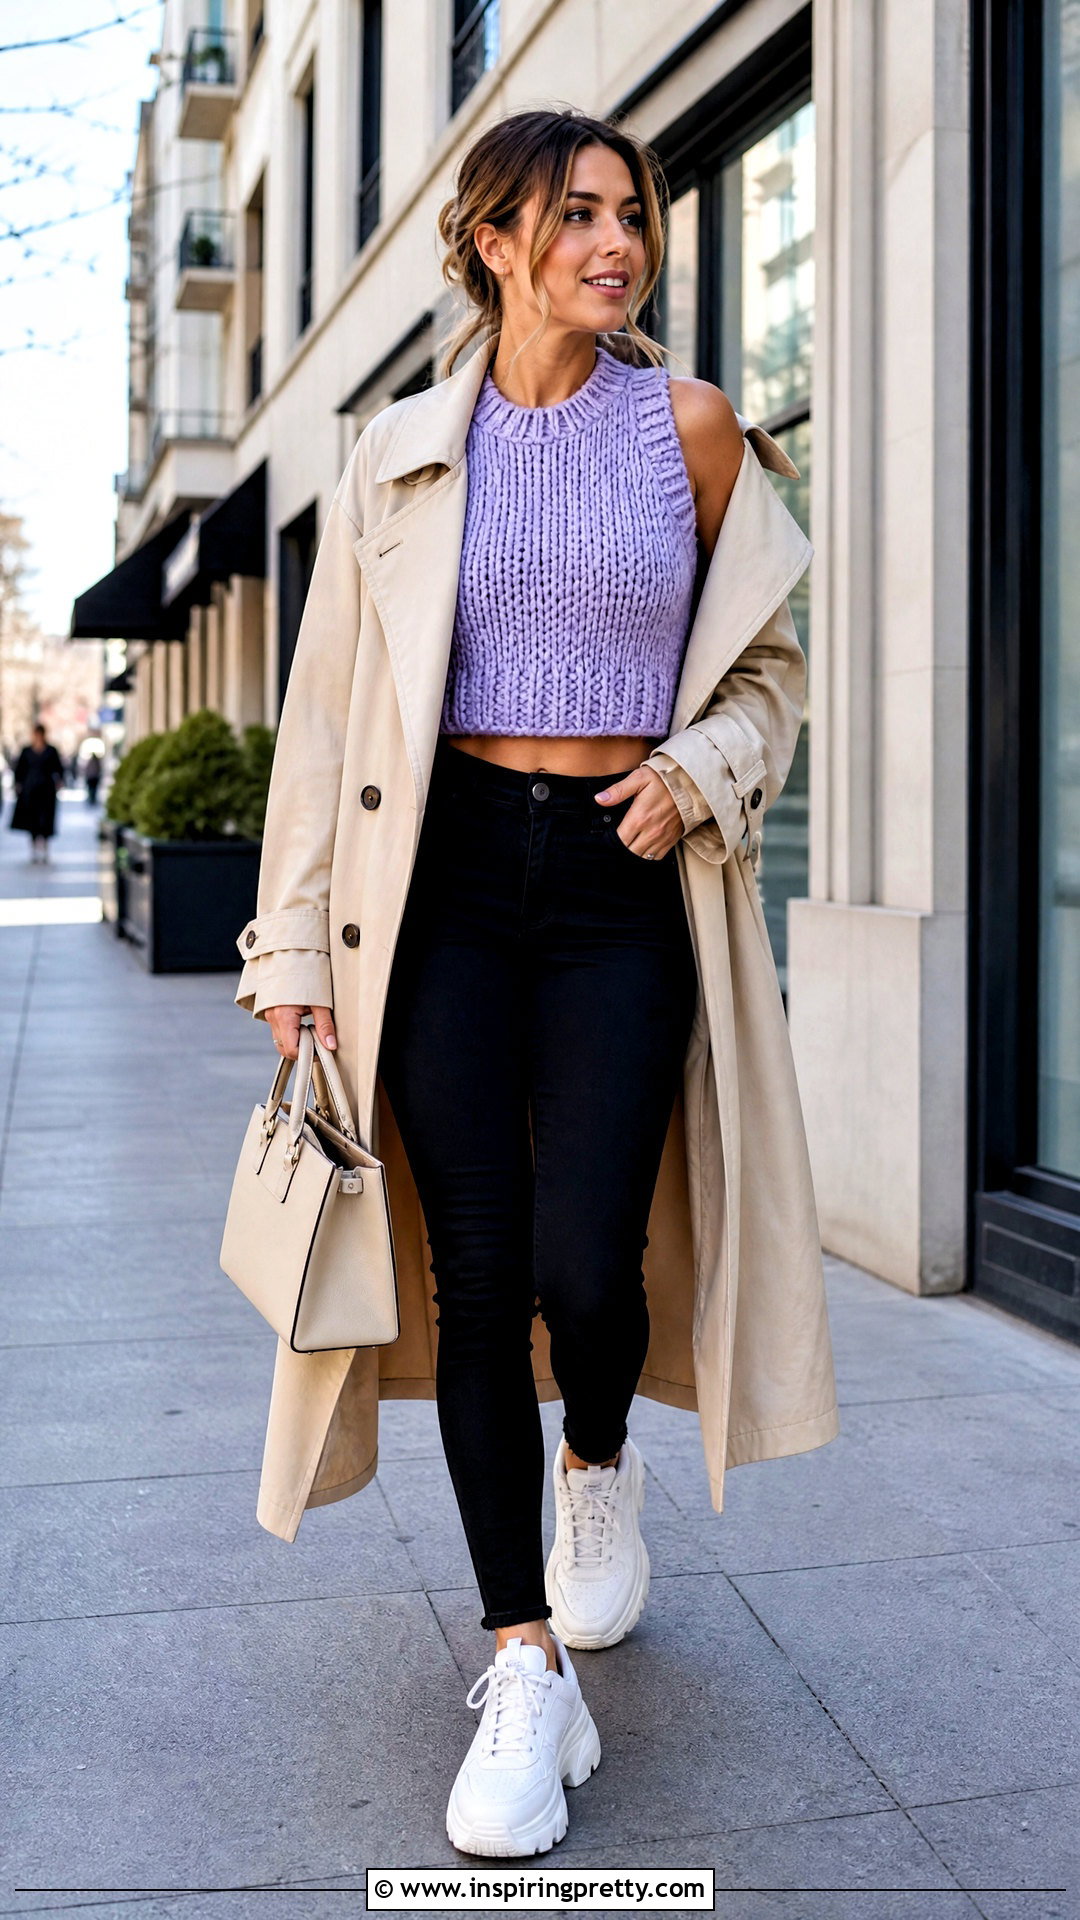
Thick yarn and large needles make a chunky crop top one of the fastest options in this collection. Choose a smooth bulky yarn that feels comfortable against the skin and avoid knitting at an extremely loose gauge. Create two simple rectangles, then shape shallow armholes and a wide neckline. Garter stitch provides structure, while stockinette gives a smoother appearance. Since bulky fabric adds volume, keep the silhouette slightly relaxed rather than overly tight. Wide shoulder straps will sit more comfortably than narrow ones. Seam carefully to prevent thick, rigid edges, and steam or wet block only as recommended for the chosen fiber. Pair the finished top with slim high-rise pants, chunky sneakers, a mini tote, and a lightweight trench coat.
20. Scrap Yarn Patchwork Knit Crop Top
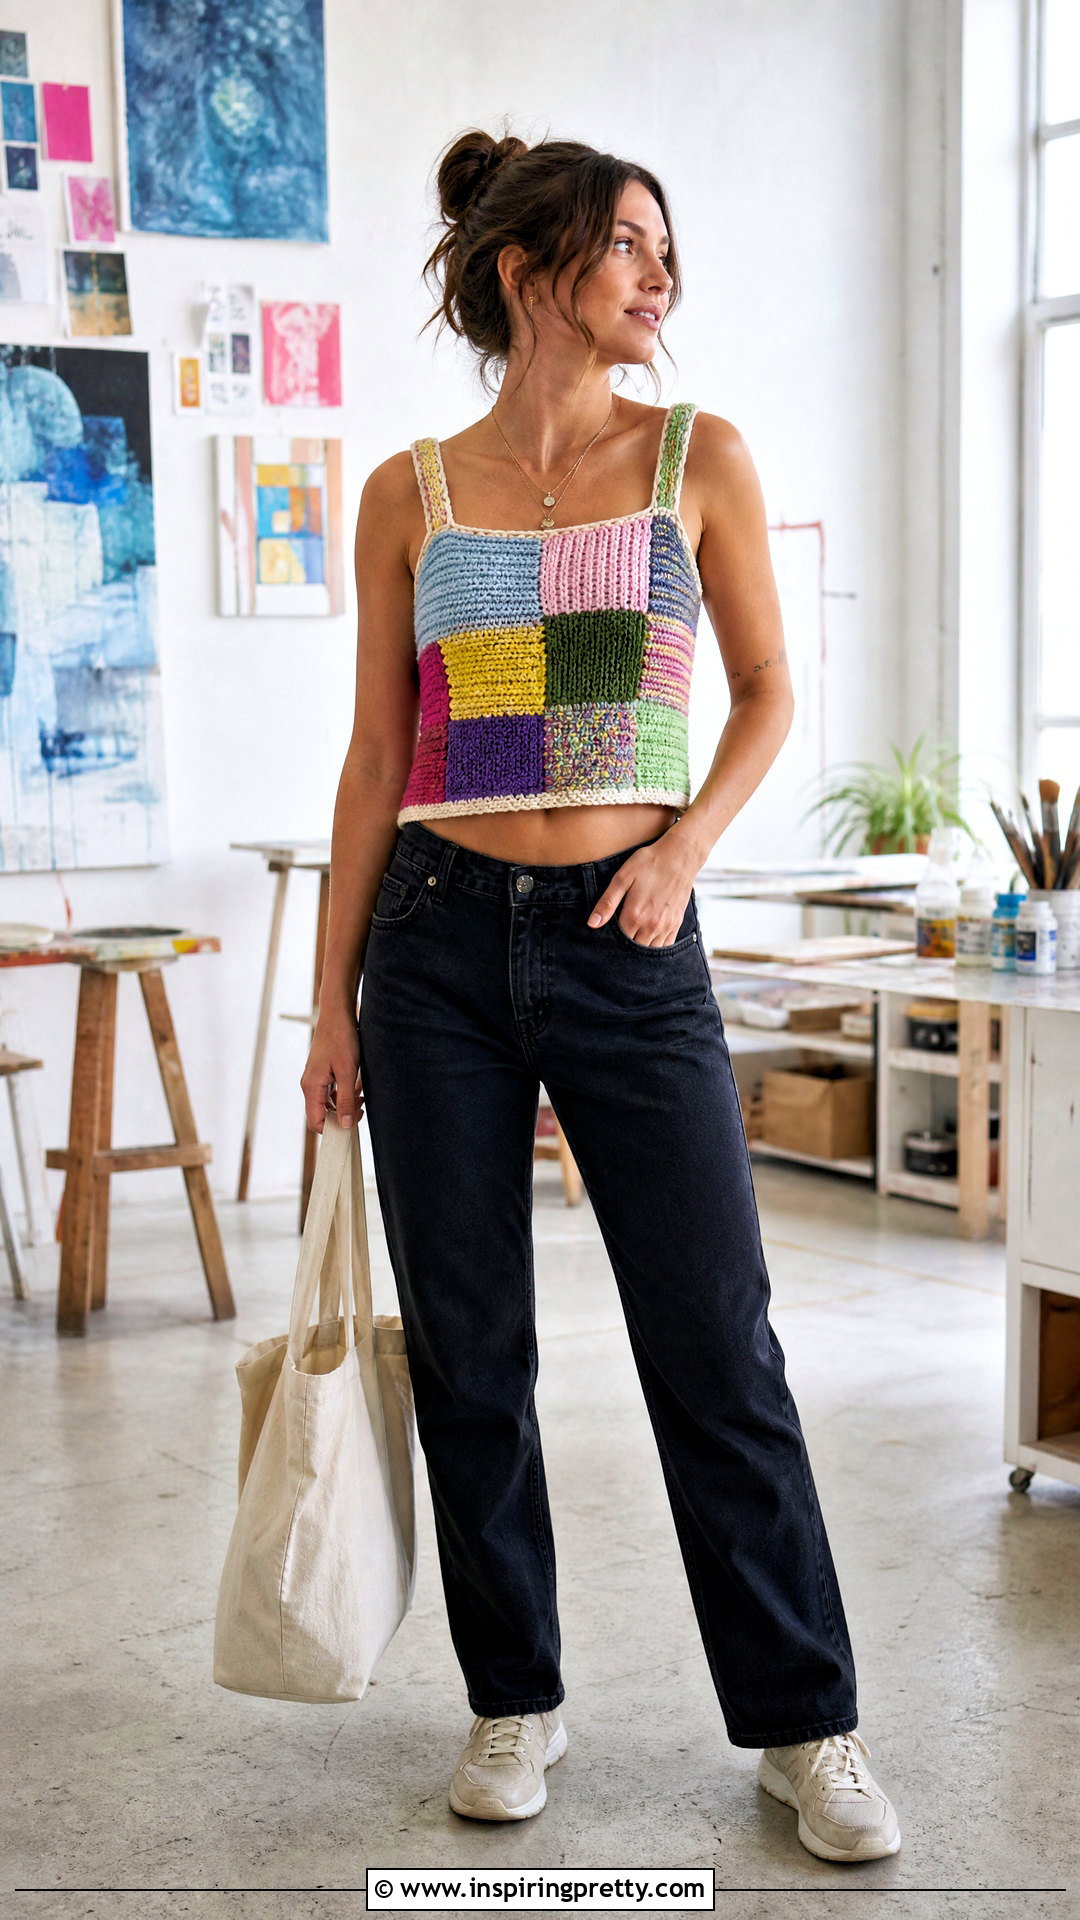
A patchwork crop top transforms leftover yarn into a colorful, personalized garment. Sort scraps by weight and fiber type, then knit a gauge swatch using the yarn combination you plan to use. Make small squares or rectangles in garter stitch, seed stitch, ribbing, and stockinette. Block every piece to consistent measurements before arranging the layout. Join the pieces with mattress stitch for subtle seams or visible contrast stitching for a handmade effect. Build one front and one back panel, then add solid-color ribbing around the hem, armholes, and neckline. Keep heavier yarns near the lower body so the top hangs evenly. Wear it with solid-color jeans, neutral sneakers, a simple tote, and minimal accessories.
Conclusion:
These 20 Diy Knit Crop Top Tutorials cover simple rectangles, fitted ribbing, adjustable halters, lace, cables, colorwork, creative necklines, and scrap-yarn construction. Start with the design that matches your current skill level, then customize the length, ease, straps, and colors to suit your body and wardrobe. Always swatch with the exact yarn and needles you plan to use. Wash the swatch before measuring because the finished dimensions may change after blocking. Try the garment on during construction whenever possible, especially before joining straps or binding off necklines. Most importantly, record your stitch counts and adjustments. Those notes will make it much easier to knit another comfortable, personalized crop top later.
Related posts:


Leave a Reply