
Old tees can become fresh, wearable tops with little more than sharp fabric scissors, chalk, and a few thoughtful cuts. These 25 tshirts to tank tops diy ideas include beginner-friendly no-sew projects, polished sewn designs, workout tanks, cropped shapes, braided backs, and adjustable ties. Current upcycling tutorials frequently feature racerback cuts, knotted hems, fringe, and relaxed muscle tanks because each technique works well with stretchy jersey fabric. () Wash and dry every shirt first, work on a flat surface, and cut conservatively because the fabric edges may curl and open slightly after stretching. Keep your preferred coverage, support needs, and personal style in mind. Now choose a forgotten tee and explore these 25 tshirts to tank tops diy ideas.

1. Basic T-Shirt Tank Top
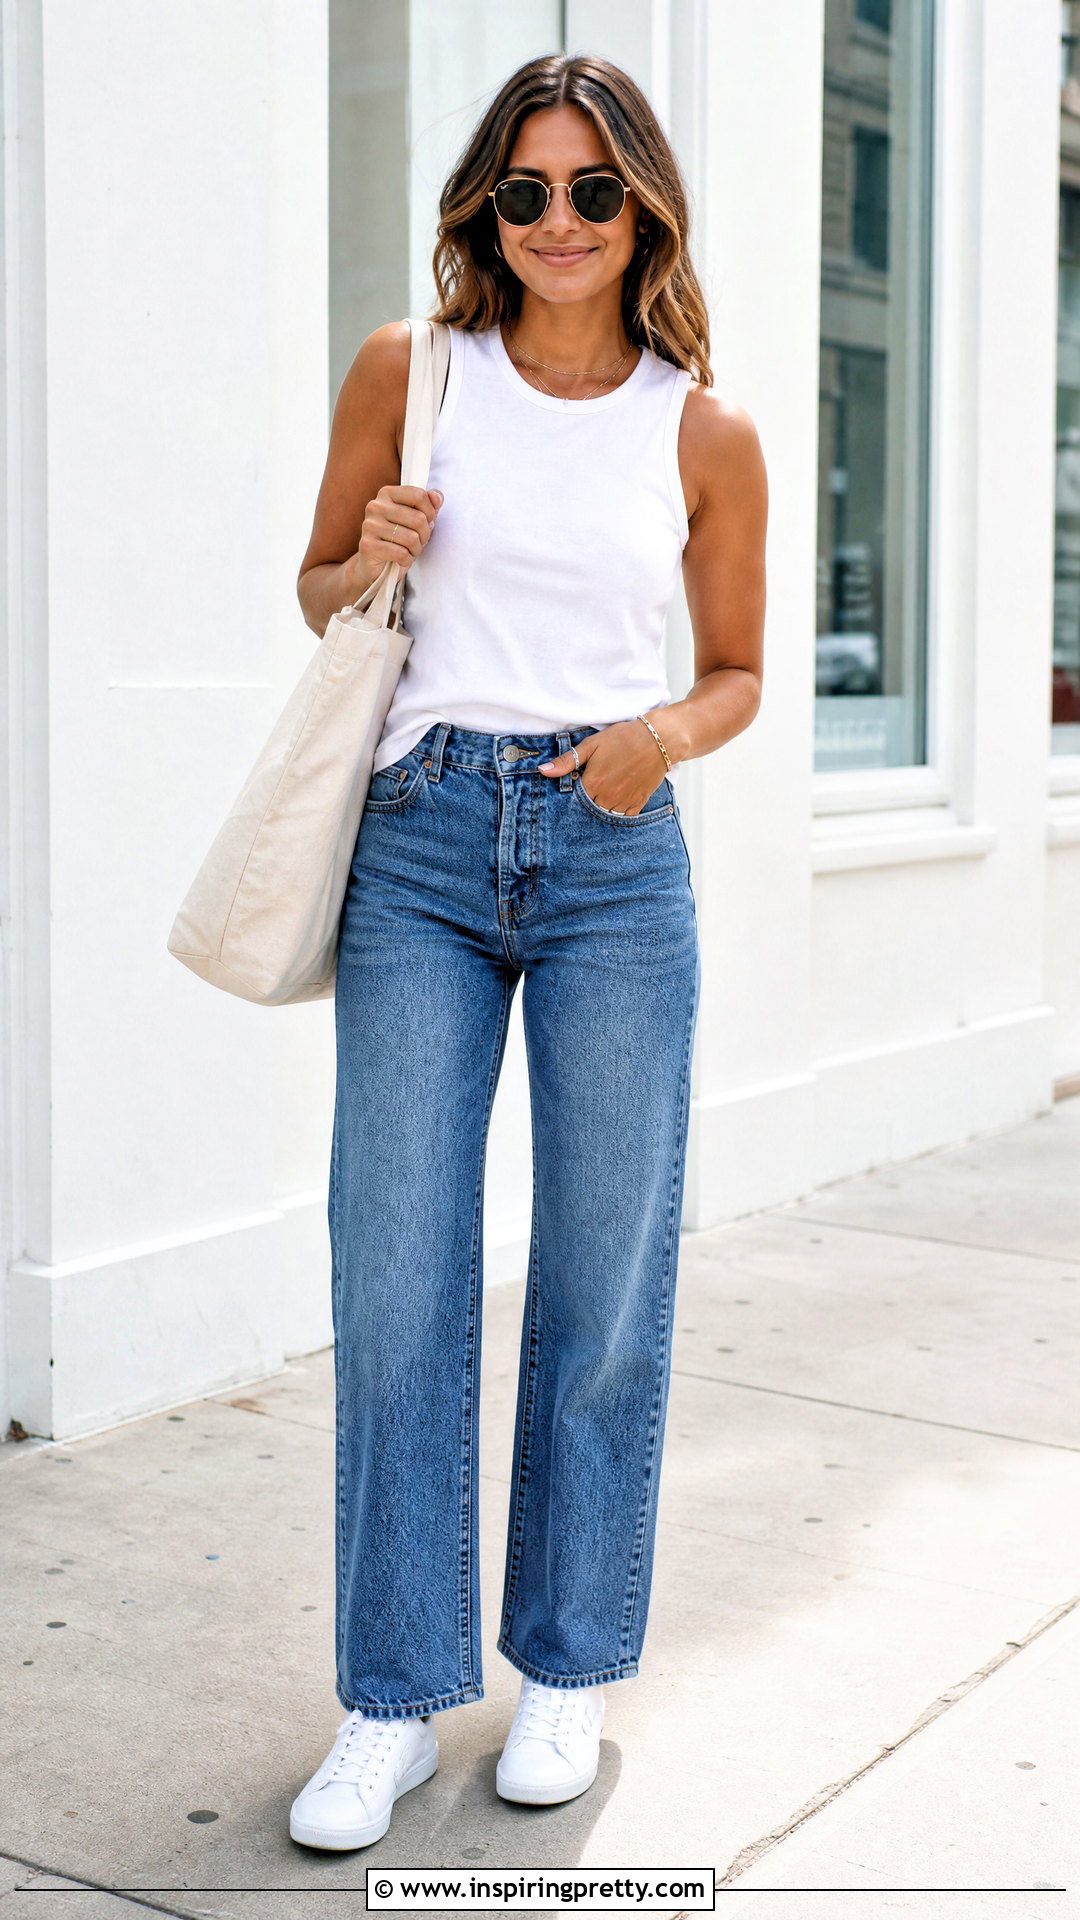
A basic tank conversion is the easiest place to begin. Lay a clean T-shirt flat, smooth away wrinkles, and align the shoulder seams. Cut off each sleeve just inside or outside the original seam, depending on how finished you want the armholes to appear. Next, trim around the crew neckline to create a comfortable scoop neck. Stretch the new edges gently so the jersey rolls inward and looks intentional. Keep the original hem for a neat, full-length finish. Wear this simple tank with straight-leg jeans, white sneakers, and a canvas tote. For workouts, pair it with high-rise leggings and supportive trainers. Start with smaller cuts, try the shirt on, and deepen the neckline or armholes gradually.
2. No-Sew T-Shirt Tank Top
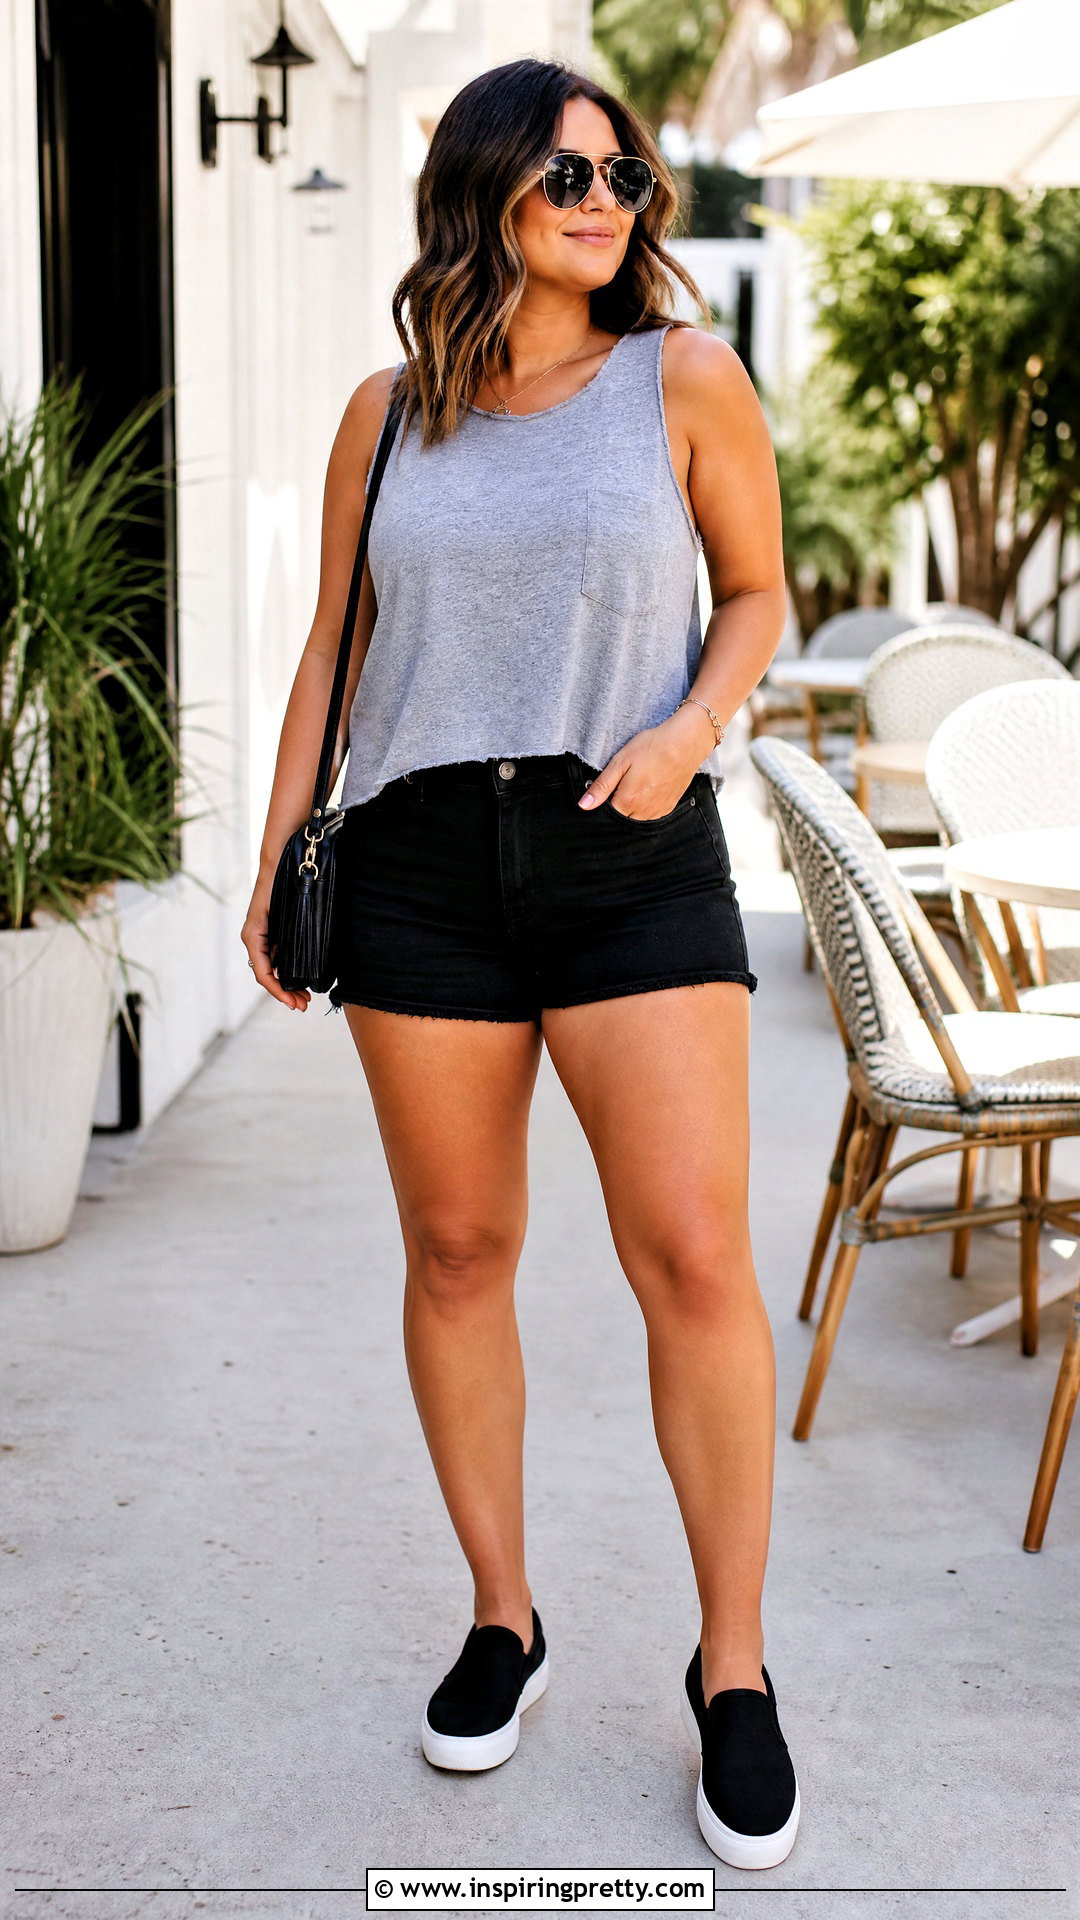
Want a quick transformation without threading a needle? Create a no-sew tank by removing the sleeves along their existing seams and carefully widening the neckline. Use a well-fitting tank as a template if you want balanced armholes and dependable coverage. Place the template over the tee, trace around it with washable chalk, and cut through both layers while keeping the fabric completely flat. Avoid making the shoulder straps too narrow during the first cut. You can always remove more fabric after trying it on. Leave the bottom hem untouched for a clean shape that works with denim shorts, slip-on sneakers, and a crossbody bag. The raw jersey edges will create a relaxed appearance that suits casual summer outfits and easy weekend layering.
3. T-Shirt Racerback Tank Top
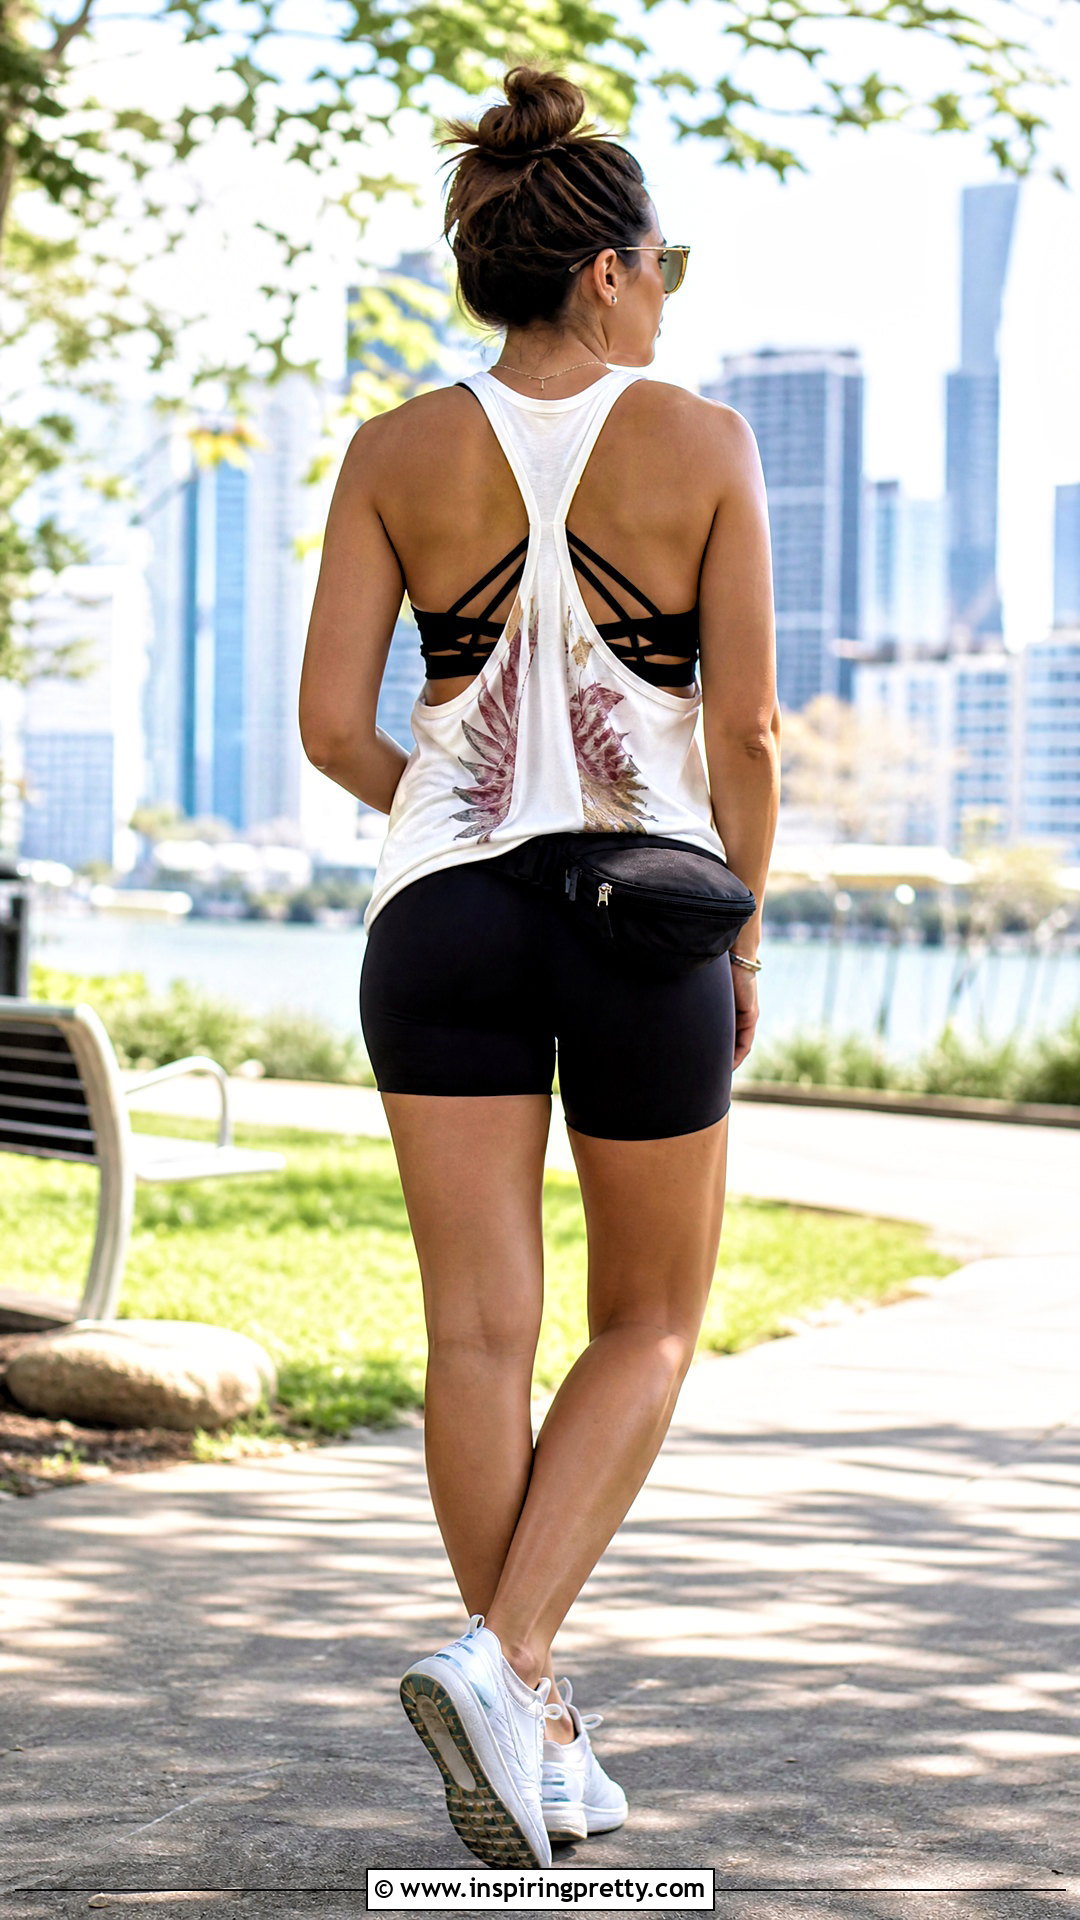
A racerback shape turns a boxy shirt into a practical warm-weather or workout top. Begin by cutting away the sleeves and opening the neckline slightly. Turn the shirt over, then draw curved lines from the shoulder area toward the center of the upper back. Cut only through the back layer to protect the front. Make both sides symmetrical by folding the shirt lengthwise before refining the curves. For an easy no-sew finish, gather the narrow center-back section and wrap it securely with a long strip cut from one sleeve. Pair the completed racerback with biker shorts, running shoes, a lightweight zip jacket, and a belt bag. A sports bra with a decorative back can also become part of the finished layered look.
4. T-Shirt Muscle Tank Top
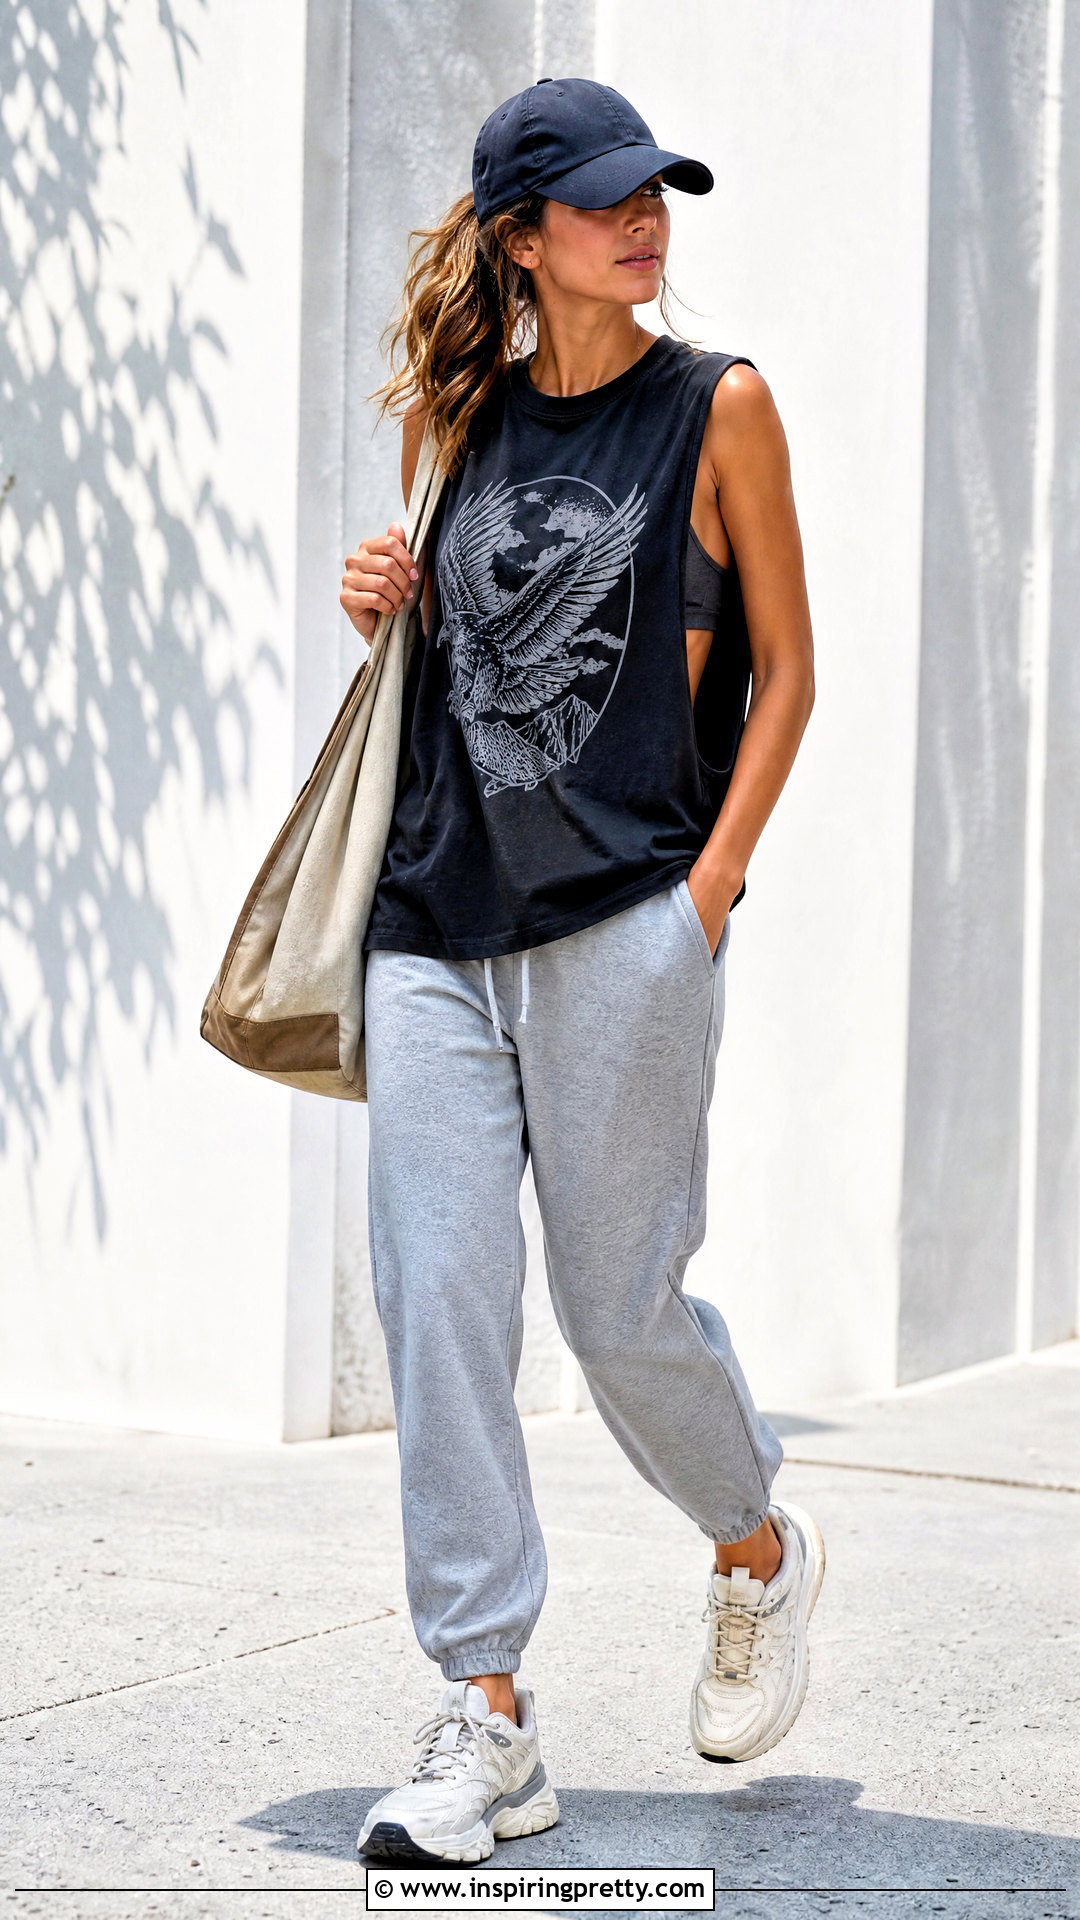
The muscle tank delivers a roomy fit with deep armholes and strong shoulder coverage. Remove the sleeves by cutting downward from the shoulder seam, extending the opening several inches below each underarm. Work slowly because deeper cuts provide less side coverage. Keep the crew neck for a sporty shape, or trim it into a shallow scoop. An oversized unisex tee is especially useful when you want a loose body and comfortable movement. Style the finished muscle tank over a fitted sports bra with joggers, chunky sneakers, and a baseball cap. It can also accompany distressed jeans and flat sandals for an everyday outfit. If the shirt contains artwork, position each cut carefully so the graphic remains centered and fully visible from the front.
5. T-Shirt Workout Tank Top
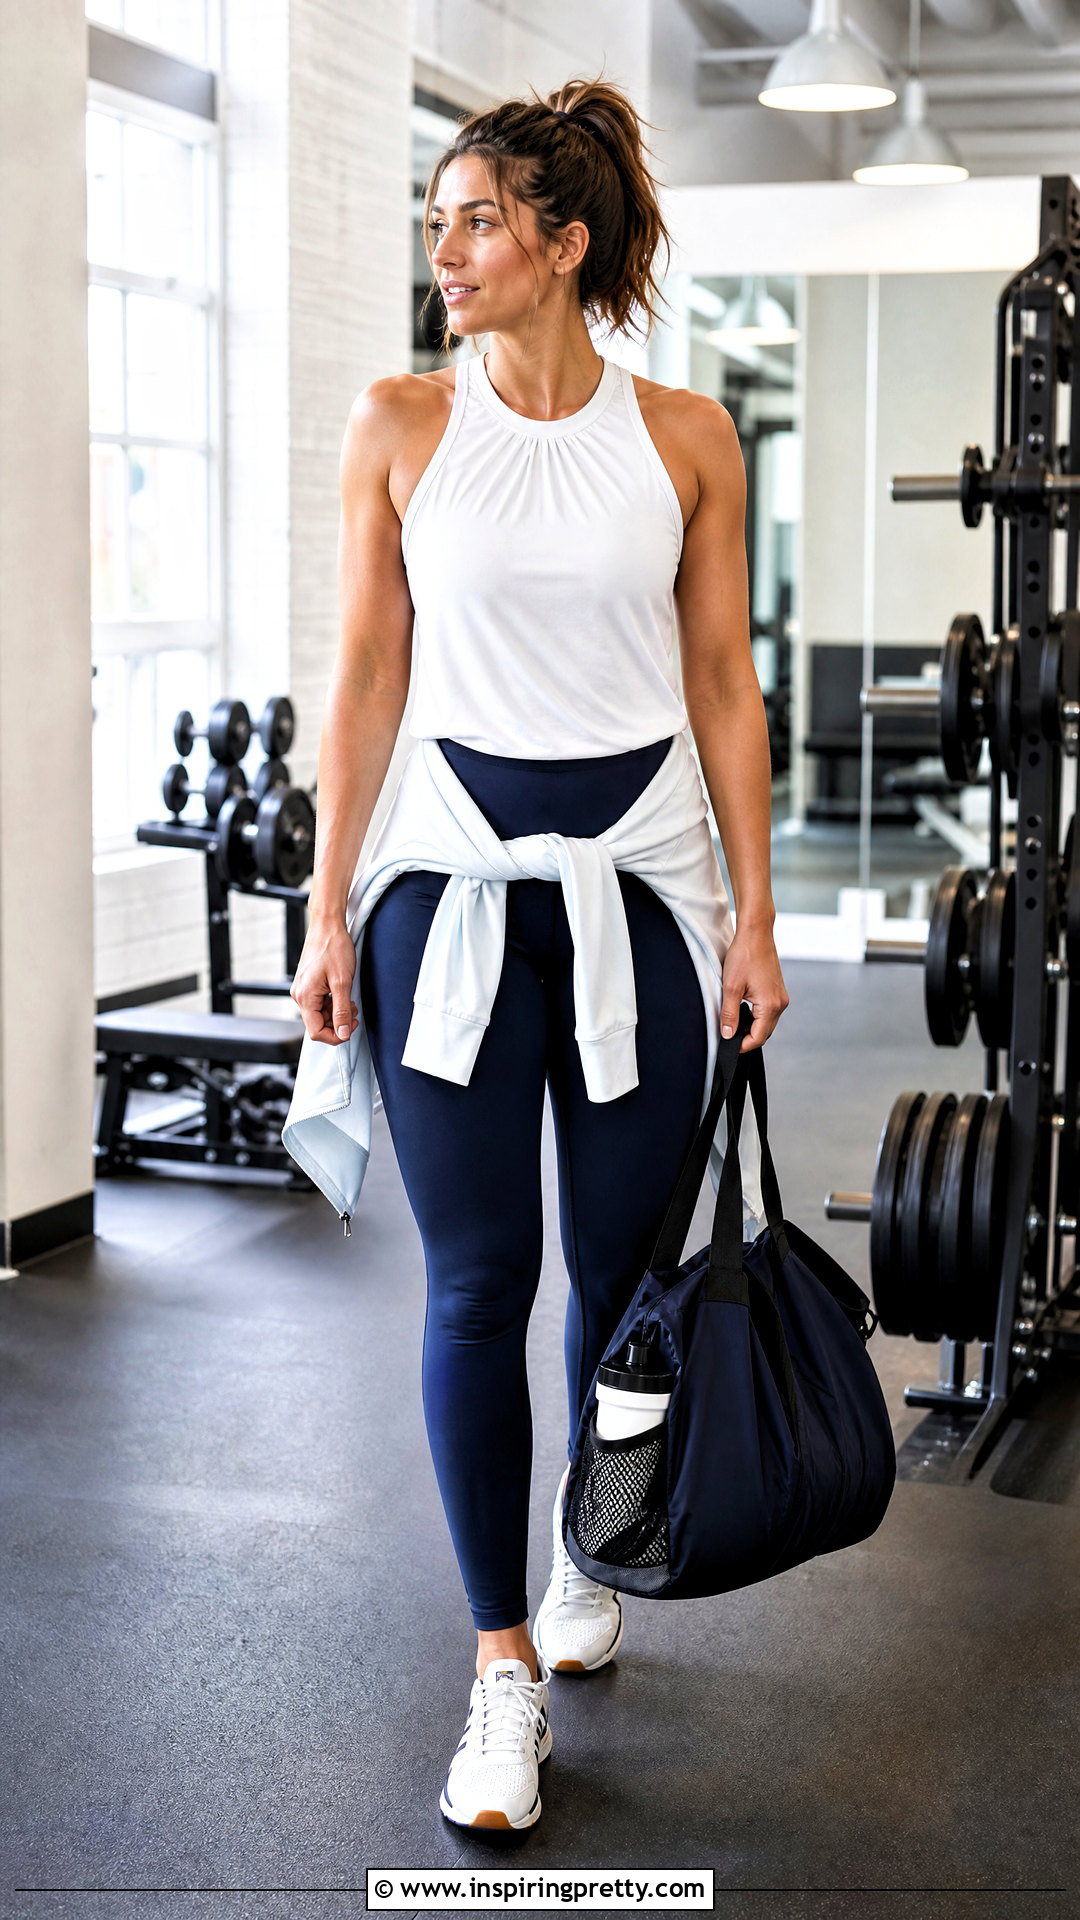
Turn an old race, school, or event tee into a breathable workout tank while preserving its meaningful graphic. Cut close to the sleeve seams first, then lower the armholes in small increments until you can move comfortably. Trim the neckline just outside its ribbed band for a wider opening. For a more athletic silhouette, taper the back into a racerback and secure the center with a matching fabric strip. Keep the length generous if you prefer coverage during stretching, or shorten it to meet high-rise leggings. Complete the gym outfit with a supportive sports bra, moisture-friendly leggings, training shoes, and a lightweight hoodie. Move your arms through several directions before making final cuts so the neckline and sides feel secure during activity.
6. T-Shirt Crop Tank Top
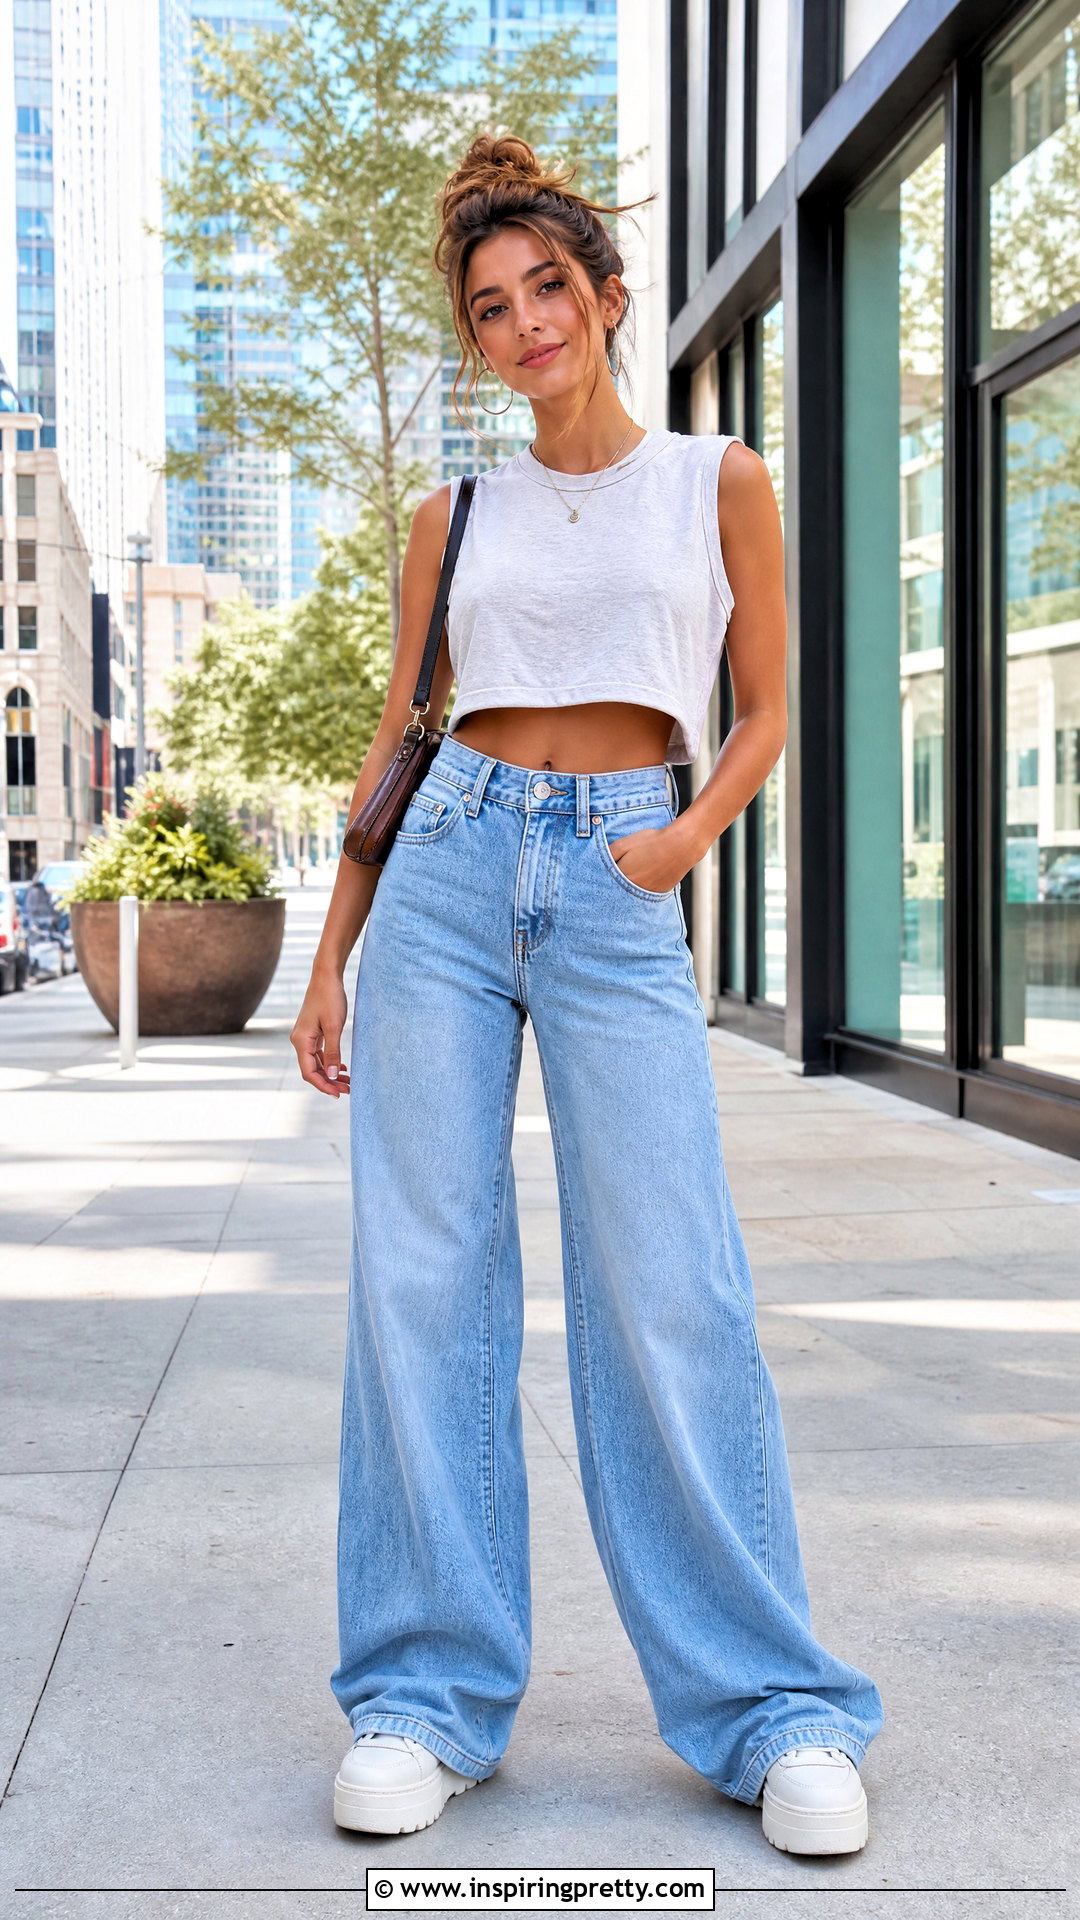
A cropped tank can update a long, oversized shirt while balancing high-waisted bottoms. First, decide where the top should end and mark that position while wearing the shirt. Remove it, lay it flat, and draw a straight cutting line at least an inch below the desired finished length. That small allowance accounts for curling and later adjustments. Cut off the sleeves, shape the neckline, and shorten the hem with long, controlled snips. Stretch the bottom edge gently for a rolled finish. Style the crop tank with high-rise wide-leg jeans, platform sneakers, hoop earrings, and a compact shoulder bag. If you want less midriff exposure, create a longer crop that meets the waistband instead of ending above it. Save the leftover fabric for straps or ties.
7. T-Shirt Cropped Racerback Tank Top
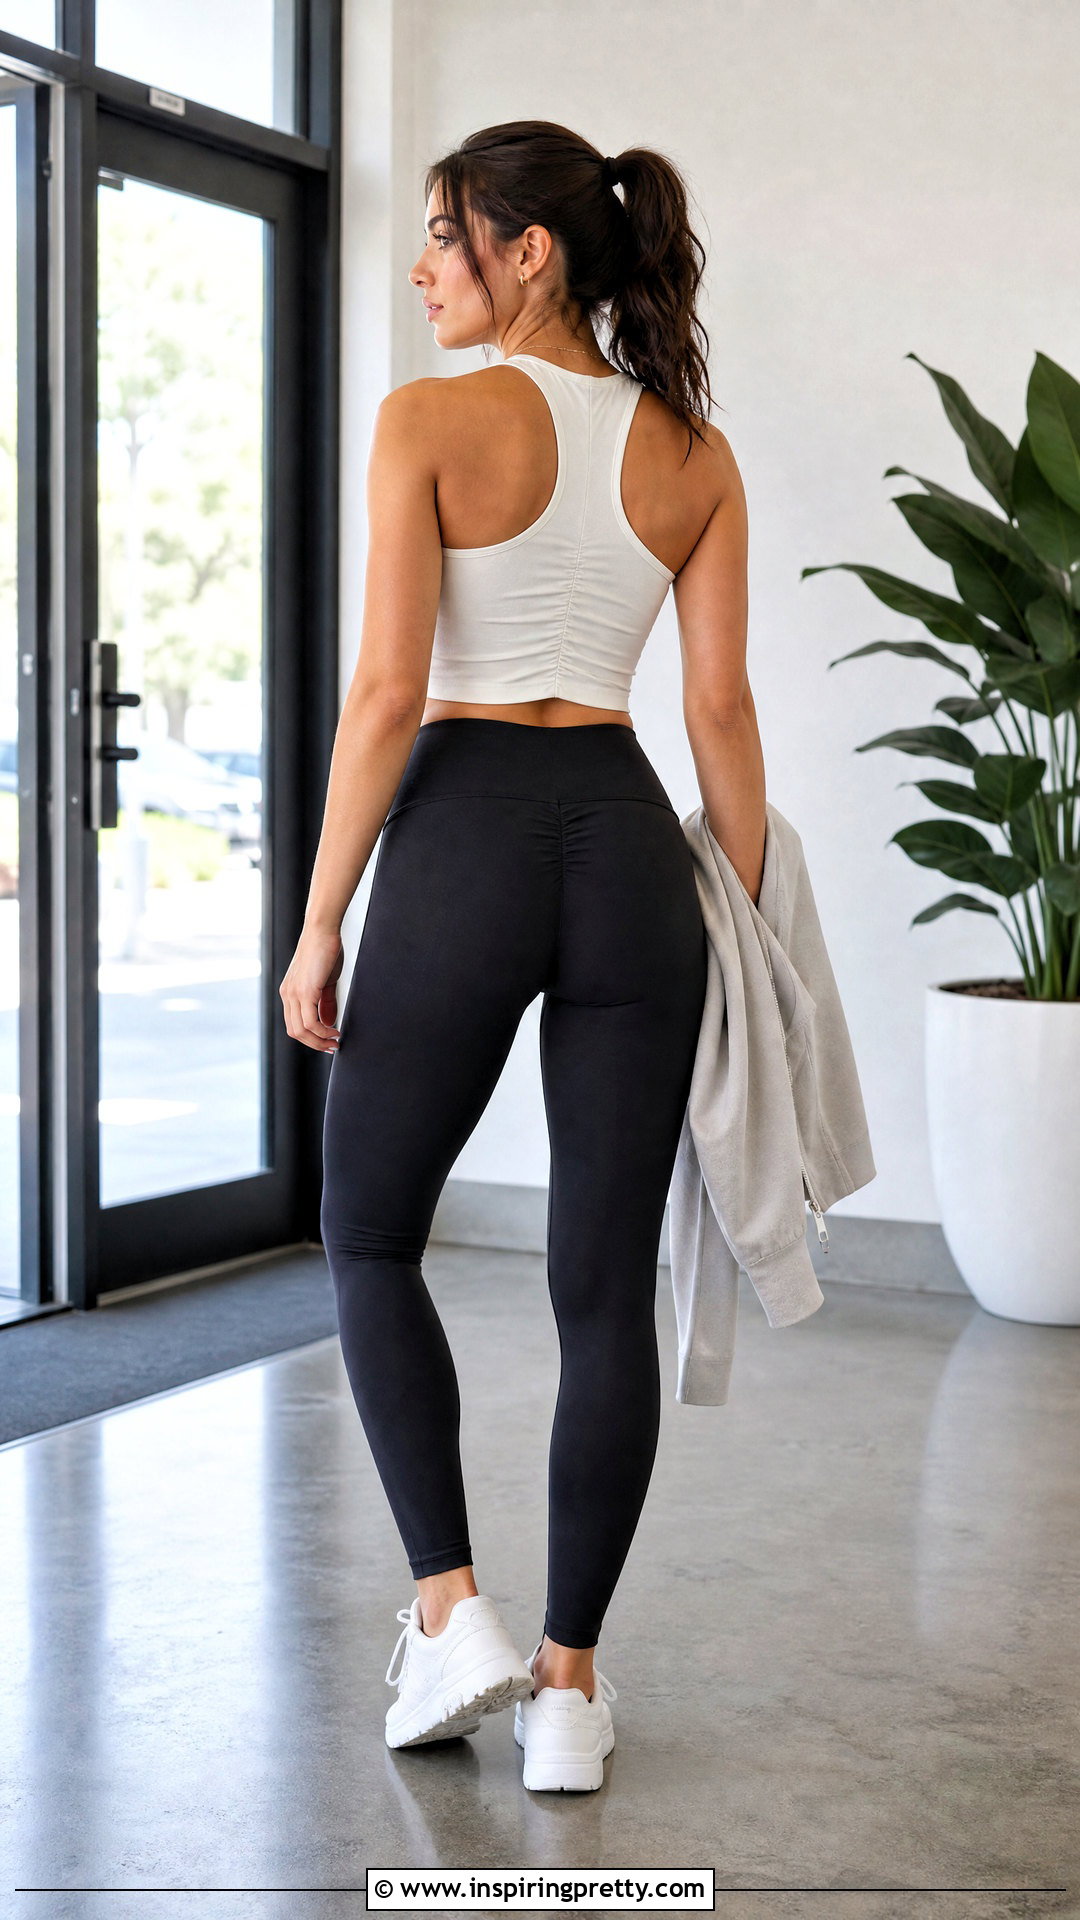
Combine a shortened hem with an athletic racerback for a balanced, fitted-looking transformation. Start with a roomy tee and mark a crop line near the top of your preferred high-rise waistband. Remove the sleeves and trim the neckline before cutting the bottom, since the shirt may sit differently after the upper changes. On the back, create two curved cuts that narrow toward the shoulder blades. Gather the center strip with a piece of fabric cut from the discarded hem. This produces definition without complicated sewing. Pair the completed tank with high-waisted leggings, clean trainers, a zip-front sweatshirt, and a structured gym tote. Keep the front armhole cuts shallower than the back cuts to maintain comfortable bust coverage and prevent the neckline from shifting during movement.
8. T-Shirt Front Tie Tank Top
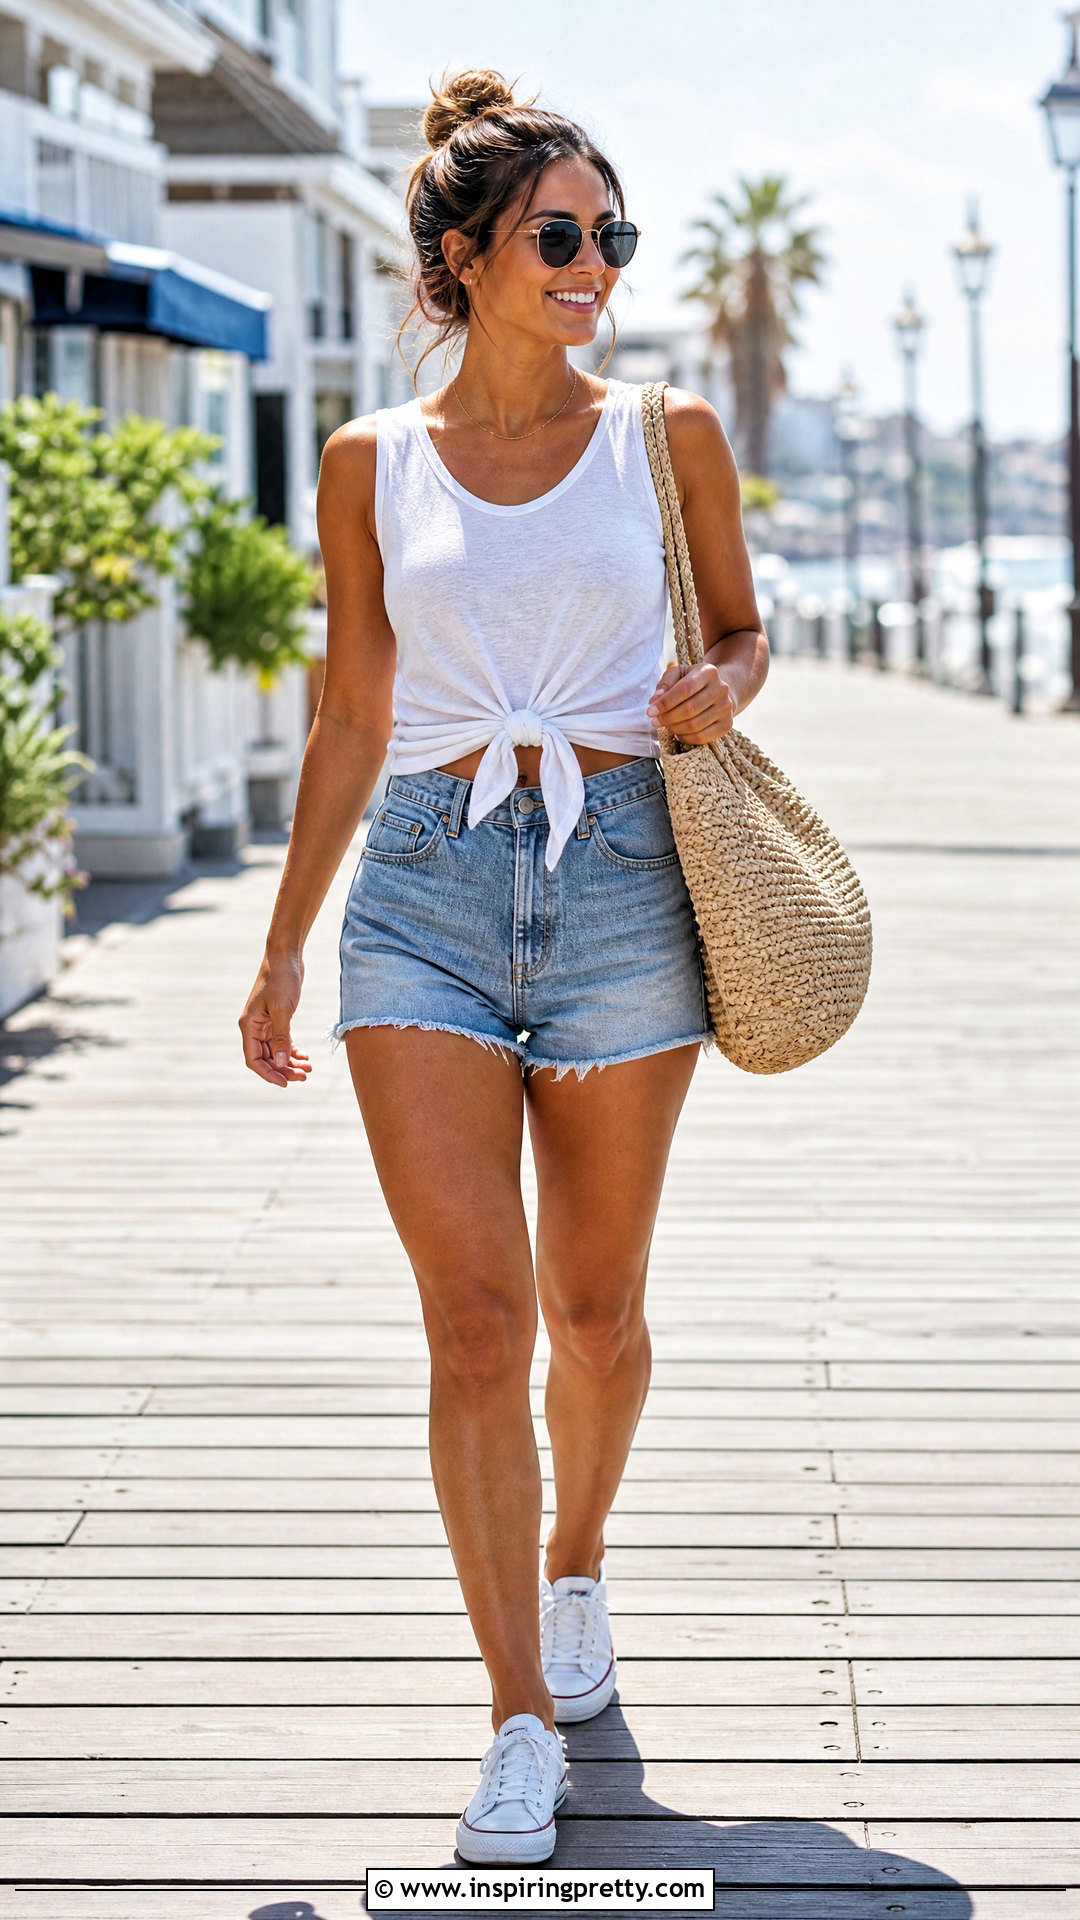
A front tie changes a straight T-shirt hem into an adjustable, waist-defining detail. After creating the neckline and armholes, turn your attention to the bottom. Cut the back panel straight across at the desired length, but leave the front several inches longer. Divide that extra front fabric vertically at the center to form two matching tails. Trim each tail diagonally or round the ends, then knot them loosely at the waist. The finished tank looks especially coordinated with high-rise denim shorts, low-profile sneakers, sunglasses, and a straw tote. For greater coverage, position the knot closer to the original hem rather than high on the torso. Make sure the center slit stops below the natural waistline so it does not expose more fabric than intended.
9. T-Shirt Side Tie Tank Top
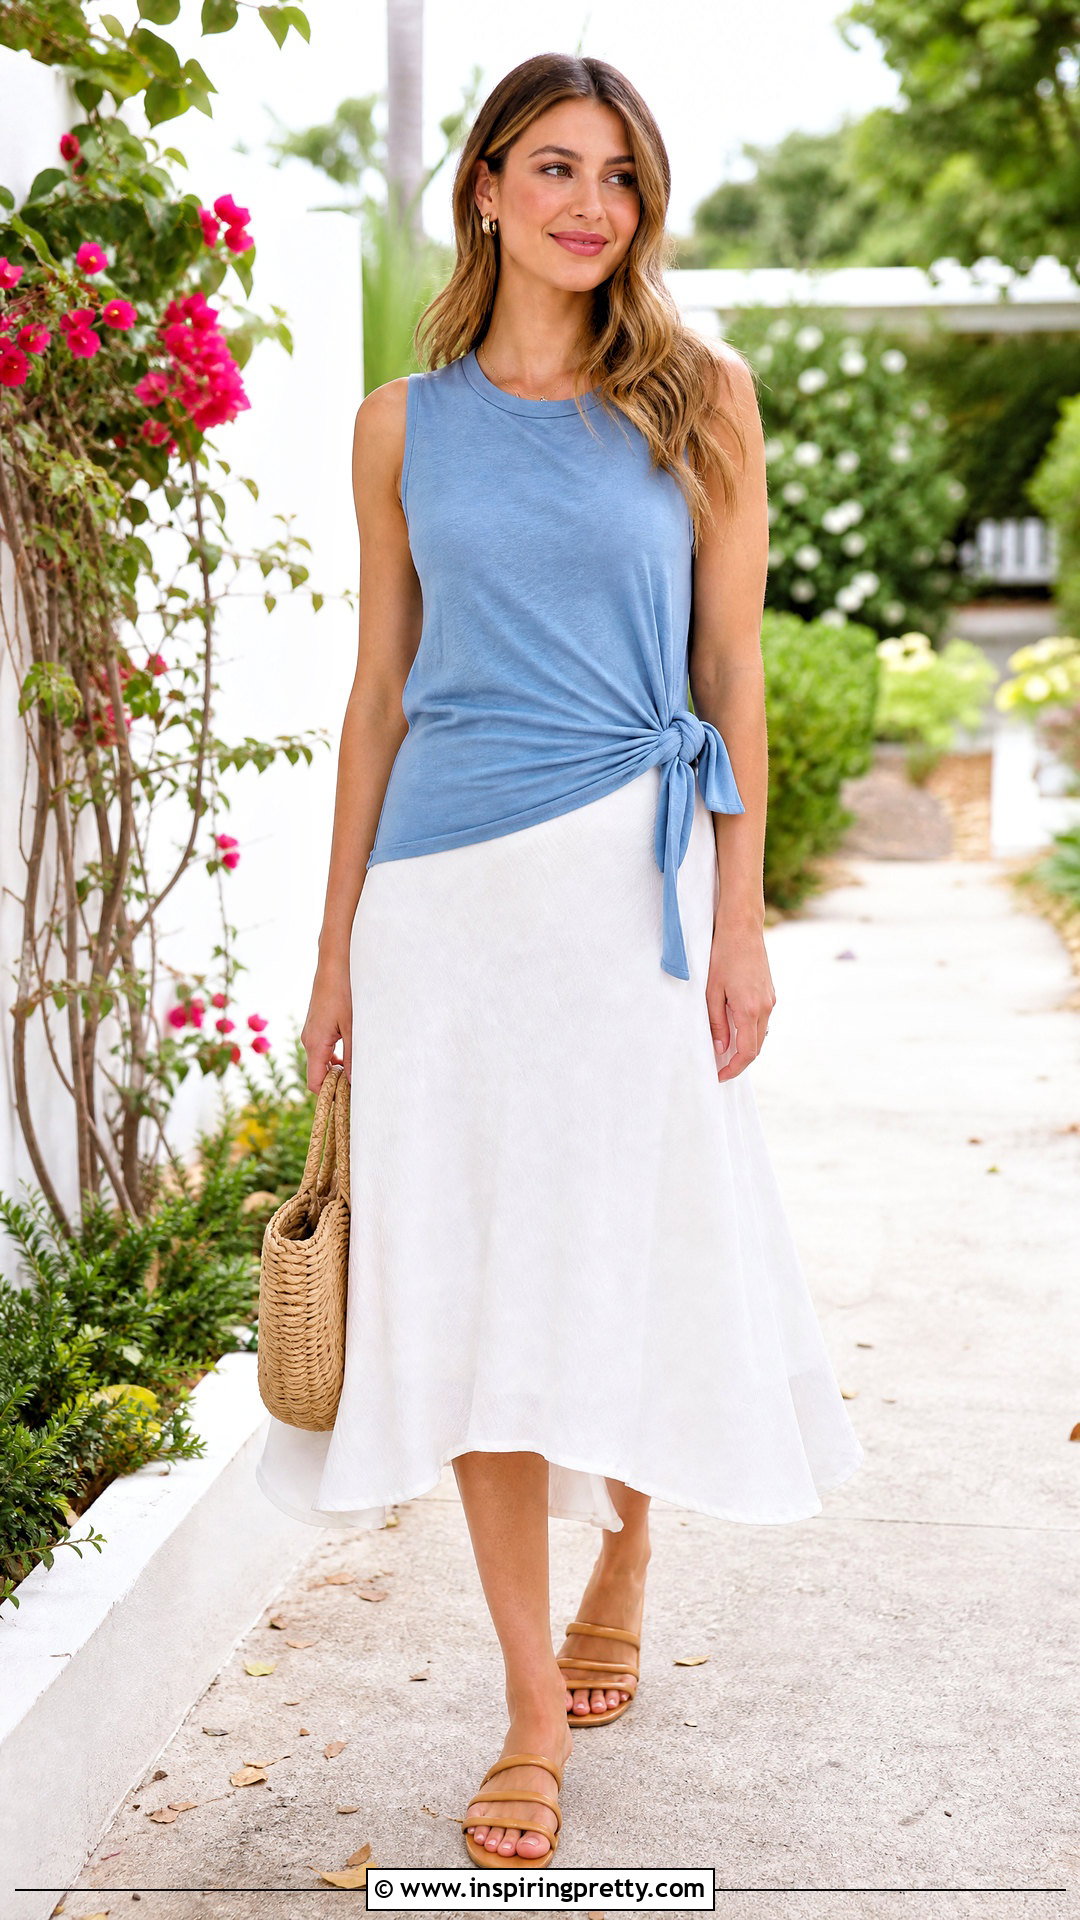
Side ties give a basic tank adjustable shaping without requiring darts or complicated alterations. Remove the sleeves, refine the neckline, and decide whether you want one tie or matching ties on both sides. Cut a short vertical slit upward through the hem at each chosen side. Separate the front and back sections around the slit, then trim them into narrow tails that can be knotted together. Keep the slits short initially and lengthen them only after checking the fit. Wear the finished tank with a flowing midi skirt, flat sandals, simple earrings, and a woven handbag for a relaxed summer outfit. A side knot can also make a long shirt sit neatly above high-rise pants while preserving the original front graphic and most of the hem length.
10. T-Shirt Fringe Tank Top
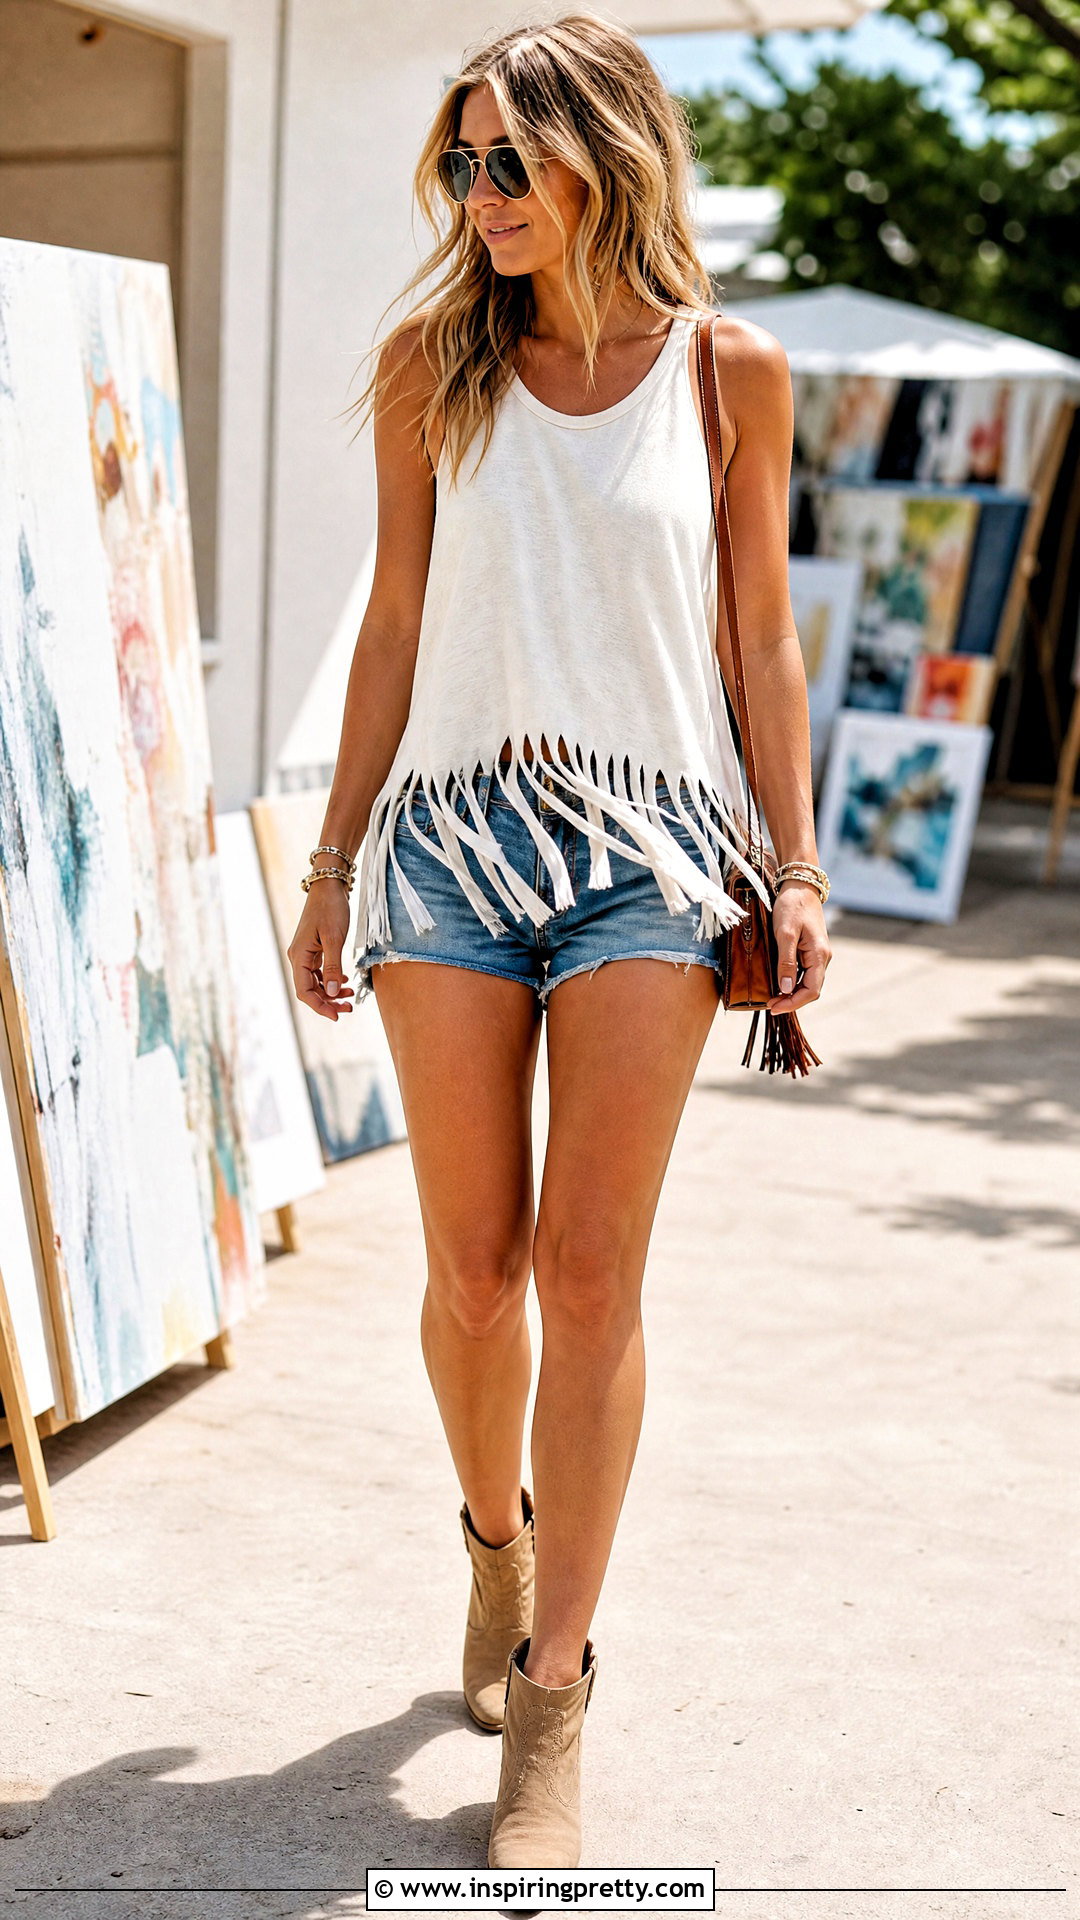
Fringe adds movement and texture to a plain or faded tee. Convert the upper portion into a basic tank, then mark a horizontal stopping line several inches above the bottom hem. Cut narrow, evenly spaced vertical strips from the hem to that line. Stretch each strip gently so it curls into a cord-like shape. Leave the fringe loose for a simple finish, knot individual strips near the top, or connect neighboring pieces for a decorative pattern. Similar fringe methods appear frequently in T-shirt refashion tutorials because the technique can be completed without sewing. () Pair the tank with fitted denim shorts, ankle boots, a crossbody bag, and understated jewelry. Avoid cutting through printed artwork unless that distressed result is intentional.
11. T-Shirt Knotted Fringe Tank Top
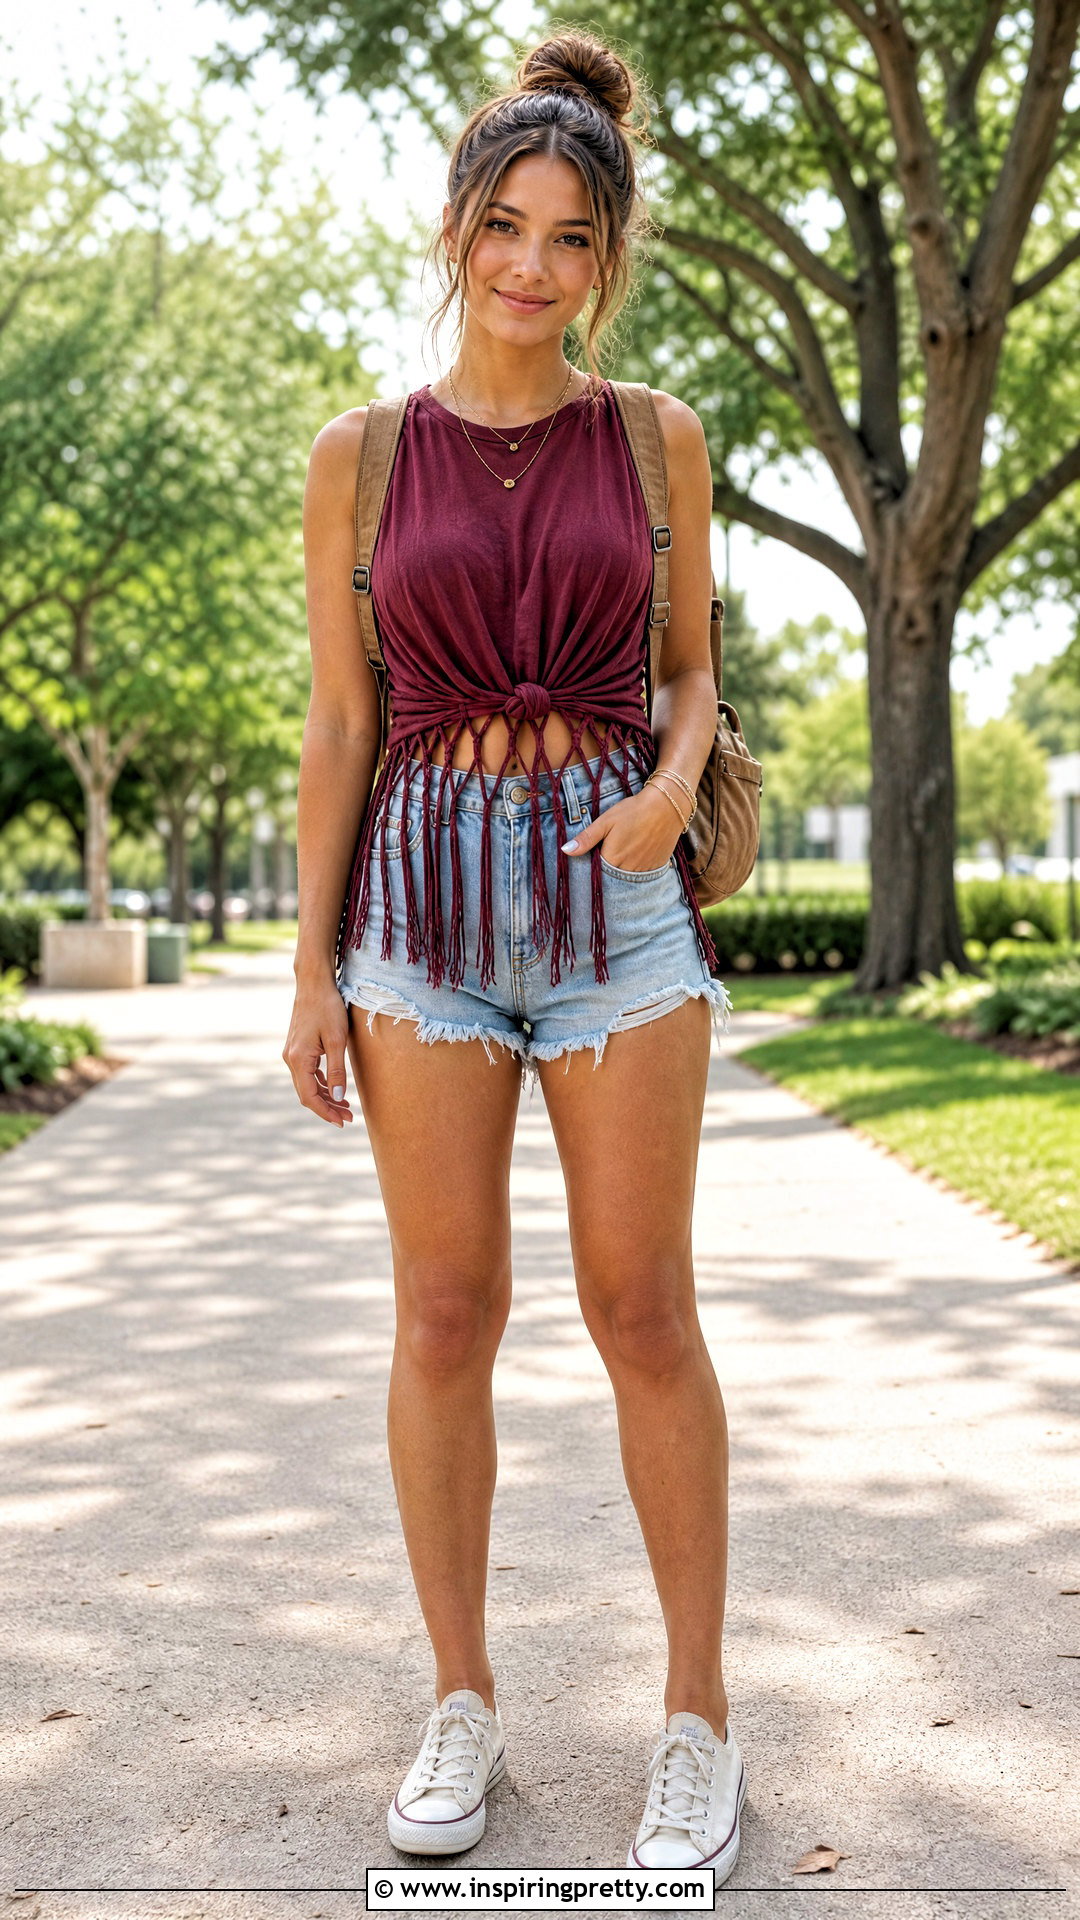
A knotted fringe tank offers more structure than loose, swinging strips. Begin with a tank-shaped shirt and cut uniform fringe around the bottom, using a ruler to keep the strips similar in width and length. Tie a small knot near the top of every strip, making sure each knot sits at roughly the same height. For a netted effect, divide the fringe below those knots and tie half of one strip to half of its neighbor. One row is usually enough to create visible detail without making the hem overly heavy. Style this tank with high-waisted cutoff shorts, canvas sneakers, a simple bracelet stack, and a small backpack. Choose a slightly oversized tee because knotting reduces the available width and can make the lower section fit closer to the body.
12. T-Shirt Braided Back Tank Top
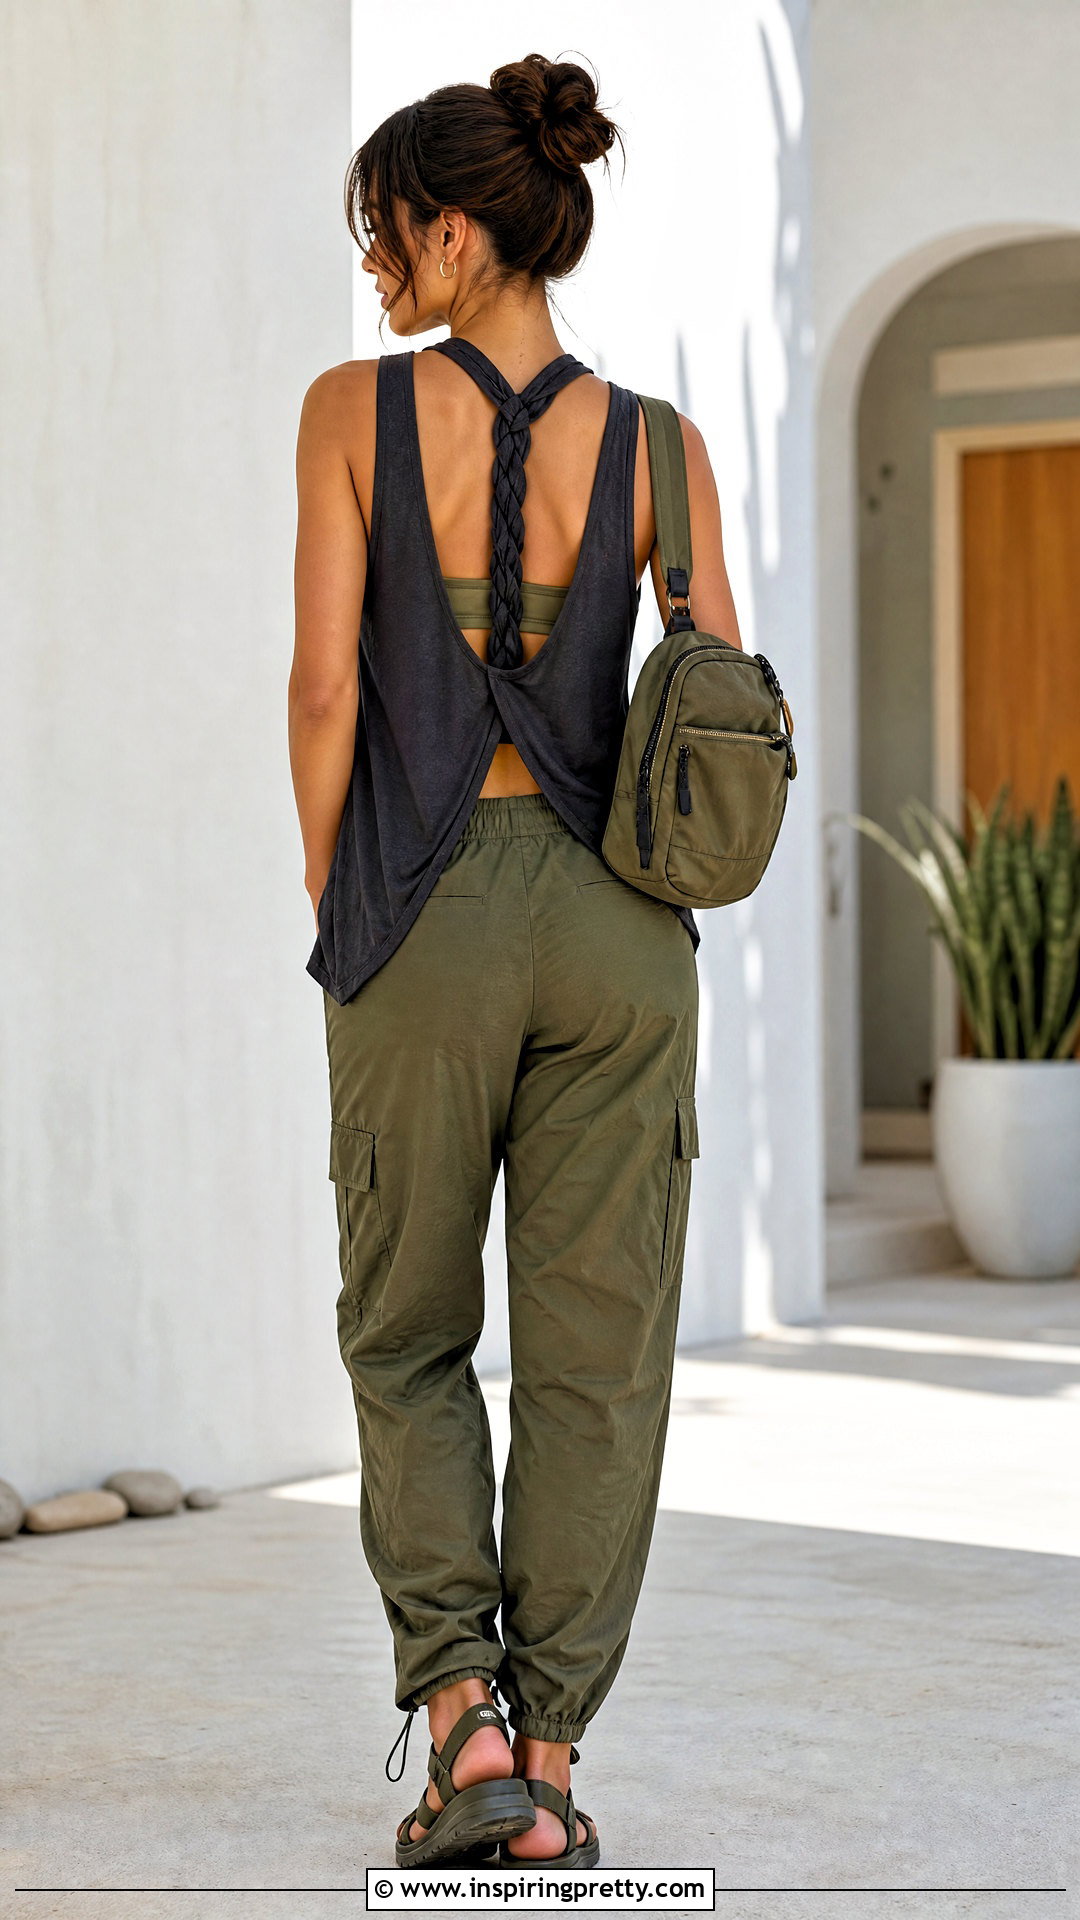
A braided back creates a striking feature while keeping the front graphic recognizable. Shape the shirt into a racerback, leaving enough fabric along the center back to form several strips. Cut that section into three long, even bands without detaching them at the lower end. Braid the bands with gentle, consistent tension, then secure the braid near the neckline with hand stitches or a tightly wrapped fabric strip. Braided racerback projects may require only a small amount of sewing, making them approachable for beginners who want a more finished result. () Wear the tank with relaxed cargo pants, sporty sandals, a mini backpack, and a coordinating bralette. Avoid pulling the braid too tightly because excessive tension can distort the shoulders.
13. T-Shirt Twisted Back Tank Top
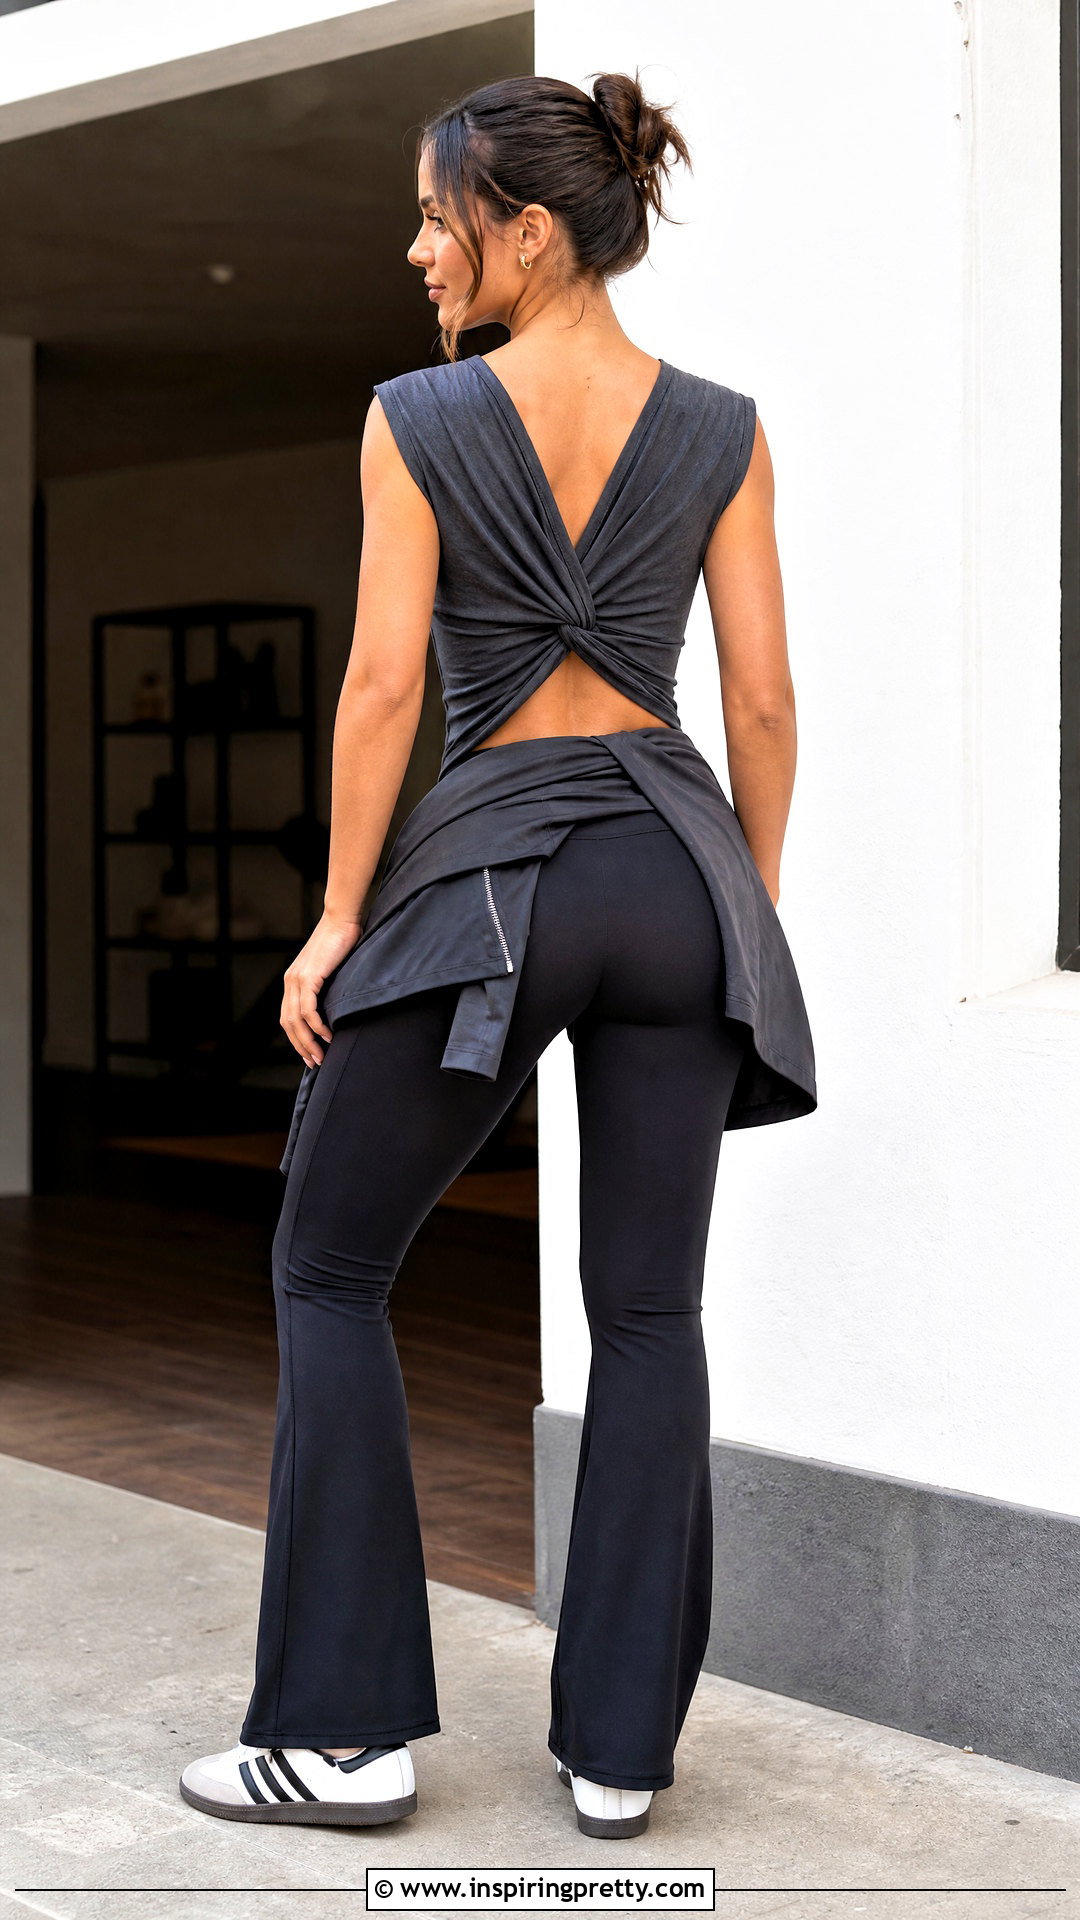
A twisted back adds definition using fewer cuts than a full braid. Start with generous armholes and a narrowed racerback panel. Cut a long strip from the removed hem or sleeve, then pinch the center-back fabric together. Wrap the strip several times around the gathered section. Before tying or stitching it in place, rotate the gathered panel once to form a controlled twist. Check that both shoulder areas remain level and that the neckline sits flat. Complete the casual athletic outfit with flared leggings, retro sneakers, a cropped zip jacket, and a roomy tote. This treatment works best with soft, flexible jersey that gathers easily. If the original tee is thick, use a narrow wrap and a loose twist to prevent a bulky knot between the shoulder blades.
14. T-Shirt Halter Tank Top
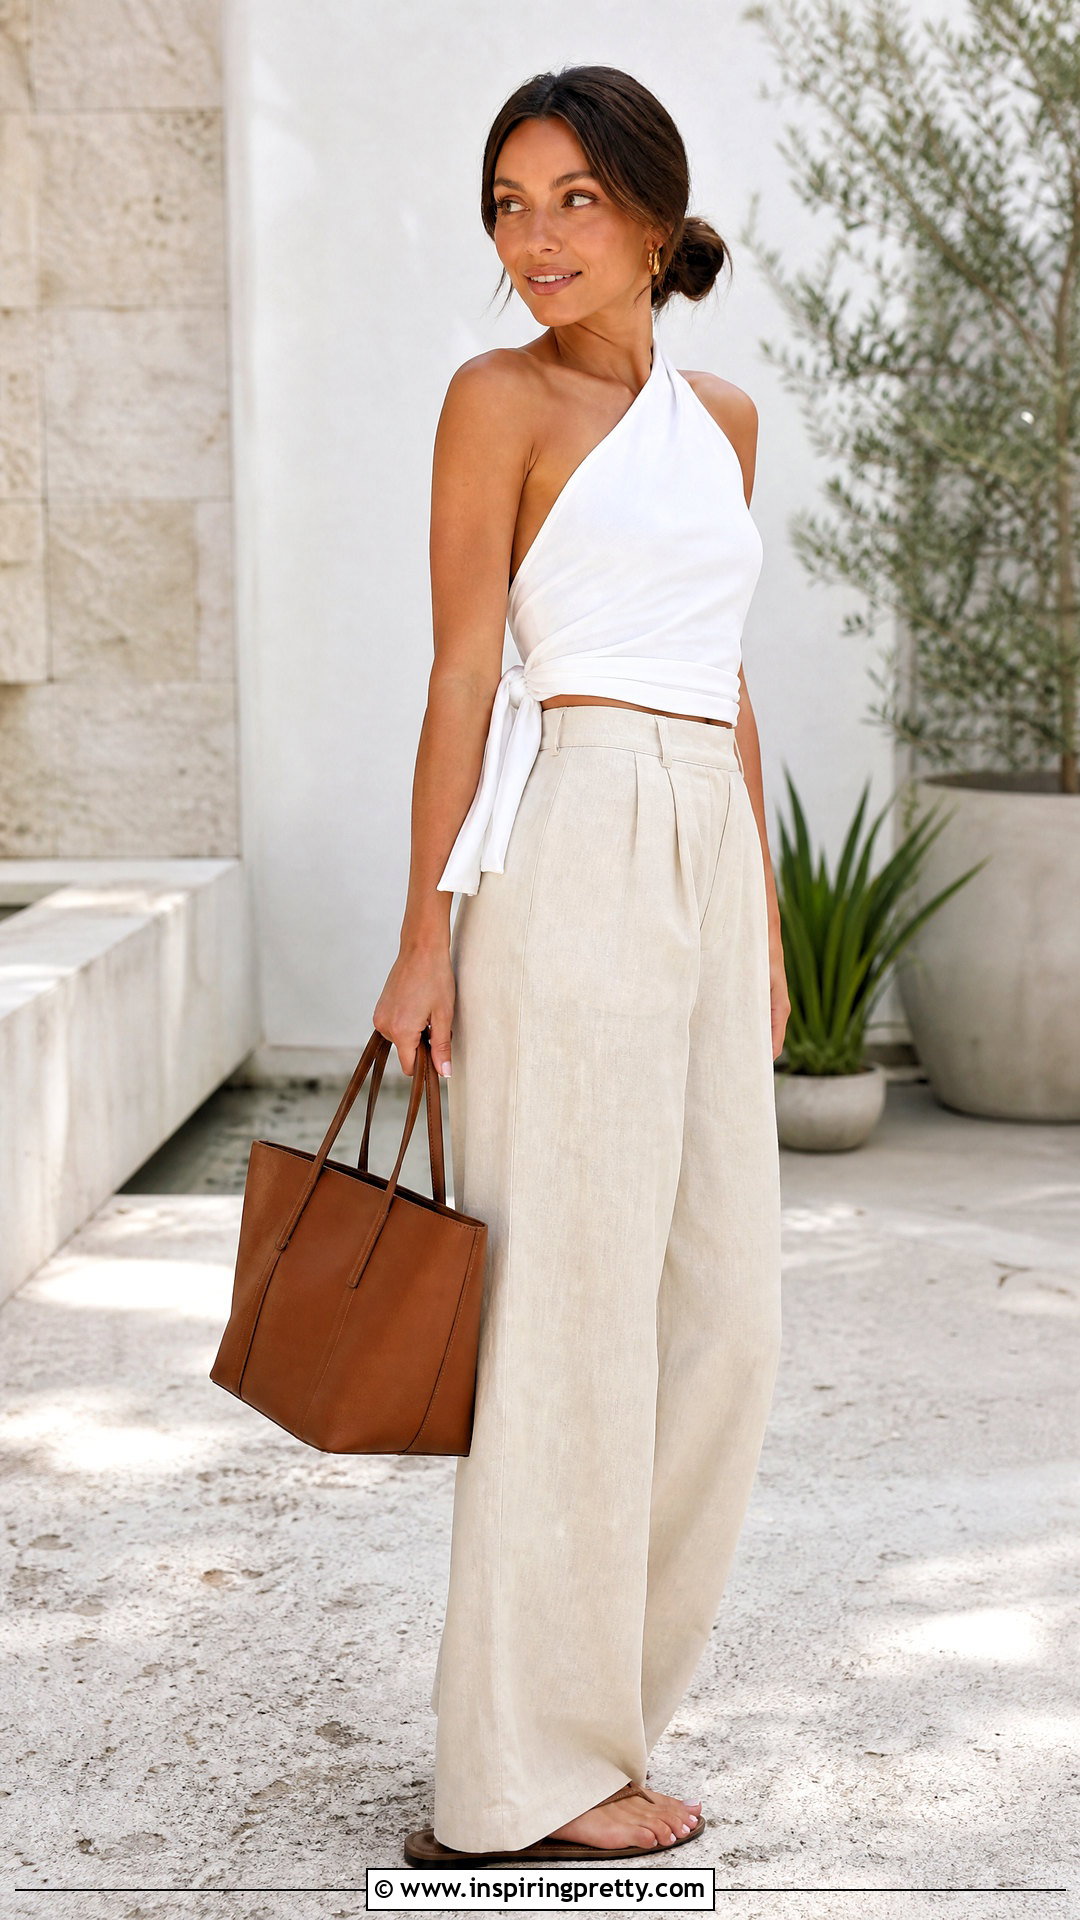
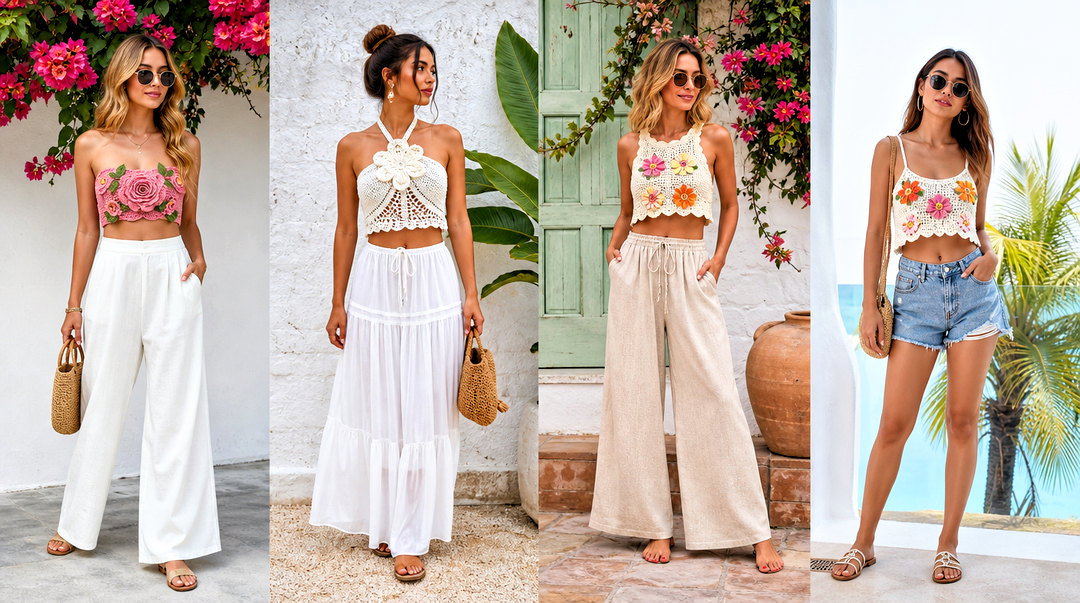
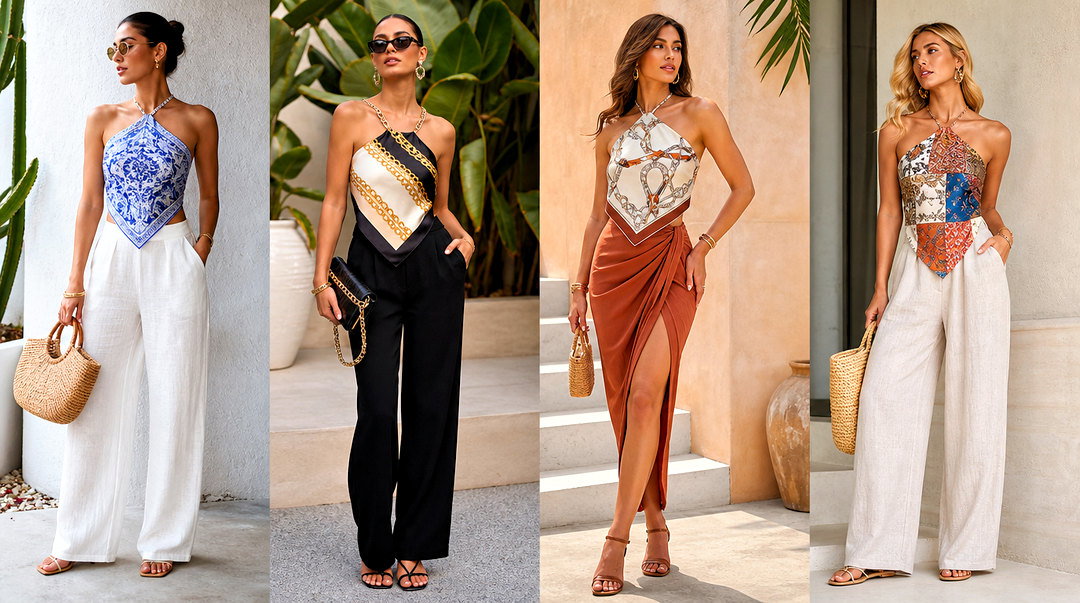
A halter tank places visual focus on the shoulders while giving an oversized tee a more shaped silhouette. Lay the shirt flat and remove the sleeves. On the front, draw angled lines from below the armholes toward the neckline, leaving a secure band of fabric around the neck. Separate the back layer and cut it lower, creating long upper straps or a continuous halter section. Depending on the method, secure the neck with stitching or neatly tied fabric straps. Add side ties if the shirt needs more definition. Style the finished halter with high-rise linen pants, flat leather sandals, a structured tote, and minimal earrings. Test the neckline before cutting deeply, and wear a suitable supportive layer underneath if the open back or sides reveal more than expected.
15. T-Shirt High-Neck Tank Top
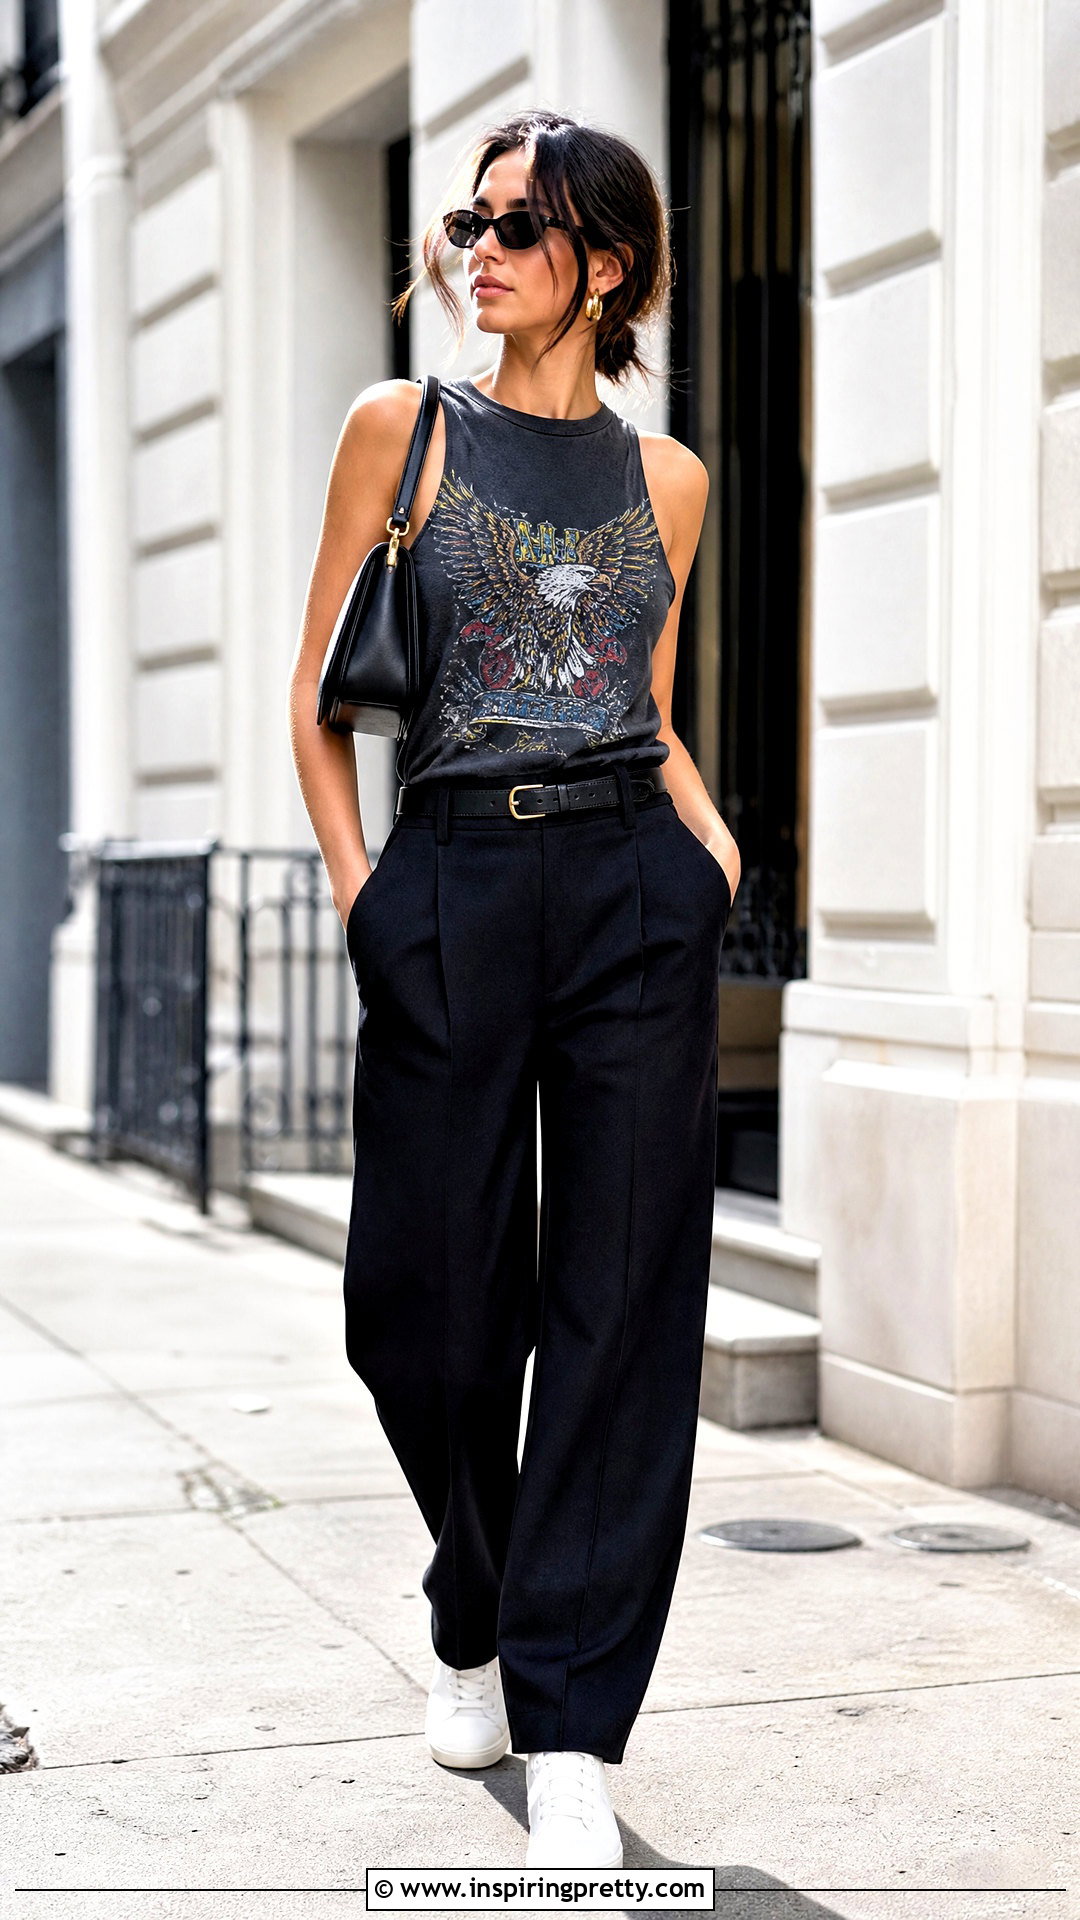
A high-neck tank preserves more front coverage while creating modern, inward-cut shoulders. Keep the original crew neckline or remove only its ribbed edge. Starting near the outer shoulder, cut curved armholes that angle inward toward the upper chest without approaching the printed design. Repeat the curve on the opposite side by folding the shirt in half and using the first cut as a guide. Narrow the back into a racerback if desired, or leave broad shoulder panels for an understated finish. Pair this top with pleated trousers, streamlined sneakers, a belt, and a structured shoulder bag. The contrast between a casual graphic tee and polished bottoms makes the completed outfit feel intentional. This design is particularly helpful when you want a sleeveless shape without a low scoop neckline.
16. T-Shirt Scoop-Neck Tank Top
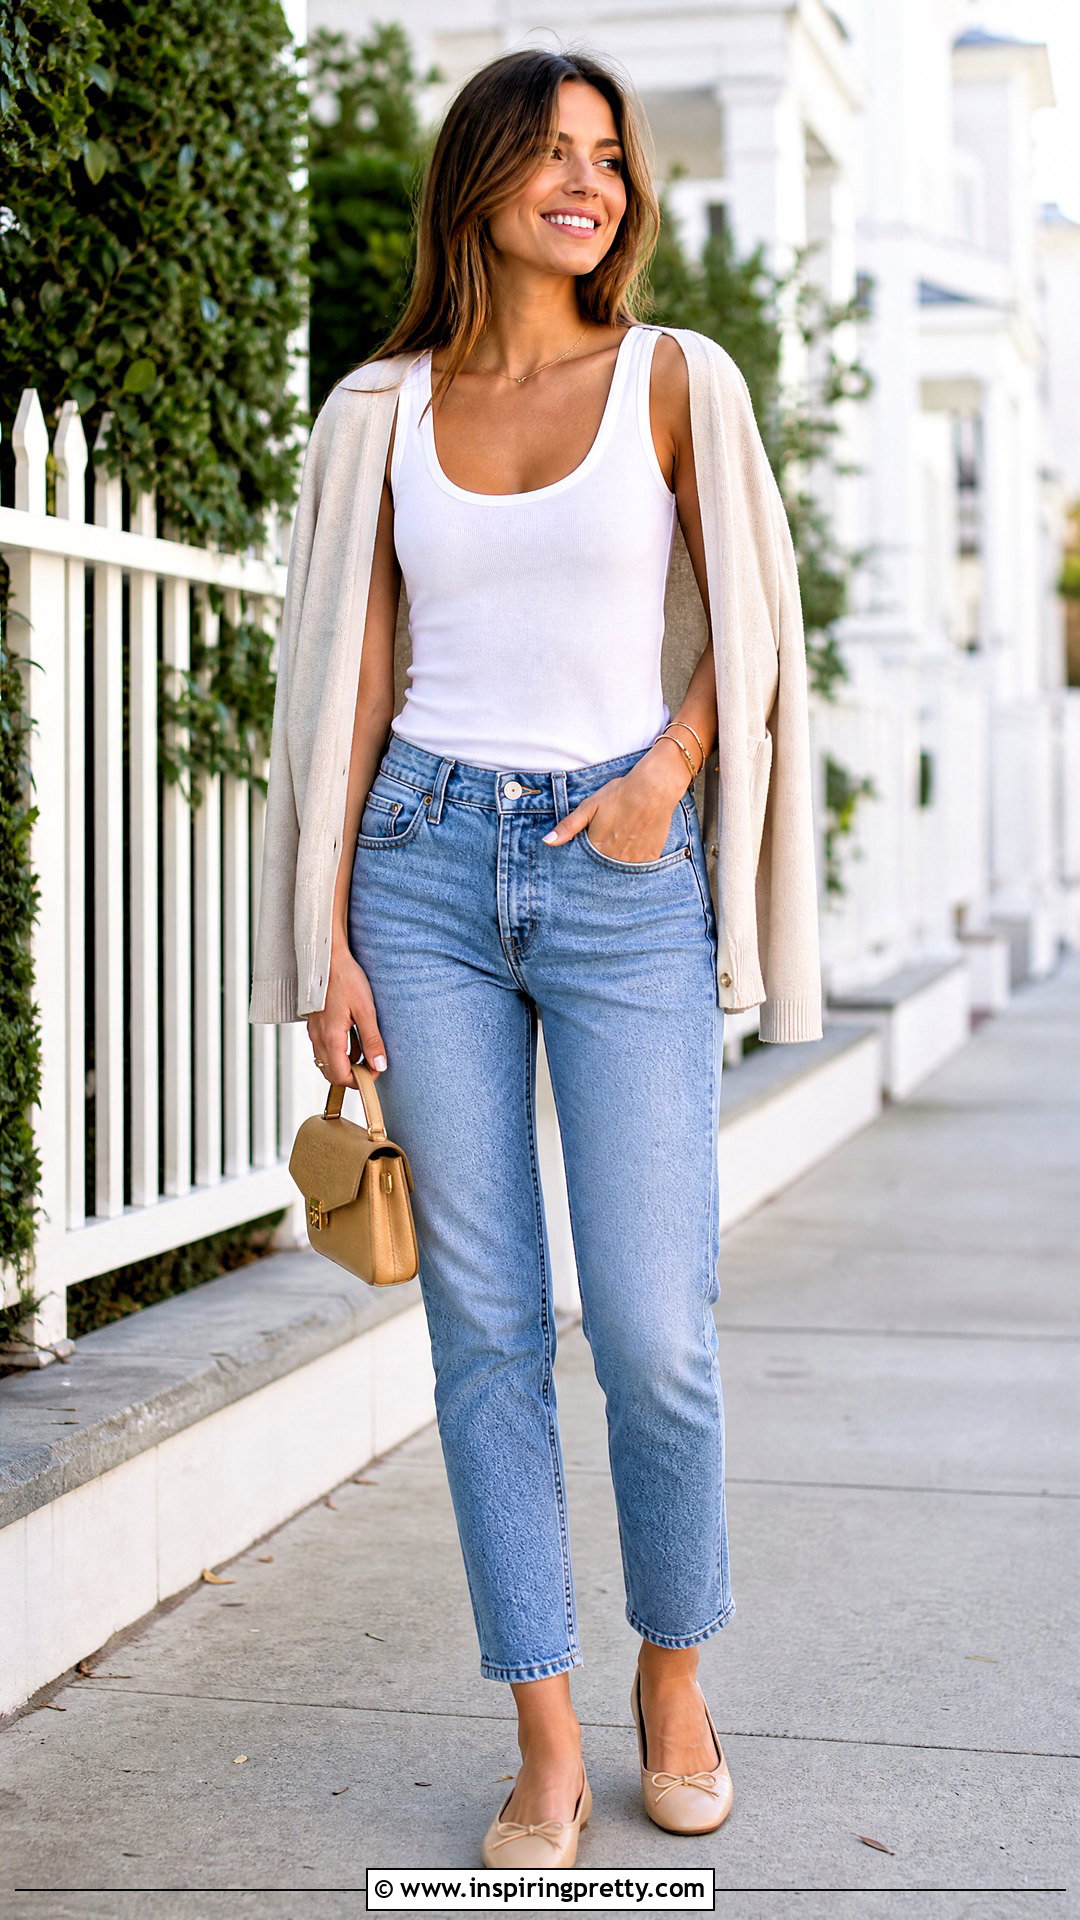
A deeper scoop neckline can make a heavy crew-neck shirt feel lighter and more comfortable. After removing the sleeves, fold the tee vertically so the shoulder seams and side edges align. Mark the lowest point of the new neckline at the center front. Draw a smooth curve toward the existing shoulder area and cut through the front layer only. Keep the back neckline higher so the tank stays correctly positioned. Stretch the raw edge gently or finish it with a narrow turned hem if you sew. Wear the scoop-neck tank with a lightweight cardigan, ankle-length jeans, ballet flats, and a small top-handle bag. Begin with a shallow curve because jersey may relax after cutting. Try the top on before lowering or widening the neckline for your final fit.
17. T-Shirt V-Neck Tank Top
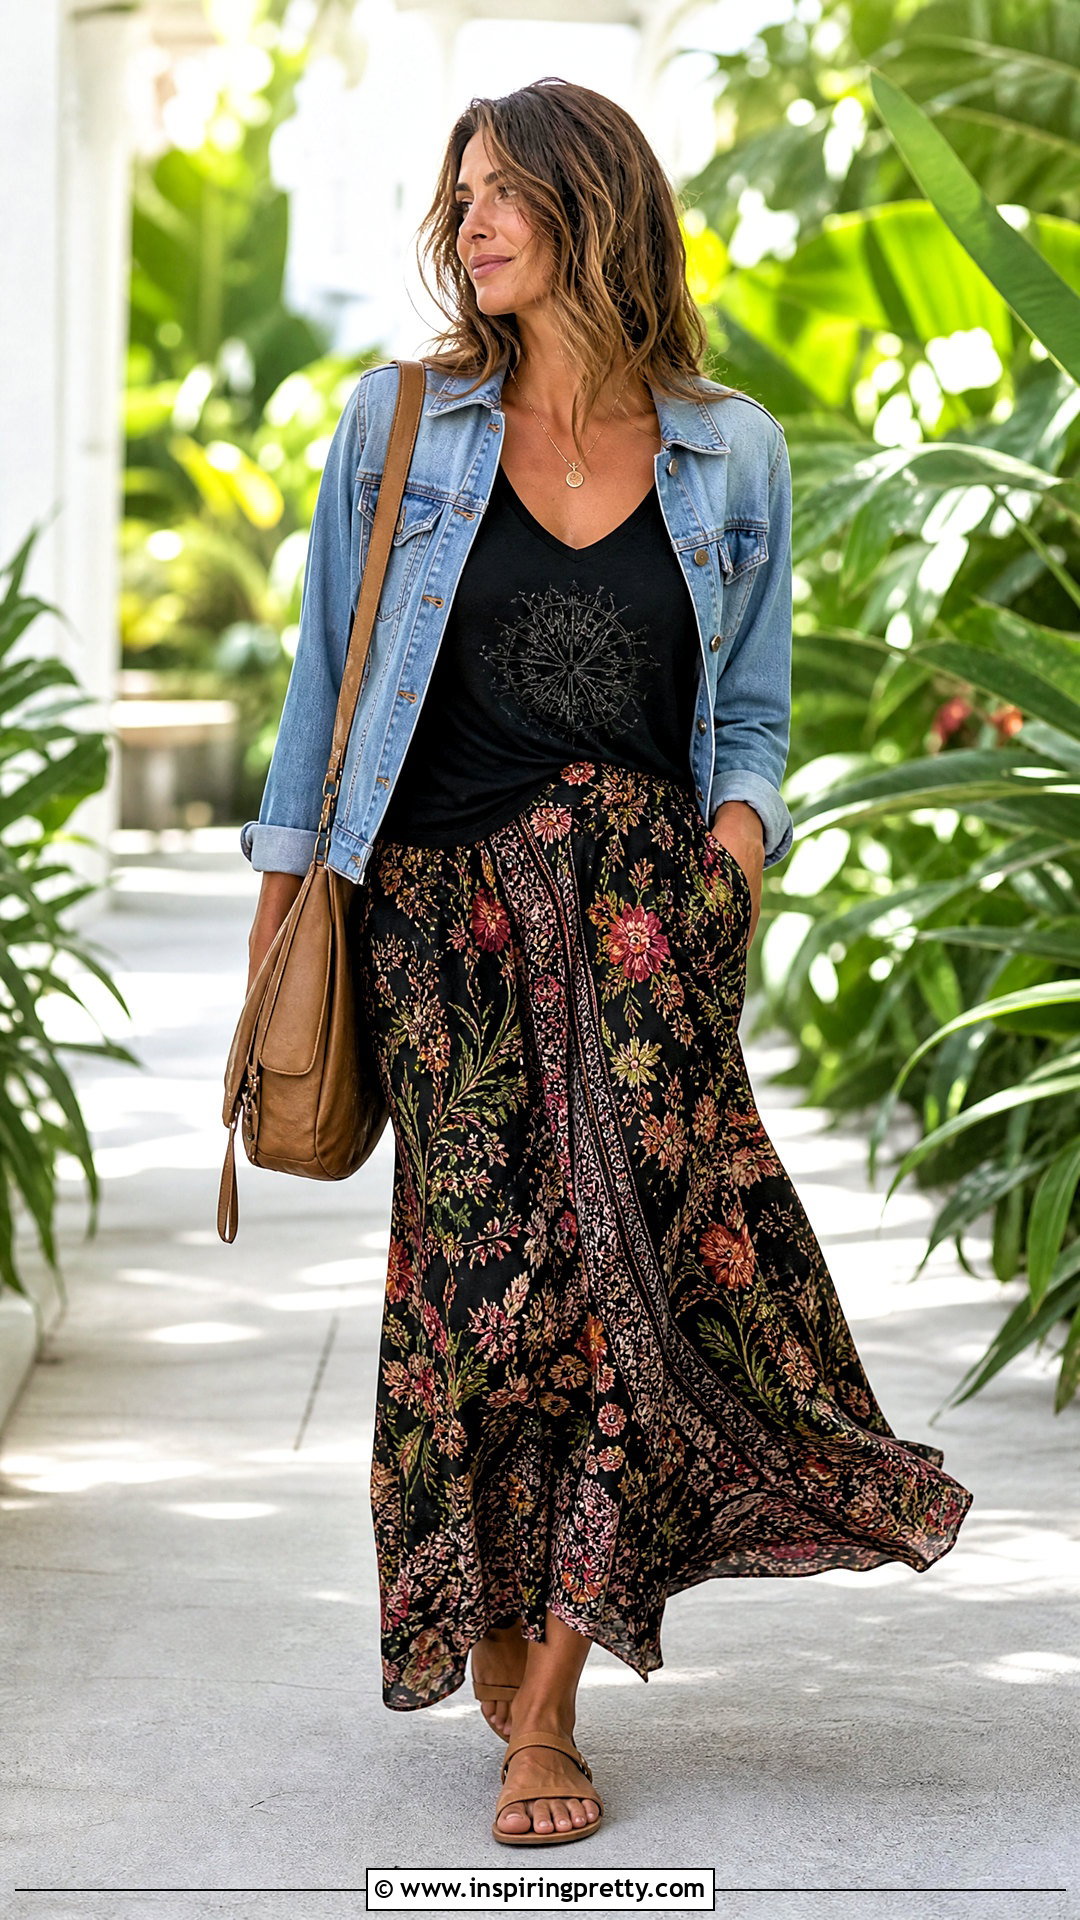
A V-neck tank adds clean lines to a basic sleeveless conversion. Mark the center front at your preferred depth, making sure it remains above any important graphic. Draw straight diagonal lines from that point toward the inner shoulder area. Cut only through the front layer and use small snips as you approach the point of the V. Remove the sleeves along matching curves, then decide whether to leave the edges raw or finish them with narrow binding made from leftover jersey. Style the finished tank with a maxi skirt, simple sandals, a lightweight denim jacket, and a practical shoulder bag. A shallow V offers more coverage and is easier for beginners. Reinforce the center point with several hand stitches if the knit fabric begins stretching or splitting after repeated wear.
18. T-Shirt Square-Neck Tank Top
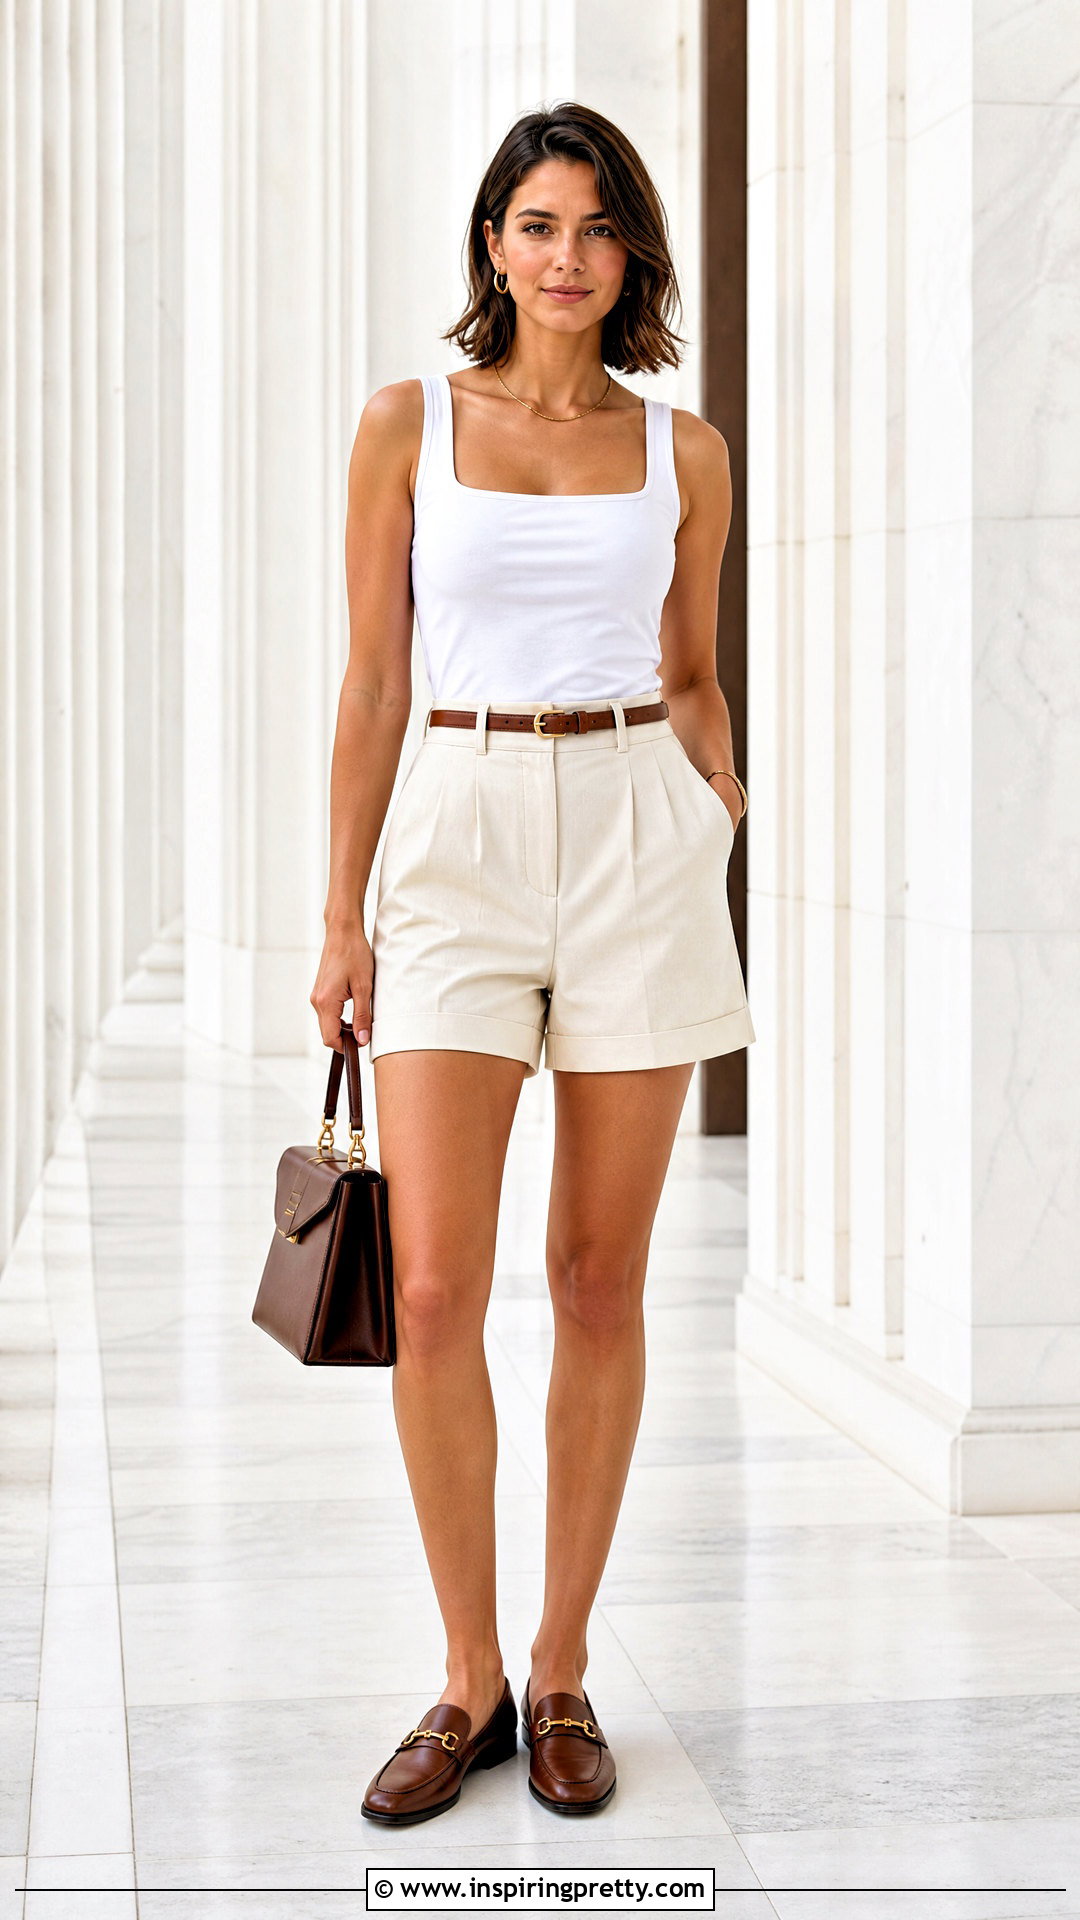
Turn a basic crew-neck tee into a square-neck tank for a more structured appearance. First, remove the sleeves while preserving medium-width shoulder straps. Use chalk and a ruler to draw a horizontal line across the upper chest, then connect it to two short vertical lines near the inner shoulders. Round the corners slightly because sharp interior corners may be harder to cut and finish neatly. Cut through the front layer only. For better stability, turn the raw edge inward and secure it with a stretch-friendly stitch or narrow fabric binding. Pair this tank with high-rise tailored shorts, loafers, a slim belt, and a structured handbag. Use a fitted or medium-weight T-shirt so the squared neckline holds its shape instead of collapsing or stretching outward.
19. T-Shirt One-Shoulder Tank Top
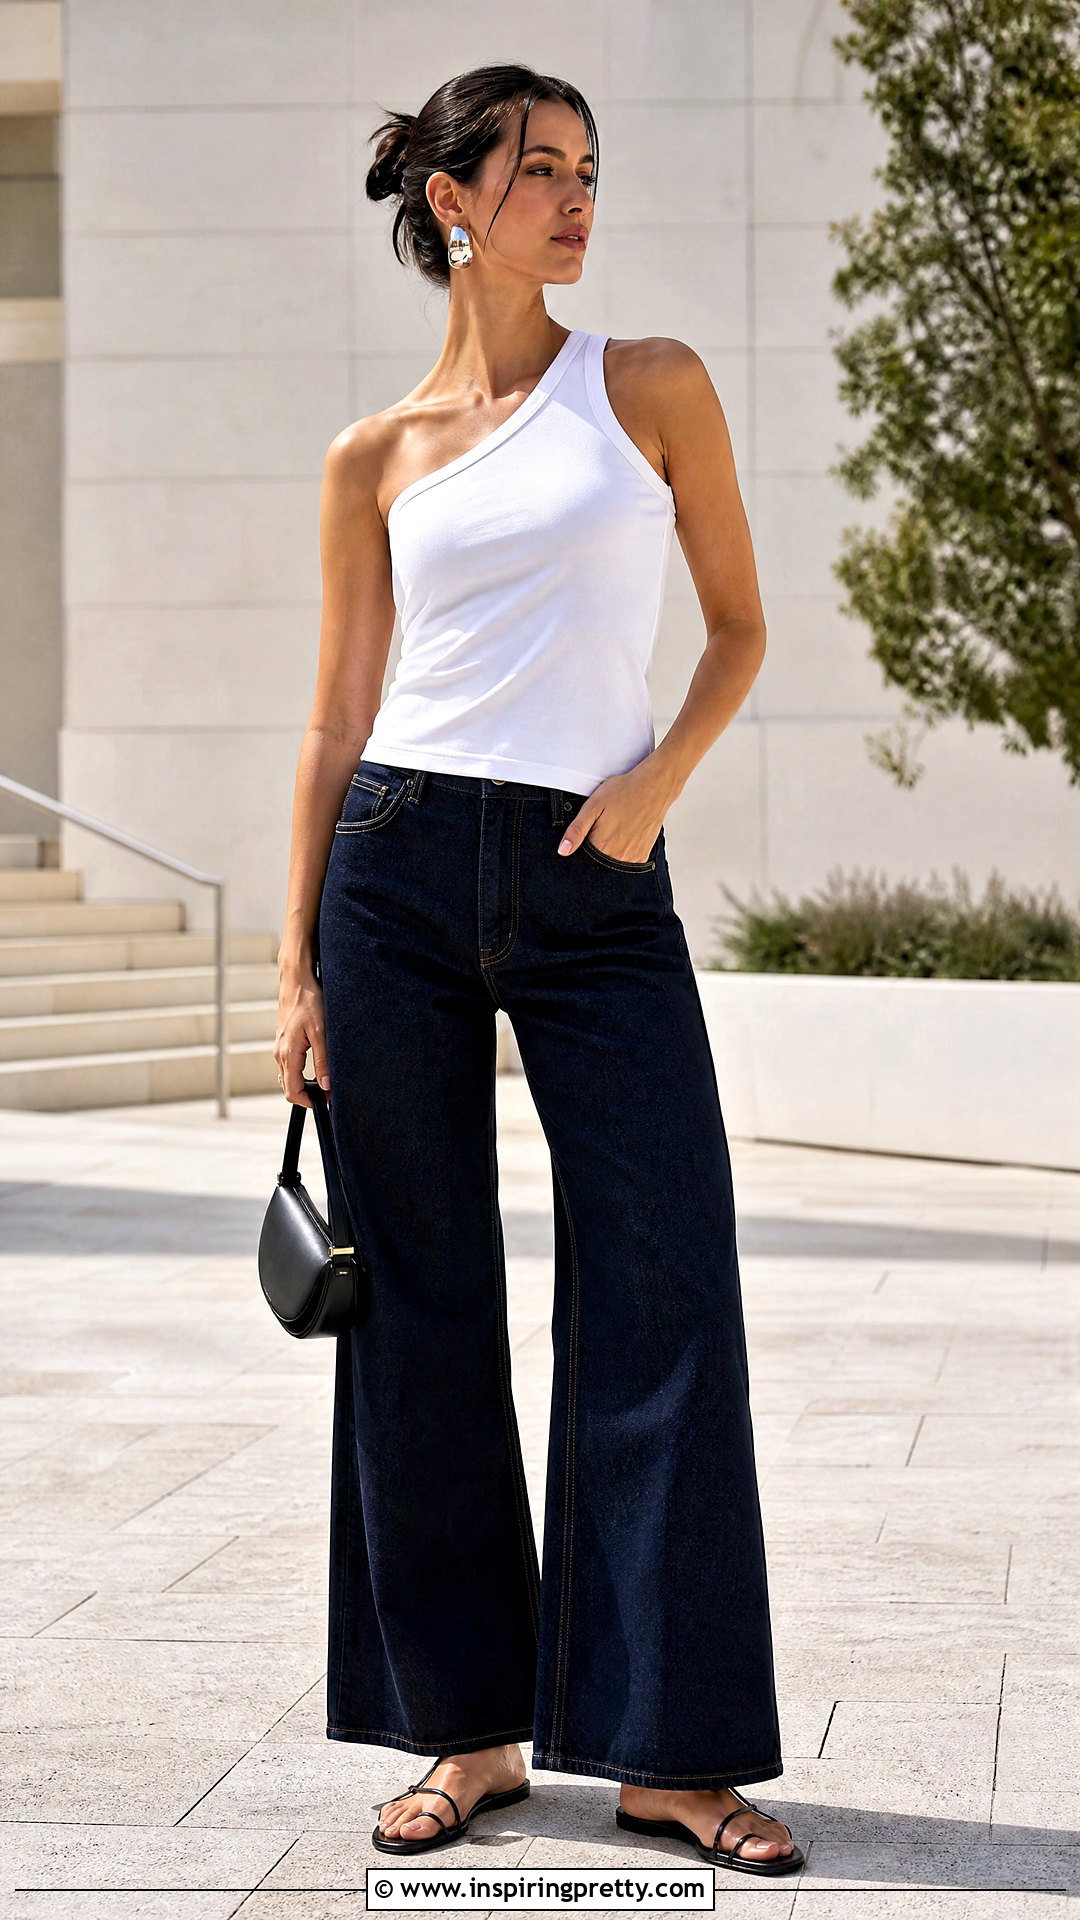
An asymmetrical tank can transform a plain oversized tee into a statement piece. Put the shirt on and mark the shoulder you want to retain. Once the shirt is flat, draw a diagonal line from the opposite underarm toward the chosen neckline area. Cut carefully through the front and back, keeping enough fabric on the remaining shoulder for stability. Refine the armhole and neckline gradually, then add a narrow sewn hem if you want a clean finish. Balance the finished one-shoulder tank with wide-leg jeans, sleek flat sandals, a compact bag, and simple metallic earrings. A strapless or convertible supportive layer keeps the neckline uncluttered. Choose a tee without a large centered graphic because the diagonal cut may interrupt artwork or make the front design appear uneven.
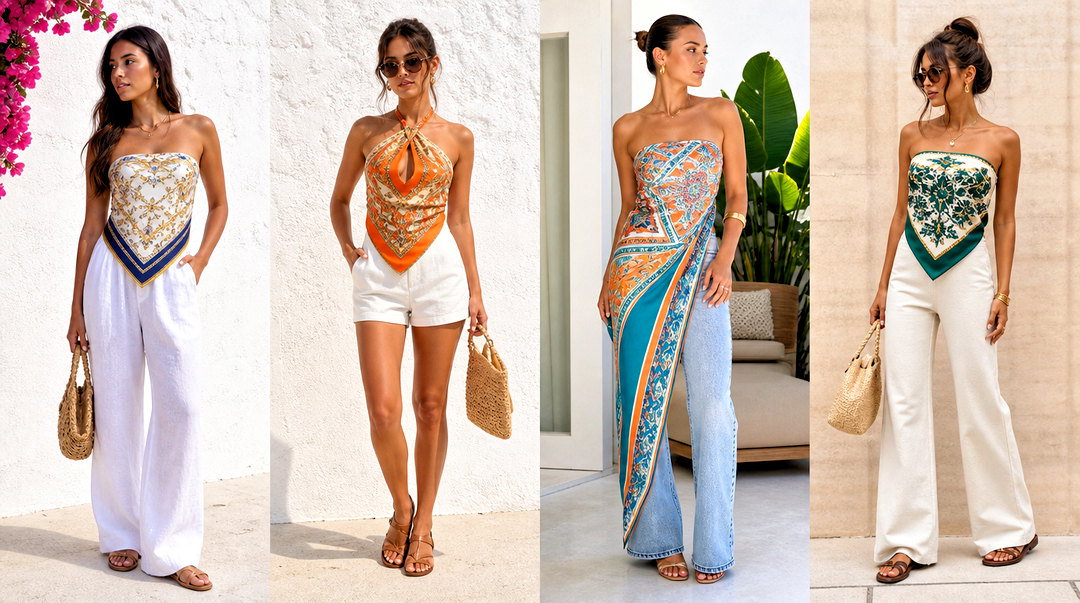
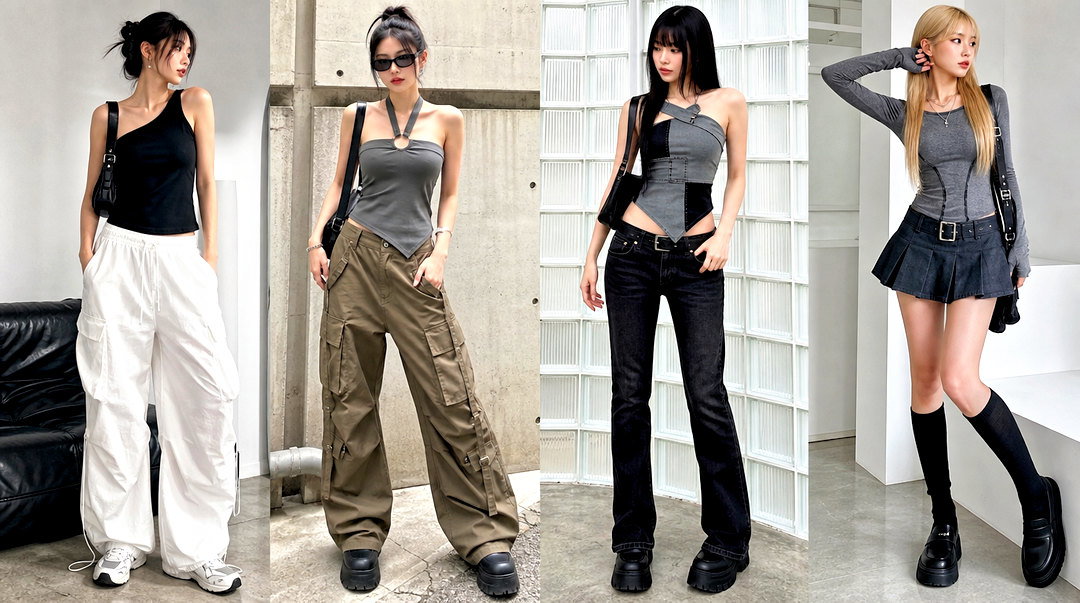
20. T-Shirt Double Strap Tank Top
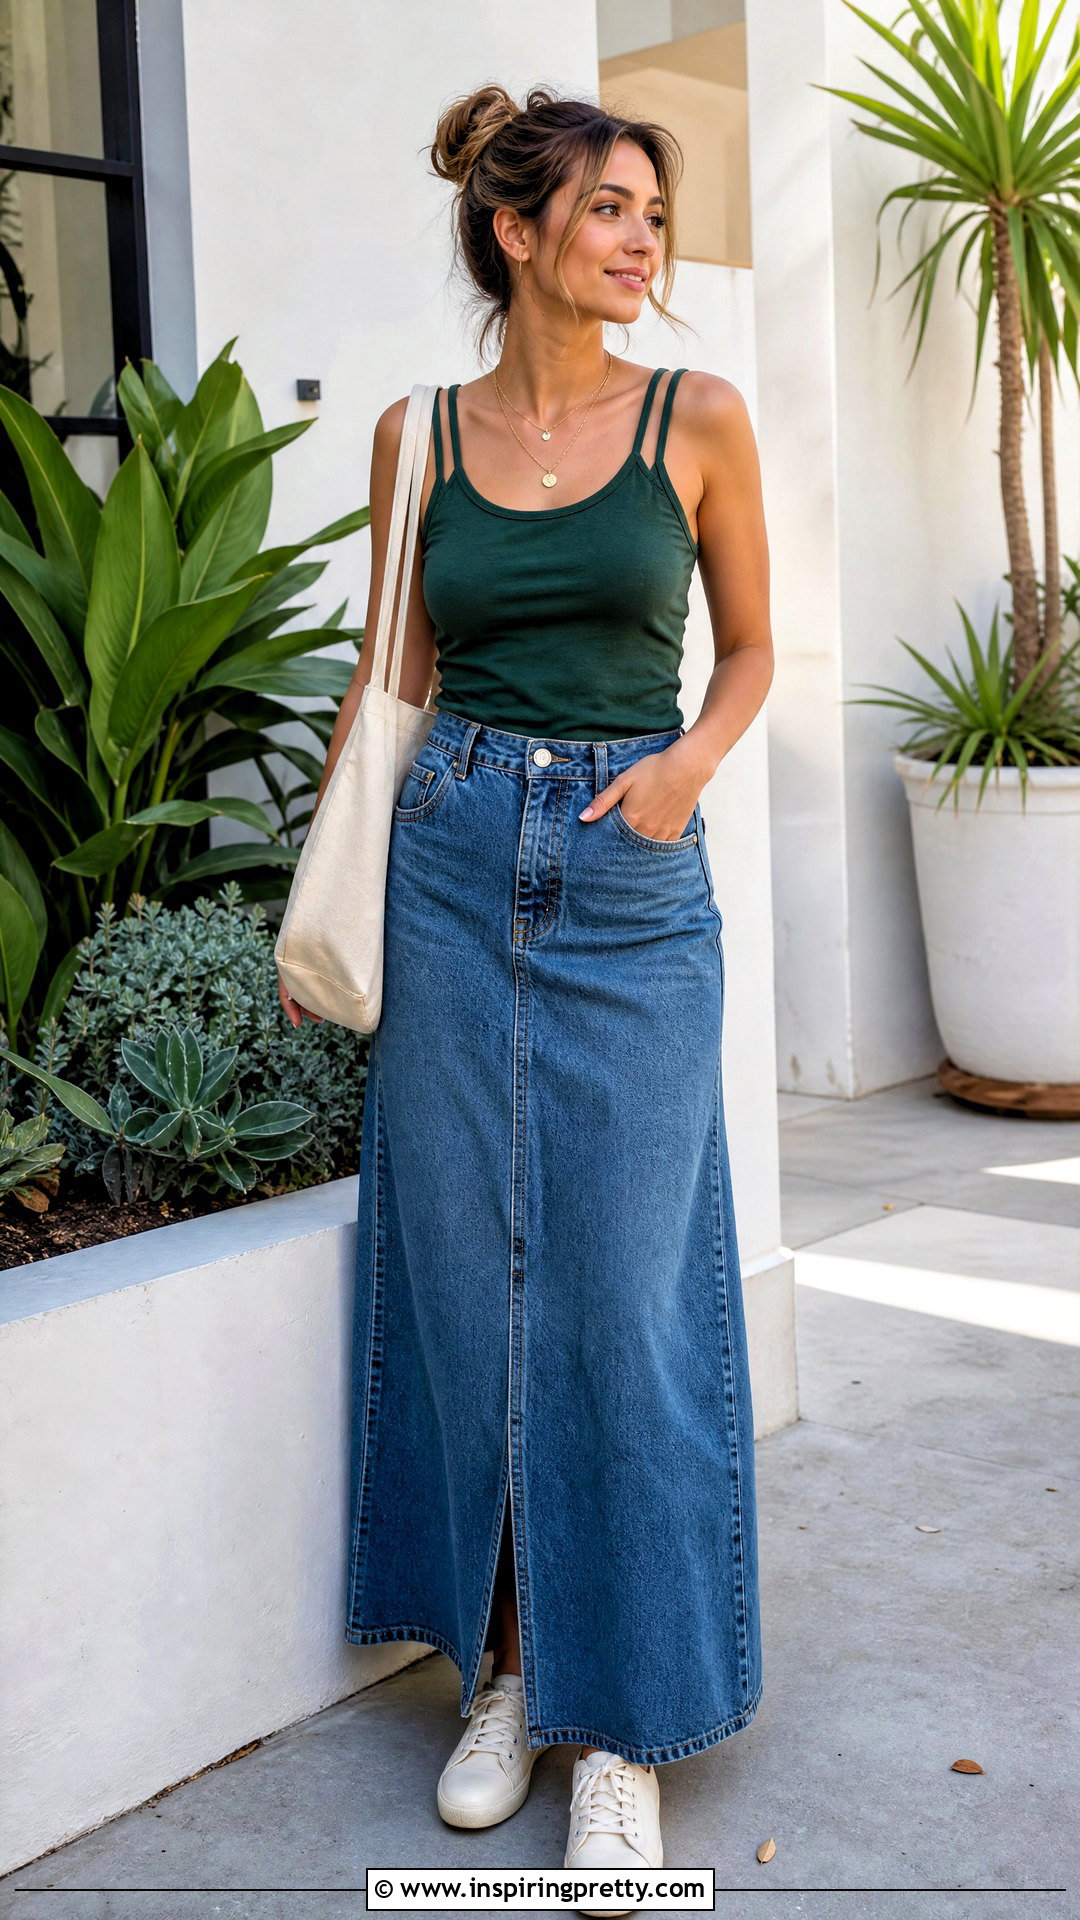
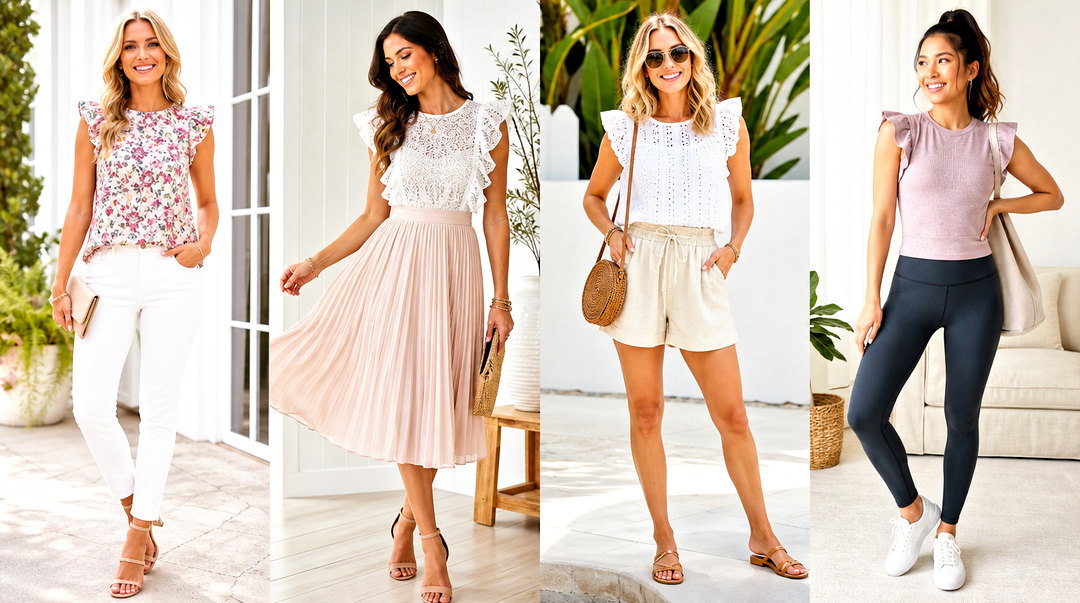
Double straps can make a straightforward tank conversion look more detailed and carefully planned. Begin with broad shoulder sections rather than immediately cutting narrow straps. Mark two parallel bands on each shoulder, leaving a slim opening between them. Cut the opening using small, precise snips while keeping the front and back bands connected. Shape the armholes and neckline around these straps, checking that all four bands are similar in width. Reinforce their attachment points with hand stitching if the fabric feels delicate. Pair the finished tank with a long denim skirt, low-top sneakers, a canvas shoulder bag, and subtle layered necklaces. This project works best on a medium or large tee with enough shoulder fabric. Avoid making very thin straps because unfinished jersey can stretch significantly over time.
21. T-Shirt Lace-Up Side Tank Top
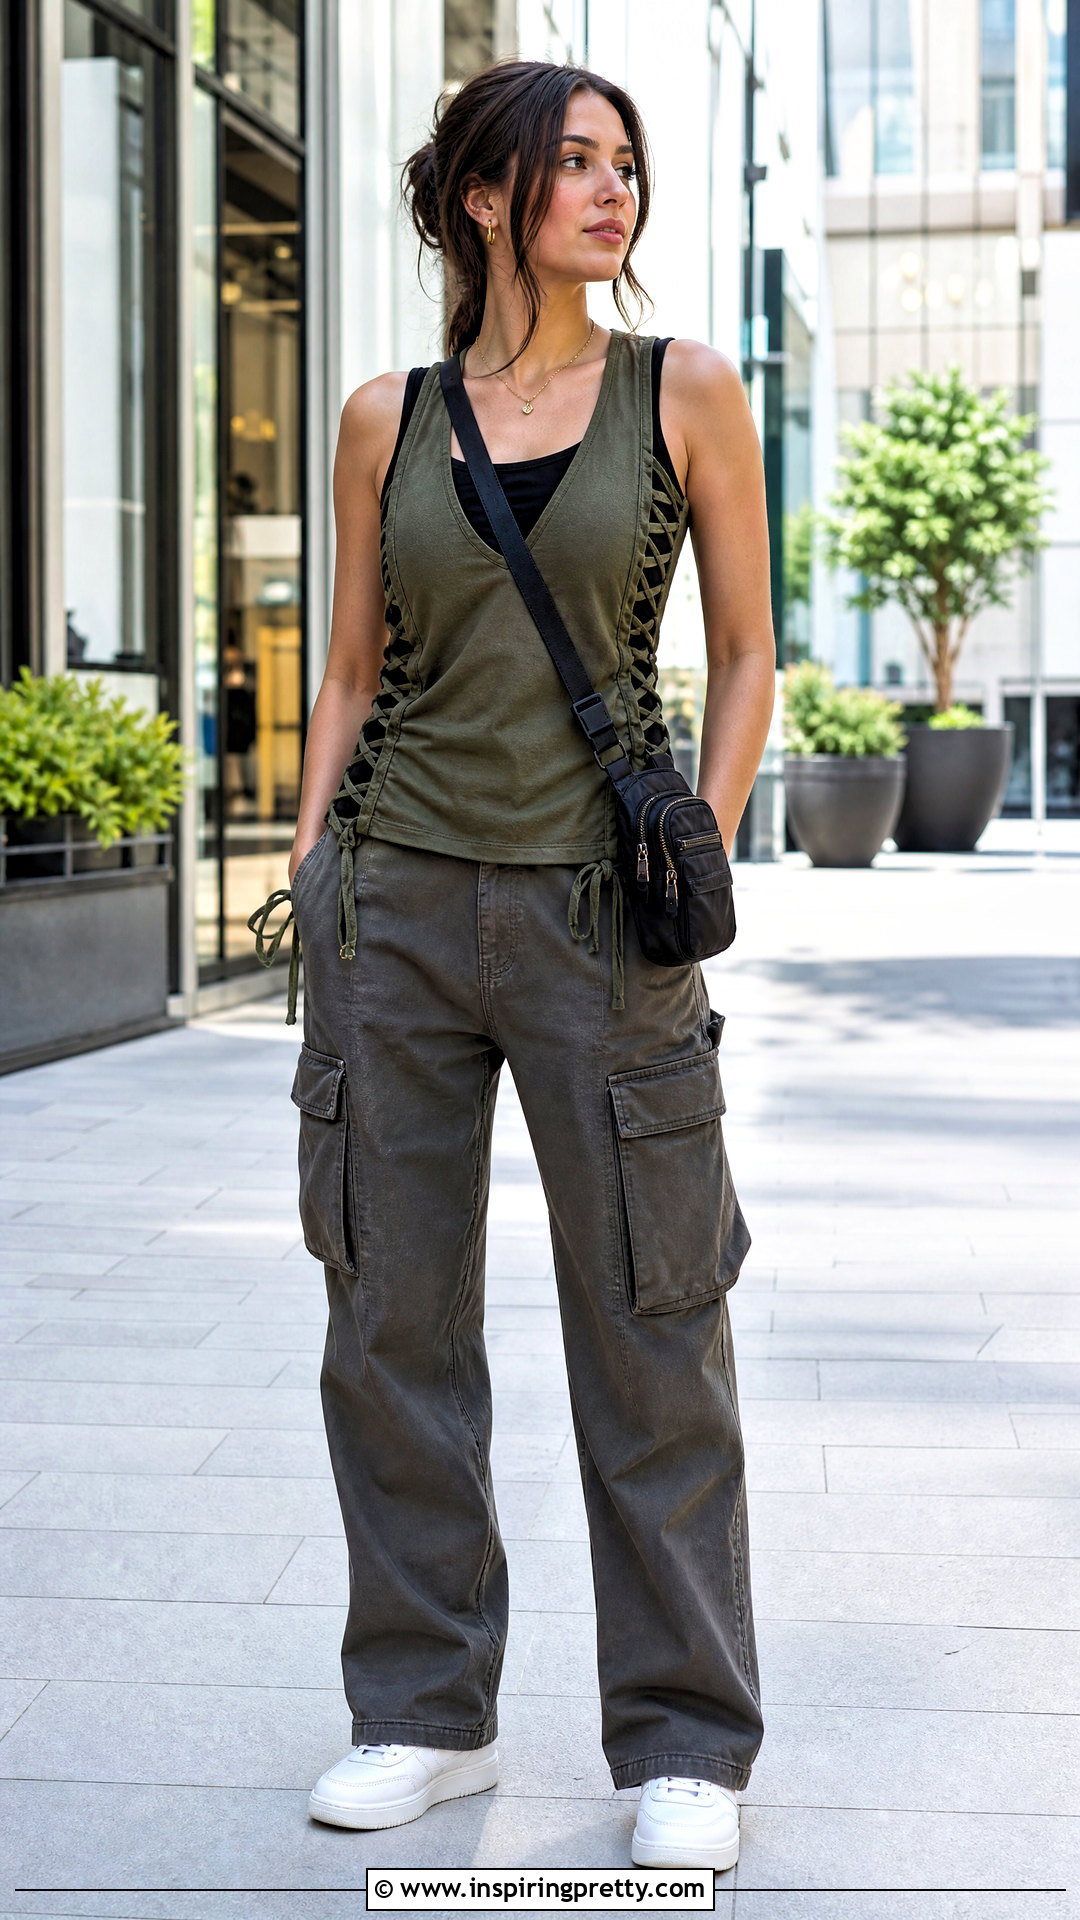
Lace-up sides offer adjustable shaping and make an oversized shirt feel more fitted. Convert the tee into a tank, then cut open each side seam from the hem to a safe point below the armhole. Create small, evenly spaced holes along both edges, keeping them far enough from the raw fabric to reduce tearing. Make laces from long strips of discarded jersey and stretch them into cords. Thread each cord through the holes in a crisscross pattern, then tie it securely near the hem. Wear the tank over a fitted camisole or sports bra with straight-leg cargo pants, sneakers, and a utility-style crossbody bag. Loosen the lacing for a relaxed fit or tighten it for definition. Reinforce every hole with stitching when using thin, worn fabric.
22. T-Shirt Open-Back Tie Tank Top
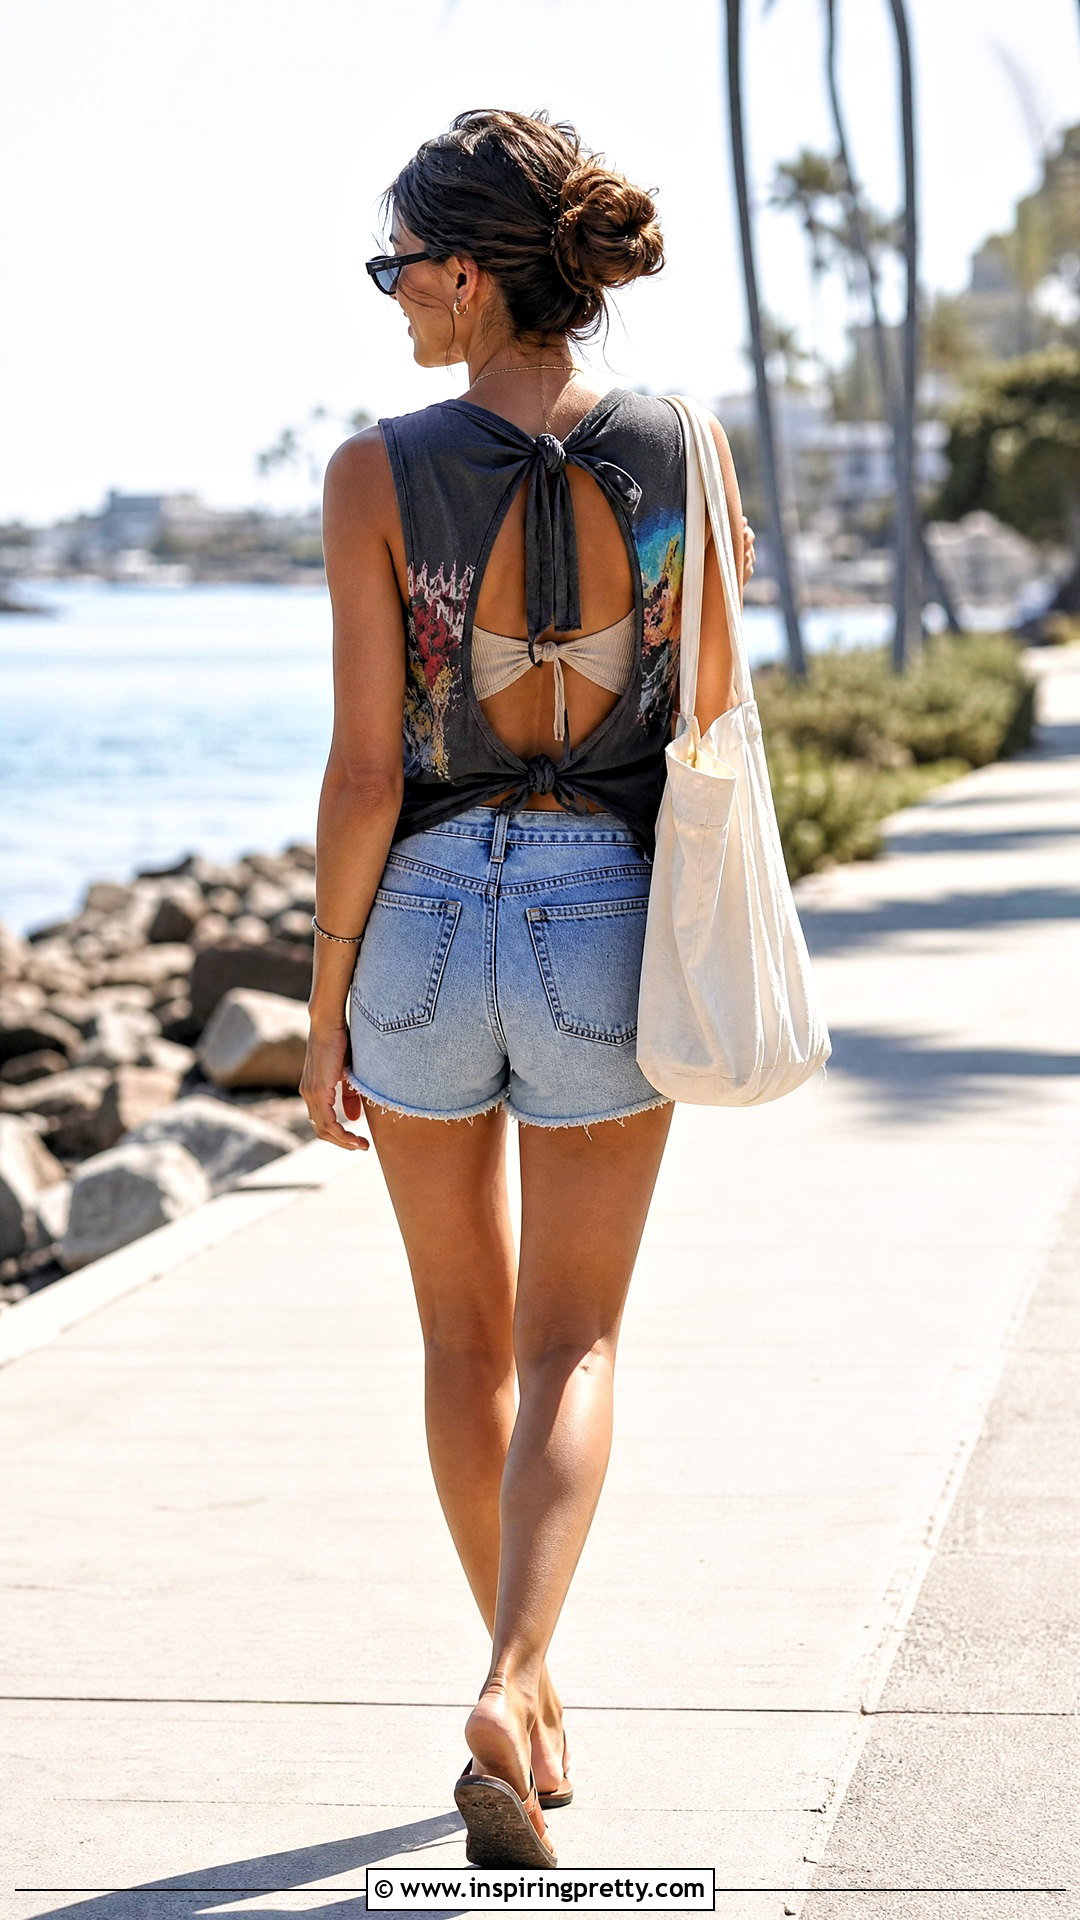
An open-back tie tank provides adjustable airflow and an eye-catching rear view. After creating standard front armholes and a comfortable neckline, turn the shirt over. Draw a wide U-shaped opening across the back, stopping well above the lower hem. Leave two long fabric sections near the center or sides that can be shaped into ties. Cut only the back layer, then trim the ties evenly and knot them at the waist or mid-back. Pair the finished top with a supportive decorative-back layer, high-rise shorts, walking sandals, sunglasses, and a lightweight tote. Keep the front panel intact for balance and coverage. Before cutting, use safety pins to test where the opening should begin so it does not interfere with the supportive garment worn underneath.
23. T-Shirt Gathered Neck Tank Top
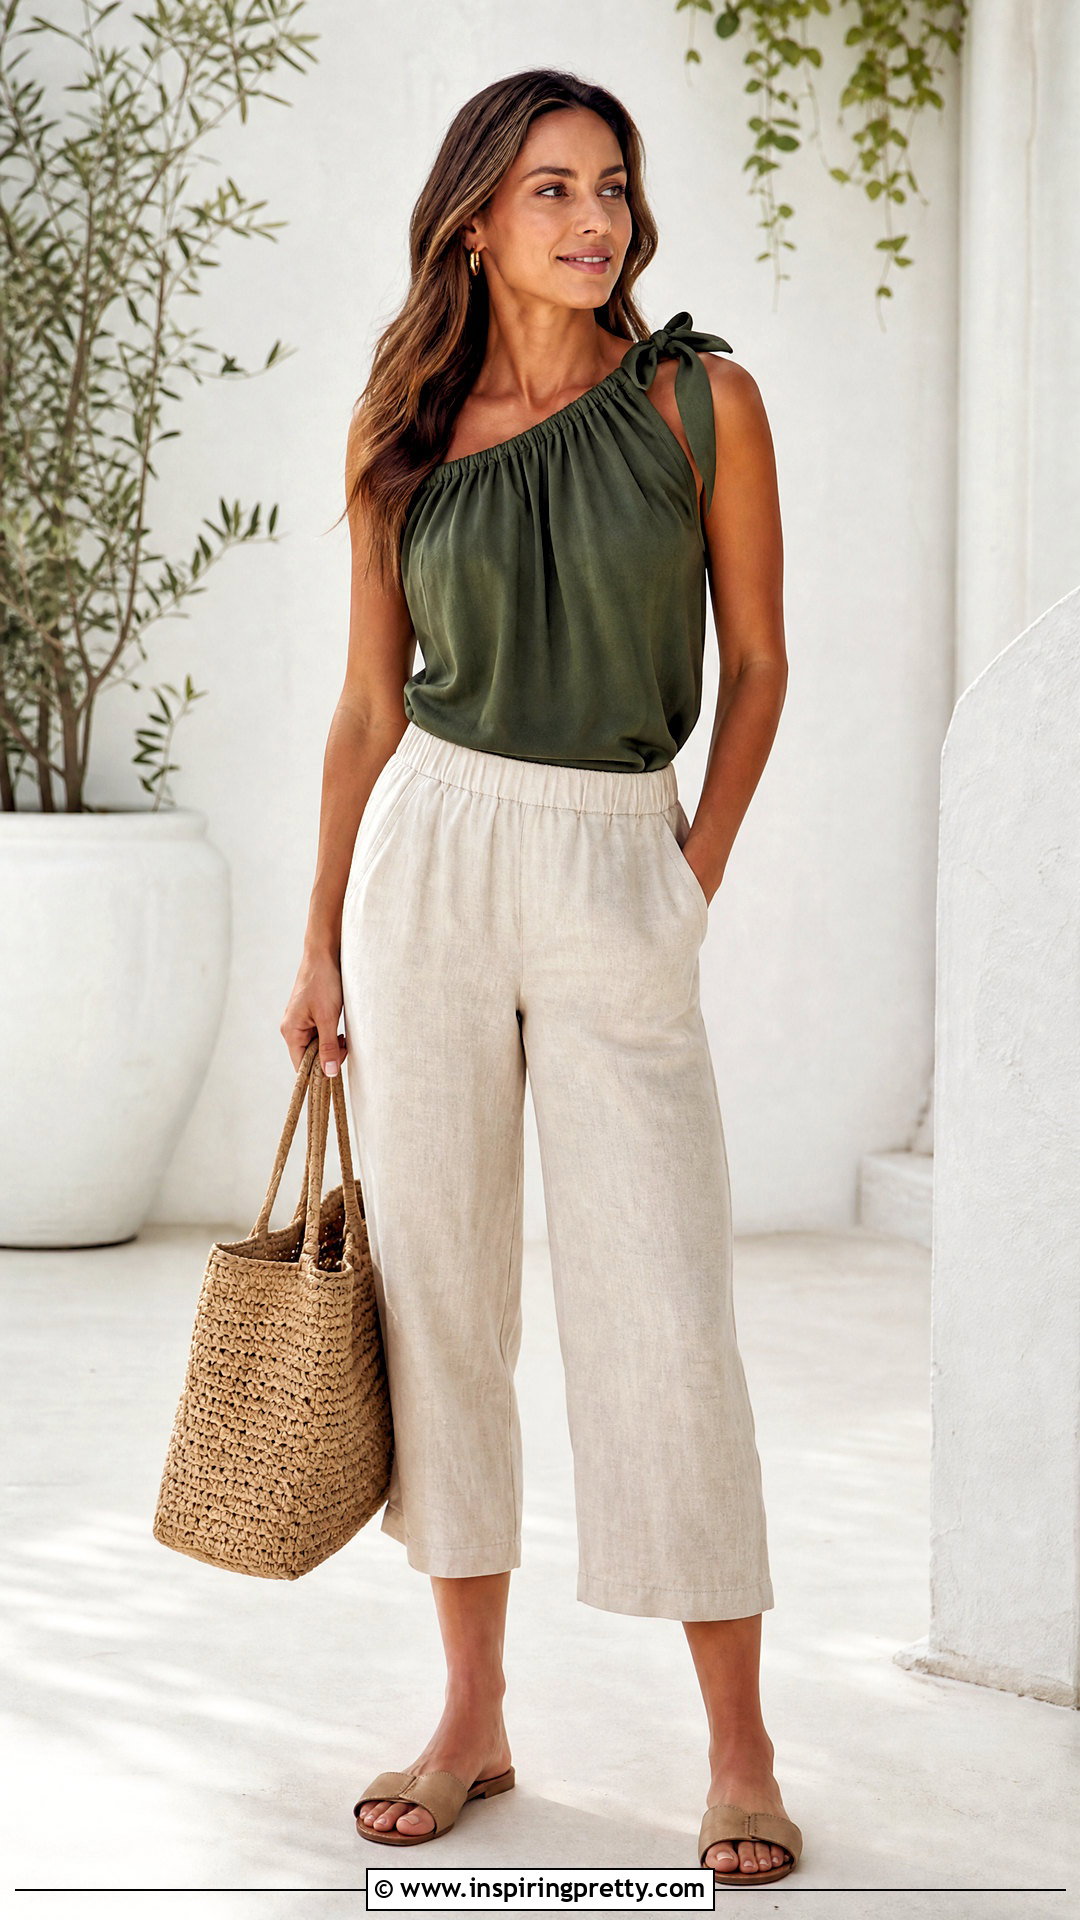
A gathered neckline brings shape to soft jersey and offers an alternative to raw-cut shoulder straps. Remove the sleeves and cut away the original collar, creating a wide neckline across the front and back. Fold the upper edge inward to form a narrow channel, then sew it with a stretch stitch while leaving a small opening. Thread a long strip of T-shirt fabric or soft cord through the channel. Gather the neckline until the tank fits securely, and tie the ends at one shoulder or the center back. Style it with cropped linen pants, flat slides, a woven tote, and small hoop earrings. Keep the gathers evenly distributed for a balanced drape. An oversized lightweight tee gives you enough fabric for fullness without making the finished neckline feel bulky.
24. T-Shirt Ruffled Strap Tank Top
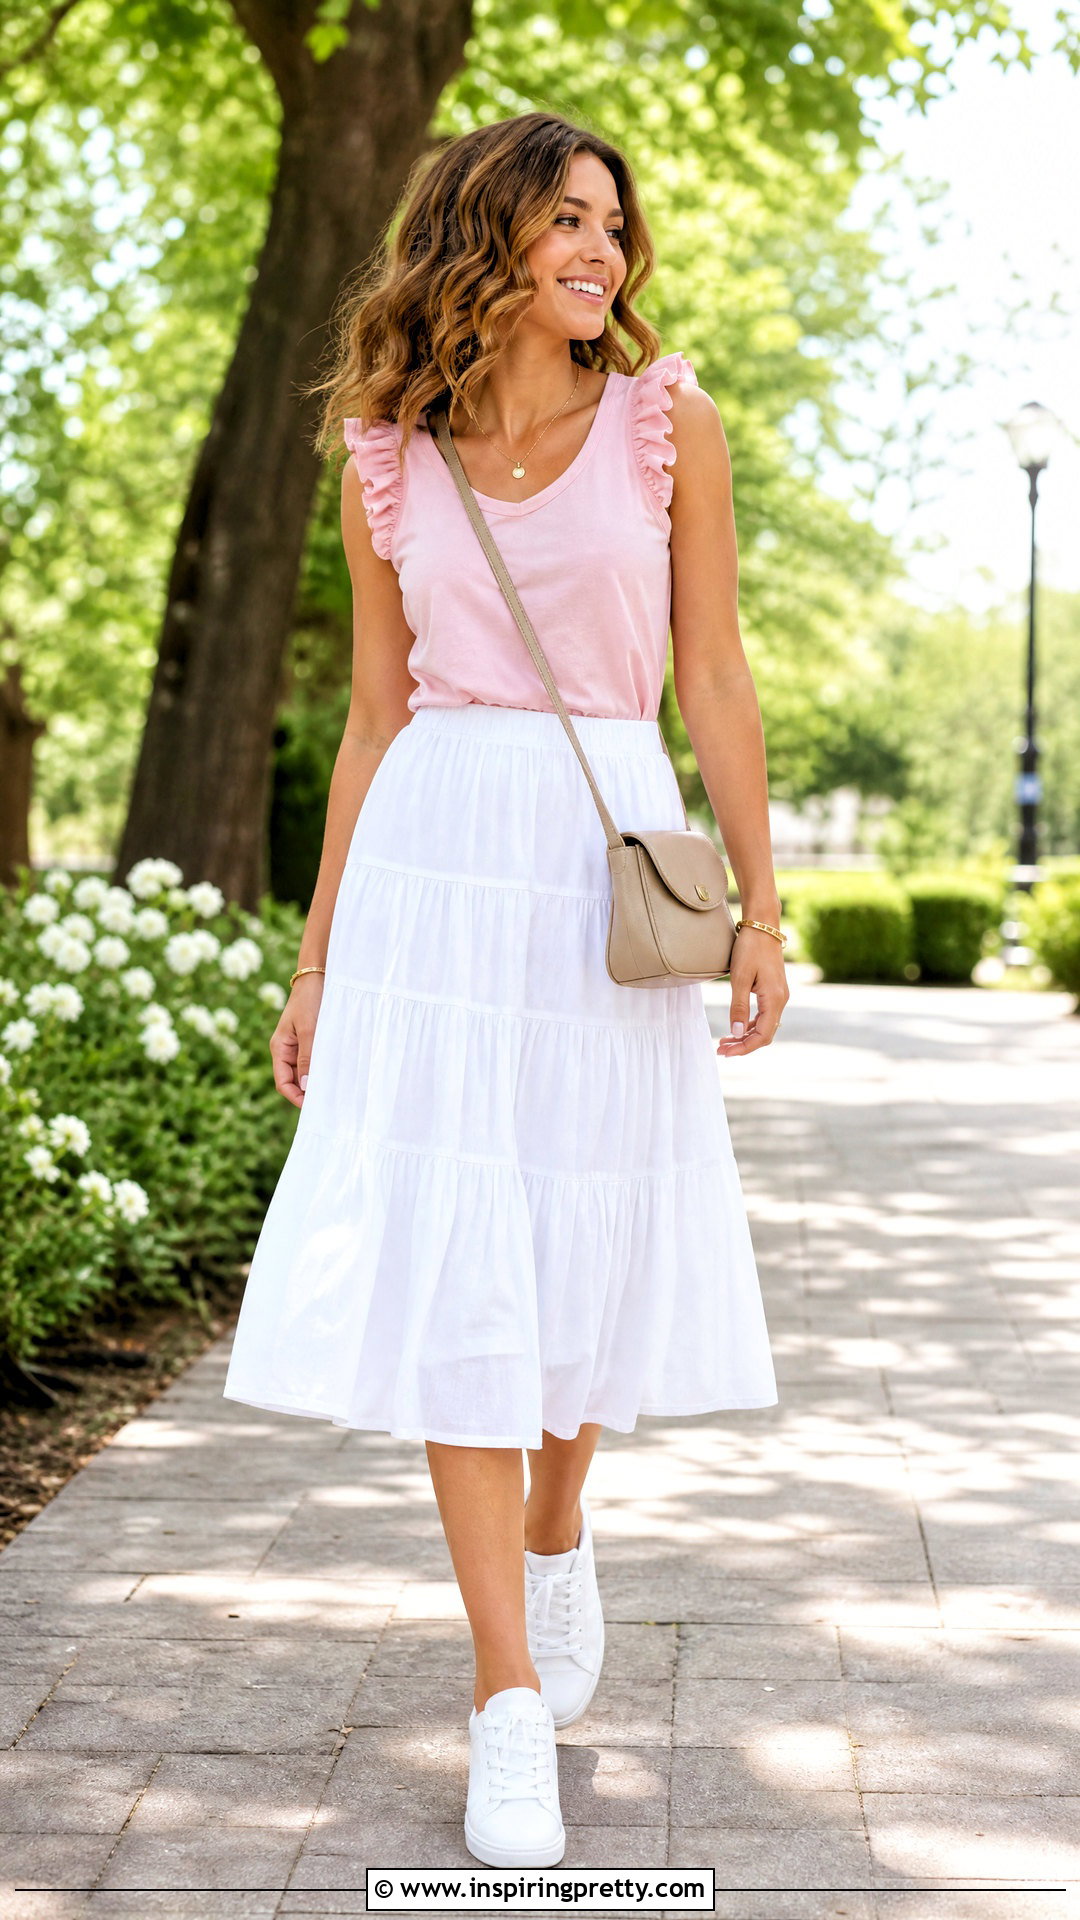
Use fabric from the sleeves or hem to give a simple tank soft ruffled straps. First, cut the body into a fitted or straight tank shape, leaving secure shoulder sections. Cut two long strips from the discarded fabric and gently stretch one edge while gathering the other with hand stitches. Arrange each ruffle along a shoulder strap, then sew it in place using small stitches that can move with the knit. Keep the ruffles narrow so they do not overwhelm the neckline or interfere with arm movement. Complete the outfit with a tiered midi skirt, white sneakers, a small crossbody bag, and understated jewelry. Matching fabric creates a coordinated result, while scraps from a second tee can add controlled contrast. Pin both ruffles in position before sewing to ensure symmetry.
25. T-Shirt Peplum Tank Top
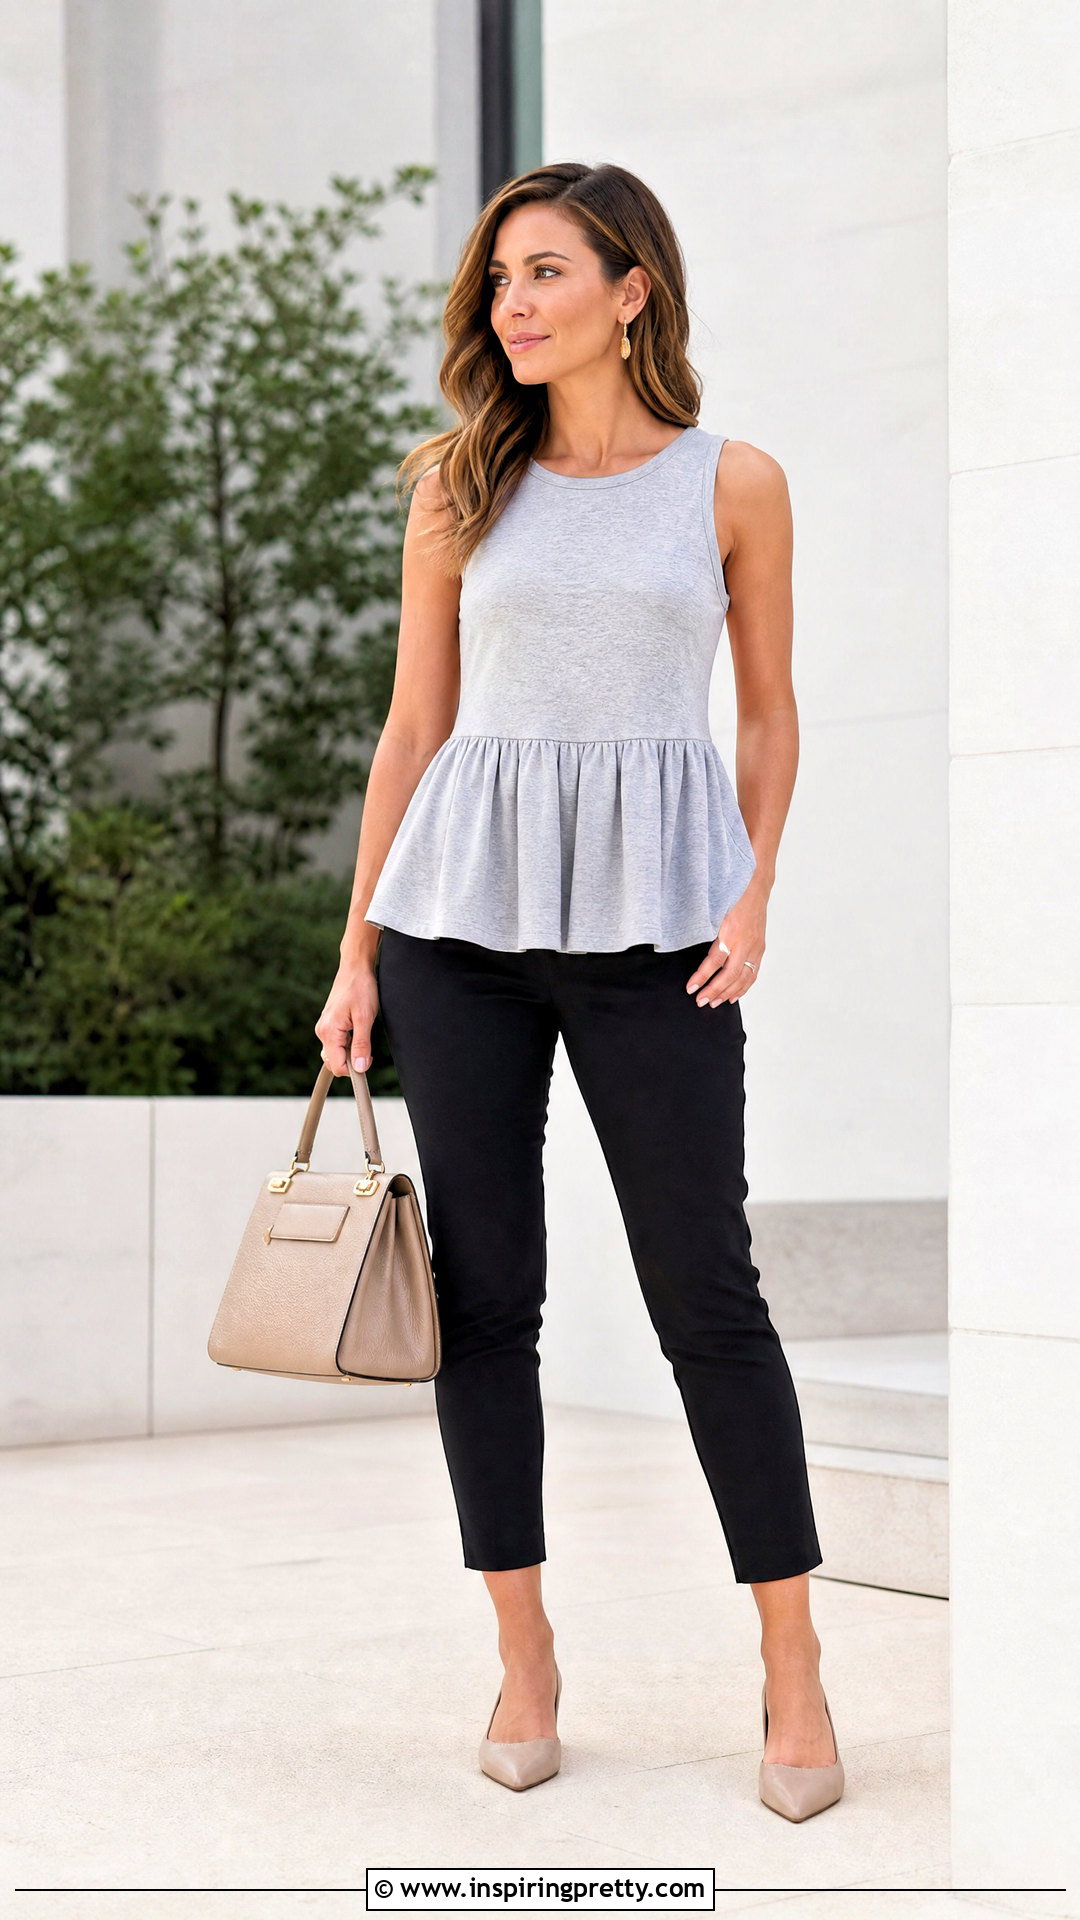
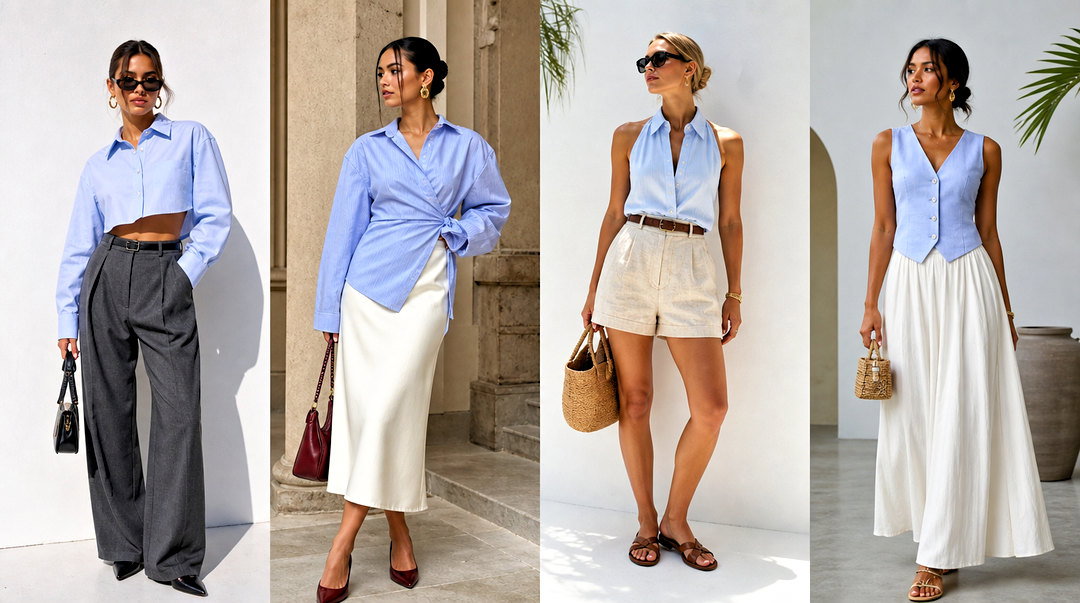
A peplum tank combines a fitted sleeveless bodice with a gently flared lower section. Choose one fitted tee for the top and use its upper body to create a scoop-neck or high-neck tank. Mark the natural waist, cut across it, and retain the top portion. From a second coordinating tee, cut a wide horizontal panel. Gather the panel’s upper edge until it matches the tank’s waist measurement, then sew the two pieces together with stretch-friendly stitching. The extra width forms a soft peplum below the seam. Style the finished top with slim ankle pants, pointed flats, a structured handbag, and delicate earrings. Keep the gathered seam comfortable rather than tight. This project requires more sewing than a raw-cut tank, but it creates a polished upcycled garment with clear waist definition.
Conclusion:
These 25 tshirts to tank tops diy ideas show how many useful designs can come from clothing already sitting in your closet. Start with a basic no-sew tank if you are new to upcycling, then progress to racerbacks, fringe, ties, braiding, gathered necklines, or sewn peplum shapes. Always wash the shirt first, measure while wearing it, and remove less fabric than you think you need. Sharp scissors, washable chalk, and a favorite tank template can make each project easier. Most importantly, customize the length, neckline, armholes, and coverage for your body and wardrobe. With patient cutting and a few styling additions, an overlooked T-shirt can become a complete, wearable outfit centerpiece.
Related posts:


Leave a Reply