
A halter is one of the friendliest shapes for a first sewing or refashion project. There's no sleeve to set, no collar, and the ties forgive a lot of fitting guesswork. An unused shirt, a big scarf or a leftover length of fabric is often enough. Below are 25 handmade halters with full outfits around them, from jeans and cargo pants to satin skirts and matching sets. For each one I've noted the construction step most likely to go wrong, plus the bottoms and shoes I'd wear it with. Adjust the length, coverage and strap width to your own body as you go. That flexibility is the whole point of making it yourself.

Neck Ties That Won't Ache by Evening
Every halter hangs from the back of your neck, and that's where homemade versions usually fail. A thin string tie carries the weight of the whole front on a small strip of skin, and by late afternoon it's sore. Wider straps spread that weight. I aim for at least a finger's width, wider if the front is lined or crocheted.
- Cut ties as tubes, sew them and turn them right side out. A folded strip with the edges tucked in works too and is easier on knits.
- Make them longer than you need. You can trim later, but a short tie forces a tight knot.
- Add a band or elastic across the back of the top. When the back holds snugly against the ribs, the neck carries far less of the load.
- Try a button or hook at the neck instead of a knot if knots press on your spine.
It also helps to know what a halter does to your shape. The straps angle inward from the armpits, which makes shoulders look narrower. That's flattering on broad shoulders, and less so if yours already slope. Wider set straps soften the effect.
1. DIY T-Shirt Halter Top With High-Waisted Jeans

An oversized cotton tee is the easiest starting fabric, as long as it's heavy enough to hold a shape. Mark the halter neckline while wearing it over a fitted top, then take it off before cutting. Jersey doesn't fray, so you can leave the edges raw or stretch them gently to roll, though a narrow hem looks tidier after washing. High-waisted straight-leg jeans make a balanced partner, with white sneakers and a canvas bag. Small hoops are plenty. One thing I'd watch: cut the armholes a little higher than you think, because jersey relaxes and they drop as the day goes on.
2. DIY Scarf Halter Top With Wide-Leg Pants

A large square scarf becomes a halter with almost no sewing. Fold it into a triangle, lay the long edge across your chest and tie the corners at the neck and back. Silk scarves slide, so I stitch ribbon ties onto the corners and wear a fitted bandeau underneath for security. Style the scarf halter with high-waisted wide-leg pants in a solid color pulled from the print. Flat leather sandals and a small woven bag keep it calm. Skip the necklace and let the scarf carry the outfit. It's a good holiday top because it packs flat.
3. DIY Bandana Halter Top With Denim Shorts

One bandana is rarely big enough to cover comfortably, which is why I join two. Sew them along one edge, shape the front into a triangle and add ties at the neck and back. Bandana cotton has no stretch, so pin and try it on before finishing any seam. Wear the bandana halter with high-rise denim shorts and white sneakers, plus an open button-down when you need cover from the sun. A small crossbody and studs finish it. Bandana prints are busy, so plain denim keeps the outfit readable.
4. DIY Crochet Halter Top With A Maxi Skirt

The simplest crochet halter is two triangle cups, a band at the bottom and long ties. Cotton yarn shows the stitch pattern clearly and holds its shape, while acrylic tends to stretch out of place in the heat. For more coverage, add rows around the cups or sew in a soft lining. A flowing high-waisted maxi in tan or a color from the yarn balances the open texture. Flat strappy sandals and a woven tote suit it. Keep the skirt plain when the crochet is detailed. Cotton crochet grows when it's damp, so dry it flat rather than hanging it.
5. DIY Patchwork Halter Top With Cargo Pants

Old T-shirt scraps make a patchwork halter with real personality, and it's a kind way to reuse a sentimental shirt that's stained or torn. Lay the pieces out flat and move them around until the colors balance before you sew anything. Join them into one panel, trace a halter shape and add wide ties. Press the seams open, or the patchwork gets lumpy where several pieces meet. Relaxed cargo pants contrast the fitted shape, with platform sneakers or sturdy sandals. The top already brings plenty of color, so the accessories can stay plain.
6. DIY Button-Down Halter Top With Linen Shorts

An oversized button-down keeps its front buttons as a detail when you turn it into a halter. Remove the sleeves, reshape the neckline and cut sturdy straps from the sleeve fabric. Shirting is a woven, so add darts or side ties if you want a closer fit at the waist. Tailored linen shorts make it polished enough for lunch out. Leather slides and medium hoops finish it. Blue and white or cream and tan keep it light. I'd stay-stitch the new armholes right after cutting, because shirting stretches along curved edges while you work.
7. DIY Pillowcase Halter Top With A Midi Skirt

A clean pillowcase has enough fabric for a simple halter, and its finished hem can become your neckline or lower edge. Trace a top that already fits you, adding seam allowance and a little room to move. Bias tape or ribbon makes easy straps, with elastic or ties at the back. A high-waisted midi skirt with gentle movement suits it better than a very full one. Ballet flats and a small shoulder bag work for daytime parties. A plain pillowcase can be painted or embroidered first. Pillowcase cotton is often thin, so hold it up to the light and line it if needed.
8. DIY Satin Halter Top With Tailored Trousers

A satin remnant can become a sleek halter that looks far harder to make than it is. A cowl-front or gathered neck shows off the drape. Satin slips while cutting, so I lay it on tissue paper and pin through both, which keeps it from sliding. Use fine pins inside the seam allowance; satin holds pin holes. Tailored high-waisted trousers balance the soft fabric, with pointed flats and a clutch. A light blazer works as a layer. Champagne with black or emerald with cream lets the satin shine without competing colors.
9. DIY Tank Top Halter With A Denim Skirt

A fitted tank top becomes a halter with very little sewing: remove the outer straps and reshape the remaining fabric into ties. The side seams and hem stay intact. Reinforce the new neckline with clear elastic so it doesn't stretch out, and keep trying it on as you adjust the ties. A high-rise denim midi skirt gives it a clean shape. Retro sneakers and a bucket bag finish it. Plain tanks can take contrast stitching or a lettuce-edge hem, which you get by stretching the edge as you zigzag. A cropped cardigan helps once the evening cools.
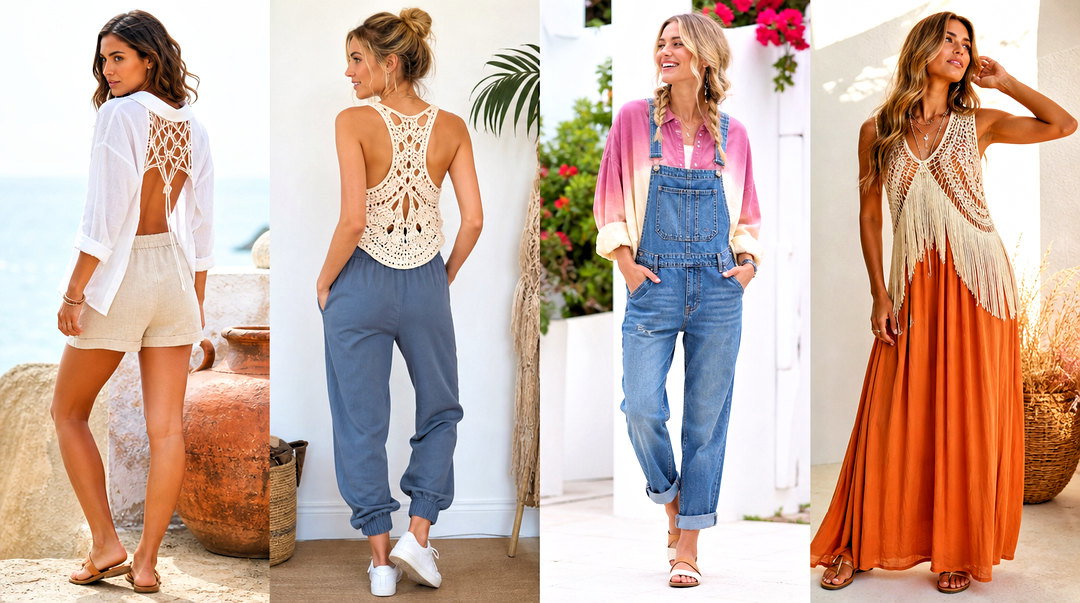
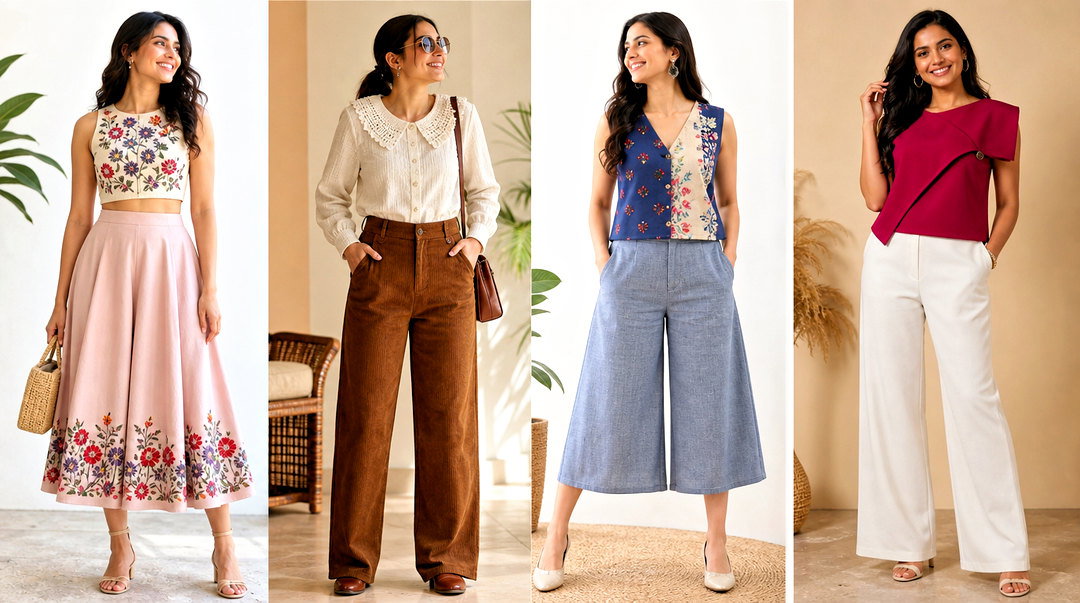
10. DIY Graphic Tee Halter Top With Black Shorts

With a graphic tee, the artwork decides everything. Pick a shirt where the design sits high enough to survive the cut, then sketch the neckline around it. Remove the sleeves and extend fabric at the shoulders into neck ties. Crop the hem to meet your shorts or leave it full length. High-waisted black shorts, lace-up sneakers and a small backpack give it a streetwear feel. Screen prints crack if you stitch through them, so keep seams outside the printed area. Bind the neck and armholes with strips cut from the discarded sleeves for a matching finish.
11. DIY Tie-Dye Halter Top With White Jeans

Dye the shirt first and shape the halter after. Apply a simple spiral or crumple tie-dye pattern to a plain cotton tee, wash and dry it, then cut. Working in that order lets you choose where the color lands on your chest. Related shades, like blues and greens, look far more wearable than a full rainbow. White high-waisted jeans give it a crisp base. Neutral platform sandals and a light crossbody keep it simple. Wash the finished top alone a few times, since fiber-reactive dyes can still release a little color.
12. DIY Lace-Trim Halter Top With A Maxi Skirt

Lace trim takes a plain halter up a notch, but only on one or two edges. Trim on every edge looks busy. Choose a soft lace that won't scratch, and prewash it if the main fabric has been washed, or it may shrink at a different rate and pucker the seam. A lined cotton or jersey base keeps the coverage while the lace stays decorative. Pair it with a solid high-rise maxi skirt and low-heeled sandals. Stretch lace suits knit tops; rigid lace belongs on woven fabric. A light cardigan covers the shoulders.
13. DIY Denim Halter Top With White Pants

Lightweight denim from an old shirt or dress makes a structured halter. Heavy jeans denim is too stiff at the neck. Use a fitted top as the template, but leave generous seam allowance because woven denim has little give. A buttoned back, lace-up panel or adjustable ties make it far easier to fit. High-waisted white pants create a clean blue and white combination, with tan sandals and a structured bag. Contrast thread along the neckline echoes classic denim stitching. Use a denim needle and a longer stitch where seams cross, or the machine may skip.
14. DIY Ribbed Halter Top With Jogger Pants

A ribbed tank or knit remnant turns into a halter you'll want to live in on lazy days. Wide neck straps spread the pressure; thin ties dig into the back of the neck. A double layer at the front hides bra lines and gives a smoother finish. Keep the tank's original hem to save sewing. High-waisted joggers, clean sneakers and a belt bag suit travel and weekends. Black or olive stays coordinated, though a bright halter livens up plain athletic pieces. Rib can pill where a bag strap rubs, so carry a crossbody on the other side.
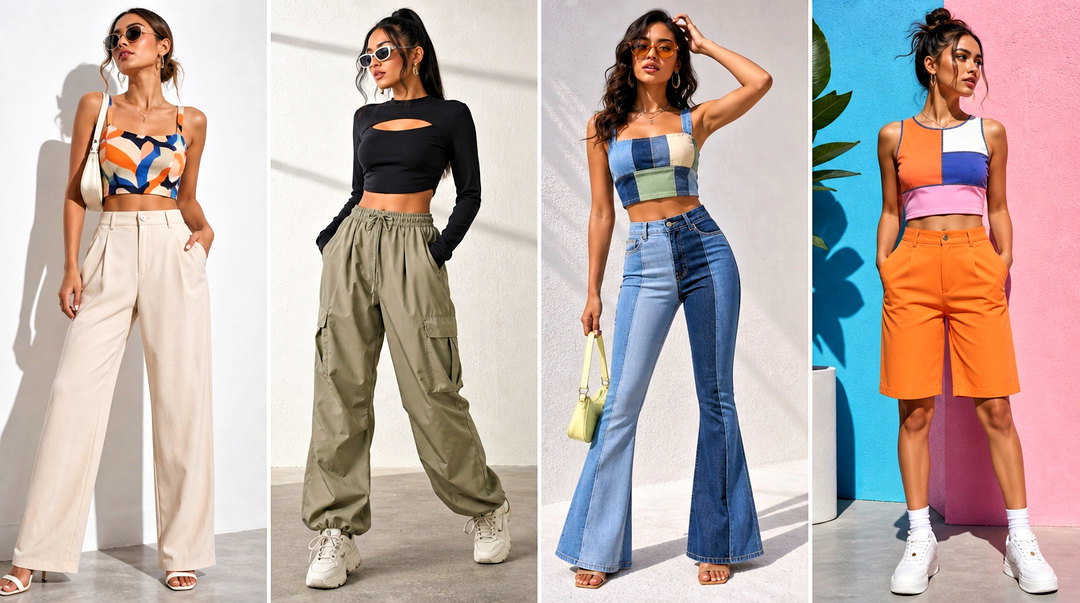
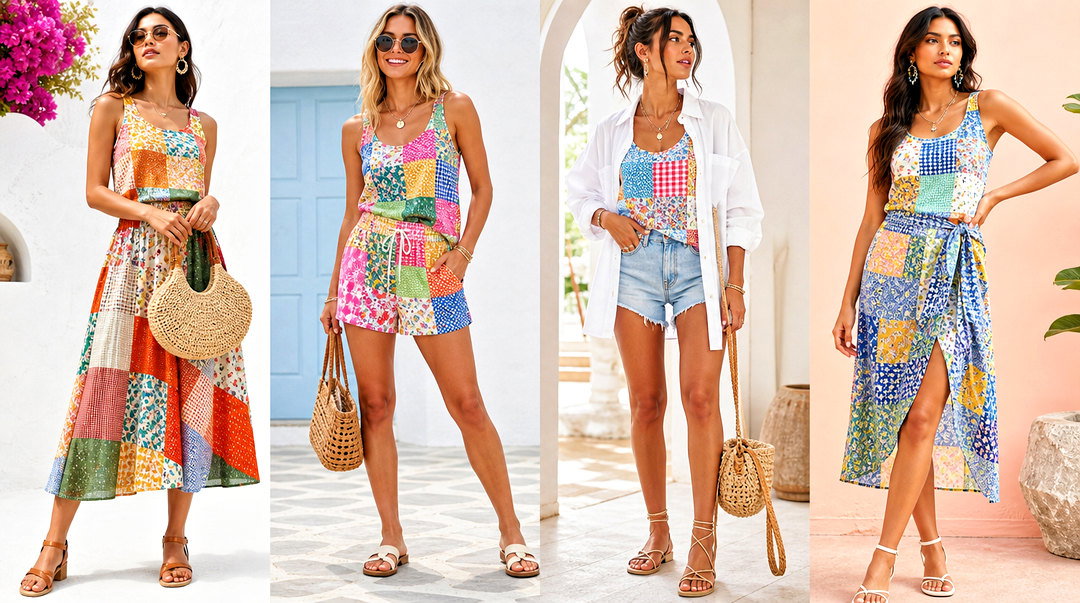
15. DIY Handkerchief Halter Top With Flared Jeans

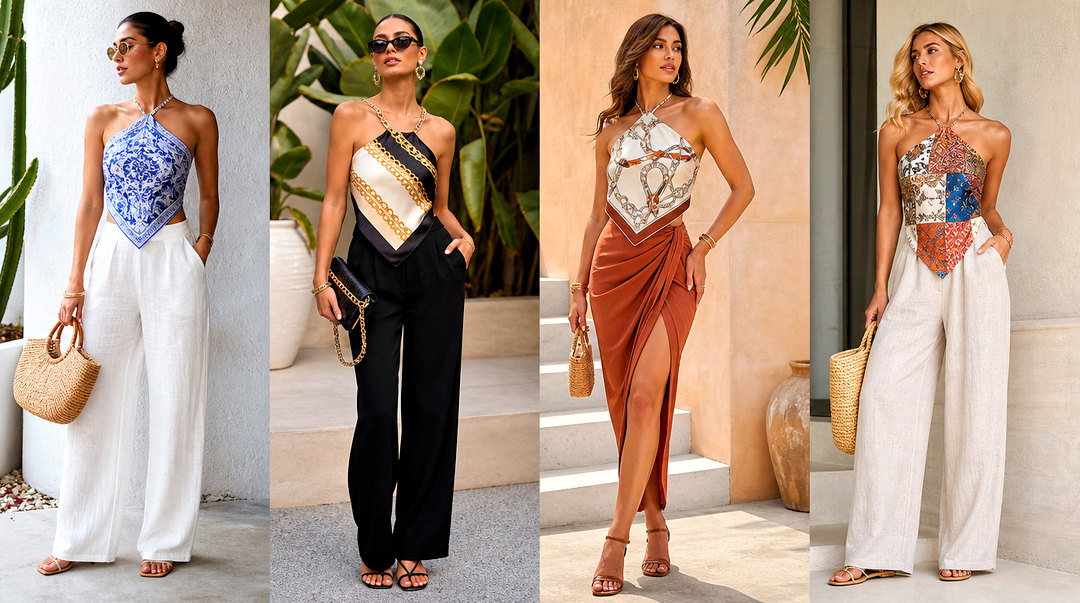
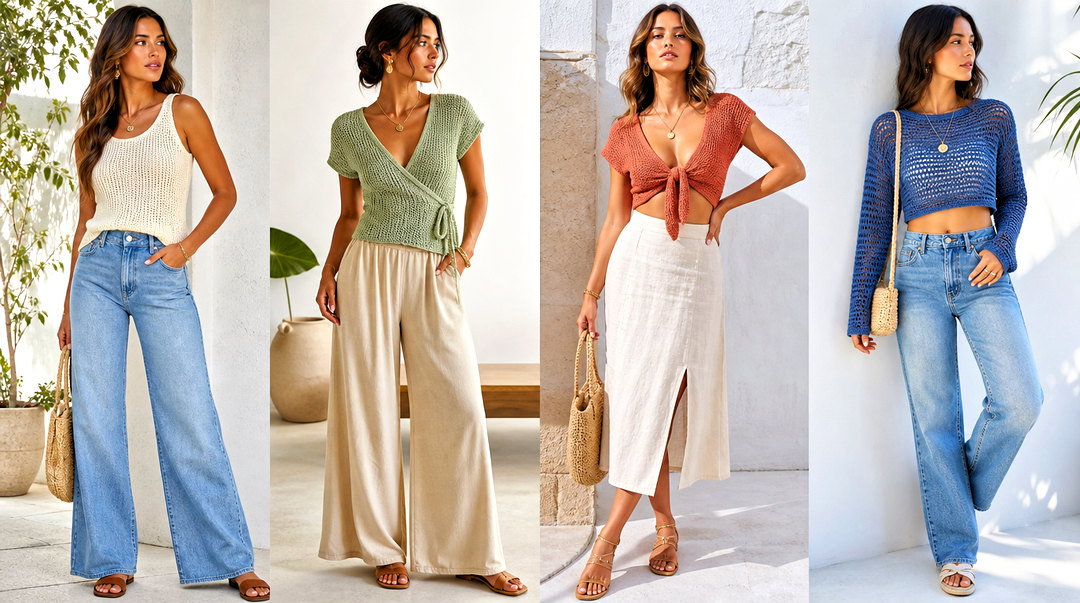
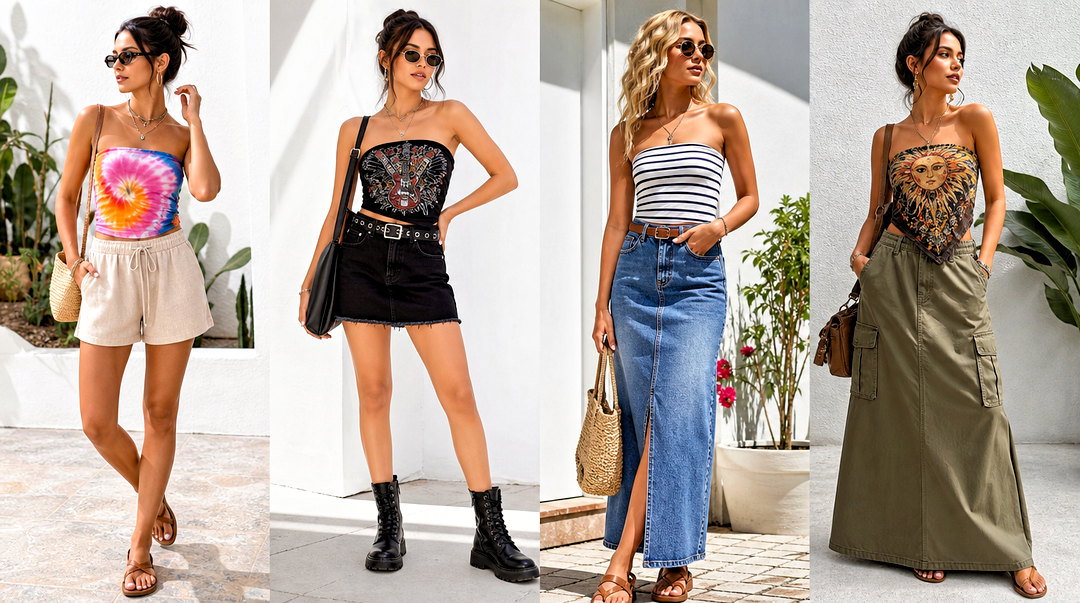
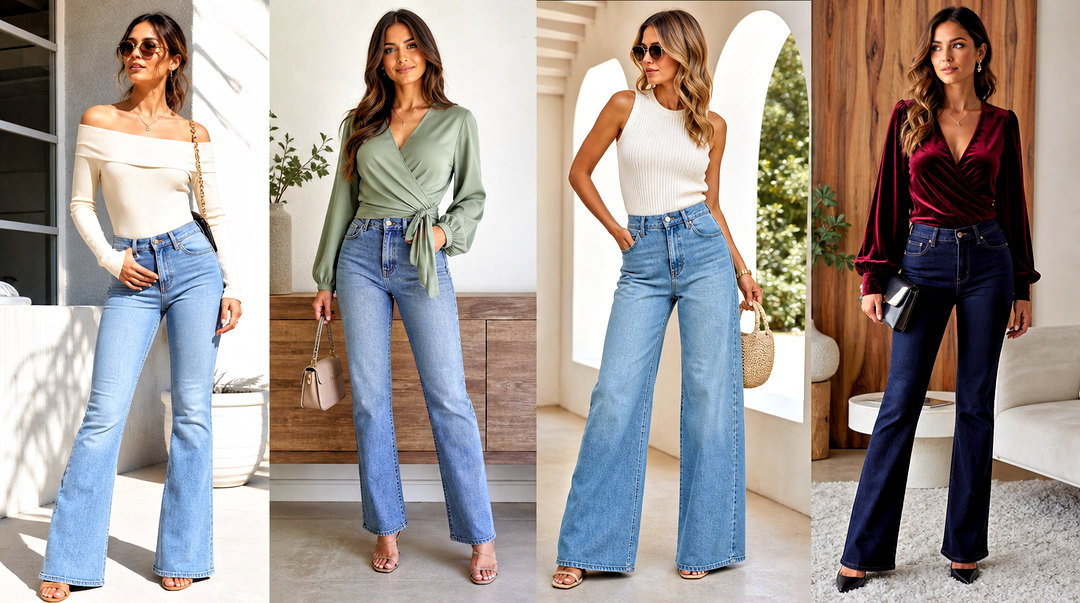
A handkerchief-style halter has a pointed hem that sits well over high-rise jeans. Cut a square, turn it into a diamond and add soft ties at the top and side corners. Line thin fabric for coverage. Flared jeans give it a retro feel, with platform sandals or clogs to lengthen the leg. A curved shoulder bag and oval sunglasses finish it. The point of the diamond falls on the bias, so it can stretch and droop; let the top hang overnight before hemming. Solid top with patterned jeans, or the reverse.
16. DIY Fringe Halter Top With A Mini Skirt

Fringe adds movement to a basic halter with no pattern work. Make the top from a fitted tee or stretch fabric, then attach soft fringe along the lower edge. Keep it to a few inches so it swings without tangling. A plain high-waisted mini skirt and flat ankle boots suit it, with a small crossbody to keep your hands free. Matching fringe looks streamlined; a lighter shade adds contrast. I secure each end with a dab of fray stopper or a knot, since cut fringe unravels fast in the wash.
17. DIY Peplum Halter Top With Straight-Leg Pants

A peplum halter is just a fitted halter with a gathered strip added at the waist. Place the seam at your natural waist or a little above, depending on where you want the flare to start. A wide peplum swings; a narrow one barely flares. Straight-leg pants balance the hem, with pointed flats and a structured bag. Bulky bottoms fight the peplum, so keep them sleek. Cotton poplin and medium-weight jersey are the easiest fabrics to handle. Gather the peplum with two rows of long stitches and pull both together, which gives even gathers.
18. DIY Cowl Halter Top With A Satin Midi Skirt

A cowl halter needs a fluid fabric, like stretch jersey, that falls into soft folds. Cut the neckline extra wide and let it drape rather than sit flat. A cowl cut on the bias drapes best, though it uses more fabric. Double the front for stability and add secure ties. A satin midi skirt gives the outfit movement and sheen. Minimal heeled sandals and a neat clutch finish it. Keep the colors related, like navy with soft blue. Both pieces are soft, so a skirt with a clean waistband helps. A blazer adds structure for evening.
19. DIY Reversible Halter Top With Denim Culottes

Sew two coordinating layers together and the halter works twice. A solid on one side and a small print on the other gives you two moods. Make the ties reversible too, so they look tidy either way. Clip the curves closely and press before turning it right side out, or the edge will ripple. High-waisted denim culottes balance the close fit, with canvas sneakers and a tote. Use two fabrics of similar weight; a heavy layer paired with a light one twists and hangs unevenly.

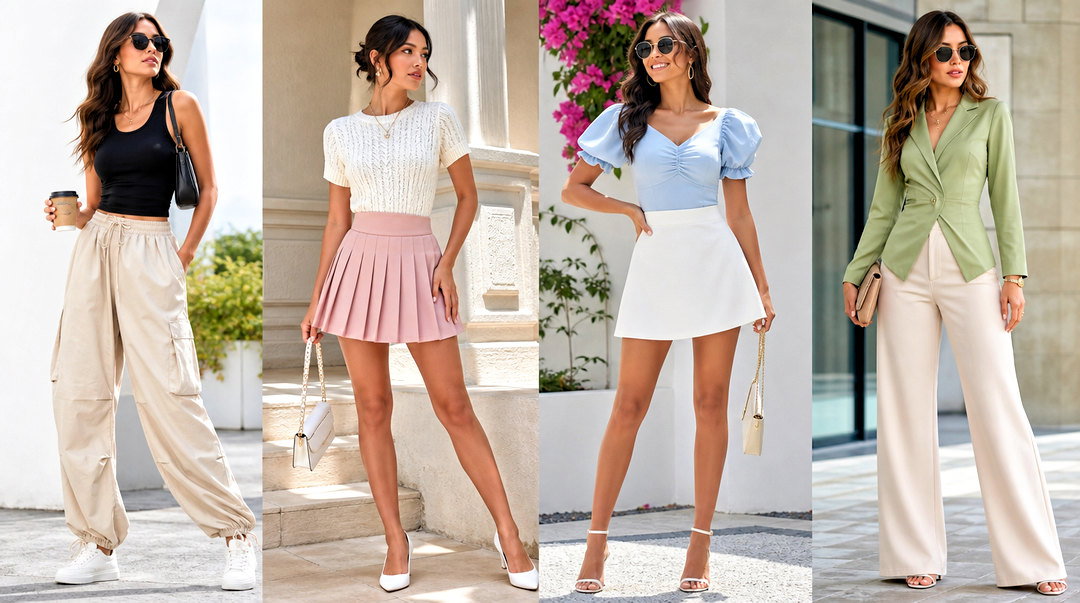
20. DIY Ruched Halter Top With A Cargo Skirt

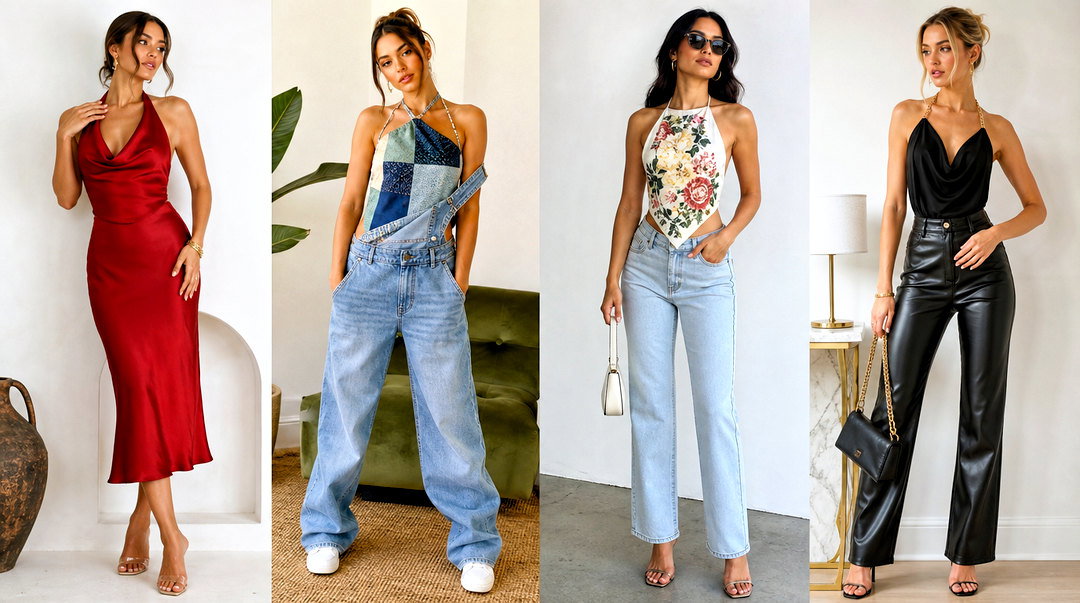
Add adjustable ruching to a basic halter by sewing narrow channels along the side seams and threading ties through them. Pulling the ties shortens the top and gathers it at once. Backstitch the ends of each channel firmly, since they take real tension. Stretch cotton or jersey gathers easily and feels comfortable. A high-waisted cargo skirt gives it a practical edge, with chunky sneakers and a small bag. Keep the top fitted when the skirt has big pockets.
21. DIY Ring Halter Top With Wide-Leg Jeans

A smooth metal or acrylic ring can join the fabric panels at the center of a halter. Wrap the fabric around it and sew securely, checking that no rough edge sits against the skin. The ring should be large enough to read as a detail but small enough to hold the neckline in place. Metal rings get hot in direct sun, so acrylic or a fabric-covered ring is kinder at the beach. High-waisted wide-leg jeans and platform sandals suit it. Skip the necklace. Wider front panels or a bandeau lining give more coverage.
22. DIY Wrap Halter Top With Linen Pants

A wrap halter gives you an adjustable fit with no buttons or zips. Two long front panels cross over the torso and tie at the back or side. Make the neck straps wide for support, and tack the crossing point with a hidden stitch if it tends to slip open. Loose high-waisted linen pants and leather slides keep it relaxed. Neighboring neutrals, like oatmeal and sand, give a quiet finish. A fitted camisole underneath adds coverage. This is a forgiving pattern if your bust size changes through the month, as the wrap simply adjusts.
23. DIY Linen Halter Top With Matching Shorts

A matching set makes simple home sewing look planned. Lightweight linen or linen blend works for both a lined halter with wide neck ties and easy elastic-waist shorts. Prewash the fabric before cutting, because linen can shrink noticeably in the first wash. Flat sandals and a straw bag finish it. Stripes or gingham need matching at the side seams to look neat. Cut the shorts slightly relaxed so they balance the fitted top and stay comfortable when sitting. An oversized white shirt makes an easy cover-up.
24. DIY Ruffle Halter Top With A Denim Midi Skirt

A narrow ruffle softens a plain halter neckline. Cut a long strip, gather one edge evenly and sew it in before finishing the lining or binding. Keep the ruffle small, about the width of two fingers, so it frames the shoulders without adding bulk. A high-waisted denim midi and low block heels make it a daytime outfit. A printed ruffle looks best on a solid top. Repeat the contrast fabric in a hair tie if you like. Press the gathers flat at the seam only, leaving the outer edge free to flutter.

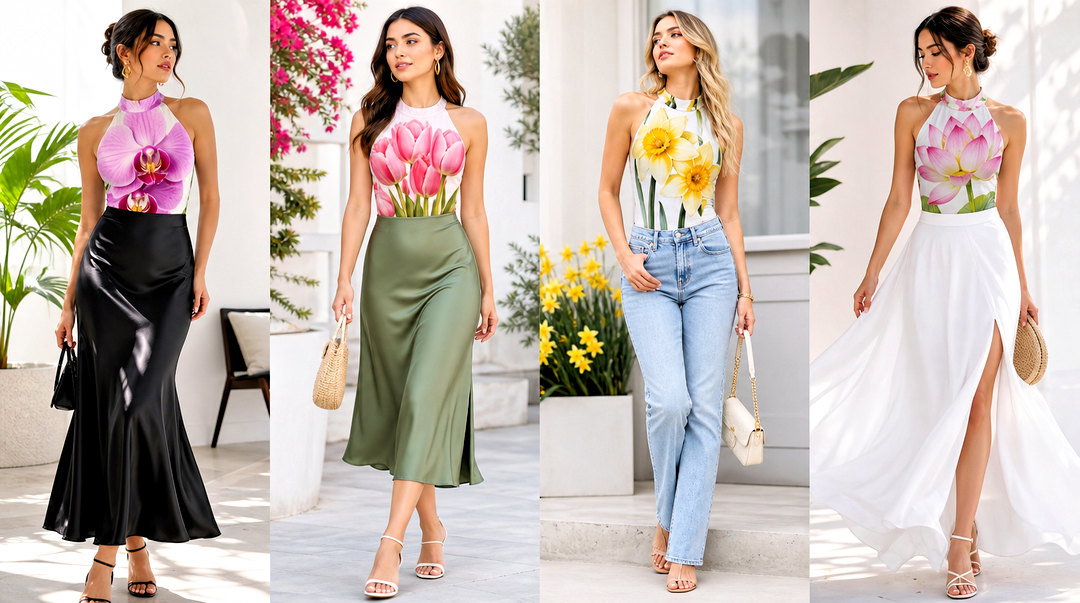
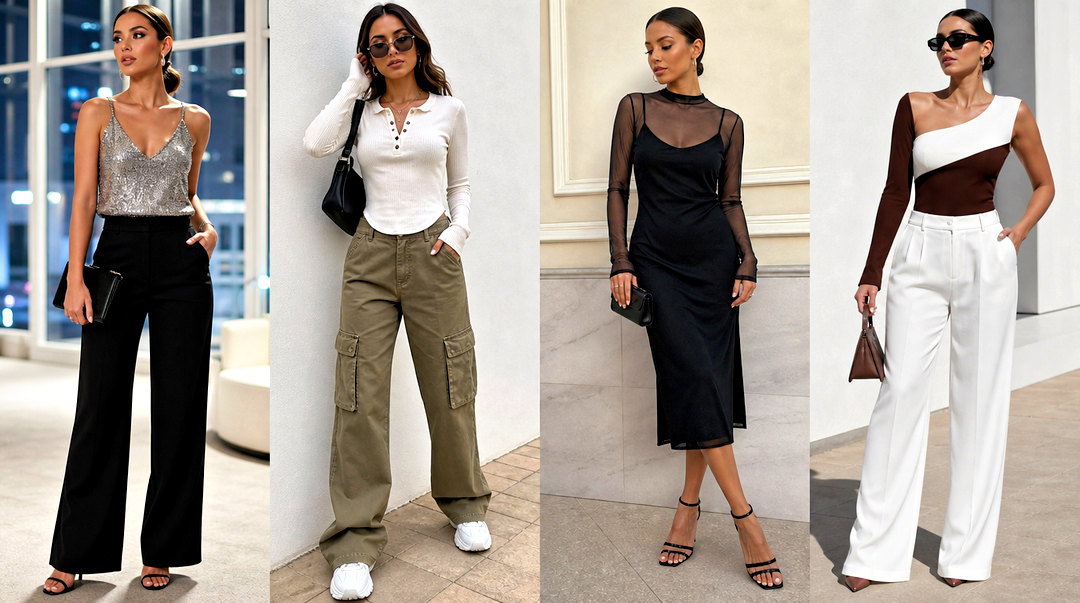
25. DIY Two-Piece Halter Top With A Maxi Skirt

One length of fabric can make a halter and a maxi skirt that go together. The top needs a triangular front, wide straps and a tie back; the skirt only needs an elastic or drawstring waist. When both share a print, I leave a small strip of waist showing to break the pattern up. Flat sandals and a solid bag finish it. Light fabric needs lining or a slip under the skirt. Each piece works alone later, which makes the fabric go further.
Building Support Into the Halter Itself
Most regular bras show with a halter, and strapless ones don't always stay put under a light top. The neater answer is to build the support in while you sew.
- Sew-in bra cups, sold by the pair in fabric shops, slip between the outer fabric and the lining and add shape without visible straps.
- A strip of wide elastic sewn along the lower edge of the front works like a bra band, holding the top close to the ribcage.
- A double layer of fabric across the bust is enough for a smaller chest and hides nipples through light colors.
- Swimwear lining is worth using on knit halters, since it's stretchy, firm and dries quickly.
If you need real lift, a fitted bandeau or a crop bralette worn as part of the outfit is more honest than hoping a scarf halter holds. Try the finished top with your arms raised and while bending forward. Any gap at the sides or underneath shows up right away.
Washing Handmade Halters
Hand wash anything with crochet, fringe, rings or lace trim, and dry it flat. Satin and scarf halters do best in cold water with a little gentle detergent. T-shirt and linen versions can go in the machine inside a mesh bag, which keeps long ties from wrapping around everything else.
One Old Shirt Is Enough to Begin
Good handmade outfits start with projects you can actually finish. An old tee, a scarf or a button-down can become a halter worth wearing with very little equipment. Pick a design that fits your skill level, then improve the fit with adjustable ties, a lining and a test run. Style it with bottoms you already own and a few accessories. You don't need an advanced pattern or a new wardrobe, just a halter that fits well and some patience with the details.
Related posts:



Leave a Reply