A scarf can become far more than an accessory when you know a few simple folds, knots, and wrapping techniques. Learning how to make a top out of a scarf gives you fresh outfit options for summer, vacations, festivals, and travel without buying another garment. A large square scarf measuring about 35 inches by 35 inches offers the most versatility, while rectangular scarves work well for wrapped and draped designs. Choose opaque fabric for better coverage, and keep fashion tape, small safety pins, scarf rings, or ribbon nearby for extra support. Always test each top by sitting, reaching, and walking before leaving home. Below, you will find clear instructions and complete outfit pairings for how to make a top out of a scarf.

1. Triangle Halter Scarf Top
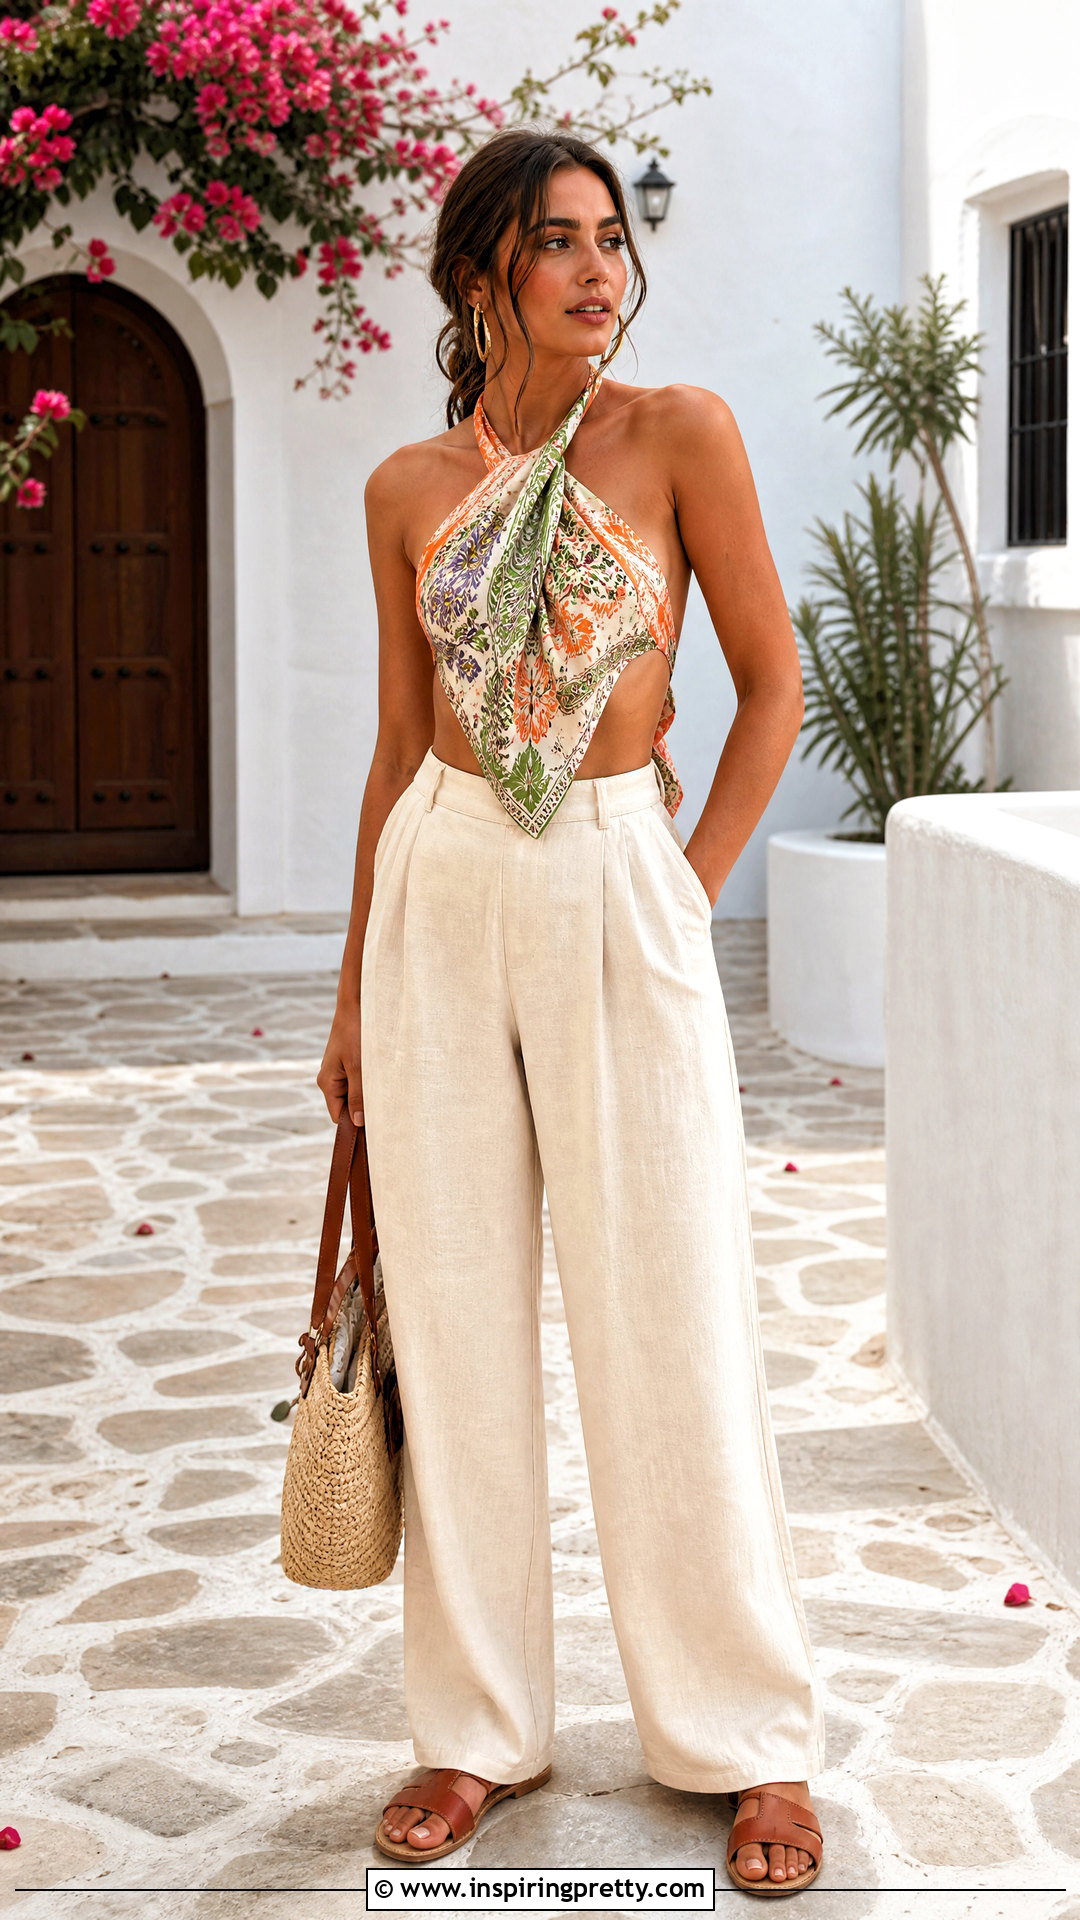
The triangle halter is one of the easiest scarf tops for beginners. Fold a large square scarf diagonally to create a triangle. Position the long folded edge across your chest, with the triangle pointing toward your waist. Bring the two upper corners behind your neck and tie them securely. Wrap the remaining side corners around your rib cage and knot them at the back. Adjust the fabric so it lies smoothly without pulling at the neckline. Add fashion tape along the upper edge if you want extra hold. Complete the look with high-waisted linen pants, flat leather sandals, small hoop earrings, and a woven shoulder bag. The higher waist balances the cropped length and provides comfortable coverage. ()
2. Strapless Bandeau Scarf Top
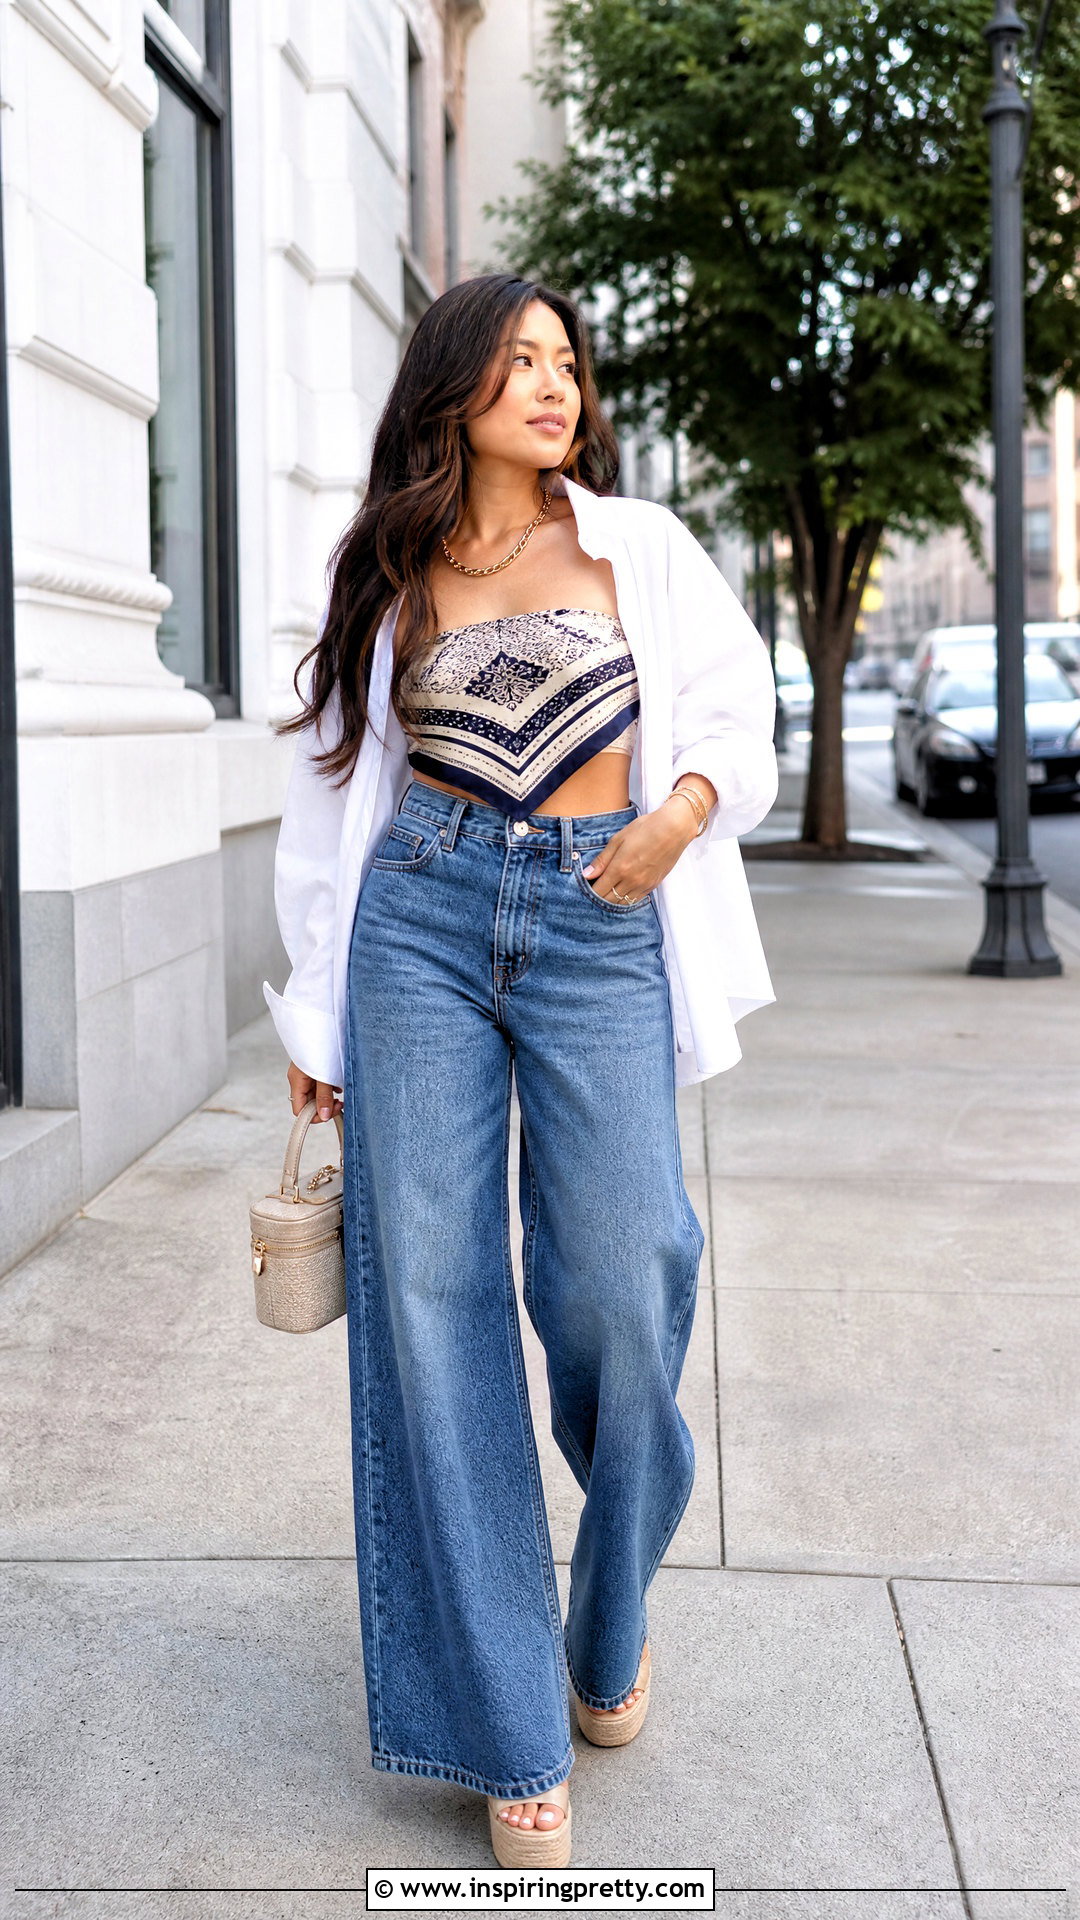
Need a simple top that works with a smaller scarf? Fold a square scarf diagonally, then continue folding the pointed edge inward until you have a wide rectangular band. Center the band across your chest and bring both ends around your back. Tie a firm double knot, making sure you can breathe and move comfortably. If the ends are long enough, bring them forward again and create a small side knot. Place fashion tape inside the top edge to reduce slipping. Style this strapless scarf top with high-rise wide-leg jeans, platform sandals, a structured mini bag, and understated gold jewelry. An oversized white button-down can be worn open as a light layer, adding coverage while keeping the scarf pattern visible.
3. Front Knot Scarf Top
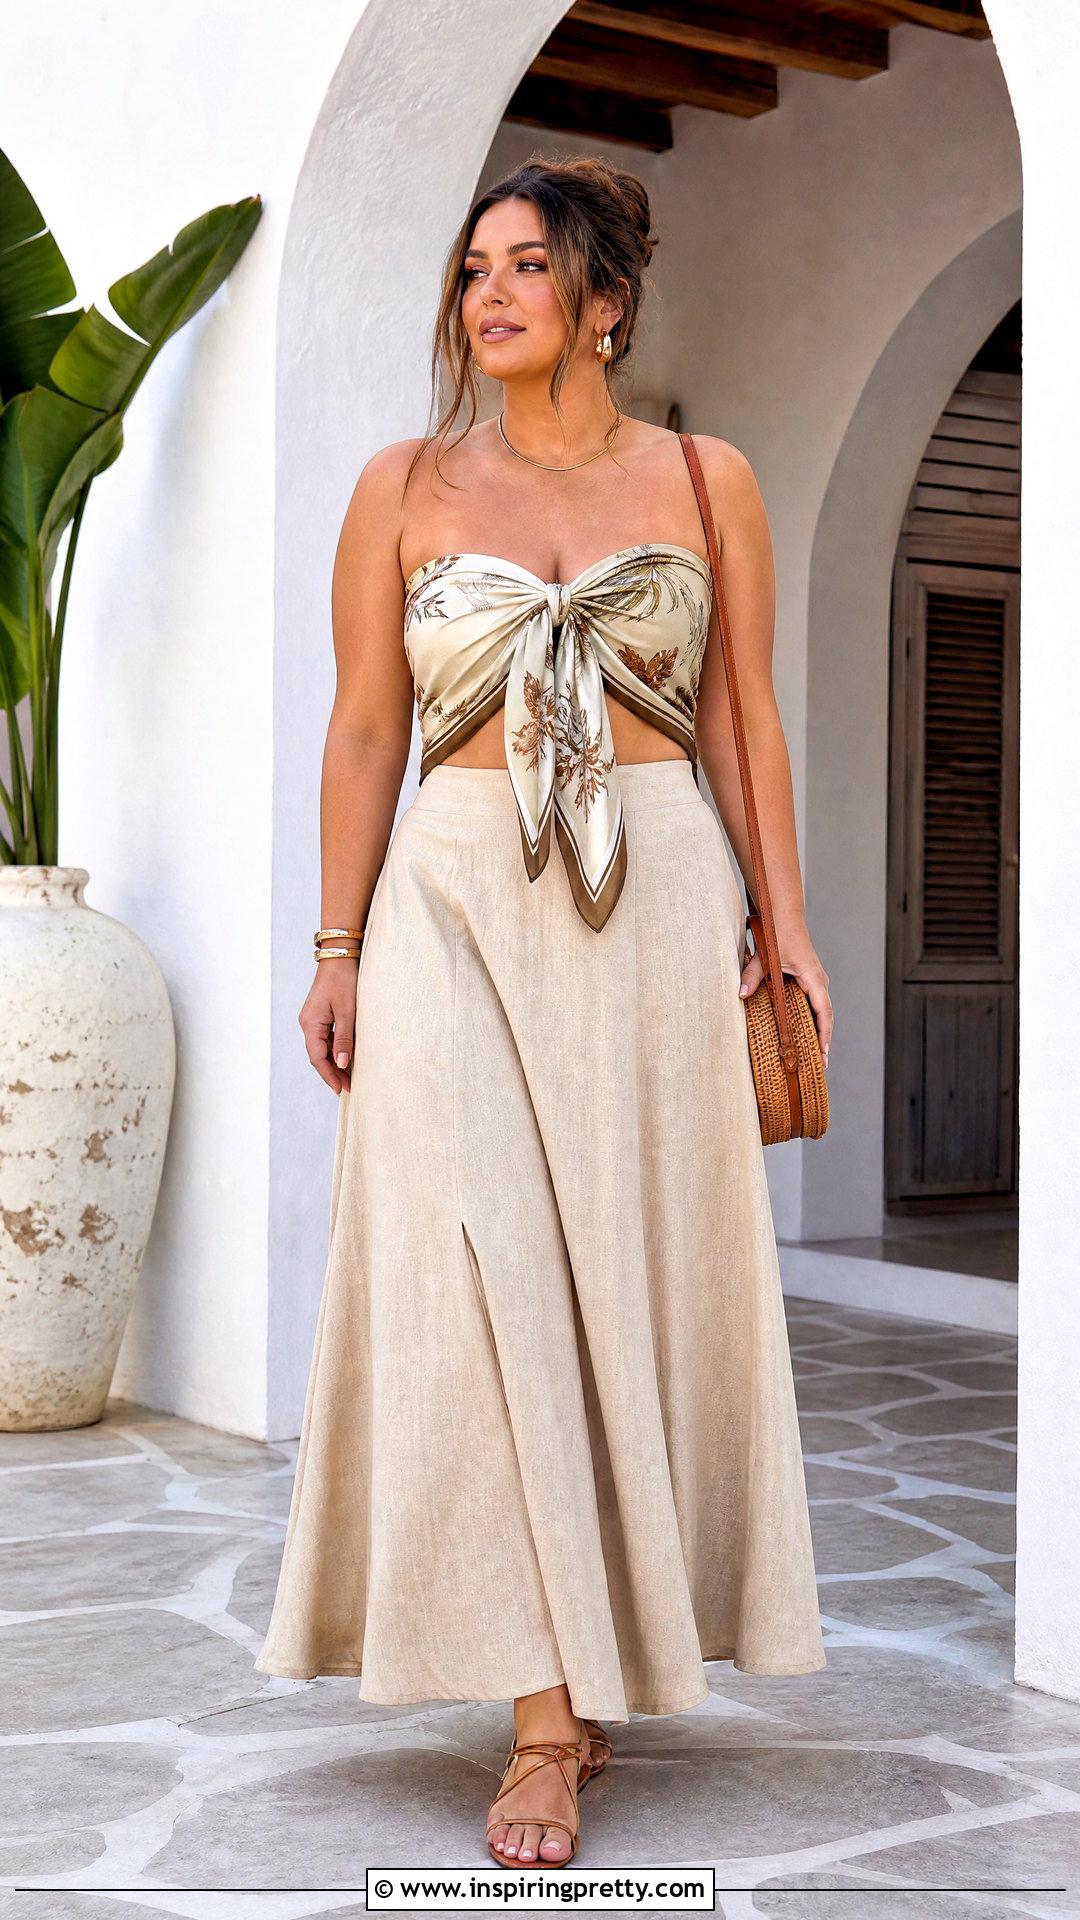
A front knot creates a fitted scarf top with an attractive gathered center. Start by placing the middle of a long rectangular scarf across your upper back. Bring both ends beneath your arms and cross them over your chest. Tie the ends into a secure double knot at the center, then spread the fabric across each side for balanced coverage. Tuck short ends beneath the knot or let longer ends fall vertically. A smooth, opaque scarf is easiest to arrange because the folds remain defined. Wear this top with a high-waisted maxi skirt, strappy flat sandals, a compact crossbody bag, and simple earrings. For more security, add a fitted cropped tank underneath in a color that blends with the scarf’s background.
4. One Shoulder Scarf Top
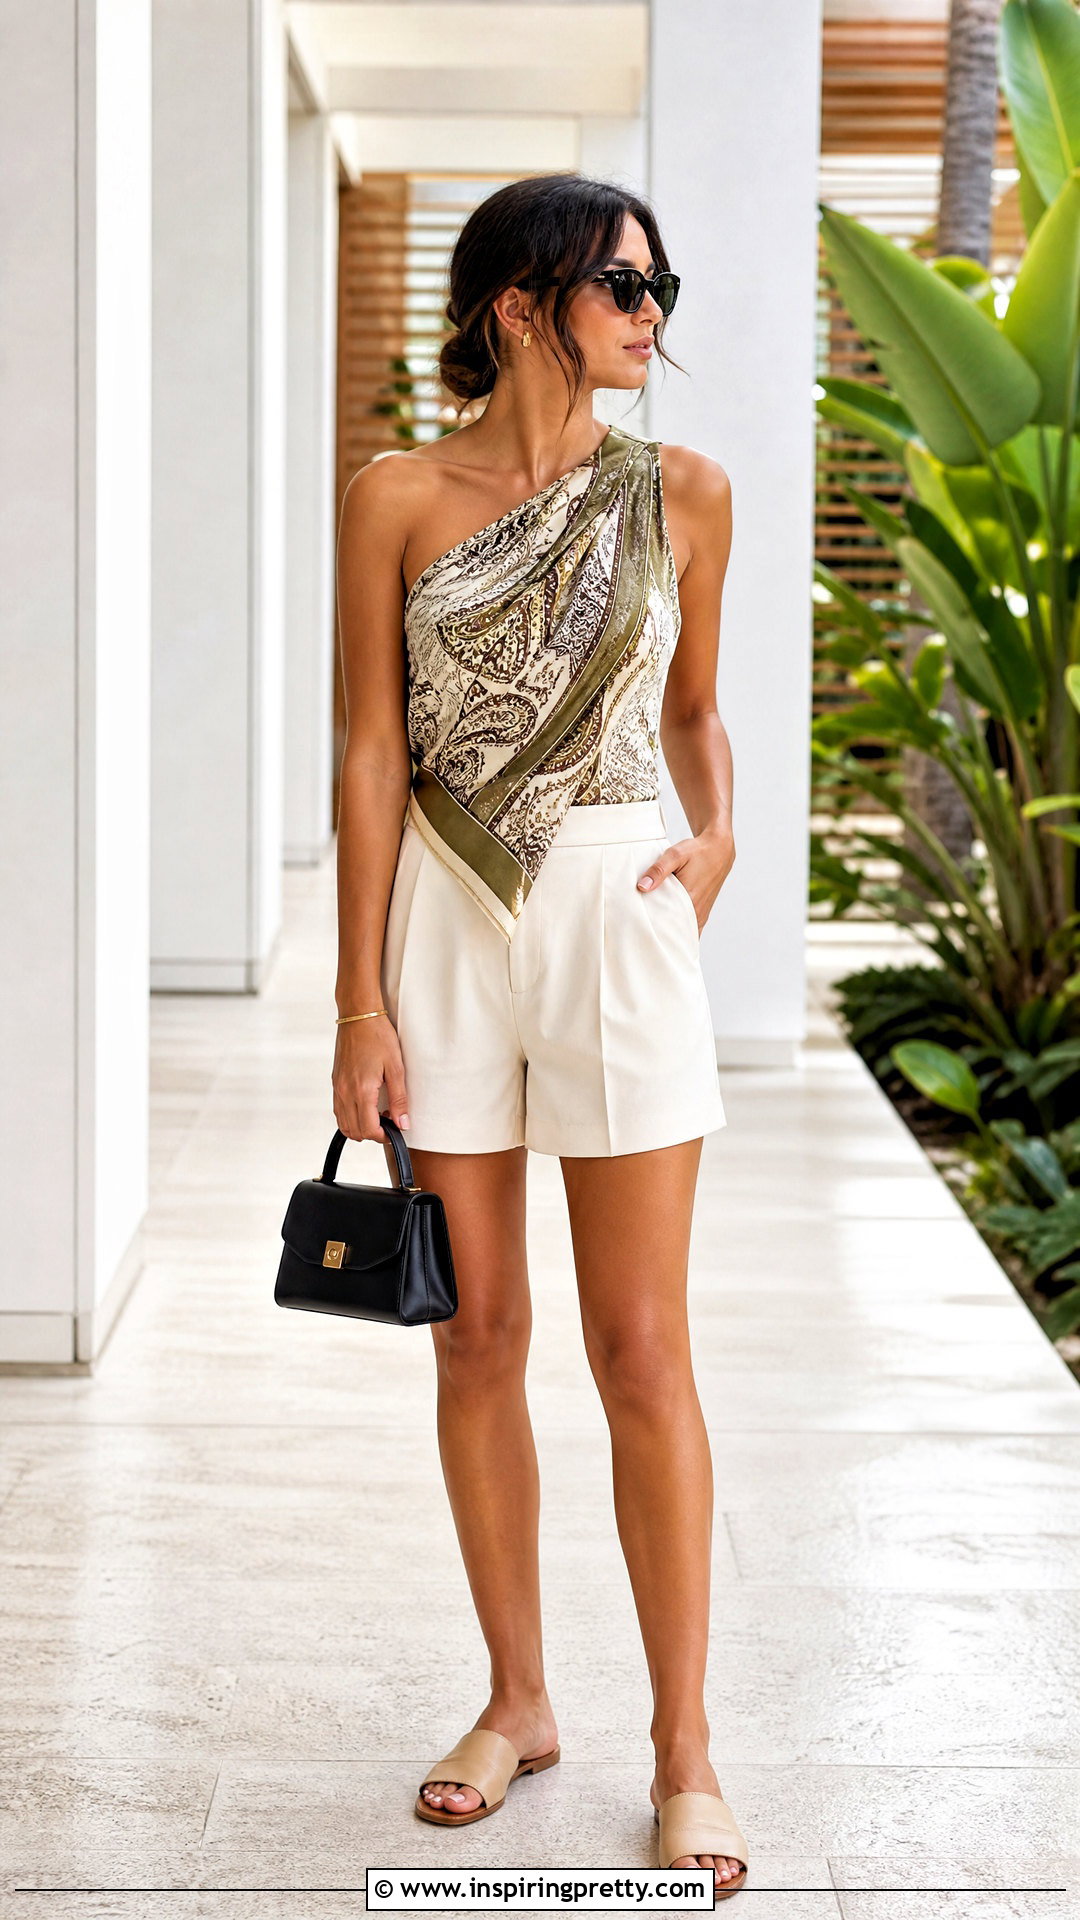
A one-shoulder scarf top brings asymmetry to an otherwise simple outfit. Place a large square scarf behind your body, holding one corner above your left shoulder and the opposite corner near your right waist. Pull the shoulder corner across the front and secure it to another corner behind your neck or upper back. Wrap the lower corners around your waist and tie them at the side. Carefully spread the scarf over your chest and torso to create even coverage. Fashion tape can help secure the shoulder and side edges. Pair the finished top with tailored high-waisted shorts, minimal slide sandals, a slim bracelet, and a small top-handle bag. Keep the necklace area bare so the diagonal neckline remains the main detail. ()
5. Cowl Neck Scarf Top
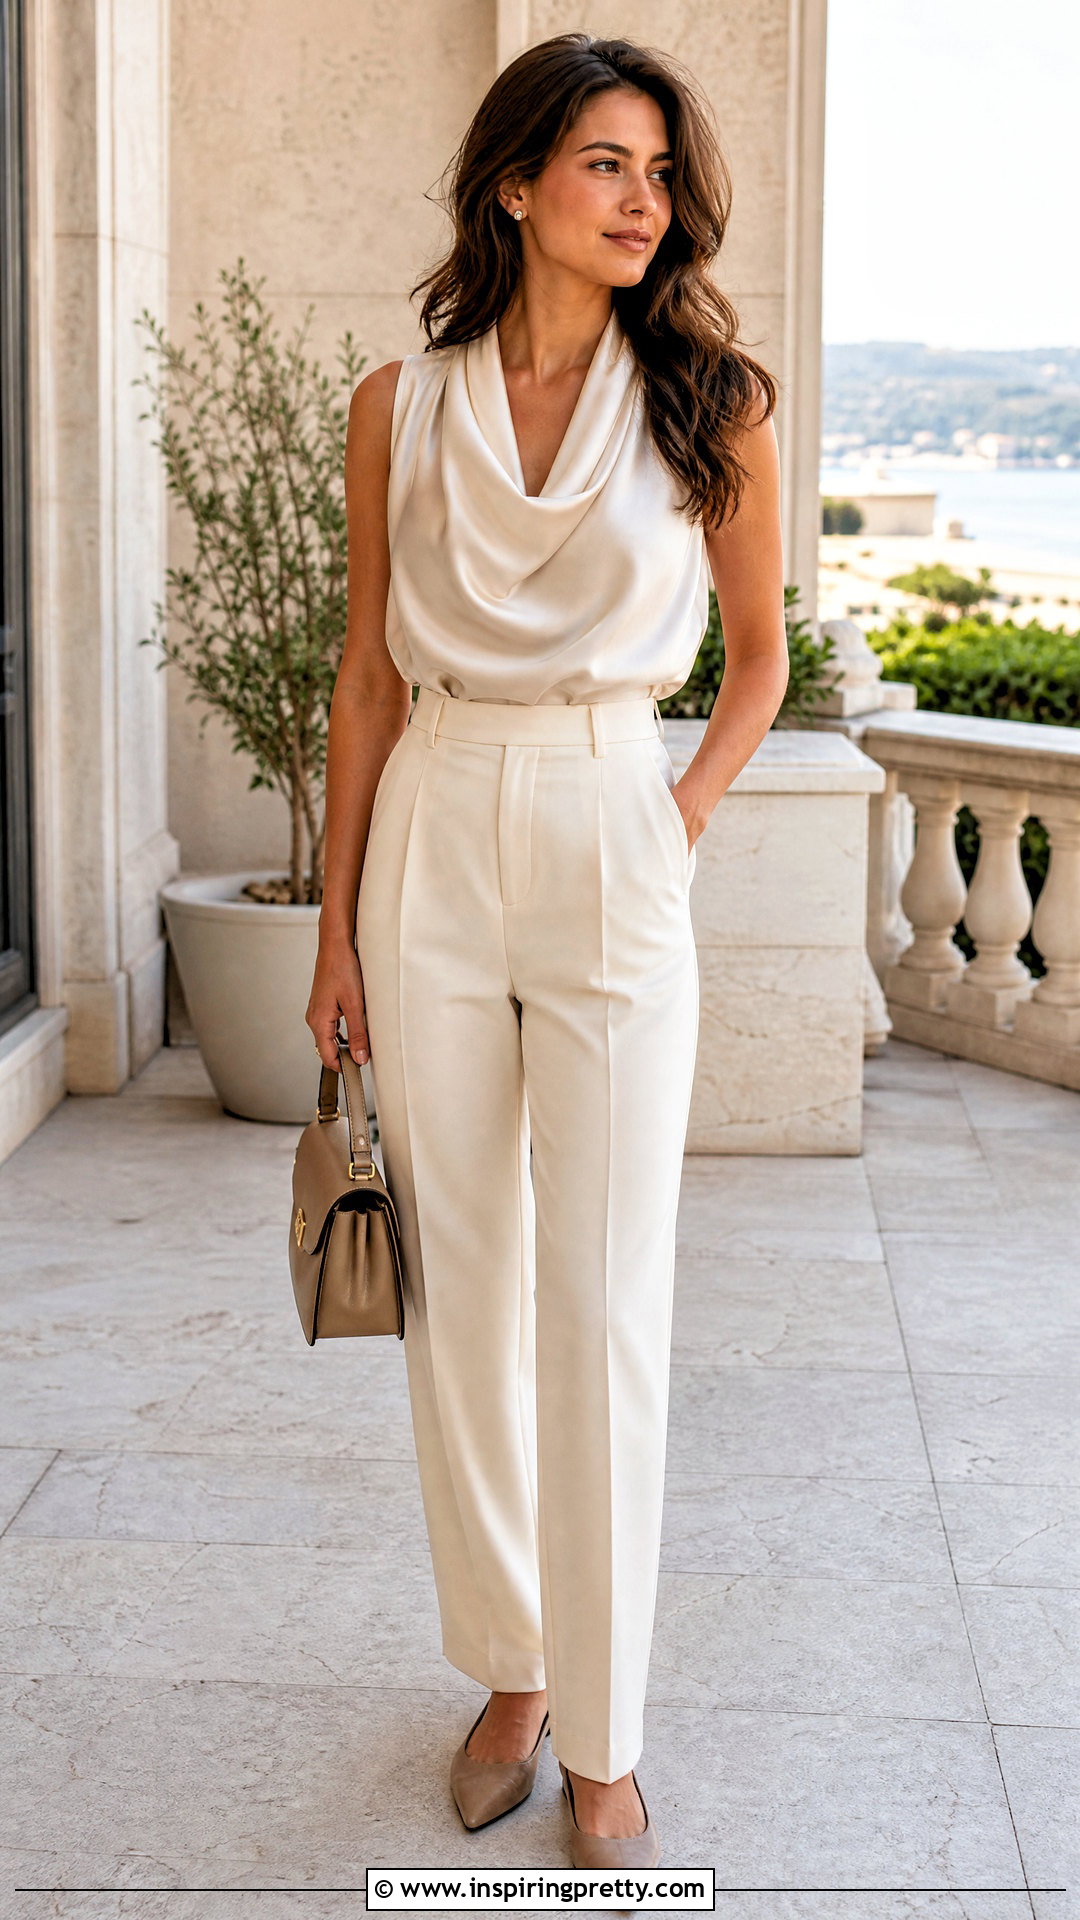
Soft folds make the cowl neck version feel relaxed and polished. Begin with a large square scarf folded into a triangle. Hold the scarf in front of your body with the pointed section facing downward. Tie the two upper corners behind your neck, but leave enough looseness for the folded edge to drape naturally across your chest. Bring the side corners around your waist and knot them at the back. Gently pull the neckline forward until it forms a smooth cowl rather than a tight halter. Style it with high-rise tailored trousers, pointed flats, a structured shoulder bag, and delicate stud earrings. A scarf with a fluid satin-like finish creates the cleanest drape, while fashion tape underneath the folds offers discreet support.
6. Scarf Ring Halter Top
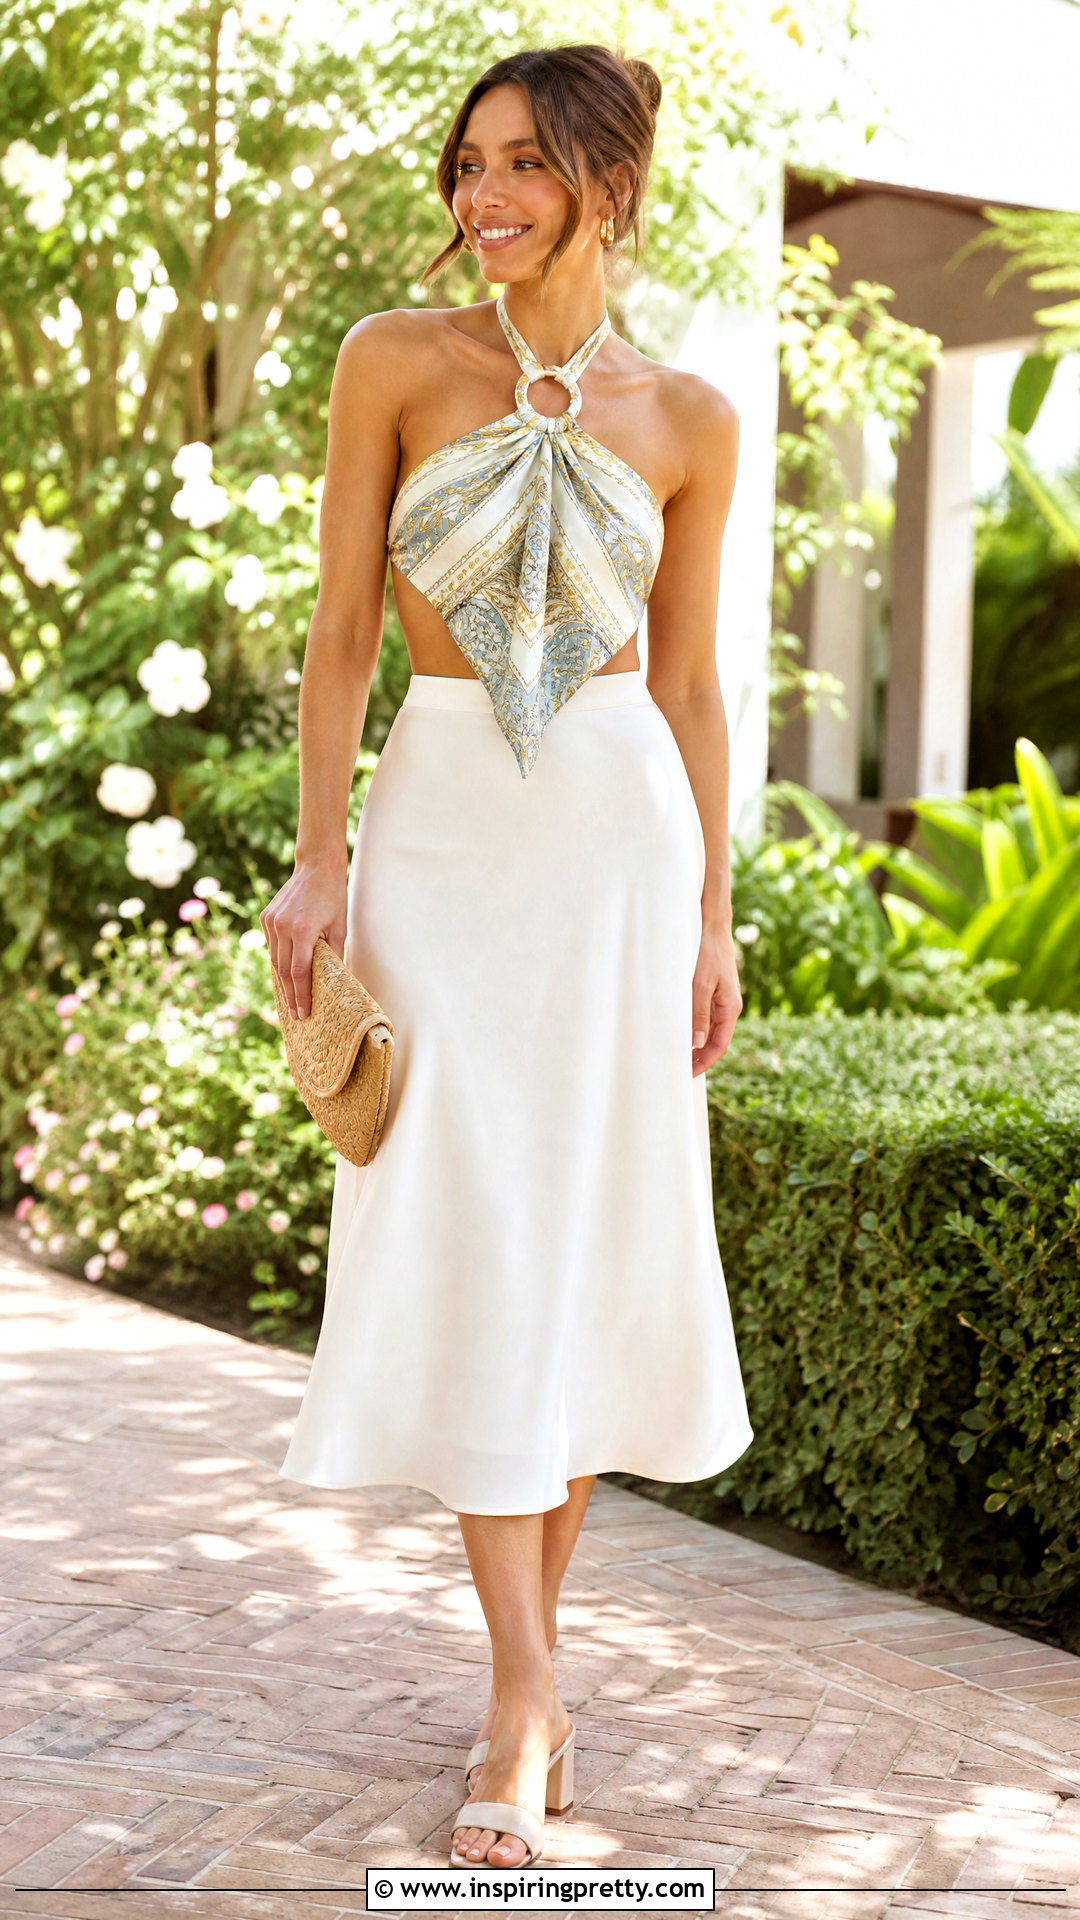
A scarf ring can turn basic fabric into a more structured halter top. Fold a large square scarf diagonally and place the long edge around your back. Bring the two side corners forward beneath your arms. Thread both corners through a smooth scarf ring positioned at the center of your chest. Separate the ends after pulling them through, guide them upward, and tie them behind your neck. Let the triangular section cover your torso, then adjust the ring until everything feels secure. Check that the ring has no sharp edges that could catch delicate fabric. Finish the outfit with a flowing midi skirt, low block-heel sandals, a woven clutch, and small gold hoops. Fashion tape can stabilize the lower side edges.
7. Crisscross Halter Scarf Top
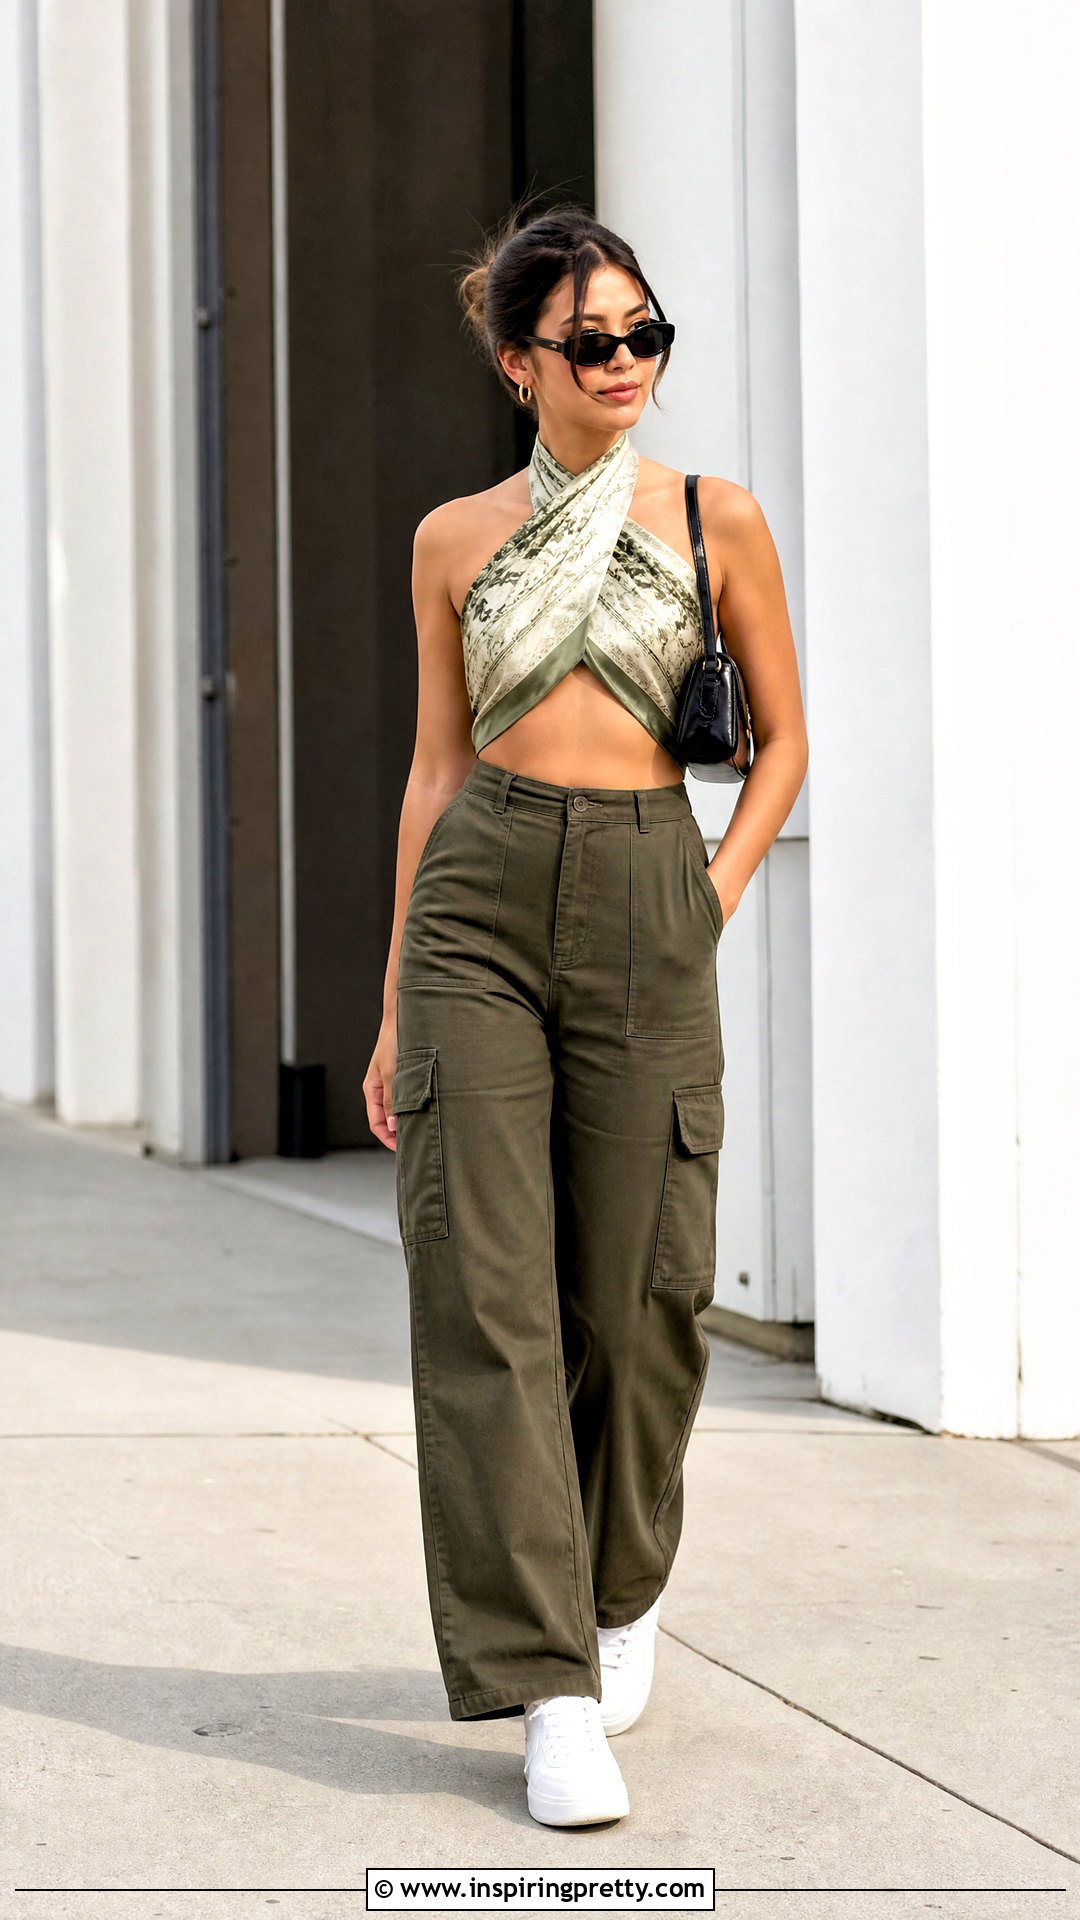
The crisscross halter creates a defined neckline without requiring sewing. Place the center of a rectangular scarf against your upper back and bring both ends forward under your arms. Cross the ends over your chest, pull them upward, and cross them a second time near your collarbone. Take the ends behind your neck and tie a double knot. Spread each crossed panel so it covers the front evenly, then tuck loose edges inward. This method works best with a long scarf that provides enough fabric for crossing and tying. Pair it with high-waisted cargo pants, clean white sneakers, a shoulder bag, and simple sunglasses. Add fashion tape where the two panels overlap if the fabric feels slippery during movement.
8. Twisted Front Scarf Top
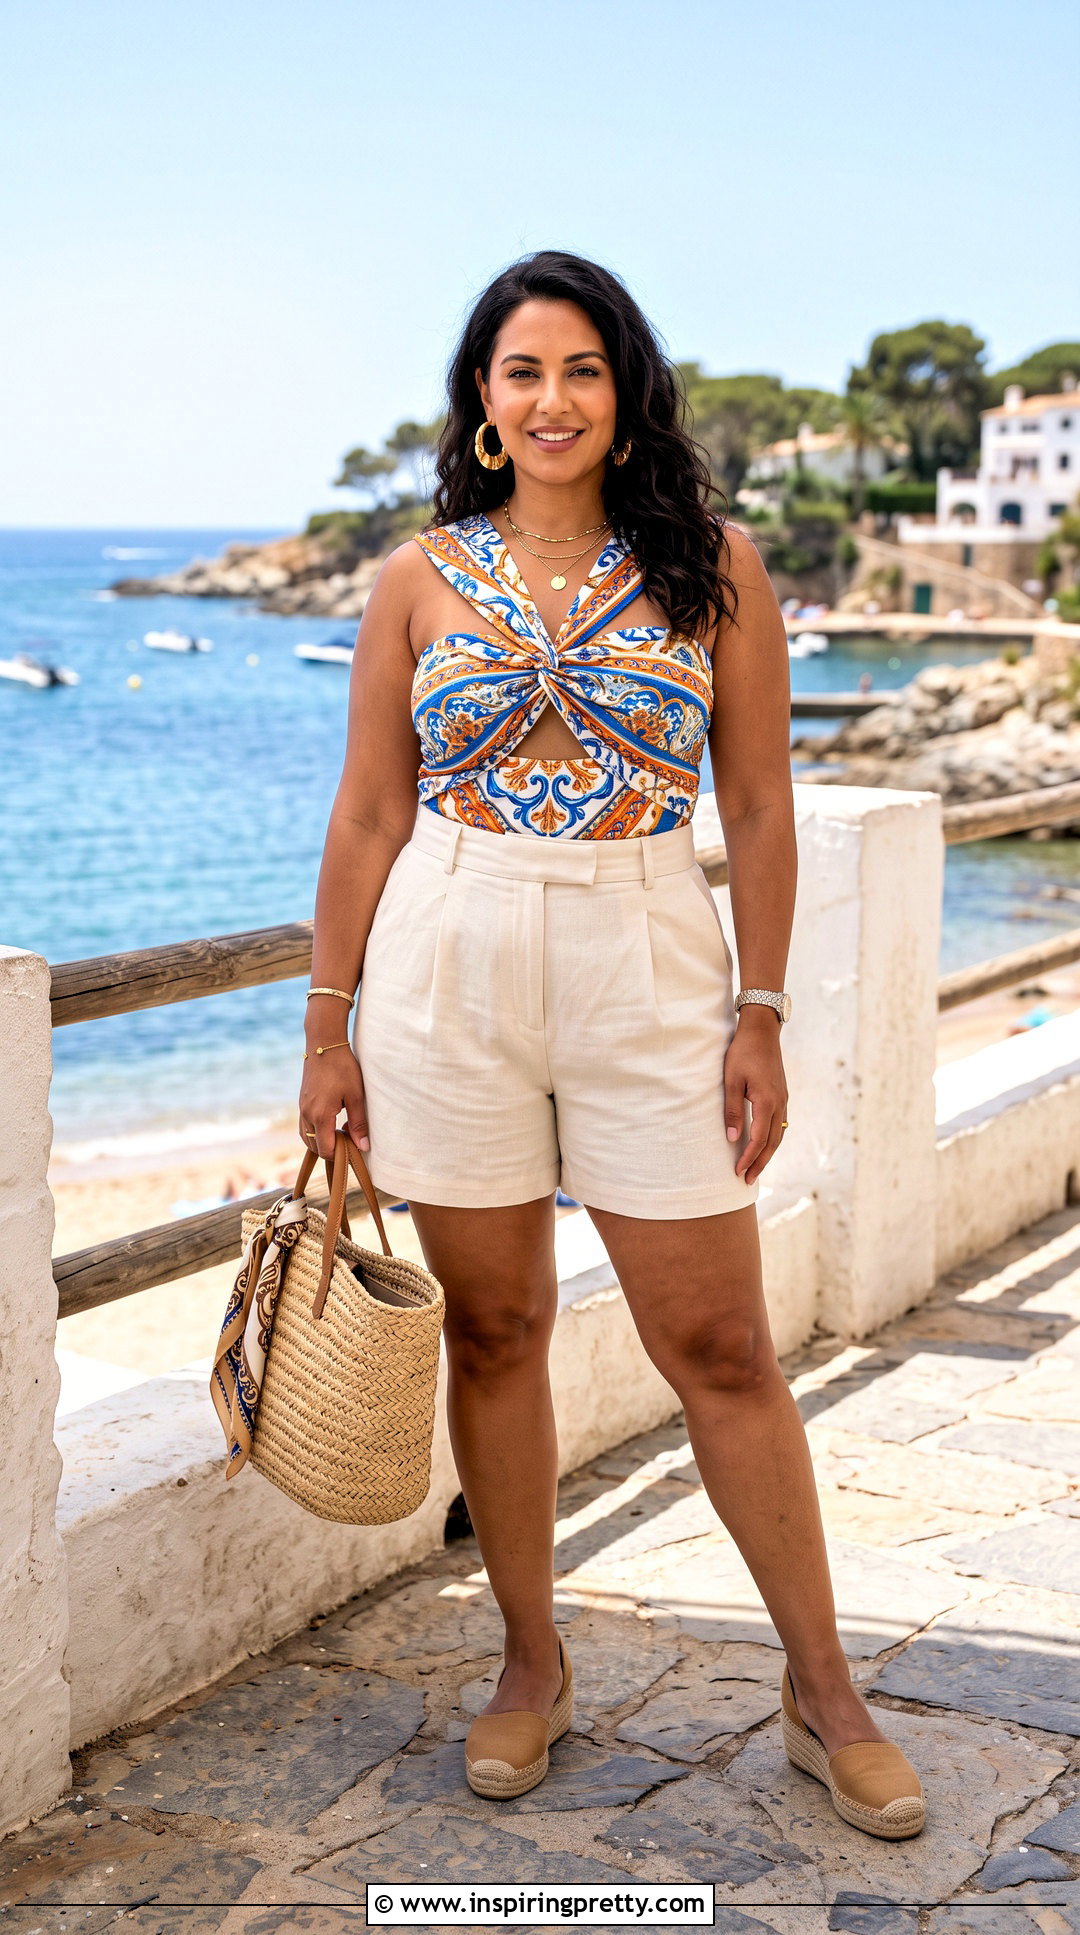
A central twist adds shape while keeping the construction straightforward. Fold a square scarf into a wide band and place its middle across your back. Bring the ends forward beneath your arms and cross them twice at the center of your chest to form a tight twist. Pull the ends in opposite directions, wrap them around your torso, and tie them securely at the back. Spread the upper and lower edges to create the coverage you prefer. This scarf top looks especially balanced with high-waisted pleated shorts, espadrille sandals, a straw tote, and medium-size hoop earrings. Choose a scarf with enough width to expand after twisting. Double-sided fashion tape along the neckline helps the folded fabric remain flat and secure.
9. Side Tie Scarf Top
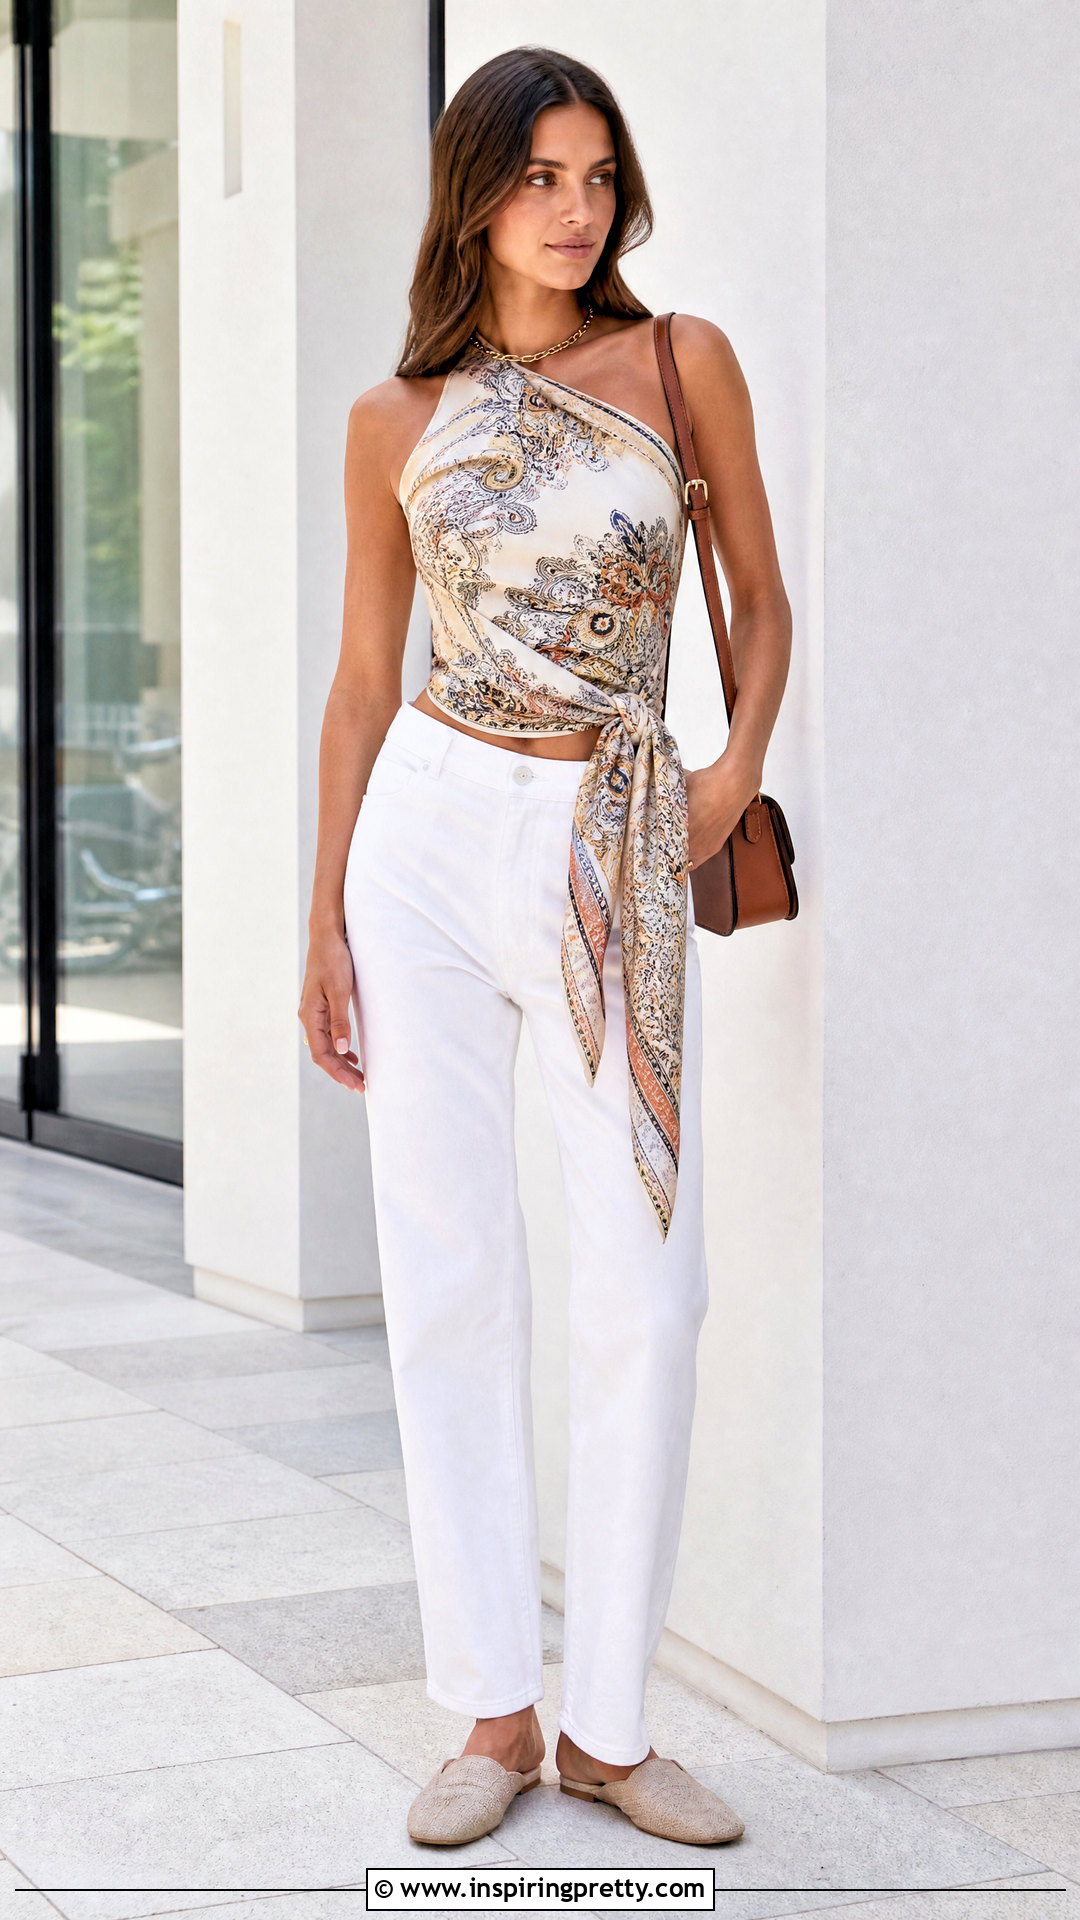
A side tie shifts the focal point away from the center and gives the top a clean asymmetric finish. Fold a large scarf into a triangle and place the long edge across your chest. Instead of tying both ends directly behind you, pull them toward one side of your waist. Wrap one end around your back and meet it with the opposite end at the hip. Secure the ends with a compact double knot or a neat bow. Adjust the pointed front panel so it falls evenly over your midsection. Wear this top with straight-leg white jeans, flat mules, a neutral shoulder bag, and a slim chain necklace. Position fashion tape beneath the upper corners to prevent the neckline from shifting as you move.
10. Scarf Top With Chain Straps
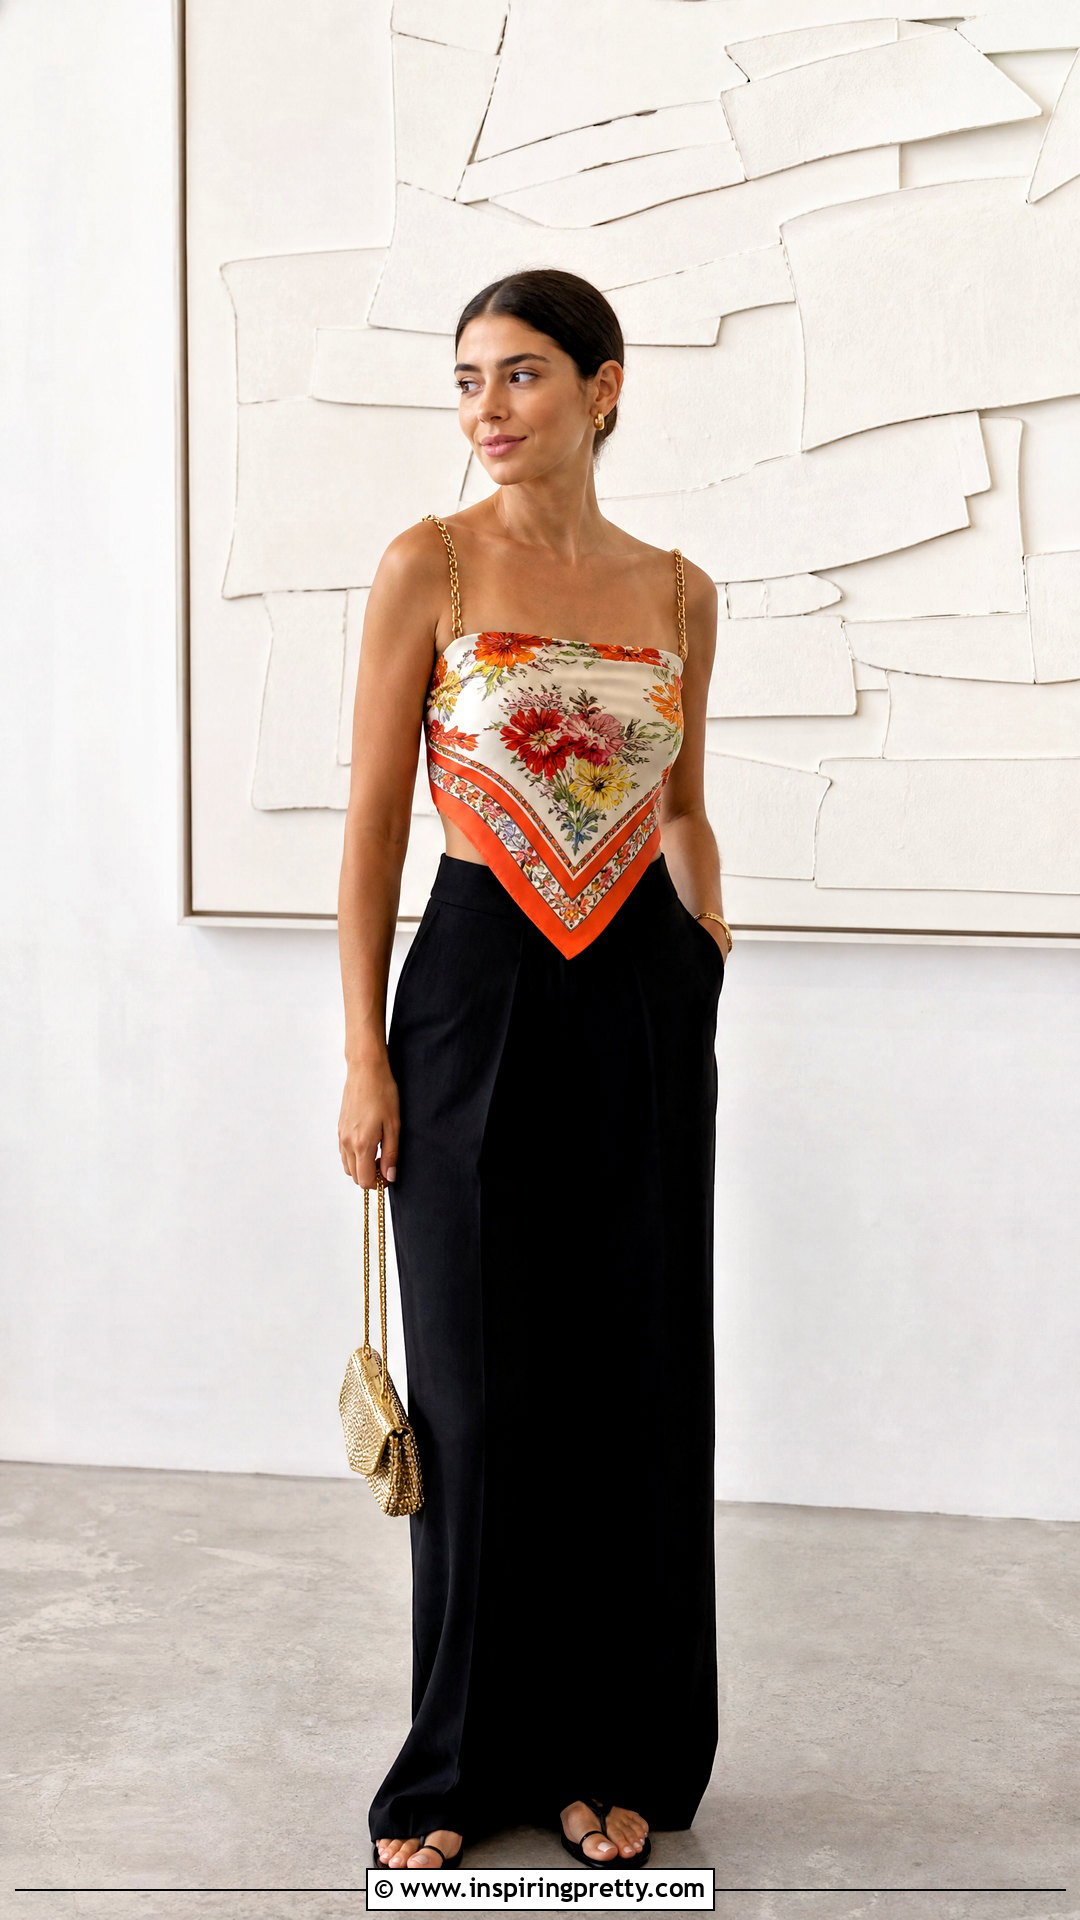
Chain straps can create a camisole effect without permanently altering the scarf. Fold a square scarf diagonally and hold the triangle against your front. Use two small safety pins to attach the upper corners to a lightweight necklace chain or two removable purse chains. Fasten the chains over your shoulders or around your neck, depending on their length. Bring the lower side corners around your waist and tie them at the back. Always insert safety pins from the inside and avoid using them on valuable or easily marked silk. Complete the outfit with high-rise black trousers, sleek flat sandals, a small metallic bag, and minimal earrings. A fitted layer underneath can provide additional coverage and protect delicate fabric from pins.
11. Scarf Top With Ribbon Straps
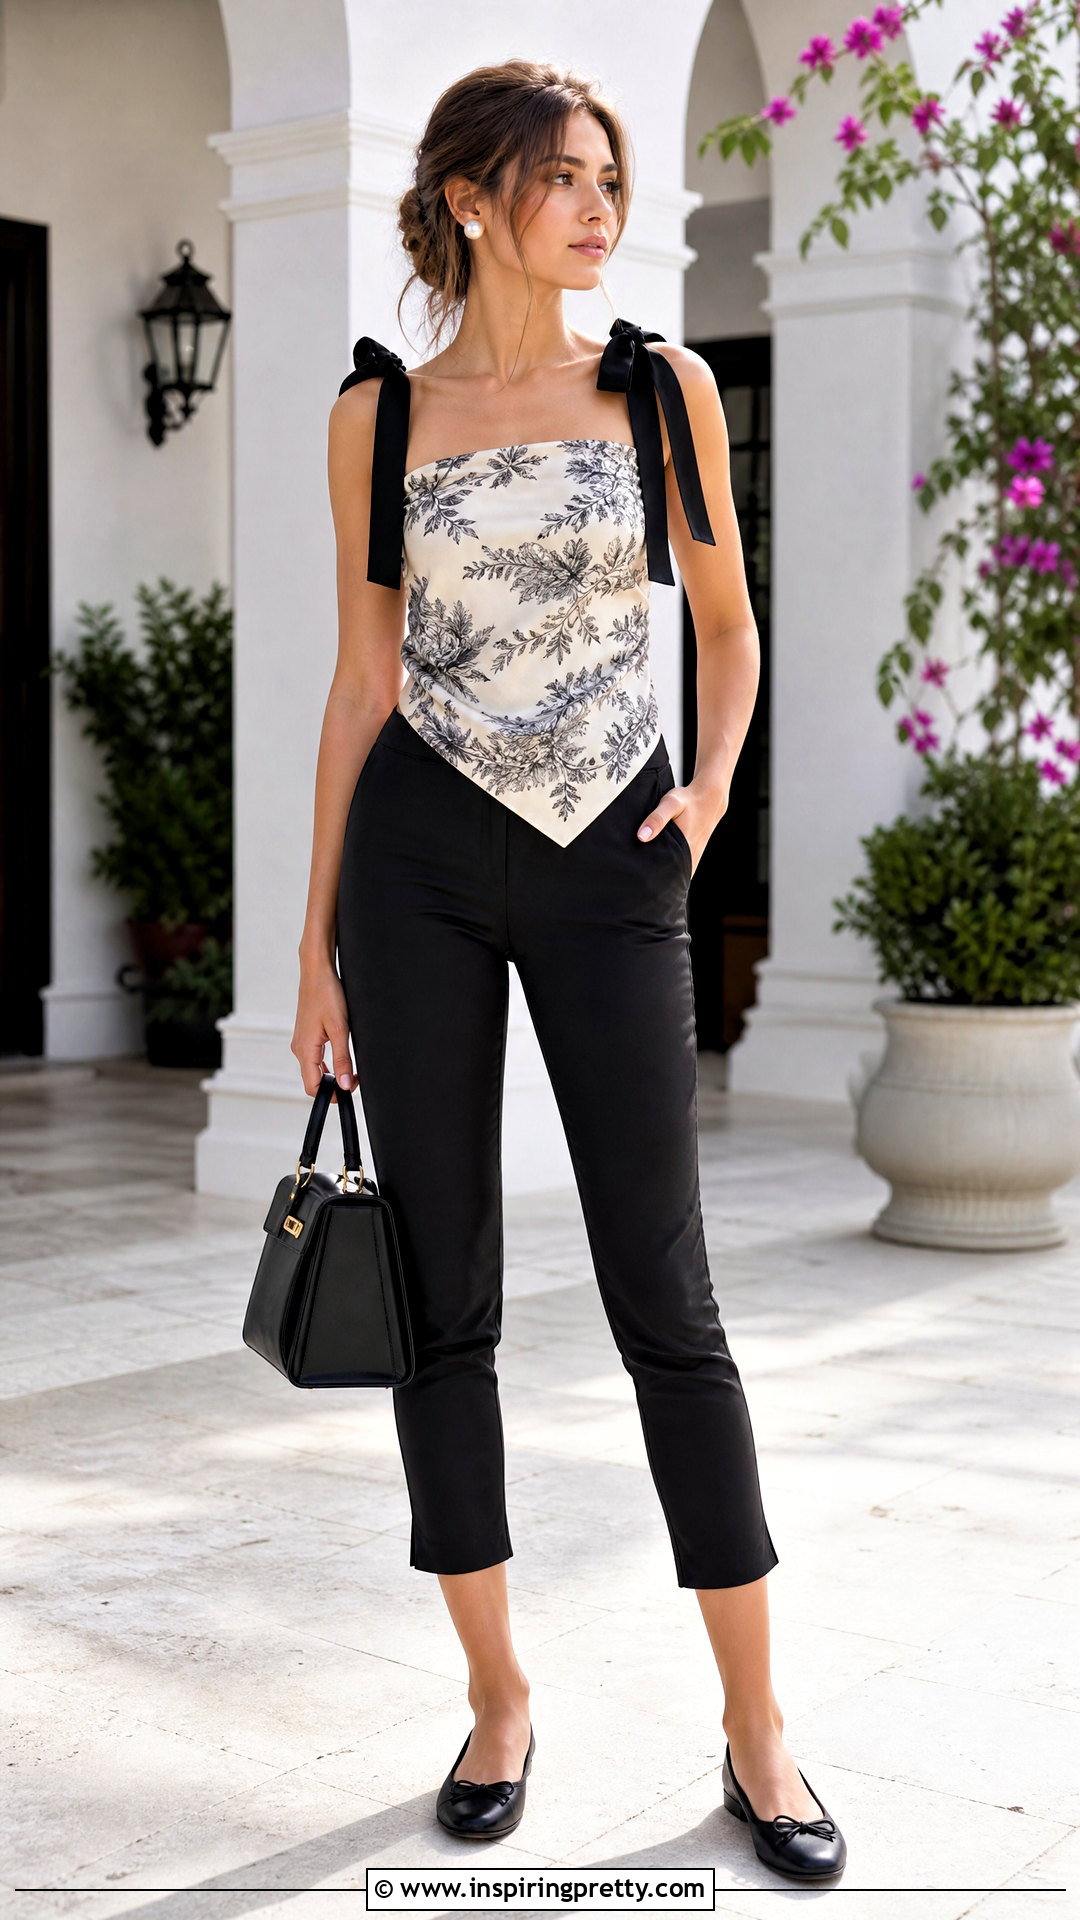
Ribbon straps provide a soft alternative when the scarf corners are too short to reach your neck. Lay a square scarf face down and fold its upper corner inward to create a straight neckline. Attach a length of ribbon to each folded corner using small safety pins placed from the reverse side. Tie the ribbons behind your neck, allowing the scarf to drape over your torso. Gather the side edges at your waist, secure them behind you, and cover the fastening with another ribbon tied into a neat bow. Pair this flowing scarf top with slim cropped pants, ballet flats, a structured handbag, and pearl studs. Choose washable grosgrain ribbon for better grip, and test every fastening before wearing the top outside. ()
12. Backless Wrap Scarf Top
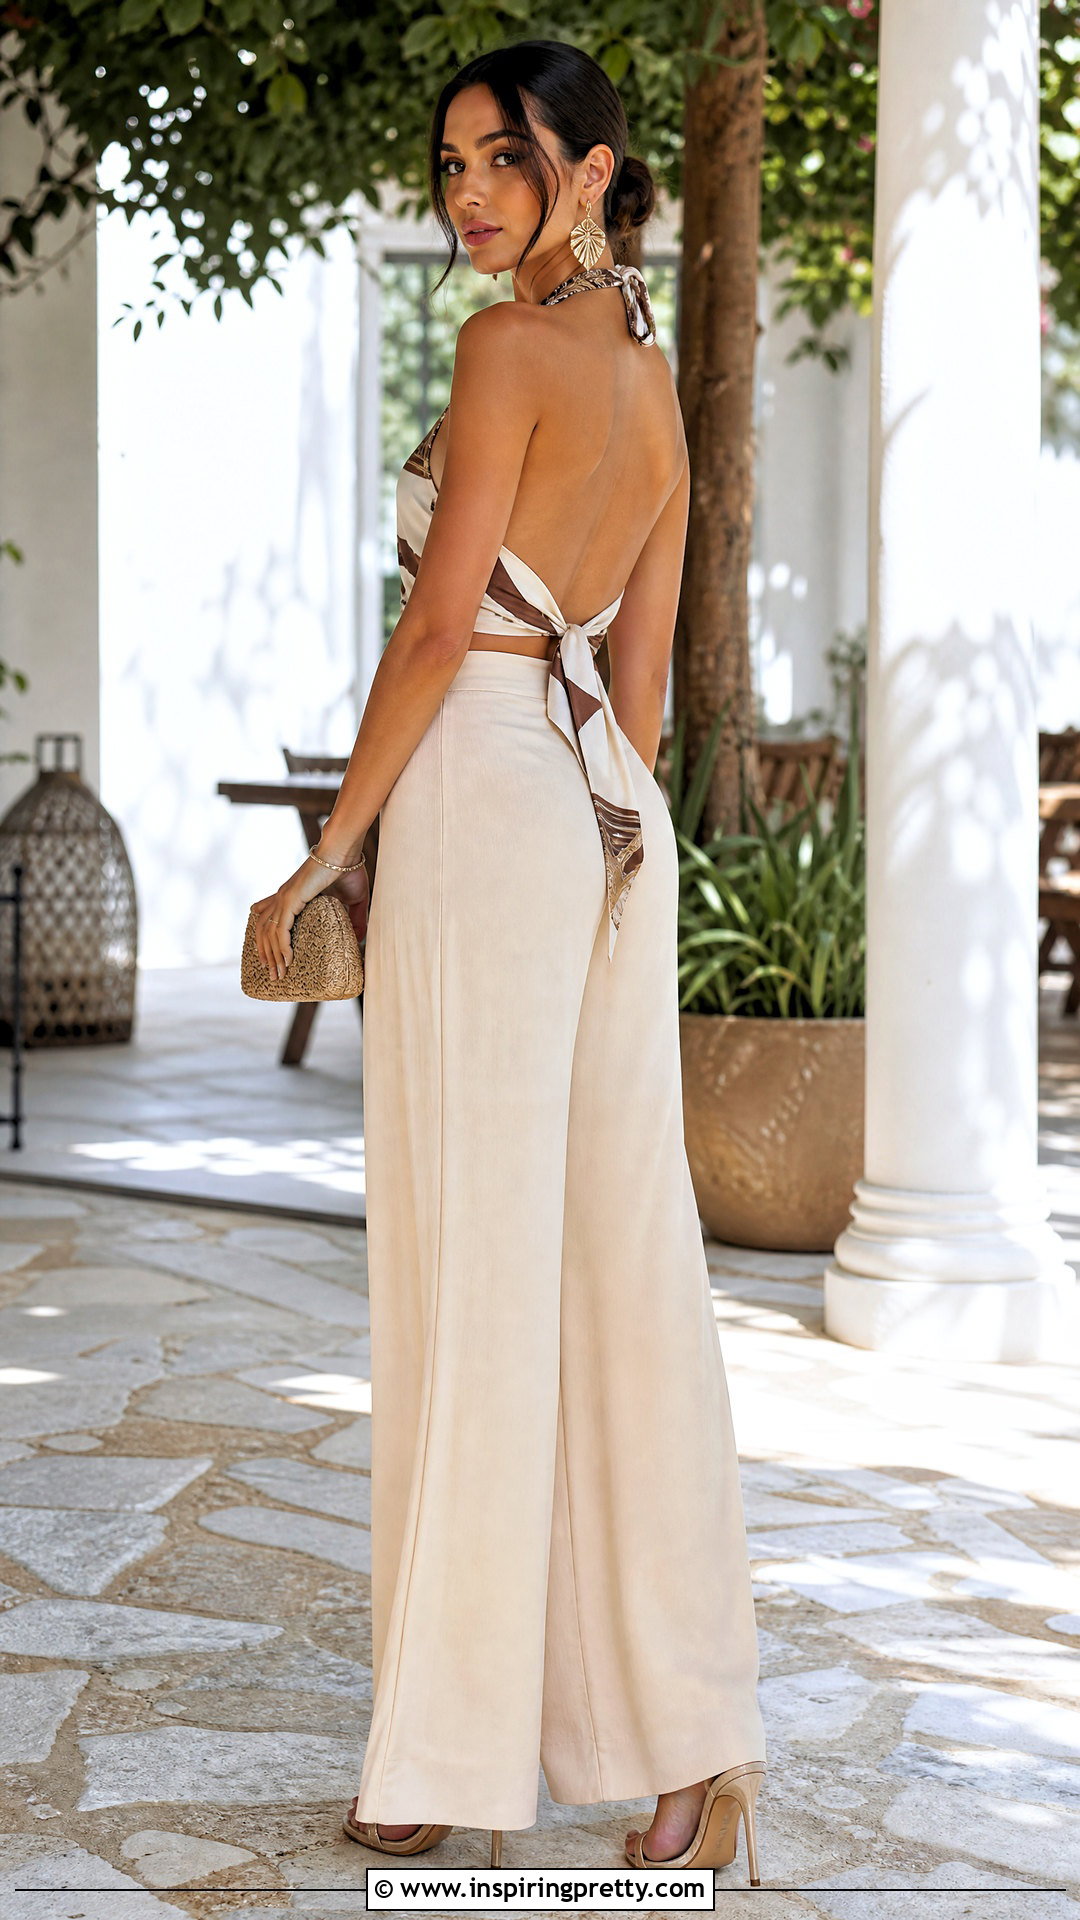
For a clean backless design, begin with a long rectangular scarf rather than a small square. Position the center of the scarf across your chest and pull both ends beneath your arms. Cross them behind your back, return them to the front at waist level, and tie them slightly off-center. Spread the front panel vertically so it covers the neckline and midsection. If the scarf is especially long, wrap the ends around your waist once more before knotting. Style this top with high-rise palazzo pants, heeled sandals, bold earrings, and a compact clutch. Keep the remaining accessories simple because the open back is already a strong feature. Use fashion tape along the upper edge and sides to keep the wrap securely positioned.
13. Scarf Vest Top
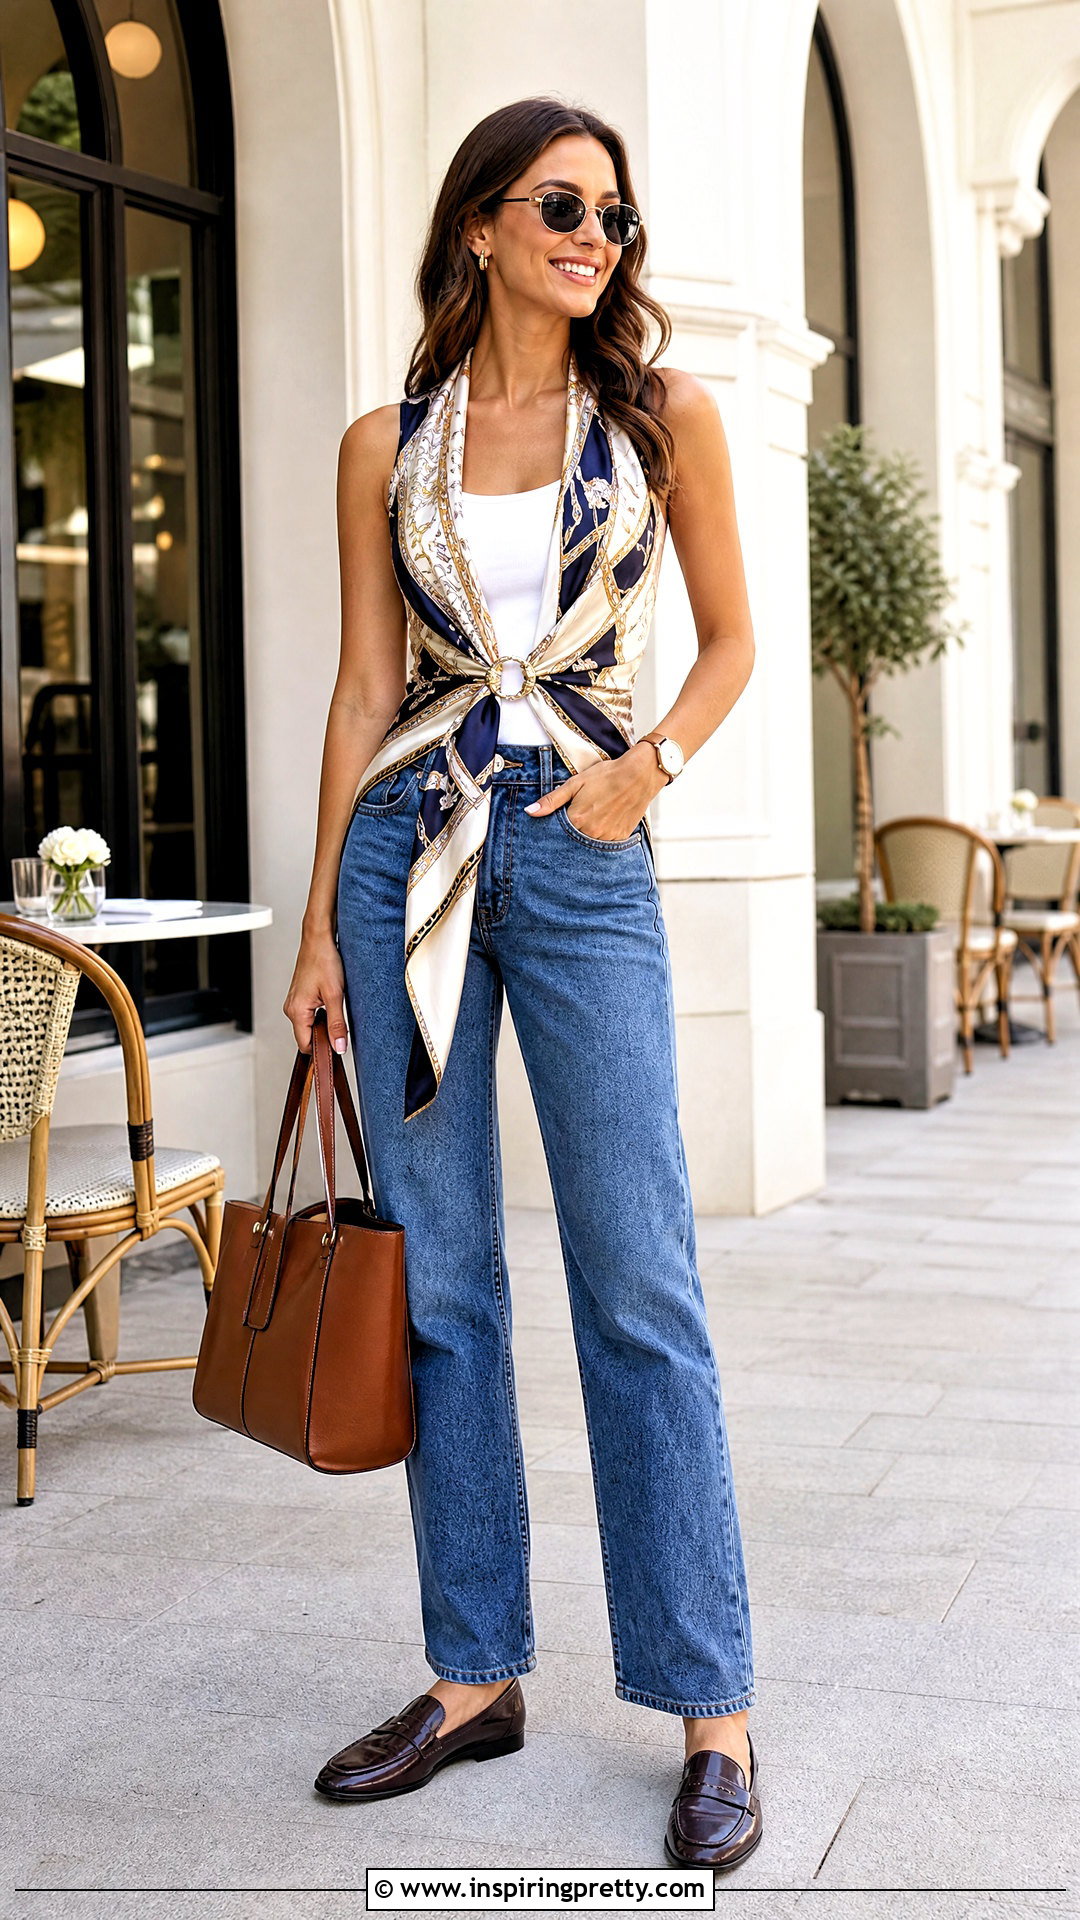
A scarf vest top offers more shoulder coverage and works well over a simple base layer. Drape a large rectangular scarf around your shoulders so equal lengths fall down the front. Take each front end beneath the opposite arm, cross the fabric behind your back, and return the ends to your waist. Tie them in front or slightly to one side. Spread the fabric across the shoulders and chest until it resembles a soft vest. Wear a fitted tank underneath if the scarf is sheer or the sides remain open. Complete the look with straight-leg jeans, leather loafers, a structured tote, and a simple watch. A lightweight cotton, modal, or crepe scarf stays in place more easily than very slippery satin.
14. Peplum Scarf Top
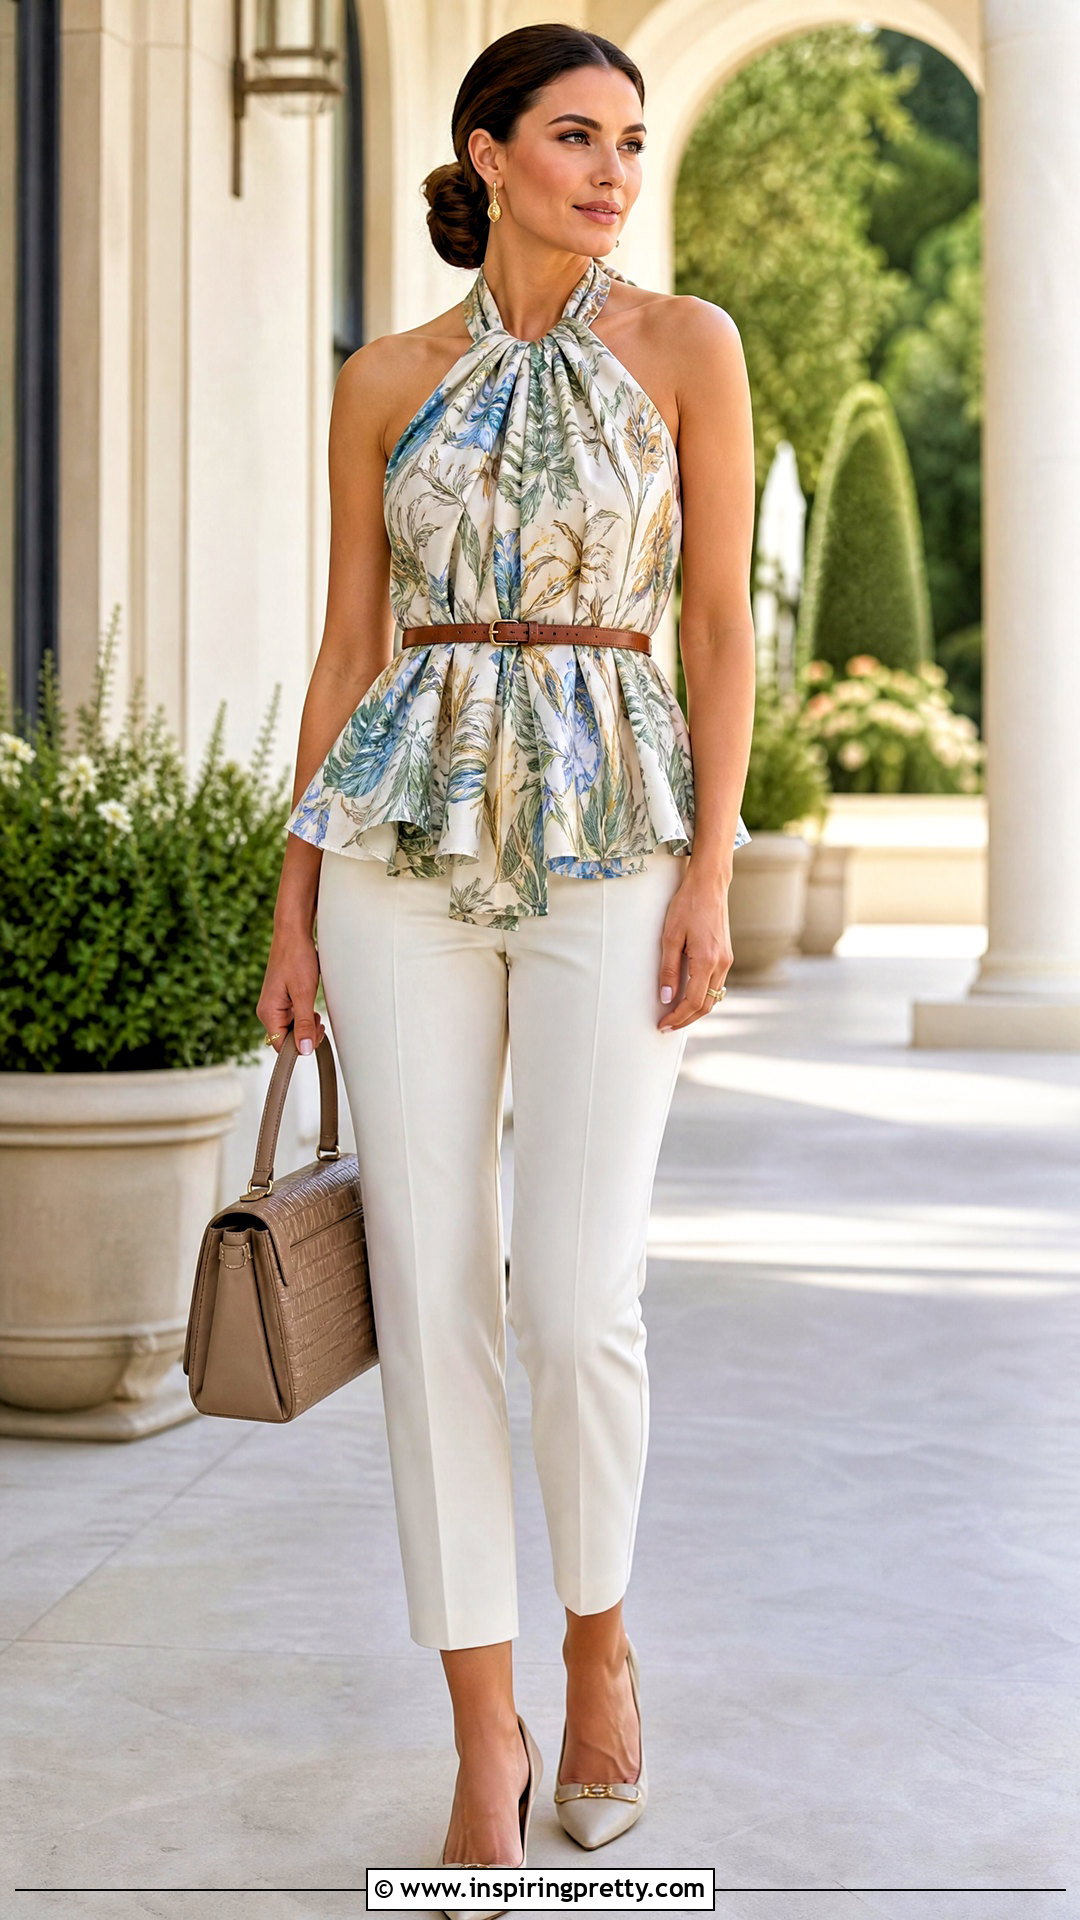
A belt can transform a loosely draped scarf into a defined peplum top. Fold a large square scarf into a triangle and tie the upper corners behind your neck. Wrap the side corners around your torso and secure them at the back, leaving the bottom point loose. Place a slim belt around your natural waist, then gently pull a small amount of scarf fabric over the belt. Arrange the lower section so it flares around your hips like a peplum. Combine this shape with fitted ankle pants, pointed-toe flats, a top-handle bag, and small drop earrings. A medium-weight scarf gives the peplum enough volume without looking bulky. Match the belt to your shoes for a coordinated, intentional head-to-toe outfit.
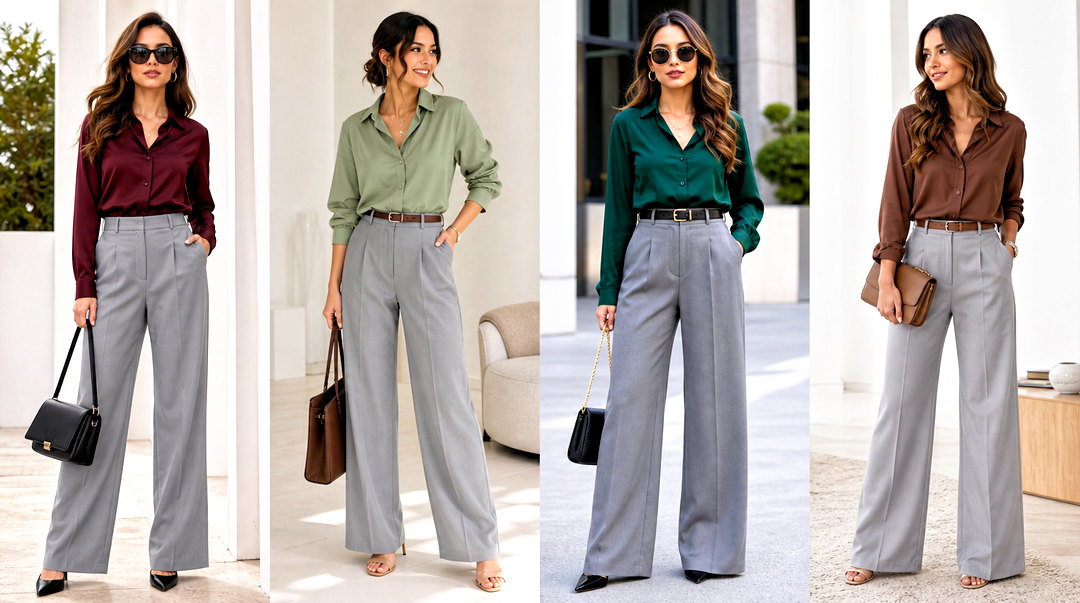
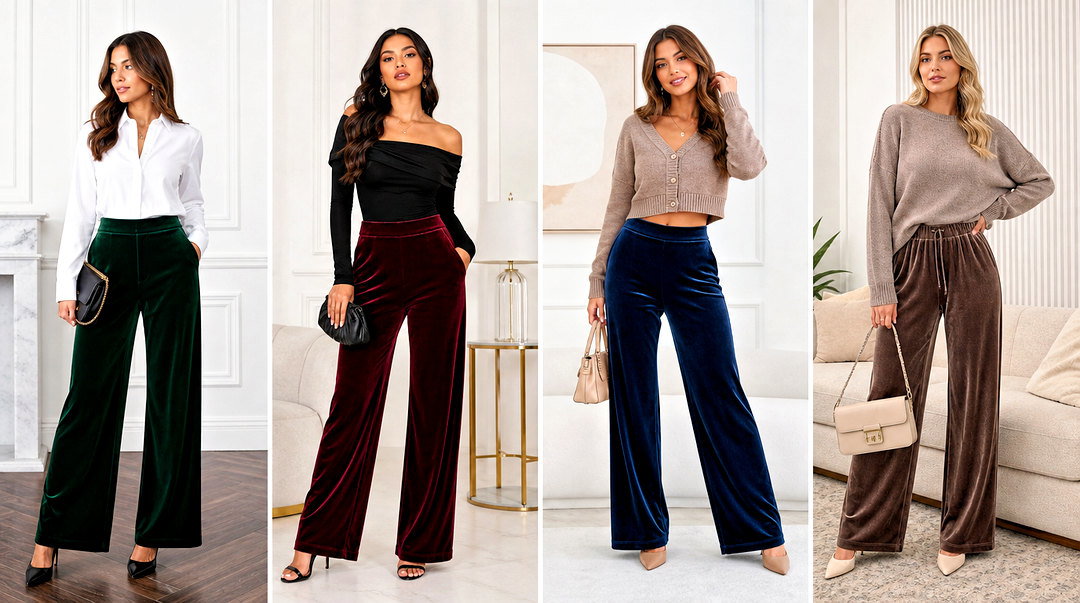
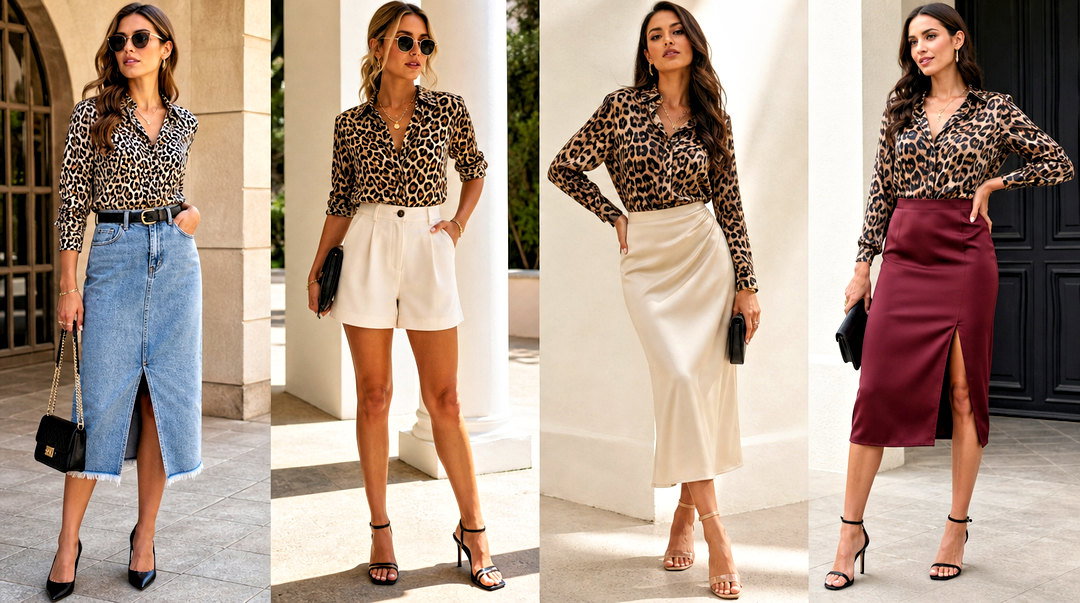
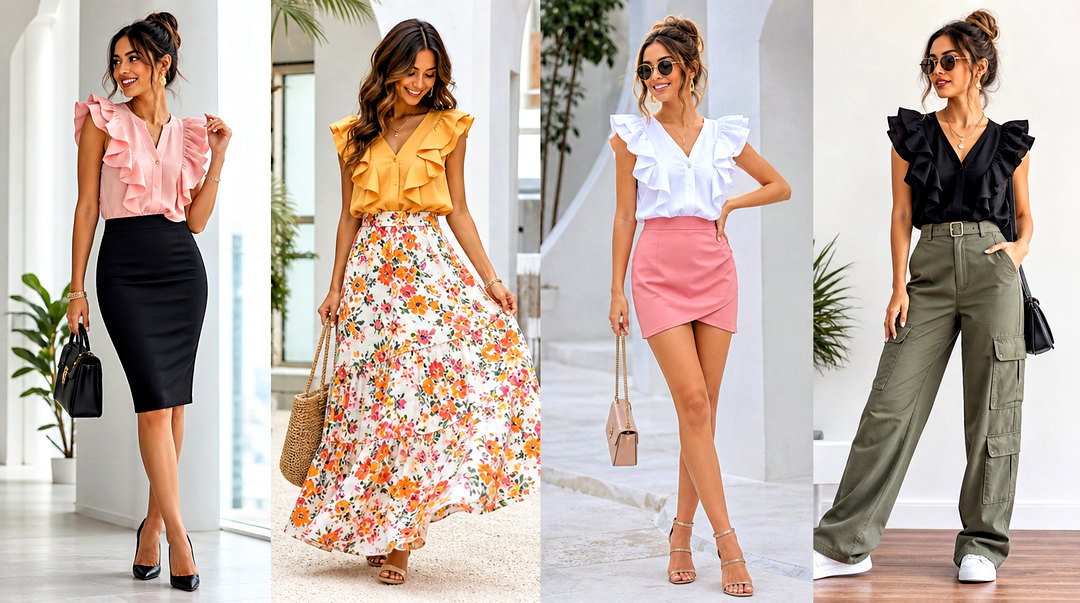
15. Scarf Corset Wrap Top
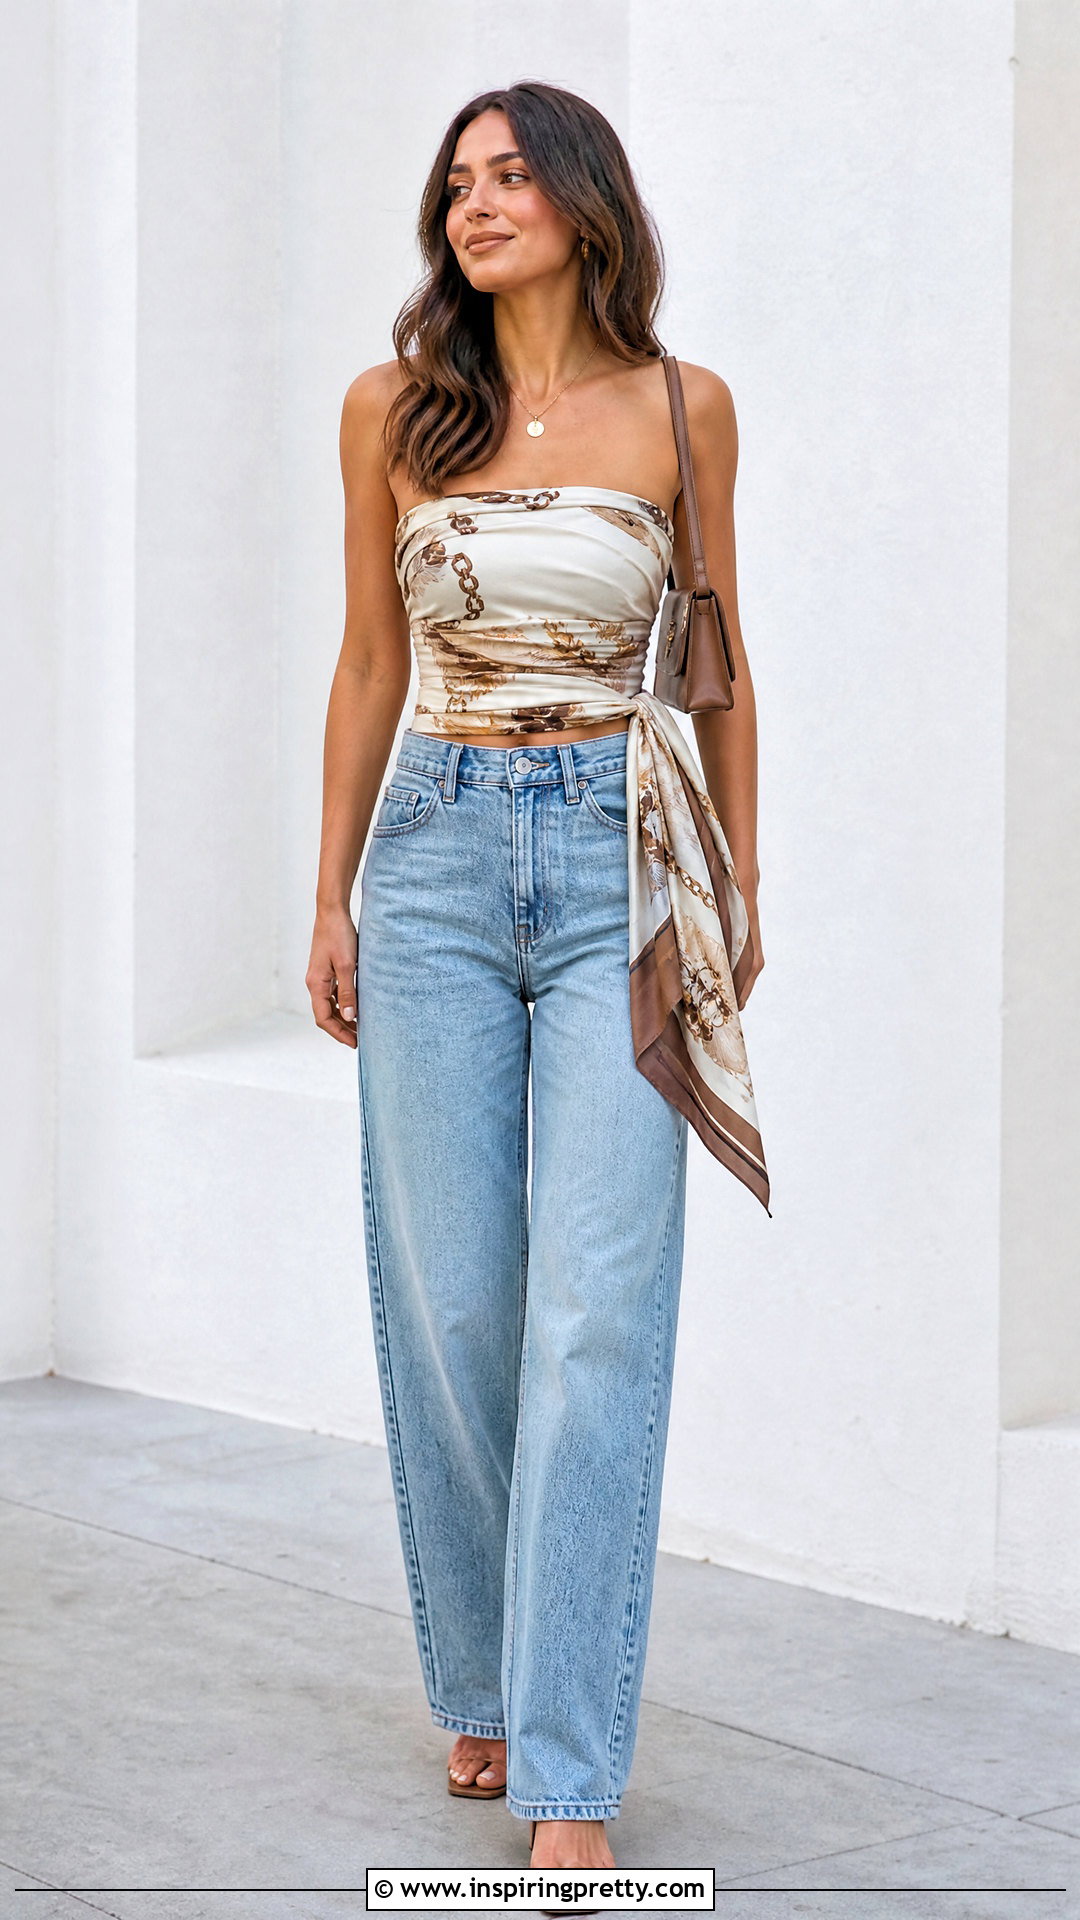
Long, repeated wraps create the appearance of a soft corset without complicated construction. Center a rectangular scarf across your chest, pull both ends beneath your arms, and cross them behind your back. Bring the ends forward and cross them over your midsection. Continue wrapping in opposite directions until only enough fabric remains for a secure back or side knot. Keep each layer flat rather than allowing it to roll into a narrow band. Adjust the upper panel for full coverage, then add fashion tape where needed. Style the top with high-waisted relaxed jeans, block-heel sandals, a small shoulder bag, and a short pendant necklace. A lightweight woven scarf is ideal because thick fabric can become bulky after several overlapping wraps.
16. Double Scarf Camisole Top
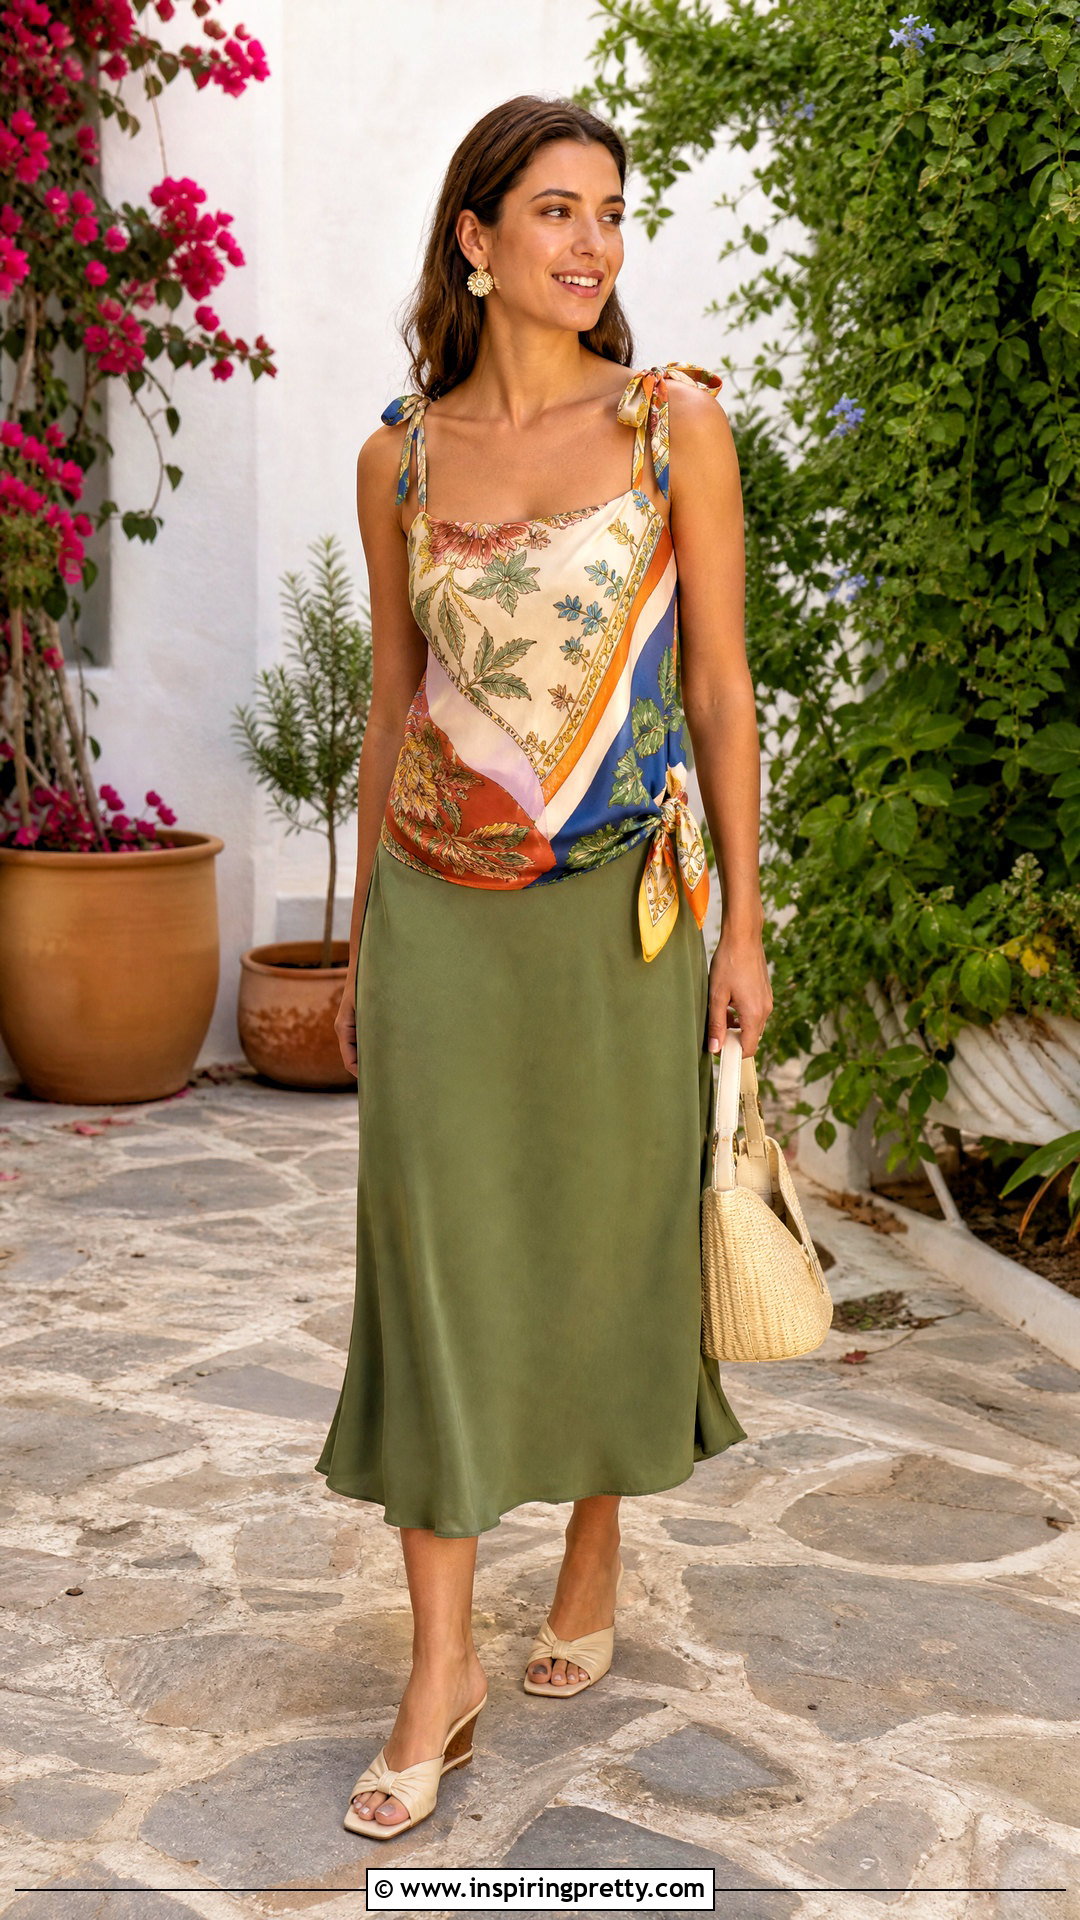
Two scarves provide extra coverage and make it easier to create a camisole-shaped top. Place one square scarf over your front and the second over your back, keeping their finished edges aligned. Tie the upper left corners together above one shoulder, then repeat on the right to form straps. Join the lower side corners beneath each arm with secure double knots. Adjust the shoulder knots to raise or lower the neckline. For a smoother silhouette, tuck the side knots inward or cover them with small bows. Wear this colorful scarf top with a solid midi skirt, low-heeled sandals, a neutral handbag, and simple earrings. Using scarves of the same size creates balanced seams, while coordinating prints can produce an intentional patchwork effect.
17. Scarf Poncho Top
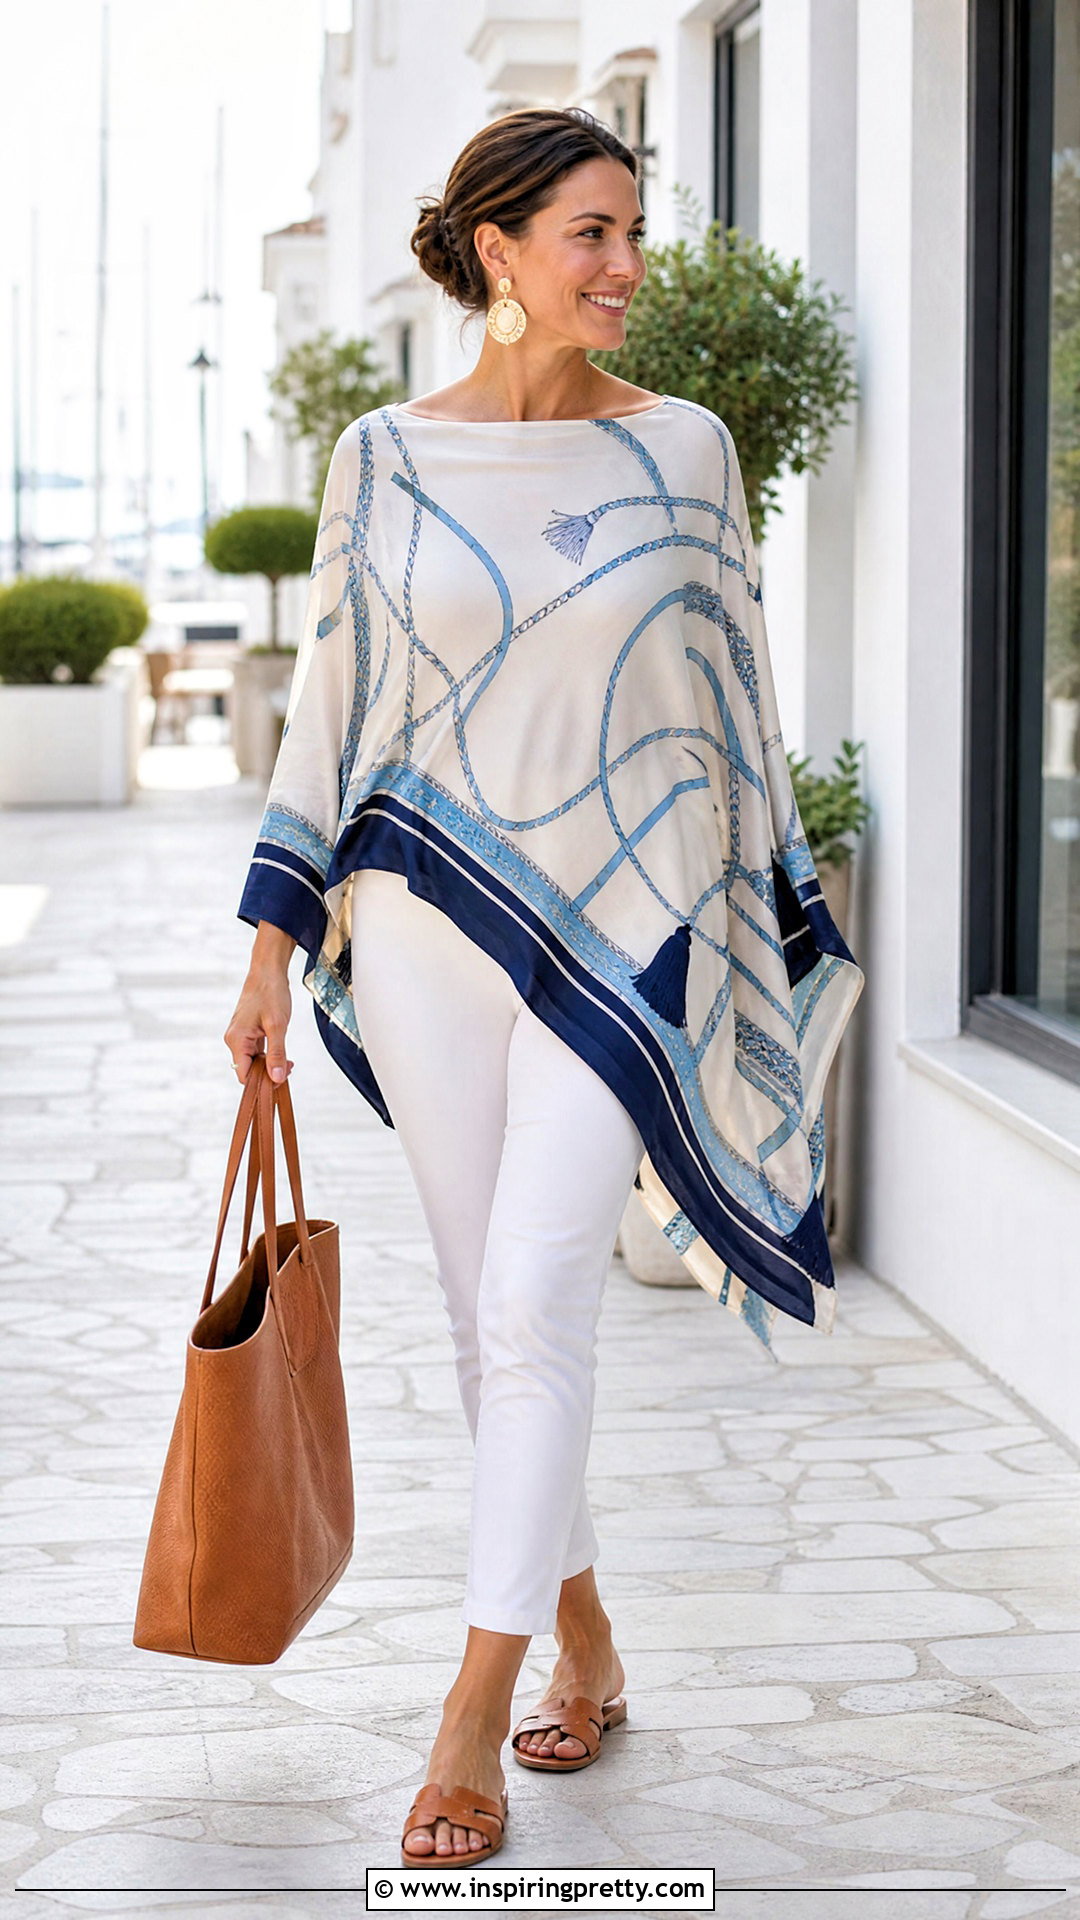
A rectangular scarf can become a relaxed poncho top with minimal sewing. Fold a long scarf in half so the short ends meet. Mark the center of the folded edge, then create a neckline opening large enough to pass comfortably over your head. Finish any cut edges with narrow bias binding or a carefully sewn hem. Put the scarf on and mark a point beneath each arm. Sew short vertical side seams while leaving generous openings for your arms and hips. A scarf measuring around 60 inches long provides useful drape for this design. Pair the finished poncho top with fitted white pants, flat sandals, a roomy tote, and bold earrings. A simple fitted tank underneath keeps the outfit practical and comfortable. ()
18. Batwing Scarf Top
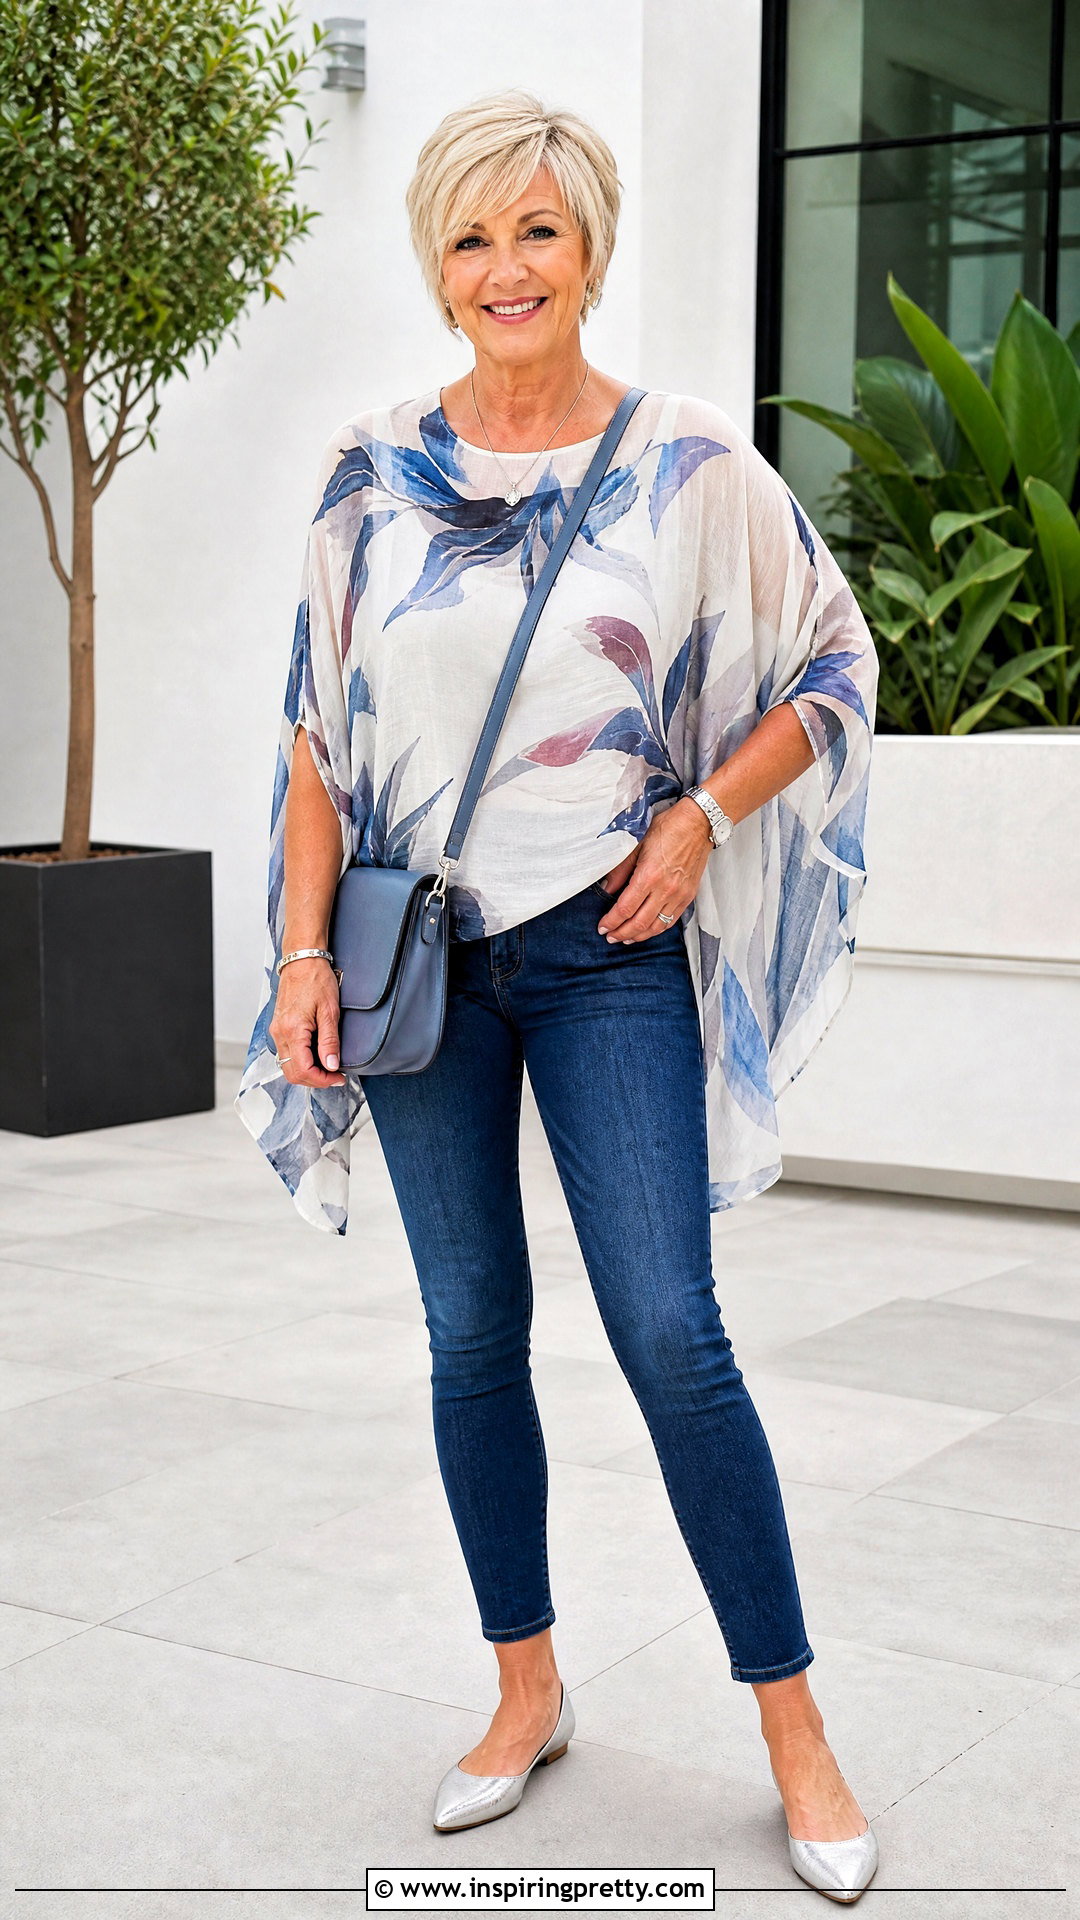
A tube or infinity scarf works especially well for a loose batwing top. Lay the scarf flat with its existing seam positioned at the top. Mark the center and carefully open part of that seam to create a neckline. Try the scarf over your head before making the opening larger, since a cut neckline cannot be reduced easily. Finish the neckline with a narrow stitch if the fabric requires reinforcement. Add short side seams near the lower edges while leaving wide openings for your arms. Style the finished batwing top with slim ankle jeans, pointed flats, a crossbody bag, and understated jewelry. Because the upper body has plenty of volume, fitted bottoms create a balanced silhouette. Lightweight fabric will produce the softest drape. ()
19. Reversible Two Scarf Top
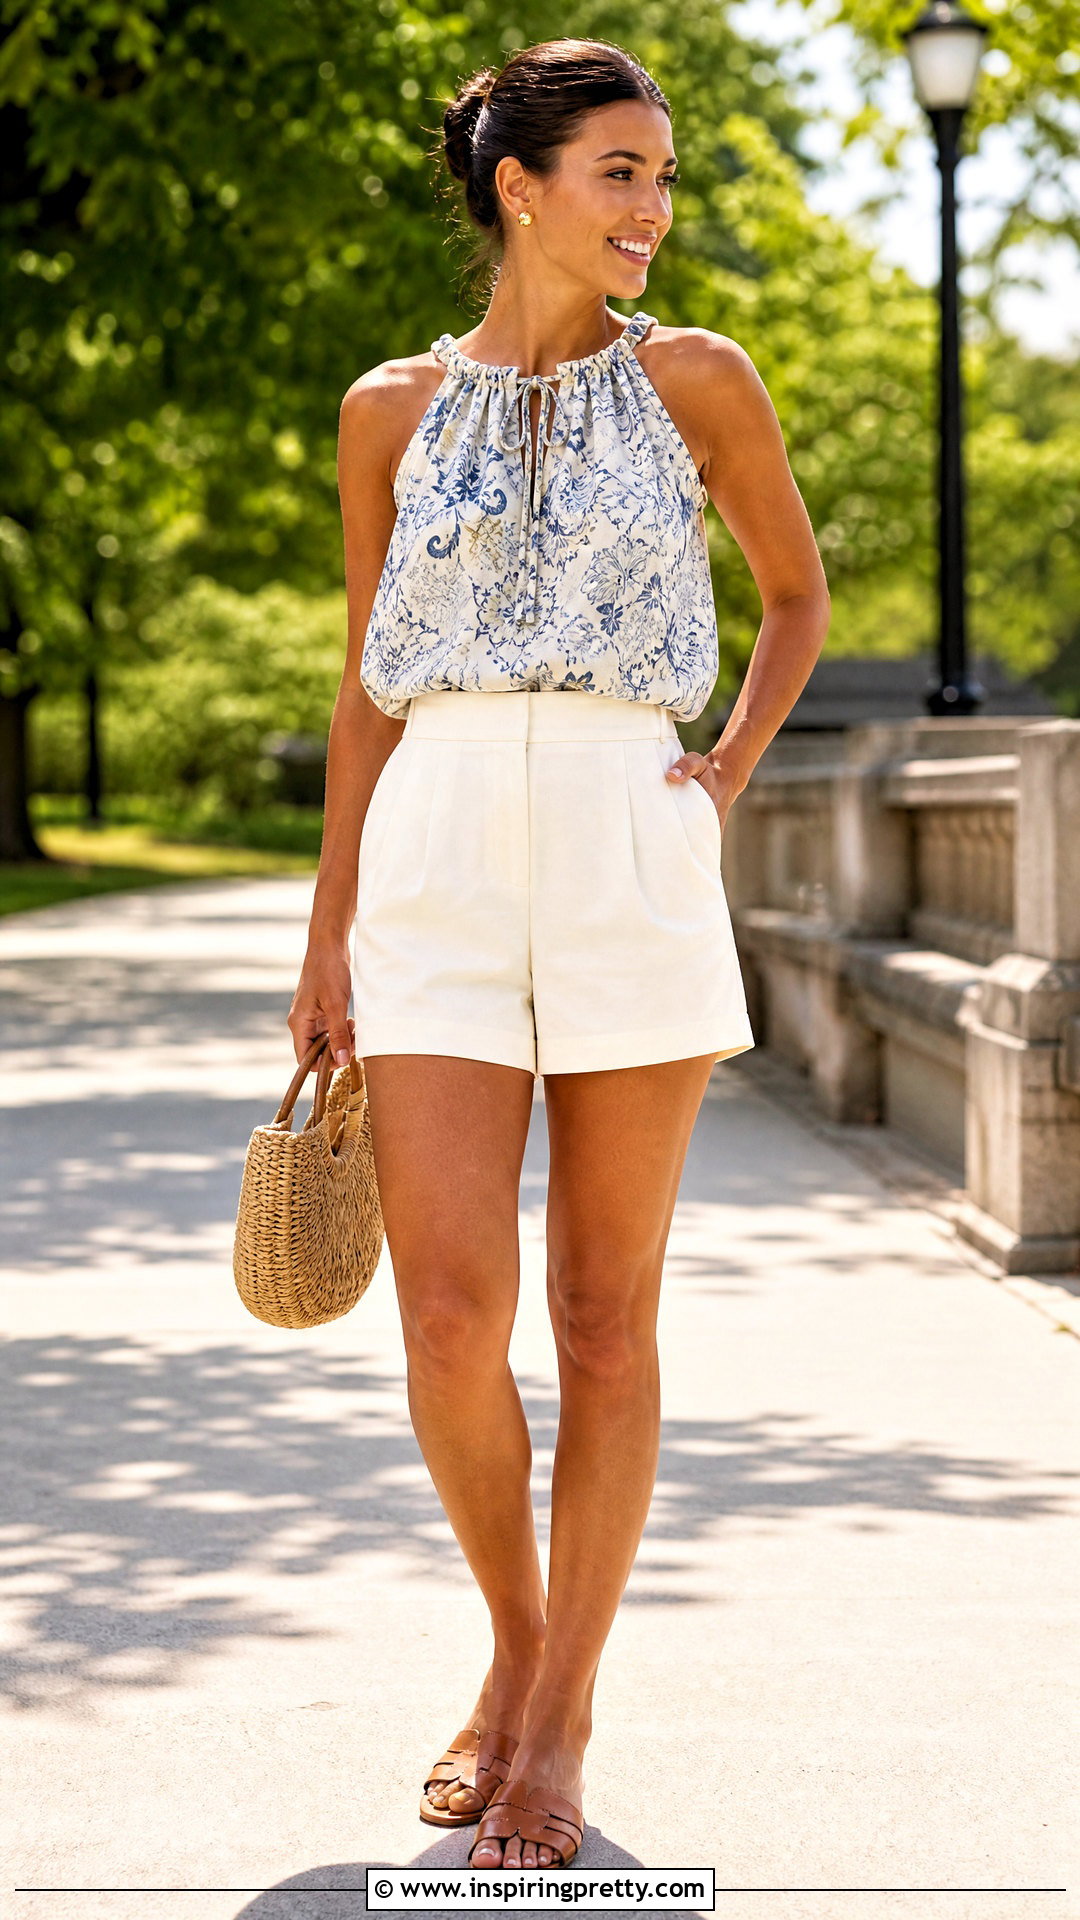
Two matching scarves can be sewn into a roomy, reversible sleeveless top. Place the scarves with their right sides facing and align the edges. Sew short side seams while leaving openings for your arms. Fold or align the upper edges to create a neckline channel, then stitch two parallel lines wide enough to hold ribbon or cord. Thread the cord through the channel with a small safety pin, gather the neckline, and tie it securely. The adjustable opening can sit high like a halter or lower across the shoulders. Wear the top with tailored shorts, leather slides, a woven handbag, and stud earrings. Choose lightweight scarves of equal dimensions so the finished garment hangs evenly and can be turned inside out comfortably. ()
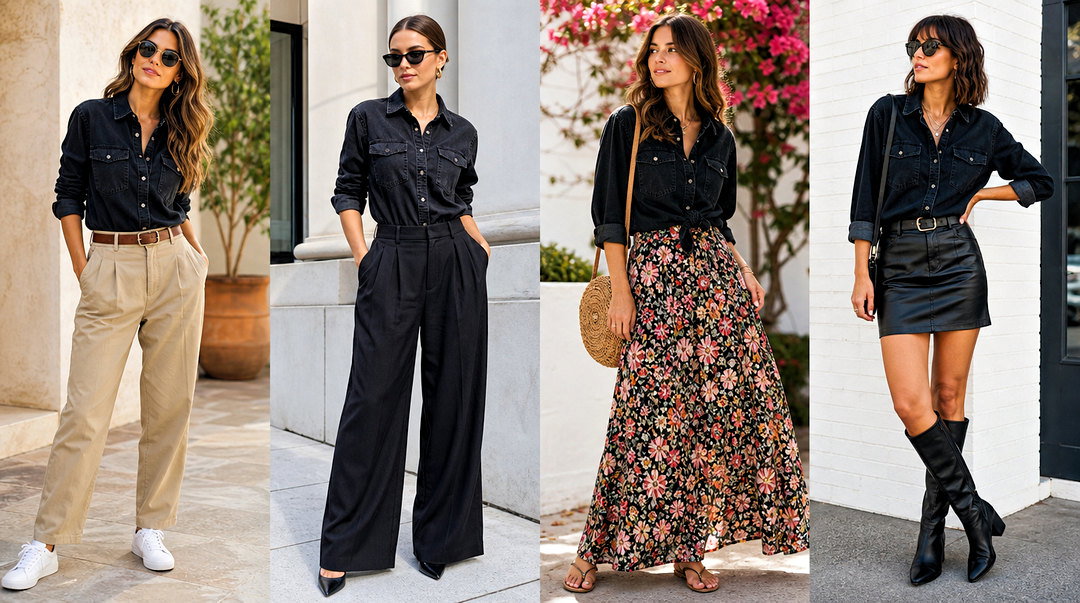
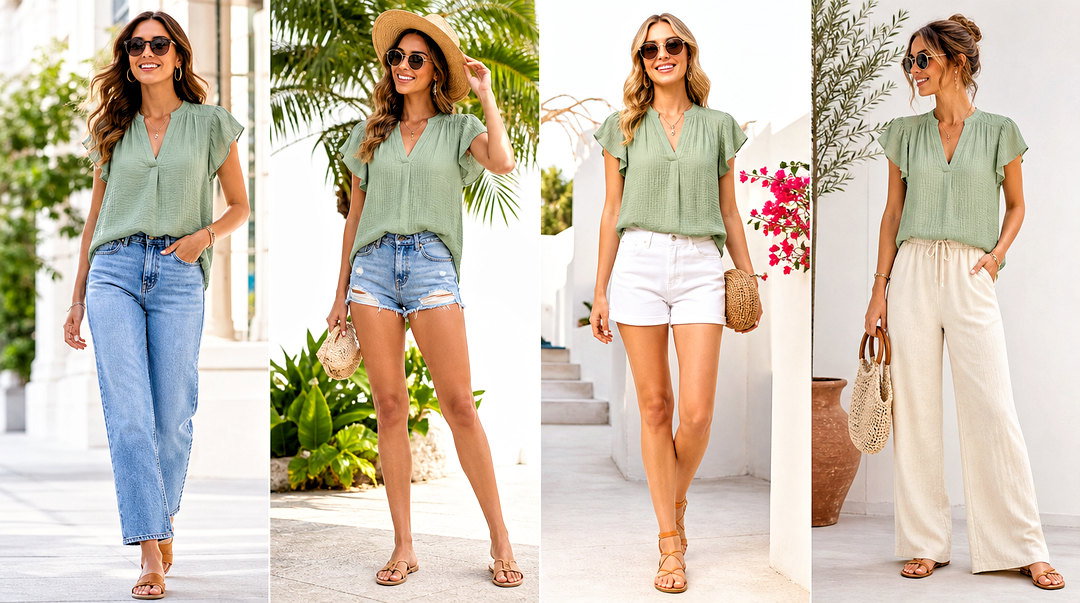
20. Center Knot Scarf Crop Top
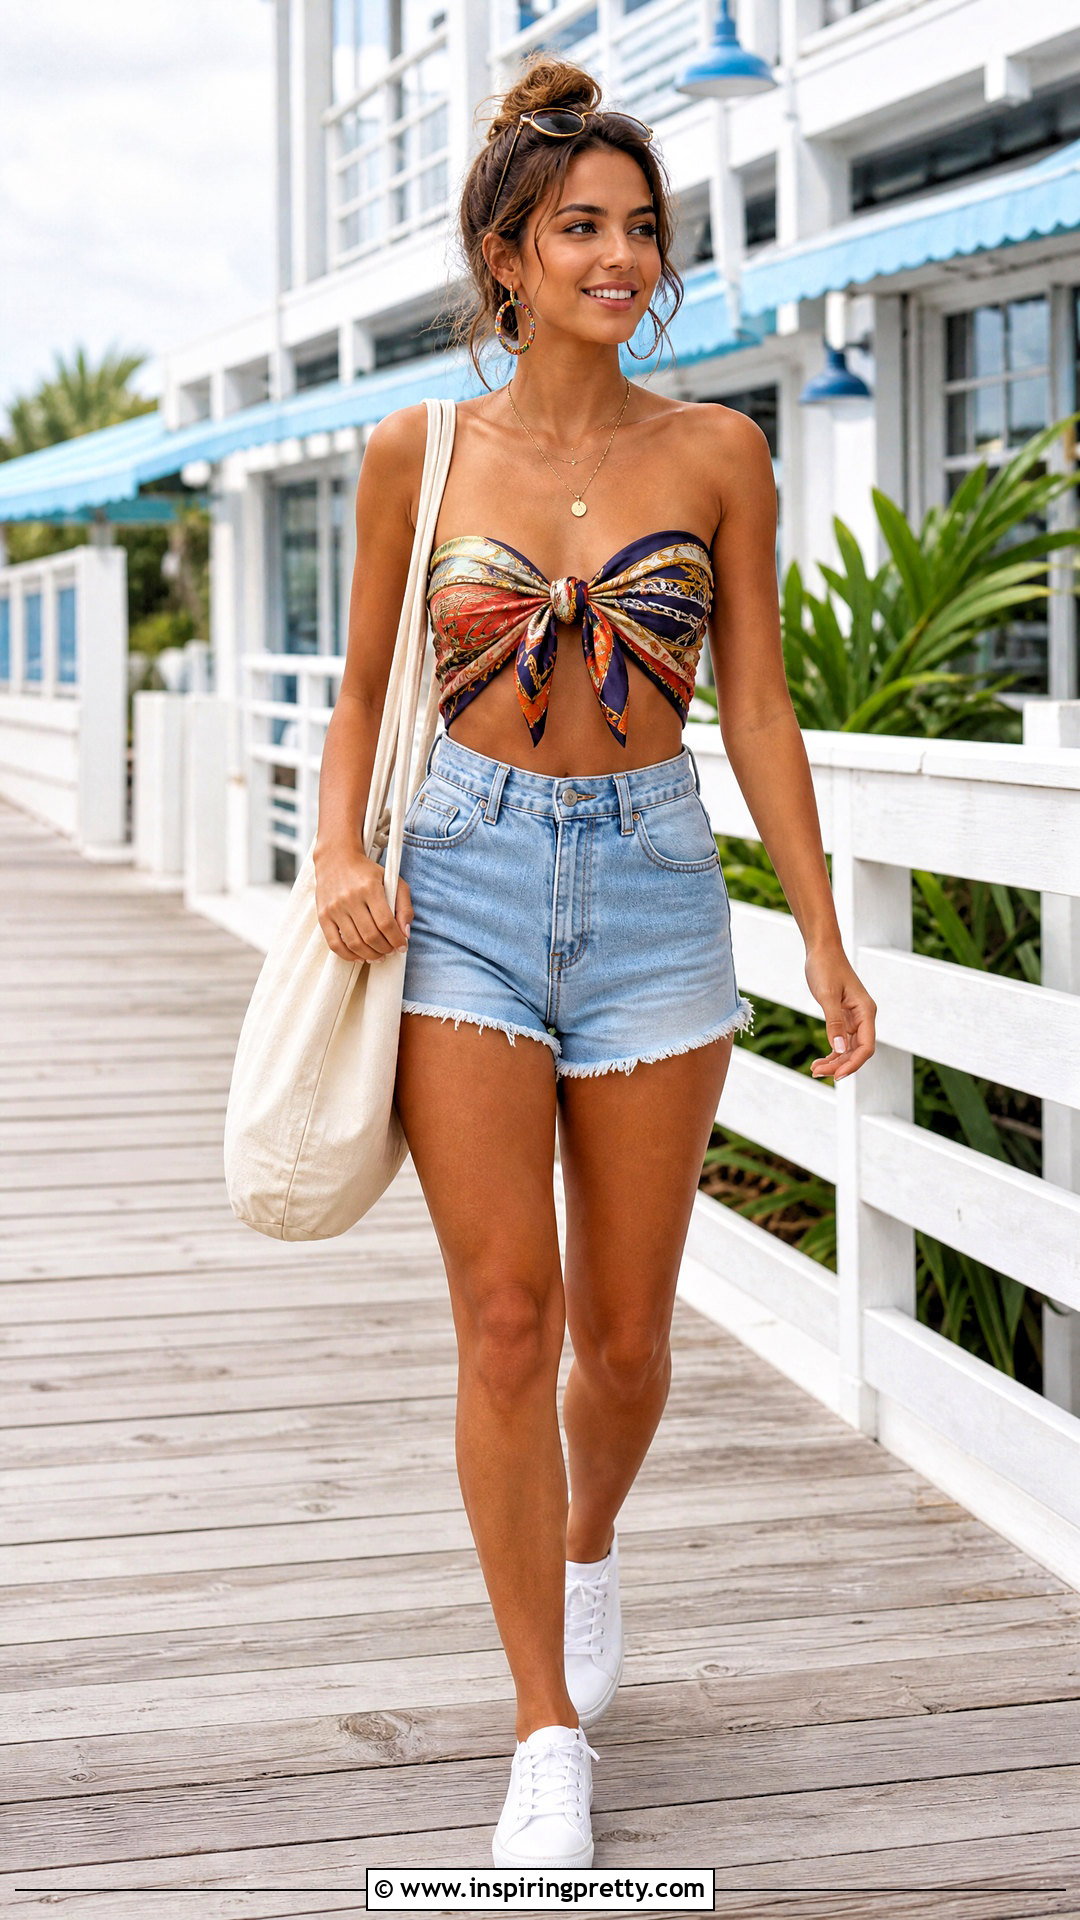
The center knot crop top creates a defined front without complicated wrapping. Fold a large square scarf diagonally and position the triangle against your back, with the long edge beneath your shoulder blades. Bring the two wide corners forward under your arms. Tie them at the center of your chest using a firm double knot. Lift the lower point between your legs only far enough to reach the back waist, or simply bring it upward against your torso for a less fitted version. Secure it discreetly beneath the back knot or waistband. Pair this top with high-waisted denim shorts, low-profile sneakers, a canvas tote, and colorful hoop earrings. Test the arrangement carefully and use fashion tape for additional security around the front and sides. ()
Conclusion:
Knowing how to make a top out of a scarf helps you create more outfits from pieces you already own. Start with a large, opaque scarf and practice straightforward options such as the triangle halter, bandeau, or front knot. Once you understand how the fabric behaves, experiment with rings, ribbons, layered wraps, and two-scarf designs. Always tie secure double knots, protect delicate material from sharp fasteners, and add fashion tape when an edge needs support. High-waisted bottoms balance most scarf tops and make cropped designs easier to wear. Most importantly, move around before leaving home to confirm that everything stays covered. With thoughtful folding and styling, one scarf can become a surprisingly versatile part of your wardrobe.

Related posts:
Leave a Reply