I learned to trust a crochet chart over written instructions the first time a long row of text lost me halfway through a lace repeat. A chart shows you where every stitch sits, where the shaping happens and where the color changes, all in one picture. The fifty projects below run from tops and cardigans to bags, baby gifts and home pieces, with beginner-friendly options next to filet, mosaic, carried-yarn colorwork and corner-to-corner designs. Two habits save most mistakes. Read the chart legend before anything else, because symbols and stitch names differ between countries, and swatch for anything you plan to wear.

Reading the Symbols Before Your First Row
Most chart frustration comes from three things: not knowing which stitch a symbol means, reading the rows in the wrong direction, and mixing up American and British stitch names. Here is how I sort each one out before I pick up a hook.
The common symbols
- An oval is a chain. A dot is a slip stitch.
- An x or a plus sign is a single crochet in American terms.
- A T shape is a half double crochet. Add one slash through its stem and it becomes a double crochet; two slashes make a treble.
- Symbols joined at the bottom are worked into the same stitch, which is an increase. Symbols joined at the top are worked together, which is a decrease.
Which way the chart runs
On a round chart, start at the center and work outward, usually counterclockwise if you crochet right-handed. On a row chart, look for the row number: it sits on the side where that row begins, so the direction flips every row. Left-handed crocheters mirror all of this, and I find it helps to flip a photocopy of the chart rather than reversing it in your head. Grid charts for filet, corner-to-corner and colorwork are simpler, since one square is one block or one color change.
American versus British names
The two systems use the same words for different stitches. An American single crochet is a British double crochet, and an American double is a British treble. Symbols don't change between countries, which is one more reason I prefer a chart to written instructions. When a pattern comes with both, check the legend to see which naming it uses.
1. Crochet Granny Square Blanket With Chart

A granny square blanket is where most people first meet a round chart, and it's a forgiving place to learn. Pick a motif chart that shows every chain, cluster and corner space clearly. Cotton blends give crisp stitches, acrylic gives a warm blanket you can machine wash. My rule is to block each square before joining, because squares from different days rarely come out the same size, and blocking evens them. Join-as-you-go saves sewing; a whipstitch seam gives a beginner more control. A few rounds of single crochet or a small scallop finishes the edge, and the same square scales from a baby blanket up to a full bedspread.
2. Crochet Filet Table Runner With Chart

Filet crochet reads almost like a cross-stitch grid: filled squares are solid blocks, empty squares are open mesh. That makes a long table runner easy to follow row by row. Mercerized cotton thread is what I use for filet, because its sheen and firm twist keep the blocks sharp. Count the foundation chain twice. One missing chain shifts the entire design, and you won't notice until the motif looks lopsided several rows later. A marker after every repeat catches errors early. Wet-block the finished runner flat to open the mesh, and leave the table around it fairly bare so the lace actually shows.
3. Crochet Mandala Wall Hanging With Chart

A crochet mandala wall hanging is the best lesson I know in how increases control a flat circle. Choose a chart with every round numbered and the repeats marked. Cotton holds the shape and shows decorative stitches clearly. Start from a magic ring and follow the chart outward, changing colors at the ends of rounds. Lay it down every few rounds: if the edge curls up into a bowl, you need more increases or a looser hand, and if it ruffles, you have too many. After blocking, stitch it evenly onto a metal or wooden hoop. Keep tassels short so the pattern stays the point.
4. Crochet C2C Geometric Blanket With Chart

Corner-to-corner crochet builds a picture from small diagonal tiles, and each square on the grid chart is one tile. That's why triangles, diamonds and pixel-style motifs suit it so well. You increase from one corner until you reach the width, then decrease to the opposite corner. For separate color areas I wind small bobbins instead of carrying long strands across the back, which keeps the fabric flat and stops the yarn tangling. Three or four shades give a modern blanket that's far easier to manage than a detailed image. Weave in ends section by section, then add a border to straighten the stepped edges.
5. Crochet Mosaic Pillow Cover With Chart

Overlay mosaic looks complicated, but each row uses only one color. The pattern comes from dropped stitches worked down over earlier rows, so placement has to be exact; one stitch off and the line breaks. Most mosaic charts are read right to left. Pick two shades with obvious contrast, cream with navy or sand with terracotta, because similar tones lose the design completely. I work the panel slightly smaller than the pillow insert, since crochet relaxes in use and a snug cover looks plumper. An envelope back or a zipper both work. Block the panels before joining so the edges line up.
6. Crochet Floral Tote Bag With Chart

A floral tote is a useful shape for colorful charted motifs, as long as you build it for weight. Flower squares or carried-yarn colorwork panels both suit it; choose a chart that shows each petal, leaf and background color clearly. Firm cotton gives structure, but cotton also stretches under load, so I add a solid base and a sewn fabric lining to stop the bag growing longer every time it's full. Wide handles are kinder to the shoulder than thin straps. Block every panel before assembly to keep the rectangle square. It looks best against plain clothes, denim and a simple cotton shirt, so the flowers do the talking.
7. Crochet Mesh Market Bag With Chart

A mesh market bag folds small enough to live inside another tote. The chart usually begins with a solid oval or round base, then moves into chain-space mesh that expands as you fill it. Use sturdy cotton, which carries weight better and washes easily. The handle section is where I put the most care: work it dense and wide, because a narrow mesh handle stretches and cuts into your hand once there are groceries inside. Choose short handles for hand carrying or longer ones for the shoulder, and finish the top round in tight single crochet. Pair it with a T-shirt, straight pants and flat sandals.
8. Crochet Granny Square Cardigan With Chart

A granny square cardigan is heavier than people expect, and that weight decides most of my choices. Pick a chart that includes the assembly diagram as well as the square, so you can see how the motifs form the back, fronts and sleeves. Make one square, block it and size the garment from that real measurement. A soft yarn with drape, often a lighter weight than the square pattern suggests, keeps the cardigan from hanging stiff and dragging at the shoulders. Lay out every square before joining to balance the colors. Ribbed cuffs and a button band finish it. I wear mine over a fitted tank with high-rise jeans and loafers.
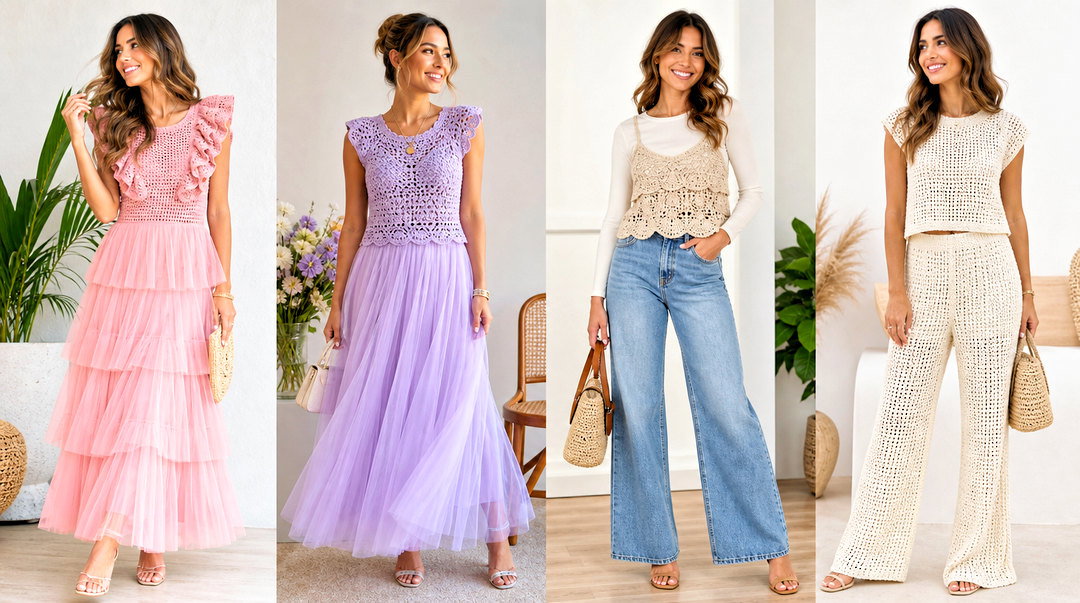
9. Crochet Lace Crop Top With Chart

A lace crop top is an easy warm-weather project to love and a hard one to fit, so the gauge swatch isn't optional. A small difference in stitch size grows across the bust into a top that's either tight or gaping. Look for a chart with bodice shaping, body repeats, edging and strap placement. Cotton or bamboo blends breathe and drape better than wool here. A solid band under the bust adds support and coverage, and adjustable ties let you tune the fit. I always try it on before sewing straps down. High-waisted linen pants, flat sandals and a small woven bag finish it, with a camisole underneath if you want more coverage.

10. Crochet Vest With Chart

A charted vest gives you texture without the work of sleeves. Choose a pattern with a clear front, back, armhole and neckline diagram, and go by the finished garment measurements, not the size label. I like an inch or two of positive ease for a vest worn over shirts. Open lace suits warm weather, while dense granny stitches layer well in cooler months. Block front and back before joining so the repeats match at the side seams. A single-crochet border around every opening keeps armholes from stretching out. Over a crisp white shirt with tailored pants it looks polished, and over a plain tee with jeans it relaxes completely.
11. Crochet Triangle Shawl With Chart

A triangle shawl teaches charted increases in a way you can see. Most start at the center top and grow by regular increases along the center spine and both edges, so a marker on the spine stitch saves a lot of counting. Pick a chart with the repeat clearly boxed, which lets you keep going if you want a bigger shawl. Fingering weight makes a light layer; worsted gives a proper wrap. Blocking matters more here than anywhere else in this list, because lace looks crumpled until it's pinned out to open. I wear one over a long-sleeve top and jeans, or draped over a plain midi dress.
12. Crochet Poncho With Chart

A poncho shows off a large chart without interruption. Many are two rectangles joined at an angle; others are worked in the round from the neck. Pick the construction that matches your experience, and favor a repeating shell or geometric chart, which is far easier to resize than a big central motif. I measure the neck opening as soon as it's done: it must pass over the head easily but not slide off the shoulders. A soft, lightweight yarn lets the poncho drape instead of standing out like a tent. Finish with a plain border or short fringe, and wear it over slim pants and a fitted mock neck to balance the volume.
13. Crochet Bucket Hat With Chart

A bucket hat is really three shapes from one circular chart: a flat crown, straight sides and a sloping brim. Check that increases are spread evenly around the crown, and measure its diameter before starting the sides, since that sets the fit. Cotton gives the hat enough body for warm weather. The brim tells you what's wrong. If it goes wavy, you've added too many increases; if it curls up, add them more often. A firm last round helps it hold. One solid neutral looks minimal, while a two-color spiral turns the hat into the main accessory with a tank, overshirt and denim shorts.
14. Crochet Beanie With Chart

Crochet has less stretch than knitting, which is why beanie fit takes a little more thought. A crown-down chart shows exactly where each increase goes; a ribbed rectangle seamed into a tube is the other common method. Measure the head and aim for slight negative ease, an inch or so smaller, so it stays on. I use front and back post stitches for the brim, because they give crochet a rib with real stretch. Pick a soft yarn that won't itch across the forehead after an hour. A folded brim is warmer. With a quilted jacket, jeans and lace-up boots, keep everything else plain if the hat has several colors.




15. Crochet Scarf With Chart

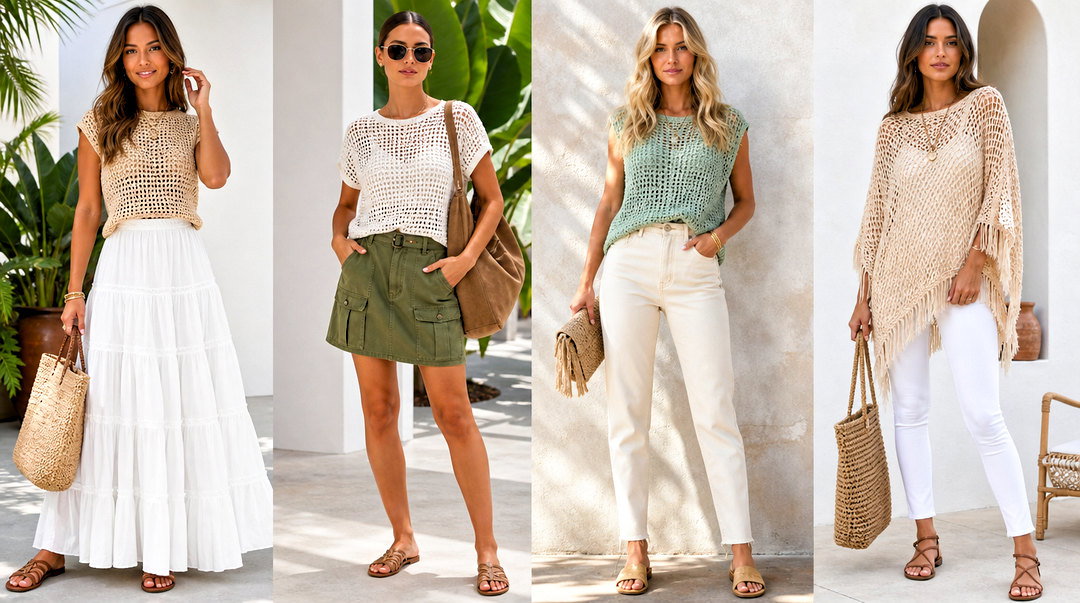
A scarf is the easiest way to get comfortable with symbol charts, because a rectangle has no shaping to distract you. Pick a lace, shell, cable, or mosaic chart for the texture and season you want. I swatch one full repeat first; it shows whether your yarn and hook produce the width you planned. Wobbly side edges almost always come from treating the turning chain inconsistently, counting it as a stitch on some rows and not on others. Block the finished scarf so the pattern opens evenly. Tassels are fine if they stay smaller than the pattern repeat.
16. Crochet Baby Blanket With Chart

For a baby blanket, washability and safety outrank everything else. Simple stars, hearts, clouds or stripes come out well in filet, C2C or carried-yarn colorwork. Use smooth, machine-washable yarn made for baby skin, and leave out buttons, beads and long fringe. If you work colorwork, keep floats on the back short, since little fingers catch in loops, and secure every end carefully. Swatch and calculate the finished size before committing to a detailed graph. A fabric backing hides busy color changes but isn't required. Finish with a flat border that won't curl, and treat it as a supervised play mat, not crib bedding.
17. Crochet Baby Booties With Chart

Booties are a quick, small lesson in three-dimensional shaping: a sole chart, an upper, toe decreases and an ankle finish. Crochet both soles first, then both uppers, so the pair matches. I count stitches at the end of every round, because on something this small one missed stitch is the difference between fitting and not. Designs worked in one piece avoid bulky seams against tiny feet. Swap buttons for crochet ties or stitched details. Use soft, washable yarn that doesn't shed, and keep any trim minimal so the bootie stays flexible and easy to pull on.
18. Crochet Teddy Bear Amigurumi With Chart

Amigurumi lives or dies on tension. I go down a hook size or two from the yarn label so the single crochet fabric is tight enough to hide the stuffing. A good bear chart separates the head, body, ears, arms and legs and shows each increase and invisible decrease. Mark the start of every round. Safety eyes are only for toys meant for older children; for babies, embroider the eyes instead. Stuff a little at a time, pushing filling into the shape rather than stretching the stitches. Sew limbs on firmly with matching yarn, and give any little sweater or scarf the same test: tug it hard.
19. Crochet Bunny Amigurumi With Chart

Long ears and a round body give a bunny its shape, so choose a chart with balanced shaping for the muzzle, feet, tail and ears. Smooth cotton or acrylic shows stitches clearly and wears well. Work in continuous rounds unless the chart says otherwise. Before I sew anything on, I pin the ears and limbs with markers and look at the bunny from the front, because a slightly crooked ear is the most common thing that makes a handmade toy look off. Embroider the face for a small child. A tiny vest or bow adds personality. Finish by checking every seam and burying the tails inside the body.


20. Crochet Flower Bouquet With Chart

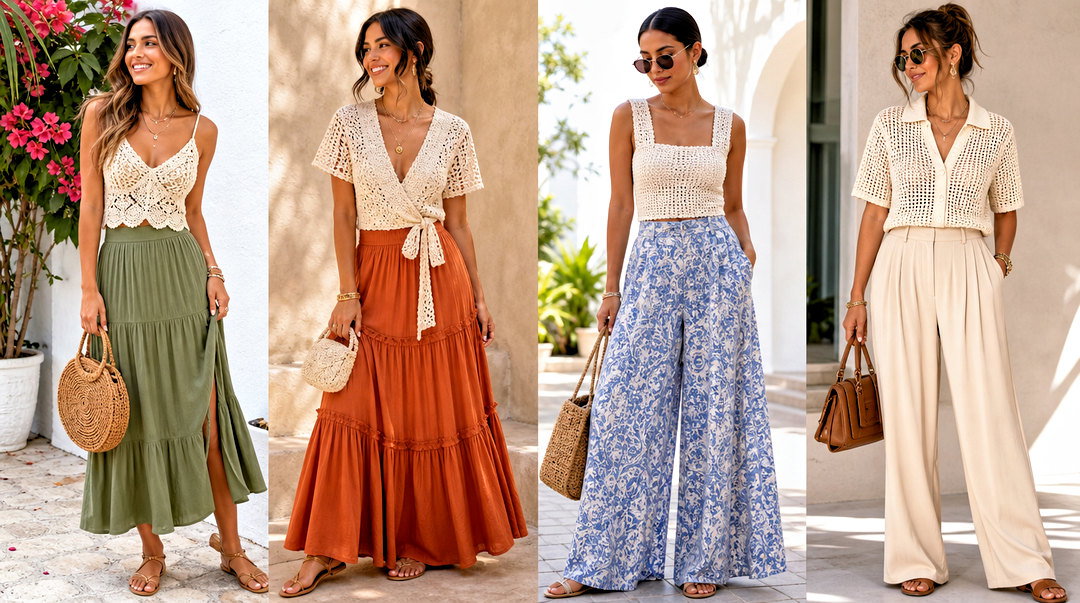
A crochet bouquet never wilts, and it needs no garment sizing at all. Use separate charts for roses, daisies, tulips, leaves and small fillers. Cotton gives clean petals; embroidery thread makes finer ones. I limit the bouquet to a few related shades, since a flower in every color reads as a craft-store sampler. Wrap floral wire completely in yarn or tape so no sharp ends poke out. Vary stem heights, place the largest blooms first and fill gaps with leaves. A plain ceramic vase suits it, and wrapped in brown paper with cotton ribbon it makes a lasting gift.
21. Crochet Coaster Set With Chart

Coasters are where I test any chart I haven't worked before. They're small enough to finish in an evening and show you how the symbols behave. Circular flowers, squares, fruit and mosaic all fit at this scale. Use cotton, which absorbs condensation from a cold glass; acrylic just lets the water bead. Make one, block it and check it against your actual mugs before making the set. Keep the surface flat, as raised bobbles tip glasses. Same yarn, hook and tension for every piece, a firm border on each, and a small matching basket to keep them in.
22. Crochet Placemat With Chart

A placemat has room for a bold chart without becoming a long project. Rectangular filet, oval lace and carried-yarn colorwork all make good table sets. Use firm, washable cotton so the shape survives the laundry, and check your plate size before picking the chart and borders. I'd steer toward dense stitches: large open spaces catch fork tines and trap crumbs. If you're making a set, block every mat to identical measurements. Neutral shades keep the table quiet, while contrast makes the chart readable from across the room. Plain dishes and solid napkins let the pattern show.
23. Crochet Round Tablecloth With Chart

A round tablecloth is a long project that rewards careful counting. The chart grows from a center ring through even increases and repeating lace sections. Use crochet thread or fine cotton, going up a hook size only if you want a softer drape. Mark the first stitch of each round and put extra markers between repeats. Spread it flat often; rippling means too many stitches, cupping too few, and both are much easier to fix early. I print the chart larger and highlight each round as I finish it. Wash and block according to the fiber, and lay it over a plain tabletop so the lace reads clearly.
24. Crochet Cafe Curtain With Chart

A cafe curtain filters light and gives a kitchen window some privacy at sitting height. Filet suits it, since open and solid blocks form flowers, leaves or stripes that read clearly against daylight. Measure the window and plan the hanging method first. Cotton thread keeps it crisp and washable, though strong sun will fade bright colors over time, so I lean toward white or ecru. Work a firm header with evenly spaced openings for a slim tension rod. For more width, repeat the center section of the chart rather than stretching the panel. Block it so the lower edge hangs straight.

25. Crochet Oval Rug With Chart

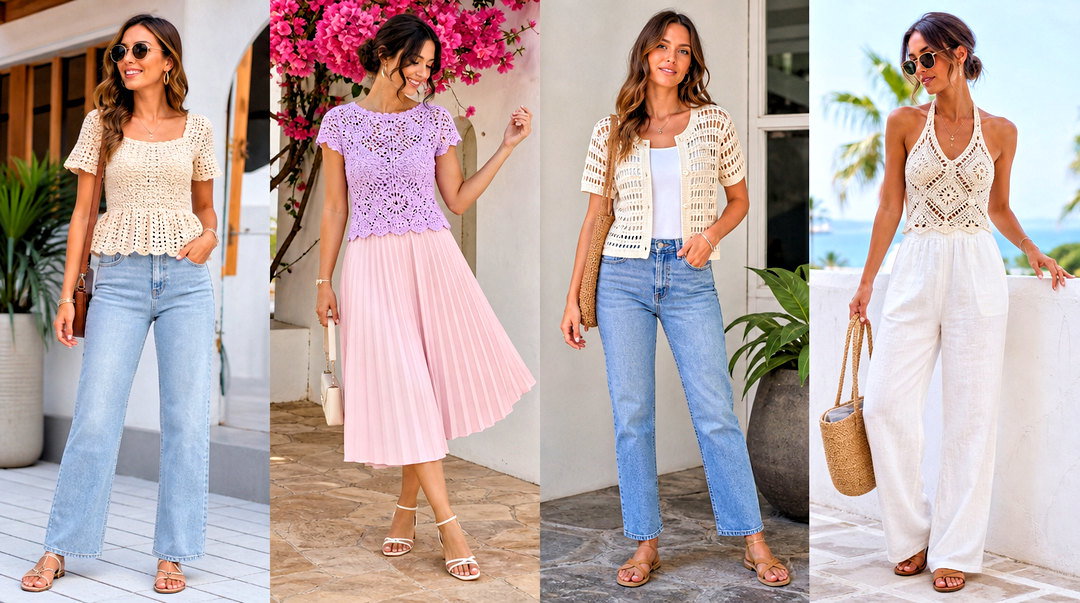
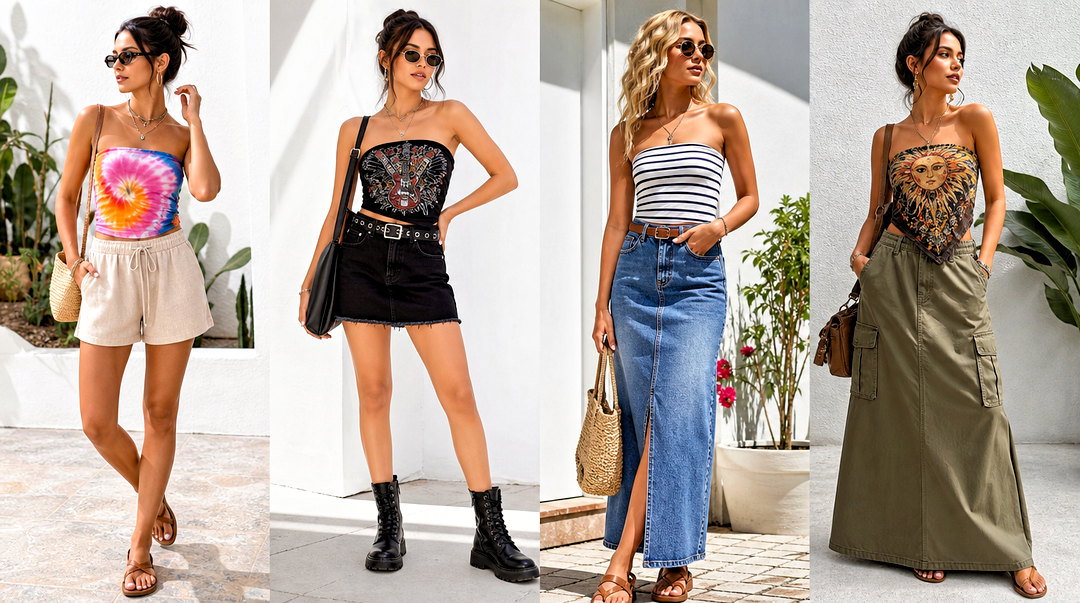
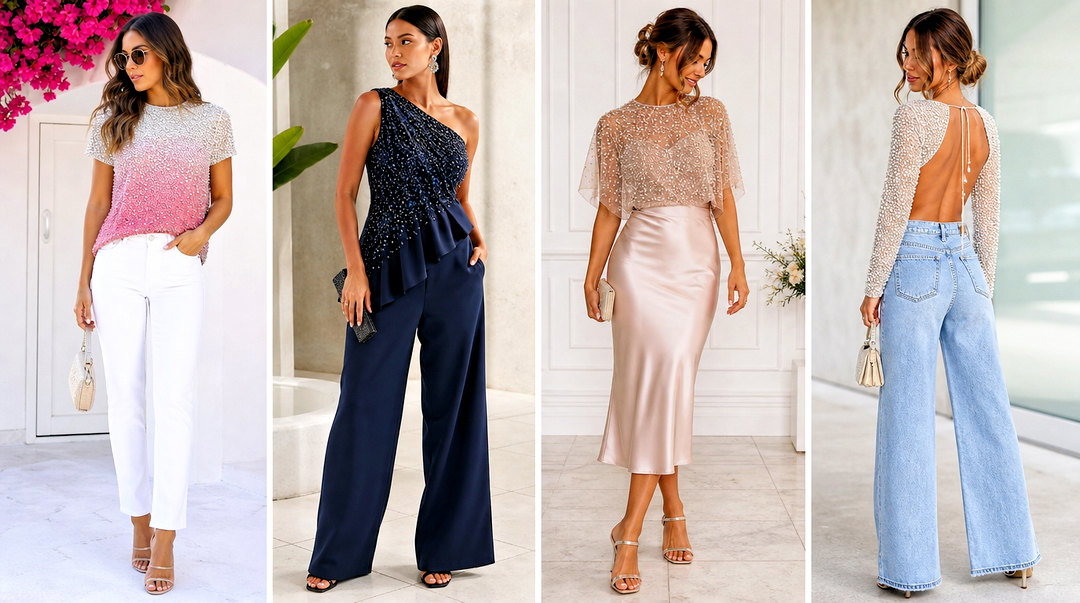
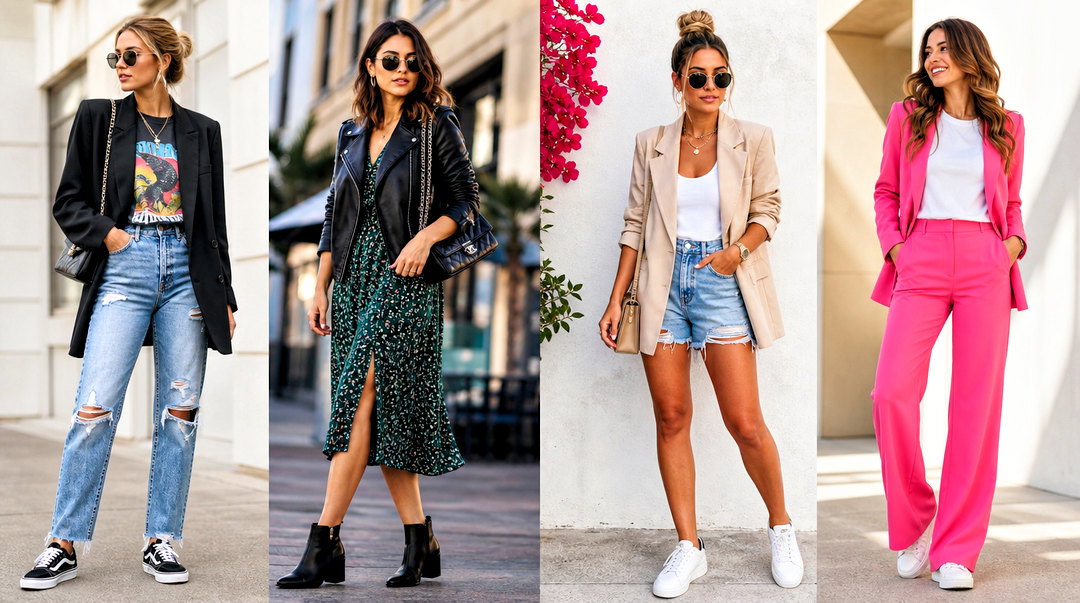
An oval rug starts from a foundation chain and grows with increases at both rounded ends. A clear chart stops those ends from turning into accidental corners. Use durable cotton cord or fabric yarn made for floors. Thick cord is hard on the hands, so I pick a hook with a comfortable handle and take breaks. Lay the rug flat every few rounds. If it curls or ripples, changing hook size often fixes tension faster than changing the chart. A dense border holds the shape, and a nonslip pad underneath is essential on hard floors. It suits a bedside, entry or bathroom.
26. Crochet Storage Basket With Chart

A storage basket has to stand up on its own, and that comes from materials and tension more than the chart. Thick cotton cord or doubled yarn, worked firmly, gives the walls enough body. Choose a pattern with a reinforced base, straight sides and secure handles. Count every increase in the base so it stays flat, then stop increasing completely once the sides begin; one stray increase makes the walls flare. Bobbles, color blocks or carried-yarn colorwork can decorate the outside. If the base sags, a piece of plastic canvas cut to fit inside fixes it. Several sizes from one chart make a matched set for yarn, towels or toys.
27. Crochet Tapestry Wall Hanging With Chart

Carried-yarn colorwork turns a grid into a wall hanging with clean graphic shapes. Pick a limited palette and a chart with distinct color areas. Work tight single crochet and carry the unused yarn inside the stitches, keeping that strand relaxed so the panel doesn't narrow. Regular single crochet makes the columns lean to one side; working the center single crochet, into the middle of the stitch below, keeps the image upright, and that's what I use for pictures. Step back often to check the image. Block, then stitch the top edge evenly to a smooth dowel. Geometric designs usually look better with a plain border than fringe.
28. Crochet Plant Hanger With Chart

A plant hanger has to carry weight safely before it's anything else. Choose a chart with a solid base and evenly spaced straps rather than loose lace. Cotton cord grips the pot and holds its shape better than stretchy yarn. Measure the pot at its widest point and at the base before starting, and test the finished hanger with the empty pot first. Every strap needs equal tension or the pot hangs crooked. I remind people that wet soil is far heavier than dry, so the ceiling hook needs a rating well above the watered weight. Hang it where you can water without dripping on anything.
29. Crochet Lampshade Cover With Chart

A lampshade cover throws patterned shadows through open stitches, which is the whole appeal. Choose a chart made for a straight or gently tapered shade, and measure the top and bottom circumference before adjusting it. Fine cotton keeps the fabric light. Safety comes first: the yarn must never touch the bulb or any hot part, and I only use this with LED bulbs, which run much cooler, following the lamp maker's guidance. Block the panel before fitting it to the frame. A pale neutral shows the pattern in daylight as well as at night.


30. Crochet Textured Pillow With Chart

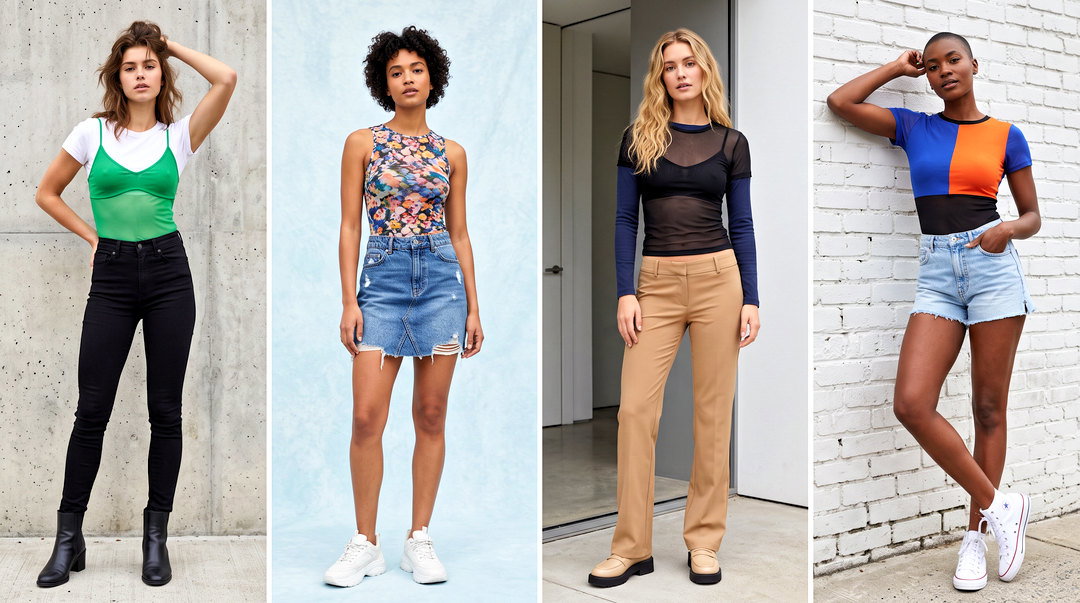
Raised stitches make a pillow interesting even in one color. Look for charts with bobbles, post stitches, cables or diamonds, and use a smooth yarn so each detail stands out. Textured stitches eat yarn and pull the fabric in, so I swatch the actual pattern rather than plain stitches before working out the size. Chart the front, and keep the back simple in single or half-double crochet with an envelope opening. Block both panels to the same size before seaming. A form slightly larger than the cover gives a full, plump shape. Plain cushions in related tones around it let the texture show.
31. Crochet Bed Runner With Chart

A bed runner gives you handmade detail across the bed without the yarn and months a full bedspread needs. Choose a long rectangular chart with medallions, granny motifs, lace panels or mosaic bands. Measure the mattress width and decide how far it should hang over each side; I like it to drop past the mattress edge so it doesn't look like a scarf thrown on top. Cotton blends show definition, while acrylic is warmer. Block separate motifs before joining. A border unifies the whole piece. Lay it across the lower third of the bed with solid bedding.
32. Crochet Towel Topper With Chart

A towel topper turns a kitchen towel into one that hangs from an oven or drawer handle and doesn't slide off. The chart should show how to prepare the towel edge, decrease the crochet section and form the loop. Fold or cut the towel evenly, then work the foundation stitches through it, securing every one. Use washable cotton in a shade that suits the towel. Keep tension firm, because a loose topper stretches with each pull. A button loop or an all-crochet tab both work. Adjust the chart for hand towels versus dish towels, and skip heavy trims that make laundry harder.
33. Crochet Trivet With Chart

Material is the whole story with a trivet. Use cotton only; acrylic and other synthetics can melt under a hot pan. Dense stitches such as thermal stitch, layered mandalas or carried-yarn colorwork give the thickness you need, and a double layer of two joined circles gives more protection if the chart allows it. Keep the top flat, with no beads or raised trims that tilt cookware. A small loop on one edge lets it hang. I'd still test it with moderate heat first rather than a pan straight from a hot oven. Matching potholders and towels make a simple kitchen set.
34. Crochet Phone Pouch With Chart

A phone pouch is a quick way to practice colorwork motifs, textured stitches or a simple lace chart. Measure the phone in its normal case before choosing the foundation width. It should fit snugly without pressing the buttons or screen. Sturdy cotton and a dense stitch give better protection; add a soft lining if the chart has openings that could scratch. A flap, drawstring or snap keeps the phone in. I reinforce the strap attachment points with extra stitches, since that's where every pouch eventually fails. Keep the colors coordinated with what you wear most.

35. Crochet Laptop Sleeve With Chart

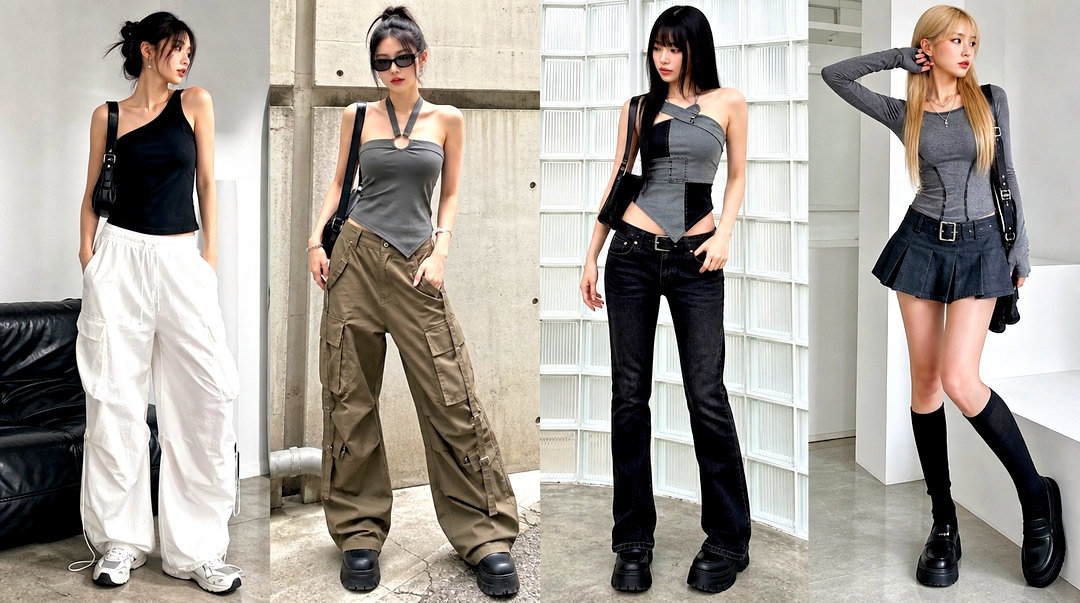
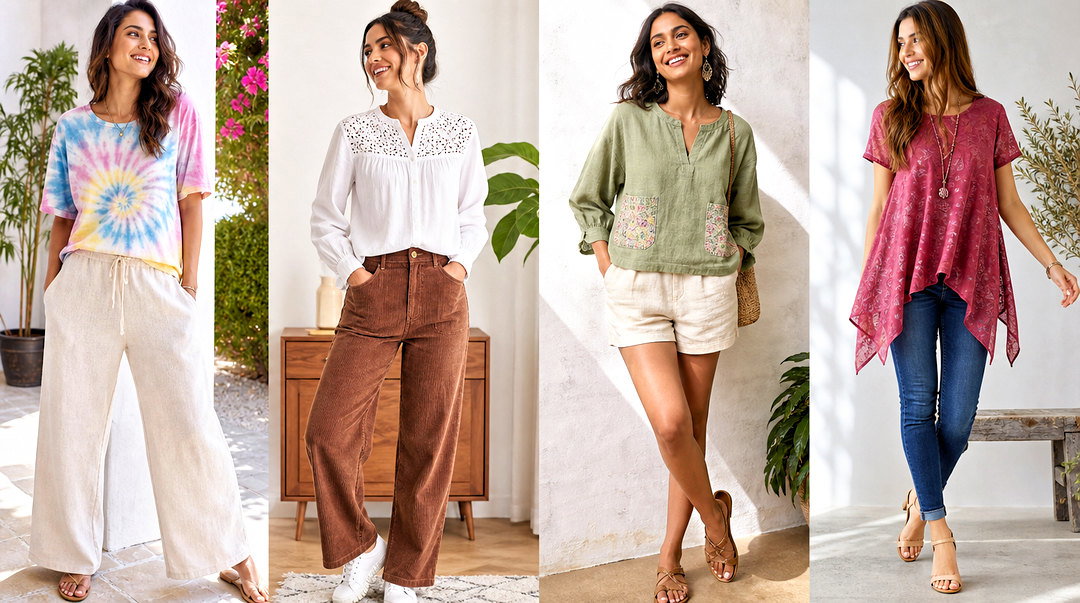
A laptop sleeve can carry a personal chart, but it shouldn't be the laptop's only protection. Measure the closed laptop's width, height and depth, then swatch. Dense single crochet, thermal stitch or carried-yarn colorwork make a firmer fabric than lace. Center a simple geometric graph on the front. I always add a lining and a layer of padding, because crochet alone doesn't absorb a knock. The flap should close without pressing on the lid. Reinforce side seams, test the fit before adding closures, and carry it inside a tote or backpack. Matching it to your everyday bag makes it look intentional.
36. Crochet Book Sleeve With Chart

A book sleeve is a small, manageable canvas for a charted motif. Measure the largest book or e-reader you'll carry, then add enough ease to slide it in easily. A dense stitch keeps corners from poking through. Small botanicals, checkerboards, hearts or initials fit nicely on the front. Cotton gives clear colorwork and a sturdy fabric. Add a lining if you want extra protection from snags, and a buttoned flap or drawstring to stop the book sliding out in a bag. I reinforce the bottom corners, which take the most wear. It's also a good way to use up leftover yarn.
37. Crochet Headband With Chart

A headband is a quick wearable that can show off cables, lace, shells or mosaic colorwork. Measure around the head where it will sit and make it slightly smaller so it stays put. Soft yarn avoids irritation around the ears. A flat rectangle joined at the back is beginner-friendly, and a twist at the front adds shape without extra difficulty. Block it lightly; heavy blocking flattens the stretch you need. I choose a color that stands apart gently from the hair, then repeat it in a jacket or shoes. A fitted long sleeve, utility jacket and straight jeans keep the rest simple.
38. Crochet Scrunchie With Chart

A scrunchie takes very little yarn and one simple circular chart. Work directly around a strong hair elastic, with enough stitches to cover it completely but not so many that the elastic can't stretch. Lightweight cotton, bamboo or smooth acrylic gathers softly; avoid rough or fuzzy fibers that snag hair. Shell stitches and short ruffles add volume, and plain single crochet gives a neat, small shape. Hide every tail inside the fabric rather than leaving knots. I make several from leftovers and keep the trim modest so they stay comfortable all day.
39. Crochet Lace Collar With Chart

A lace collar changes a plain blouse, sweater or dress without altering it. Choose a curved chart that starts at the neckline and widens through controlled increases. Fine cotton thread shows picots crisply. Measure the neckline of the actual garment you'll wear it with before starting. Add discreet ties or a loop and button at the back. Blocking is what shapes the curve, and I use a light spray starch so the edge holds after a day of wear. White or cream gives classic contrast on dark clothes; a matching shade adds subtle texture. Skip it with busy prints.
40. Crochet Earrings With Chart

Earrings turn a fine thread chart into a light accessory. Circles, leaves, flowers, fans and geometric motifs work well at this size. Tightly twisted cotton thread keeps the design crisp. I make both earrings in one sitting, because tension changes from day to day and a pair worked a week apart rarely matches. Block them, then stiffen lightly with fabric stiffener if the motif needs structure. Attach the findings securely and check every jump ring is closed. With a smooth low bun and a plain blouse they show well. Skip a busy necklace.
41. Crochet Statement Necklace With Chart

A statement necklace joins charted flowers, leaves, circles or medallions into one piece. Start from a layout diagram that shows how each motif connects and where it falls around the neck. Fine cotton thread keeps it refined and light. Block every component before joining so the shapes match. The connection points and closure carry the weight, so I reinforce them with extra stitches. Wear it on a plain scoop neck where nothing competes, with small earrings. One neutral shade looks subtle; two closely related colors give stronger contrast.
42. Crochet Belt With Chart

A crochet belt adds texture at the waist of dresses, skirts and high-waisted pants. Pick a chart with dense lace, colorwork or a repeating geometric motif, and work it in firm cotton cord. Crochet stretches along its length with wear, so I make the belt a little shorter than the measurement and block it without pulling. Ties are adjustable and beginner-friendly; a buckle needs reinforced ends. Wear it over a solid midi dress, or thread it through wide-leg pants with a tucked blouse, and keep other patterns out of the outfit. Repair loose stitches at the edges before they reach the main chart.
43. Crochet Midi Skirt With Chart

A crochet midi skirt has one problem flat swatches don't show: weight. The longer and heavier the skirt, the more gravity pulls it longer over a day of wear. I hang my swatch with a few clothespins on the bottom overnight and measure again before trusting the length. Choose a chart that explains every increase and decrease, and a stitch with drape; cotton blends or bamboo behave better than bulky yarn. Try it on as you go. A lining or slip covers the open stitches. A fitted tank, cropped denim jacket and low sandals keep the top simple so the pattern leads.
44. Crochet Summer Dress With Chart

A summer dress combines a fitted bodice chart with a flowing skirt repeat, and both behave differently once washed. Make a large swatch, wash it and dry it the way you'll treat the dress, because plant fibers often relax and lengthen after blocking. Cotton or bamboo blends breathe and drape well. Make straps wide enough to stay comfortable and reinforce wherever the dress hangs from, mainly the shoulders. A lining or slip gives coverage under lace. Try it on at several stages to check bodice, waist and hem. Flat sandals, a woven tote and a sun hat are enough; the crochet is already the detail.
45. Crochet Beach Cover-Up With Chart

A beach cover-up is meant to be light, open and quick to dry. Choose a chart with large, regular mesh or lace repeats that are easy to lengthen; loose tunics, sleeveless dresses and side-tie shapes all adjust well. Smooth cotton feels good on skin. Cotton gets heavy and stretches when wet, so I reinforce the shoulder seams and dry the piece flat, never on a hanger. Measure bust, hips, armholes and hem before starting, and keep the hem at a walkable length. Rinse it after salt water, chlorine or sunscreen.
46. Crochet Shorts With Chart

Crochet shorts need a flexible stitch, a secure waistband and honest coverage. Pick a pattern with separate sizing for waist, hips, rise and leg openings, because the rise is where crochet shorts most often go wrong. Dense granny stitches or small lace repeats work with a fitted lining. Wash your gauge swatch, since the fabric may lengthen. A drawstring adjusts easily, while enclosed elastic gives a smoother line. I check the rise before finishing both legs and reinforce the center seams. Wear them with a relaxed cotton button-up over a fitted tank. Skip heavy yarn, which turns bulky in warm weather.
47. Crochet Kimono With Chart

A crochet kimono is built from large rectangles, so even a detailed chart is approachable. Choose a lace or floral repeat that continues across back and fronts without shaping. Lightweight yarn gives the drape wide sleeves need; heavy yarn makes the sleeves droop and pull the neckline back. Block each panel before assembly so shoulder and side seams align. A narrow border around the neck and front stops stretching. Wear it over a simple tank and straight pants, or a solid midi dress, with streamlined pieces underneath. Hip length feels casual; a longer hem is more dramatic.
48. Crochet Pet Sweater With Chart

A pet sweater has to put the animal's comfort and movement first. Measure neck, chest and body length while your pet stands naturally. Choose a chart with clear shaping for the front legs and plenty of room underneath, so it never interferes with walking or toileting. Soft, washable yarn, and no fringe, dangling cords, buttons or anything chewable. The neck must stretch to go on without slipping off over the head. A small colorwork chart adds personality without bulk. I'd always supervise the first few wears and take it off at any sign of overheating or chewing.
49. Crochet Keychain Charm With Chart

A crochet keychain charm takes a tiny charted motif and makes it useful. Hearts, flowers, fruit, stars, initials and small amigurumi all suit it. Use tightly worked cotton so it keeps its shape after months in a pocket. If it needs stuffing, use only a little and close every seam. Attach the ring through a reinforced crochet loop, not a single stitch, since that's the first place a charm tears. Keep tails short. Charms are also my favorite way to try an unfamiliar chart symbol before using it in something bigger.
50. Crochet Filet Name Banner With Chart

A filet name banner turns letters into a grid of open and filled blocks. Draw the name on graph paper first with space around every letter. I keep each letter at least five or six squares tall; smaller than that and curves like S and G turn into blobs. Keep block proportions consistent so the text reads clearly. Smooth cotton thread gives sharp edges. Add plain rows above and below for balance, block carefully, then stitch it to a wooden dowel. Small tassels are fine if they don't hide the letters. Hang it at eye level so the name reads straight on.
Cotton, Acrylic and Wool Each Block Differently
Nearly every project above ends with blocking, but the method depends on fiber, and using the wrong one is how a finished piece gets ruined in the last half hour.
- Cotton and cotton thread: soak, roll in a towel to remove water, then pin to size and let it dry completely. For lace, collars and filet that should stay crisp, a light starch spray at the end holds the shape.
- Wool and wool blends: wet-block the same way, but never wring or agitate the fabric, since warm water plus rubbing can felt it.
- Acrylic: water alone barely moves it. Pin it out and hover a steam iron just above it, never letting the plate touch the yarn. Heat permanently relaxes acrylic, so it drapes better but won't spring back, which is why I test on the swatch first.
Swapping in a Yarn the Chart Didn't Call For
A chart doesn't care what yarn you use, but the finished size and drape do. Match the weight category first, then the fiber: a cotton tote made in acrylic will be softer and floppier, and a wool shawl made in cotton will be heavier and less springy. Buy by length, not by ball count, because two balls of the same weight can hold very different amounts of yarn. Then swatch with your chosen yarn and hook, block the swatch the way you'll block the project, and only change hook size, never the chart, to match the gauge.
A Coaster Is the Cheapest Way to Learn a New Chart
Every project above, from a hat to a tablecloth, comes back to the same habits. Start with a simple scarf, coaster, or granny square while you learn the symbols. Then move on to fitted clothes, filet lace, colorwork pictures and mosaic. Read the legend, check your gauge, mark repeats and compare your count with the chart after every important row. Fiber and yarn weight change the result as much as the chart does. Pick a project that fits your skill, your time and how you'll use it.
Related posts:




Leave a Reply