
An old tee is the most forgiving fabric you'll ever cut. Cotton jersey barely frays, so a tank made in twenty minutes with scissors can be worn the same afternoon. The outfits below go from gym to office, using graphic tees, oversized shirts and plain cotton basics. Before any cutting, I wash and dry the shirt so it has already shrunk, press it flat, and lay a tank that fits me well on top as a guide. Cut less than you think. Jersey stretches and curls once it's trimmed, so a hole that looks right on the table often ends up bigger on the body. Then plan the bottoms and shoes, because the cut you choose should suit the outfit you'll wear it with.

Which Old Tees Are Worth Cutting
Not every T-shirt makes a good tank. Before I pick up scissors, I check three things on the shirt itself.
- Fiber. Cotton and cotton-rich jersey curl nicely at cut edges. Shirts with a lot of polyester tend to lie flat and look unfinished, and some fray more.
- Weight. Thin tees drape and suit halters, knots and fringe. Thicker tees hold a shape, so they're better for boxy crops and muscle tanks.
- Twist. Lay the shirt flat. If the side seams spiral toward the front, the fabric was cut off grain, and every new hem will twist the same way.
For tools, good fabric scissors matter more than anything. Blunt kitchen scissors chew jersey and leave a jagged edge. I also use tailor's chalk or a washable marker, a long ruler and a few pins. A rotary cutter and mat make long straight cuts like fringe much faster, but they aren't essential.
Always wash and dry the shirt first. Cotton shrinks, and a tank cut to fit before washing can end up shorter and tighter after its first trip through the dryer. Lay a piece of card inside the shirt while you mark, so you never cut through the back by accident.
1. DIY Muscle Tank With Denim Shorts

A relaxed muscle tank is where I'd start a beginner. Lay an oversized cotton tee flat and cut each sleeve off just inside the seam, keeping the armhole close to its original curve. The sleeve seam is stiffer than the body fabric, so cutting inside it gives a softer edge. Trim the collar off for a wider neck, but take a little at a time. Wear it with high-rise denim shorts, white sneakers and a canvas crossbody. A sports bra or cropped cami covers the sides of the armholes. Leave the hem full for a loose fit, or do a small front tuck to show your waist.
2. DIY Racerback Tank With Black Leggings

Want a workout tank with no sewing at all? Take a roomy tee, cut away the sleeves and extend the back of each armhole toward the center. Gather the two back shoulder pieces and wrap them tightly with a narrow strip from the cut-off hem. That pulls the straps into a simple racerback shape and keeps the front graphic untouched. Wrap the strip several times and tie it off flat, because a single knot shifts once you start moving. Wear it over a supportive sports bra with high-waisted black leggings and training sneakers. A zip hoodie for before and after. Keep it long, or shorten it to the waistband.
3. DIY Cropped Tank With High-Waisted Jeans

Crisp jeans make a homemade crop look deliberate. Pick a tee that fits through the chest, cut off the sleeves and trace a tank you already like to shape the armholes. Mark the crop length while you're wearing it, standing straight, and then add an extra inch before cutting. Lifting your arms raises a crop more than people expect. Cotton jersey curls at raw edges, which gives a soft rolled hem for free. High-waisted straight jeans keep the proportions comfortable. Low sneakers, a slim leather belt and a small shoulder bag. A light cardigan if you want more coverage, and quiet jewelry so the logo or color stays the focus.
4. DIY Side-Tie Tank With Cargo Pants

A side tie turns a long, shapeless tee into a tank with a waist you can adjust. Cut off the sleeves, open the neckline a bit, and cut the hem into two short tabs near one hip. Tie them gently. A hard knot pulls the whole body of the shirt sideways and twists the side seam toward the front. The angled knot gives shape against relaxed cargo pants, so two loose pieces don't blur together. Platform sneakers, a compact backpack and plain silver jewelry. A cropped cami underneath if the armholes are deep. Neutral cargos with a graphic tee; olive, tan or colored cargos with a plain black tank.
5. DIY Fringe Tank With Denim Skirt

A fringe tank needs nothing but scissors. Start with a long cotton tee, make it sleeveless, then cut evenly spaced vertical strips from the hem, stopping several inches below the waist. Pull each strip firmly and the jersey narrows and curls into a cord. Knot neighbouring strands if you want a net effect. Strips about two finger-widths wide curl best; very thin ones snap. A plain denim midi skirt calms the fringe. Canvas sneakers and a woven tote suit the handmade feel. A small centered graphic keeps the fringe from fighting the print. A watch and sunglasses are enough.
6. DIY Back-Knot Tank With Biker Shorts

When an oversized shirt is just too wide, a back knot pulls it in and keeps the front clean. Take off the sleeves and deepen the armholes slowly, trying it on between cuts. At the back hem, cut two short tails and tie them loosely at your natural waist. Don't cut the front too high; it should still cover the waistband of fitted bottoms. High-rise biker shorts, chunky sneakers, and a zip hoodie over one shoulder. A belt bag across the body. A longline sports bra in a matching color looks planned if it shows at the sides. Great for walks, errands and travel days.
7. DIY Halter Tank With Linen Pants

A thin, lightweight tee makes the best halter, because heavy cotton pulls on the neck all day. Remove the sleeves, open the shoulder area and shape the front neckline without cutting into an important graphic. Make the neck ties from narrow hem strips and anchor them with a few hand stitches where they meet the body. Knotted ties alone loosen during the day. High-waisted wide-leg linen pants balance the bare shoulders. Flat leather sandals, a structured straw tote and small gold earrings. Plain or faded shirts work better; large graphics end up lopsided. A bandeau or fitted layering tank underneath gives more coverage. Keep the halter loose, not tight.
8. DIY Scoop-Neck Tank With Midi Skirt

A scoop neck softens a basic tee tank. Fold the shirt exactly in half down the center before you mark the neckline, then cut both sides at once so the curve is symmetrical. Cut a shallow curve, try it on, and only then go deeper. A neckline always looks lower once the shirt is on the body. Cut the sleeves close to the seams to keep wide straps. A flowing printed midi skirt, flat sandals and a small crossbody. Tuck it fully, or half-tuck if the cotton is thick. A slim belt for more definition and a light denim jacket on top.
9. DIY Graphic Tank With Faux Leather Pants

A favorite band or graphic tee gets more attitude as a sleeveless tank. Before you cut, mark the edges of the artwork with chalk so the new armholes and neckline stay clear of it. Remove the sleeves along the seams, then widen the shoulders slightly for that classic rock shape. Keep the original hem against fitted faux leather pants. Sleek ankle boots, a plain black shoulder bag and a little metal jewelry. If it's oversized, tuck the front instead of cropping it. Screen prints crack if you stretch them hard, so don't pull the edges near the graphic to make them curl. A fitted cami under deep armholes adds cover.

10. DIY Drop-Armhole Tank With Joggers

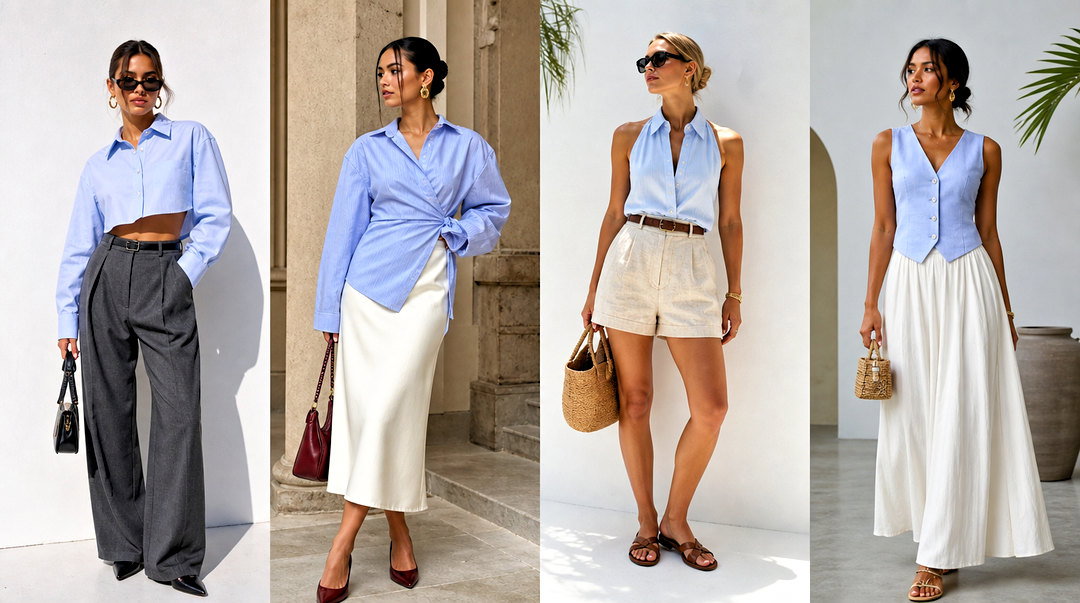
Deep armholes make the loosest tank of all, and it suits soft joggers. Take a large tee, remove the sleeves and cut the opening a little below the original underarm. Go slowly; the fabric drops lower once it's worn, because the weight of the shirt pulls the armhole down. Leave the neckline and hem alone so it doesn't get too revealing. Layer it over a sports bra or close-fitting tank in a contrasting color. Tapered joggers, supportive sneakers and a cap. A roomy tote holds a sweatshirt and water. It's the best fix for event and college tees that are bulky in the shoulders.
11. DIY Twisted-Shoulder Tank With Tailored Shorts

Twisted shoulders look much harder than they are. Cut off the sleeves but leave enough fabric across each shoulder. Twist each shoulder strap once, pin it, and stitch through the folds several times by hand. I always stitch instead of knotting here, since a knot on top of the shoulder digs in under a bag strap. Tuck it into high-waisted tailored shorts with loafers or sleek flat sandals. A structured mini bag, a narrow belt and hoops. A solid white, black, navy or muted tee keeps it versatile. The tailored shorts make the handmade detail look intentional.
12. DIY Lace-Up Side Tank With Maxi Skirt

Lace-up sides fix a shirt that's too wide at the waist and let you adjust it later. After removing the sleeves, cut small, evenly spaced holes along each side seam. Keep the holes small, because jersey stretches and they'll open up as you lace. Thread narrow jersey strips through and tie them near the hem. A fitted cami underneath if more skin shows than you want. A flowing solid maxi skirt, flat sandals and a soft crossbody keep the detail from looking busy. A simple pendant and stacked bracelets. A plain shirt lets the side lacing show; a busy print hides all that work.
13. DIY One-Shoulder Tank With Straight-Leg Jeans

A one-shoulder neckline turns a plain fitted tee into a statement. Mark a diagonal from one side of the neckline toward the opposite underarm, leaving enough fabric for a secure strap. Cut conservatively and try it on before removing more. The single strap carries all the weight, so I run a line of hand stitching along its inside edge to stop it stretching out. High-rise straight jeans, pointed flats and a structured shoulder bag. A smooth strapless cami underneath gives coverage. Use a solid shirt, since the diagonal distorts big graphics. Geometric earrings and a slim belt finish it.
14. DIY Longline Tank With Leggings And Shacket

Some shirts are better as longline tanks, especially when you want coverage. Start with an oversized tee and cut the sleeves close to the seams. If the body is very wide, take in the side seams with a basic stretch stitch, but keep enough room to skim the hips. Keep the original hem, or cut a gentle curve with the back a little longer. Full-length leggings, simple sneakers and an open shacket. A roomy tote and a cap. Roll the shacket sleeves to lighten it. A plain dark base makes a plaid, denim or utility shacket stand out. Good for in-between weather.

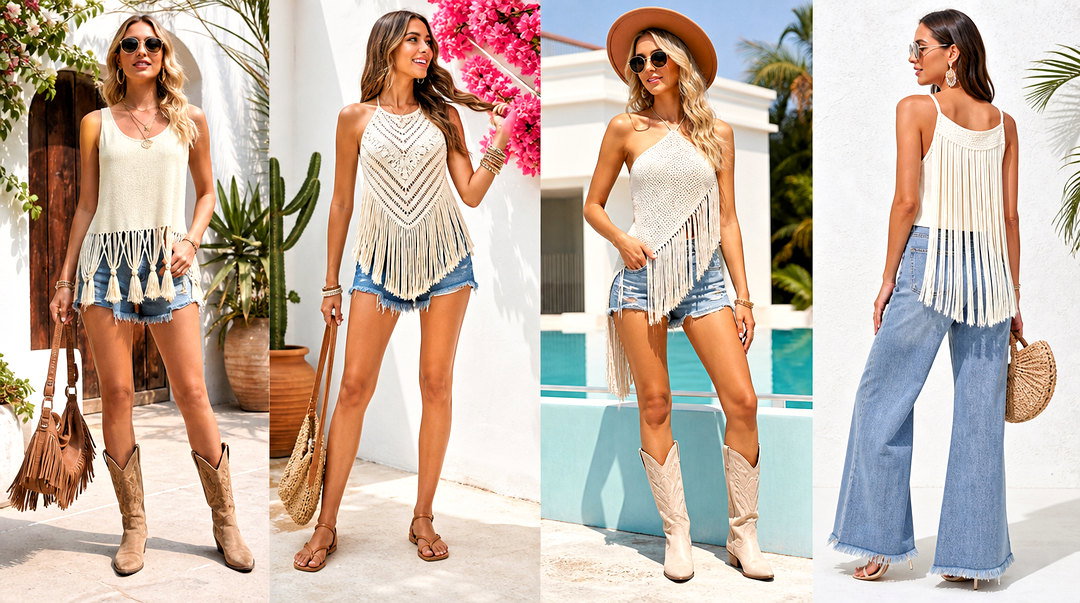
15. DIY Open-Back Tank With Parachute Pants

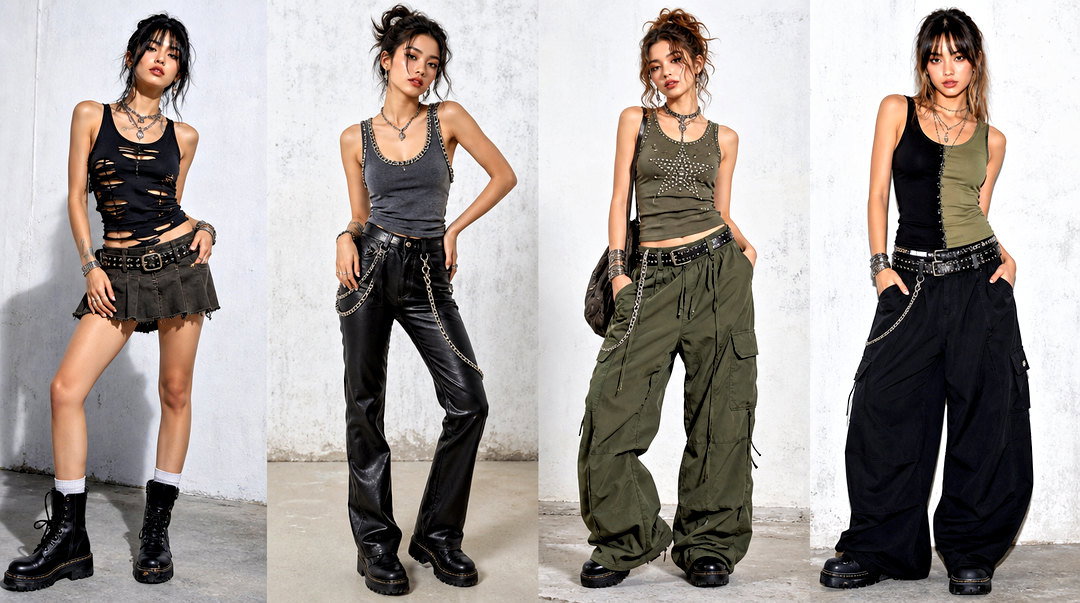
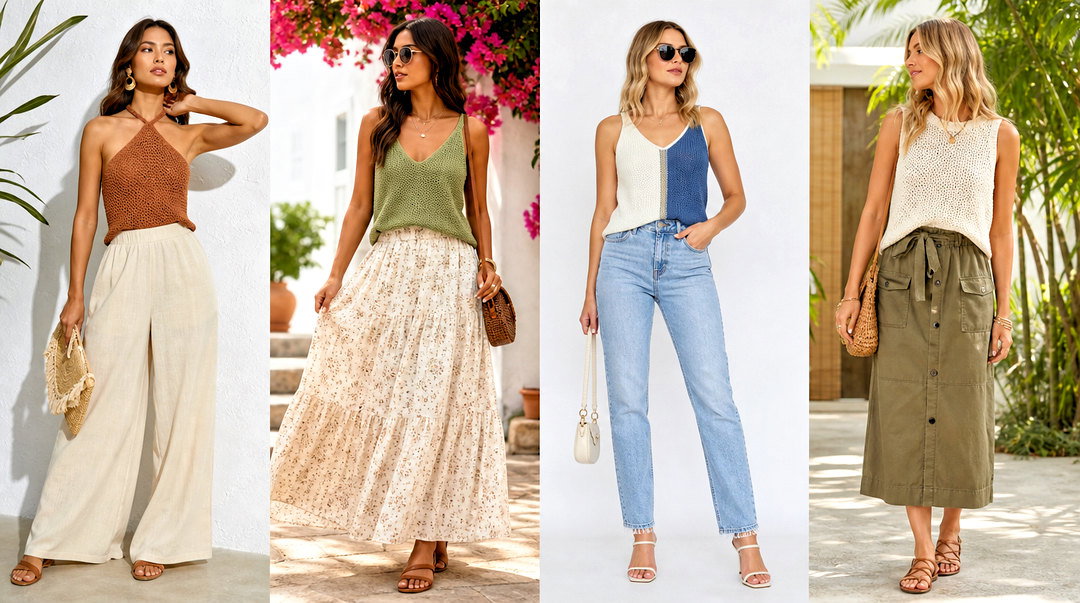
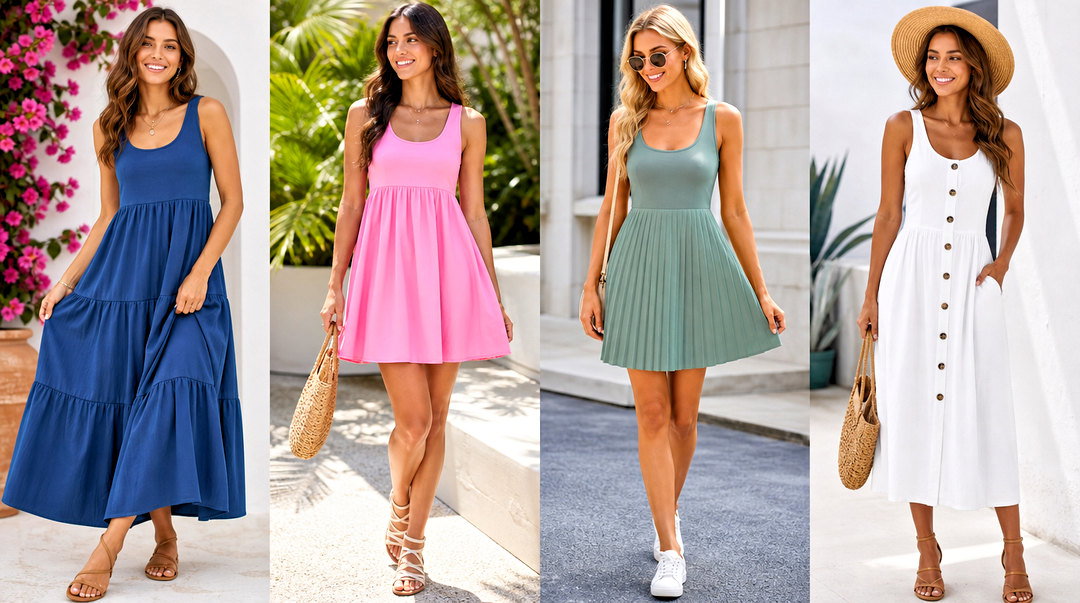
An open back gives a special tee interest while the front stays recognizable. Remove the sleeves, then mark a wide back opening that stops above the bra band. Don't cut the neckline; the intact neckband holds the whole shirt in shape. Add two ties across the opening from leftover hem strips so it doesn't gape. High-waisted parachute pants, streamlined sneakers and a small nylon bag. A matching fitted tank or sports bra underneath makes the open back look planned. Stud earrings and sunglasses. The fitted underlayer stops the outfit from going shapeless when you move.
16. DIY Fitted Tank With Wide-Leg Trousers

Can a tee tank go with tailoring? Yes, if it's properly fitted. Lay a close-fitting tank on a slightly stretchy tee and trace around it, adding seam allowance. Cut front and back together, then sew the side seams with a narrow zigzag or a stretch stitch. A straight stitch on jersey snaps the first time you pull it over your head. Keep wide straps and a moderate neckline. Tuck it into high-waisted wide-leg trousers with loafers or low block heels. A structured tote and slim watch. Neutrals are easiest; one rich solid shade also works. Under an unlined blazer, the tank should lie flat.
17. DIY Tie-Waist Tank With Pull-On Shorts

A tie-waist tank gives shape without a pattern. Make a roomy tee sleeveless, then cut the front hem into two longer sections and leave the back at waist length. Tie them in a soft knot just above the waistband. Pull-on shorts with a flat or lightly gathered waist keep the knot from adding bulk. Slip-on sneakers and a canvas tote. A cropped denim jacket as a layer. Sunglasses and studs. Soft, thin cotton drapes into a neat knot; a stiff, heavy tee makes a lump. I'd test by knotting the uncut shirt first to see how it sits.
18. DIY V-Neck Tank With Pleated Pants

A shallow V gives a homemade tank a clean, lengthening neckline that's still easy to layer. Fold the shirt in half vertically, mark the center, and cut a small V through the front layer only. Check that you've got one layer before you cut; it's an easy mistake. Remove the sleeves close to the seams to keep broad straps. Stretch the raw edge gently for a soft roll, or hand-stitch it for a neater finish. Tuck it into ankle-length pleated pants with leather sandals or minimal sneakers. A medium shoulder bag, a fine necklace and a light cardigan. Deep neutrals or soft pastels suit the smart trousers best.
19. DIY Cropped Tank With Blazer And Trousers

A boxy cropped tank can sit under a relaxed suit. Use a medium-weight tee, remove the sleeves and cut the body near the top of your trouser waistband. Keep the neckline high and the shoulders wide to balance the short hem. High-rise trousers and a single-breasted blazer in the same color family. Clean sneakers, loafers or low block heels. A structured bag and understated jewelry. If it's too loose under the blazer, sew small side seams rather than cutting deeper armholes, which only makes it gape. It shows a carefully shaped recycled tee can go well past the gym.
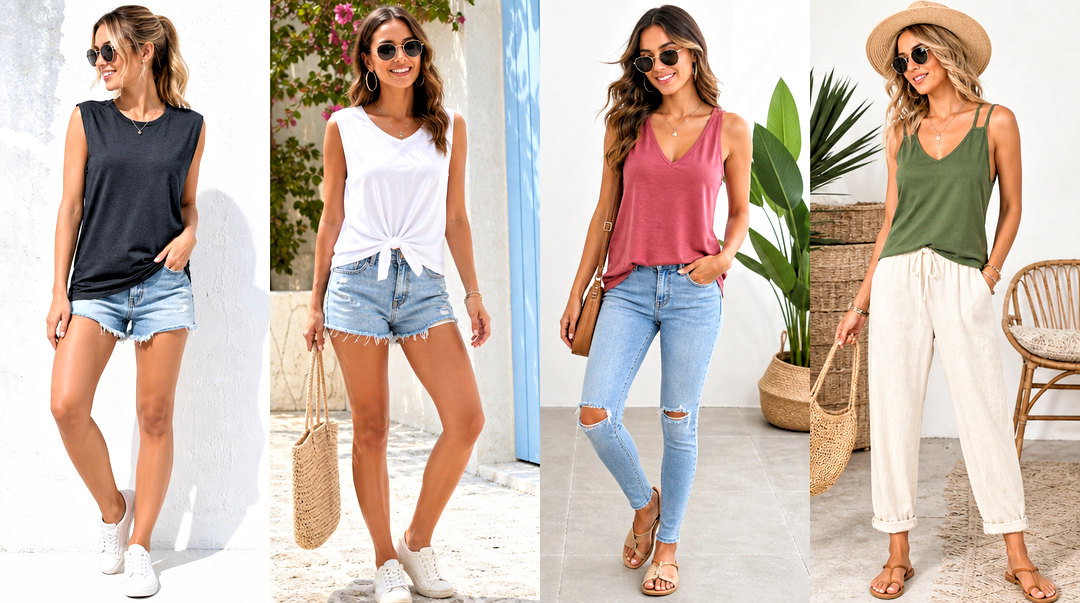
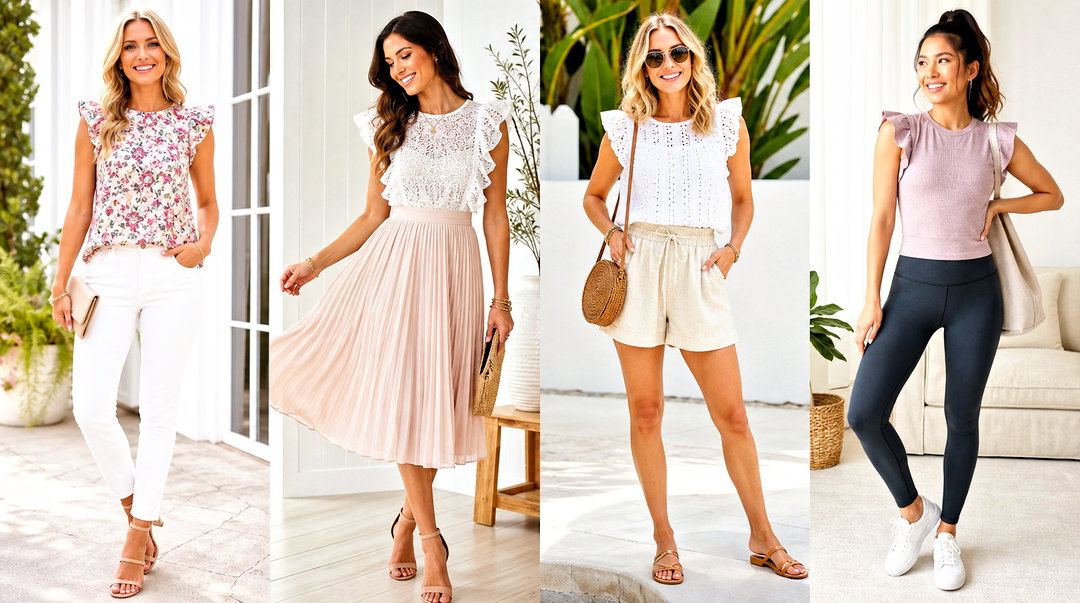
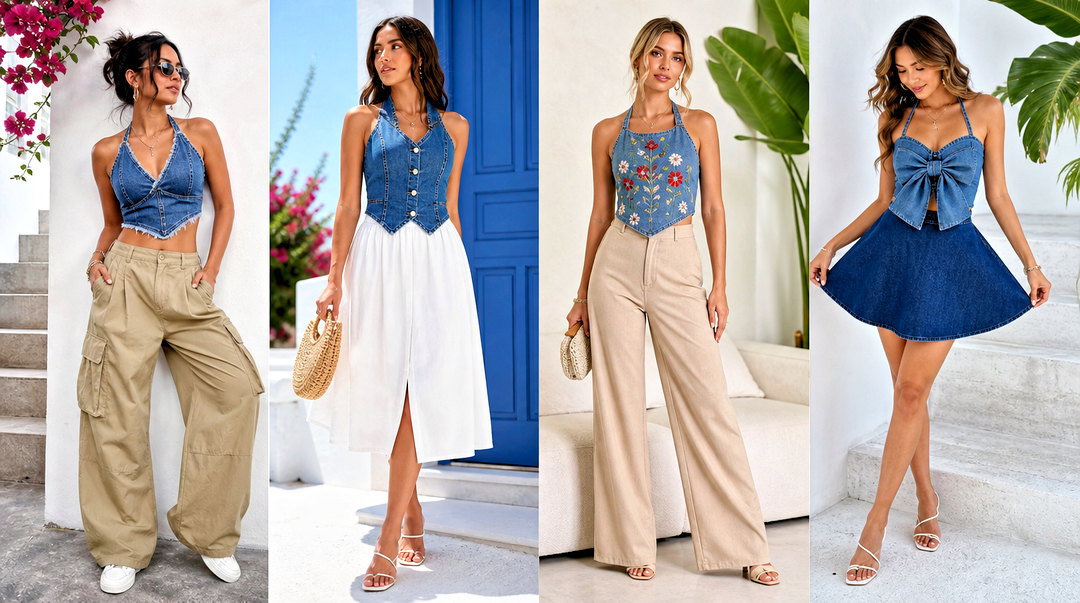
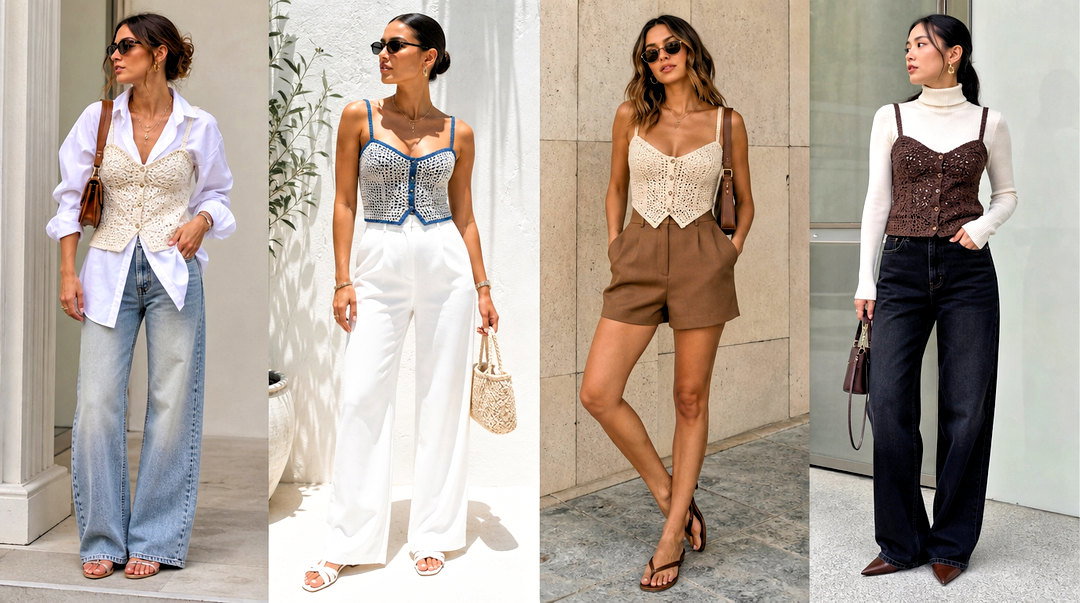
20. DIY Oversized Tank With Utility Skirt

Big graphic tees often deserve to stay big. Cut off the sleeves and open the neckline slightly, but leave the body long and loose. If the armholes end up deep, wear a fitted cropped tank in a matching shade underneath. A structured utility midi skirt with a defined waistband and pockets gives the loose jersey something firm to sit against. Tuck a small section in at the front to show the waist. Sporty sandals or canvas sneakers, a simple crossbody and a light cap. I'd use this cut for any tee with a print too good to crop.
Raw Edges, Rolled Edges and a Quick Hem
Jersey is knitted, not woven, so a cut edge won't unravel the way cotton poplin does. That's why most of these tanks can be left raw. How you treat that edge still changes how the finished top looks.
Leave it raw and roll it
Hold the cut edge in both hands and pull gently along its length. The fabric curls over on itself and makes a soft, rolled finish. It works best on armholes and fringe. Don't pull too hard on necklines, or they'll stretch into a permanent wave.
Bind it with the old sleeve
For a cleaner neckline, cut a strip about 4 cm wide from the sleeve, across the stretch. Fold it in half lengthwise and sew it around the edge with a zigzag, stretching the strip slightly as you go so it sits flat. That's the same way shop-bought tees are finished.
Wash with care
Raw edges hold up well in a cool wash, but tumble drying makes them curl tighter and can shrink a fitted tank. Turn it inside out, air dry it, and keep ties and fringe from tangling by washing the top in a mesh bag.
Cut Small, Try It On, Cut Again
Most tees in the back of a drawer can become a tank you'll actually wear, for the gym, errands, hot days or casual plans. Make small cuts, try it on often, and keep extra fabric until you're sure of the shape. A tank you already love is a useful template, and a few hand stitches make ties, twists and seams last. Decide on the outfit first, then the cut. Denim, tailored pants, skirts, leggings and utility bottoms each want a different shape on top. Done that way, a homemade tank looks planned and an old shirt gets a second life.
Related posts:



Leave a Reply