
Most of the tees I cut up were never going to be worn again as tees. They were too boxy, too long, or stained at one sleeve. Turning that kind of shirt into a tank takes scissors, chalk and a bit of patience. I always wash and dry the shirt first, because cotton jersey shrinks on its first hot cycle and you want that shrinkage to happen before you mark anything. Then I lay it flat, fold it in half down the center front and chalk one side, so both armholes come out matching. The harder part is making the result look like something you chose to wear, not a craft afternoon. Below are twenty tanks I'd actually make, each paired with the bottoms that suit its shape.

Reading an Old Tee Before the Scissors Come Out
Not every T-shirt is worth cutting, and I can usually tell by turning it inside out. Look for side seams first. Many budget tees are knitted as a tube with no side seams at all, and those often twist after washing so the front seam drifts toward your hip. Cut that shirt into a tank and the twist gets worse, because the sleeves were helping hold it straight.
Weight matters next. A midweight cotton tee holds a cut shape and rolls neatly at the edge. A very thin one curls tightly and can turn see-through once it's stretched around the body. A heavy, stiff tee keeps its boxy shape no matter what you cut, so it suits the muscle tank and the longline but not the twist back or fringe.
- Stretch the hem sideways: if it springs back quickly, the jersey has some elastane or a good knit and will keep its shape.
- Check print placement: a graphic that sits low or wraps the side seam limits how short and how narrow you can go.
- Look at the collar: a firm rib can stay as a finished neckline, a wavy stretched one is better cut off.
- Wash it once more if it's new, since cotton shrinks most in its first hot cycle.
1. DIY Muscle Tank With Denim Shorts

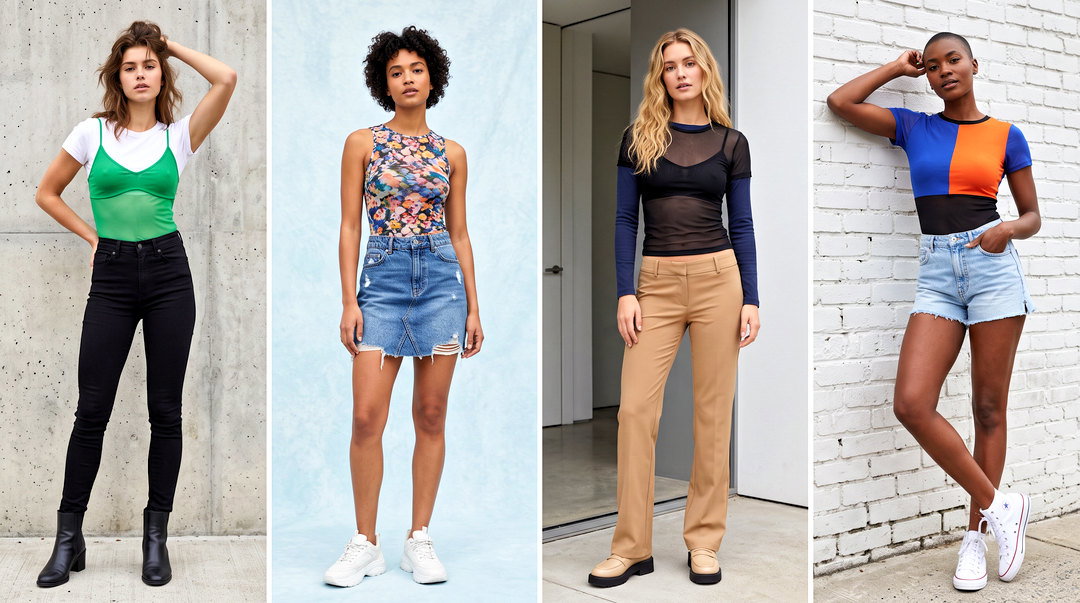
The relaxed muscle tank is where I'd send a beginner, since it forgives a wobbly cut. Take the sleeves off just inside the seam, then lower the armhole a little at a time, trying it on between snips. A deep armhole looks great on a hanger and shows half your ribcage on the body, so stop sooner than you think. I keep the ribbed collar on most of these because it holds the neckline flat. Wear it with high-waisted denim shorts and a fitted ribbed bralette that's meant to be seen through the side. If the tee is long, a loose front tuck keeps the graphic intact and still shows where your waist is.
2. DIY Racerback Tank With Black Leggings

A racerback suits loose athletic tees that are already a bit thin. After the sleeves come off, I cut the back away in a deep curve between the shoulder blades and use a strip from the bottom hem to wrap and cinch the two straps together. No sewing needed, and the wrap is adjustable. The catch is that the back now sits tight on the shoulder blades, so you need a sports bra with straps that sit inside that racer line, or they'll peek out on both sides. High-rise black leggings and cushioned trainers keep it practical for walks and stretching, and a light zip jacket covers the gap when the air turns cool.
3. DIY Cropped Tank With Cargo Pants

For a cropped tank I start with a plain oversized tee and leave myself more length than I want. Cut jersey rolls up at the raw edge, and that roll can steal close to an inch once it's been through the wash. So I try it on, mark the hem with chalk where I'd like it, then cut an inch lower. A shallow scoop at the neck looks better on a short top than a high crew. Wear it with high-waisted cargo pants so only a sliver of waist shows; the boxy crop over roomy cargos reads as streetwear, while the same crop over low-rise pants just looks unfinished. A fitted camisole underneath is an easy fix if you want no skin at all.
4. DIY Halter Tank With Maxi Skirt

I like a halter for saving a front graphic that's too good to cut into. Remove the sleeves, cut around the back neckline, and leave long fabric tails at the front shoulders that tie behind your neck. Cut the back lower than the front, and leave a longer back hem if you'd rather not show your lower back. One honest warning: a halter puts weight on the neck, and a heavy cotton tee pulls more than a thin one, so choose the lighter shirt. A loose cotton maxi skirt and flat leather sandals keep it relaxed, and a denim jacket handles the evening. A strapless bandeau or adhesive bra is the realistic option under it, since the halter cut leaves nowhere for regular straps to hide.
5. DIY Side-Tie Tank With Linen Pants

Want some shape without a tight tank? Side ties do it. Start with a boxy tee, take the sleeves off while keeping the shoulders fairly wide, and cut a slit up each side seam to roughly your natural waist. Knot the front and back flaps together on each side. I measure the slits with a ruler rather than eyeballing them, because uneven slits give you one knot sitting higher than the other, and that's the first thing anyone notices. High-rise linen pants and slide sandals keep the mood relaxed. A slim watch is plenty of jewelry here.
6. DIY Fringe Tank With Denim Skirt

Fringe only behaves on soft cotton jersey. A stiff, heavy tee gives you flat strips that stick straight out. I chalk a line a few inches above the hem and cut narrow strips up to it, then pull each one firmly so it curls into a little tube. That stretch is what makes a fringed tank look finished. You can knot neighboring strips for a netted effect. Pair it with a plain high-waisted denim skirt that sits just under the fringe. I'd skip a ripped or heavily distressed skirt, since two raw textures fight each other and the whole outfit starts to look accidental.
7. DIY Braided Back Tank With Bike Shorts

This one takes the racerback a step further. Cut the center back into three long, even strips, braid them and stitch the end down by hand; a knot alone tends to work loose after a few wears. Because the braid opens up the whole back, I treat the longline sports bra underneath as part of the outfit and choose its color on purpose. High-rise bike shorts and slim trainers keep it athletic. Carry an oversized button-down for the moments you want to cover up. Solid tees or ones with a small chest print suit it best, since a big graphic gets chopped up by the braid.
8. DIY Lace-Up Tank With Wide-Leg Jeans

Lacing fixes the most common complaint about old tees: they're too wide through the body. Cut matching openings along both side seams, then make small reinforced holes or loops so the cord doesn't tear through the knit. Thread cotton cord or leftover jersey strips in a crisscross. These adjustable lace-up panels let you pull the fit in on the day. I'd plan for a fitted camisole underneath, because laced sides almost always show more skin once you sit down. High-rise wide-leg jeans balance the snugger top, and a leather belt ties the two together. Leave the jewelry off; the lacing is detail enough.
9. DIY Front-Knot Tank With Midi Skirt

The front knot is my answer when someone wants a shorter tee but is nervous about cutting the whole hem. Take off the sleeves, cut a short vertical slit at center front, and trim the two front halves into tapered tails you can tie. The back stays straight and full length. Where the knot lands matters more than anything else: I put it right above the skirt waistband, because a knot floating over the stomach draws the eye to exactly the spot most people would rather not highlight. A high-waisted midi skirt and clean white sneakers keep it casual; flat mules dress it up a notch.
10. DIY One-Shoulder Tank With Tailored Shorts

One-shoulder tanks are the riskiest cut in this list. You remove one sleeve, then slice the neckline diagonally toward the opposite shoulder, and if you take too much, the remaining shoulder slides off all day. I trim a little, try it on, then trim again. A strip of narrow elastic stitched inside the top edge gives it real grip. Solid tees look sharpest. Tailored high-waisted shorts with a slim belt give the handmade top a clean frame, and minimal leather sneakers keep it from tipping into evening wear. Skip this if you need to lift your arms a lot; the bare side tends to shift.
11. DIY Graphic Tank With Jogger Pants

With a favorite graphic tee, the print decides everything. I cut along the sleeve seams and stop there, and I only remove the collar if it doesn't crowd the design. Deep armholes give the relaxed shape, which means a contrasting sports bra or fitted crop tank underneath should be chosen to be seen. Tapered joggers, retro sneakers and a light bomber jacket finish it. Pull one accessory color from the graphic so the pieces belong together. Don't shorten the hem if the print runs low; a loose side tuck does the job instead.
12. DIY Scoop-Neck Tank With Denim Overalls

Under overalls you want a tank that lies flat, so I start with a fitted or medium tee rather than an oversized one. Extra fabric bunches under the bib and makes the whole outfit look lumpy. The easiest way to get the neckline and armholes right is to fold a tank you already like in half, lay it on the tee and trace around it. Leave the length alone so it tucks in. Classic sneakers and cuffed overall legs keep it relaxed. Wearing one strap undone looks casual; both straps fastened looks neater, and I'd choose that on a narrow frame.
13. DIY Twist-Back Tank With Tennis Skirt

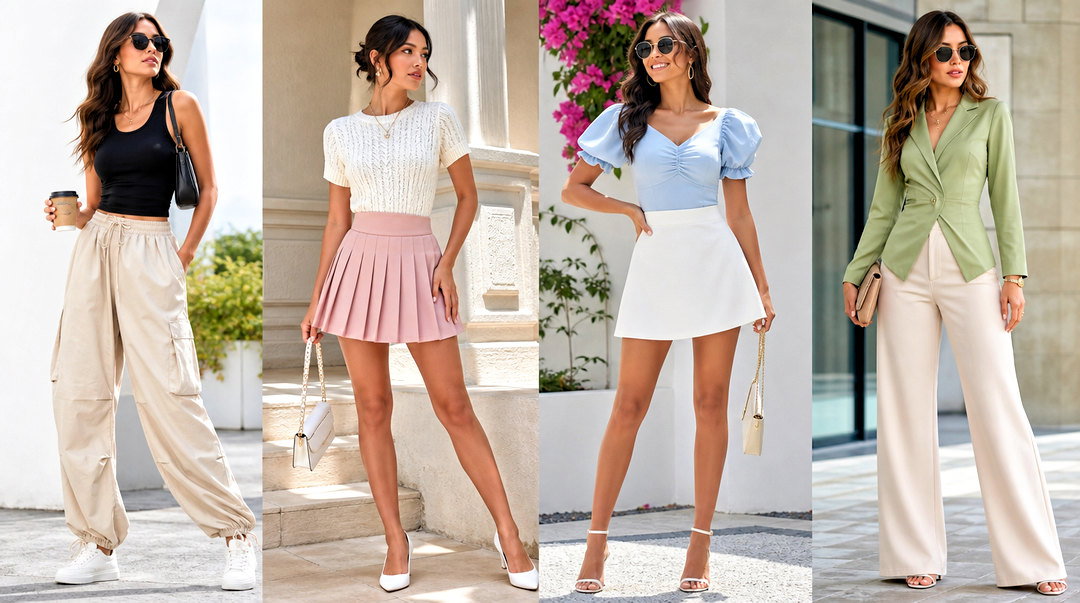
A twist back keeps the front plain and puts all the interest behind you. Open the center back with a vertical cut that stops several inches above the hem, cross the two panels over each other, and stitch the crossing point firmly. A narrow tie works if you'd rather not sew, though it loosens with wear. Thin tees twist neatly; a heavyweight one turns into a bulky rope. Wear a coordinating sports bra, because part of it will show. A pleated tennis skirt with shorts underneath, low sneakers and crew socks keep the look sporty and light.
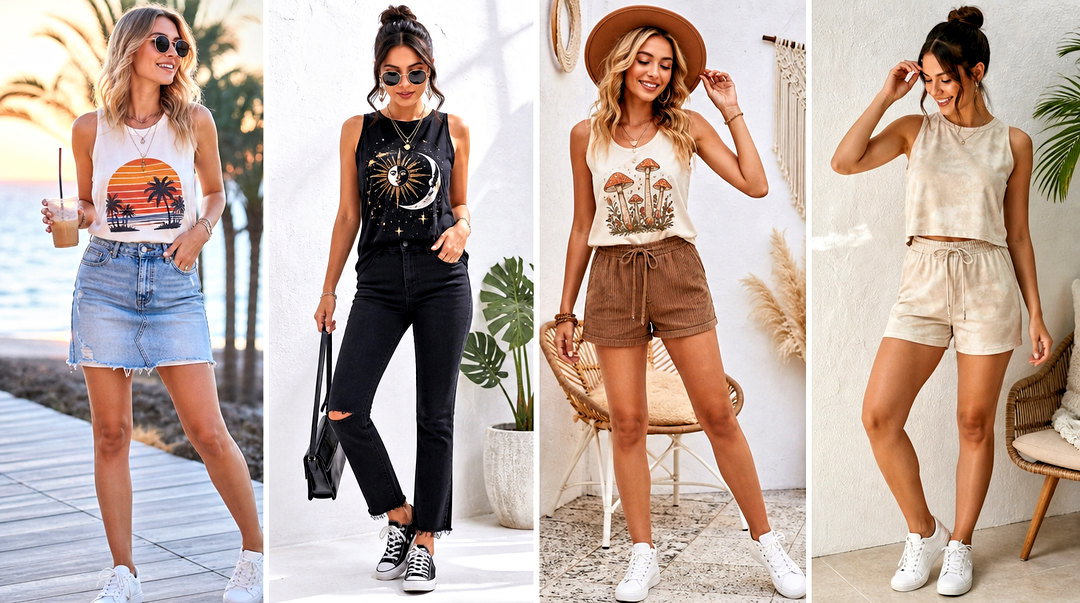
14. DIY Cutout Tank With Parachute Pants

Cutouts are small, and that's exactly why they go wrong. Jersey stretches as you handle it, so a slit that looks narrow on the table opens wider on the body. I cut each one a touch smaller than I want, then tug the edges gently so they roll into a clean finish. Near the neckline, keep the armholes higher so the top doesn't start showing skin everywhere at once. A fitted bandeau underneath adds color behind the openings. Relaxed parachute pants, fitted sneakers and a cropped zip jacket suit the shape. Black, charcoal or muted green show the cut lines more clearly than prints do.
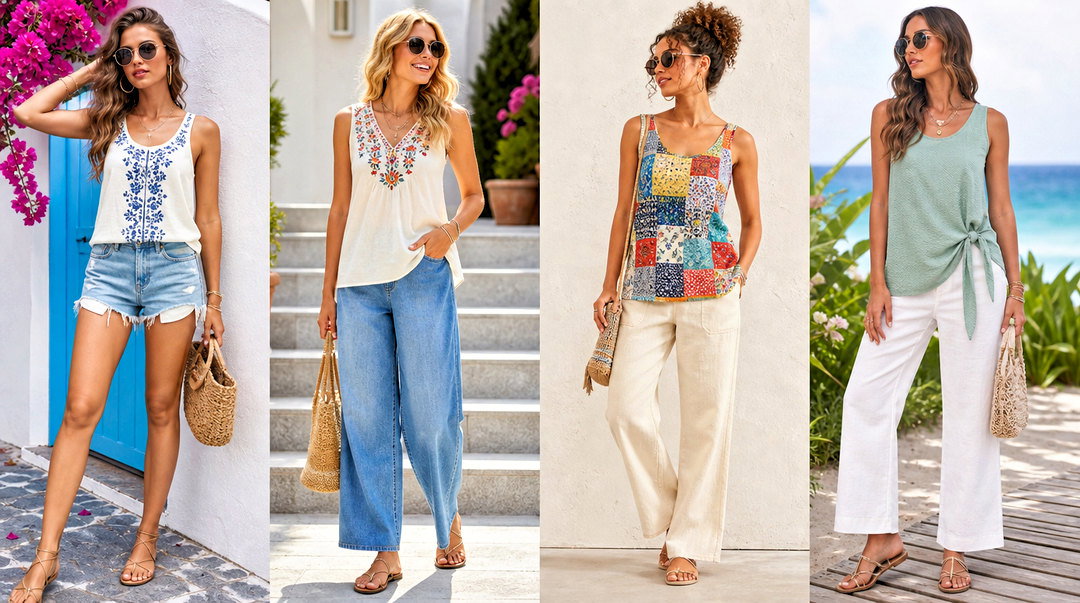

15. DIY Peplum Tank With Straight-Leg Jeans

I suggest a peplum for a tee that fits the chest but clings around the waist or ends too short. Cut it into a sleeveless bodice that stops at your natural waist, then sew on a gathered band cut from a second shirt. Go easy on the gathers. Jersey adds volume fast, and a peplum that sticks out reads as maternity wear rather than shape. Use a stretch stitch for the waist seam, or it will snap the first time you pull it over your head. High-rise straight-leg jeans and pointed flats keep the line long. Two matching shirts give a quiet result; two different shades make the peplum the feature.
16. DIY Ruched Tank With Cargo Maxi Skirt

Side ruching lets you adjust an oversized tank on the day you wear it. After removing the sleeves, cut two narrow openings near each side seam, thread long jersey strips through and pull them up before tying. For something that lasts, I sew a narrow channel along each seam and run a drawstring through it. The ruched tank sits well with a cargo maxi skirt and low sneakers. Gather one side higher if you like asymmetry. A fitted tank underneath is worth it, since ruching can leave small gaps at the sides.
17. DIY Patchwork Tank With Black Trousers

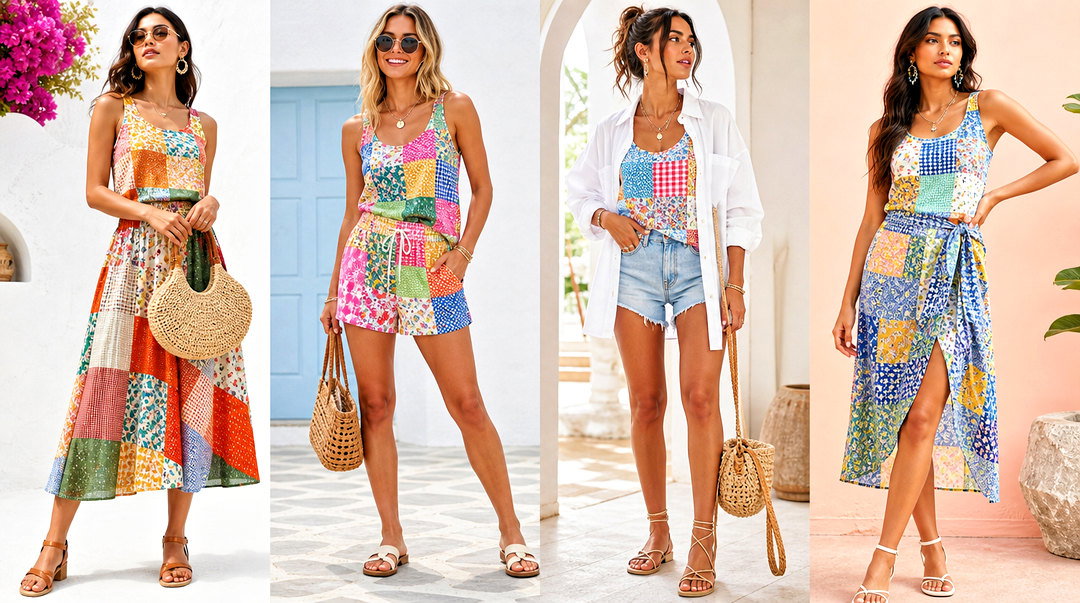
Patchwork is where I'd send someone who already sews. Use pieces from two or three old tees: start with a tank-shaped base and swap in one shoulder, a side panel or the lower section in a contrasting jersey. Keep the palette tight, like black with white or a few shades of blue, or it starts to look like a scrap bin. Sew the panels with a zigzag so the seams stretch with the knit; a straight stitch pops. Pair the statement tank with plain black trousers and loafers. Press the seams lightly before wearing so the panels hang flat. Smart trousers are what move a handmade top into office-casual territory.
18. DIY Longline Tank With Biker Shorts

Not every tank has to be cropped. A longline cut keeps most of an oversized tee's length and covers the hips over biker shorts. I keep the shoulders wide and lower the armholes only slightly, then cut short slits at the side hem so the fabric doesn't bunch when you walk. It should end below the hip, not halfway down the thigh, or it starts to restrict your stride. A supportive sports bra, chunky walking sneakers and a windbreaker tied at the waist make it a good travel and errands outfit.
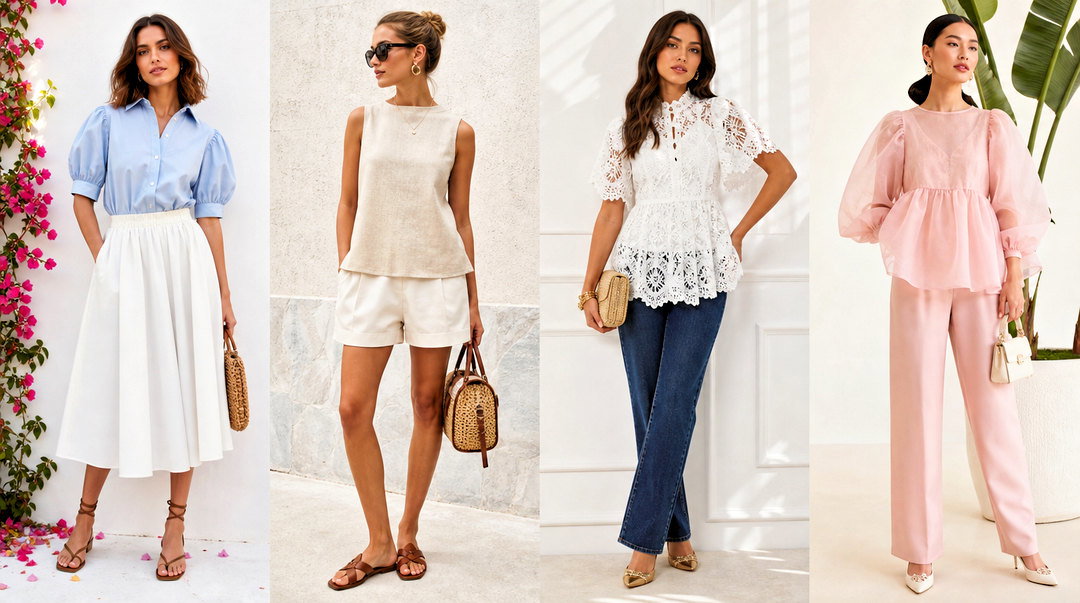
19. DIY Two-Tone Tank With Denim Maxi Skirt

Two plain tees make a color-block tank. Cut both into matching sleeveless shapes and use one color for the front and one for the back, or add a contrasting lower panel if you want fewer seams. Stretch stitches are a must, and I pin the side seams at the underarm and hem first so the two halves line up. Color pairs that share a temperature look calmer: cream with tan, navy with grey, burgundy with soft pink. A clean neckline is what stops it looking homemade. A streamlined denim maxi skirt with a walking slit grounds the blocks, and flat sandals keep it daytime.
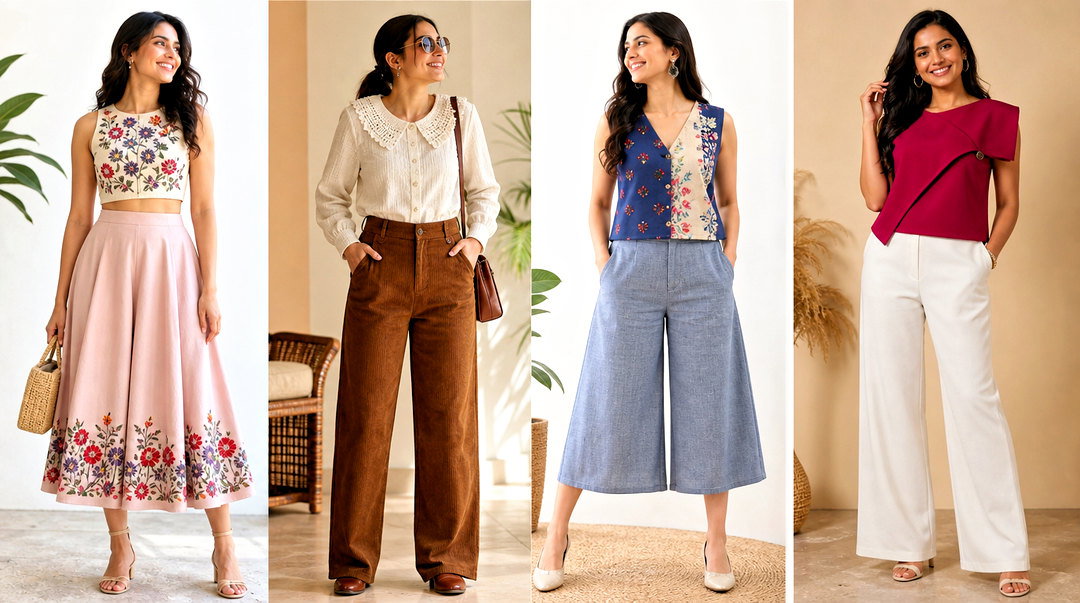
20. DIY Beaded-Strap Tank With White Jeans

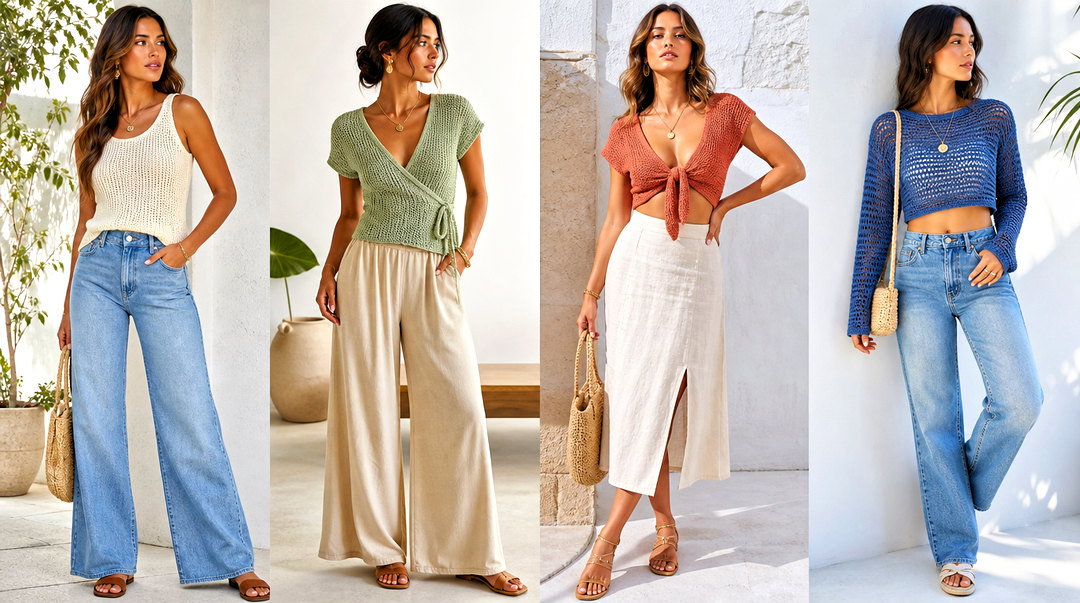
A tee with a stretched or damaged neckline can still give you a good tank. Cut it into a straight-neck shape, then roll tight jersey strips into sturdy straps and thread a few large, smooth beads on each one. Keep the beads off the exact top of the shoulder, where bag straps rub and press them into your skin. Stitch the straps on firmly by machine or with a doubled thread. Wear it around the house for an afternoon before taking it out. White straight-leg jeans and flat sandals let the beads stand out, especially on pastel, black or deep jewel-tone tees.
Raw Edges, Stitches and the First Wash
The good news about jersey is that it doesn't fray like a woven shirt does. Cut it and the edge simply rolls. That roll is fine on fringe, cutouts and armholes, but it isn't always even, and a crooked roll is what makes a refashion look rushed. Before wearing a new tank, I give every cut edge a gentle tug along its length so it curls evenly all the way round.
When you do sew, the stitch decides whether the top lasts. Knits stretch every time you put them on, so a straight stitch on a seam that has to stretch will crack. Use a narrow zigzag on a regular machine, and swap in a ballpoint or jersey needle, which slides between the knit loops instead of piercing them and laddering the fabric. For a hem that should stay flat, a twin needle gives two neat rows on the outside with stretch underneath.
Washing the Finished Tank
Hand stitches, ties and beads all hate a hot, crowded machine. I turn these tanks inside out and wash them cool on a gentle cycle, tucking anything with long ties or fringe into a mesh bag so the strips don't knot around other clothes. Lay them flat to dry rather than hanging by the straps; wet jersey is heavy and will stretch a thin strap or a halter tie longer than you cut it.
Deep Armholes and What Goes Under Them
Most of these tanks start by dropping the armhole, and that changes the bra question completely. A regular tee-shirt bra shows at the side as soon as the armhole falls below the band. My rule is simple: decide what you'll wear underneath before you cut, then try it on with that layer as you trim.
- Deep muscle and racerback cuts: a sports bra or bralette meant to be seen, in a color that suits the tee.
- Halter, one-shoulder and beaded straps: a strapless bandeau or adhesive cups, since straps have nowhere to sit.
- Lace-up sides and cutouts: a fitted camisole if you want the detail without bare skin behind it.
- Busty frames: keep the armhole higher and choose the longline or scoop-neck cuts, which give support room without gaping.
Your First Tee to Cut Tonight
If you're new to this, pick the muscle tank or the front knot and use a tee you won't miss. Wash it, chalk every line, and cut less than you think, because you can always take more fabric away but never add it back. Detailed tanks like the lace-up or patchwork look best with plain bottoms; the simpler cuts can carry a print skirt or bold trousers. Some of these need only scissors, others are a gentle first sewing project. Above all, choose the shapes that give you the coverage and support you're comfortable in, and the old tee becomes a top you'll reach for.
Related posts:




Leave a Reply