
Learning how to customize tank tops is an easy way to refresh basic clothing, improve the fit, and create pieces that feel more personal. A plain cotton tank can become colorful, polished, sporty, romantic, or edgy with simple supplies and a little planning. Some methods, including fabric markers and iron-on patches, require almost no crafting experience. Others, such as embroidery, ruching, or color blocking, let you practice useful sewing skills. Before beginning, check the fabric label, prewash the top, and test dyes, paint, or bleach on a hidden area. Also consider how the finished tank will work with your favorite bottoms, shoes, and accessories. Below, you will find practical, wearable inspiration for How To Customize Tank Tops (20 Ways).
1. Tie-Dye Tank Top
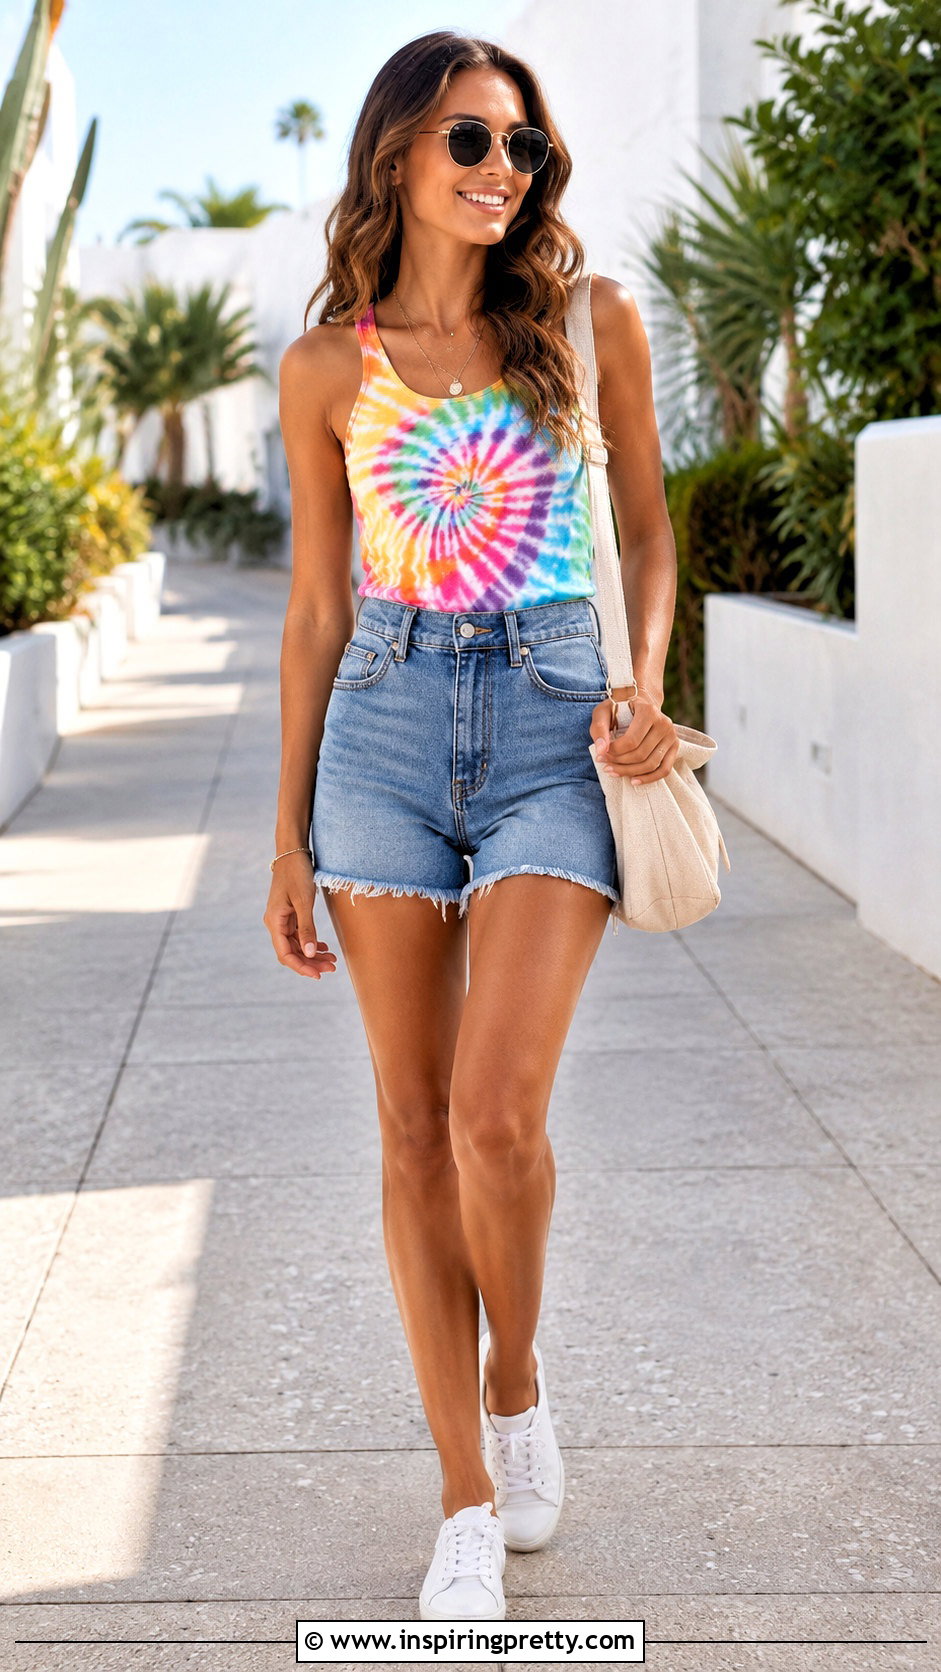
Tie-dye can turn a plain white tank into a colorful centerpiece for a casual summer outfit. Prewash the top without fabric softener, then leave it slightly damp if directed by your dye kit. Pinch, fold, or twist the fabric before securing it with rubber bands. A spiral creates bold movement, while accordion folds produce cleaner stripes. Cotton usually delivers brighter results than polyester-heavy fabric, which tends to create a softer finish. () Choose two or three compatible colors to avoid a muddy design. Once dyed, follow the kit’s setting and washing directions carefully. Wear the finished tank with high-waisted denim shorts, white sneakers, a canvas crossbody bag, and simple sunglasses for an easy warm-weather look.
2. Fabric Paint Tank Top
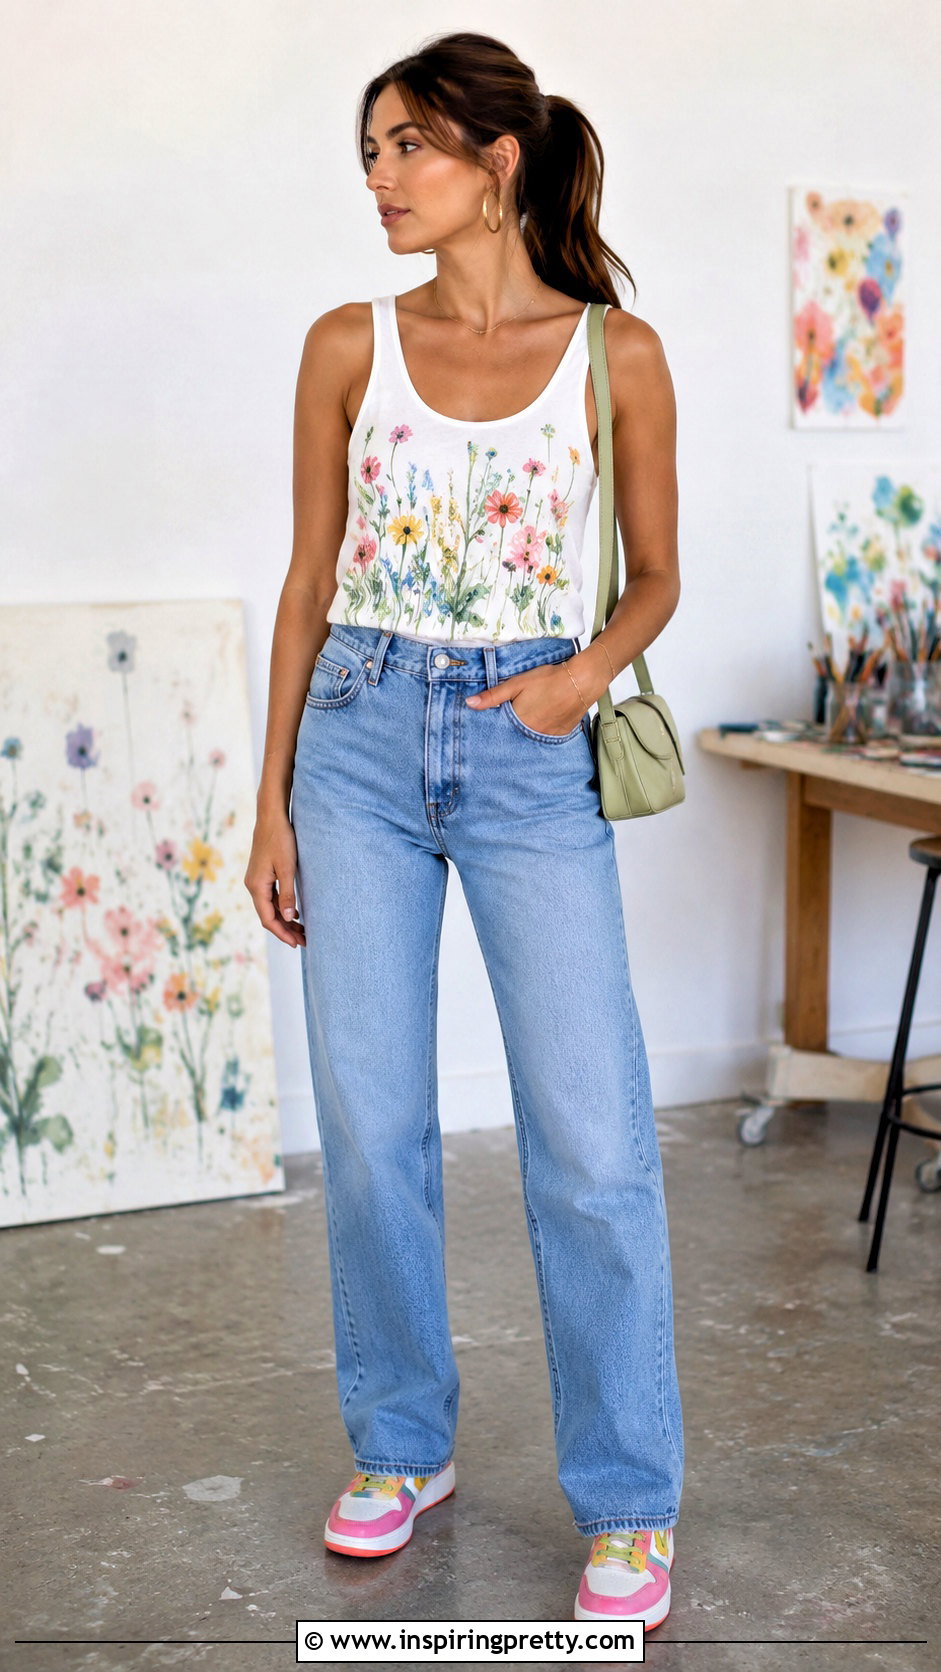
Imagine transforming a basic tank with a design that looks completely hand-drawn. Place cardboard inside the garment so paint cannot soak through to the back. Sketch the artwork lightly with tailor’s chalk, then apply fabric paint with fine brushes, sponges, or dotting tools. Small flowers, checkerboard patterns, abstract lines, and simple fruit motifs are manageable for beginners. Keep heavy paint away from stretchy side seams because thick layers may feel stiff. Let every coat dry before adding another, and follow the product instructions for heat setting or curing. Complete the outfit with relaxed straight-leg jeans, colorful low-top sneakers, hoop earrings, and a compact shoulder bag. The simple denim base allows your customized tank top to remain the strongest visual feature.
3. Stenciled Tank Top
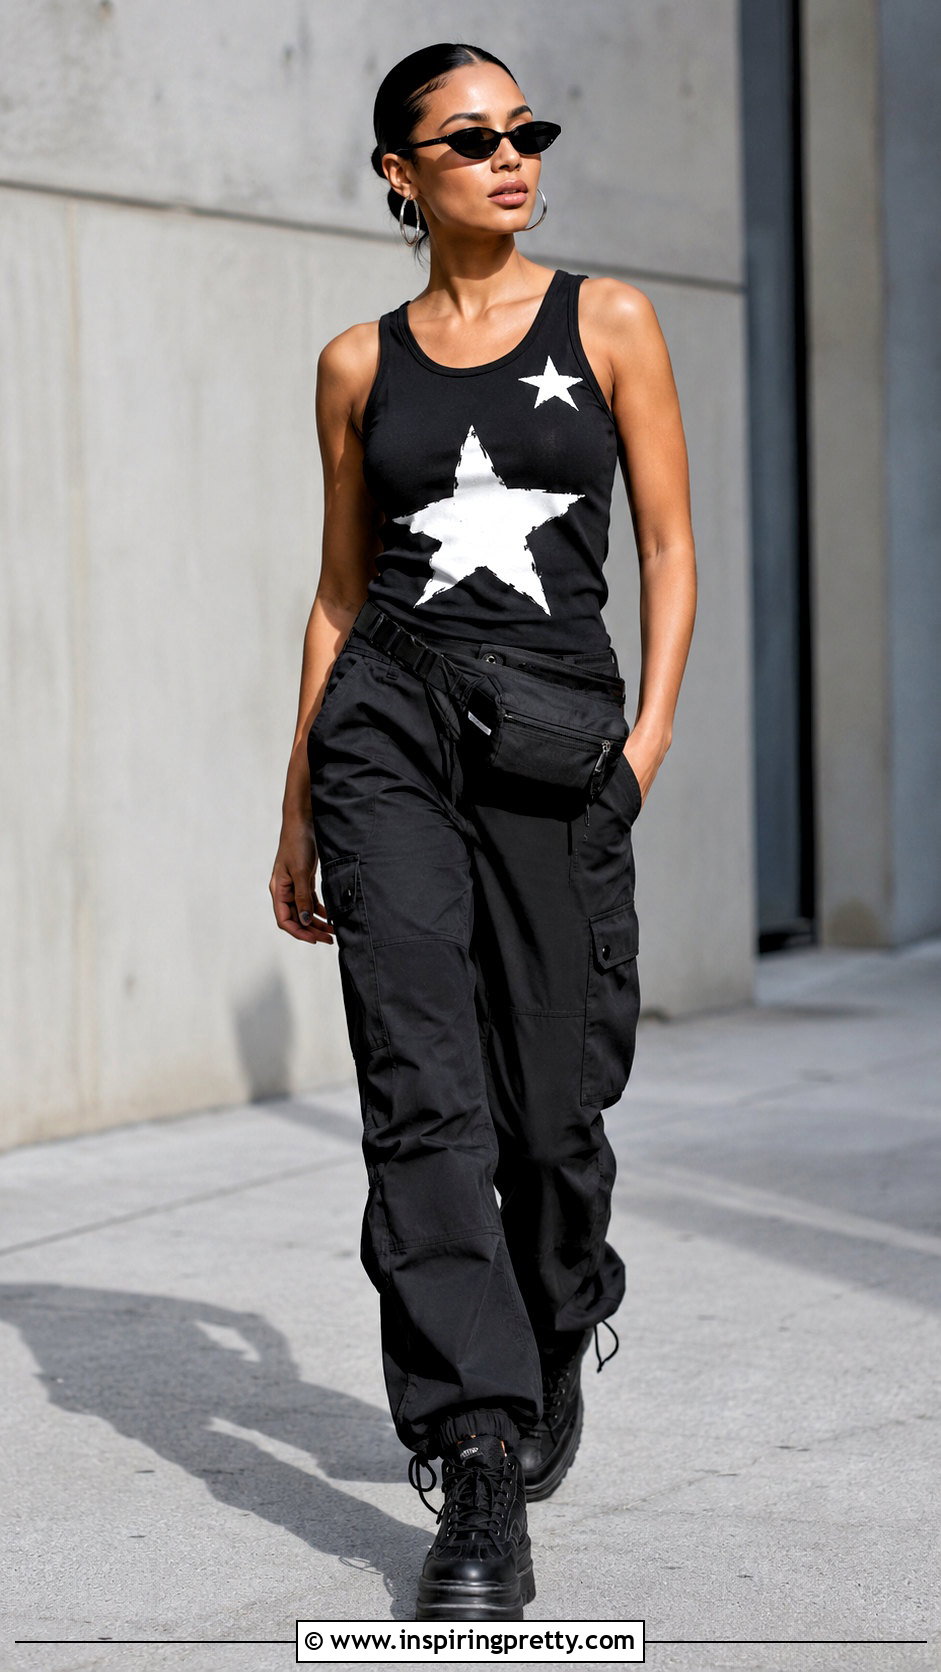
A stencil helps you create clean graphics even when freehand painting feels difficult. Wash and dry the tank first, smooth it over a protected surface, and slip cardboard between the fabric layers. Secure your stencil with removable adhesive or painter’s tape so the edges stay flat. Apply fabric paint using a sponge with gentle up-and-down motions rather than sweeping strokes. This reduces paint bleeding beneath the stencil. Try stars, leaves, geometric shapes, initials, or a small centered emblem. Remove the stencil carefully and let the design cure according to the paint manufacturer’s directions. Style the finished top with black cargo pants, platform sneakers, a nylon belt bag, and silver earrings. This head-to-toe combination gives the graphic a modern streetwear feel without appearing overdone.
4. Embroidered Tank Top
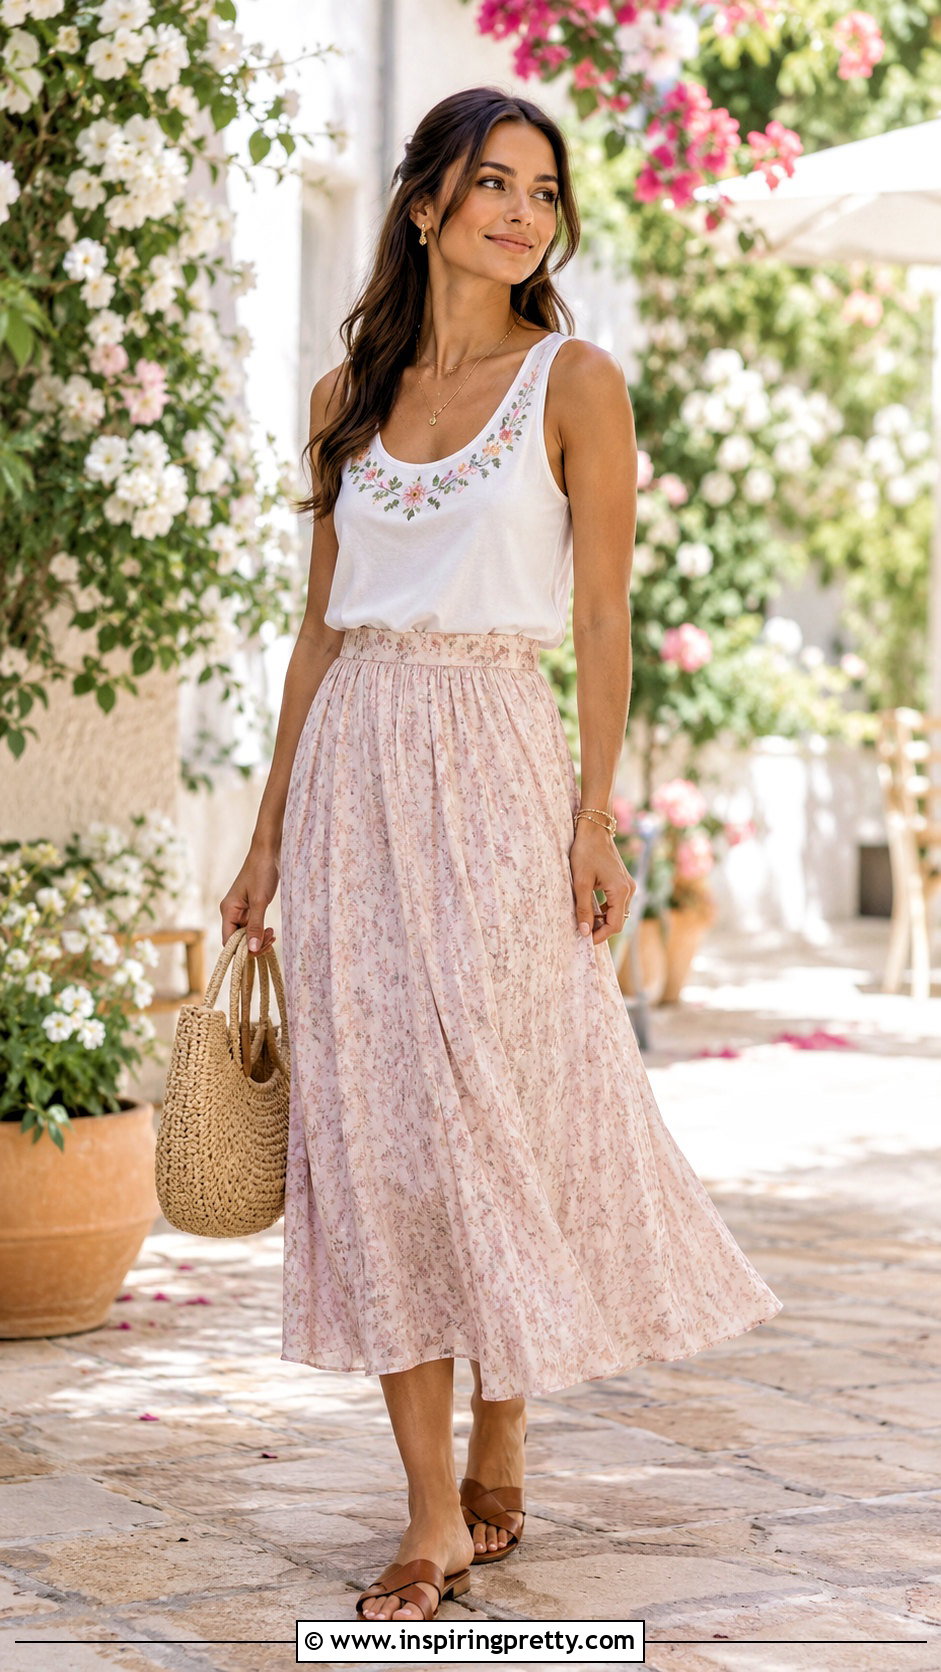
A few hand-stitched details can make an inexpensive tank feel thoughtful and distinctive. Begin with a stable cotton or cotton-blend top that is not excessively thin. Place a small embroidery hoop around the chosen area without stretching the fabric out of shape. Trace a simple design using a washable fabric marker, then work with basic stitches such as the backstitch, satin stitch, or lazy daisy. Tiny flowers around the neckline, a short word near the chest, or vines along one strap can look especially wearable. Secure every thread end neatly on the inside to prevent irritation. Pair your embroidered tank with a flowing midi skirt, flat leather sandals, a woven handbag, and delicate jewelry for a soft outfit that highlights the handmade detail.
5. Iron-On Graphic Tank Top
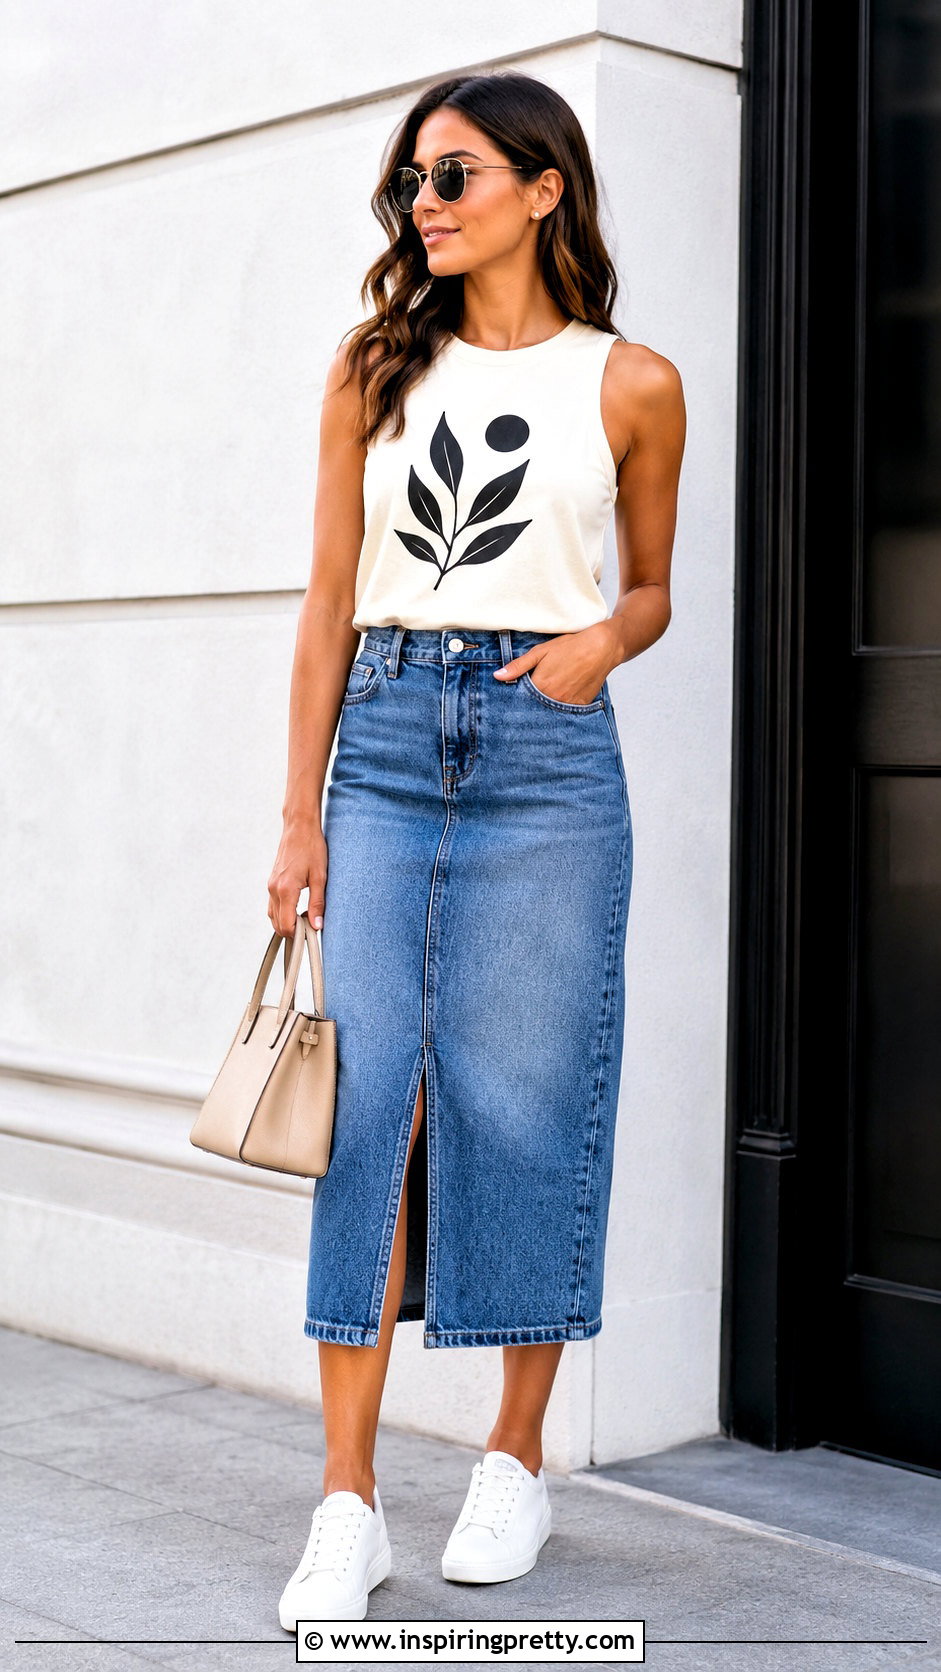
When you want a sharp customized design quickly, an iron-on graphic is a practical choice. Start with a freshly washed, completely dry tank and check that the transfer material is compatible with its fiber content. Create a small slogan, monogram, symbol, or minimalist illustration. Mirror heat-transfer vinyl designs before cutting, weed away the excess material, and follow the manufacturer’s exact temperature, pressure, and peeling directions. () Keep the graphic centered by folding the tank lengthwise and lightly marking the middle. A compact design generally sits more smoothly than oversized vinyl on stretchy fabric. Wear the completed tank with a denim midi skirt, clean white sneakers, a structured mini tote, and simple stud earrings for a polished casual outfit.
6. Patchwork Tank Top
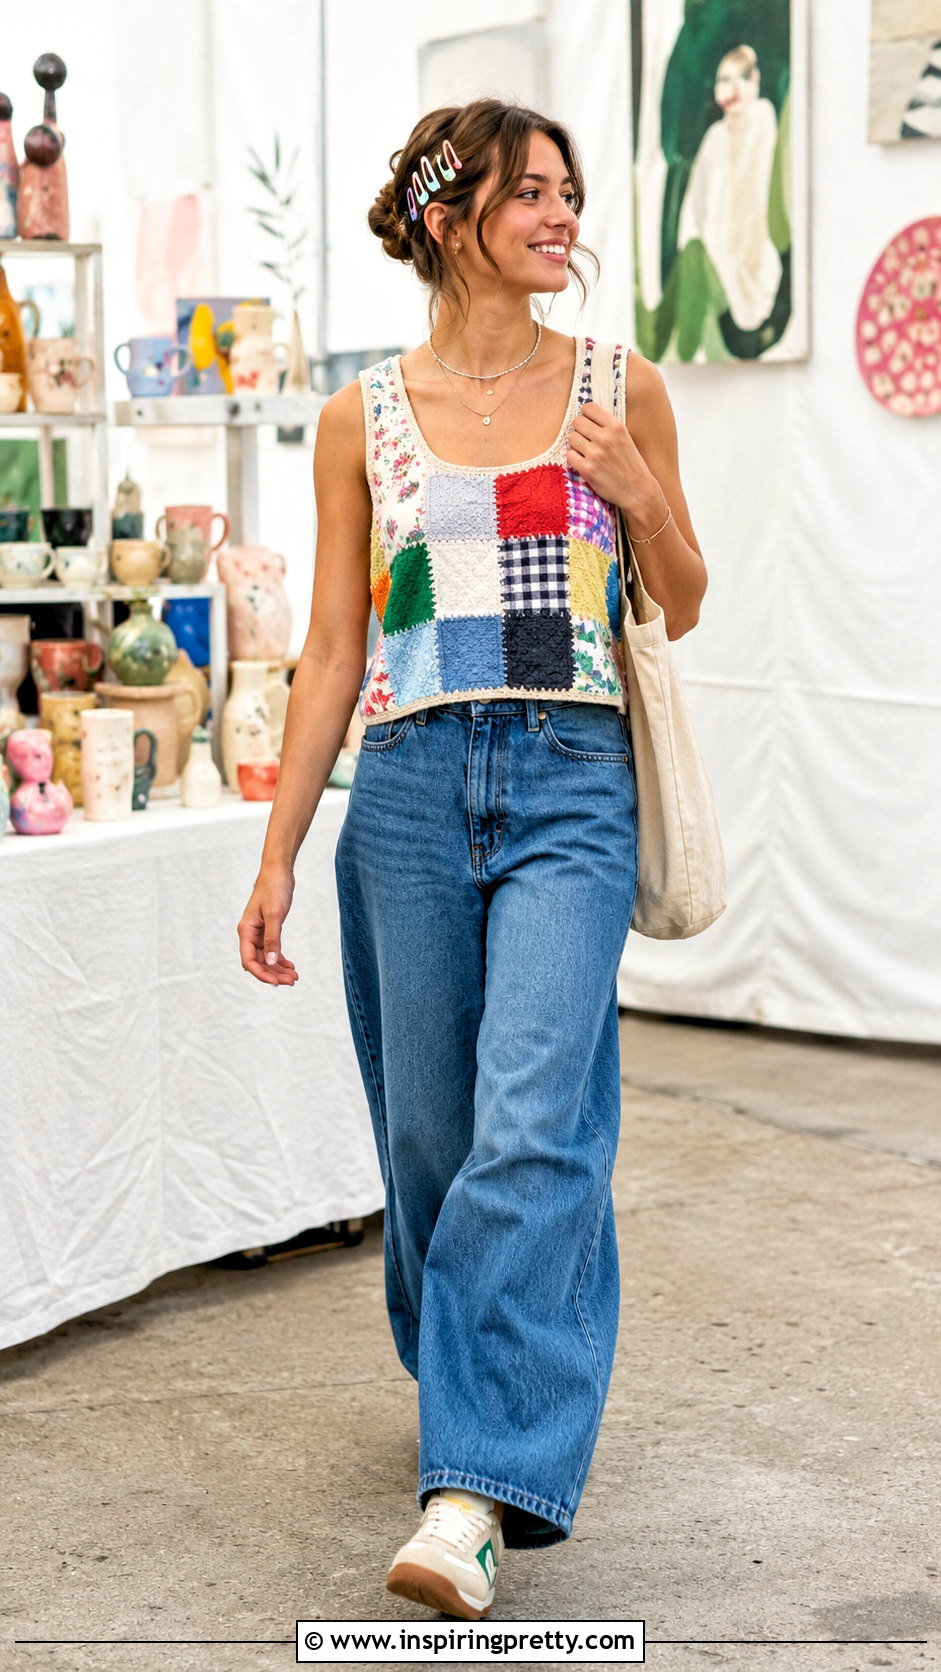
Do you have attractive fabric scraps that are too small for a larger sewing project? Turn them into a patchwork design across a plain tank. Cut squares, hearts, stars, or irregular geometric pieces, leaving enough room to turn under raw edges if desired. Arrange everything before sewing so the colors and prints feel balanced. Hand-stitch the patches with contrasting embroidery floss for a visible homemade finish, or use matching thread for a cleaner result. Lightweight cotton scraps work better than stiff material that could pull down the tank. You can also place one patch over a tiny stain or worn spot. Match the finished top with wide-leg jeans, retro sneakers, a canvas tote, and colorful hair accessories for a playful, coordinated everyday outfit.
7. Lace-Trim Tank Top
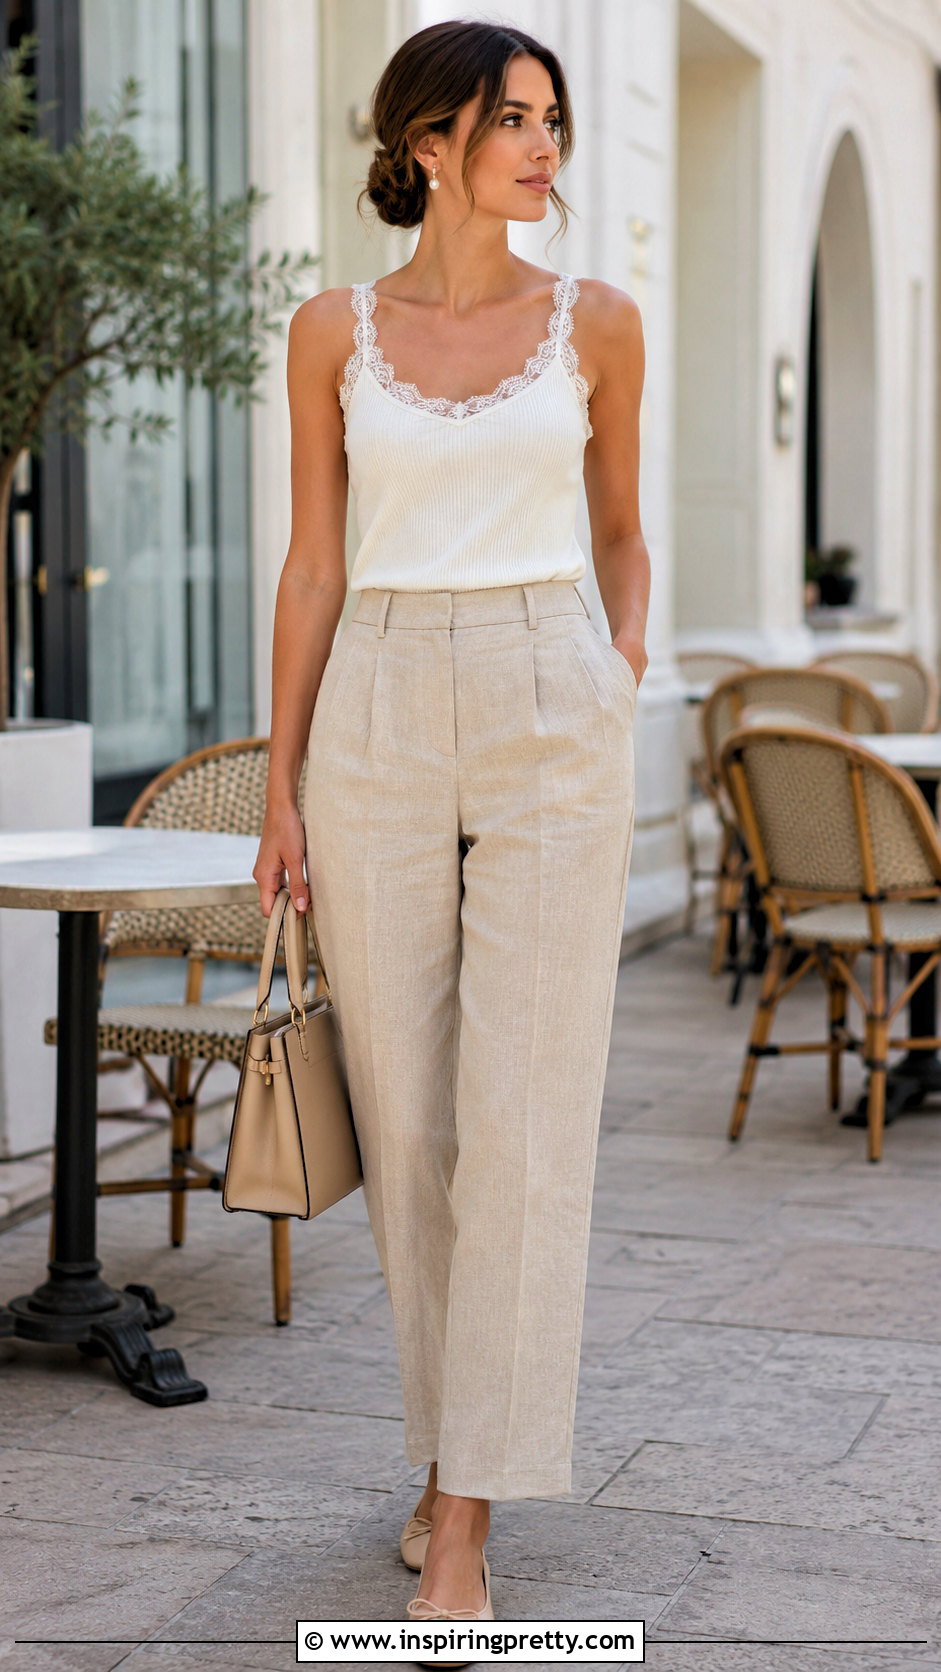
Lace trim gives a simple tank top a softer, more finished appearance without requiring a complete reconstruction. Select washable lace that feels comfortable against the skin and coordinates with the tank’s stretch and weight. Pin it around the neckline, armholes, or lower hem while the garment lies flat. Use small hand stitches or a narrow stretch stitch, taking care not to pull the fabric. Lace can also be inserted behind a modest back cutout for added texture and coverage. Wash the completed garment gently to protect the delicate trim. Style a lace-trim tank with tailored linen pants, ballet flats, a structured handbag, and pearl or gold-tone earrings. This balanced outfit feels feminine and refined while remaining comfortable enough for daytime gatherings or relaxed vacation dressing.
8. Ribbon Bow Tank Top
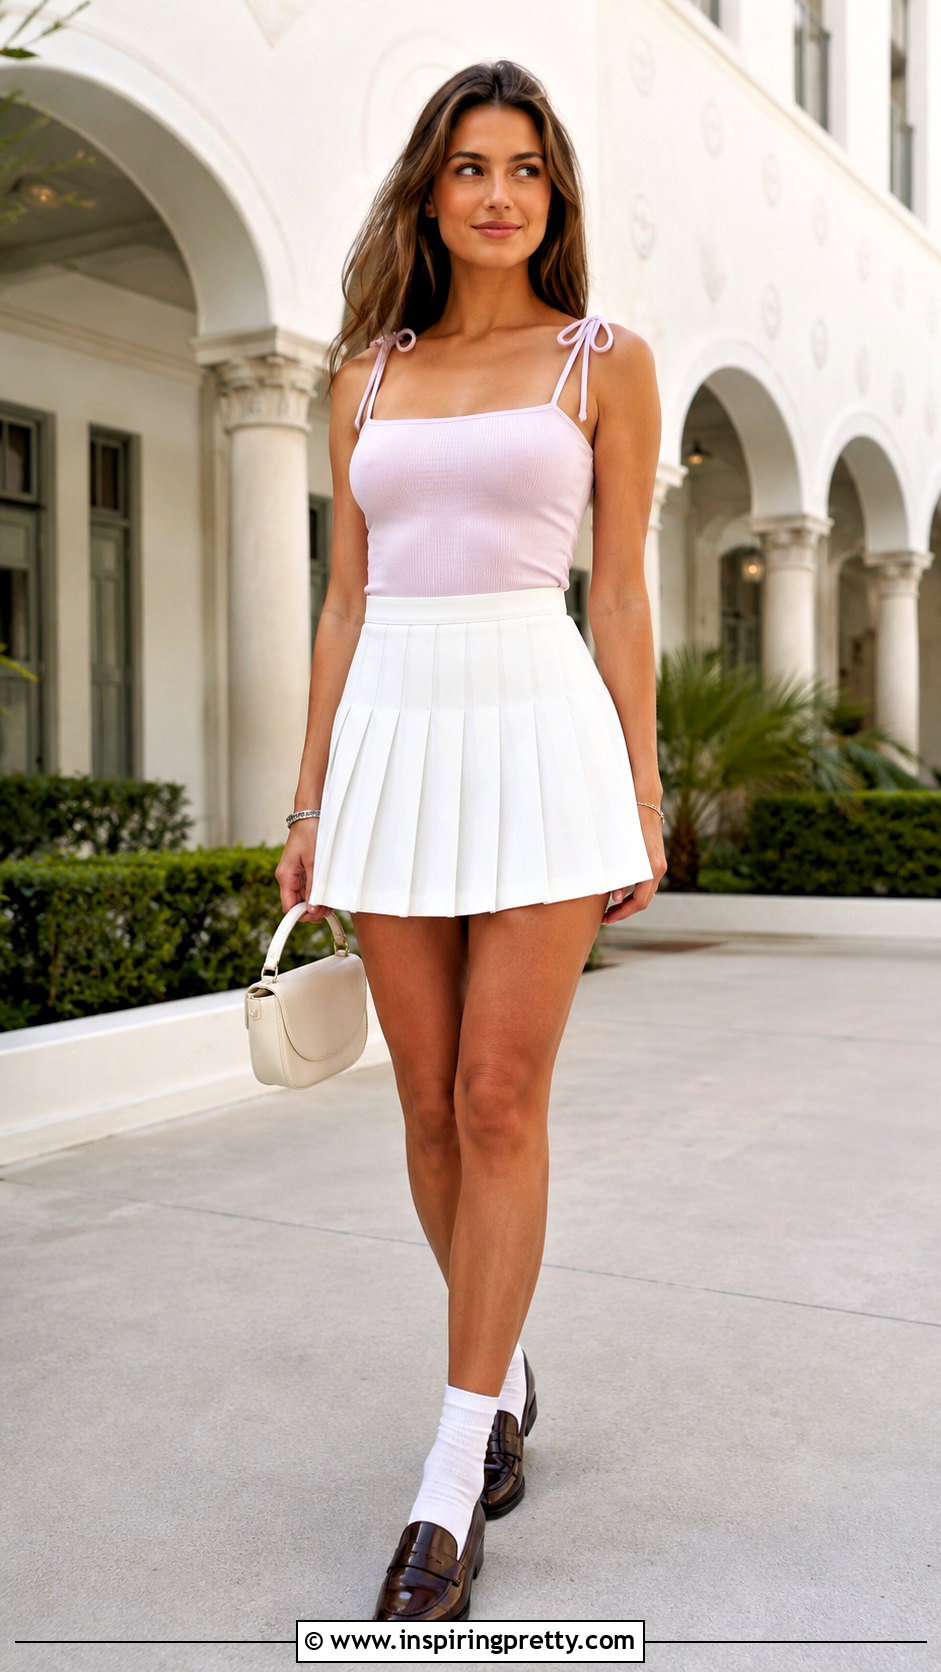
Small ribbon bows create a charming tank top update with very little cutting. Choose narrow, washable ribbon that complements the garment rather than overwhelming it. Tie two matching bows, trim the ends evenly, and seal the cut edges with an appropriate anti-fray product. Hand-sew the bows to the shoulder straps, center neckline, or upper back. Stitch through the knots several times so they remain secure during wear and washing. For an adjustable version, replace fixed shoulder straps with wider ribbon ties, but reinforce every attachment point carefully. Build a complete outfit around the customized top with a pleated tennis skirt, white ankle socks, loafers, and a small top-handle bag. Keep other accessories minimal so the ribbon details look intentional rather than overly decorative.
9. Beaded Tank Top
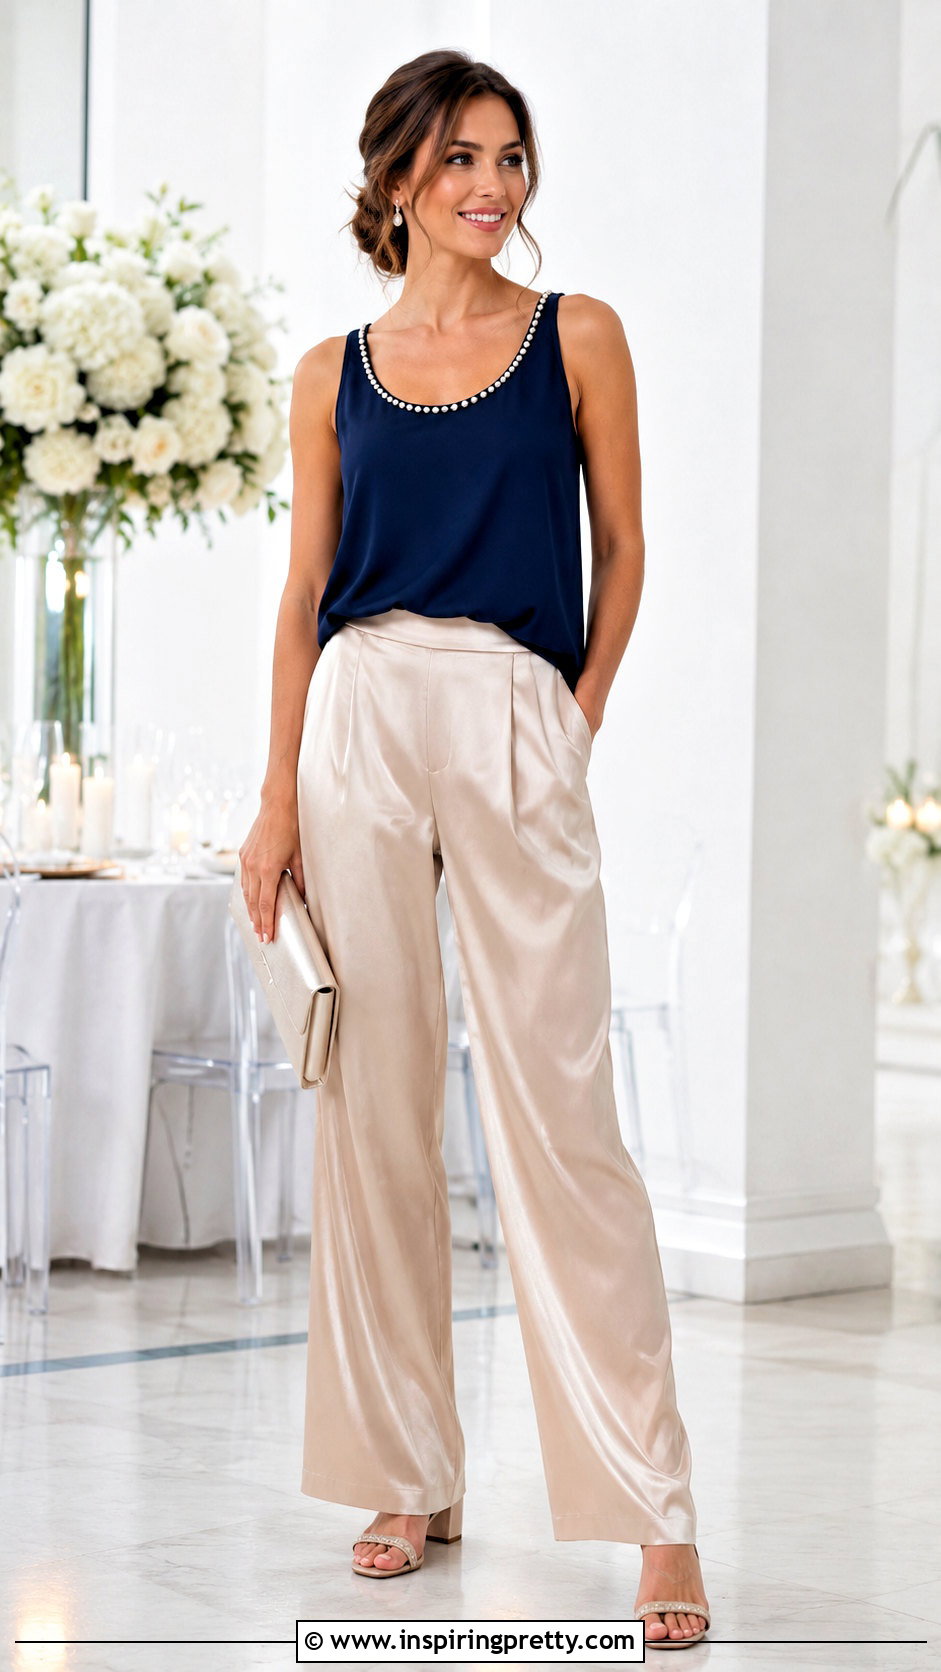
Beading adds texture and subtle shine, especially when the embellishment follows an existing neckline or printed design. Use lightweight seed beads, small pearls, or smooth decorative beads that will not scratch your skin. Mark the placement first and sew each bead securely with strong thread. Avoid covering the entire front because too much weight can stretch the tank and alter its fit. A narrow beaded neckline, a scattered shoulder pattern, or a small chest motif provides enough impact. Knot the thread periodically so one break will not release every bead. Pair the top with satin wide-leg pants, low block-heel sandals, a sleek clutch, and understated earrings. The finished outfit works well for celebrations where you want comfortable clothing with a more polished appearance.
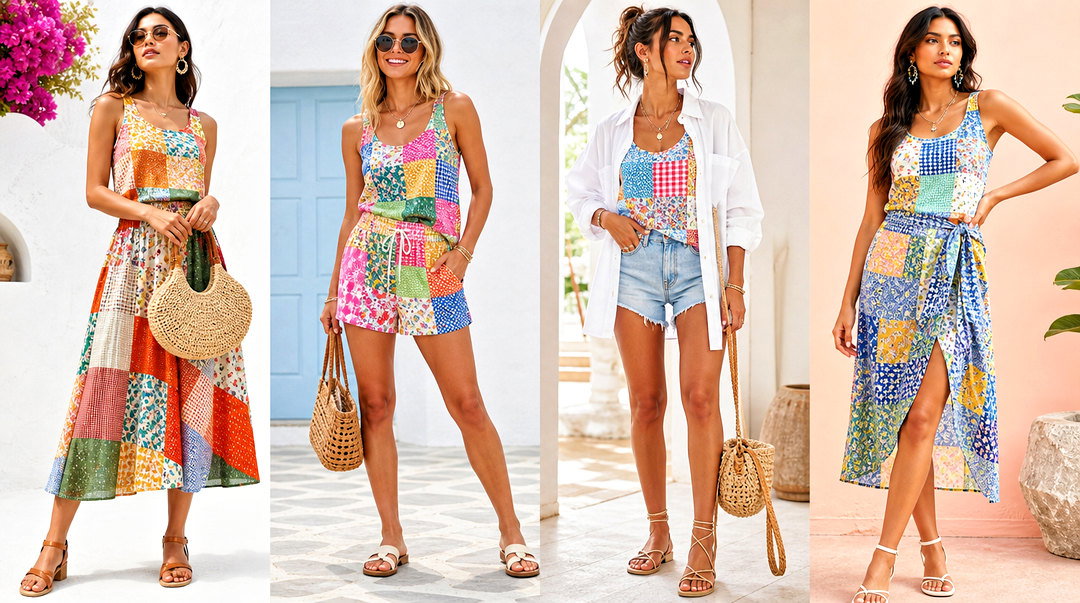
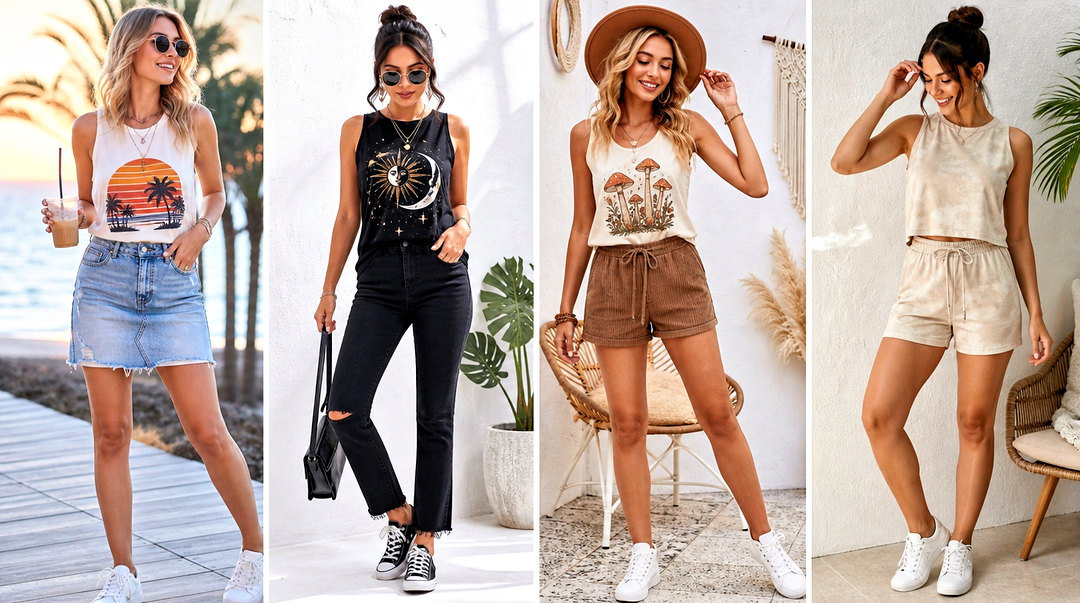
10. Rhinestone Tank Top
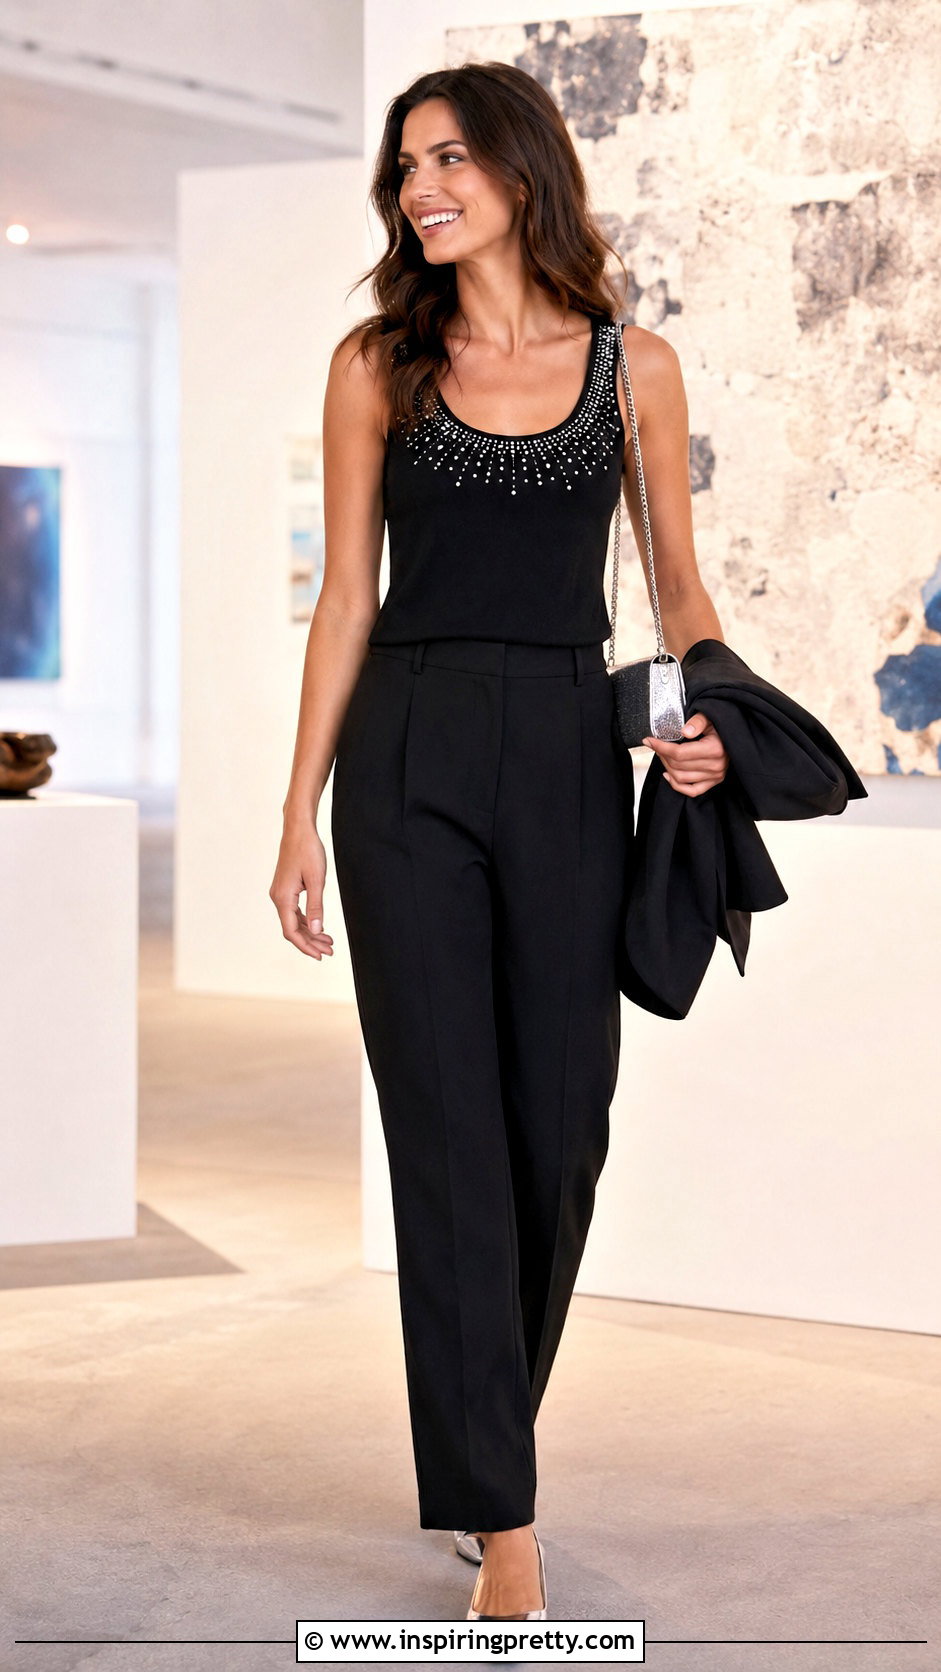
Bright light catching a row of rhinestones can make a basic tank feel instantly more festive. Plan a simple design on paper before placing anything on the garment. A curved neckline border, scattered star pattern, or small centered motif is easier to wear than a completely covered front. Use sew-on rhinestones or fabric-safe hot-fix stones, following the application instructions carefully. Place cardboard inside the tank and maintain even spacing with tweezers. Let any adhesive cure completely before moving or washing the garment. Combine the customized top with black tailored trousers, metallic flats, a compact shoulder bag, and a smooth blazer carried over one arm. This complete look balances sparkle with clean pieces, making the rhinestone tank appear sophisticated rather than costume-like.
11. Cropped Tank Top
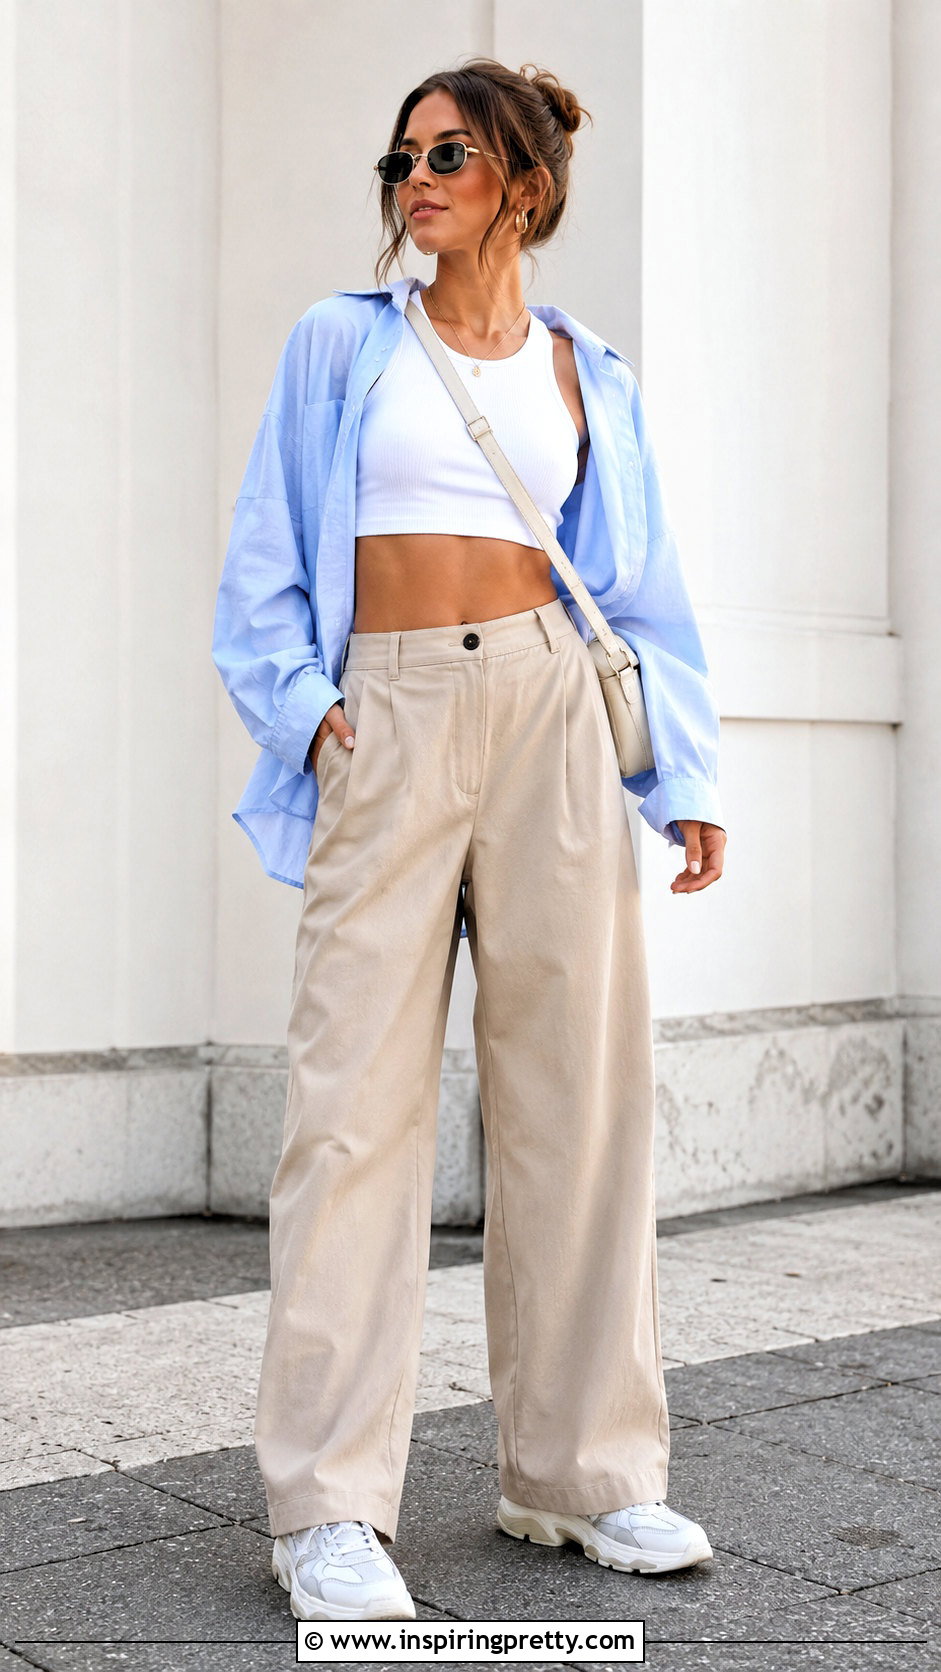
Cropping changes both the proportions and personality of a long tank top. Put the tank on and mark the preferred length while standing naturally. Remove it, lay it flat, and draw a straight guideline using a ruler and tailor’s chalk. Leave extra fabric if you plan to sew a hem. Knit jersey may roll into a casual raw edge, while woven material generally needs hemming to control fraying. Cut gradually with sharp fabric scissors because you can always shorten the top again. Try it on before completing the finish. Wear your new cropped tank with high-rise, loose-fitting trousers, chunky sneakers, a crossbody bag, and an open lightweight shirt. The higher waistband adds coverage and creates balanced proportions for a comfortable everyday outfit.
12. Side-Tie Tank Top
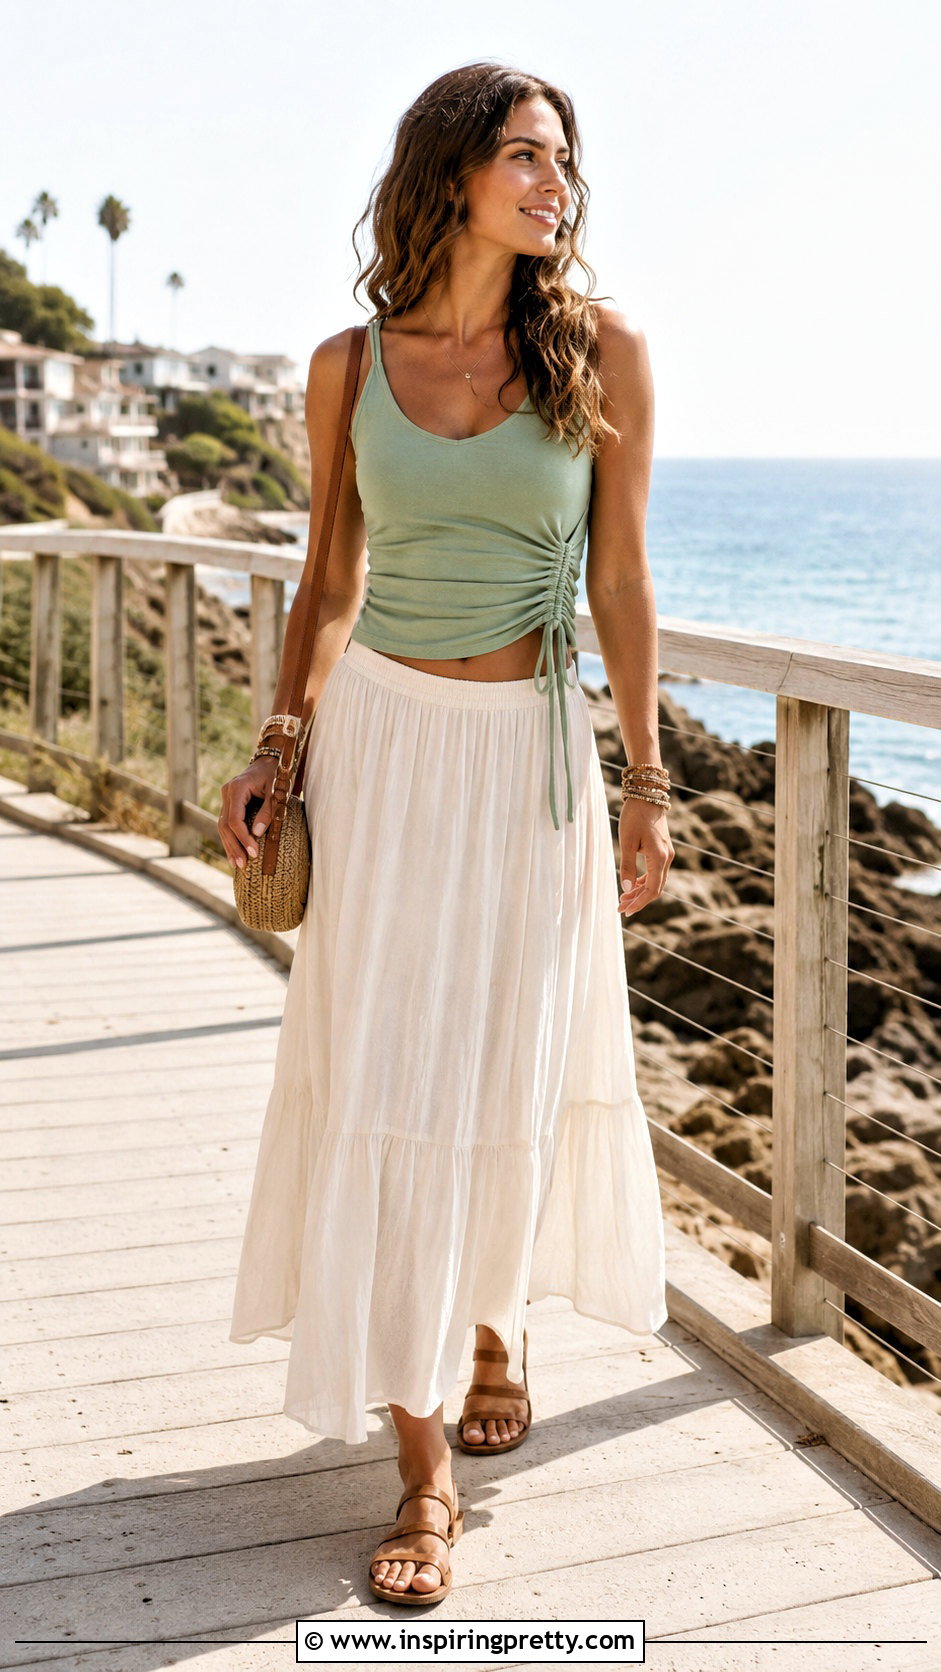
A side-tie detail can reshape a boxy tank while adding adjustable definition at the waist. Mark equal sections near both side hems, then cut short vertical strips or create small fabric tabs. Knot the fabric gently at each side, checking that the tank still sits evenly. For a cleaner sewn version, attach matching fabric ties inside the side seams and reinforce the stitching. Avoid cutting too high because the openings can expand when the garment stretches. If you prefer an asymmetrical finish, add one tie at a single hip and keep the opposite side smooth. Style the customized top with a flowing maxi skirt, flat sandals, layered bracelets, and a woven crossbody bag. The tied waist and fluid skirt create an easy, well-proportioned summer silhouette.
13. Fringed Tank Top
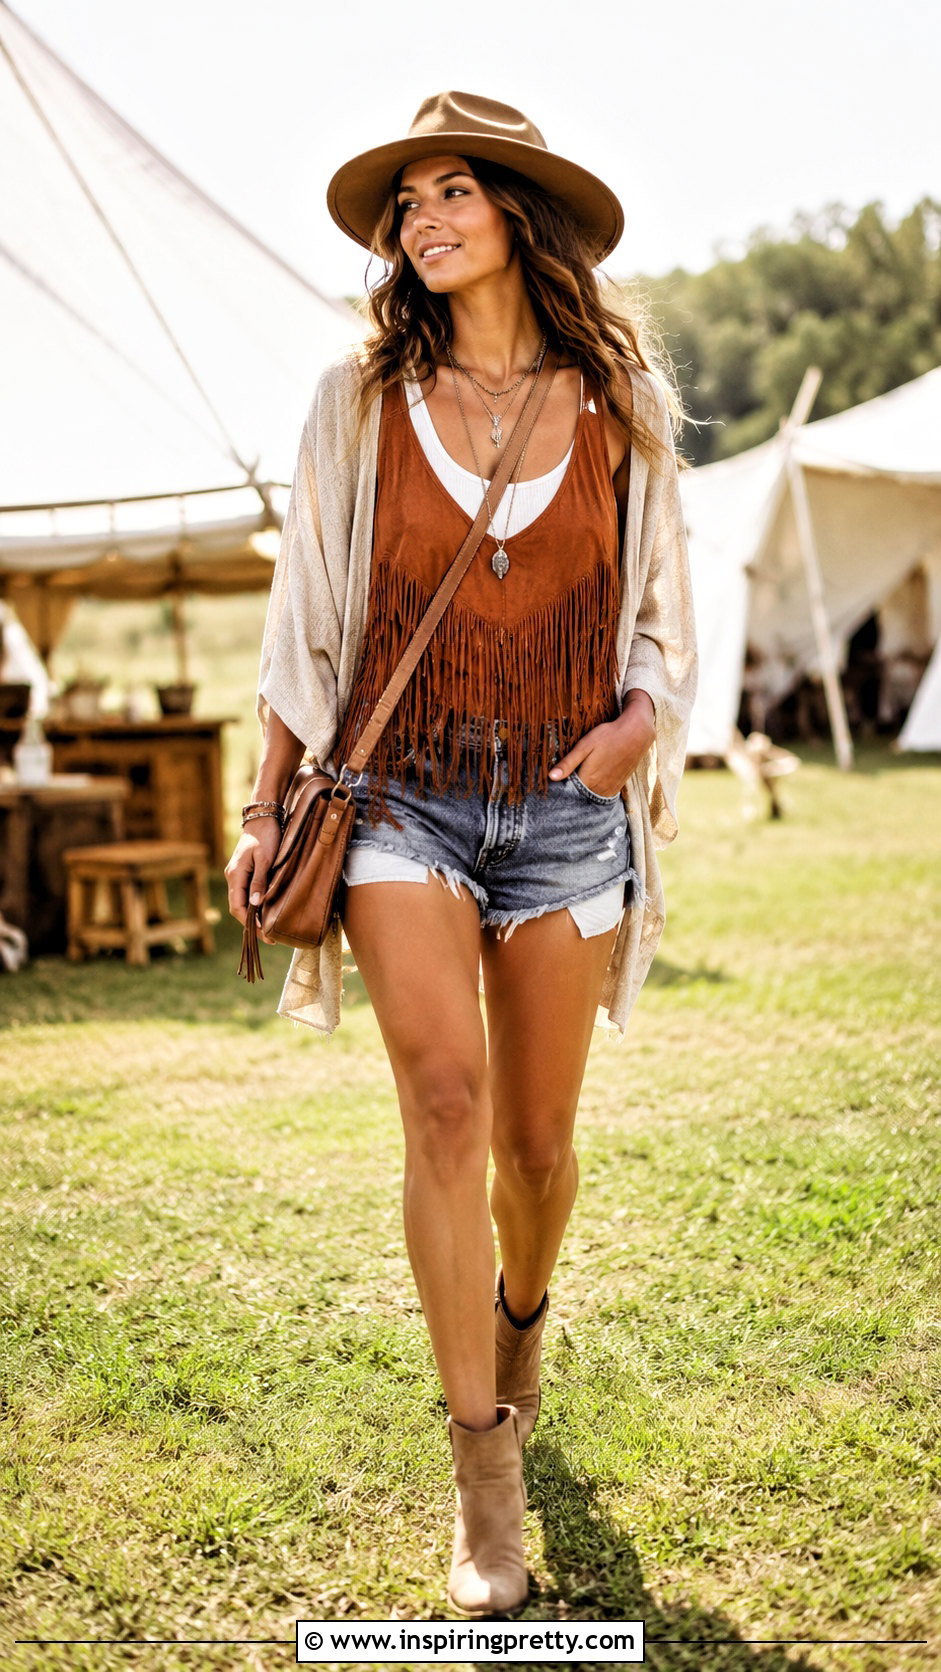
Movement is the main attraction of a fringed tank top, making this customization especially effective for relaxed outdoor outfits. Decide where the fringe should begin, then mark a horizontal stopping line across the lower section. Cut narrow vertical strips from the hem to that line, keeping their widths as even as possible. Gently pull each strip so jersey fabric curls into a cord-like shape. Leave the fringe loose, add small knots, or thread a few lightweight beads onto selected strands. Remember that cutting removes coverage, so test the starting point conservatively. Wear the finished tank over a simple fitted camisole with denim shorts, comfortable ankle boots, a crossbody bag, and a lightweight overshirt. This layered outfit keeps the playful fringe practical and easy to wear.
14. Cutout Back Tank Top
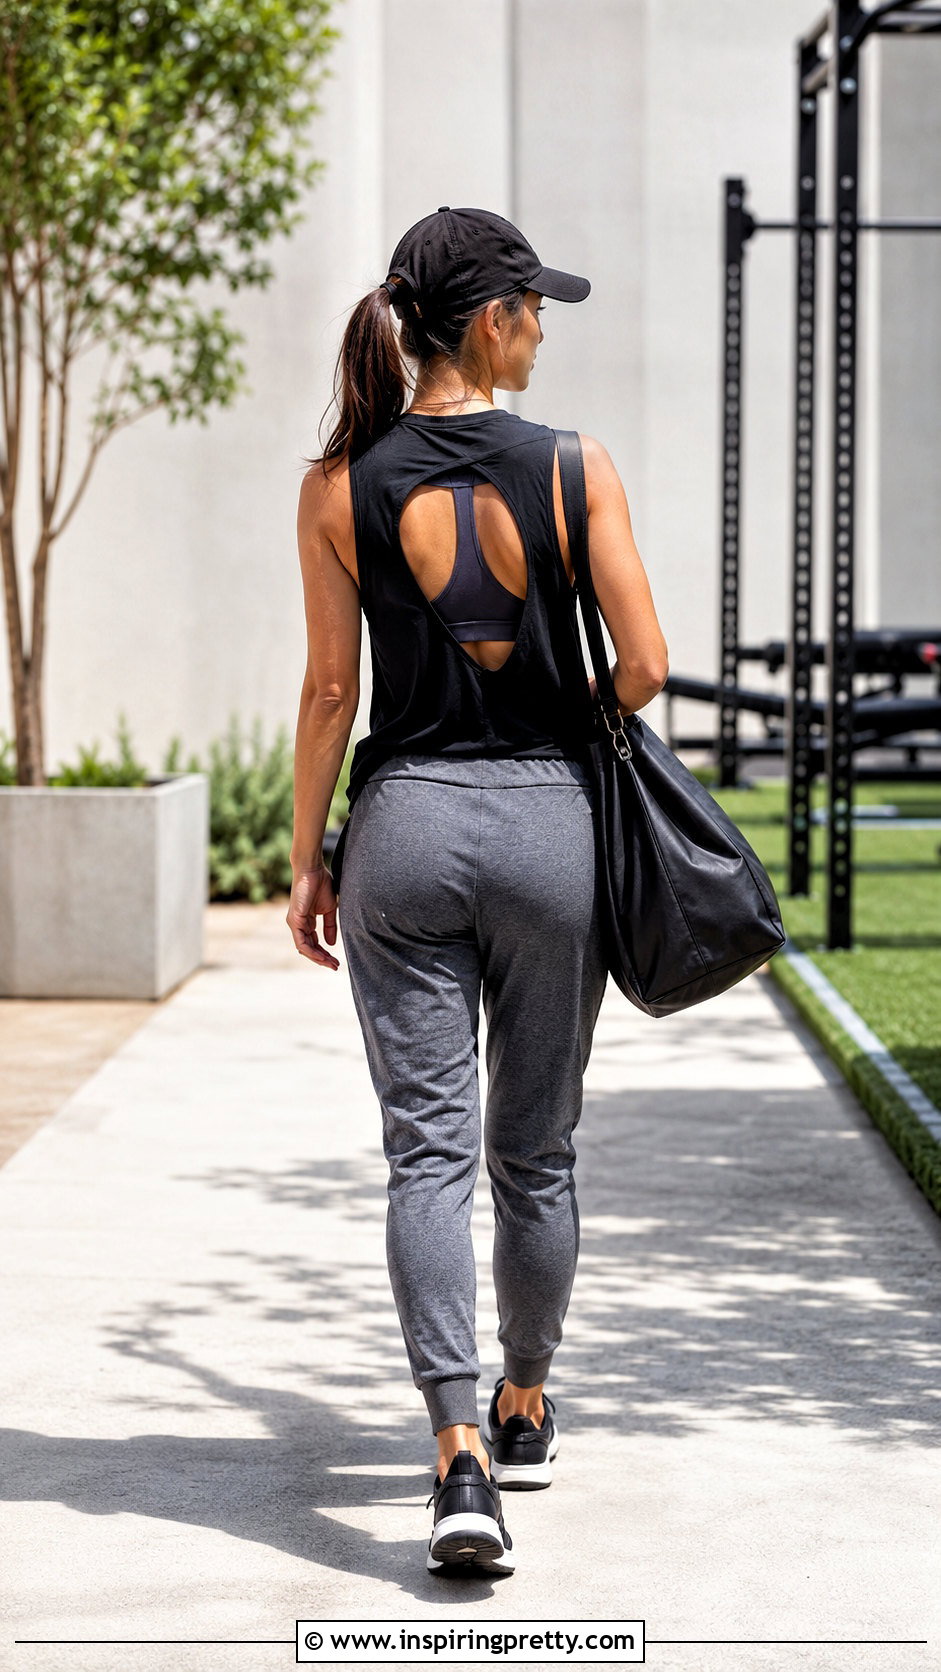
A carefully placed back cutout adds ventilation and visual interest without changing the front of the tank. Turn the garment inside out and draw a symmetrical shape using washable chalk. Diamonds, narrow vertical openings, and small geometric cutouts are easier to control than complicated designs. Insert cardboard before cutting, then use sharp fabric scissors and work slowly. Leave plenty of fabric around seams and straps so the structure remains secure. Knit jersey edges may curl naturally, but less stable material may require stitching or fabric adhesive designed for hems. Layer the customized top over a fitted sports bra or contrasting bandeau. Finish the outfit with joggers, streamlined trainers, a baseball cap, and a roomy tote for a sporty, practical look that showcases the back detail.
15. Braided Back Tank Top
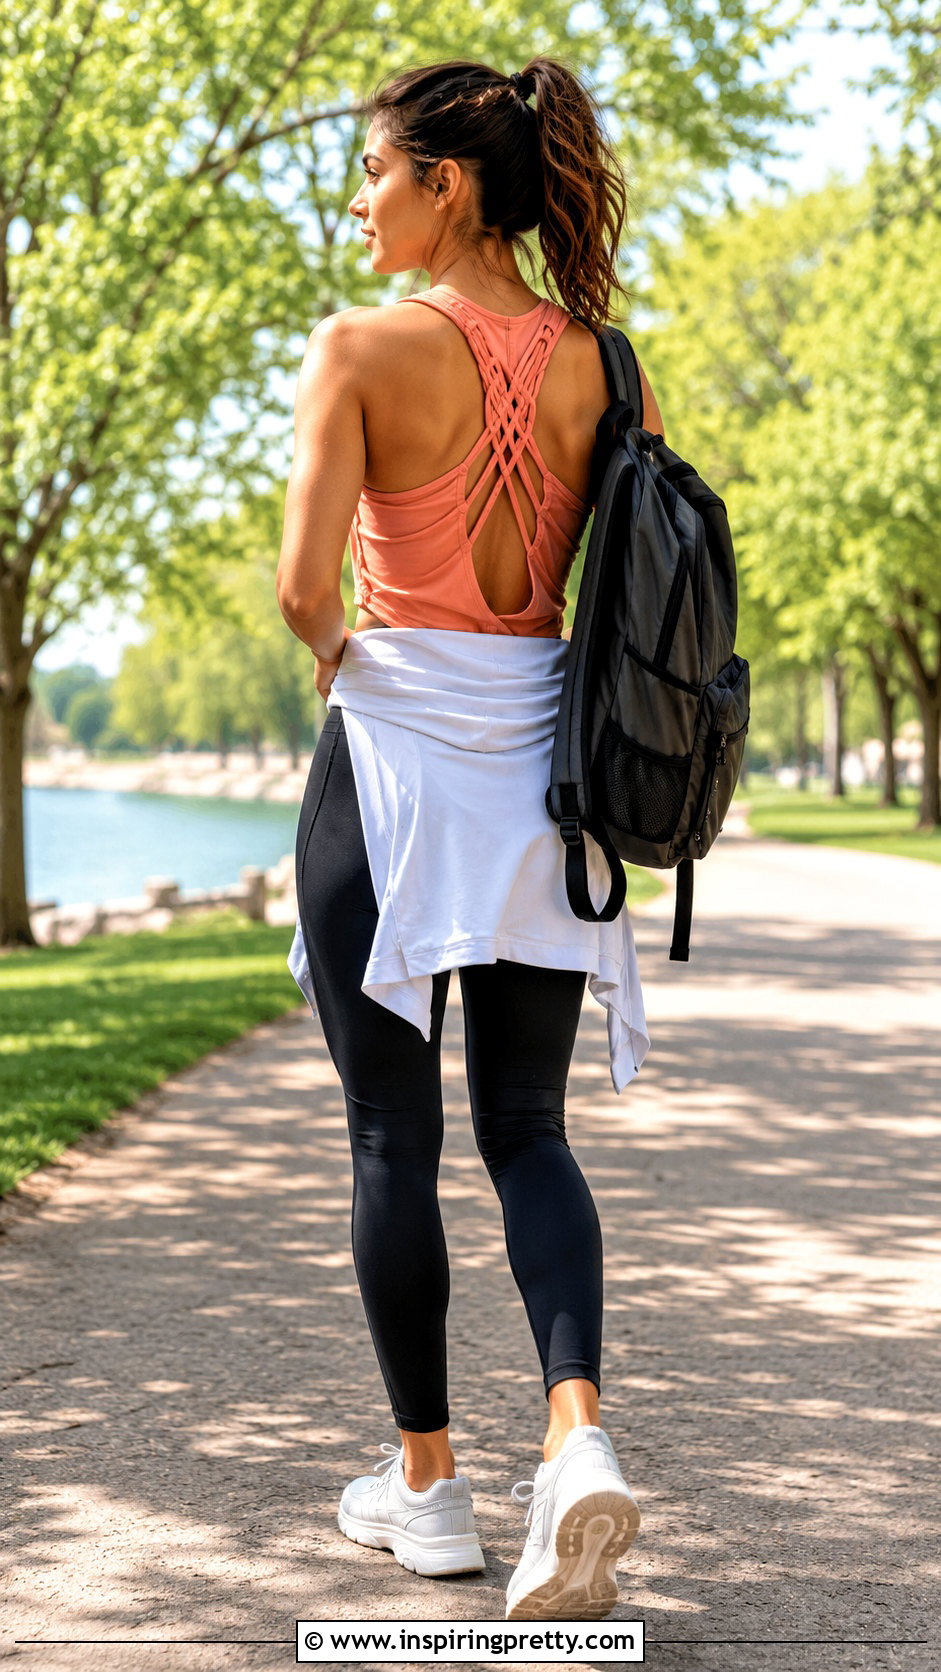
Braiding converts the back of a loose tank into an intricate feature while creating a closer fit. Start by cutting several evenly spaced horizontal slits across the back panel, keeping them away from side seams. Stretch the strips gently so the jersey edges curl. Loop each strip through the one below it to build a chain-like braid, then secure the final loop with hand stitching. Work from the upper back downward and check the fit frequently because tight weaving can make the top narrower. Wear a coordinating fitted layer underneath if the openings reveal more skin than expected. Complete the outfit with high-waisted leggings, cushioned sneakers, a zip-front hoodie, and a practical backpack. The simple athletic pieces let the braided construction remain visible and functional.
16. Ruched Tank Top
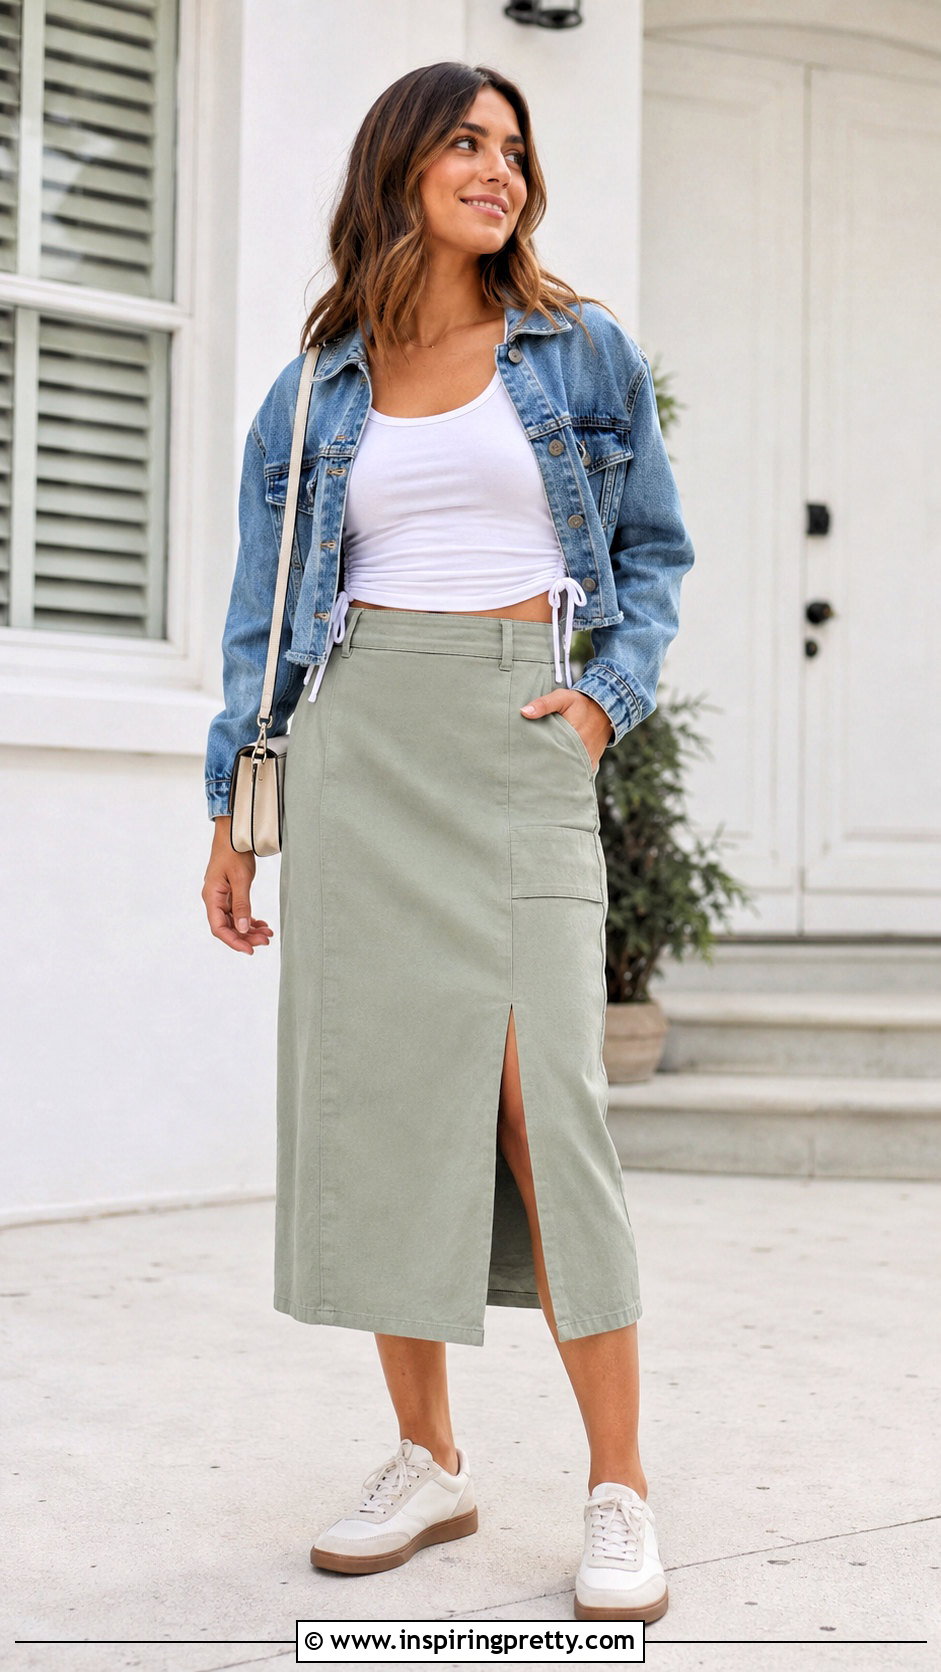
Ruching helps shorten a tank and create adjustable shaping without removing a large amount of fabric. Sew a narrow channel along one or both side seams, then thread ribbon, cord, or matching fabric ties through it. Pull the ties to gather the tank to your desired length and secure them in small bows. A no-sew alternative can be made by gathering the inside fabric with elastic bands, although stitching provides a smoother and more durable finish. Keep the gathers even and test your range of movement before finishing the channel. Style the ruched tank with a high-waisted midi skirt, low-profile sneakers, a cropped denim jacket, and a small shoulder bag. The adjustable side detail gives the outfit definition while preserving everyday comfort.
17. Color-Block Tank Top
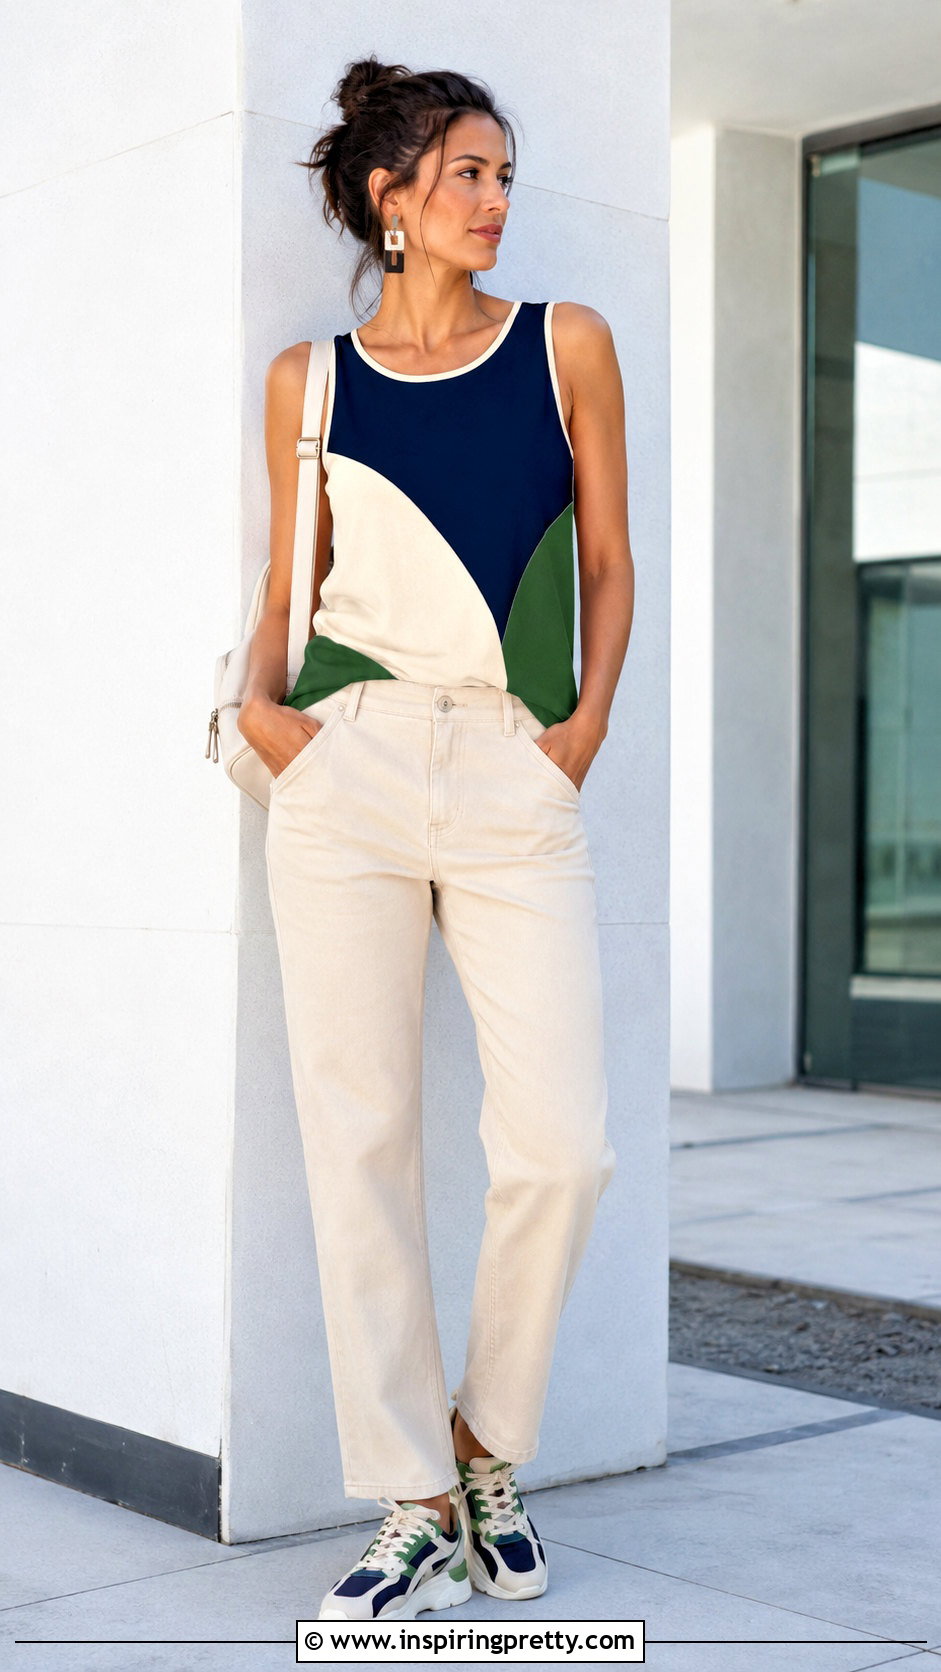
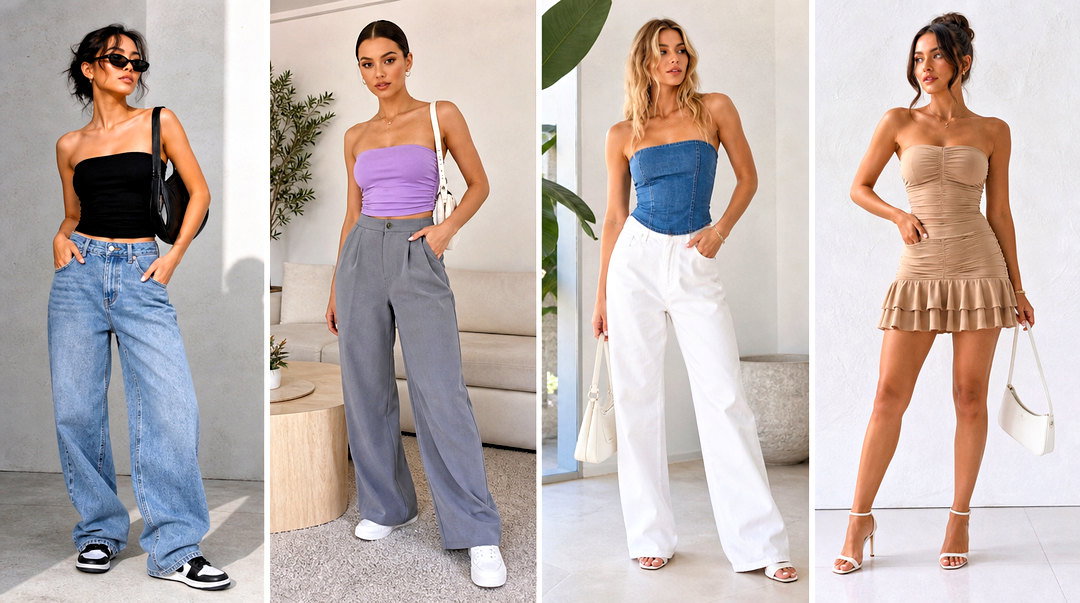
Color blocking is an excellent option when you have two tanks with compatible fabrics but different colors. Decide whether you want a contrasting hem, divided front, side panels, or mismatched upper and lower sections. Cut each garment with seam allowances included, then pin the chosen panels together with right sides facing. Use a stretch stitch, narrow zigzag, or serger so the new seams can move with the fabric. Press the seams gently using a temperature suitable for the material. Beginners can simplify the project by sewing a contrasting fabric band around the existing hem. Pair the finished color-block tank with neutral straight-leg pants, coordinating sneakers, a minimalist backpack, and geometric earrings. Repeating one tank color in the accessories makes the outfit feel cohesive.
18. Reverse Tie-Dye Tank Top
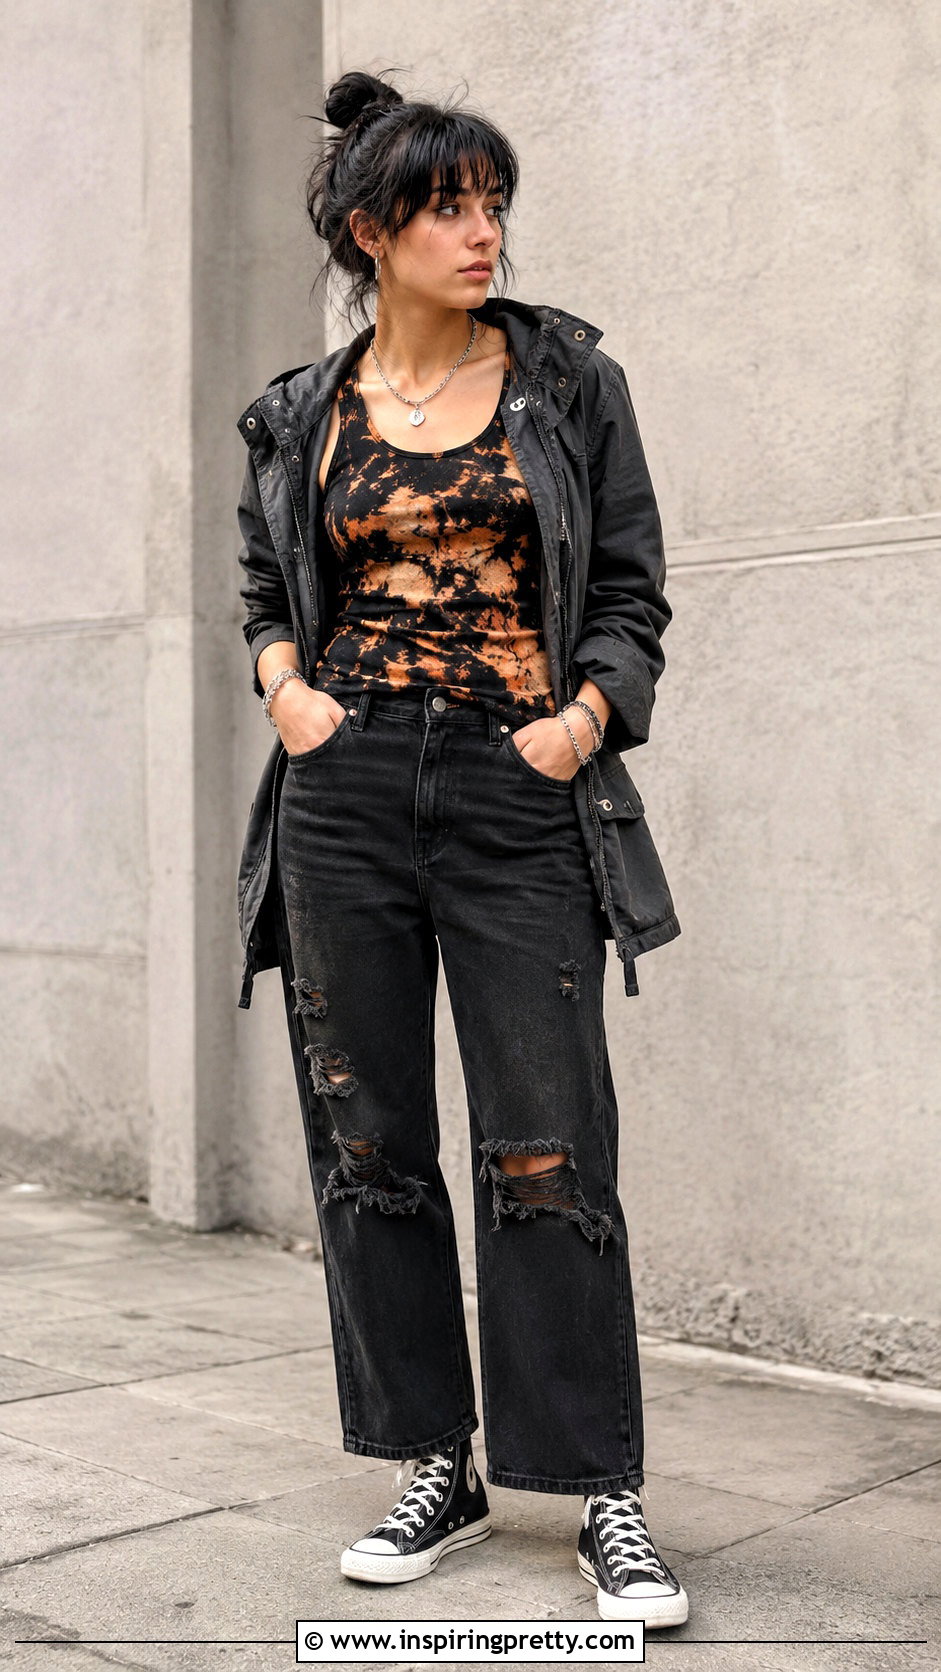
Reverse tie-dye removes color from a dark tank rather than adding dye to a light one. Fold or twist the garment, secure it with rubber bands, and test a hidden area because different dyes can produce unexpected shades. Check the care label first, work in a ventilated area, protect your hands and surfaces, and follow the bleach manufacturer’s dilution and stopping instructions. Never apply full-strength bleach directly or mix it with ammonia or acidic cleaners. () Avoid chlorine bleach on tanks containing spandex, wool, silk, leather, or mohair. () Style the finished tank with distressed black jeans, canvas high-tops, a utility jacket, and silver-tone accessories for a coordinated alternative-inspired outfit.
19. Block-Printed Tank Top
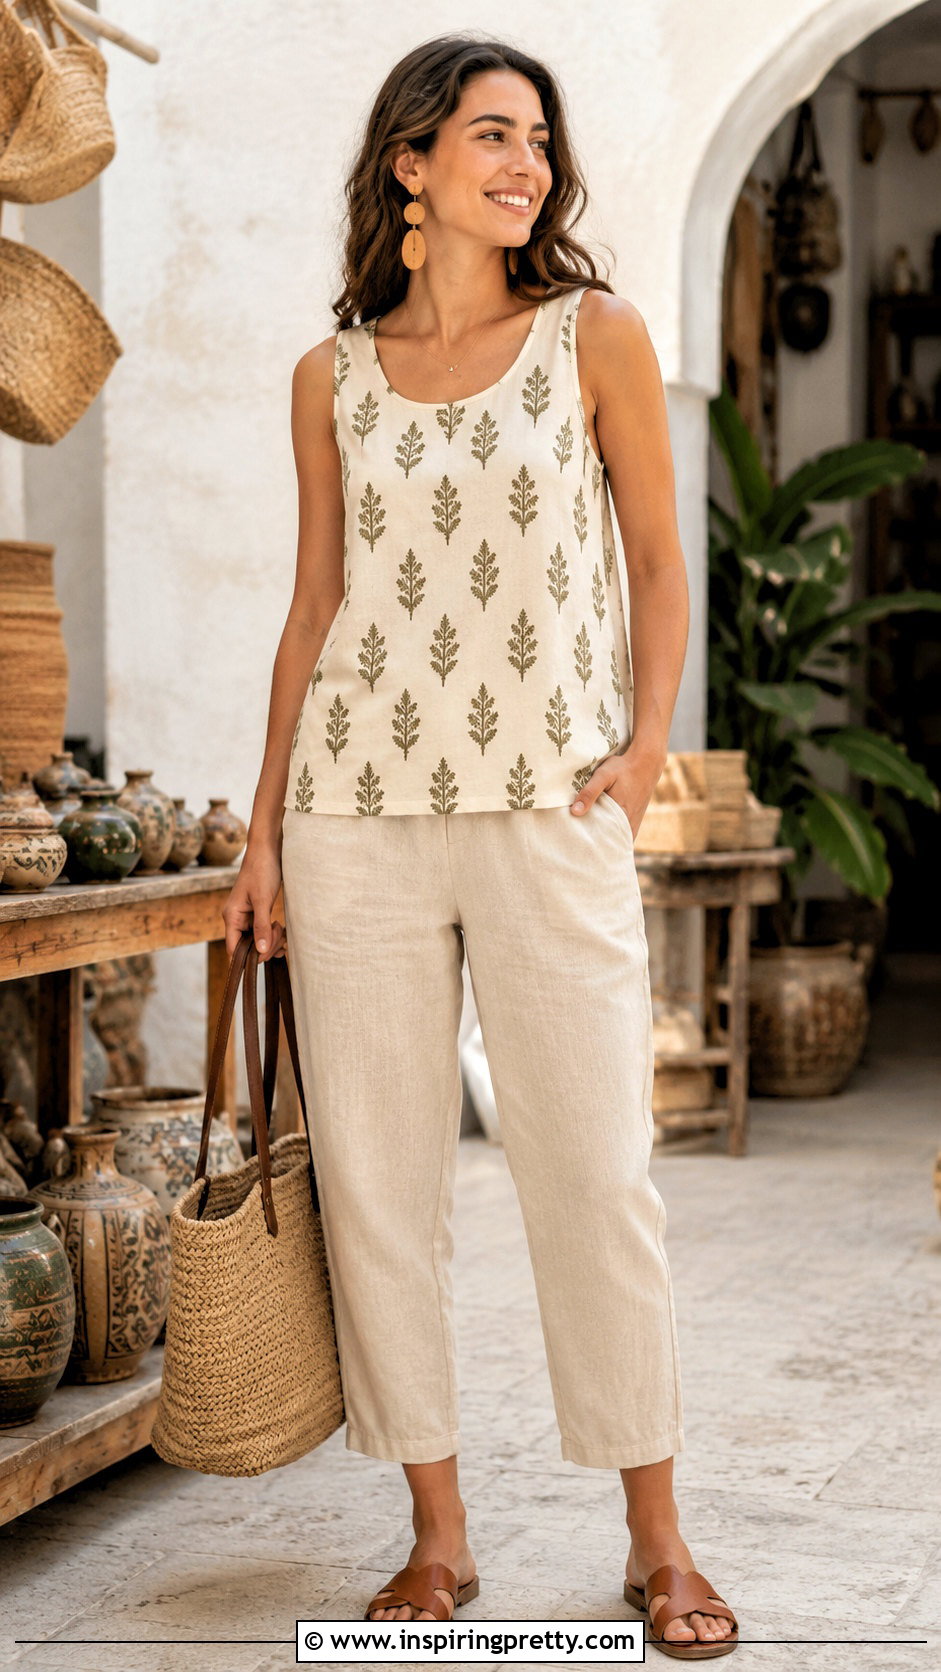
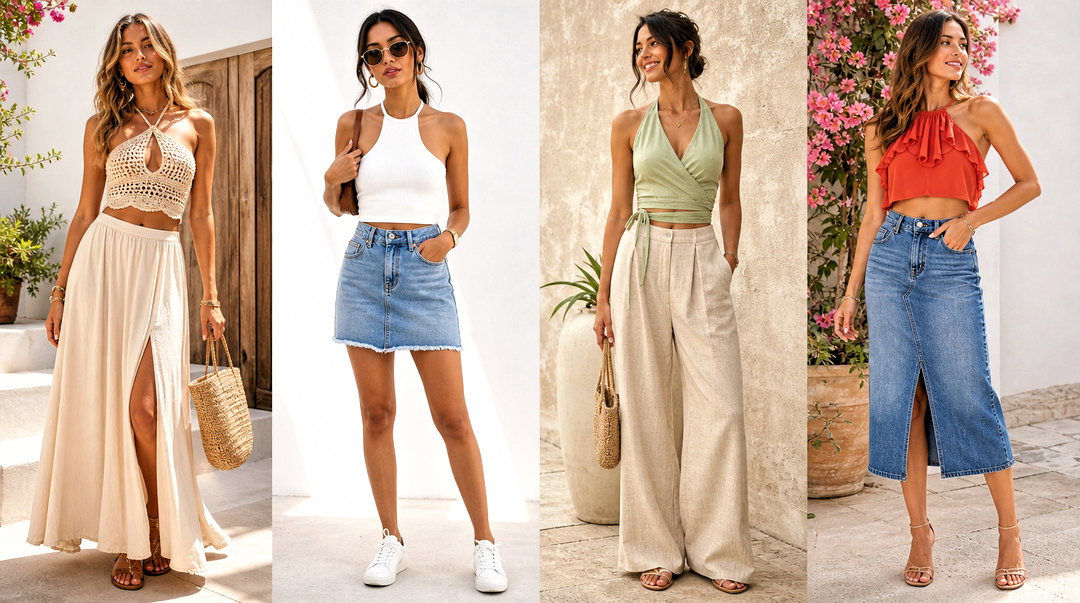
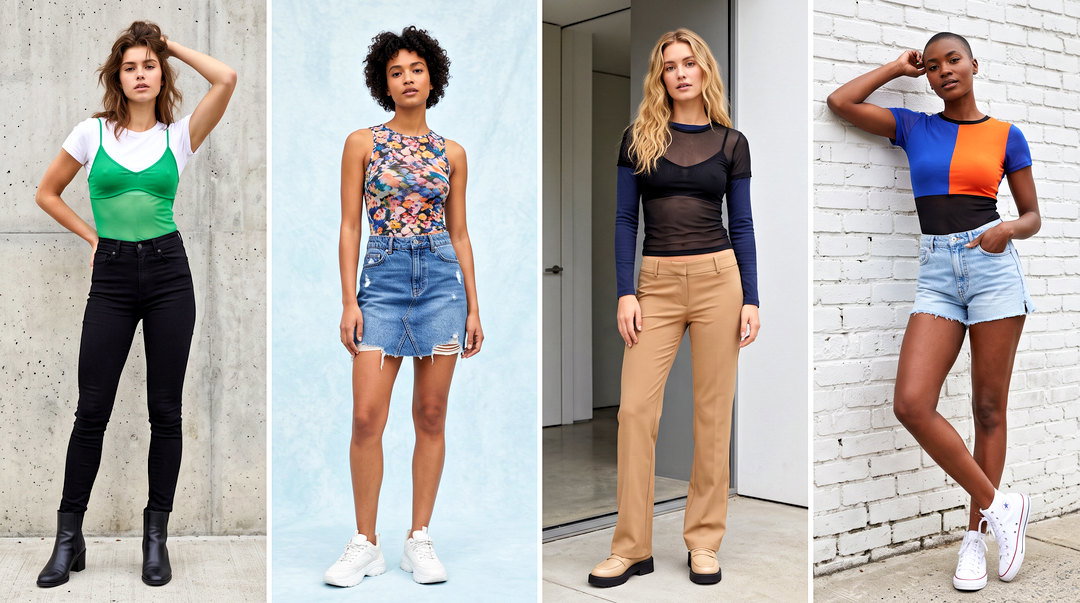
Block printing creates repeating artwork with a handcrafted appearance. Choose a premade textile stamp or carve a simple shape into a suitable printing block. Place cardboard inside the tank, spread fabric paint evenly across the stamp, and test it on scrap material first. Press straight down without rocking, then lift carefully to preserve the edges. Repeat the motif in rows, along the neckline, or around the lower hem. Small irregularities are part of the handmade effect, but measuring reference points keeps the pattern balanced. Allow the paint to dry and cure according to its label. Wear the printed tank with cropped linen trousers, leather slide sandals, a woven tote, and natural wood accessories. This relaxed outfit complements botanical, geometric, and folk-inspired printed motifs particularly well.
20. Fabric Marker Tank Top
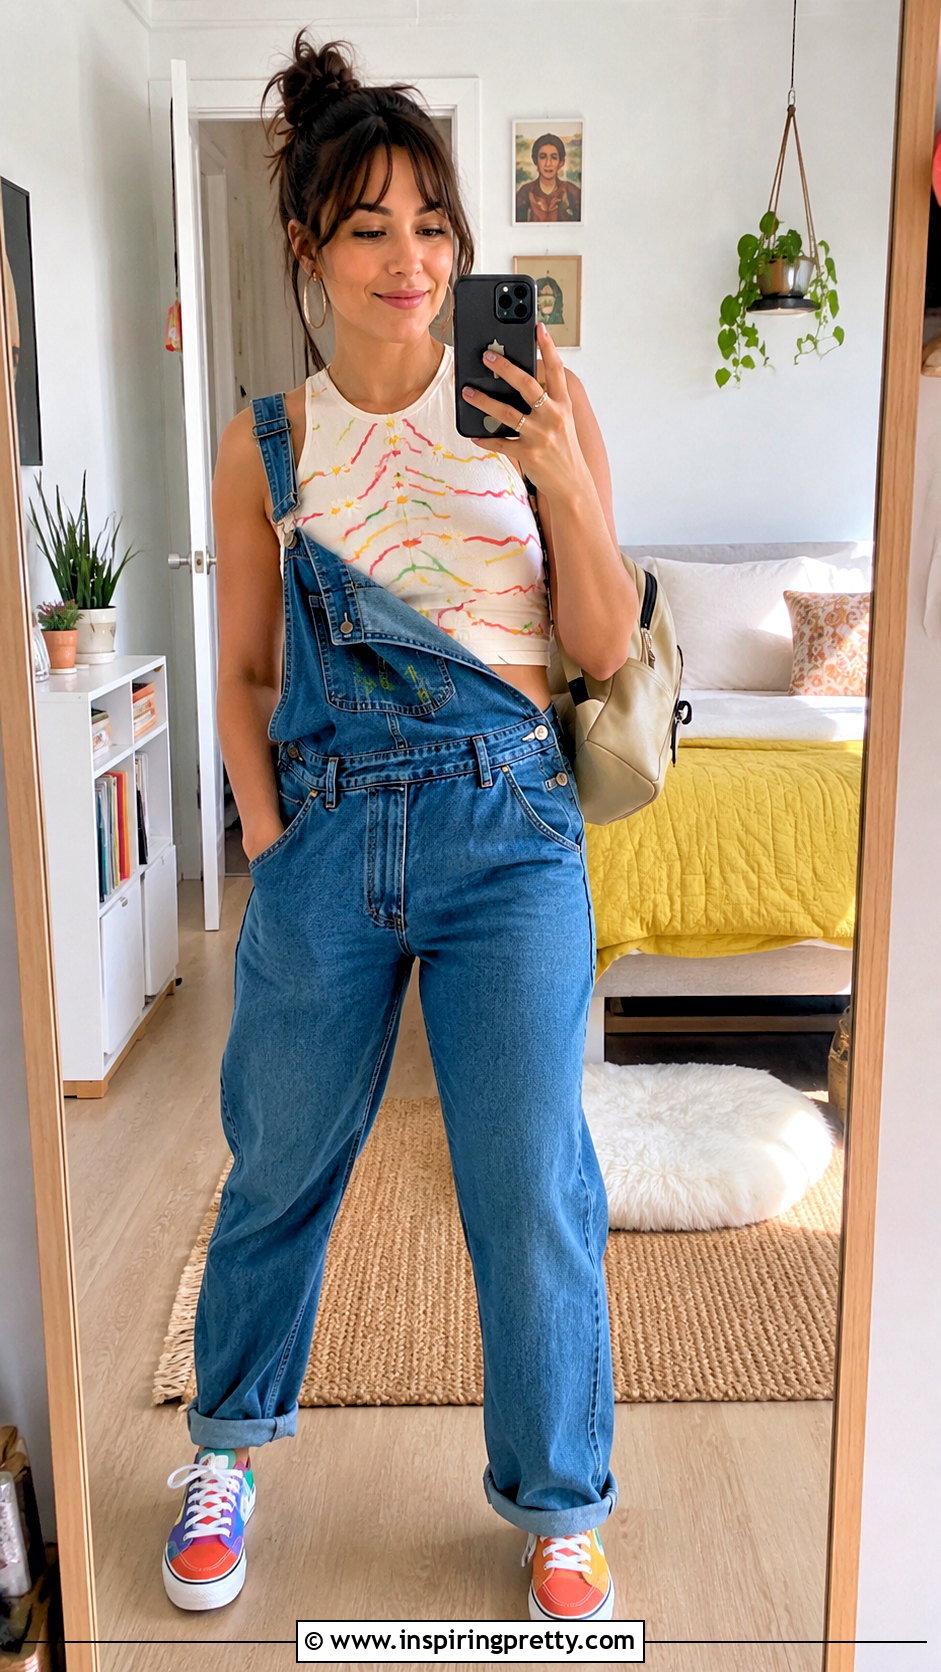
Fabric markers offer one of the easiest ways to customize a tank without paintbrushes, sewing tools, or cutting equipment. Wash the garment first, place cardboard inside, and lightly map out the design with chalk. Draw slowly, allowing one section to dry before touching or layering it. Fine-tip markers work for outlines, lettering, and tiny patterns, while broader tips can fill larger shapes. Try a decorative border, repeating daisies, abstract waves, or small illustrations scattered across the front. Keep the tank flat until the ink is dry, then set and wash it according to the marker instructions. Finish the look with relaxed denim overalls worn partly unfastened, bright sneakers, a mini backpack, and simple hoop earrings for a cheerful, creative casual outfit.
Conclusion:
The best tank top makeover is one that matches your skill level, wardrobe, and personal taste. Begin with easy updates such as fabric markers, stencils, bows, or iron-on graphics if you are new to clothing crafts. Once you feel confident, experiment with embroidery, ruching, color blocking, braided panels, or carefully finished cutouts. Always check the care label and test unfamiliar products before changing the visible fabric. Planning the complete outfit also helps you choose colors and details that you will actually wear. Whether you want a subtle accent or a dramatic transformation, How To Customize Tank Tops (20 Ways) offers plenty of practical ways to make basic clothing feel original again.
Related posts:


Leave a Reply