
Mariposa is Spanish for butterfly, and it's one of the friendliest shapes in crochet: four wings, a body, two antennae, and endless room for color. I've grouped fifty butterfly projects here, from five-minute appliqués to halter tops, blankets and a lace curtain. If you're new, start with flat motifs or simple granny squares; if you're comfortable with gauge, try colorwork panels, layered wings and amigurumi. Cotton gives crisp edges, acrylic survives the washing machine, and fine blends drape on the body. Pick your palette, from real monarch orange to pure fantasy.

Yarn and Hook Pairings for Crisp Wings
Most butterfly disappointments come from a mismatch between yarn and hook, not from the pattern. Wings rely on a clear outline, and loose stitches blur it. I start with the hook size printed on the yarn's ball band, then go down one or two sizes for motifs, because a tighter fabric holds the shape.
- Crochet thread and lace cotton: for earrings, bookmarks, runners and curtains. Use the small steel hooks the thread label suggests.
- Mercerized cotton: the best stitch definition and a slight sheen. My choice for appliqués, 3D wings and anything you'll block.
- Regular cotton and cotton blends: for garments, coasters and bags. Breathes well and holds structure, but has little stretch.
- Acrylic: washable and cheap, so good for blankets, toys and scrap projects. It doesn't hold a sharp blocked shape as well as cotton.
Whatever you choose, make one test butterfly before a whole set. You'll see right away whether the wings sit flat or ruffle.
1. Mariposa Crochet Butterfly Applique

If you've never made a butterfly, make this one first. Most patterns start from a ring or short chain, then build four rounded wings from clusters of tall stitches, which teaches you how stitch height shapes a curve. Cotton holds a crisp outline; acrylic scraps give a softer look. A contrast body and embroidered antennae make it read instantly as a butterfly. I always block appliqués before sewing them on, because an uneven wing is very obvious on a plain tote or cardigan.
2. Mariposa Crochet 3D Butterfly

Raised wings make a butterfly look alive. I crochet the upper and lower wings separately, or stack a smaller motif over a bigger one, then fold the center slightly and wrap a narrow crocheted body around it to hold the bend. Mercerized cotton gives the best stitch definition and enough body for the wings to stand. Add wire only for decor kept away from small children. A 3D mariposa crochet butterfly looks lovely in a shadow box, wreath or mobile, and gradient yarn gives color shifts without dozens of ends to weave in.
3. Mariposa Crochet Amigurumi Butterfly

An amigurumi butterfly is mostly a body problem: crochet it in continuous rounds, tightly, and stuff it firmly so the stitches don't gap and show filling. The wings can be flat, lightly stuffed, or built from layered ovals. Smooth cotton or acrylic that doesn't split saves a lot of frustration. For anything going to a baby, I embroider the eyes rather than using safety eyes. Keep color changes mirrored across both wings, or the toy looks lopsided.
4. Mariposa Crochet Butterfly Keychain

Keychains get rubbed, dropped and yanked, so density matters more than anything. I go down a hook size from what the yarn suggests, use cotton, and make two matching butterflies joined around a little stuffing. A single stiffened motif with felt backing works too. Run the key ring through a reinforced loop, never one stitch, because that's the first thing to fail. Sew any beads down firmly. It's a great way to use up leftover yarn.
5. Mariposa Crochet Butterfly Garland

A butterfly garland is a batch project, so decide your palette before you start and make all the motifs first. Cotton keeps each shape readable when it hangs. Block every butterfly, then lay them out on a table to test spacing before joining them to a sturdy chain. Attach each one only at the body so the wings stay free. Leaves, flowers or pom-poms between butterflies add rhythm. Keep any garland away from cribs; long cords are a strangling risk.
6. Mariposa Crochet Butterfly Mobile

Mobiles depend on weight, so I make the butterflies in lightweight cotton and in two or three sizes. Hang them from an embroidery hoop, wooden ring or branch with clear thread or matching yarn, larger ones near the middle and smaller ones at the edges. Balance it as you go by holding it up and adjusting. Look at it from several sides, since a mobile spins. Lavender, cream and sage is a calm palette. Hang it securely and out of reach of babies and children.
7. Mariposa Crochet Butterfly Wall Hanging

A wall hanging is where crochet meets fiber art. I start with a sturdy dowel and build out with butterflies, leaves, flowers, tassels and hanging chains. A symmetrical layout looks tidy; scattered heights feel more like a garden. Colorful butterflies stand out best against neutral yarn, and an all-cream version with varied stitch textures is a quieter option. Block everything so nothing curls, and hang heavier pieces near the center so the dowel stays level.
8. Mariposa Crochet Butterfly Coaster

Coasters need cotton, not acrylic: cotton absorbs condensation, while acrylic just lets it pool and can soften near a hot mug. Keep it completely flat, with no beads or raised body. Dense stitches in the wings stop the shape from rippling; if the edges wave, you've got too many increases. A border in one color ties mixed wing colors together and strengthens the outline. Wet block them flat, and bundle a set of four or six as a housewarming gift.
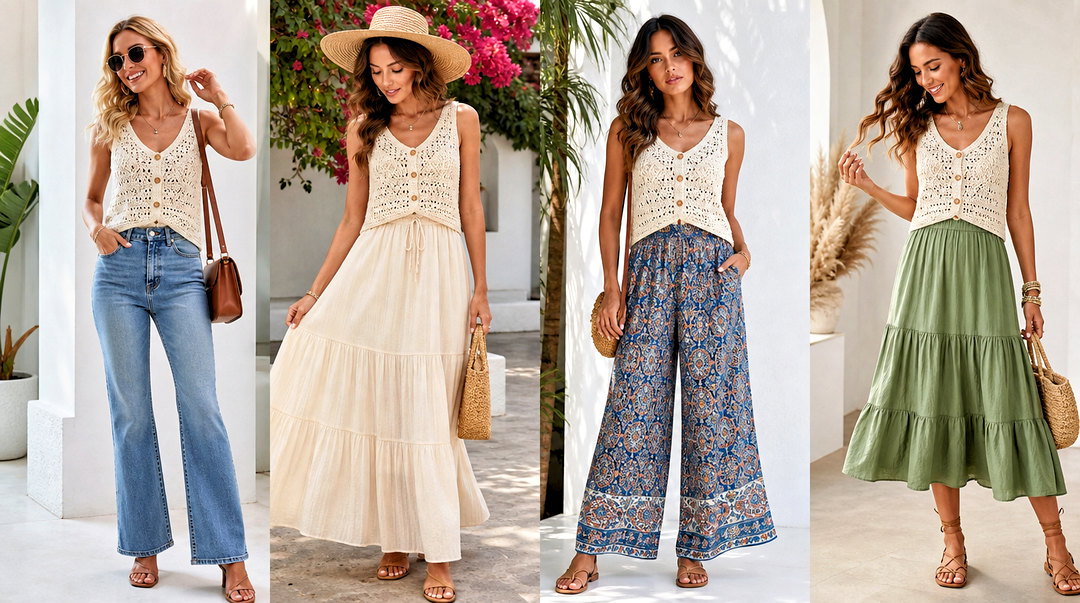
9. Mariposa Crochet Butterfly Bookmark

Bookmarks are where lace thread and fine cotton shine. Crochet a small flat butterfly, then a long chain or narrow lace strip to sit between the pages, and finish the other end with a tassel or tiny leaf. Keep the butterfly thin, because a chunky one strains the spine when the book closes. If it curls, dampen it, pin it and leave it to dry completely. Skip big beads that dent pages. It uses almost no yarn, which is why I make batches of them for craft fairs.
10. Mariposa Crochet Butterfly Magnet

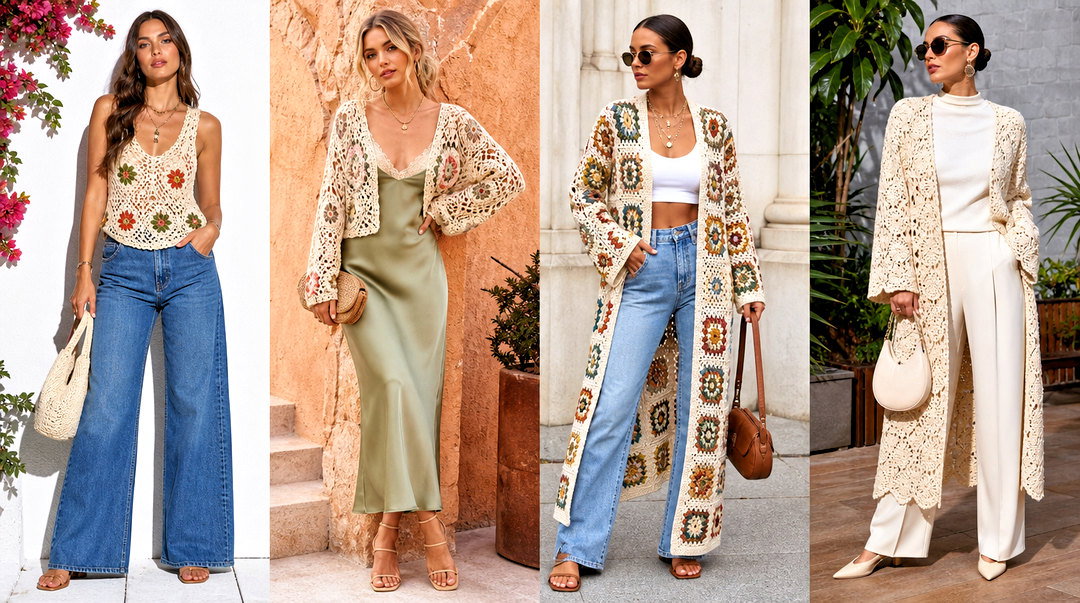
Fridge magnets need a dense, flat butterfly with no loose loops to catch. Cotton gives clean definition, but acrylic scraps are fine. I back the motif with matching felt and set the magnet behind the body, not under a wing, so it sits flat against the door. Glue works for light display pieces; a small fabric pocket stitched around the magnet lasts longer. Loose magnets are dangerous if swallowed, so keep them from small children and pets.
11. Mariposa Crochet Butterfly Hair Clip

Hair clips need small and light, so I use fine cotton and a small hook. Two-color wings give enough detail without bulk. After blocking, sew the body firmly to a felt-covered barrette or snap clip; the felt protects the stitches and grips the hair. Leave out long antennae and heavy beads, which tangle. For children's clips, tug every part before giving them away; anything loose is a choking risk.
12. Mariposa Crochet Butterfly Headband

A headband gives you more room than a clip. Crochet a ribbed band, which stretches, or cover a plain fabric headband with a narrow crocheted strip. One medium butterfly off to the side looks modern; several tiny ones look like a garden. Keep the motifs light and placed so they don't press on your head. Cotton blends hold shape; bamboo or soft acrylic feel kinder at the hairline. Test the fit before sewing anything on, since crochet stretches with wear.
13. Mariposa Crochet Butterfly Earrings

Earrings show every tiny mistake, because the two sit side by side on your face. I use crochet thread and a fine steel hook and count every stitch on both. Stiffen them lightly so the wings stay open, attach findings through a reinforced center loop, and choose nickel-free hardware if you can. A metallic edge or one seed bead adds sparkle. Keep them light. With a plain top, tailored pants and simple sandals, the earrings get all the attention.
14. Mariposa Crochet Butterfly Necklace

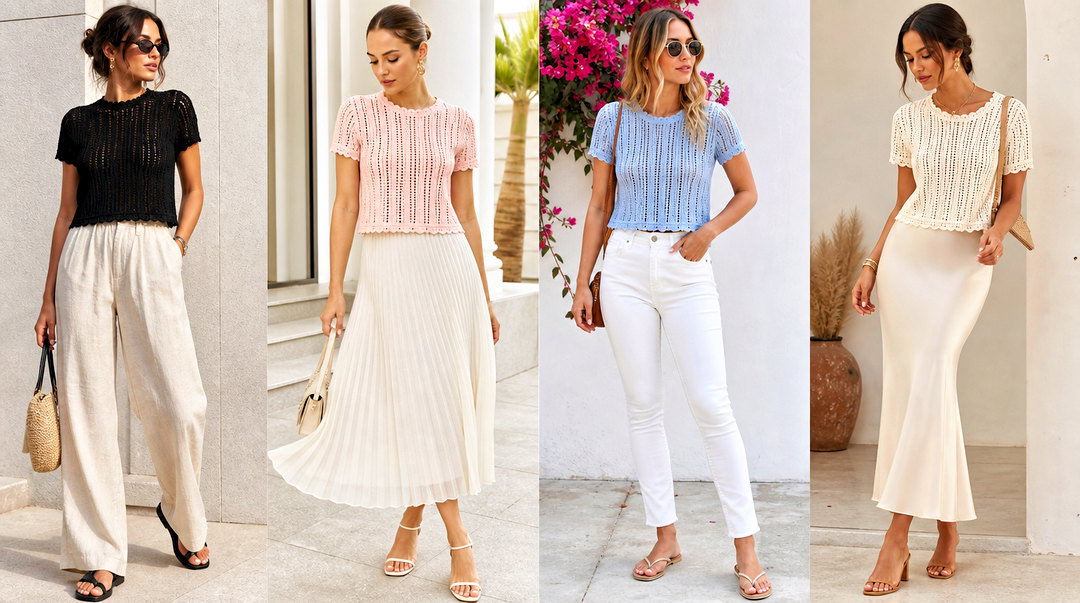
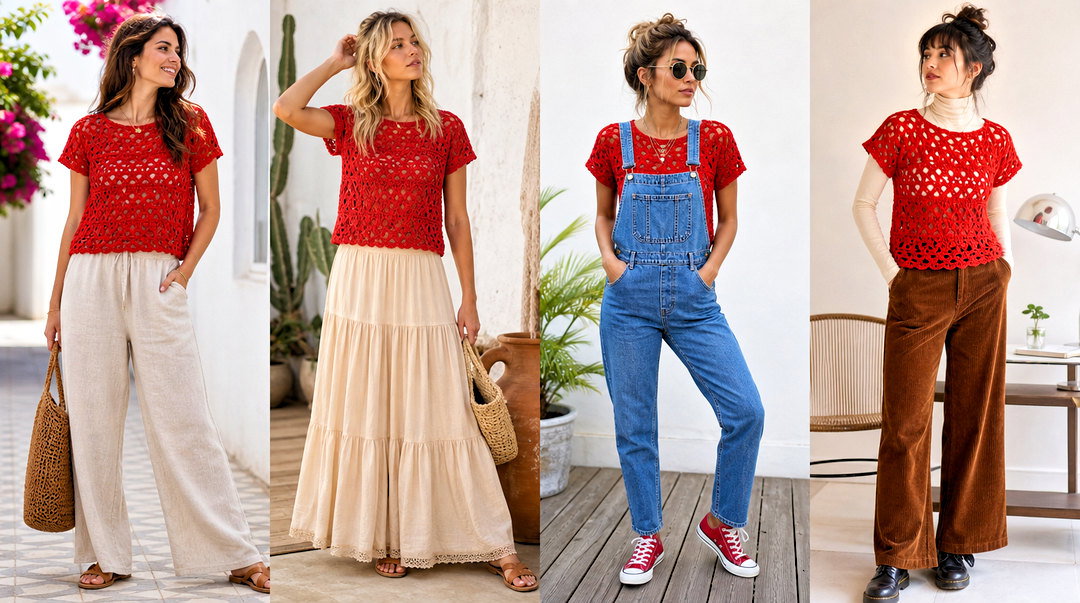
A pendant can be delicate in fine cotton or casual in sport-weight yarn. I crochet the hanging loop as part of the motif so it hangs straight, then thread it on a chain, ribbon or crocheted cord. Block it carefully: a wonky wing right at the center of your chest is hard to miss. A single bead on the body or a metallic outline adds detail. Wear it with a solid blouse and straight jeans so the pendant isn't fighting a print.
15. Mariposa Crochet Butterfly Brooch

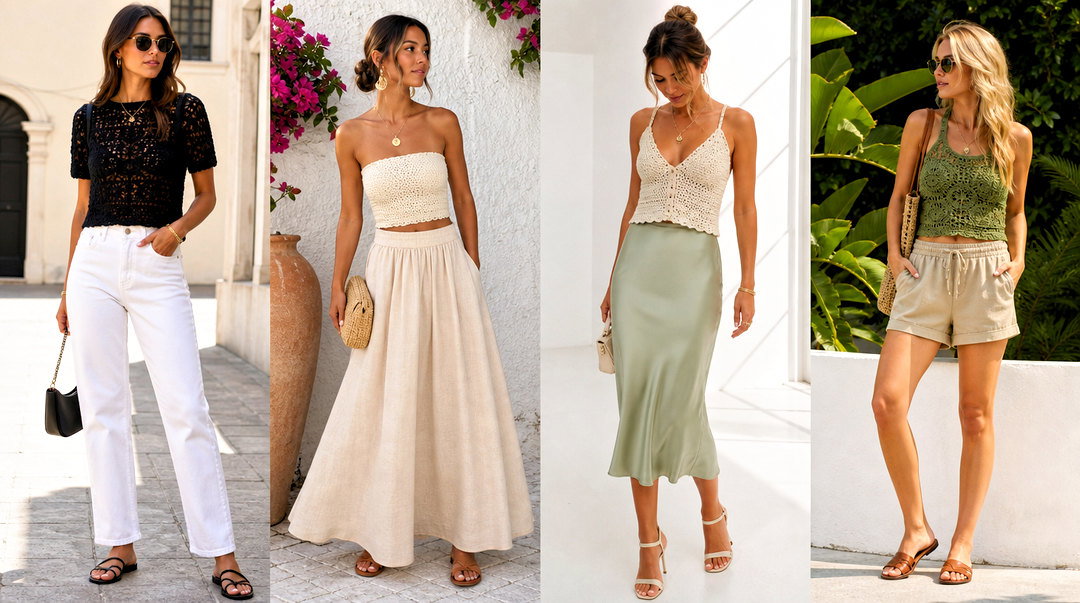
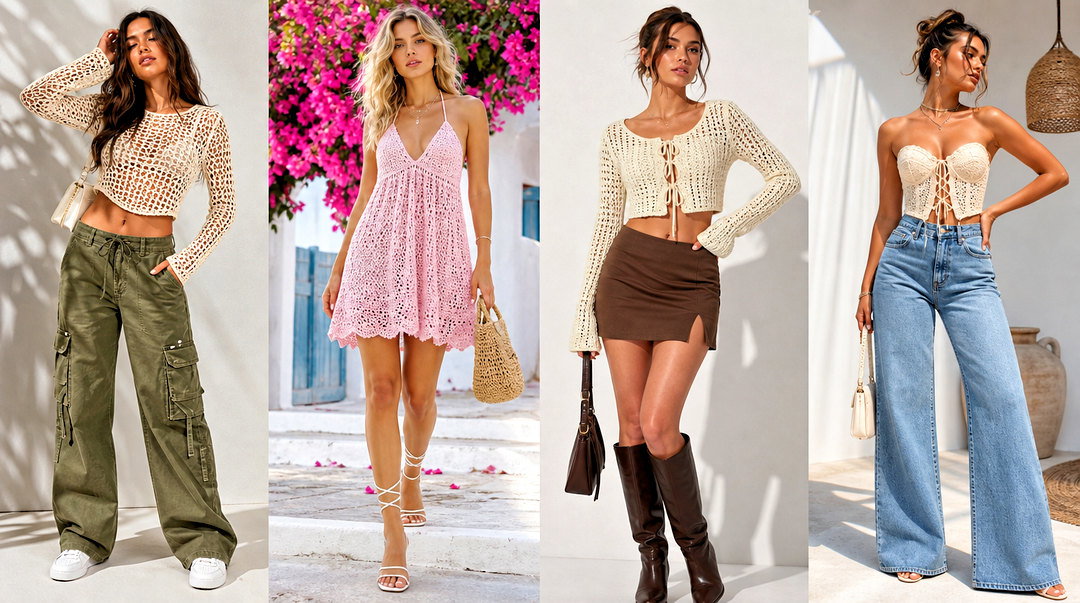
Brooches need to stay level, so I sew the pin horizontally across the body, not at the top. Tightly worked cotton and a felt back protect the stitches. Layered wings add depth but get heavy; if the butterfly droops forward when pinned, take a layer off. An outline in a contrast color sharpens the silhouette. Pin it on a solid linen blazer over a cotton tee and ankle pants, and let it be the only colorful thing.
16. Mariposa Crochet Butterfly Bag Charm

A bag charm takes friction from the bag swinging, so I make two matching motifs, place them wrong sides together, and join with single crochet around a little stuffing. A reinforced loop on the body attaches to a swivel clasp, which stops it twisting the yarn. Cotton or a tough acrylic holds up; delicate fibers fuzz quickly. Embroider details rather than gluing them. Match the charm to the bag's hardware or main color.
17. Mariposa Crochet Butterfly Tote Bag

Totes carry weight, so the fabric must be dense or it stretches into a long sack. I use sturdy cotton, line it if you'll carry small things, and reinforce every handle join. One large butterfly panel in colorwork gives a strong focal point without changing color over the whole bag. A lighter summer option is a mesh tote with small butterflies sewn on. Carry it with a white tee, relaxed jeans and sneakers, and the bag does the talking.
18. Mariposa Crochet Butterfly Drawstring Bag

A drawstring pouch is a small canvas for a butterfly. I work it in dense single or half double crochet, then add a flat motif to the front, or work the butterfly straight into the fabric in carried-strand colorwork or filet. Strengthen the top edge before threading the cord, since constant pulling distorts it. A fabric lining keeps earbuds and pins from slipping through the stitches. Use it for makeup, craft tools or travel bits.
19. Mariposa Crochet Butterfly Coin Purse

A coin purse is the smallest sensible place to practice colorwork. Two dense panels joined around a zipper is the classic build; a pouch with a flap closure is easier if zippers scare you. Add the butterfly in colorwork, surface stitching or a neat appliqué. Line it, because coins slip straight through crochet. Reinforce the zipper ends with a few extra stitches and hide all the yarn tails inside the lining. A wrist loop helps.
20. Mariposa Crochet Butterfly Bucket Hat

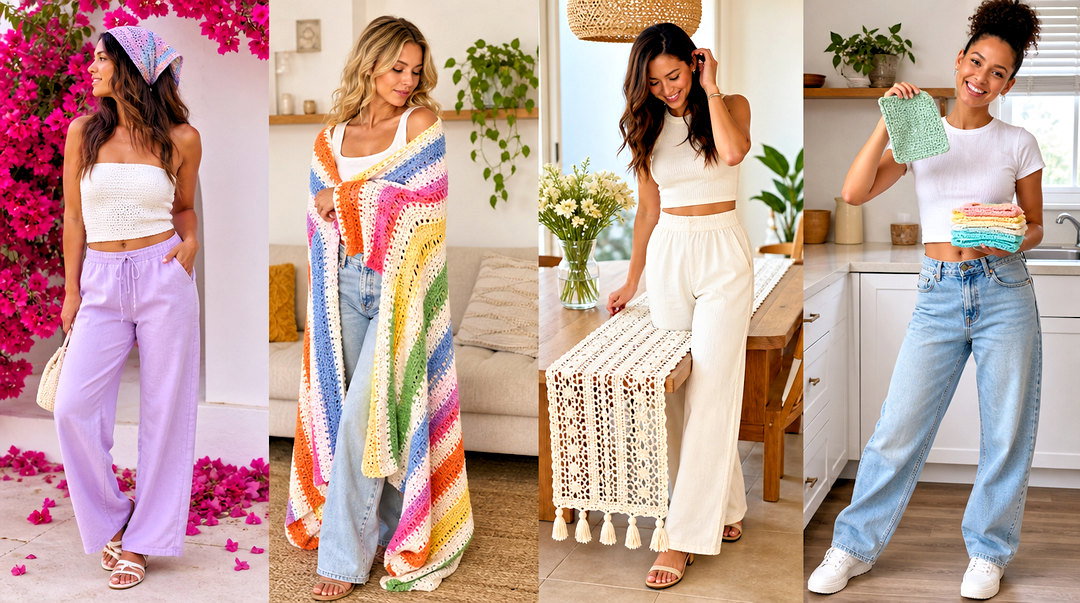
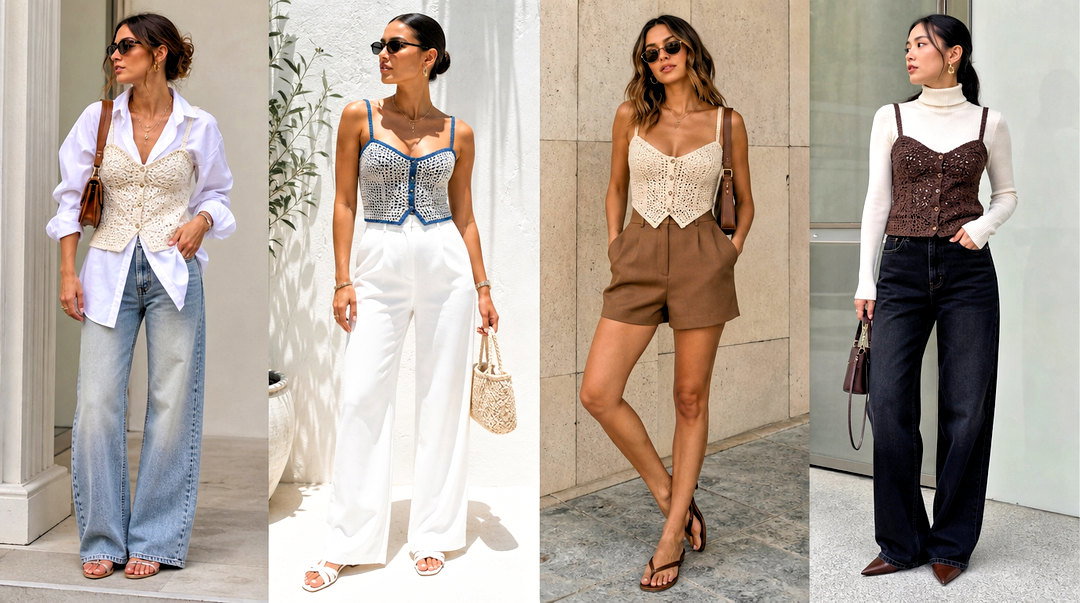
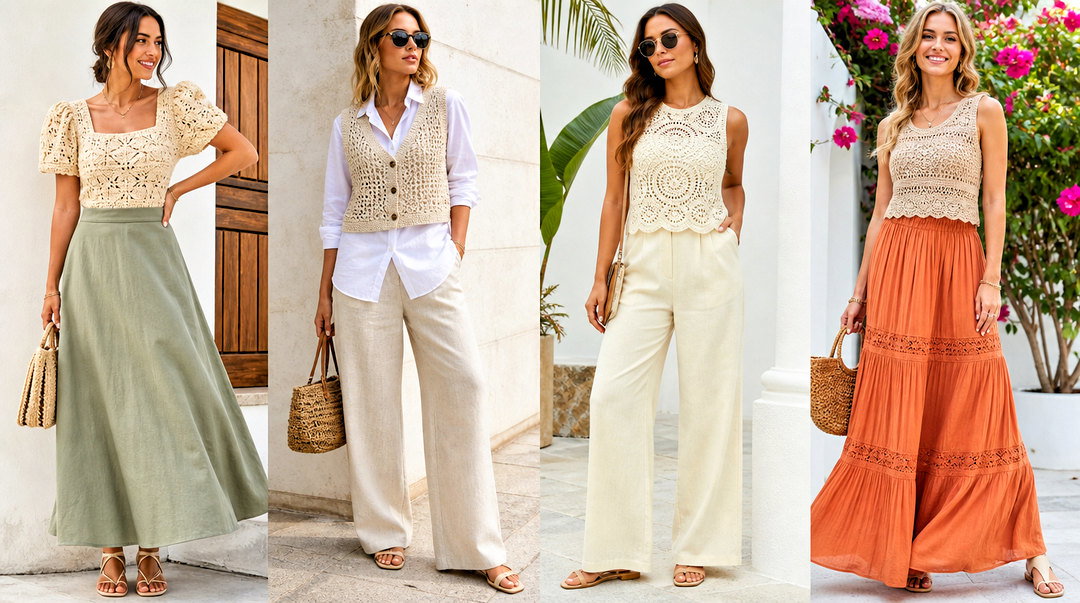
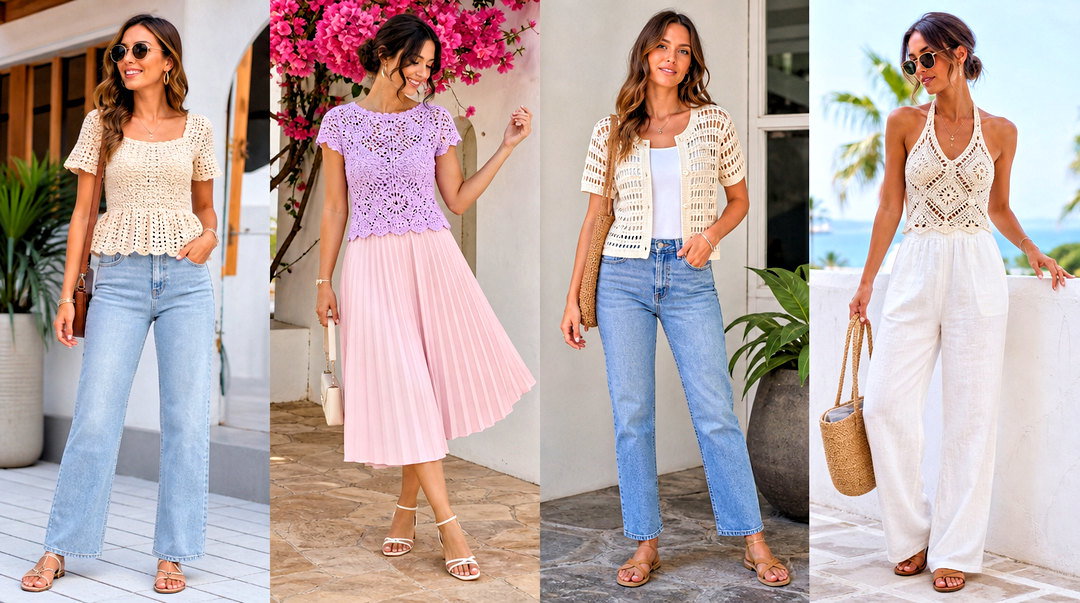
A butterfly bucket hat starts with a good hat: a firm crown and an even brim. Sew small butterflies around the crown, or one bigger one slightly off-center, and tack each wing at several points so it doesn't fold over in the wind. For summer, cotton or a cotton blend breathes far better than heavy acrylic. Wear it with a plain tank and linen pants. Appliqués let you customize any hat pattern you already like.
21. Mariposa Crochet Butterfly Beanie

On a beanie, the butterfly is decoration on a plain background, so I crochet the hat in one neutral and add a single bold butterfly or a few small ones near the brim. Ribbed stitches stretch to fit and give a calm backdrop. Choose a yarn soft enough for the forehead, like merino or a soft acrylic blend. Keep the appliqués flat enough to go under a hood. Match one wing color to your coat.
22. Mariposa Crochet Butterfly Scarf

Pick the scarf's construction by how warm you need it. Airy cotton lace suits spring; wool or acrylic is for real cold. I place detailed butterflies near the ends, since the middle disappears once wrapped. For an all-over design, a subtle butterfly lace in one color works better than many colors, which hide the stitch pattern. Block it to open the wings and straighten the edges. Coordinate it with your coat.
23. Mariposa Crochet Butterfly Shawl

A butterfly shawl can suggest open wings through its shape or carry butterfly motifs within the lace. Lightweight yarn is essential so it drapes over the shoulders. A symmetrical winged shape is dramatic; a triangle with butterfly panels is more classic. Use stitch markers at each increase, because lace that grows unevenly shows. Blocking opens the holes and sharpens the points. Gradient yarn mimics how color shifts across real wings.
24. Mariposa Crochet Butterfly Cape

A cape is a good first garment since it doesn't need fitted sleeves. Build it from a circular yoke, joined motifs or two shaped wing panels. Weight is the main risk, because it all hangs from the neckline, so choose light yarn. Open lace outlined in a darker shade looks like wing veins. A secure tie or hidden hook closes it. Measure your shoulder width and how much arm you want covered before you start. Wear it over a fitted top and high-waisted trousers.

25. Mariposa Crochet Butterfly Top

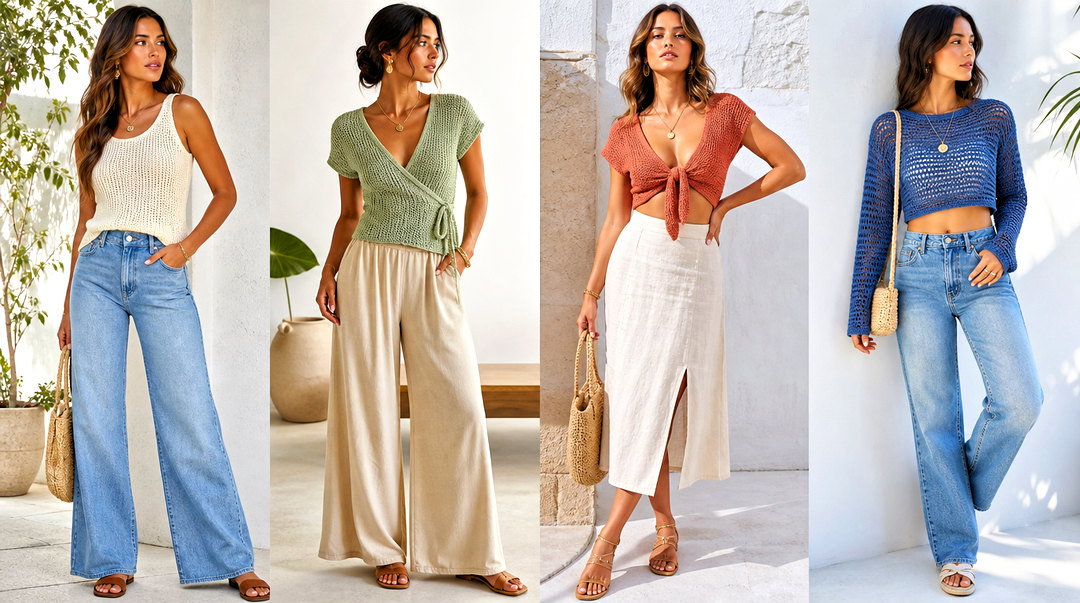
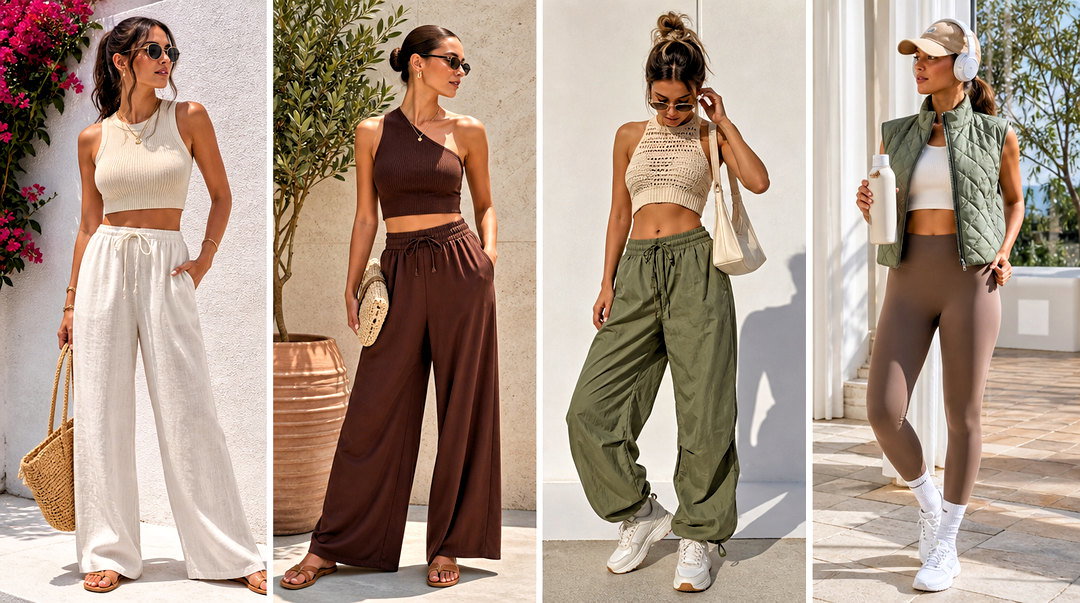
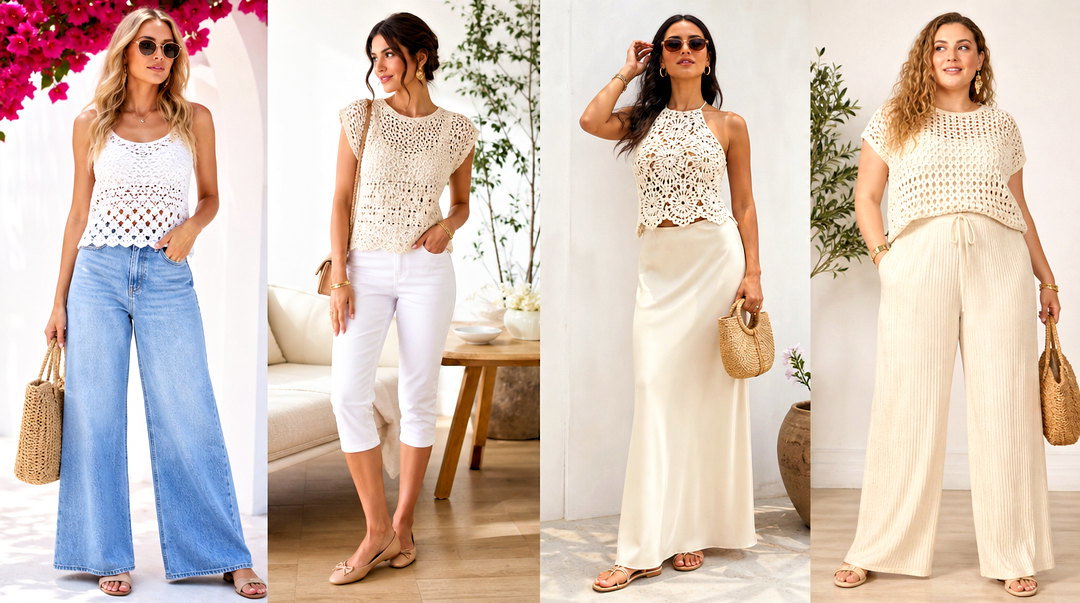
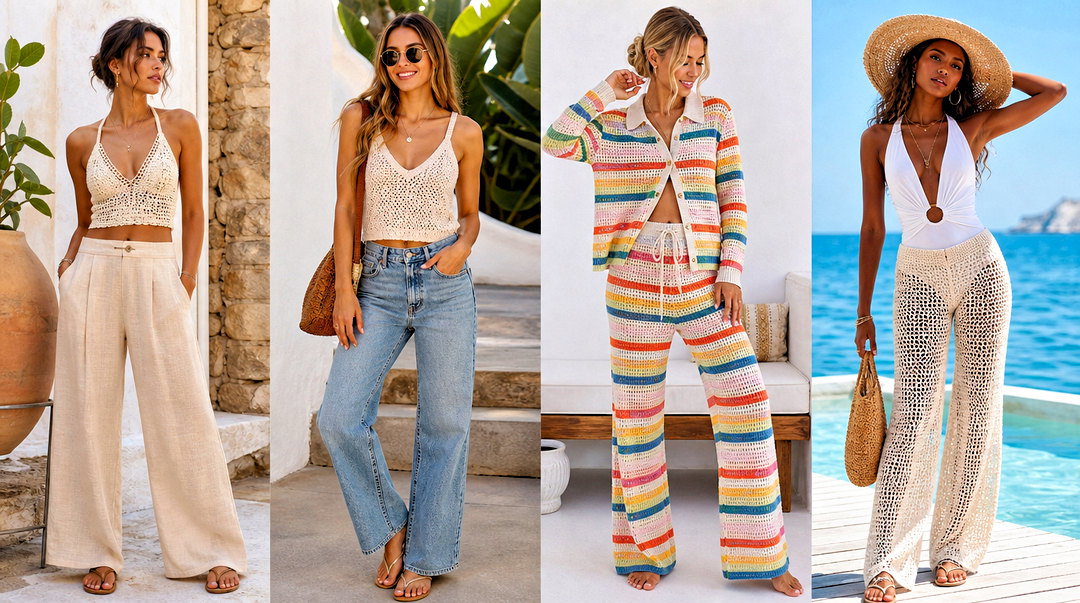
The butterfly top is the best-known mariposa garment: a front shaped like two open wings joined by a narrow body. Because it covers very little, the fit has to be right, so I take a bust and underbust measurement and swatch first. Cotton or a cotton blend gives structure and breathes. Adjustable neck and back ties make it fit more bodies. Line it or wear a fitted layer underneath. High-waisted wide-leg pants and an overshirt balance it well.
26. Mariposa Crochet Butterfly Halter Top

A halter shows off the curve of the wings and lets you adjust the neckline. Work both sides evenly and try it on often as you go; crochet is easy to rip back, so there's no reason to finish a top that doesn't fit. I keep the stitches dense at the center for coverage and save openwork for the outer wing edges. Cotton holds shape better than stretchy fibers. Wide ties spread the pressure on your neck. A flowing maxi skirt balances the short top.
27. Mariposa Crochet Butterfly Crop Top

A crop top gives more coverage than a halter but keeps the wing theme. Start with a fitted bodice or bandeau base and add colorwork, lace panels or layered motifs across the front. Wider straps and a firm lower band make it comfortable for a whole day. Wash a swatch before starting so you know how much the yarn grows. Lacing at the back adjusts the fit. Wear it with high-rise jeans and an open oversized shirt.
28. Mariposa Crochet Butterfly Tank Top

A tank is the easiest way to wear a butterfly every day, because the construction is familiar: a front, a back, two seams. Put the motif across the chest or upper back. Filet gives a subtle silhouette; carried-strand colorwork makes a bolder graphic. Keep your gauge steady so the butterfly stays the right size after seaming. Edge the neckline and armholes neatly, or they'll stretch. A solid bottom half, like linen shorts, keeps the attention on your work.
29. Mariposa Crochet Butterfly Vest

A vest can be granny squares, lace panels, colorwork, or one big butterfly across the back. I make it slightly relaxed so it layers over different tops. Joined motifs stretch under their own weight, so reinforce the shoulders with a row of slip stitches or a firm seam. A solid border at the neckline and armholes finishes it. Pin the panels together and try it on before seaming, which lets you fix length and armhole depth. Wear it over a white tee and straight jeans.


30. Mariposa Crochet Butterfly Cardigan

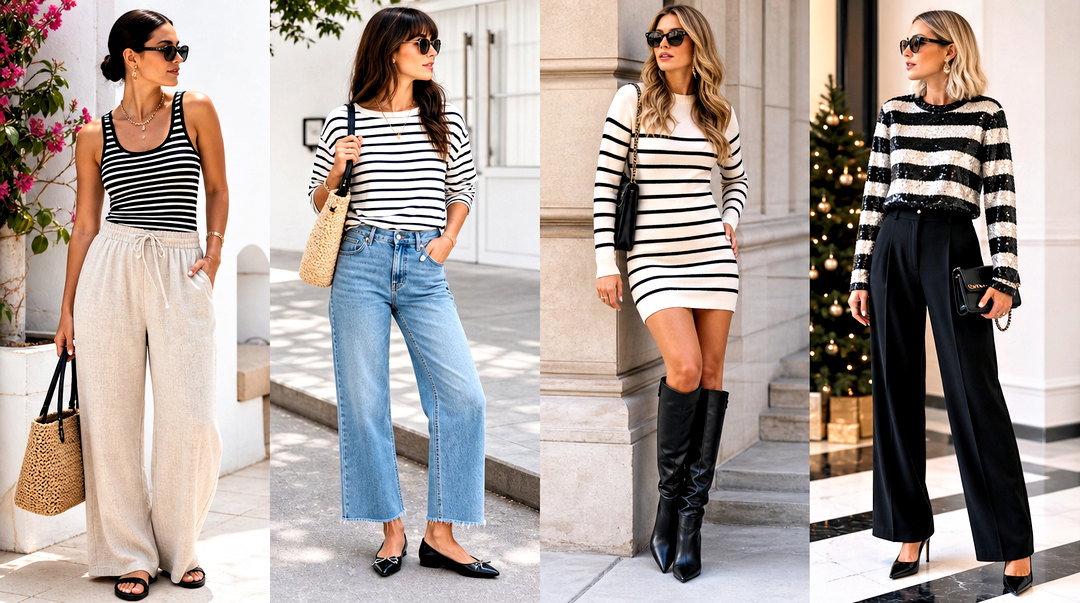
A cardigan has room for a big butterfly across the back or small ones on the sleeves and fronts. Colorwork makes a graphic image; joined squares let you work in stages. When mixing colors, use the same yarn weight, or the fabric puckers. A slightly oversized shape suits broad wings. Ribbed cuffs and a sturdy button band keep it in shape. For a large back motif, I use bobbins for each color section, which stops the strands tangling.
31. Mariposa Crochet Butterfly Sweater

A butterfly sweater is an ambitious project, and swatching isn't optional, because colorwork often tightens your tension and changes the width. Use carried-strand colorwork for a dense graphic or filet for a lighter shape. Carry unused strands loosely or they'll pucker the front. A plain crew neck and straight body keep the butterfly central. Block each panel and check the two halves of the butterfly line up across the seams before you join them.
32. Mariposa Crochet Butterfly Dress

A butterfly dress is heavy compared with a top, and crochet grows under its own weight. Choose a lightweight yarn with good recovery, and build in adjustable straps, ties or side lacing. A separate slip or sewn lining covers open stitches. If the bodice has detailed butterfly work, keep the skirt simple. Before finishing the hem, I hang the dress for a day and check whether it has lengthened, which saves an uneven hem later.
33. Mariposa Crochet Butterfly Skirt

Skirts take more strain at the waist than anywhere else, so I work dense stitches there and save the lace for the hem. Elastic, a drawstring or both keep it up. Crochet lengthens as it hangs, so allow for that in the length. Line the openwork sections. Check where the butterflies fall while the skirt is hanging, not flat on a table, since the drop shifts them. A fitted solid top balances the texture.
34. Mariposa Crochet Butterfly Baby Blanket

Baby blankets come with rules. Use washable yarn made for sensitive skin, and no beads, buttons, long cords or loosely attached decorations. Flat butterfly motifs or a textured stitch are safer than raised wings that snag. Weave in every end securely and check for holes big enough to catch small fingers. A border in the background color ties the butterflies together. Follow current safe-sleep advice: no loose blankets in an infant's sleep space.


35. Mariposa Crochet Butterfly Granny Square Blanket

Granny squares make a big butterfly blanket manageable: one square at a time, easy to carry. Keep the stitch count and size identical across every block, and block them all before joining, which shows any odd-sized ones early. A neutral background unites lots of butterfly colors. Lay the squares on the floor and photograph your layout before joining. A flexible join avoids stiff ridges. A border all around frames it.
36. Mariposa Crochet Butterfly Pillow

For a pillow, I make the front and back slightly smaller than the insert so the cover looks plump, not baggy. A bold colorwork butterfly or a group of raised appliqués goes on the front, with a plain back. Cotton or tough acrylic keeps its shape. An envelope opening or zip makes it removable for washing. Keep wings fairly flat on a pillow people actually lean on. Cream, rust and charcoal looks modern.
37. Mariposa Crochet Butterfly Cushion Cover

A cushion cover is a good place to test colorwork on a square. Corner-to-corner gives a pixel-style butterfly, carried strands give smoother curves, and filet gives a subtle silhouette. Pick colors from the room. A plain back panel saves time. Measure the insert and allow for stretch before you start. Wash and block both panels before joining so they react to moisture the same way and don't pull at the seams.
38. Mariposa Crochet Butterfly Rug

A rug needs thick cotton cord, fabric yarn or bulky yarn worked densely. You can follow the whole butterfly outline or put a butterfly inside a rectangle. Shaped wings like to curl, so add increases gradually and block thoroughly. A nonslip pad underneath is essential; crochet rugs slide on hard floors. Keep raised details away from where people walk. A dark border hides everyday dirt.
39. Mariposa Crochet Butterfly Table Runner

Table runners are where lace thread looks its best. Fine cotton thread makes an open, delicate runner; sport-weight cotton is more casual. Repeat filet butterflies down the center, or join motifs with flowers and leaves. Measure the table first and decide how much should hang over each end. Blocking is what makes the straight edges straight. Skip raised details where plates will sit. A neutral runner shows the stitches best.
40. Mariposa Crochet Butterfly Curtain

A butterfly curtain filters light and turns a window into the feature. Filet crochet suits it, since open and filled mesh blocks make clear butterfly shapes. Use smooth cotton thread that can be washed often. Make a big gauge swatch, because a tiny difference multiplies across a large panel. Build a sturdy top casing or tabs to spread the weight, and a lower border helps it hang straight. It won't give privacy, so layer it over a plain sheer if you need that.
41. Mariposa Crochet Butterfly Dreamcatcher

This is a butterfly hoop hanging that borrows a dreamcatcher's round shape, as fiber art rather than a traditional piece. Stretch a lace butterfly panel inside a wooden or metal hoop, tacking it at even points so it pulls evenly, then add a few tassels, leaves or small butterflies below. Lightweight cotton keeps the center firm. Fewer hanging strands keep it tidy and stop tangles. Hang it indoors somewhere dry and away from babies, children and pets.
42. Mariposa Crochet Butterfly Plant Hanger

A butterfly-themed plant hanger is two things: a load-bearing holder and decoration on the outside. I keep those separate. Sturdy cotton cord makes the basket and straps, sized for the pot, soil, plant and water together, and every strap is reinforced. The butterflies sit on the outside and carry no weight. Use a lightweight inner pot with a drip tray, hang it from properly rated hardware, and check it now and then for stretching or damp.
43. Mariposa Crochet Butterfly Basket

Baskets need stiff sides, so I use firm cotton cord or several strands held together and a smaller hook than usual. One large butterfly on the front or small ones around the rim decorate it. Keep the handles reinforced and free of decoration. A fabric or plastic liner, or a stiffened base, helps it keep its shape. It's a good home for leftover colors from other projects.
44. Mariposa Crochet Butterfly Gift Bag

A crocheted gift bag means the wrapping is part of the gift. A small dense cotton pouch with a butterfly appliqué, colorwork panel or butterfly-shaped flap, and a drawstring, button loop or tie. Line it if the gift is small, like jewelry. Size the pouch around the actual item before finishing the top edge. Pick colors for the person, not the holiday, so they'll keep using it afterward.
45. Mariposa Crochet Butterfly Wall Art

Framed crochet butterflies make wall art from very little yarn. Make several sizes and arrange them on fabric-covered board, canvas or heavy paper with space around each. All one color shows off texture; species-inspired colors look like a natural-history display. Photograph the layout before attaching anything, then sew rather than glue where you can. A deep frame or shadow box keeps raised wings dust-free.
46. Mariposa Crochet Butterfly Wreath

A butterfly wreath lasts for years, unlike fresh flowers. Wrap a foam, wire or natural base in yarn, fabric strips or a crocheted cover, then add butterflies of several sizes with a few leaves and flowers. Lay it all out first to spread the colors evenly, and sew or tie pieces on so it survives storage. Leave the center open. Hang it indoors or under cover; damp and strong sun fade yarn and undo blocking.
47. Mariposa Crochet Butterfly Lamp Shade Cover

A crochet lampshade cover is pretty, but heat has to come first. Make an open butterfly sleeve that fits over the existing shade without touching the bulb or blocking airflow. Use a cool-running LED bulb within the lamp's stated wattage, and avoid dense, fuzzy yarn near any light source. Filet butterflies throw nice shadows. Secure it so it can't slip inward. Pale yarn keeps the room bright; a darker border shows the pattern when the lamp is off.
48. Mariposa Crochet Butterfly Phone Pouch

A phone pouch only protects against light scratches, so I keep the stitches dense and size it around the phone in its case. Add the butterfly in colorwork or as a flat appliqué that won't catch going into a bag. A soft lining keeps yarn ends off the screen. Close it with a flap or drawstring, and keep buttons away from the screen side. If you add a crossbody strap, reinforce both ends and load-test it before trusting your phone to it.
49. Mariposa Crochet Butterfly Water Bottle Holder

A water bottle holder carries real weight, and wet yarn stretches, so dense stitches are a must, especially at the base. Crochet in sturdy cotton and keep trying it on the bottle as you work. Put the butterflies on the outer side, away from your hip. The strap should be wide, reinforced and firmly joined. Check the seams and strap from time to time, since a full bottle is heavy and cotton slowly lengthens.
50. Mariposa Crochet Butterfly Scrap Yarn Collection

A scrap-yarn collection can mix appliqués, bookmarks, charms, coasters and miniature amigurumi. I sort scraps by weight first so the butterflies come out in proportion, and by fiber, because cotton and acrylic block and wash differently. One shared detail, like a black body or a cream border, ties mismatched colors together. Note the hook size and stitch counts for favorites so you can make them again. It's a good way to test color pairings before a big project.
Getting Both Wings to Match When You Block
Blocking is mentioned in almost every project above because a butterfly is symmetrical, and the eye spots a lopsided wing at once. This is how I do it.
- Soak the finished piece in cool water for a few minutes, then roll it in a towel to press out the excess. Don't wring it.
- Lay it on a blocking mat or folded towel with a printed grid, so you can line the body up straight.
- Pin the body first, then pin the matching points of each wing at equal distances from the center. Work outward in pairs, left then right.
- Leave it pinned until completely dry. Unpinning early lets the wings spring back.
For pieces that need to stay rigid, like earrings, 3D wings or a hoop hanging, stiffen them after blocking with fabric stiffener or a starch solution, then pin again to dry. Skip stiffener on anything that will be worn against the skin for long or washed often.
Carried Strands or Bobbins for Butterfly Colorwork
Several projects here put a butterfly into the fabric itself. There are two ways to handle the colors. Carrying the unused color inside your stitches makes a thick, sturdy fabric that suits bags, pouches and pillows, but it's warm and stiff for clothing. Using a separate bobbin for each color area keeps the fabric thinner and better for sweaters and cardigans, at the cost of more ends to weave in. For a small motif on a big background, bobbins are almost always easier.
Start Small, Then Let the Wings Grow
One butterfly shape covers accessories, garments, toys, decor and scrap projects. If you're still learning shaping, start with an appliqué, a bookmark or a magnet. Once gauge and color changes feel comfortable, move on to bags, blankets, shawls and colorwork garments. Match the yarn to the job: cotton for definition and structure, soft acrylic and blends for washable blankets and warm clothes. Block every butterfly and finish it securely, and the wings will match. Realistic or rainbow, the choice is yours.
Related posts:




Leave a Reply