
Learning how to knit a wrap top opens the door to many flattering, adjustable garments. The crossover front can be cropped, sleeveless, softly draped, or finished with fitted sleeves. Before beginning, measure your bust, waist, shoulder width, armhole depth, and preferred length. Knit and block a generous gauge swatch because yarn can relax or shrink after washing. Choose a breathable cotton blend for warm weather or smooth wool for a cozier layer. Beginners can start with rectangular panels, while experienced knitters may prefer raglan shaping, short-row bust darts, lace, or cables. The following approaches explain practical construction choices, fitting details, yarn options, and finishing techniques, giving you 20 clear answers to how to knit a wrap top.
1. Beginner Rectangle Wrap Top
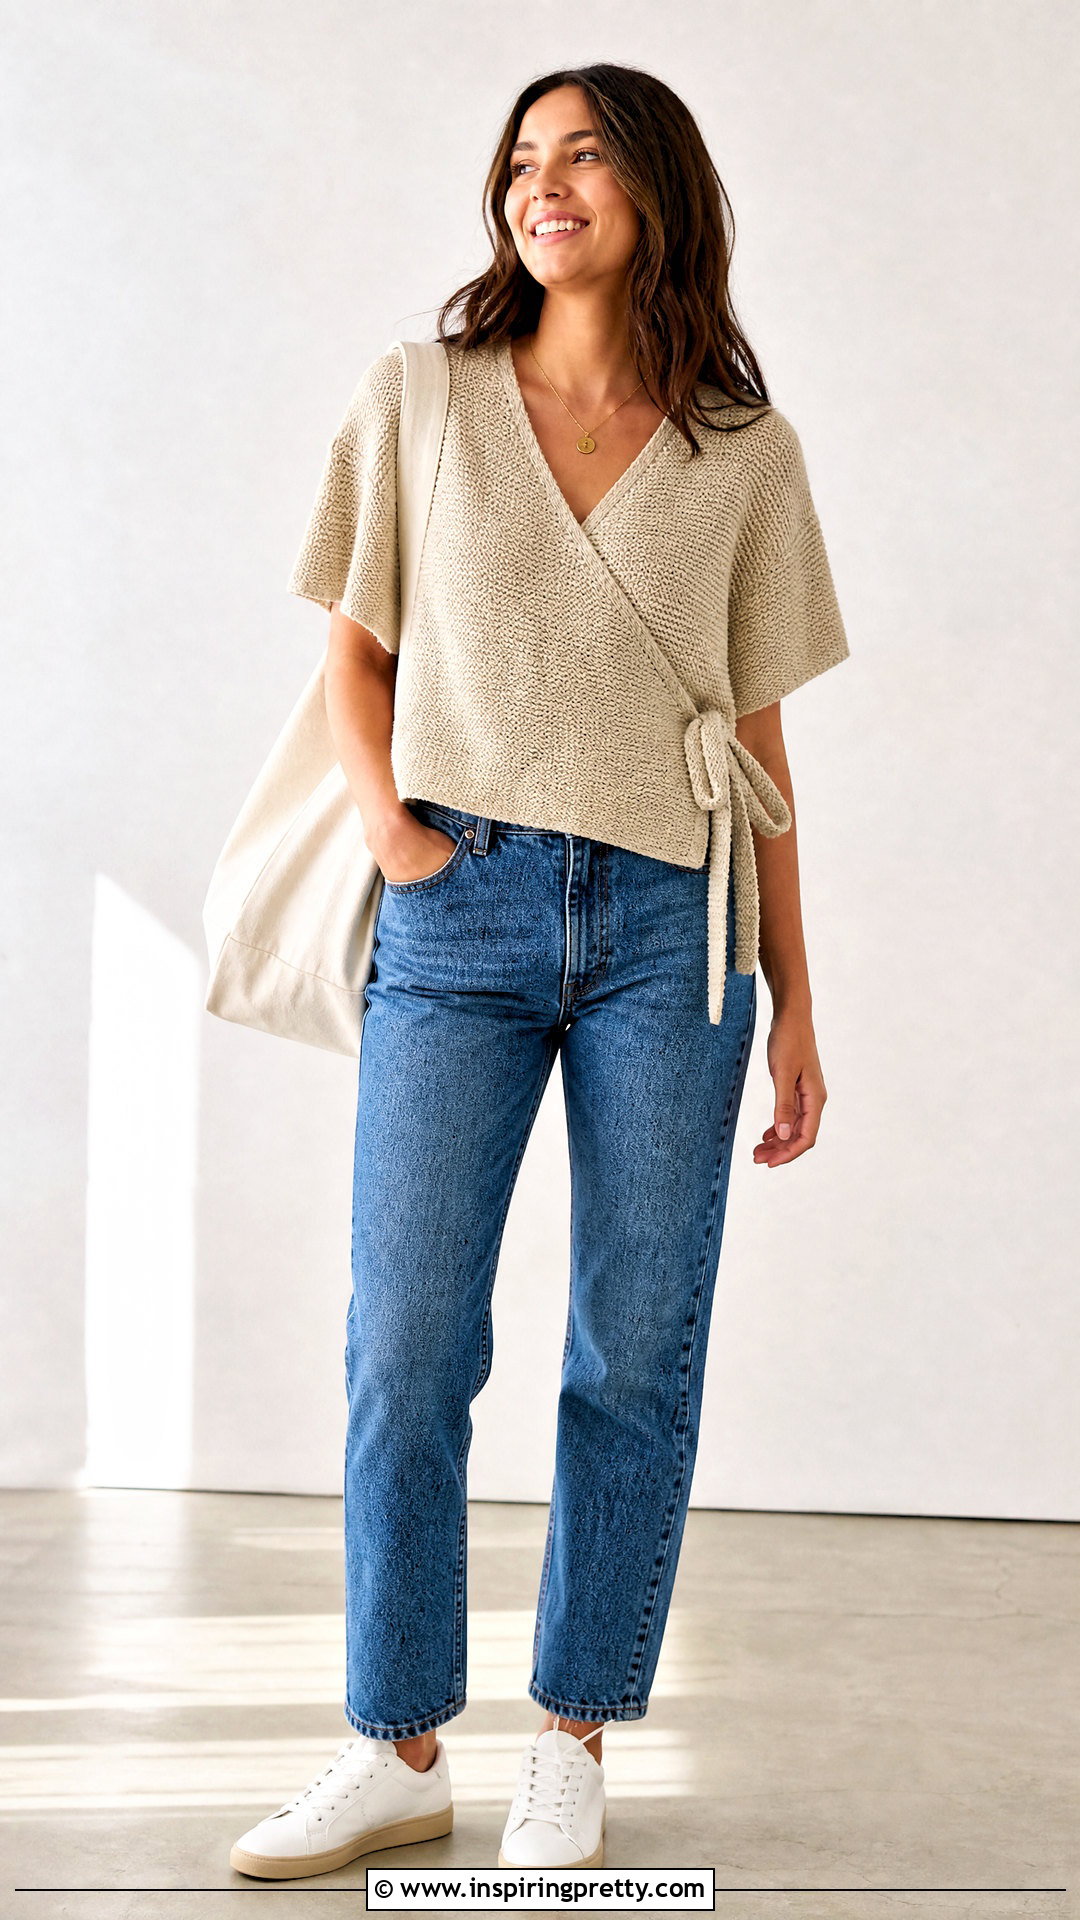
A rectangle-based design is the easiest place to begin because it uses simple shapes and limited shaping. Knit one wide back panel from the lower edge upward, then make two narrower front rectangles long enough to cross over your torso. Stockinette, garter stitch, or a simple rib pattern will work. Seam the shoulders and sides while leaving comfortable armhole openings. Attach knitted I-cords to the lower corners of both front panels. One tie passes through a small opening in the opposite side seam, allowing the panels to wrap securely. Try on the unfinished top before weaving in ends. Adjust the side opening or tie placement if the neckline feels too loose. Light blocking will help the panels drape smoothly.
2. Bottom-Up Wrap Top

A bottom-up wrap top begins at the hem and grows toward the shoulders. Cast on separate stitches for the back and two overlapping fronts, then work each section flat. Create the diagonal neckline by decreasing one stitch along the inner edge of each front at regular intervals. Continue until the front shoulder width matches the corresponding back shoulder. Shape the armholes with gradual bind-offs or decreases instead of removing many stitches at once. Join the shoulders using a three-needle bind-off, then seam the sides with mattress stitch. Add ribbed bands, attached I-cord, or narrow garter edging around the front opening. This construction gives you direct control over hem width and body length, making it useful when you want a fitted waist or longer silhouette.
3. Top-Down Seamless Wrap Top
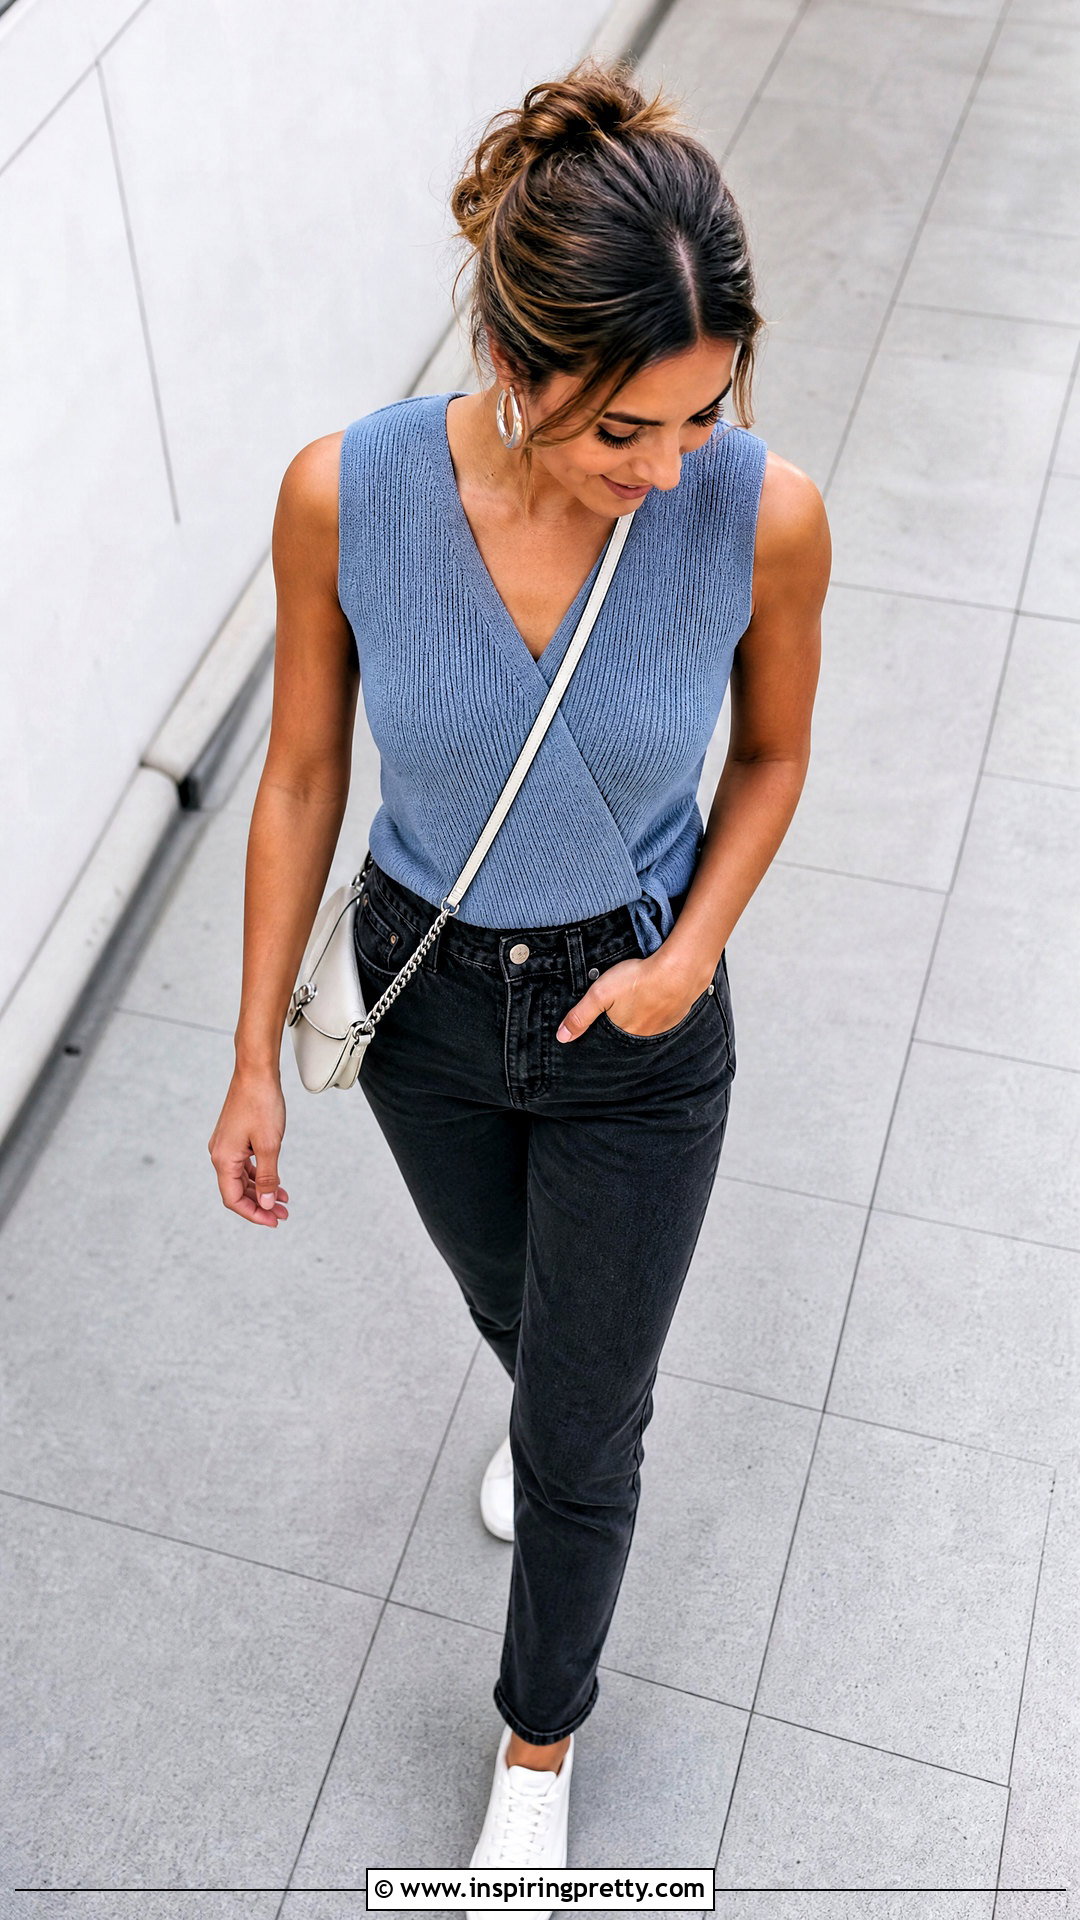
For easier length adjustments, knit the wrap top from the neckline downward. Begin with stitches for the back neck and shoulders, then increase to shape the upper back. Pick up stitches along each shoulder edge and work the two front sections separately, adding stitches beside the neckline to form the crossover. Once the armholes reach the required depth, join the fronts and back on a circular needle. Overlap the front panels at the bust before working the lower body in the round. Place one front section over the other consistently so the crossover remains smooth. Finish the armholes by picking up stitches for bands or sleeves. This method lets you try on the project frequently and evaluate the neckline, overlap, armhole depth, and finished length. ()
4. Raglan Sleeve Wrap Top
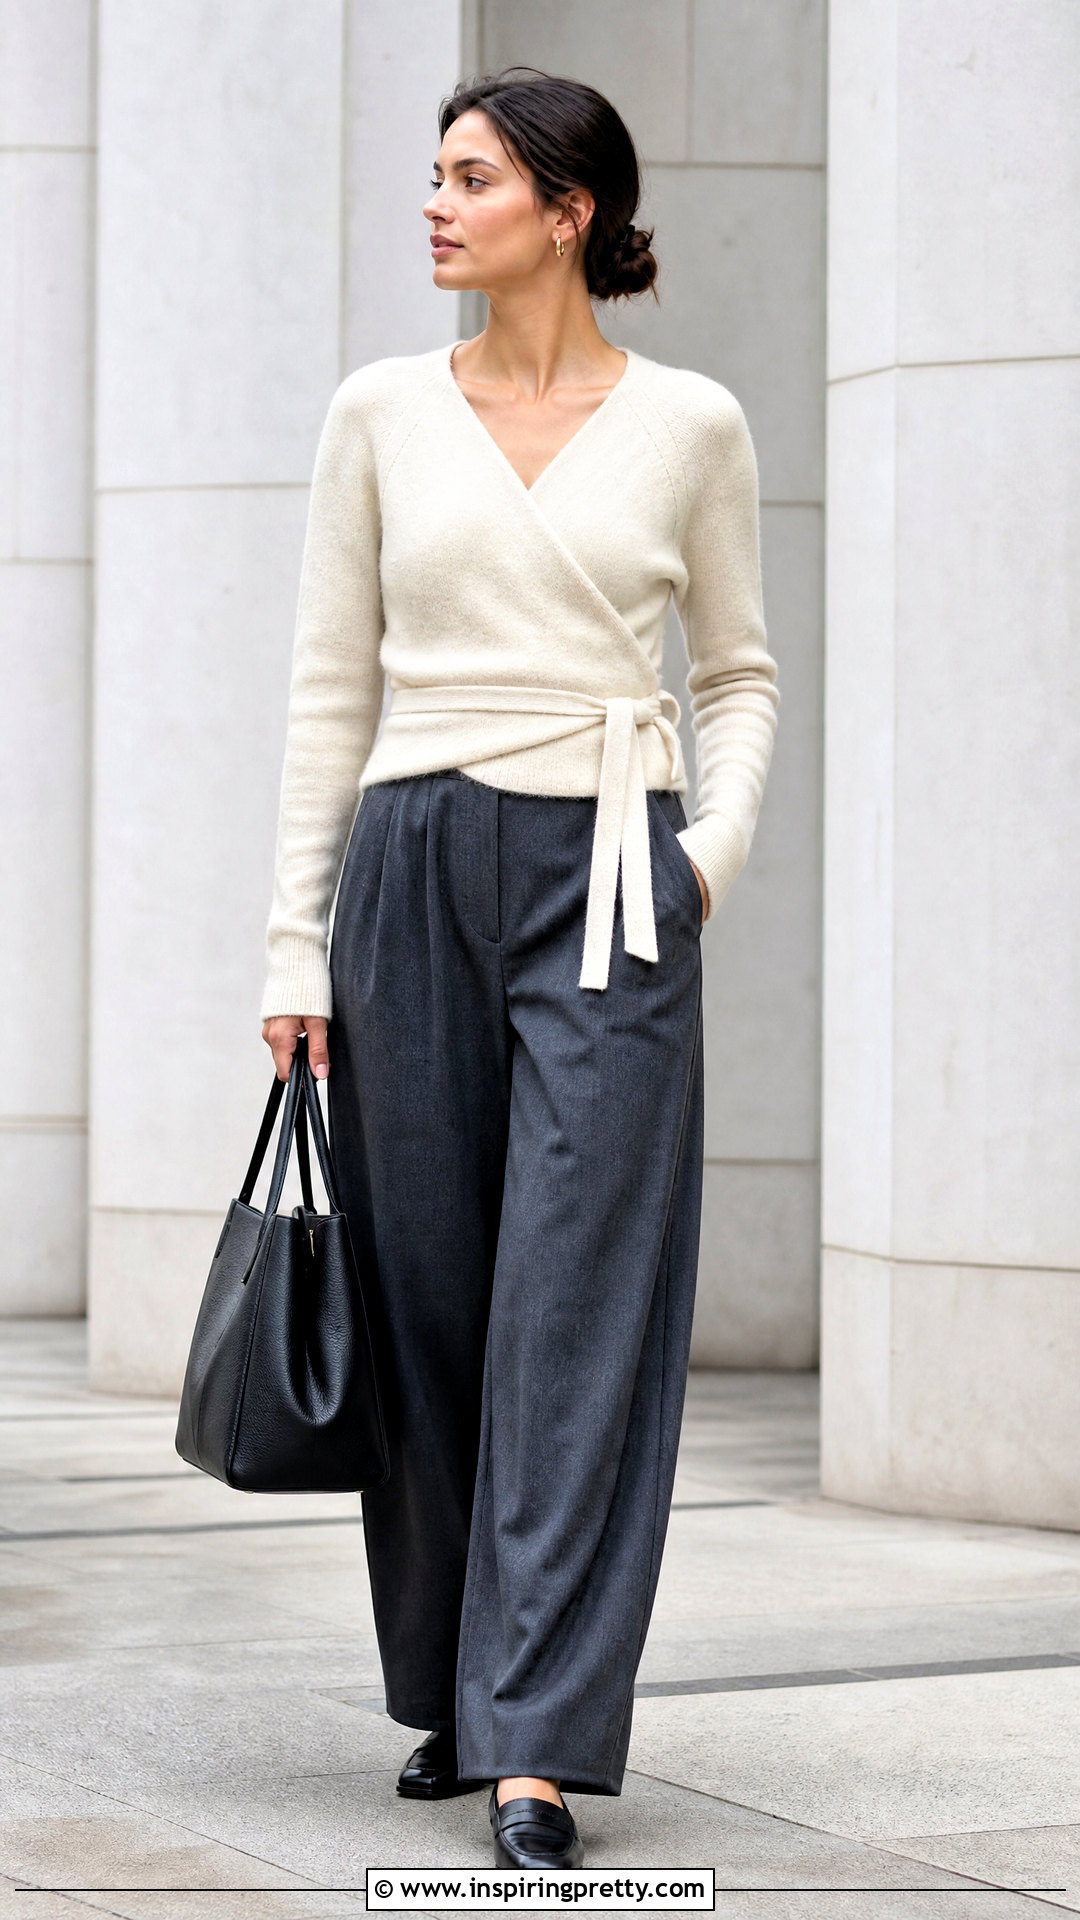
A raglan wrap top combines diagonal sleeve shaping with an adjustable crossover front. Cast on stitches for the back neck, sleeves, and small front sections. Place markers between these areas, then work increases on both sides of each marker. At the same time, increase along the front neckline edges until each panel provides enough coverage. Continue the raglan shaping until the yoke comfortably reaches your underarms. Place the sleeve stitches on waste yarn and cast on a few stitches beneath each arm. Work the body back and forth while extending the slanted front edges, or overlap the fronts and join them before knitting in the round. Return the held sleeve stitches to smaller circular needles and work downward. Finish with firm ties that support the crossover without stretching. ()
5. Drop Shoulder Wrap Top
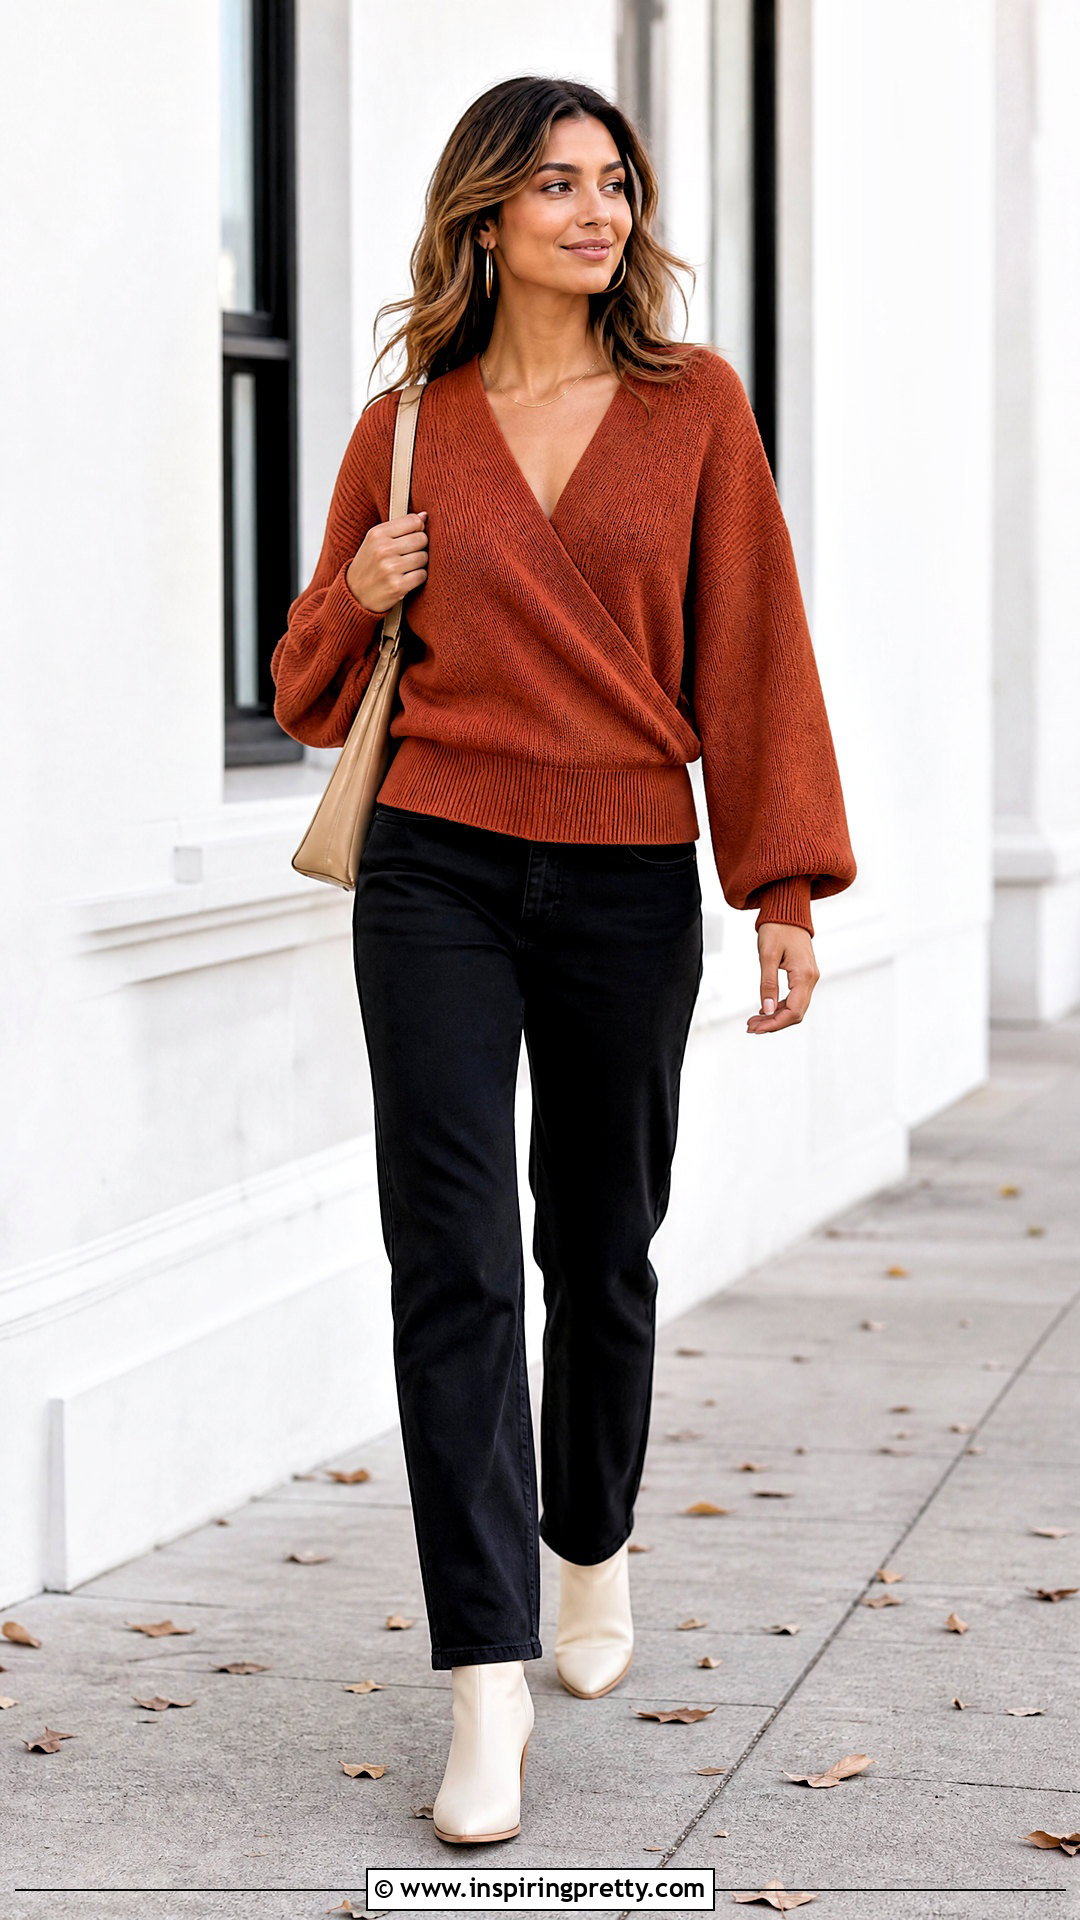
The relaxed shape of a drop shoulder wrap top comes from wide body panels and minimal armhole shaping. Knit a roomy back rectangle and two angled front pieces, making the shoulders slightly wider than your natural shoulder line. The extra width creates the dropped seam and provides space for easy sleeves. Shape each crossover edge with evenly spaced decreases, keeping the outer edges straight. Seam the shoulders first, then measure the sleeve opening while the garment lies flat. Pick up stitches around each armhole and knit the sleeves downward, decreasing gradually toward the cuffs. Finish the neckline with ribbing or attached I-cord to prevent curling. This construction works particularly well with soft DK or worsted yarn. Keep the fabric flexible so the wide shoulders drape rather than appearing stiff.
6. Sleeveless Wrap Top
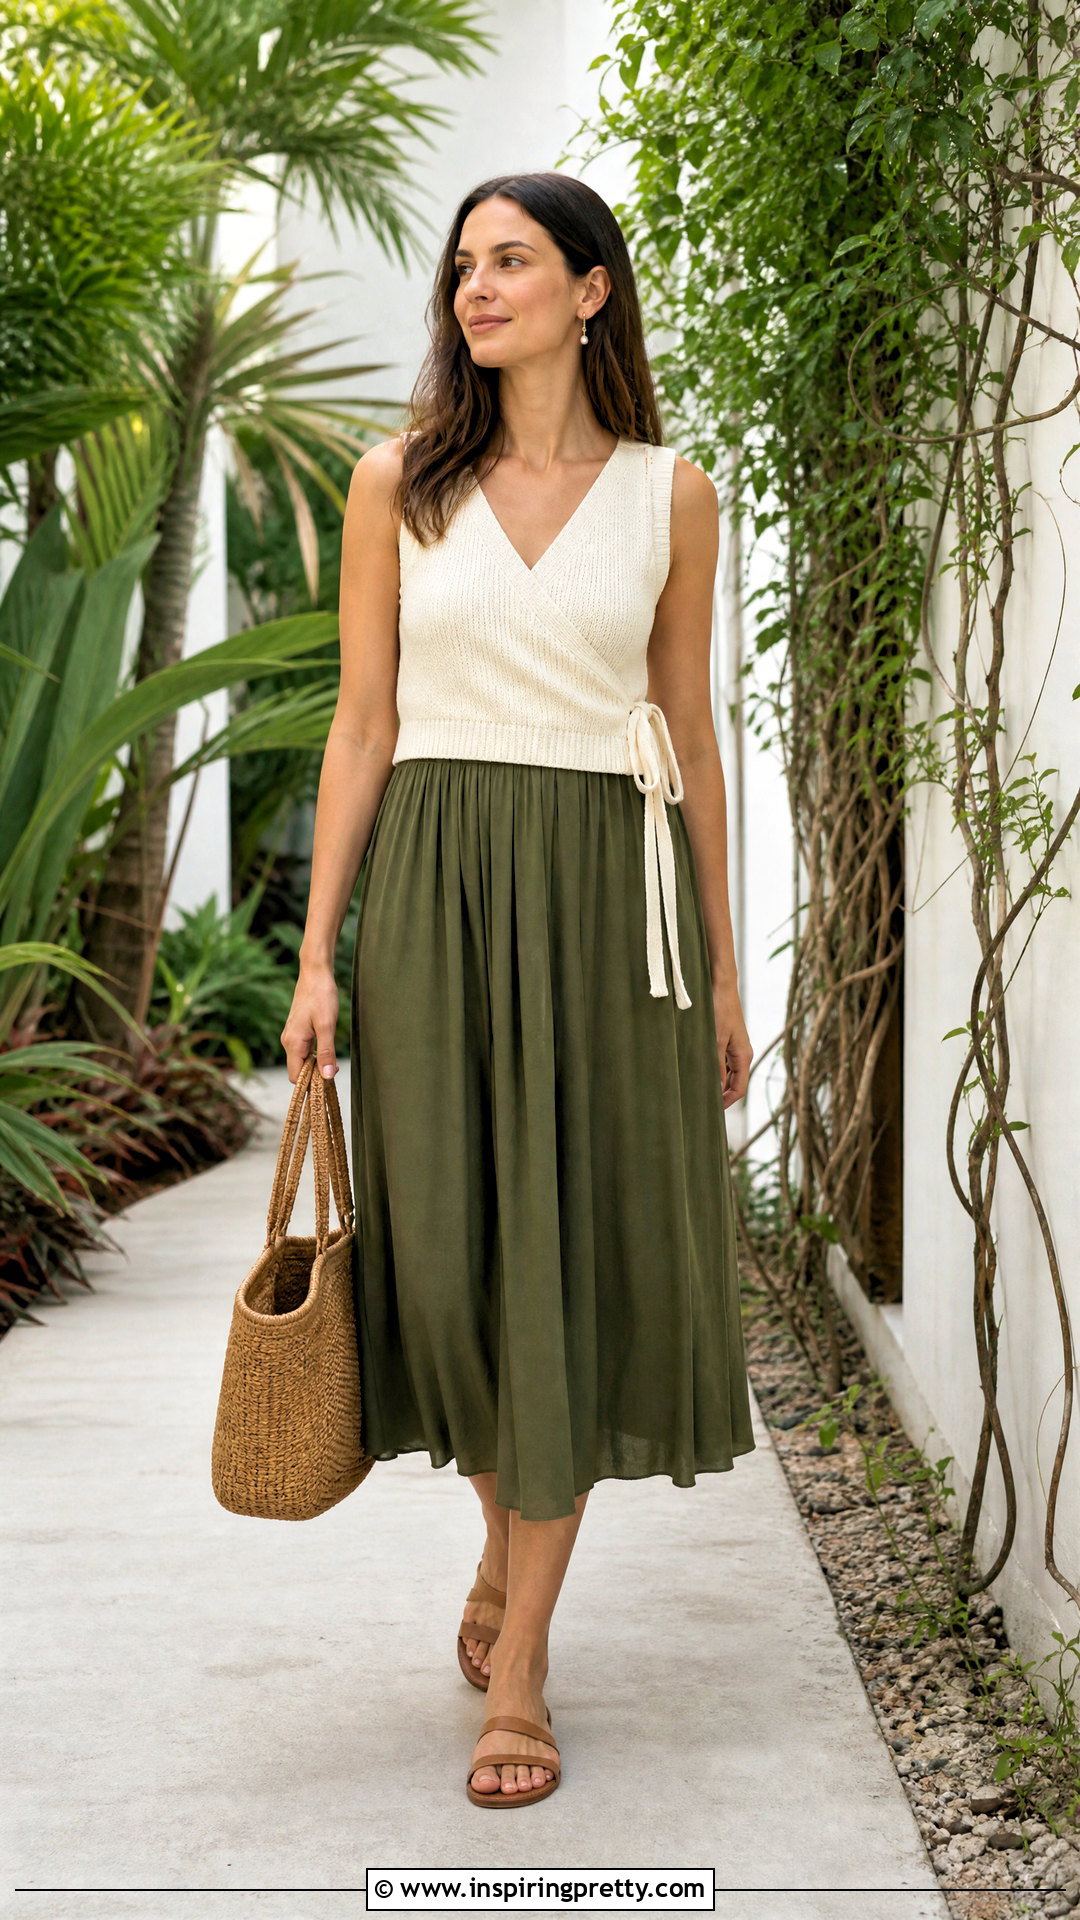
A sleeveless wrap top is a practical warm-weather project that requires less yarn and finishing. Begin with the back, shaping the armholes deeply enough to prevent rubbing but not so deeply that undergarments show. Knit two front panels with diagonal inner edges and slightly narrower shoulders. The fronts should overlap securely across the bust and continue toward the opposite waist. Seam the shoulders and sides, leaving a small side opening for the inner tie. Pick up stitches evenly around each armhole and work a narrow band in twisted rib, garter stitch, or an applied I-cord. Repeat the same finish around the neckline for a polished result. Cotton, linen blends, and bamboo blends create a cool fabric, although a stable fiber blend is easier to manage than pure linen.
7. Cropped Wrap Top
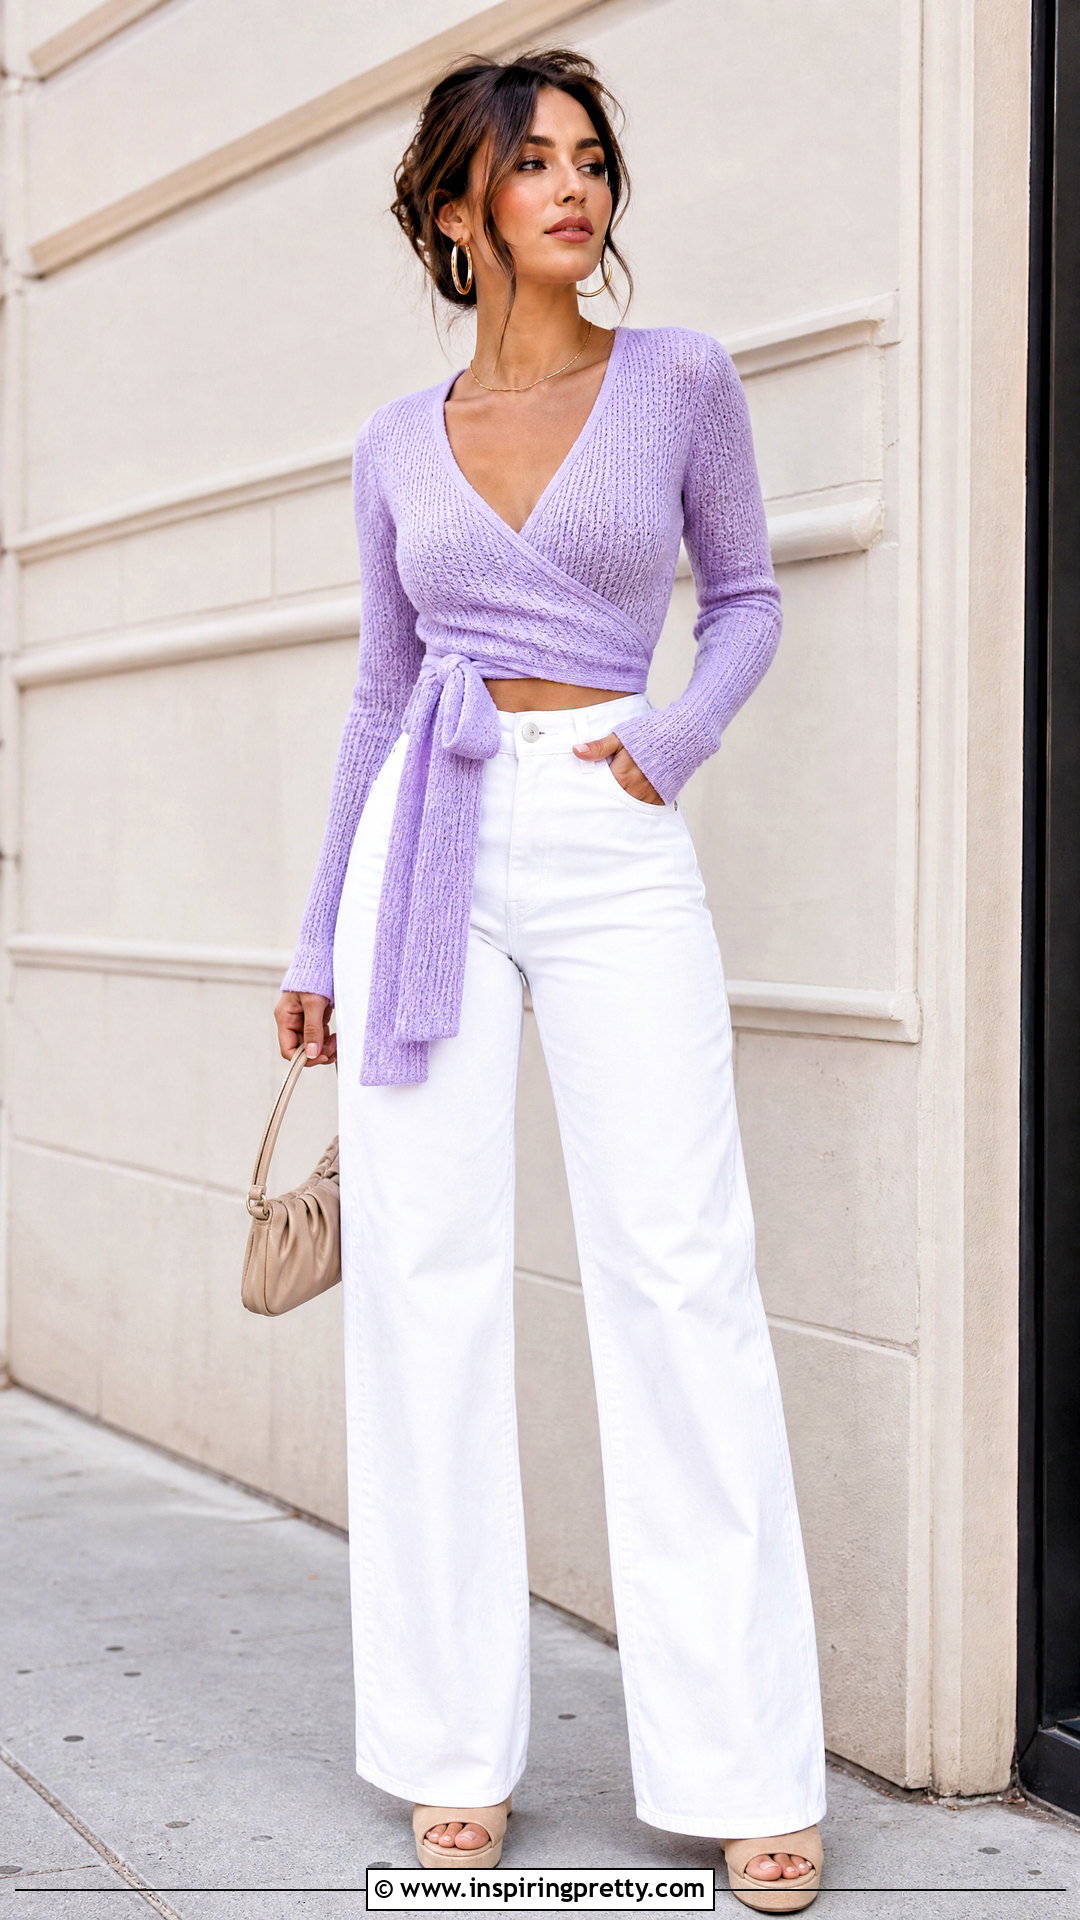
A cropped wrap top should finish near your natural waist or just above the waistband of high-rise bottoms. Start by measuring from the high shoulder to your preferred hem, remembering that the crossover may pull the front slightly upward. Use a top-down construction when possible so you can try on the garment and stop at the best point. Knit the front panels with enough width to overlap without exposing the center when you move. Add a firm ribbed hem, folded band, or attached I-cord to control stretching. Longer waist ties help balance the shorter body and offer several fastening options. If the top is fitted, incorporate gentle waist decreases or choose a rib pattern with natural elasticity. Block to measurements rather than stretching the cropped length beyond the intended size.
8. Long Sleeve Ballet Wrap Top
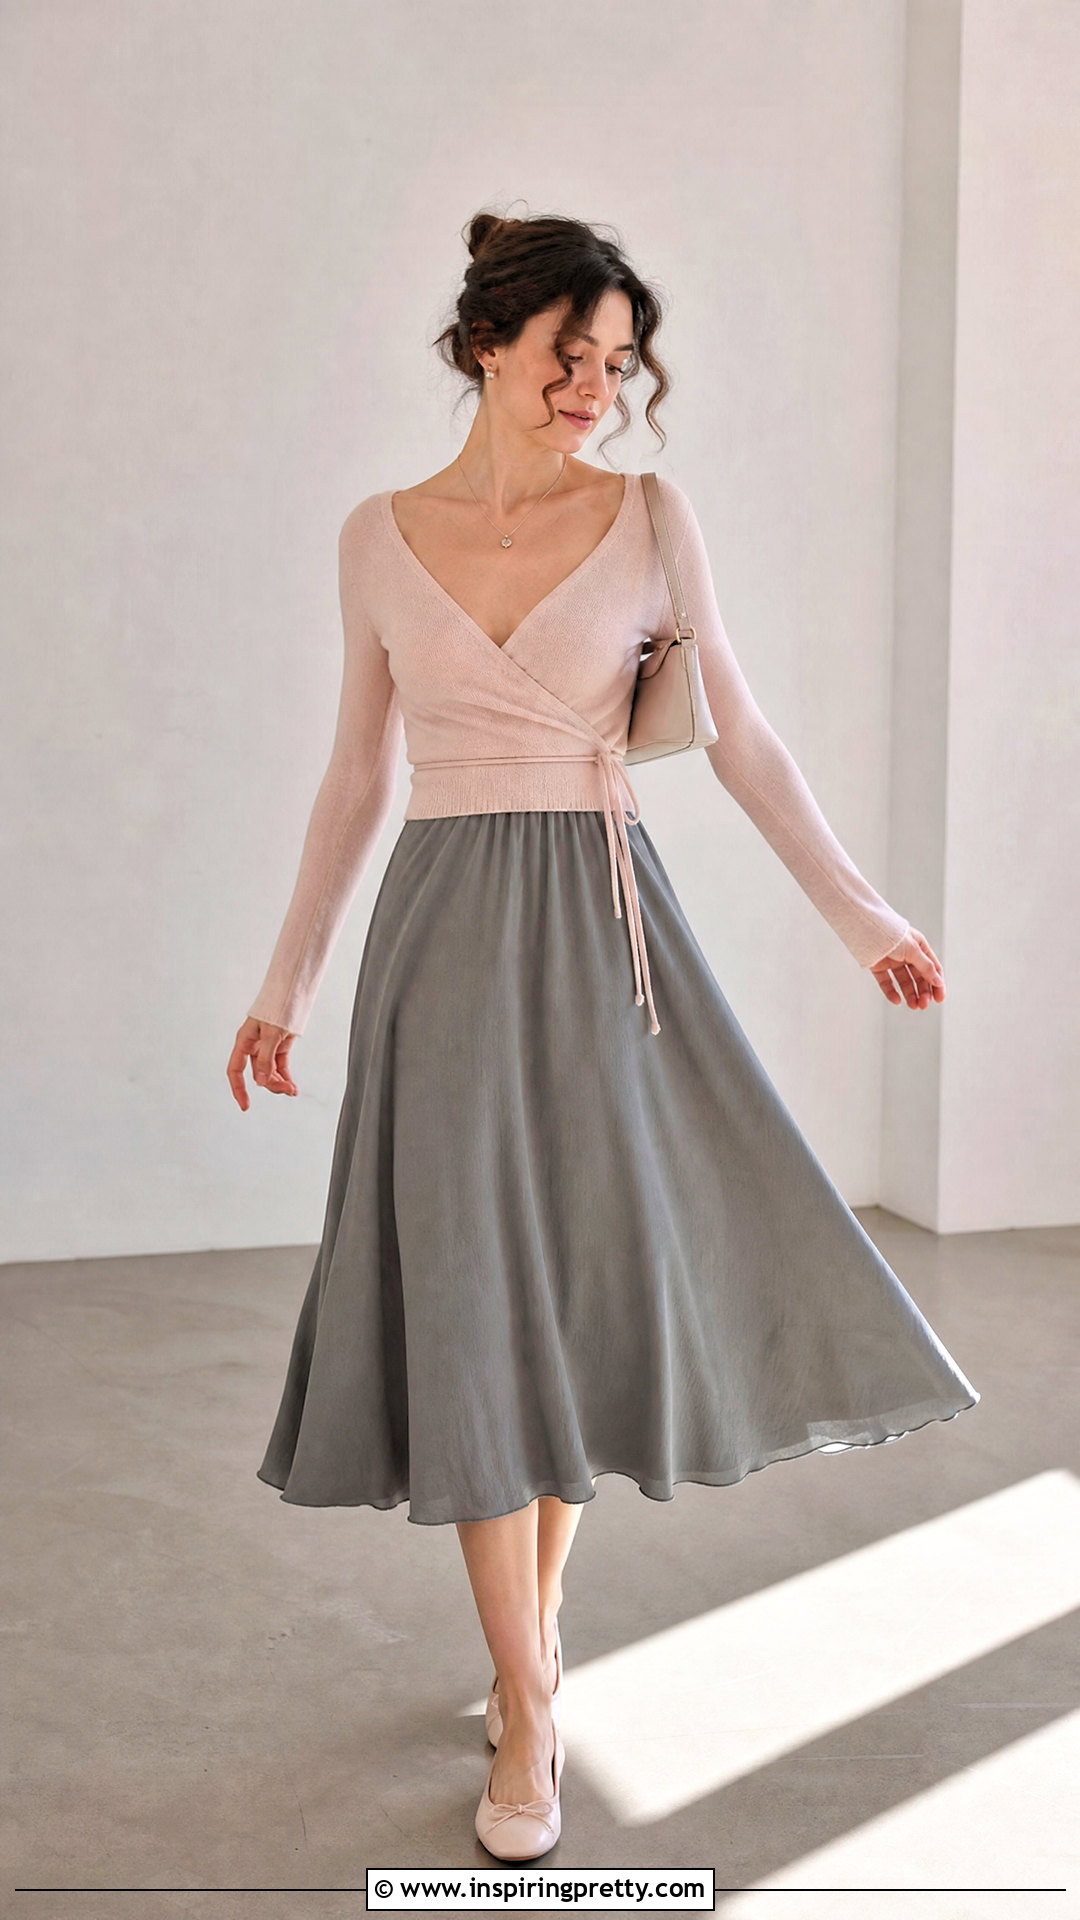
Soft movement and close-fitting sleeves define the classic ballet-inspired wrap top. Work a top-down raglan or set-in construction using fingering, sport, or lightweight DK yarn. Shape the front panels so they cross below the bust and taper into long ties. After separating the sleeves from the body, knit each sleeve in the round with gradual decreases from the upper arm to the wrist. Finish with deep ribbed cuffs for a secure, streamlined fit. A fitted body looks elegant, but avoid excessive negative ease because the crossover already adds tension across the front. Merino, cotton-merino, or wool-silk yarn can provide drape with useful recovery. Reinforce the tie joins by working a few tightly knitted rows before beginning the I-cord or narrow ribbed straps.
9. Short Sleeve Wrap Top
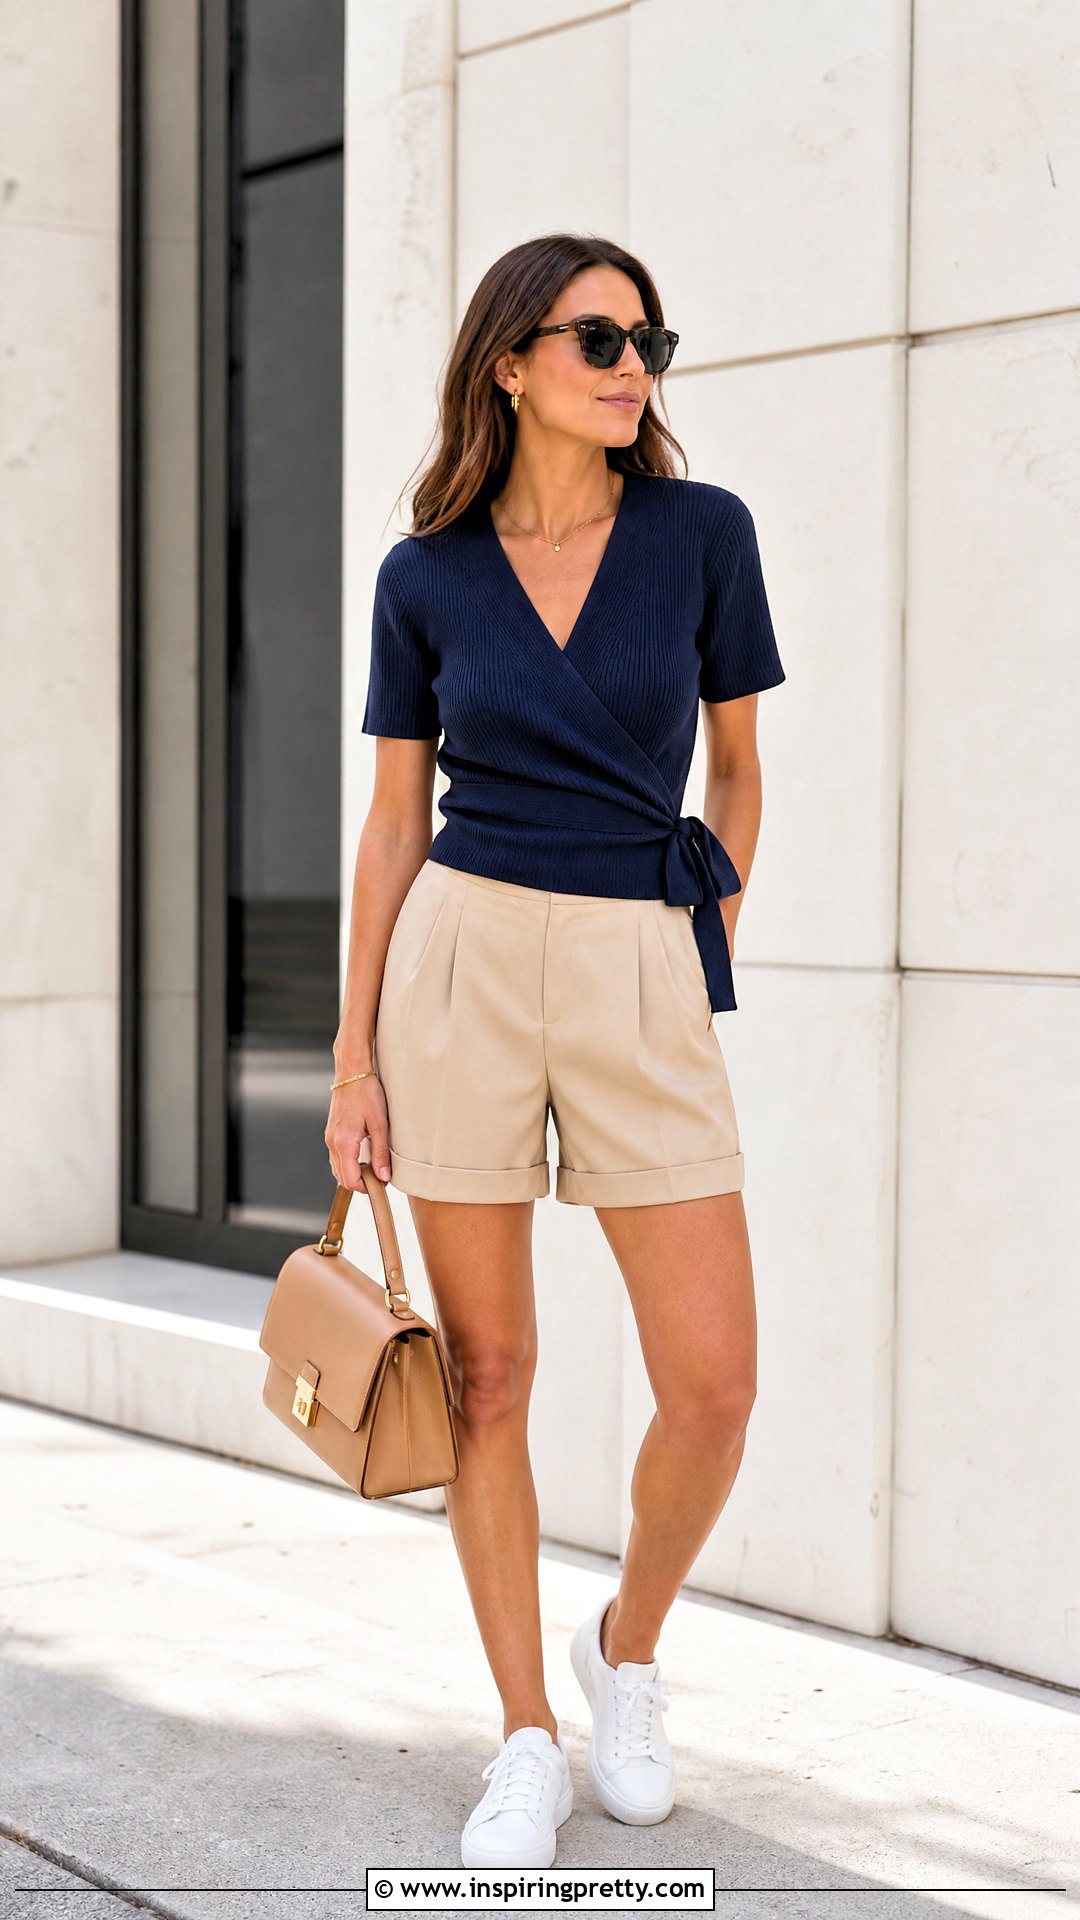
A short sleeve version gives the coverage of a knitted tee while retaining the adjustable wrap shape. Begin with a top-down yoke, raglan, or seamed body. Separate the sleeve stitches once the upper body reaches the correct armhole depth. Return to those stitches after completing the body and knit each sleeve to mid-upper-arm length. Add a narrow ribbed edge that sits comfortably without squeezing. For a looser sleeve, work straight from the armhole and avoid rapid decreases. The diagonal fronts can fasten at the side waist, wrap fully around the body, or overlap and join permanently at the hem. Choose a smooth yarn that clearly displays the shaping. A cotton-wool blend offers breathability and elasticity, helping the neckline, sleeves, and waist ties retain their structure through repeated wear.
10. Ribbed Wrap Top
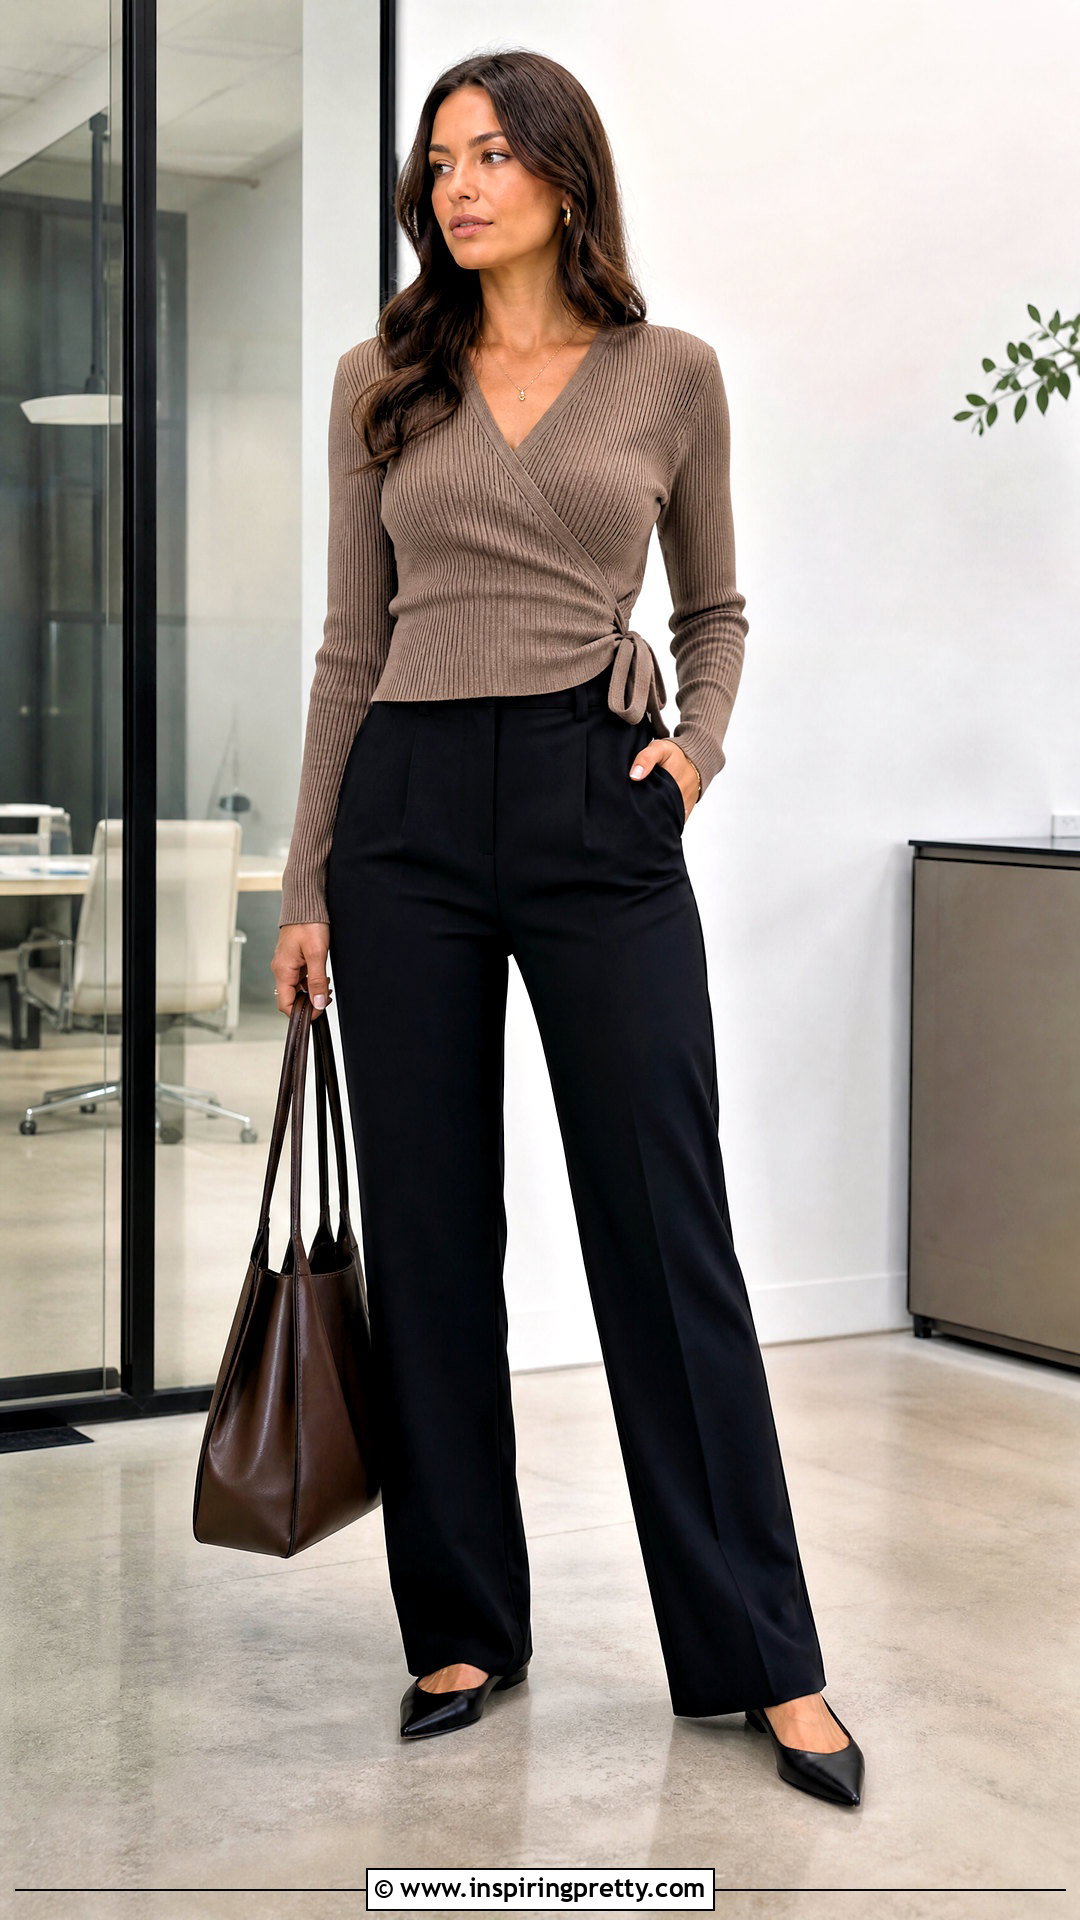
Ribbing produces a flexible wrap top that follows the body without complicated shaping. Knit a large swatch because ribbed fabric contracts considerably when relaxed and expands during wear. A 2-by-2 rib creates a classic texture, while 1-by-1 rib feels finer and more fitted. Maintain the rib sequence when increasing or decreasing along the diagonal front edges. New stitches should be incorporated into the pattern gradually so the crossover remains visually consistent. Since ribbing can stretch vertically, measure the garment while it hangs rather than lying completely flat. Stabilize the shoulders with firm seams or a crochet slip-stitch reinforcement. Finish the neckline with a narrow band instead of heavy edging. When selecting a size, consider the stretched and relaxed measurements, then choose enough negative ease for shape without creating strain across the overlap.
11. Garter Stitch Wrap Top
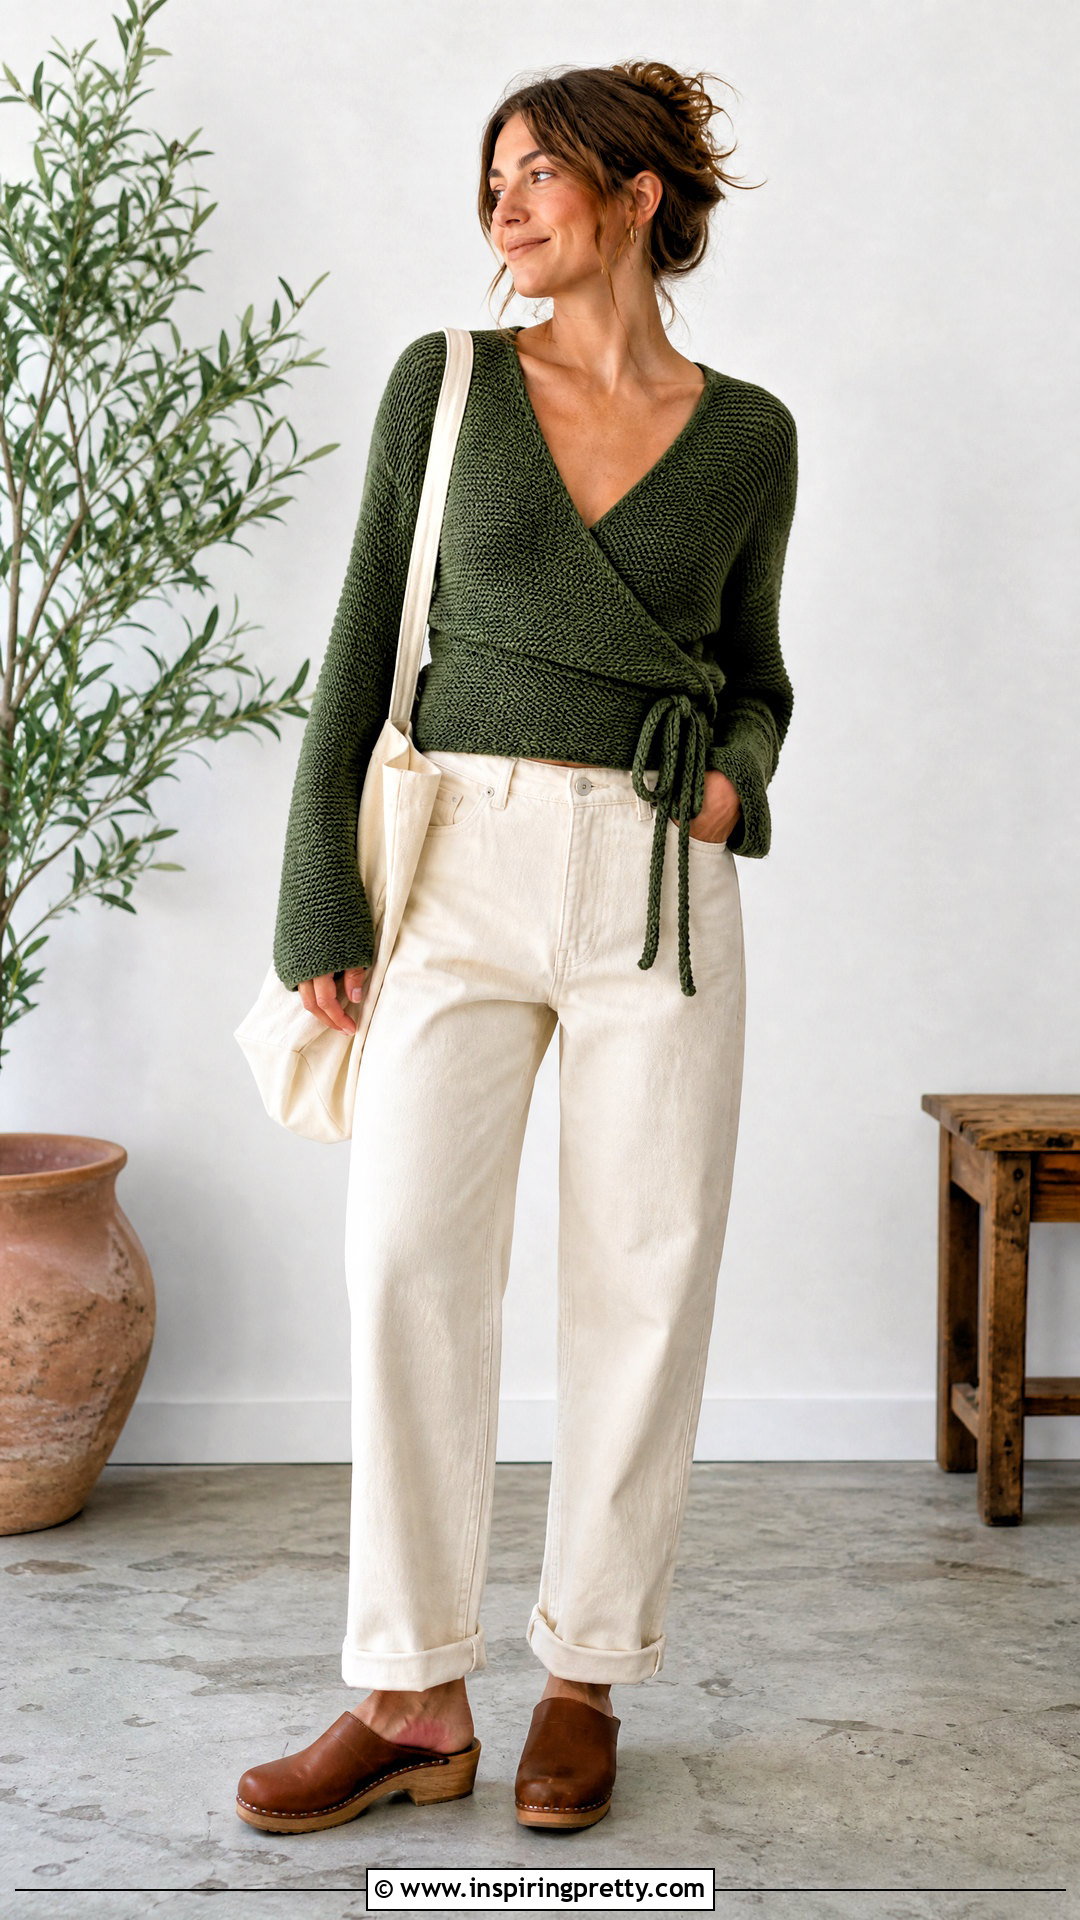
Garter stitch makes an approachable wrap top because every row can be knitted, yet the finished fabric still has texture and dimension. Work the garment flat to take advantage of garter stitch’s natural construction. You can begin with the back hem, continue over the shoulders, and divide the work into separate front panels. Shape the diagonal crossover by decreasing at the inner edges. Because garter stitch compresses vertically, rely on blocked row gauge when calculating length. Keep the front bands relatively narrow so they do not become bulky when overlapped. Smooth wool, cotton, or a lightweight wool blend will show the horizontal ridges clearly. Add I-cord ties to the lower front corners and leave a reinforced opening in one side seam. Wet block gently, supporting the garment’s weight while it dries.
12. Lace Wrap Top
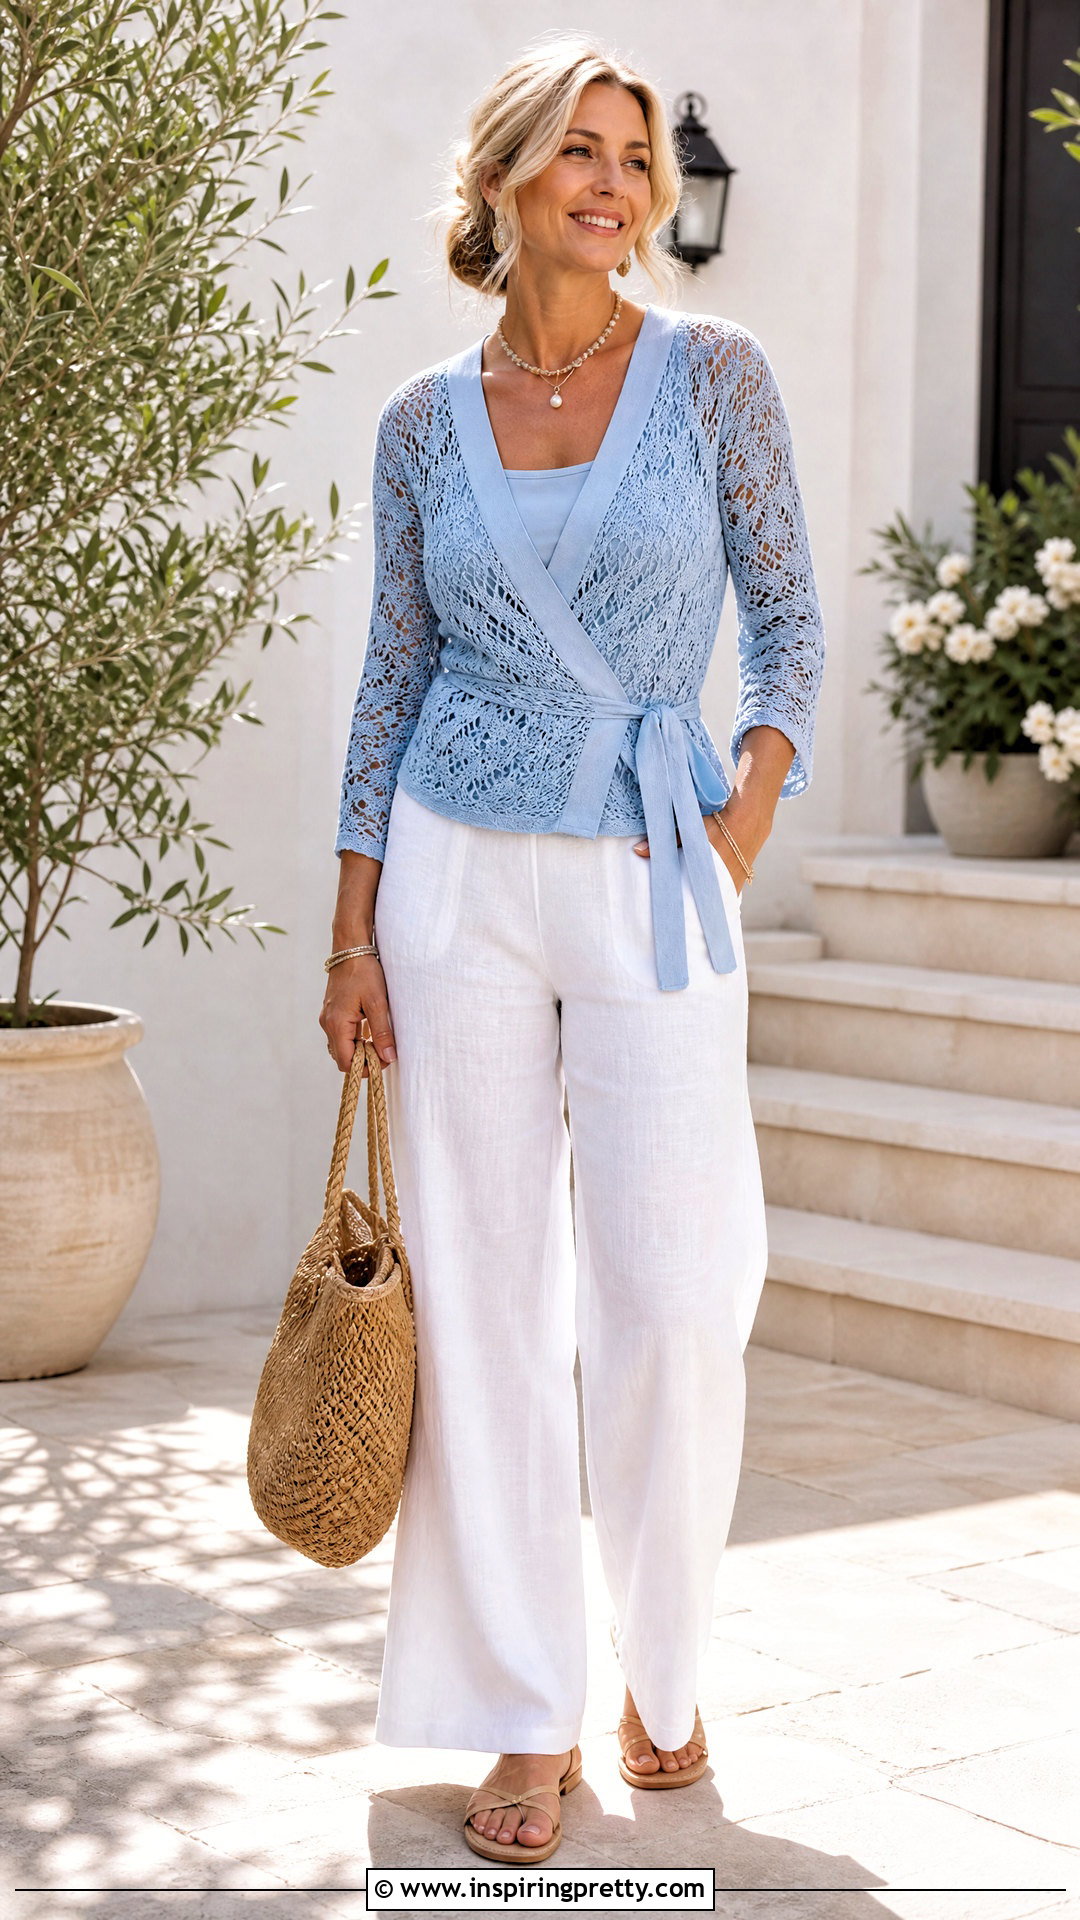
An airy lace wrap top works best when the decorative pattern is balanced with stable edges. Choose a simple lace repeat that includes clearly matched yarn overs and decreases. Place stockinette or garter stitch along the sides, armholes, and front edges to simplify shaping. When a neckline decrease interrupts the lace repeat, work the remaining stitches in stockinette rather than forcing an incomplete motif. Use lifelines before major shaping sections so mistakes can be corrected safely. The crossover should be generous because open lace fabric offers less visual coverage than dense knitting. Add narrow solid bands around the neckline and armholes, then attach sturdy ties at the waist. Block the completed top to open the lace, but follow the schematic carefully. Excessive stretching can enlarge the neckline and change the intended fit.
13. Cable Knit Wrap Top
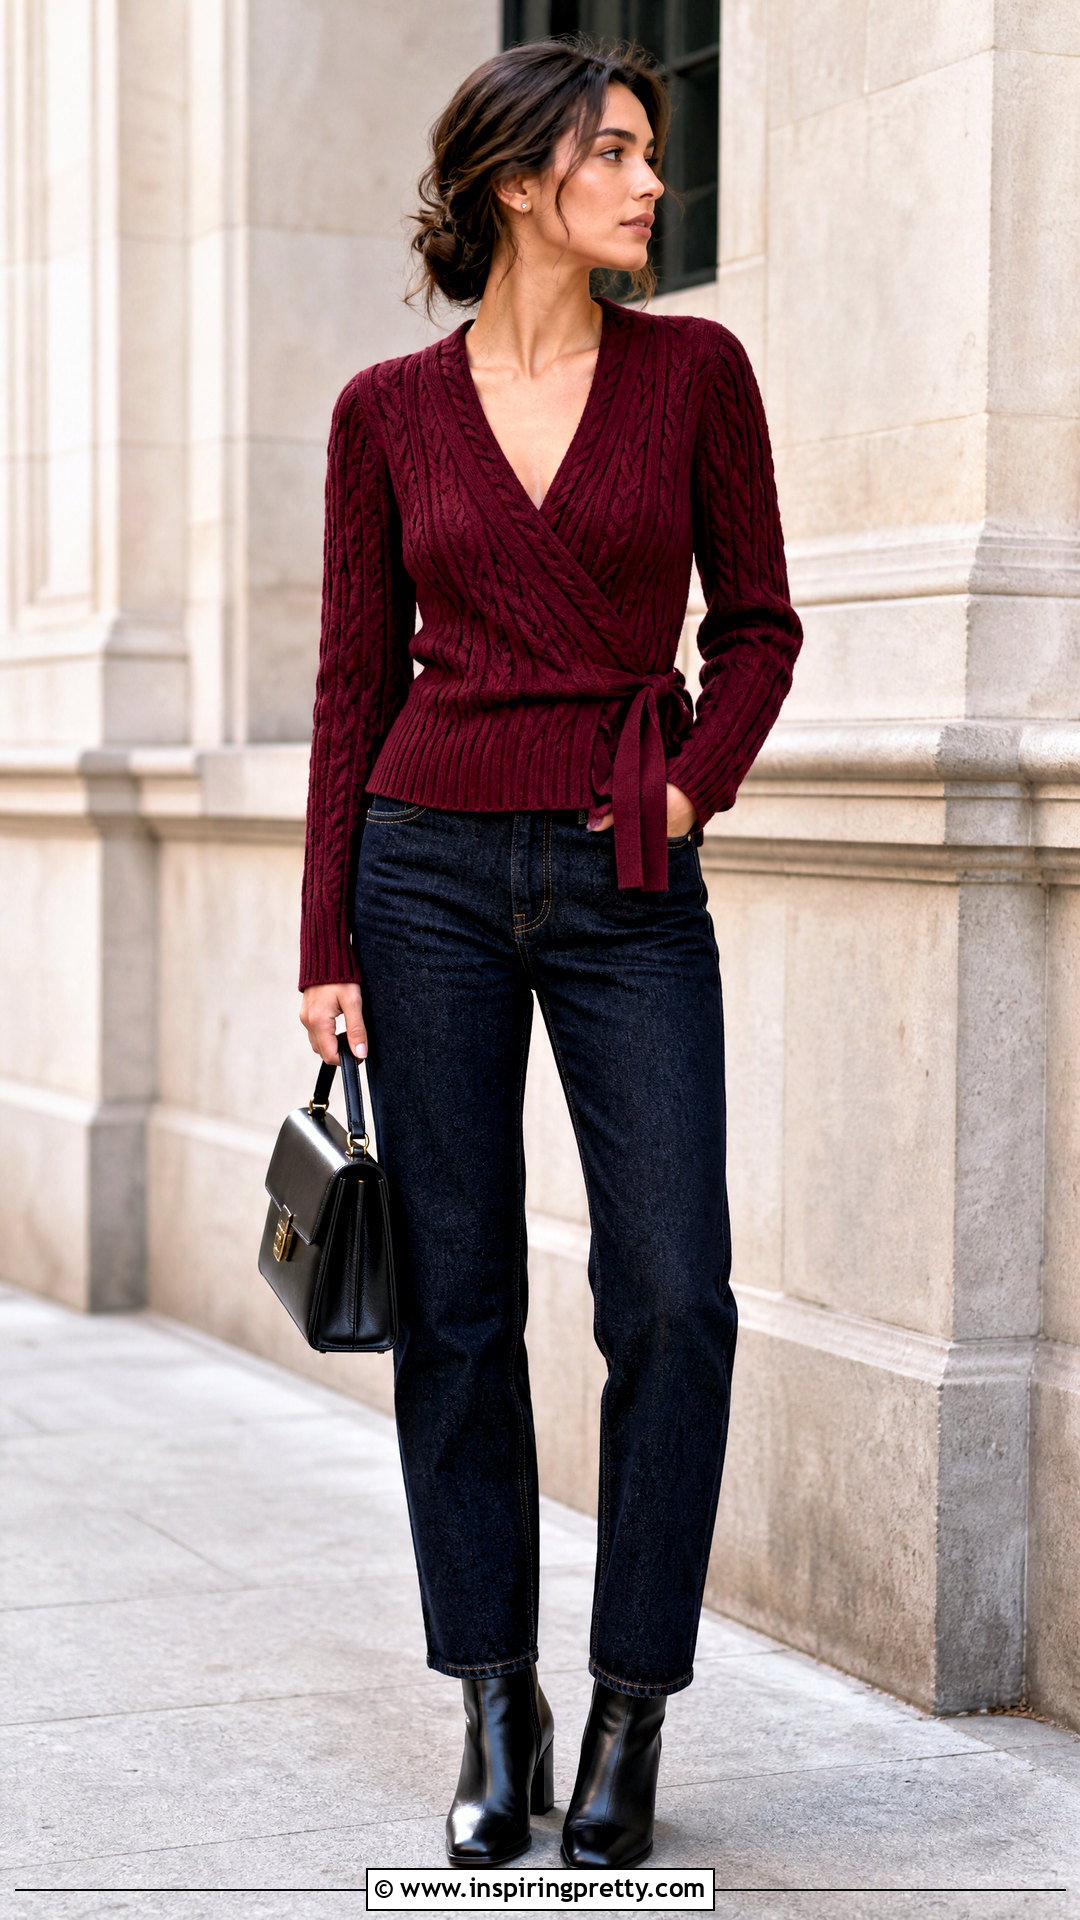
Cables add structure and visual depth to a wrap top, especially when positioned vertically. Place a central cable on the back and smaller cable panels beside the front edges. Keep the actual diagonal neckline in stockinette, reverse stockinette, or ribbing so decreases remain manageable. Always account for cable draw-in when swatching because crossed stitches make fabric narrower than ordinary stockinette. If a cable approaches the slanted crossover, end the motif cleanly or transition it into a narrow rope cable. Use smooth, rounded yarn with strong stitch definition and avoid highly fuzzy fibers that hide the pattern. A seamed construction can support the added fabric weight better than a very loose seamless body. Reinforce the shoulders, attach substantial ties, and block gently without flattening the raised cables or overstretching the front panels.
14. Color Block Wrap Top

Color blocking makes the crossover construction easy to see and creates a strong graphic finish. Knit the back in one solid shade, then use contrasting colors for the left and right fronts. For a seamless transition, pick up each front directly from the shoulder edge. You can also use intarsia to place contrasting sections within a single panel, twisting the yarns together at every color change to prevent holes. Choose yarns with matching fiber content, weight, and washing instructions. Different fibers may block unevenly or cause one panel to stretch more than the other. Arrange the darker shade on the inner or outer front according to the effect you prefer. Finish the edges and ties in one repeated color to connect the sections visually and give the garment a coordinated appearance.
15. Chunky Knit Wrap Top
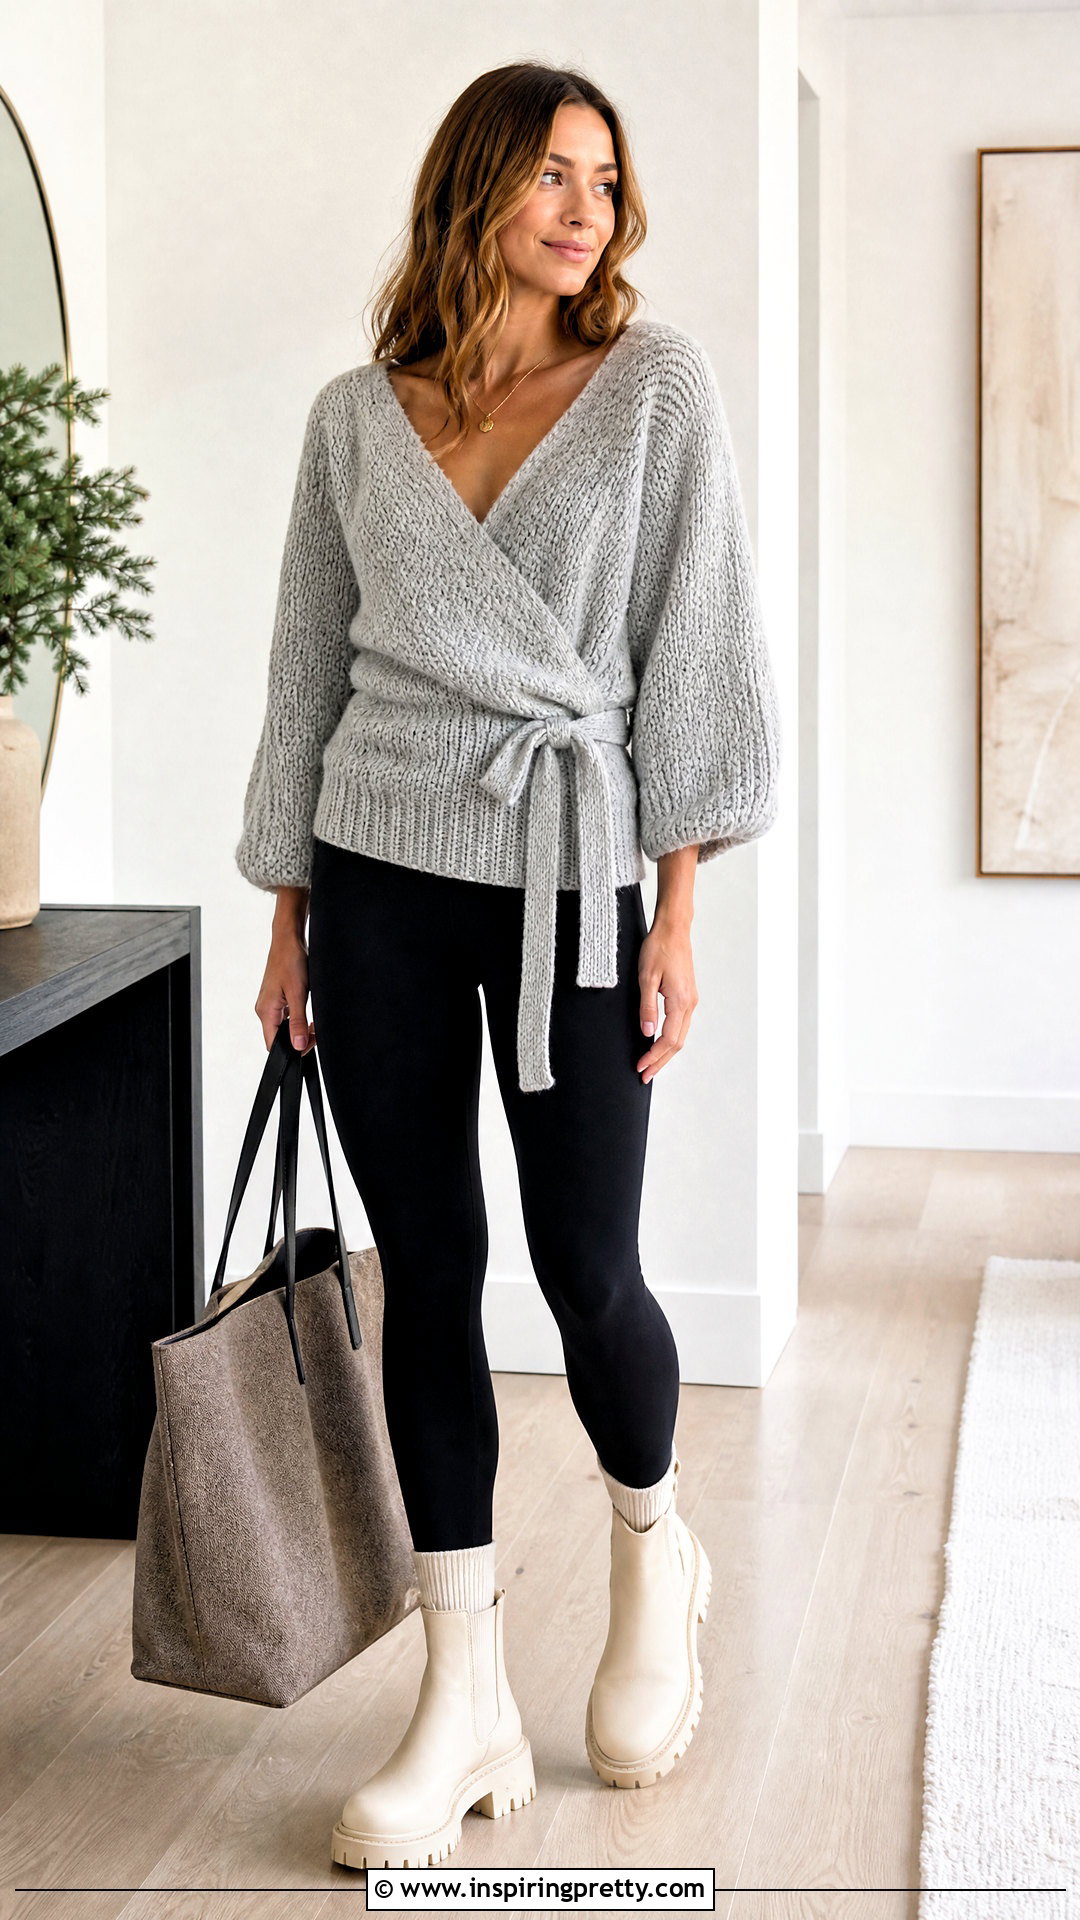
A chunky wrap top knits quickly, but careful construction prevents the overlapping fronts from becoming excessively heavy. Use a lofty yarn rather than a dense, rigid fiber. Knit a generous swatch and test how two layers feel when placed across the bust. Simple stockinette, wide ribbing, or garter stitch usually works better than complicated texture. Reduce bulk by creating moderately narrow front panels that cross securely and taper toward the waist. Keep the ties flat and relatively slim, using narrow ribbing instead of thick tubular cords when necessary. A cropped body and three-quarter sleeves can also control the garment’s weight. Seam the shoulders firmly and reinforce the side opening where the inner tie passes through. Block the finished top on a flat surface, shaping it gently without stretching the heavy wet fabric.
16. Lightweight Cotton Wrap Top
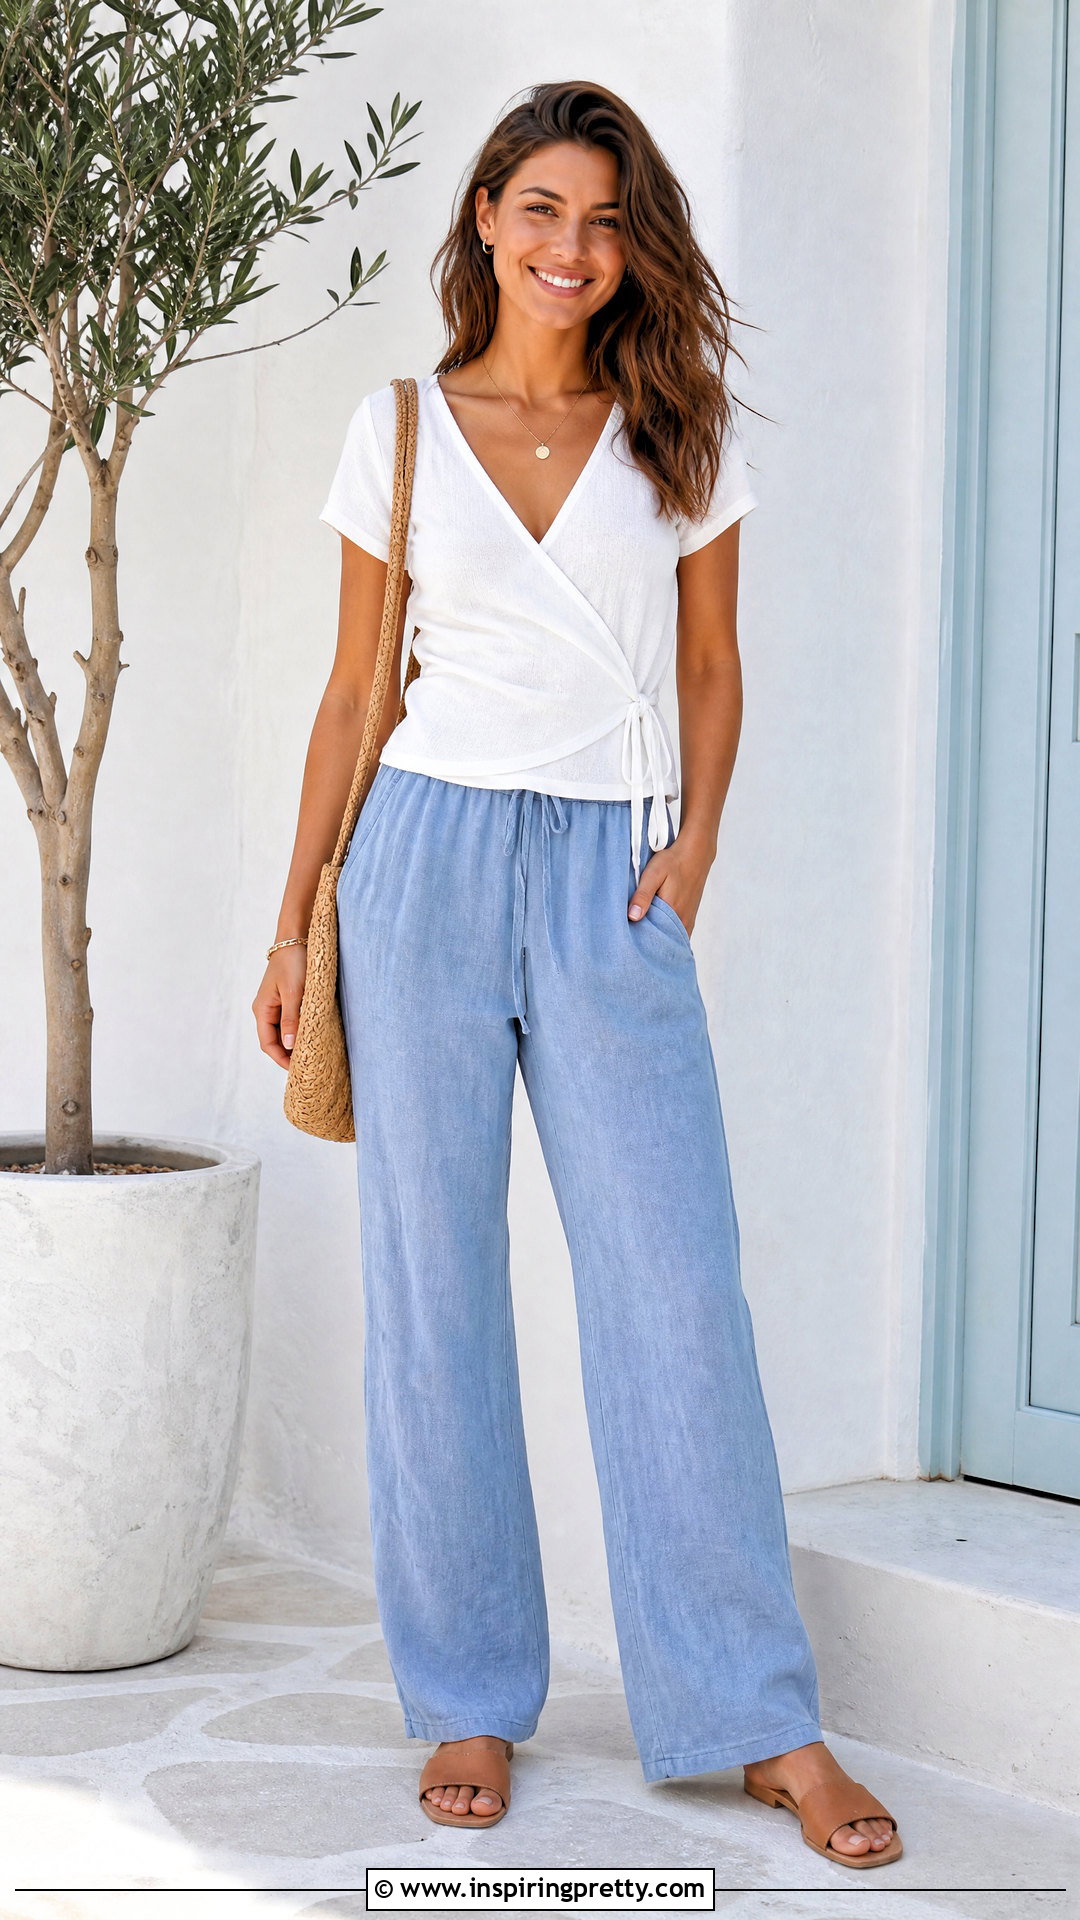
Crisp stitches and cool comfort make cotton a natural choice for a lightweight wrap top. Since cotton generally has less elastic recovery than wool, select a pattern with moderate ease and stable finishing. Knit and wash your swatch before taking measurements because some cotton yarns grow vertically or change noticeably after laundering. A seamed design can provide helpful structure, while shoulder seams reduce sagging. Work the body in stockinette, a small textured pattern, or narrow ribbing. Finish the diagonal fronts with attached I-cord, which can continue into adjustable ties and create a clean, connected edge. () Avoid making the ties unnecessarily long because cotton weight may pull on the waist. Dry the completed garment flat and store it folded rather than hanging it from the shoulders.
17. Plus Size Wrap Top
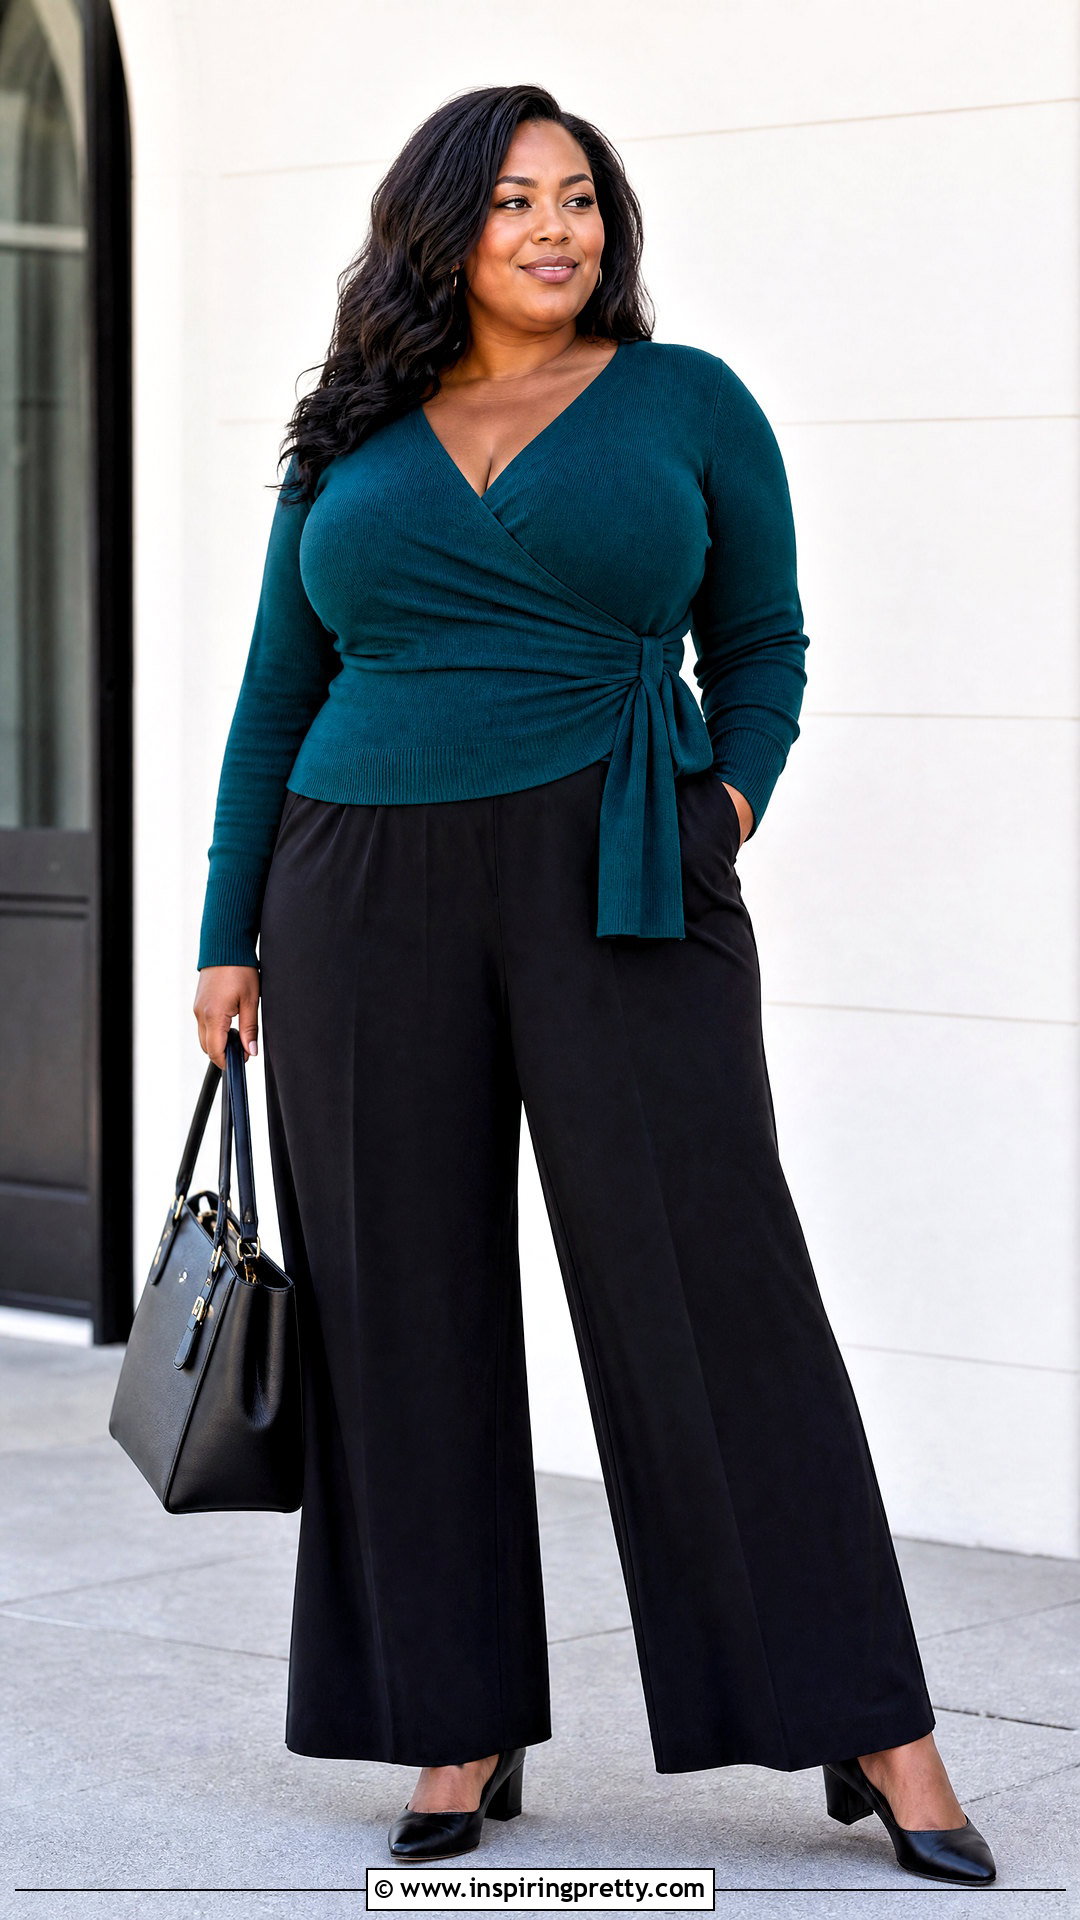
A well-fitted plus size wrap top needs balanced coverage, comfortable armholes, and ties that are long enough to fasten without pulling. Choose the size according to your upper bust and shoulder measurements, then add width or short-row shaping where fuller bust coverage is needed. Do not simply enlarge every dimension. Preserve the intended shoulder width and adjust body circumference separately. Extend each front panel far enough beyond the bust point to maintain the crossover while sitting or moving. Place the inner tie opening at your natural waist and reinforce it with firm stitches. Try on the top before finishing the neckline because the weight of the front panels may change the drape. Wide size ranges can use the same fundamental construction, but finished ease and garment measurements should guide selection rather than the size label alone. ()
18. Wrap Top With Bust Darts
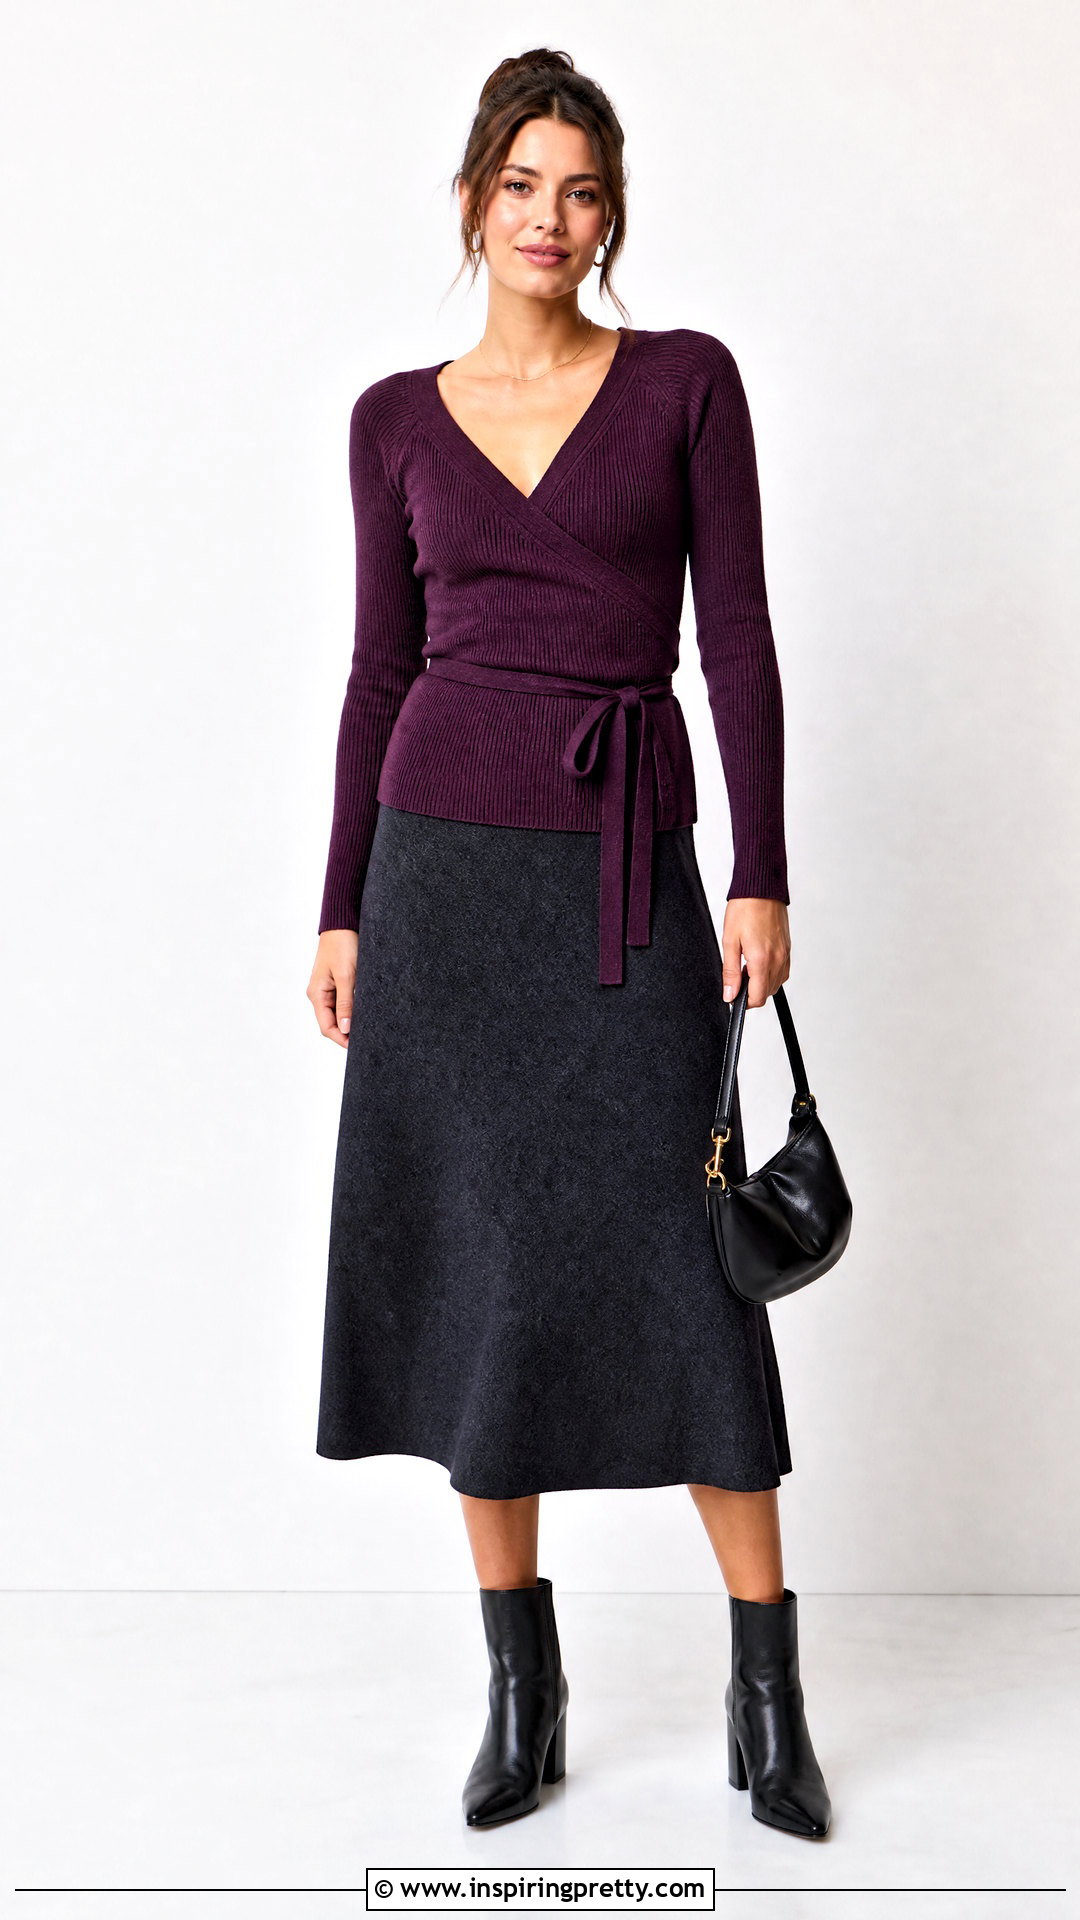
Short-row bust darts add length to the front without making the back or shoulders unnecessarily large. First, measure the difference between your front and back length from shoulder to waist. Use that difference to estimate the extra rows required. Work the short rows across the fullest part of each front panel, placing the turning points away from the exact bust apex. German short rows, shadow wraps, or traditional wrap-and-turn shaping can all work. Spread the added length smoothly rather than concentrating it in one obvious wedge. Complete the darts before the front panels narrow into ties. After knitting both sides, compare them carefully to confirm that the row counts and placement match. Block the pieces before seaming or joining because the added fabric may settle and alter the crossover position.
19. Reversible Wrap Top

A reversible wrap top needs attractive fabric on both sides and finishing that does not reveal a clear interior. Garter stitch, seed stitch, broken rib, and double knitting are useful choices because their reverse sides remain presentable. Avoid loose stockinette edges that curl or expose long floats. Knit the main body with minimal seams, or join pieces using a flat mattress stitch worked neatly and evenly. Attach ties so the join looks clean from either side. If using two colors, double knitting can produce a different dominant shade on each face, although it creates a thicker garment. Keep the neckline and armhole bands identical on both surfaces. Weave yarn tails invisibly between layers or along matching stitch columns. Gentle blocking will even the fabric while preserving its reversible texture and balanced drape.
20. Striped Scrap Yarn Wrap Top
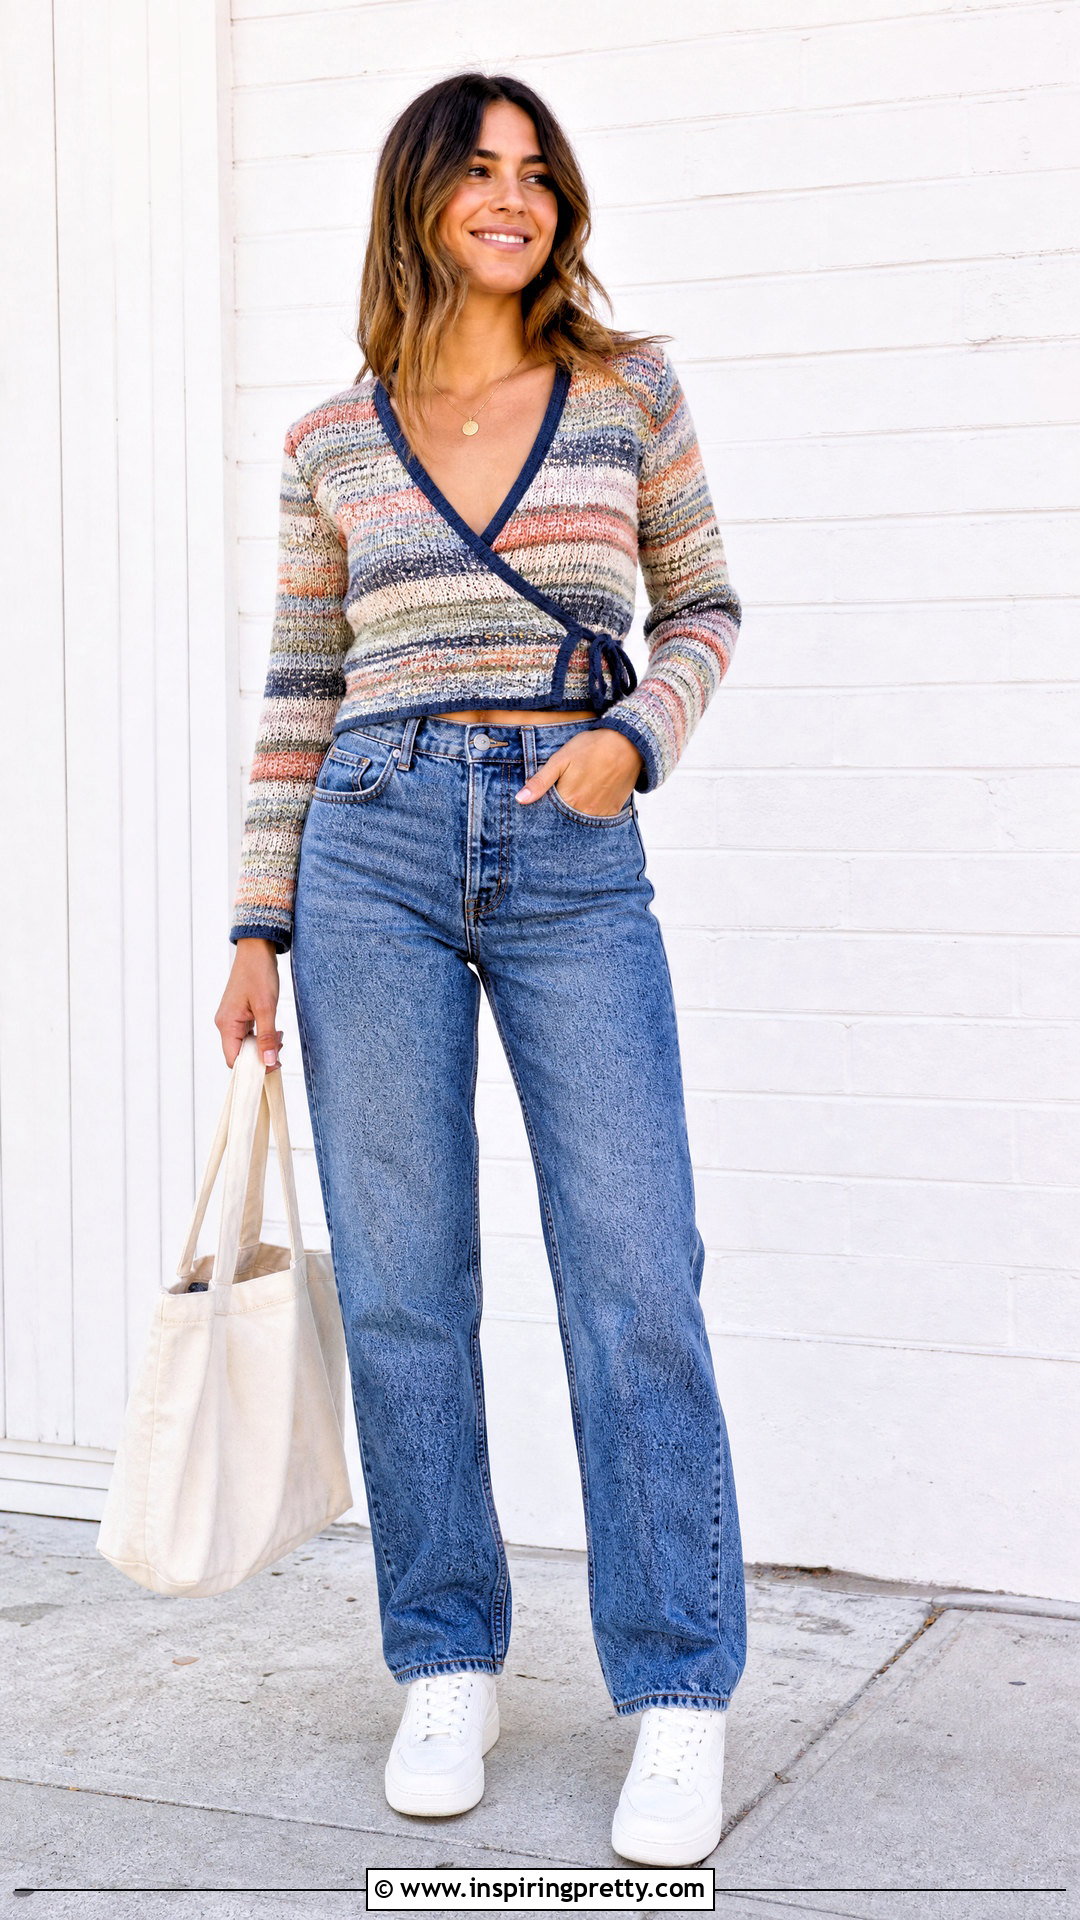
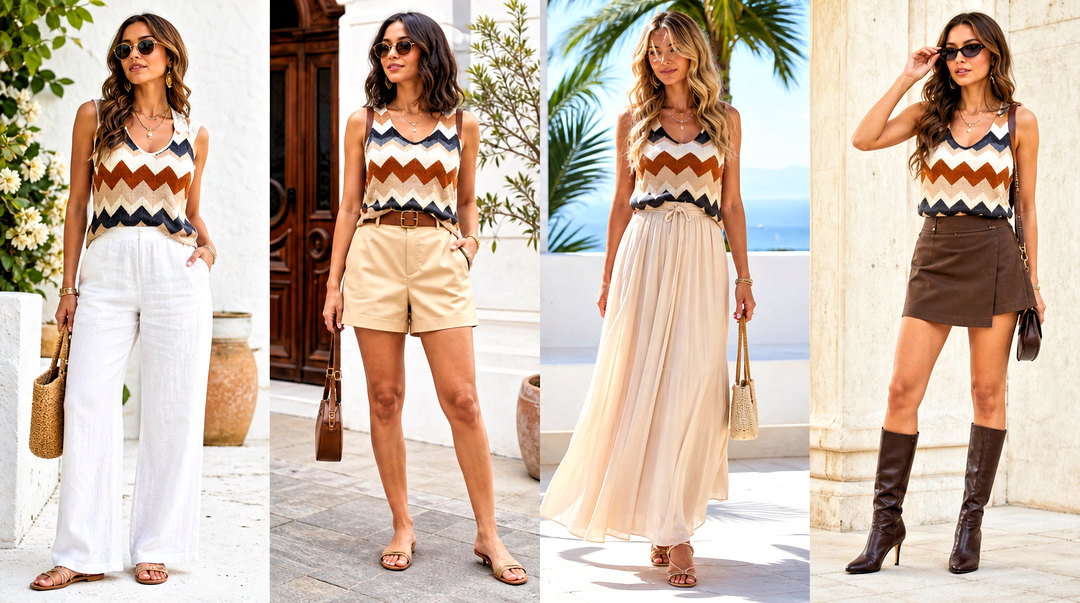
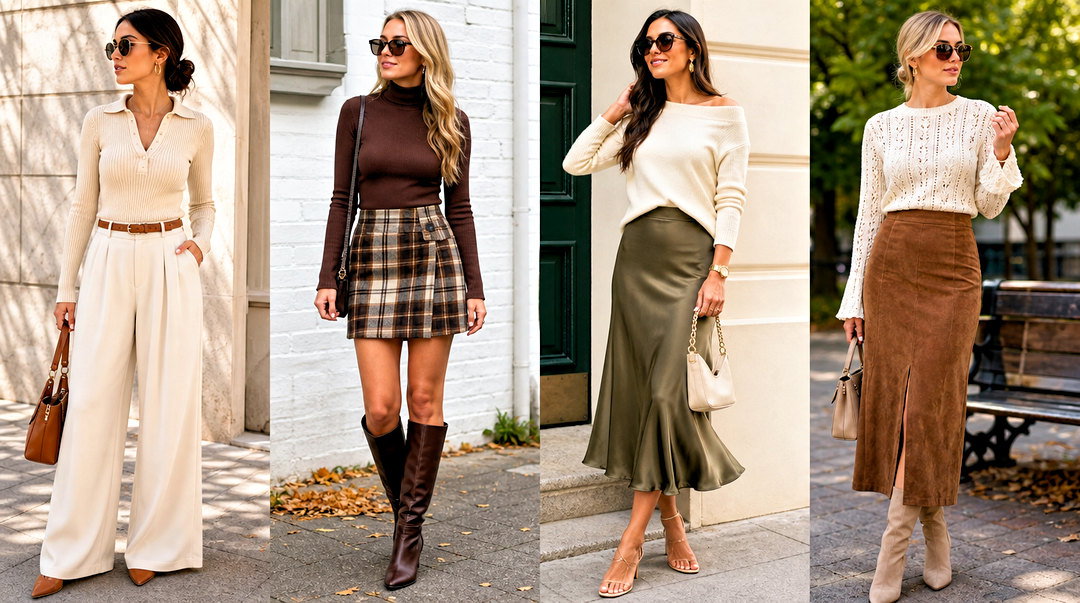
A striped wrap top is a useful way to combine coordinating leftover yarns. Sort the yarn by weight, fiber behavior, and washing requirements before planning the sequence. Alternating one main color with smaller remnants creates a unified design, even when the accent shades differ. Work narrow stripes for small amounts and wider bands for larger leftovers. Carry unused yarn loosely up the edge when the stripes are close together, but cut and weave it in when colors will not return for several rows. Mirror the stripe order across both front panels if you want symmetry. For a more playful finish, reverse the sequence on the second side. Use one dependable yarn for the neckline bands, cuffs, hem, and ties. That repeated edging color visually connects the entire wrap top and provides consistent structure.
Conclusion:
Understanding how to knit a wrap top begins with choosing a construction that matches your skills, yarn, and preferred fit. Simple rectangles and garter stitch are welcoming options for newer knitters. Raglan shaping, lace, cables, color blocking, and short-row bust darts offer more customization as your confidence grows. Whatever method you choose, always swatch, block the swatch, and compare your measurements with the garment schematic. Check the crossover while standing, sitting, and moving so the front provides comfortable coverage. Strong edging and correctly placed ties will help the finished top retain its shape. With patient fitting and careful finishing, you can create a wrap top that feels comfortable, looks polished, and works naturally with your wardrobe.
Related posts:


Leave a Reply